Marble countertops are a beautiful and luxurious addition to any kitchen, and connecting a kitchen sink to them can seem like a daunting task. However, with the right tools and techniques, you can easily install a kitchen sink on a marble countertop and achieve a seamless and professional look. Before you start the installation process, make sure you have all the necessary tools and materials. This includes a drill, drill bits, silicone caulk, plumber's putty, and the sink itself. It's also important to have a helper to assist you with lifting and holding the sink in place. Start by measuring and marking the placement of the sink on the marble countertop. Use a template provided by the manufacturer to ensure accurate measurements. Then, use a drill to create pilot holes for the faucet and any other fixtures that need to be attached to the sink. Next, apply a bead of silicone caulk around the edges of the sink opening on the underside of the marble countertop. This will create a waterproof seal between the sink and the countertop. Now, carefully lower the sink into place, making sure it lines up with the pilot holes. Have your helper hold the sink in place while you secure it with mounting clips or brackets provided by the manufacturer. Use a drill to tighten the clips or brackets and secure the sink to the countertop. Once the sink is securely attached, you can install the faucet and any other fixtures. Apply plumber's putty around the base of the fixtures to create a watertight seal. Then, simply attach them to the pre-drilled holes on the sink and tighten with a wrench. Finally, wipe away any excess caulk and polish the edges of the sink and countertop to create a smooth and seamless finish. Your kitchen sink is now successfully connected to your marble countertop!1. How to Connect a Kitchen Sink to Marble Countertops


1. How to Connect a Kitchen Sink to Marble Countertops


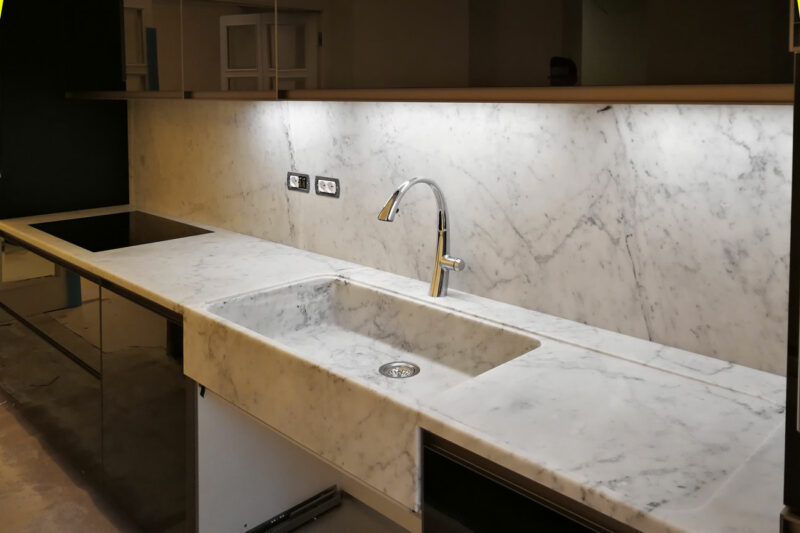
If you're looking to upgrade your kitchen with a marble countertop, you may be wondering how to install a kitchen sink on it. The process may seem intimidating, but with the right tools and techniques, it can be a straightforward and rewarding DIY project. The first step is to measure and mark the placement of the sink on the marble countertop. This will ensure that the sink is centered and properly aligned with any other fixtures, such as the faucet and soap dispenser. Next, use a drill to create pilot holes for the sink and any other fixtures. It's important to use the appropriate drill bits and to go slowly to avoid damaging the marble. You can also use masking tape over the marked areas to prevent the drill from slipping. Once the pilot holes are drilled, it's time to attach the sink to the countertop. Apply a bead of silicone caulk around the edges of the sink opening on the underside of the marble countertop. This will create a waterproof seal and prevent any leaks. With the help of a friend or family member, carefully lower the sink into place. Make sure it lines up with the pilot holes and sits flush with the countertop. Then, use mounting clips or brackets provided by the manufacturer to secure the sink in place. After the sink is securely attached, you can install the faucet and any other fixtures. Apply plumber's putty around the base of the fixtures and attach them to the pre-drilled holes on the sink. Use a wrench to tighten them and ensure a watertight seal. Finally, wipe away any excess caulk and polish the edges of the sink and countertop to create a seamless finish. Your kitchen sink is now successfully installed on your marble countertop and ready to use.2. Installing a Kitchen Sink on a Marble Countertop


2. Installing a Kitchen Sink on a Marble Countertop


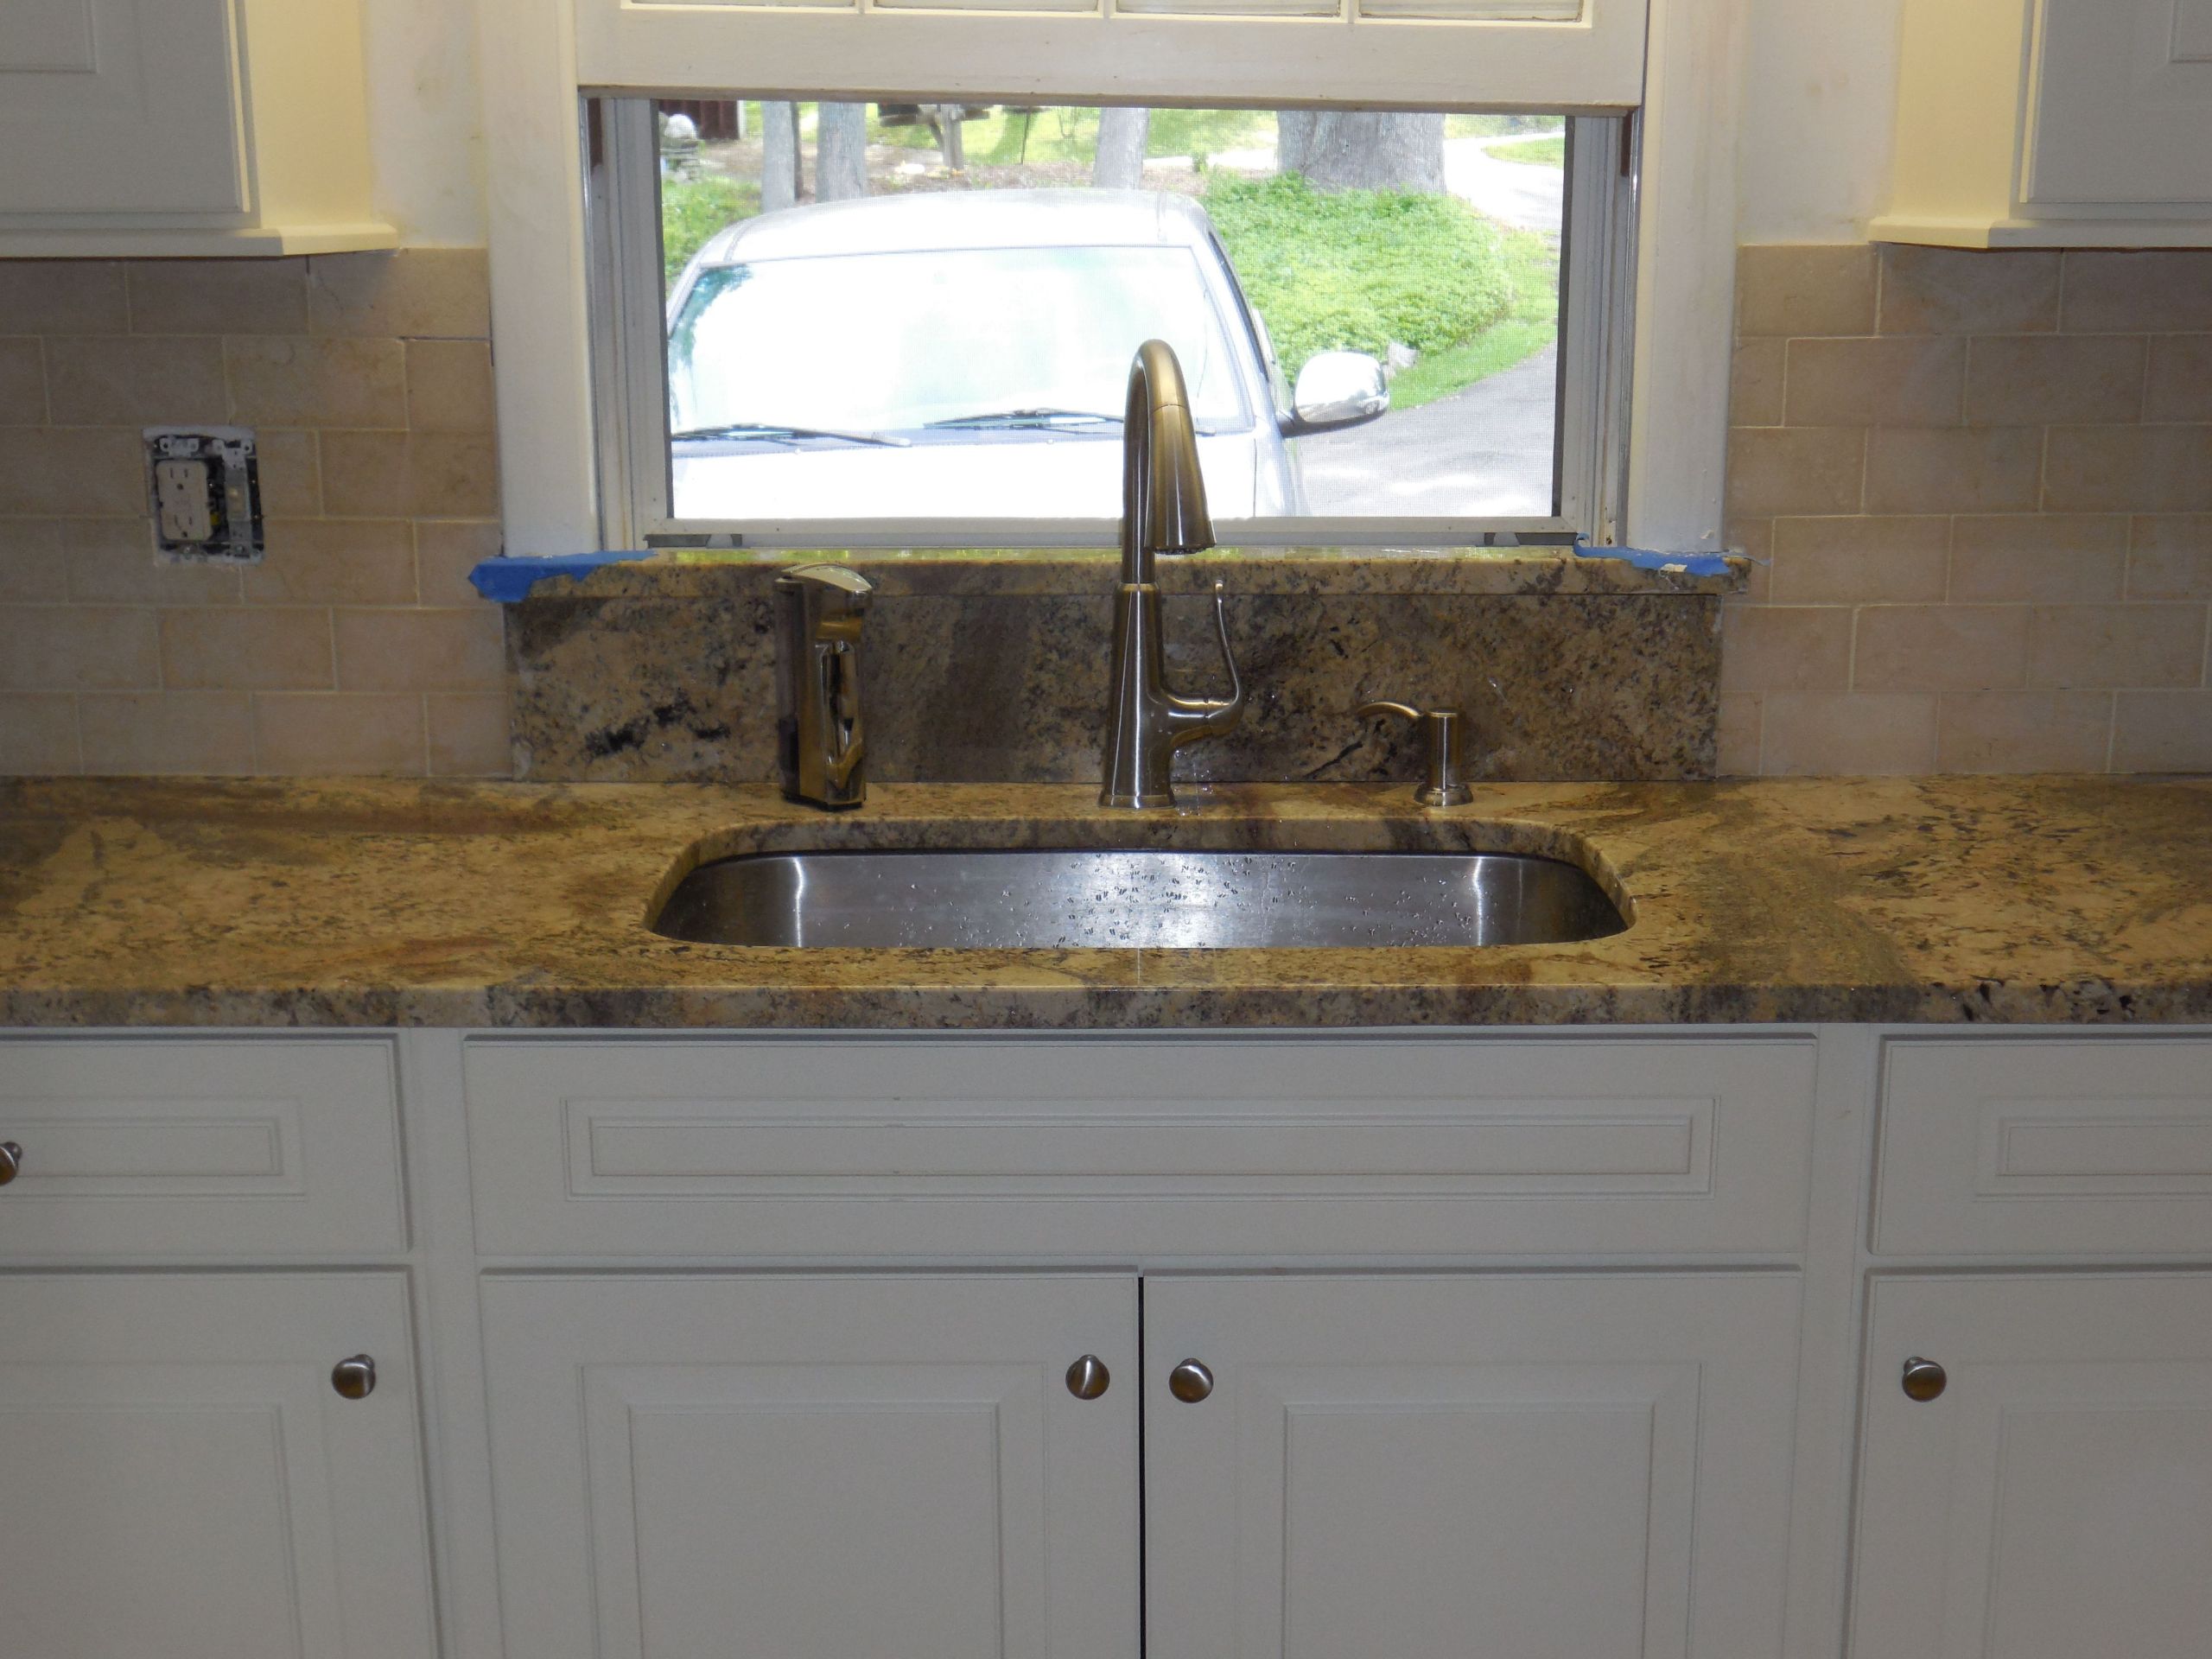
The kitchen sink drain is an essential part of any kitchen, and connecting it to a marble countertop requires special care and attention. The goal is to create a secure and watertight seal between the sink and the countertop while also maintaining the aesthetic appeal of the marble. Before you begin, make sure the sink is properly installed on the marble countertop and any fixtures are attached. Then, measure and mark the placement of the drain on the marble. Use a template provided by the manufacturer for accurate measurements. Next, use a drill to create a pilot hole for the drain. It's important to use the correct drill bit and to go slowly to avoid damaging the marble. You can also use masking tape to prevent the drill from slipping. After the pilot hole is drilled, apply a bead of silicone caulk around the edges of the drain opening on the underside of the marble countertop. This will create a waterproof seal and prevent any leaks. Now, insert the drain into the pilot hole and tighten it with a wrench. Make sure it sits flush with the countertop and is securely attached. Wipe away any excess caulk and polish the edges of the drain and countertop for a seamless finish. Connecting a kitchen sink drain to a marble countertop may seem daunting, but with the right tools and techniques, it can be a simple and successful process.3. Connecting a Kitchen Sink Drain to a Marble Countertop


3. Connecting a Kitchen Sink Drain to a Marble Countertop
:max_bytes(150000):strip_icc()/how-to-install-a-sink-drain-2718789-hero-24e898006ed94c9593a2a268b57989a3.jpg)


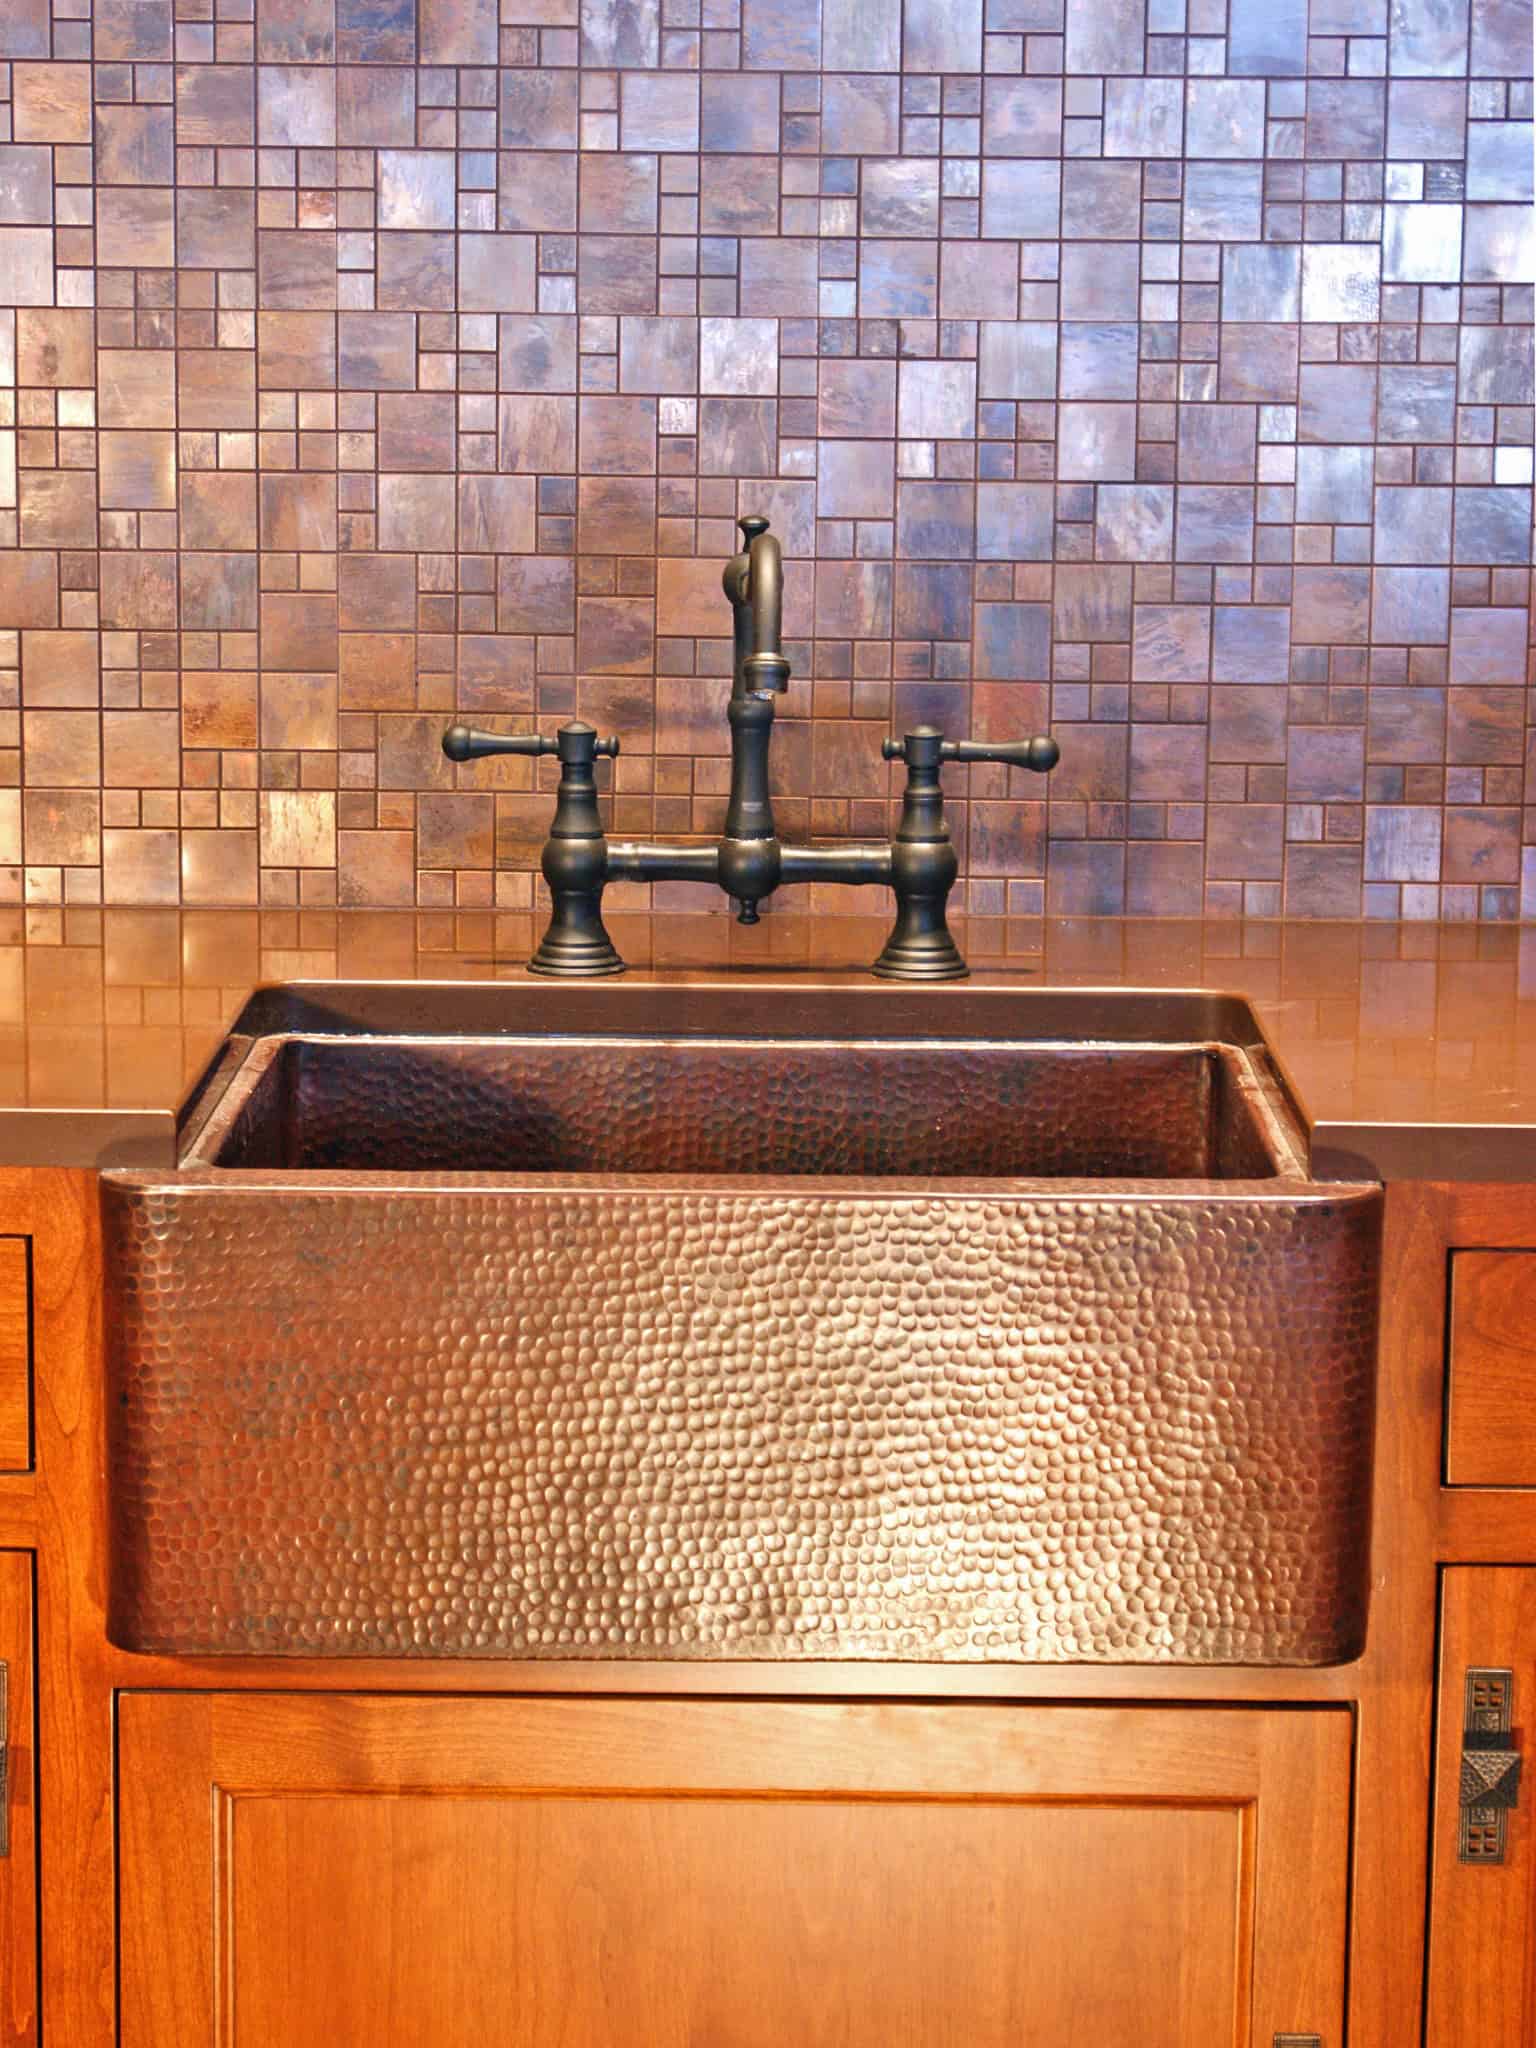
When installing a kitchen sink on a marble countertop, securing it properly is essential for a long-lasting and leak-free installation. The process may seem intimidating, but with the right tools and techniques, you can secure your sink to the marble countertop with ease. The first step is to measure and mark the placement of the sink on the marble countertop. Use a template provided by the manufacturer for accurate measurements. Then, use a drill to create pilot holes for the sink and any other fixtures. Next, apply a bead of silicone caulk around the edges of the sink opening on the underside of the marble countertop. This will create a waterproof seal and prevent any leaks. Be sure to use a high-quality caulk that is safe for use on marble. With the help of a friend or family member, carefully lower the sink into place. Make sure it lines up with the pilot holes and sits flush with the countertop. Then, use mounting clips or brackets provided by the manufacturer to secure the sink in place. Once the sink is securely attached, you can install the faucet and any other fixtures. Apply plumber's putty around the base of the fixtures and attach them to the pre-drilled holes on the sink. Use a wrench to tighten them and ensure a watertight seal. Finally, wipe away any excess caulk and polish the edges of the sink and countertop to create a seamless finish. Your kitchen sink is now securely attached to your marble countertop and ready to use.4. Securing a Kitchen Sink to a Marble Countertop

4. Securing a Kitchen Sink to a Marble Countertop

The process of attaching a kitchen sink to a marble countertop may seem intimidating, but with the right tools and techniques, it can be a simple and successful DIY project. The key is to ensure the sink is securely attached to the countertop to prevent any leaks or damage. Before you begin, make sure the sink is properly installed on the marble countertop and any fixtures are attached. Then, measure and mark the placement of the sink on the marble. Use a template provided by the manufacturer for accurate measurements. Next, use a drill to create pilot holes for the sink and any other fixtures. It's important to use the correct drill bit and to go slowly to avoid damaging the marble. You can also use masking tape to prevent the drill from slipping. After the pilot holes are drilled, apply a bead of silicone caulk around the edges of the sink opening on the underside of the marble countertop. This will create a waterproof seal and prevent any leaks. With the help of a friend or family member, carefully lower the sink into place. Make sure it lines up with the pilot holes and sits flush with the countertop. Then, use mounting clips or brackets provided by the manufacturer to secure the sink in place. Once the sink is securely attached, you can install the faucet and any other fixtures. Apply plumber's putty around the base of the fixtures and attach them to the pre-drilled holes on the sink. Use a wrench to tighten them and ensure a watertight seal. Finally, wipe away any excess caulk and polish the edges of the sink and countertop to create a seamless finish. Your kitchen sink is now successfully attached to your marble countertop and ready to use.5. Attaching a Kitchen Sink to a Marble Countertop


5. Attaching a Kitchen Sink to a Marble Countertop


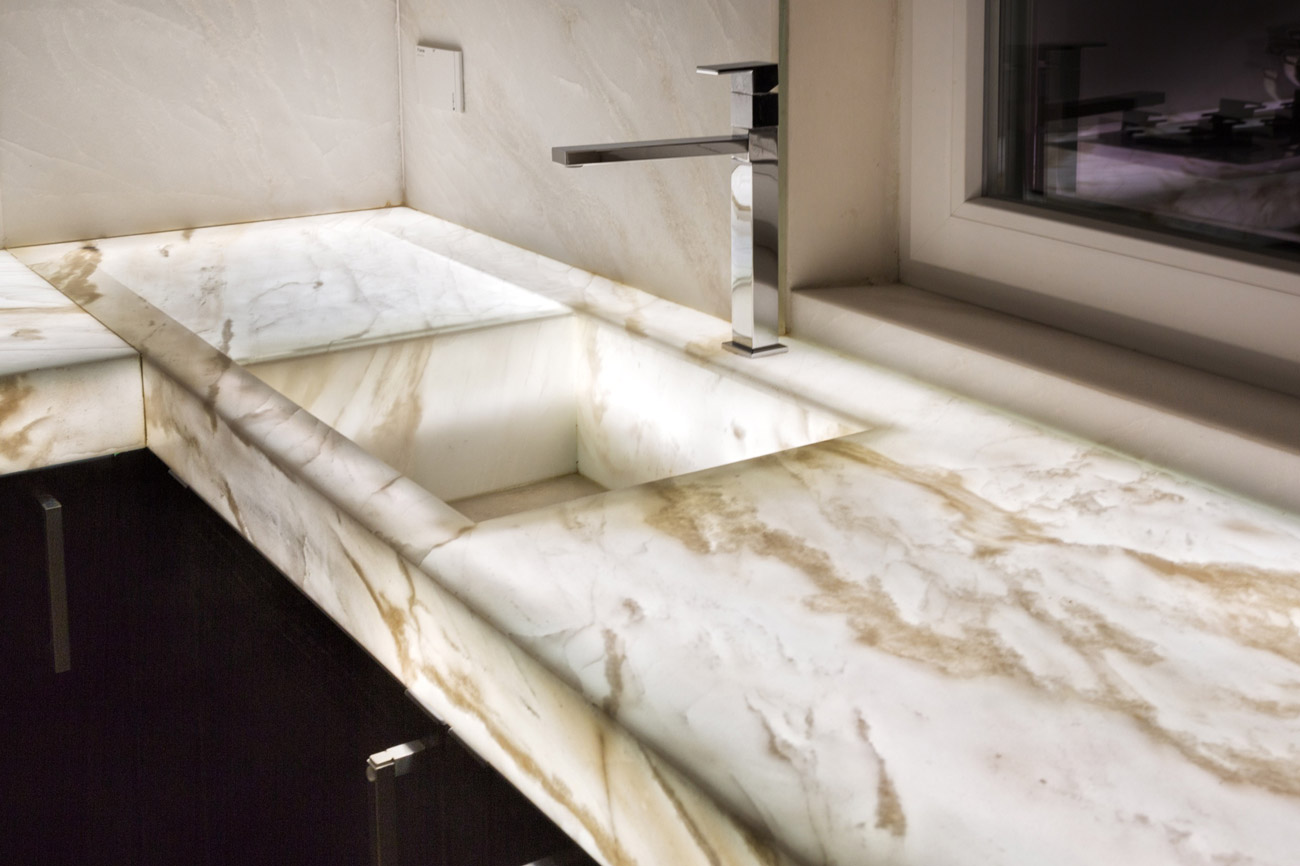
A marble backsplash can add a touch of elegance to any kitchen, and connecting a kitchen sink to it requires special care and attention. The goal is to create a secure and watertight seal between the sink and the backsplash while also maintaining the aesthetic appeal of the marble. Before you begin, make sure the sink is properly installed on the countertop and any fixtures are attached. Then, measure and mark the placement of the sink on the backsplash. Use a template provided by the manufacturer for accurate measurements. Next, use a drill to create a pilot hole for the sink. It's important to use the correct drill bit and to go slowly to avoid damaging the marble. You can also use masking tape to prevent the drill from slipping. After the pilot hole is drilled, apply a bead of silicone caulk around the edges of the sink opening on the underside of the backsplash. This will create a waterproof seal and prevent any leaks. Now, insert the sink into the pilot hole and tighten it with a wrench. Make sure it sits flush with the backsplash and is securely attached. Wipe away any excess caulk and polish the edges of the sink and backsplash for a seamless finish. Connecting a kitchen sink to a marble backsplash may seem daunting, but with the right tools and techniques, it can be a simple and successful process.6. Connecting a Kitchen Sink to a Marble Backsplash


6. Connecting a Kitchen Sink to a Marble Backsplash

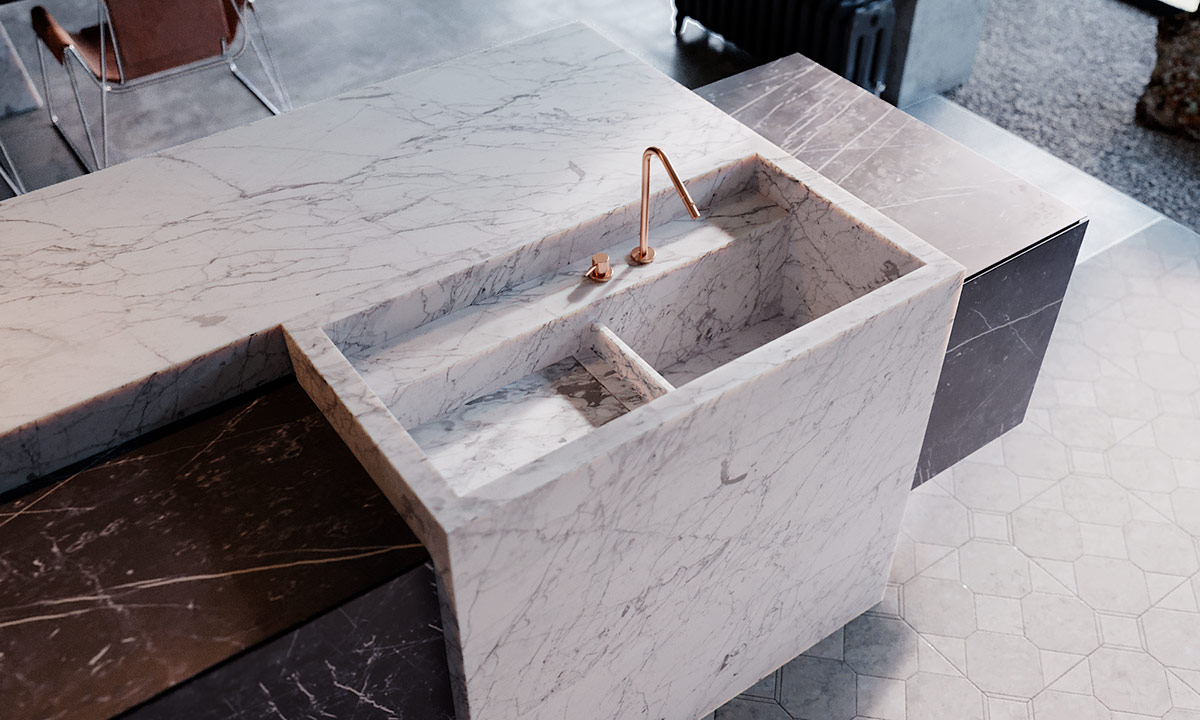
A marble island can be a stunning addition to any kitchen, and installing a kitchen sink on it requires special care and attention to ensure a professional and seamless look. With the right tools and techniques, you can easily install a sink on your marble island and achieve a beautiful and functional kitchen space. The first step is to measure and mark the placement of the sink on the island. Use a template provided by the manufacturer for accurate measurements. Then, use a drill to create pilot holes for the sink and any other fixtures that need to be attached to the island. Next, apply a bead of silicone caulk around the edges of the sink opening on the underside of the island. This will create a waterproof seal between the sink and the island. Now, carefully lower the sink into place, making sure it lines up with the pilot holes. Have a helper hold the sink in place while you secure it with mounting clips or brackets provided by the manufacturer. Use a drill to tighten the clips or brackets and secure the sink to the island. Once the sink is securely attached, you can install the faucet and any other fixtures. Apply plumber's putty around the base of the fixtures to create a watertight seal. Then, simply attach them to the pre-drilled holes on the sink and tighten with a wrench. Finally, wipe away any excess caulk and polish the edges of the sink and island to create a smooth and seamless finish. Your kitchen sink is now successfully installed on your marble island and ready to use.7. Installing a Kitchen Sink on a Marble Island


7. Installing a Kitchen Sink on a Marble Island


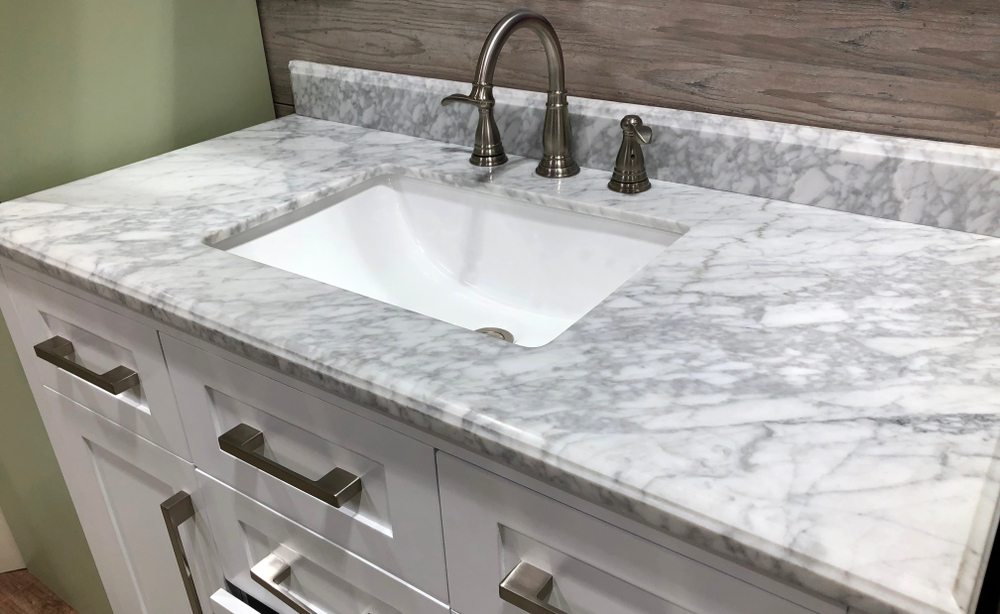
Connecting a kitchen sink to a marble vanity may seem like a daunting task, but with the right tools and techniques, you can easily achieve a professional and seamless look. The key is to ensure a secure and watertight seal between the sink and the marble for a long-lasting installation. Before you start, make sure the sink is properly installed on the vanity and any fixtures are attached. Then, measure and mark the placement of the sink on the marble. Use a template provided by the manufacturer for accurate measurements. Next, use a drill to create pilot holes for the sink and any other fixtures. It's important to use the correct drill bit and to go slowly to avoid damaging the marble. You can also use masking tape to prevent the drill from slipping. After the pilot holes are drilled, apply a bead of silicone caulk around the edges of the sink opening on the underside of the marble vanity. This will create a waterproof seal and prevent any leaks. With the help of a friend or family member, carefully lower the sink into place. Make sure it lines up with the pilot holes and sits flush with the vanity. Then, use mounting clips or brackets provided by the manufacturer to secure the sink in place. Once the sink is securely attached, you can install the faucet and any other fixtures. Apply plumber's putty around the base of the fixtures and attach them to the pre-drilled holes on the sink. Use a wrench to tighten them and ensure a watertight seal. Finally, wipe away any excess caulk and polish the edges of the sink and vanity for a seamless finish. Your kitchen sink is now successfully connected to your marble vanity and ready to use.8. Connecting a Kitchen Sink to a Marble Vanity


8. Connecting a Kitchen Sink to a Marble Vanity


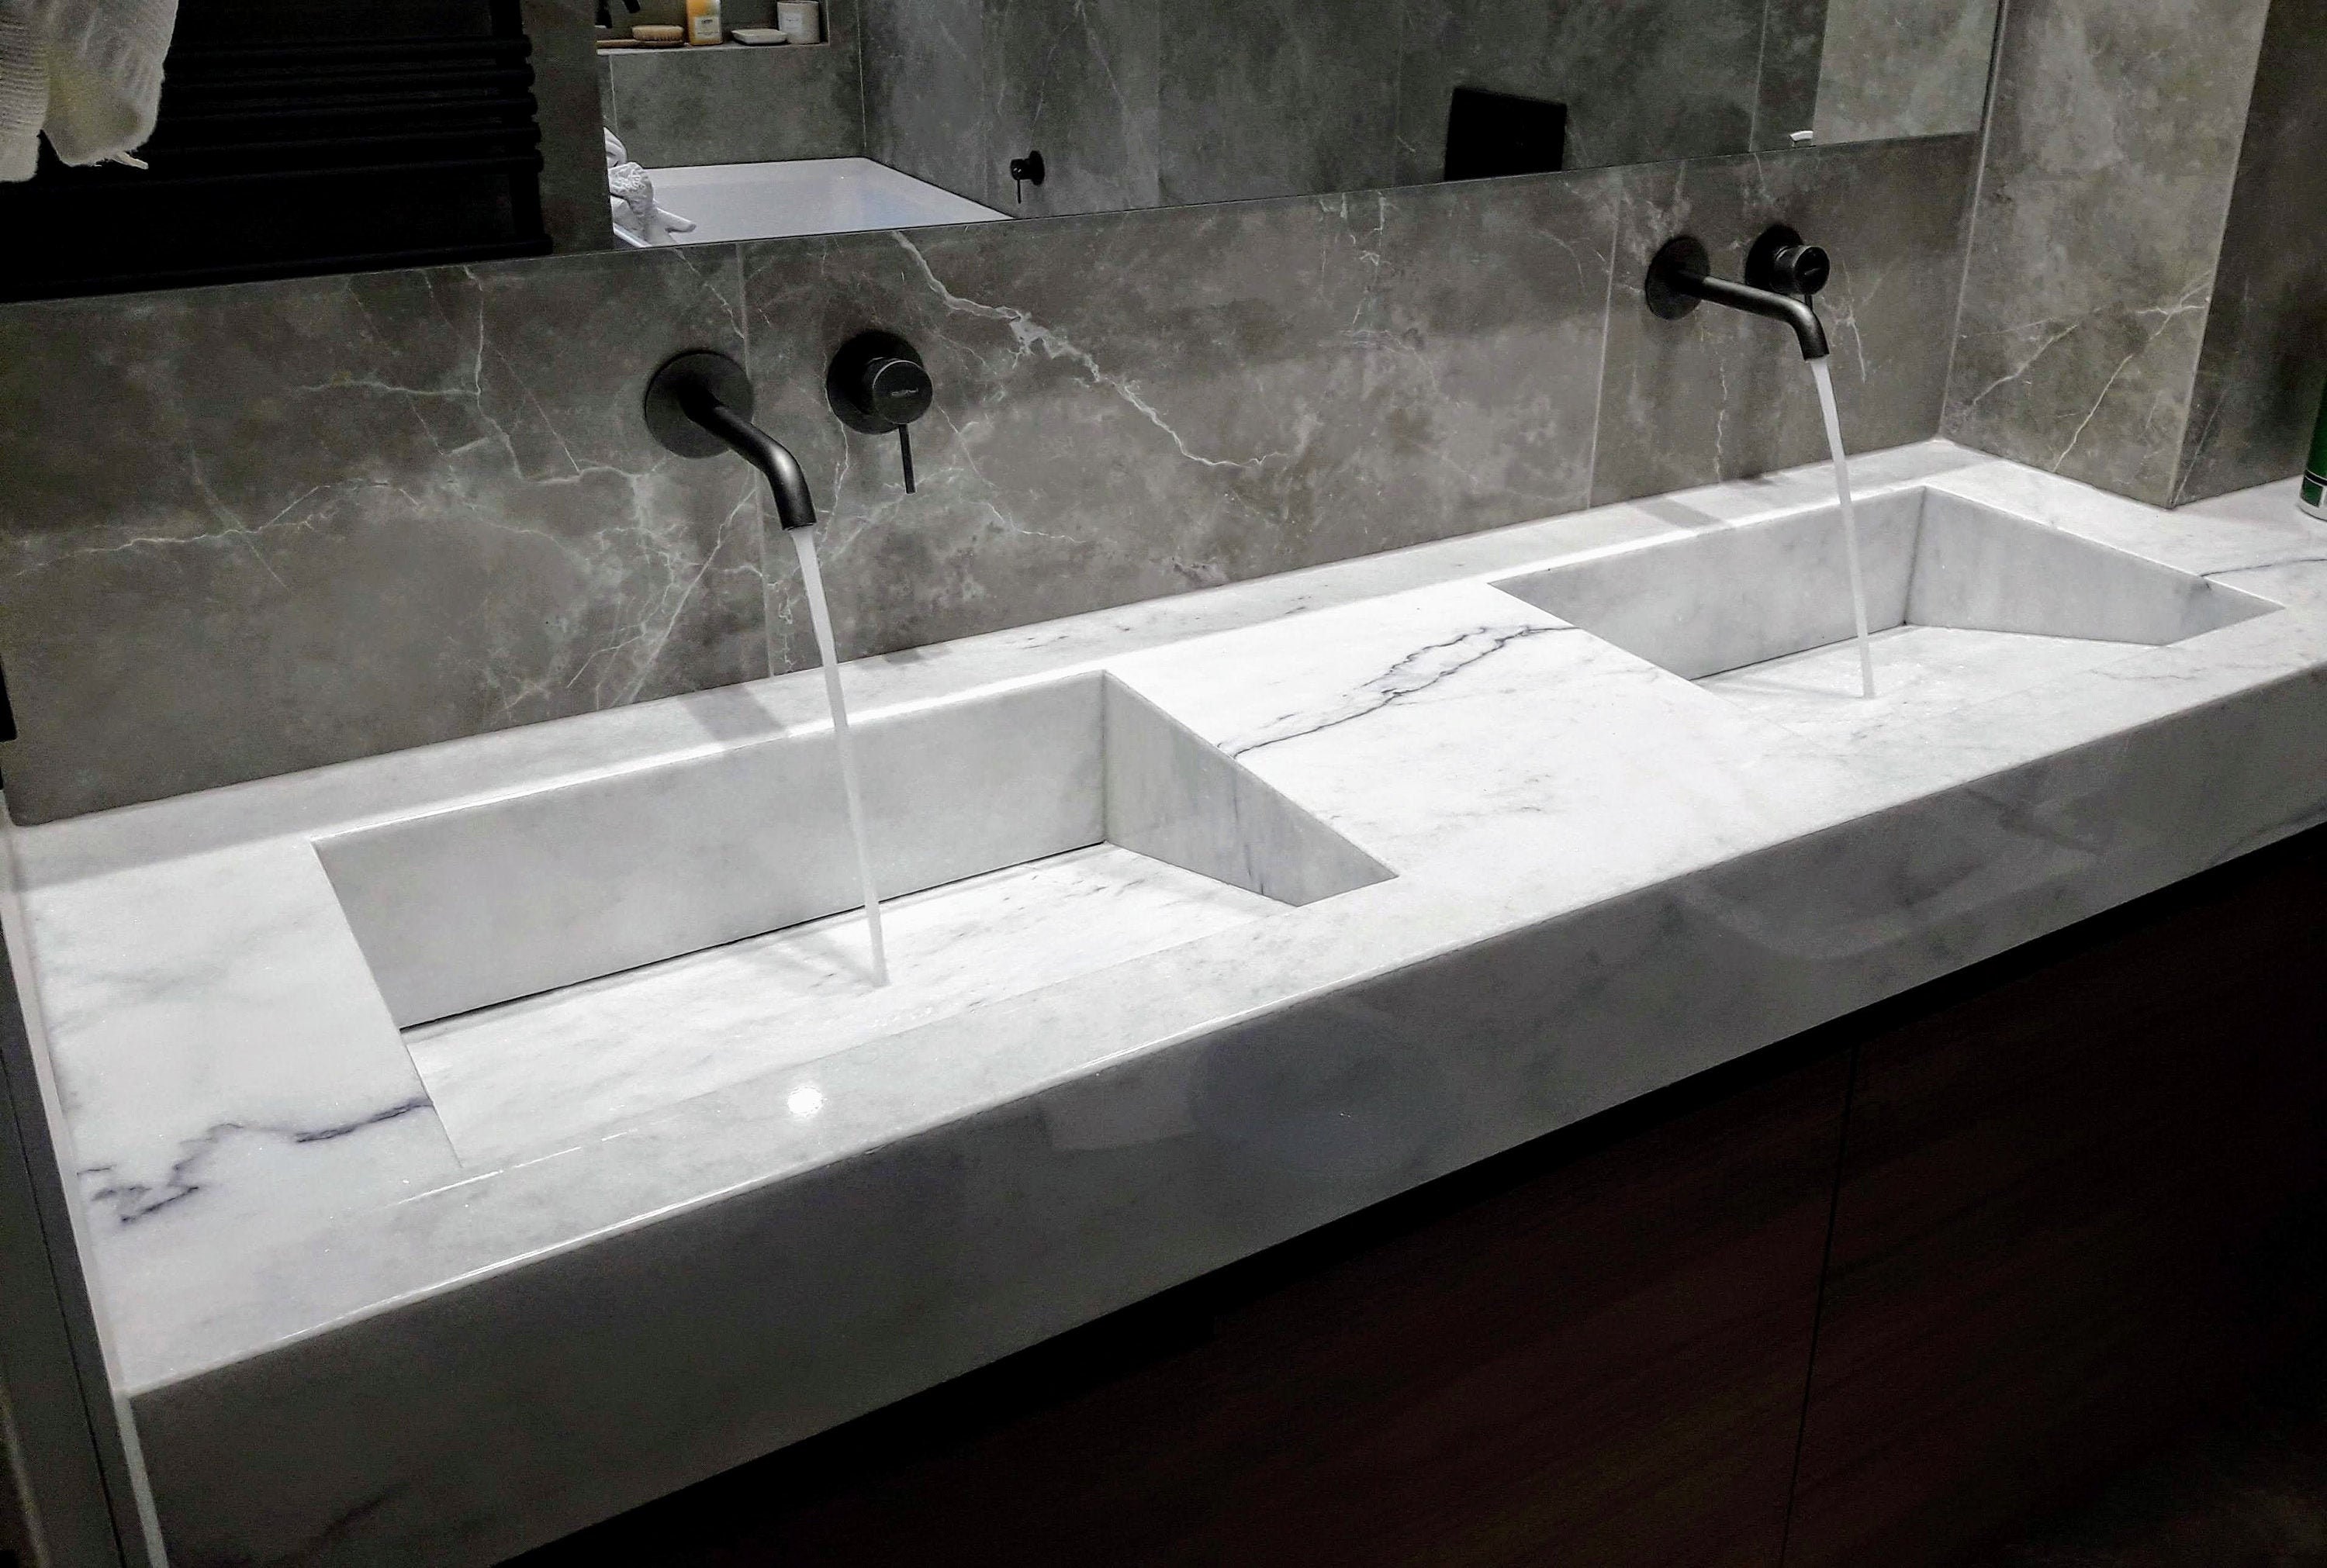
Installing a kitchen sink on a marble slab can seem like a daunting task, but with the right tools and techniques, you can achieve a professional and seamless look. The key is to ensure a secure and watertight seal between the sink and the marble for a long-lasting installation.9. How to Install a Kitchen Sink on a Marble Slab


9. How to Install a Kitchen Sink on a Marble Slab


How to Connect Your Kitchen Sink to Marble: A Step-by-Step Guide
Introduction
 When it comes to designing your dream home, every detail matters. From the color of the walls to the type of flooring, each element contributes to the overall aesthetic and functionality of your space. One essential aspect of house design is connecting your kitchen sink to the marble countertops. This not only adds a touch of elegance to your kitchen, but it also ensures a secure and stable installation. In this article, we will guide you through the process of connecting your kitchen sink to marble, so you can achieve the perfect look for your home.
Gather Your Materials
 Before you begin, make sure you have all the necessary materials on hand. These include a sink mounting bracket, silicone adhesive, plumber's putty, a drill, and a screwdriver. It's also helpful to have a helper to assist you with lifting and positioning the sink.
Measure and Mark
 Start by measuring the dimensions of your sink and the cutout in your marble countertop. Using a pencil, mark the exact location where you want your sink to be placed on the countertop. This will serve as a guide when drilling.
Drill Holes
 Using a drill, carefully create holes in the marked locations on the marble countertop. These holes will be used to secure the sink mounting bracket.
Apply Plumber's Putty
 Next, apply a thin layer of plumber's putty around the edges of the sink opening. This will create a seal between the sink and the countertop, preventing water from seeping through.
Position the Sink
 With the help of your assistant, carefully lift and position the sink onto the countertop. Make sure it is aligned with the marked location and press down firmly to secure it in place.
Install the Mounting Bracket
 Using the holes you drilled earlier, insert the screws into the mounting bracket and tighten them with a screwdriver. This will secure the sink to the countertop.
Apply Silicone Adhesive
 To ensure a strong and waterproof seal, apply a bead of silicone adhesive along the edges of the sink where it meets the countertop.
Final Adjustments
 Once the sink is securely attached, make any necessary adjustments to ensure it is level and properly aligned with the countertop. Wipe off any excess adhesive and allow it to dry for 24 hours before using your sink.
Connecting your kitchen sink to marble
can seem like a daunting task, but with the right materials and a little bit of patience, it can be easily achieved. By following these steps, you can create a seamless and stylish connection between your sink and marble countertops. So go ahead and add the finishing touch to your kitchen design with this simple and effective method.
Once the sink is securely attached, make any necessary adjustments to ensure it is level and properly aligned with the countertop. Wipe off any excess adhesive and allow it to dry for 24 hours before using your sink.
Connecting your kitchen sink to marble
can seem like a daunting task, but with the right materials and a little bit of patience, it can be easily achieved. By following these steps, you can create a seamless and stylish connection between your sink and marble countertops. So go ahead and add the finishing touch to your kitchen design with this simple and effective method.