If you're dealing with a clogged drain or need to clean your bathroom sink thoroughly, removing the sink stopper is a necessary task. Here's a step-by-step guide on how to remove a bathroom sink stopper and get your drain functioning properly again.How to Remove a Bathroom Sink Stopper


How to Remove a Bathroom Sink Stopper


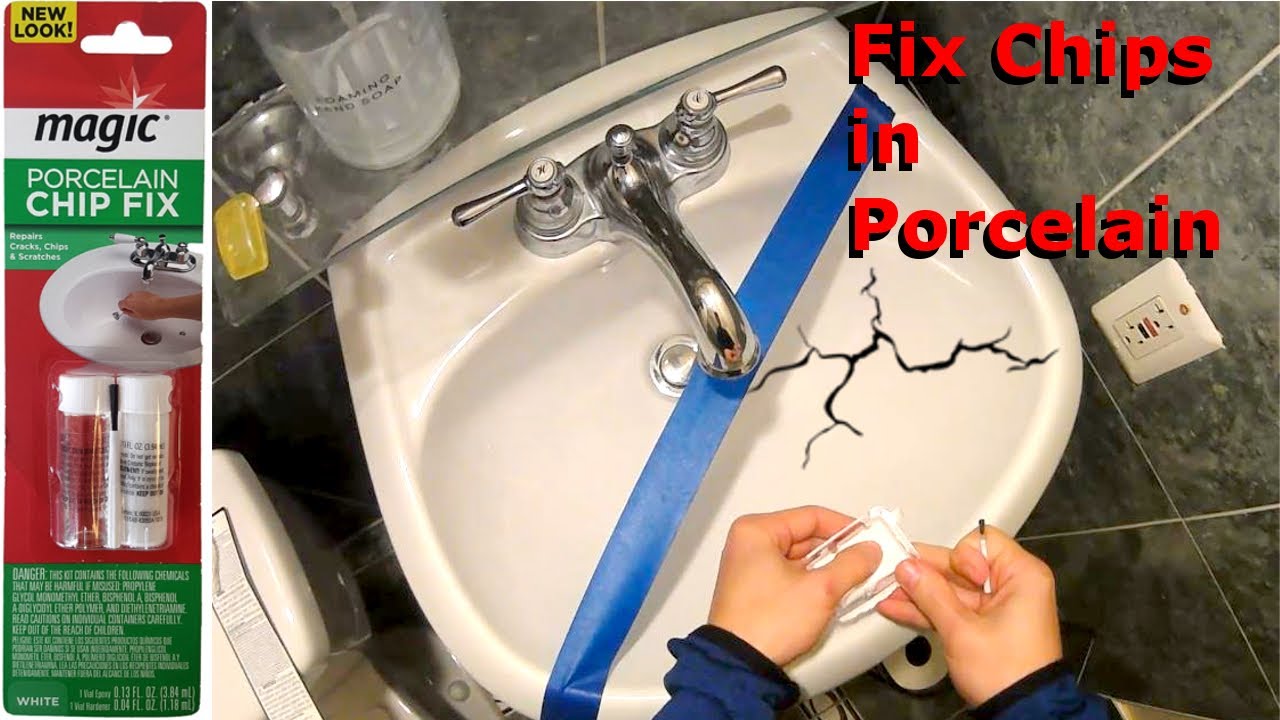
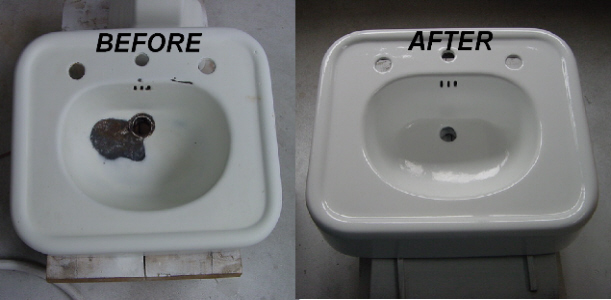
Accidents happen, and sometimes your bathroom sink can get chipped or damaged. If you're dealing with a chipped sink, don't worry – it can be easily repaired. Here's how to fix a chipped sink and make it look good as new.How to Fix a Chipped Sink
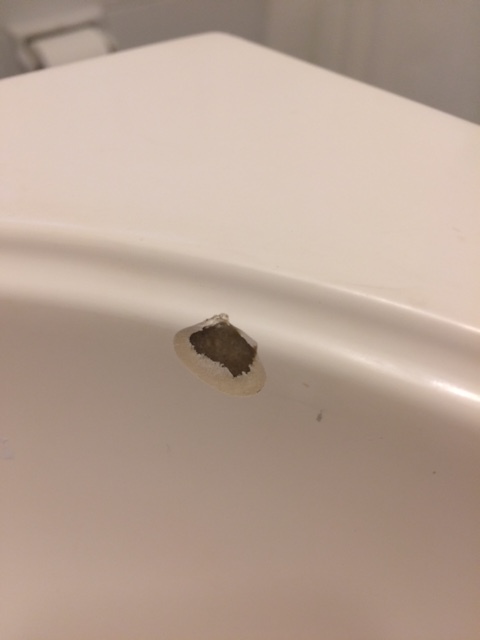


How to Fix a Chipped Sink
/cdn.vox-cdn.com/uploads/chorus_image/image/65890869/chipped_sink.0.jpg)


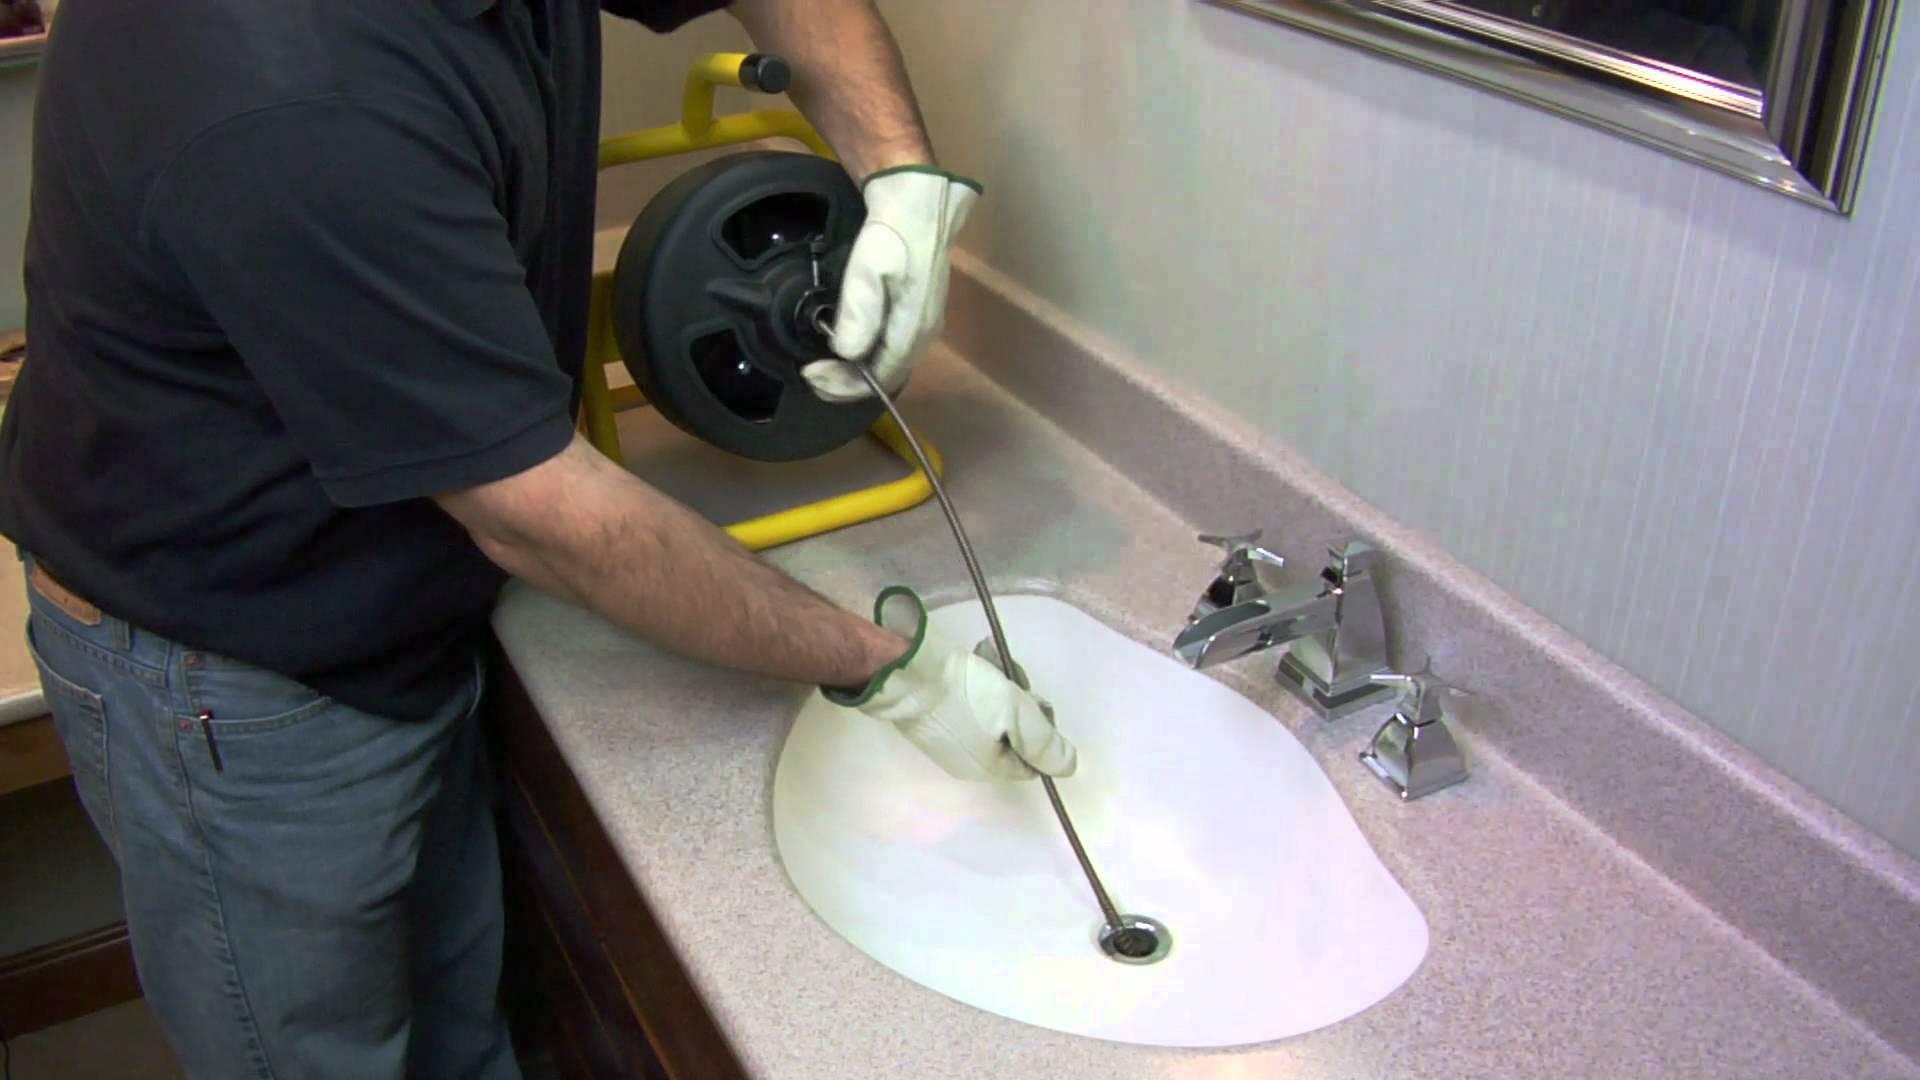
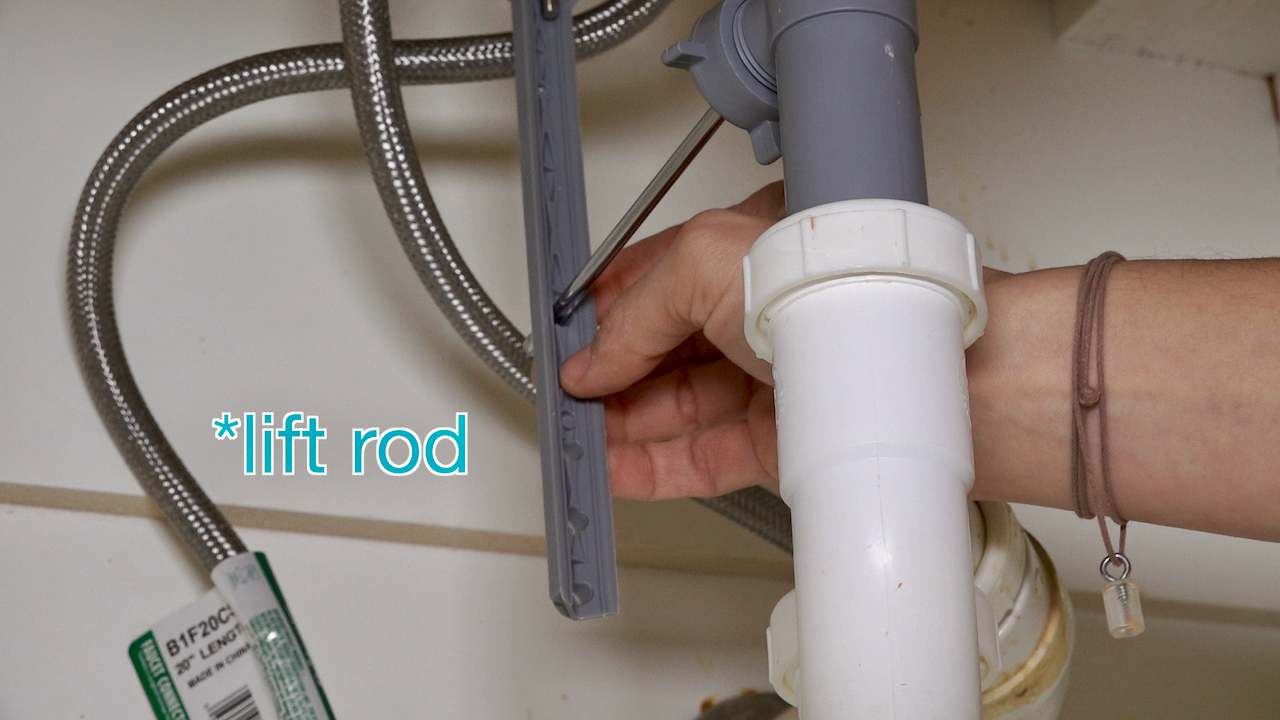
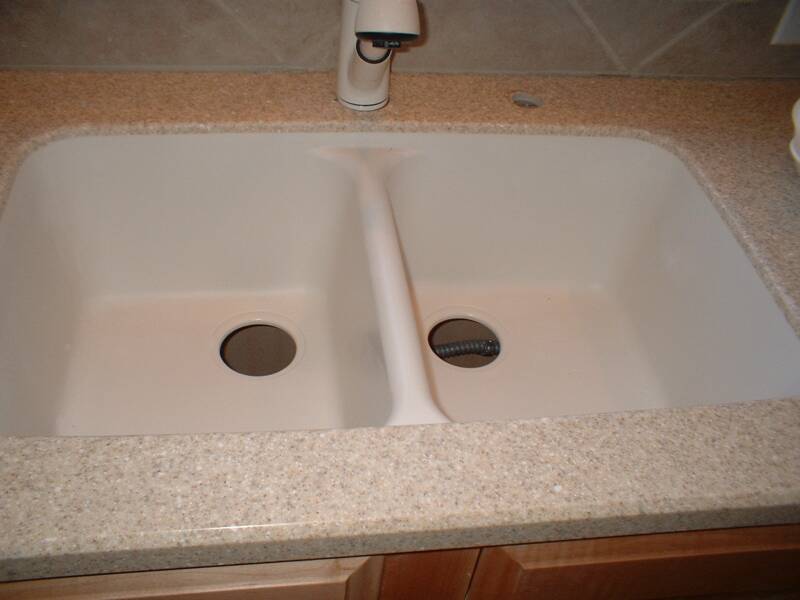
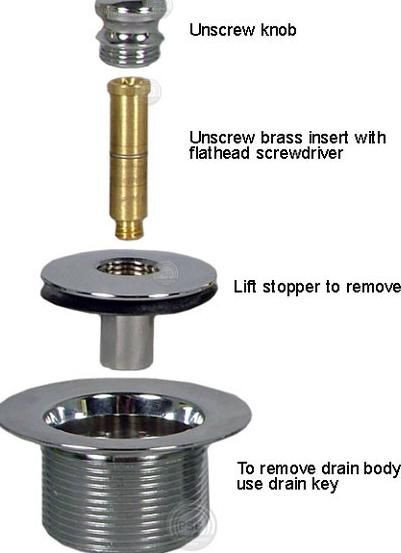
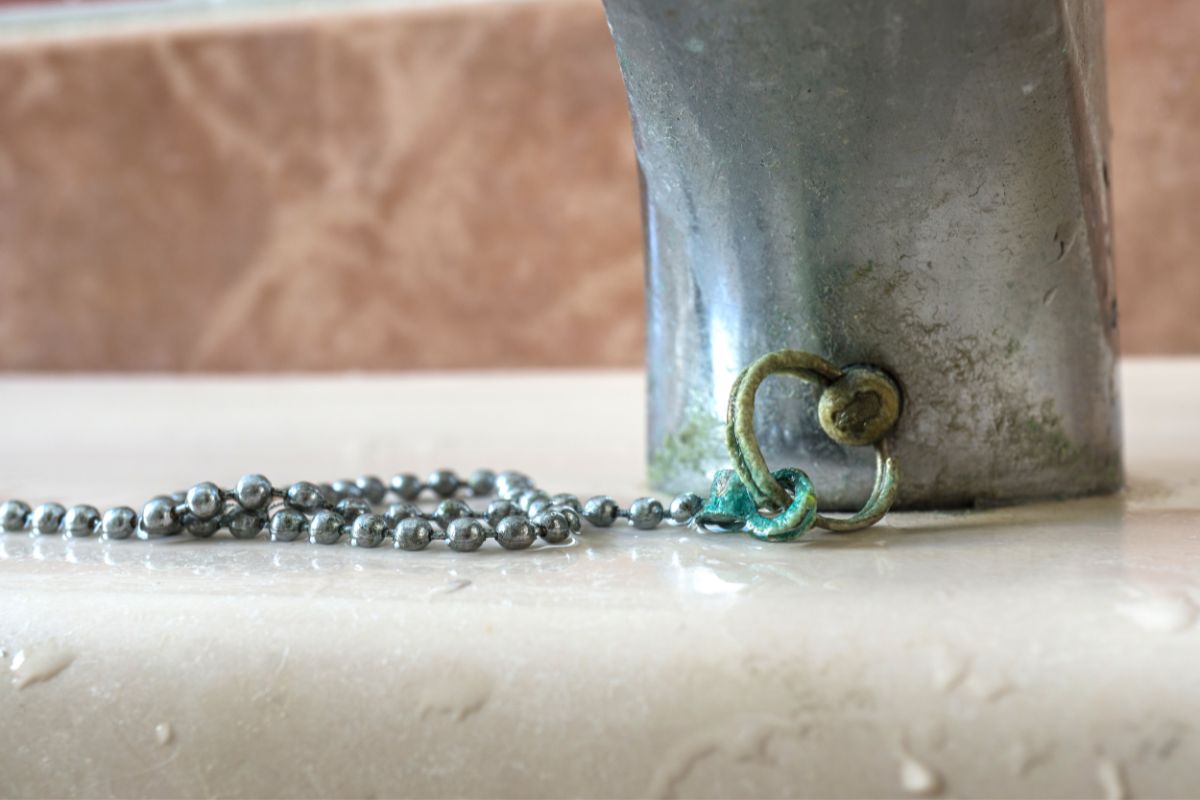
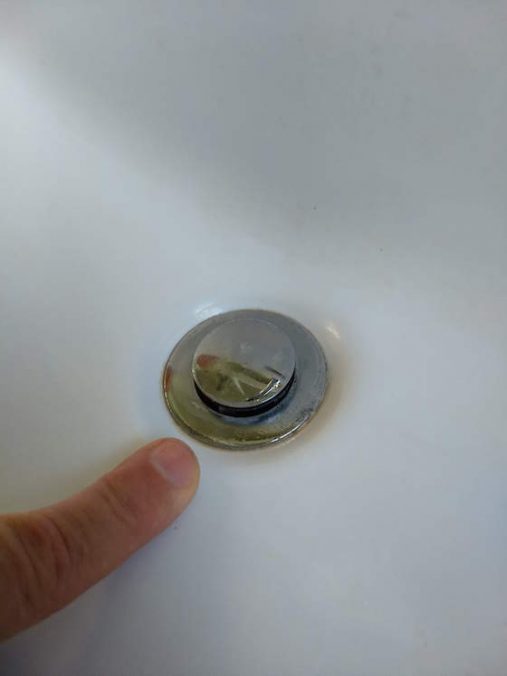
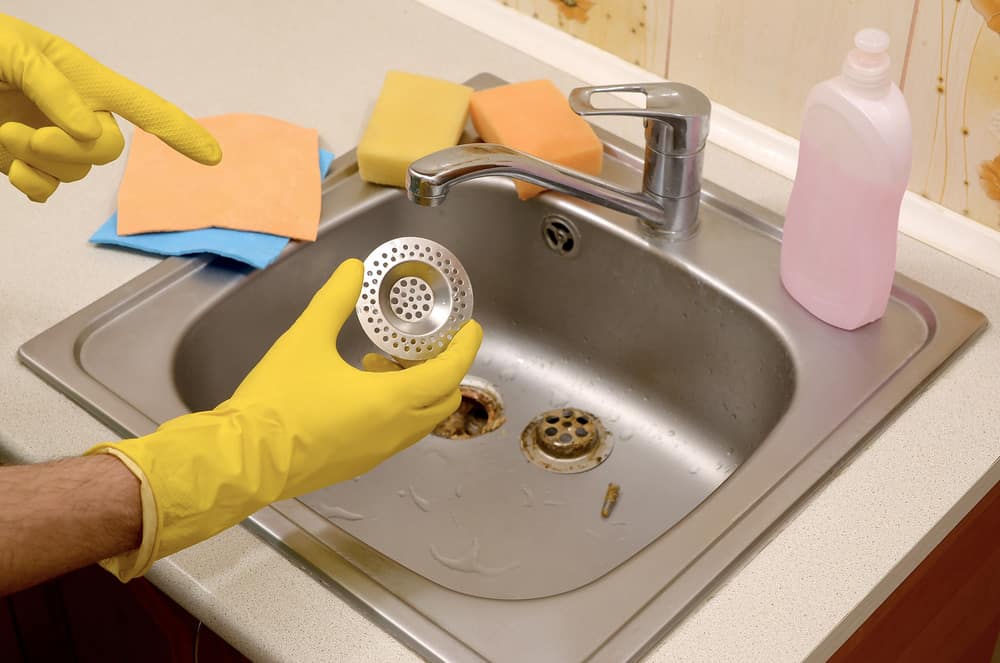
Before you can remove the sink stopper, you'll need to locate it. Look for a small knob or lever on the back of the sink or under the sink. Once you find it, follow these steps to remove the sink stopper:Removing a Sink Stopper


Removing a Sink Stopper


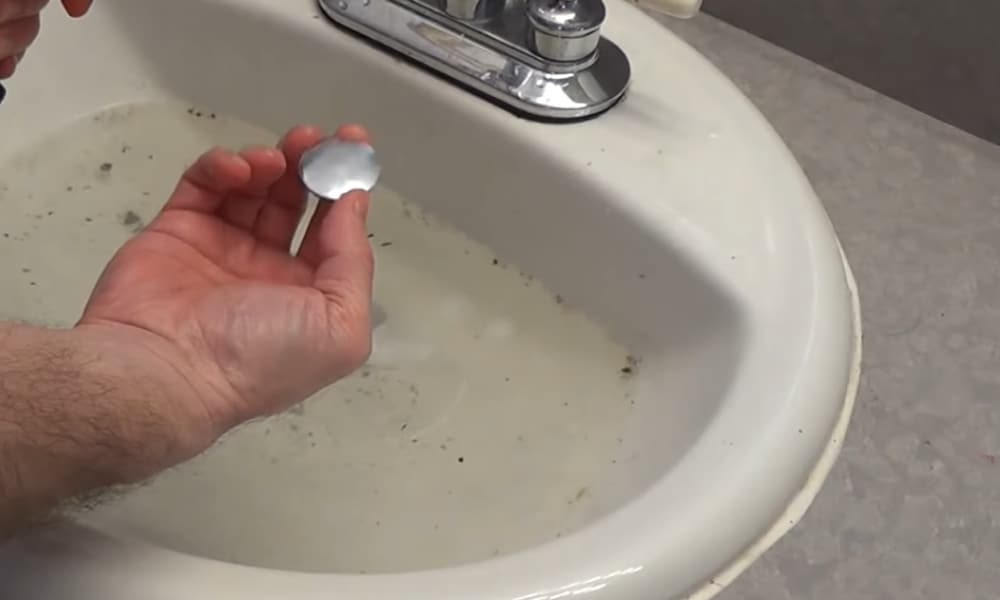
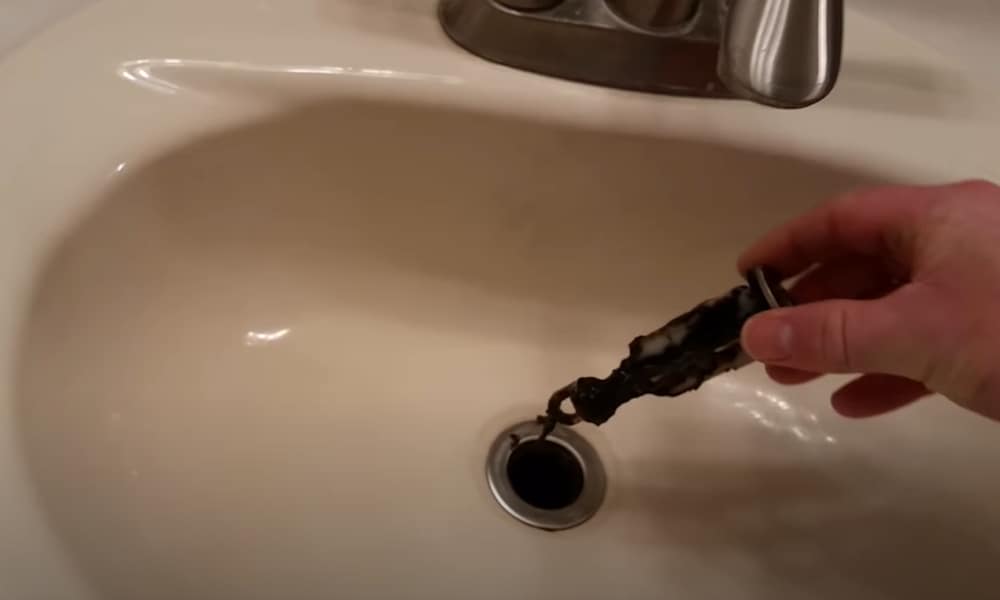
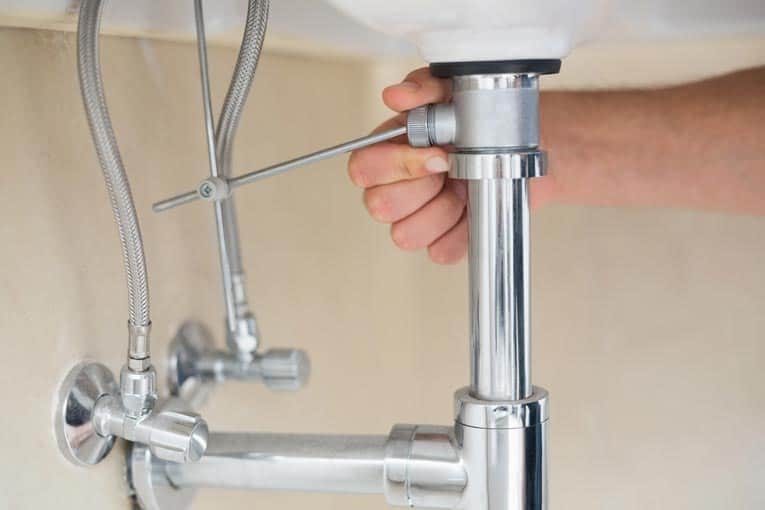
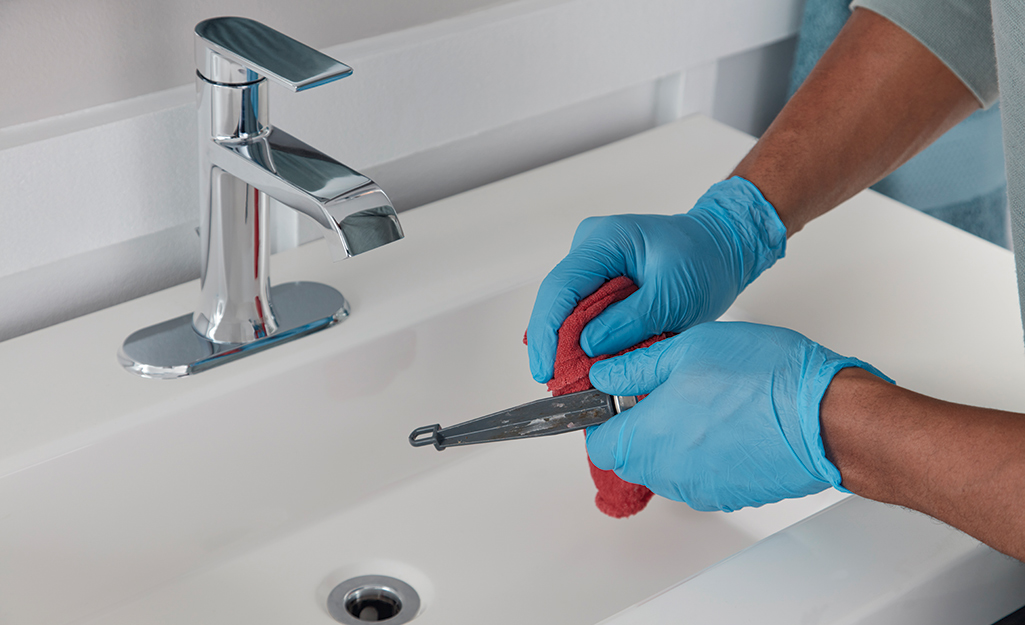
If you're having trouble removing the sink stopper, try using a pair of pliers to loosen the nut holding it in place. If the stopper is stuck, you may need to apply some force to get it out. Just be careful not to damage the surrounding area.Bathroom Sink Stopper Removal


Bathroom Sink Stopper Removal


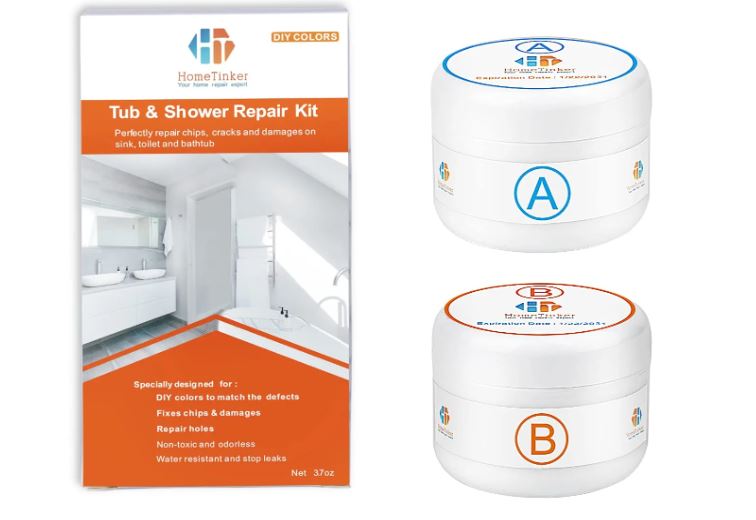
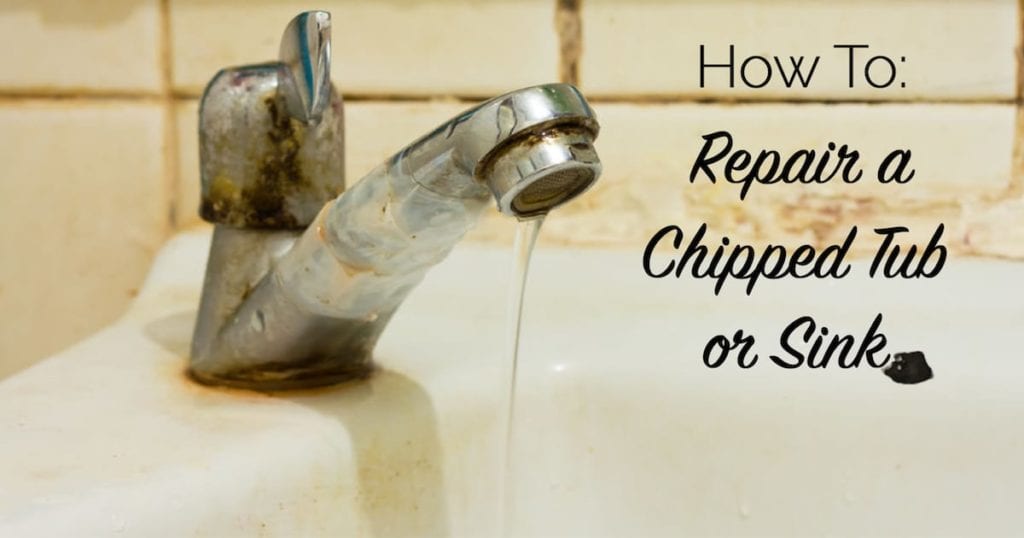
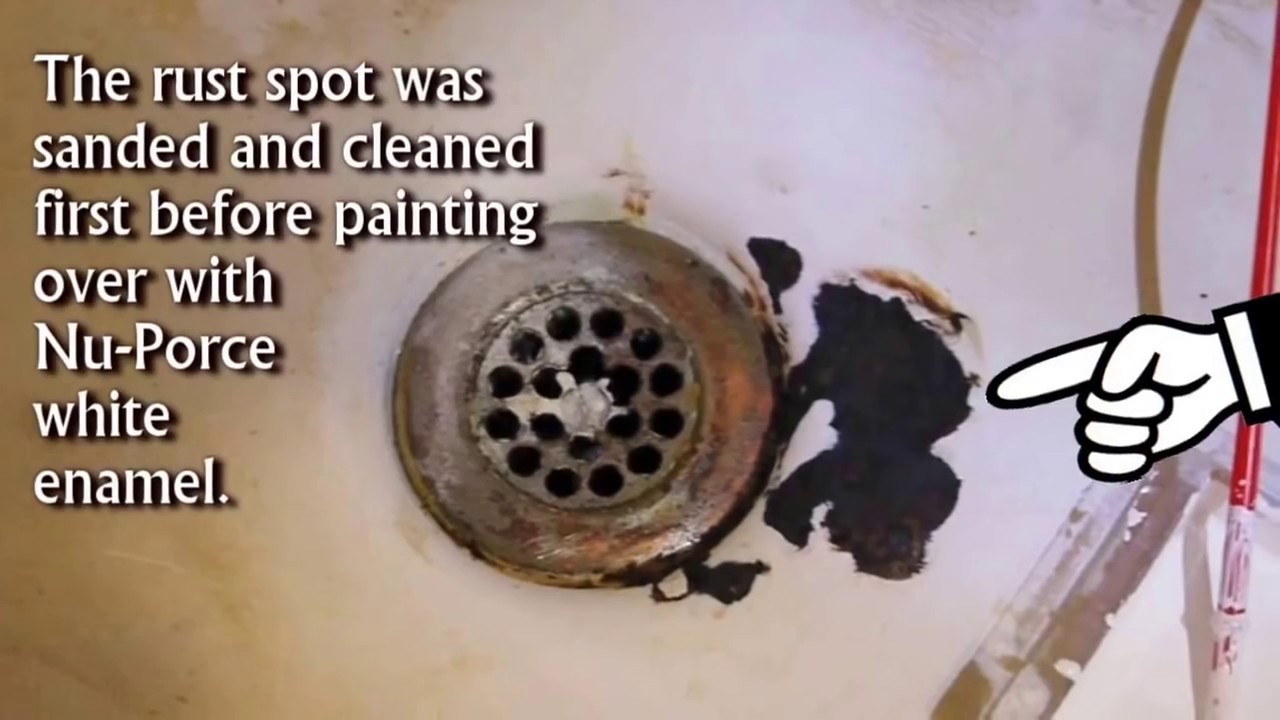
Whether your sink is made of porcelain, enamel, or another material, it can be repaired with the right tools and materials. Here's what you'll need to fix a chipped sink:Repairing a Chipped Sink


Repairing a Chipped Sink

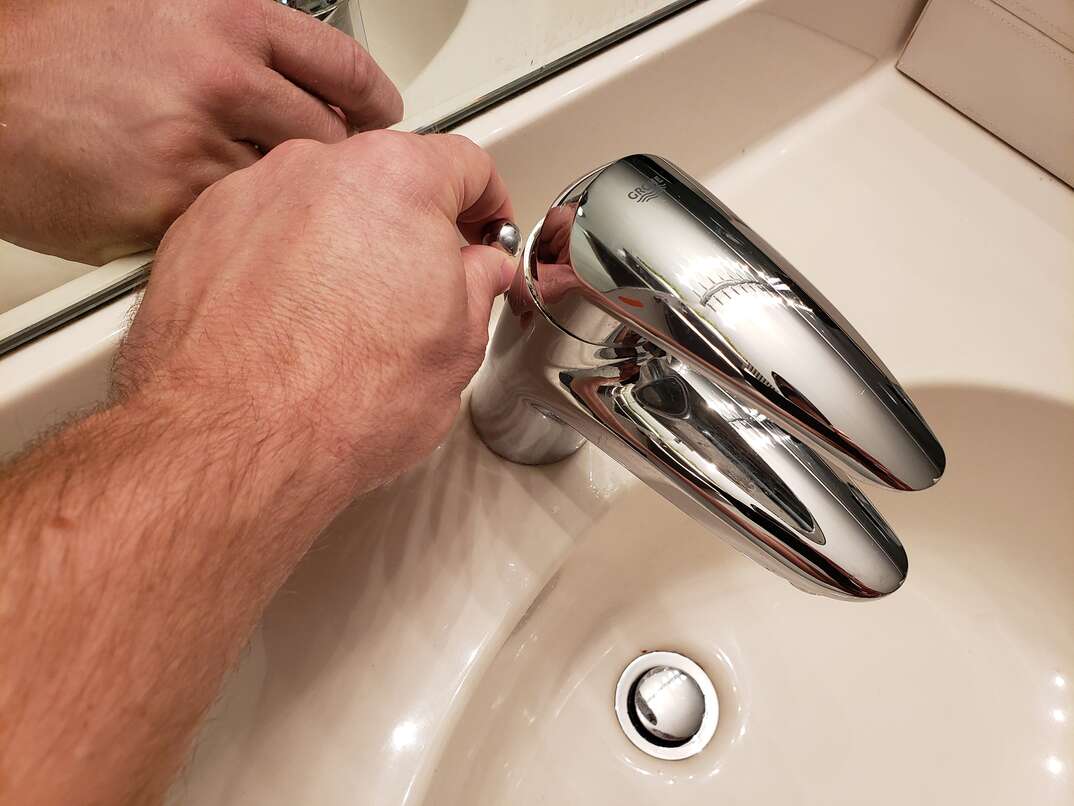
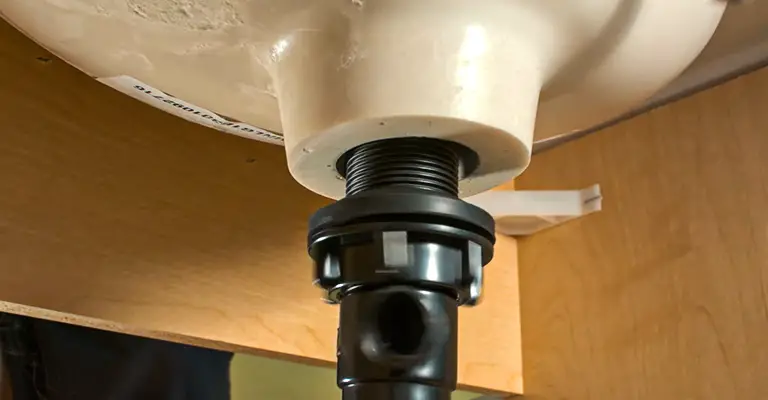
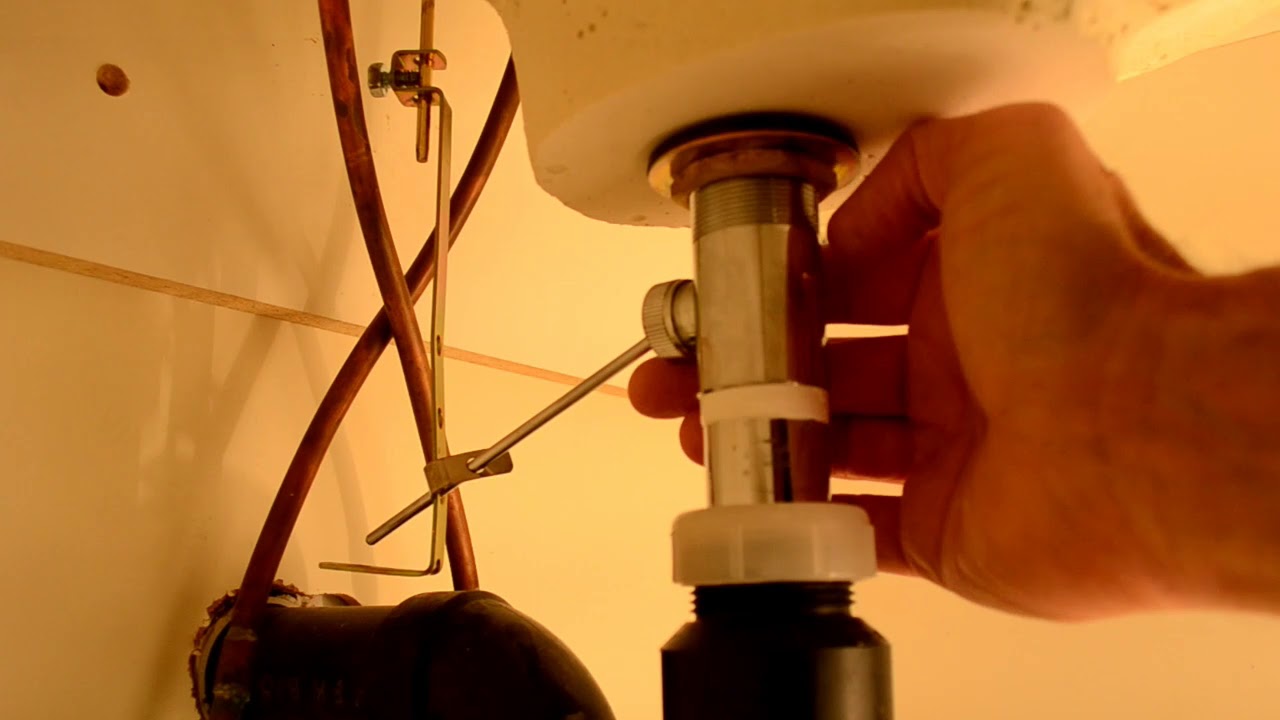
If you need to remove the stopper from a damaged or chipped sink, follow the same steps as removing a sink stopper (listed above). Just make sure to be extra careful not to cause any further damage.Removing a Stopper from a Bathroom Sink


Removing a Stopper from a Bathroom Sink


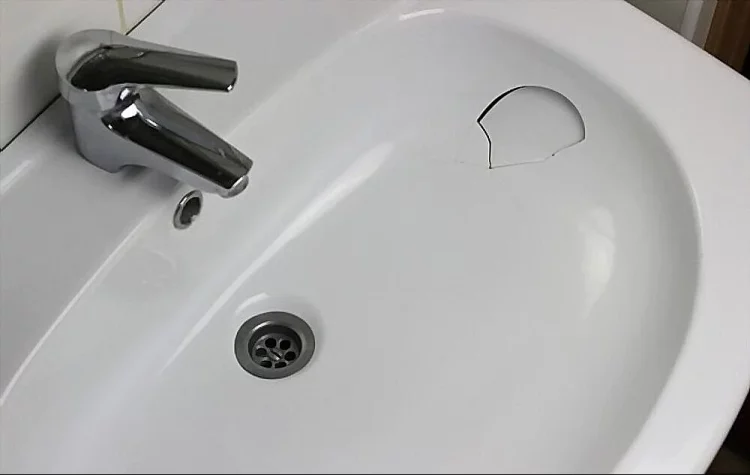
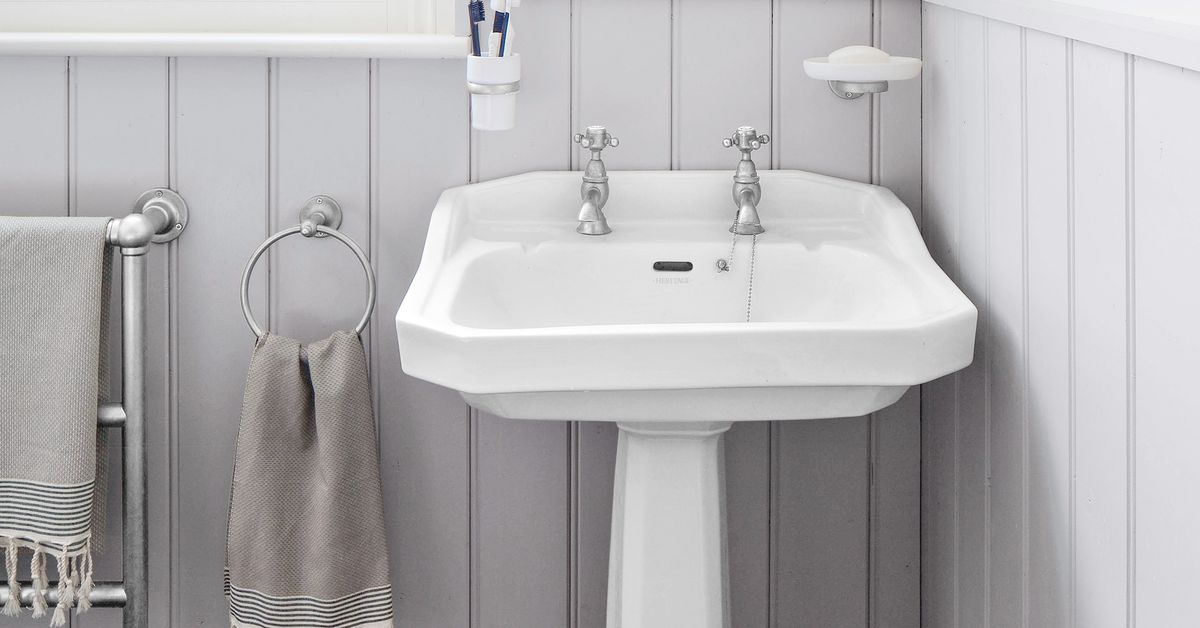
If your bathroom sink is made of porcelain, you can also use a porcelain repair kit to fix any chips or cracks. Follow the instructions on the kit to achieve a seamless repair and make your sink look as good as new.Fixing a Chipped Bathroom Sink


Fixing a Chipped Bathroom Sink


If the sink stopper is chipped as well, you may need to remove it from the sink for a more thorough repair. Once you've removed the stopper, follow the steps listed above for repairing a chipped sink to fix the stopper as well.Removing a Stopper from a Chipped Sink


.png)
Removing a Stopper from a Chipped Sink


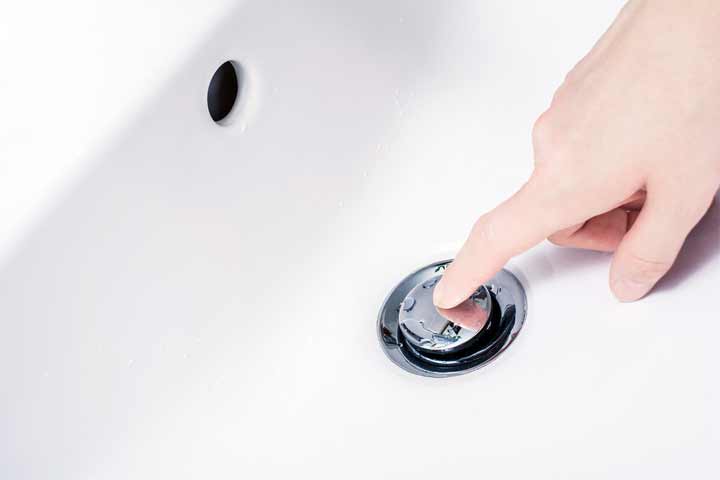
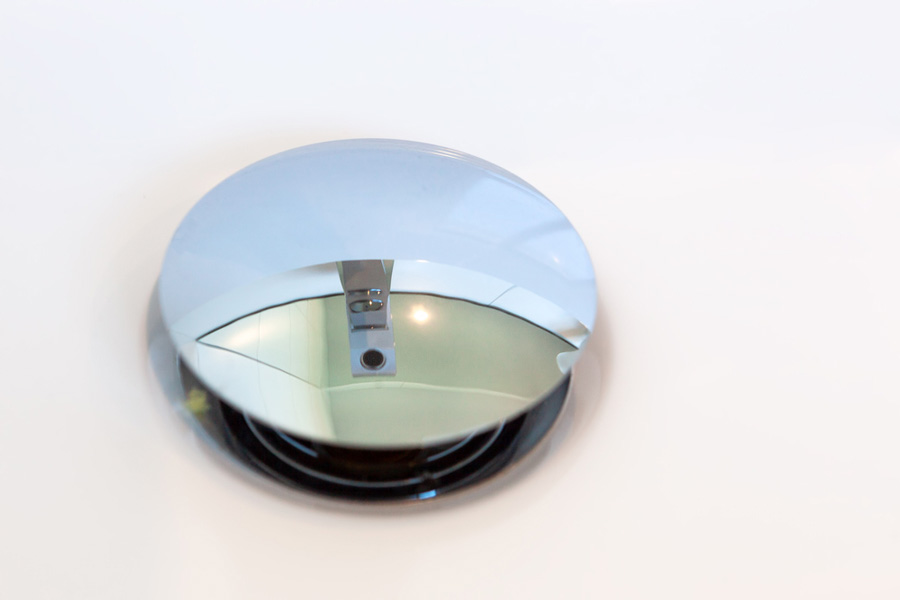
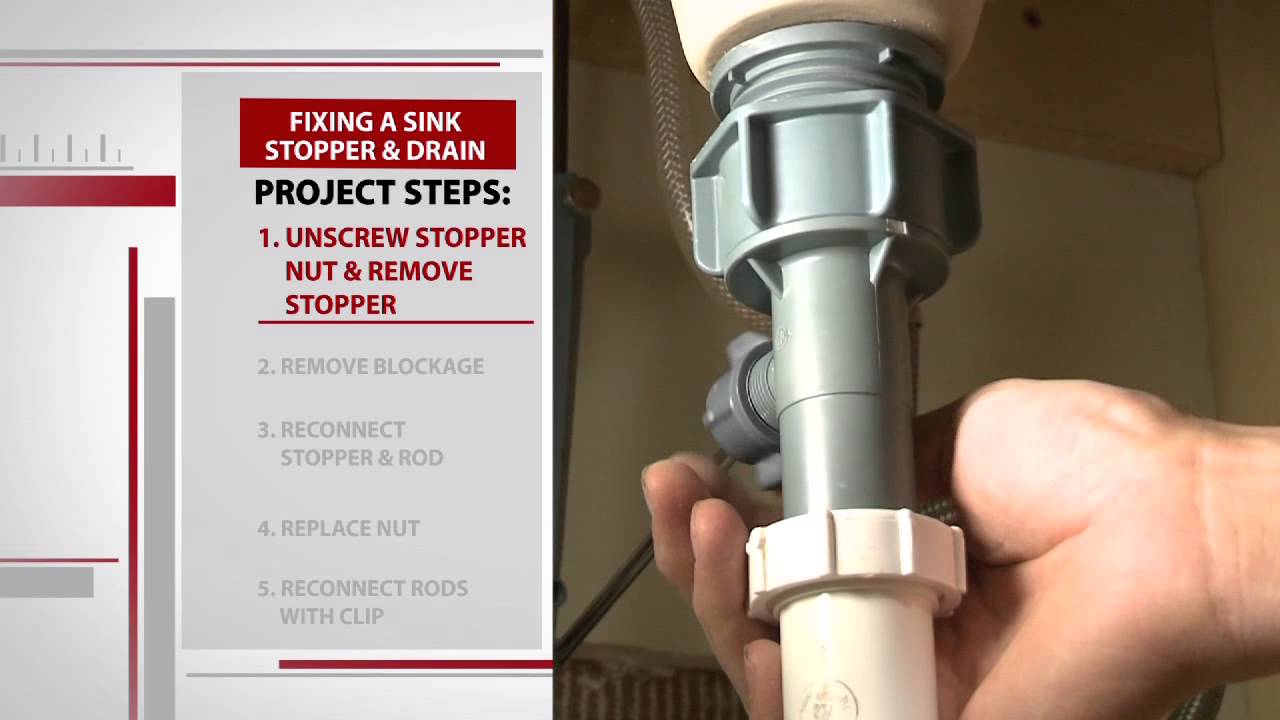
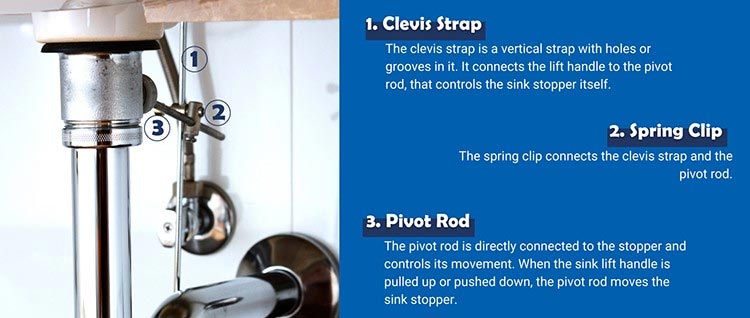
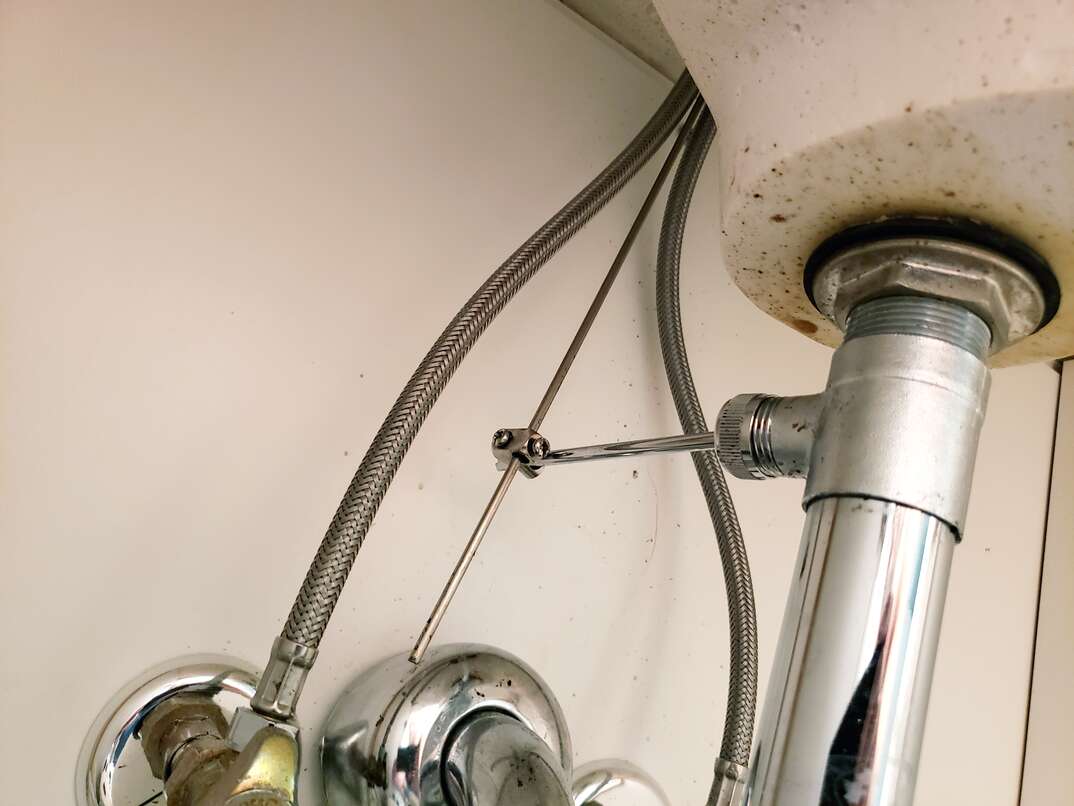
If the stopper is in good condition but is not functioning properly, you may need to repair it. This can be done by adjusting the linkage or replacing any worn or damaged parts. If you're not sure how to do this, it's best to call a professional plumber for assistance.Bathroom Sink Stopper Repair


Bathroom Sink Stopper Repair


If the sink stopper is chipped and needs to be removed, follow the same steps as removing a sink stopper (listed above). Just be extra careful not to cause any further damage to the stopper or the sink itself. With these tips, you can easily remove a bathroom sink stopper and fix a chipped sink like a pro. Just remember to take your time and be cautious to avoid any further damage. And if you're not comfortable with DIY repairs, don't hesitate to call a professional for help. Your bathroom sink will be back to working properly in no time.How to Remove a Chipped Sink Stopper


How to Remove a Chipped Sink Stopper

Why Removing the Stopper from Your Bathroom Sink is Essential for Fixing a Chipped Sink
The Importance of Properly Removing the Stopper
 When it comes to fixing a chipped sink, removing the stopper from your bathroom sink may seem like a small and insignificant step. However, it is actually a crucial part of the process and can make a big difference in the success of your repair. The stopper, also known as the drain plug, is the mechanism that allows water to flow in and out of your sink. It is important to properly remove it before attempting to fix a chipped sink in order to avoid causing further damage.
Prevent Further Damage
Attempting to fix a chipped sink without removing the stopper can lead to even more damage. The stopper can get in the way and make it difficult to properly assess the extent of the chip or crack. This can result in a less effective repair or even cause the damage to worsen. By removing the stopper, you have a clear view of the sink and can accurately determine the best course of action.
Ensure a Smooth Repair Process
Not only does removing the stopper prevent further damage, it also allows for a smoother repair process. With the stopper out of the way, you have better access to the damaged area and can easily clean and prepare it for repairs. This will result in a more thorough and effective repair, ultimately saving you time and money in the long run.
Prevent Clogs and Buildup
Leaving the stopper in place while fixing a chipped sink can also lead to clogs and buildup in your drain. As you work on the damaged area, debris and materials may fall into the drain and get caught in the stopper. This can cause clogs and buildup over time, resulting in a slow draining sink or even a completely clogged drain. By removing the stopper, you can prevent this from happening and ensure that your sink is functioning properly after the repair.
In conclusion, properly removing the stopper from your bathroom sink is essential for fixing a chipped sink. Not only does it prevent further damage, it also ensures a smooth repair process and can prevent clogs and buildup in your drain. So the next time you are faced with a chipped sink, make sure to take the time to remove the stopper and set yourself up for a successful repair.
When it comes to fixing a chipped sink, removing the stopper from your bathroom sink may seem like a small and insignificant step. However, it is actually a crucial part of the process and can make a big difference in the success of your repair. The stopper, also known as the drain plug, is the mechanism that allows water to flow in and out of your sink. It is important to properly remove it before attempting to fix a chipped sink in order to avoid causing further damage.
Prevent Further Damage
Attempting to fix a chipped sink without removing the stopper can lead to even more damage. The stopper can get in the way and make it difficult to properly assess the extent of the chip or crack. This can result in a less effective repair or even cause the damage to worsen. By removing the stopper, you have a clear view of the sink and can accurately determine the best course of action.
Ensure a Smooth Repair Process
Not only does removing the stopper prevent further damage, it also allows for a smoother repair process. With the stopper out of the way, you have better access to the damaged area and can easily clean and prepare it for repairs. This will result in a more thorough and effective repair, ultimately saving you time and money in the long run.
Prevent Clogs and Buildup
Leaving the stopper in place while fixing a chipped sink can also lead to clogs and buildup in your drain. As you work on the damaged area, debris and materials may fall into the drain and get caught in the stopper. This can cause clogs and buildup over time, resulting in a slow draining sink or even a completely clogged drain. By removing the stopper, you can prevent this from happening and ensure that your sink is functioning properly after the repair.
In conclusion, properly removing the stopper from your bathroom sink is essential for fixing a chipped sink. Not only does it prevent further damage, it also ensures a smooth repair process and can prevent clogs and buildup in your drain. So the next time you are faced with a chipped sink, make sure to take the time to remove the stopper and set yourself up for a successful repair.