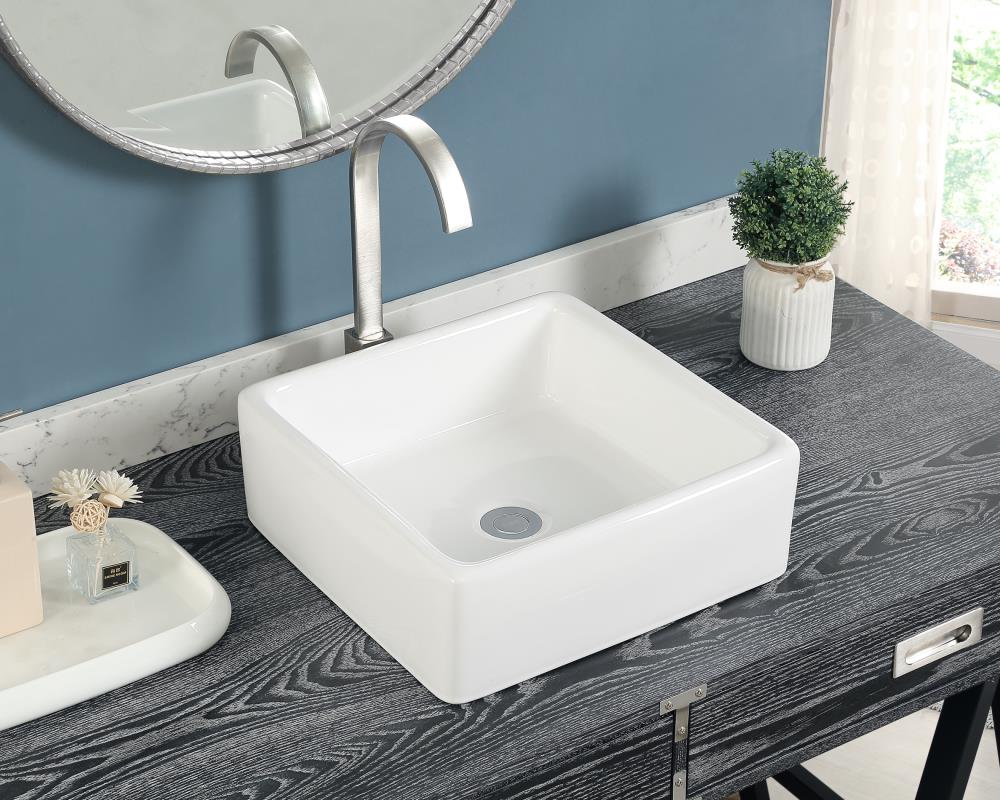
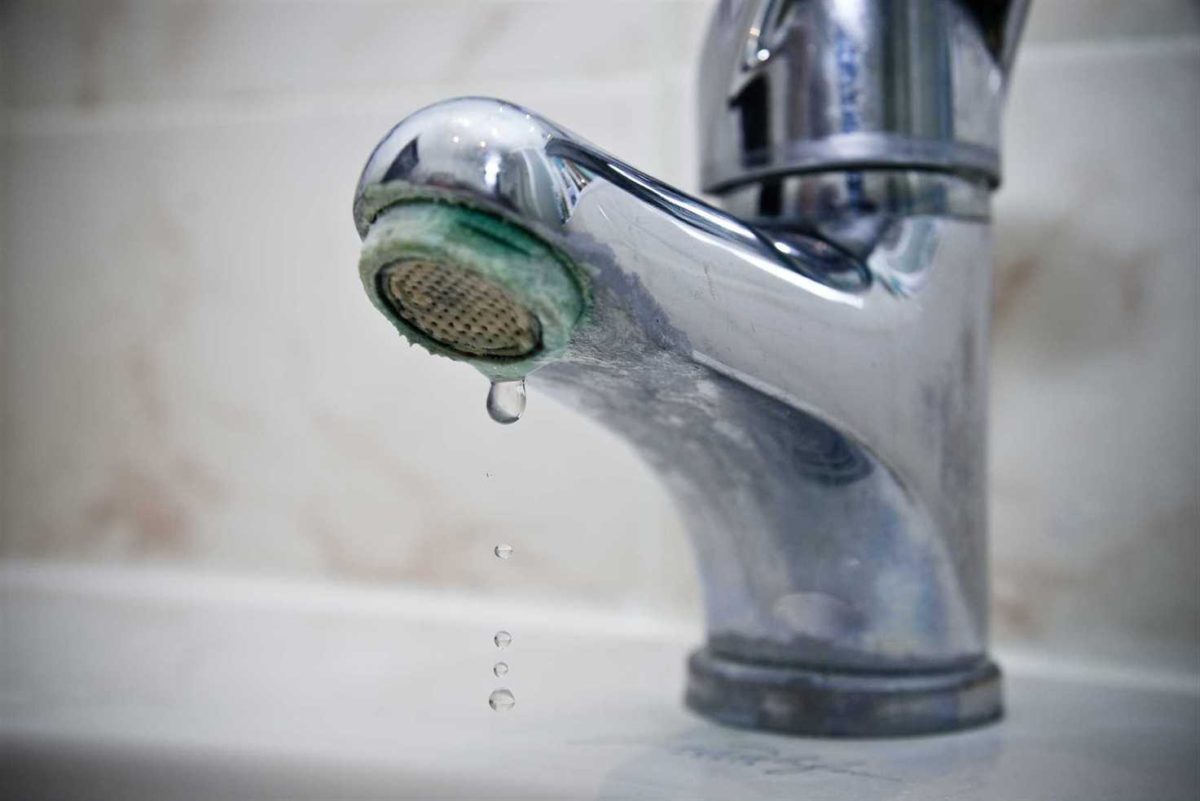
If you notice a constant dripping from your bathroom sink faucet, it may be time to change the washer. This small but important component plays a vital role in controlling the flow of water and preventing leaks. Fortunately, changing a washer in a bathroom sink faucet is a simple and inexpensive DIY project that you can do yourself. Follow this step-by-step guide to learn how to replace a washer in your bathroom sink faucet.How to Change a Washer in a Bathroom Sink Faucet


How to Change a Washer in a Bathroom Sink Faucet


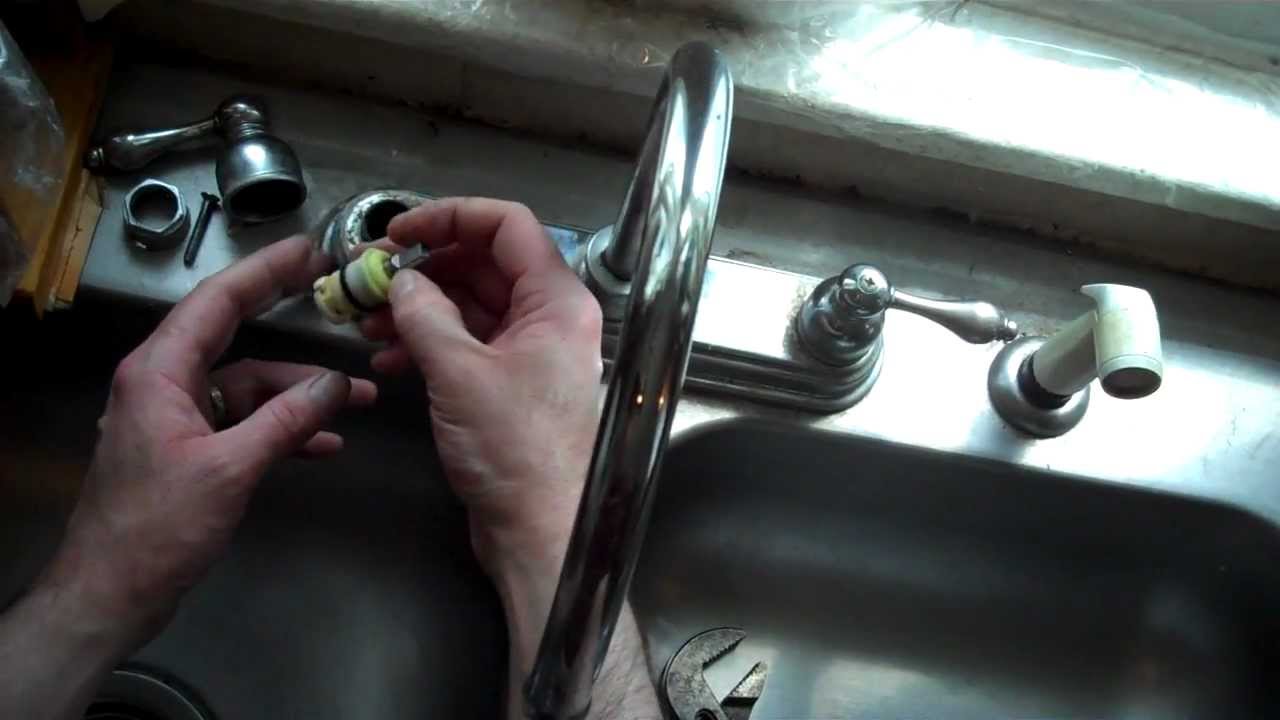
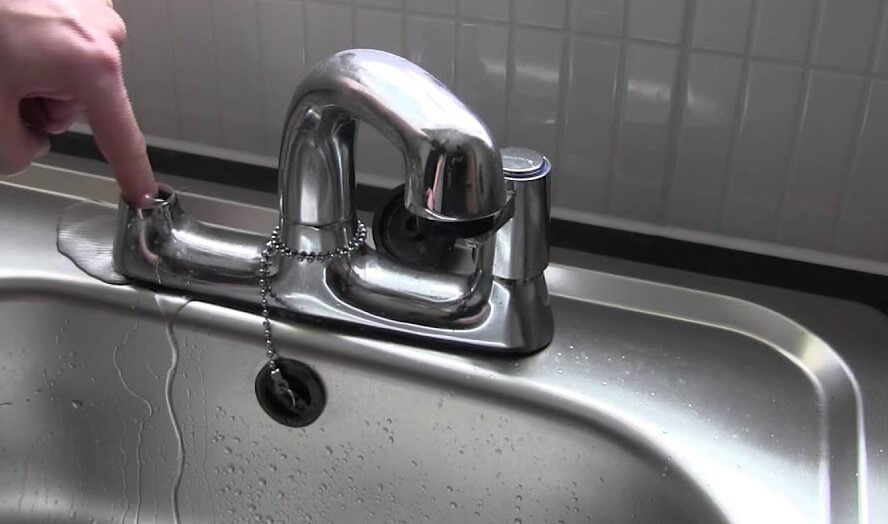
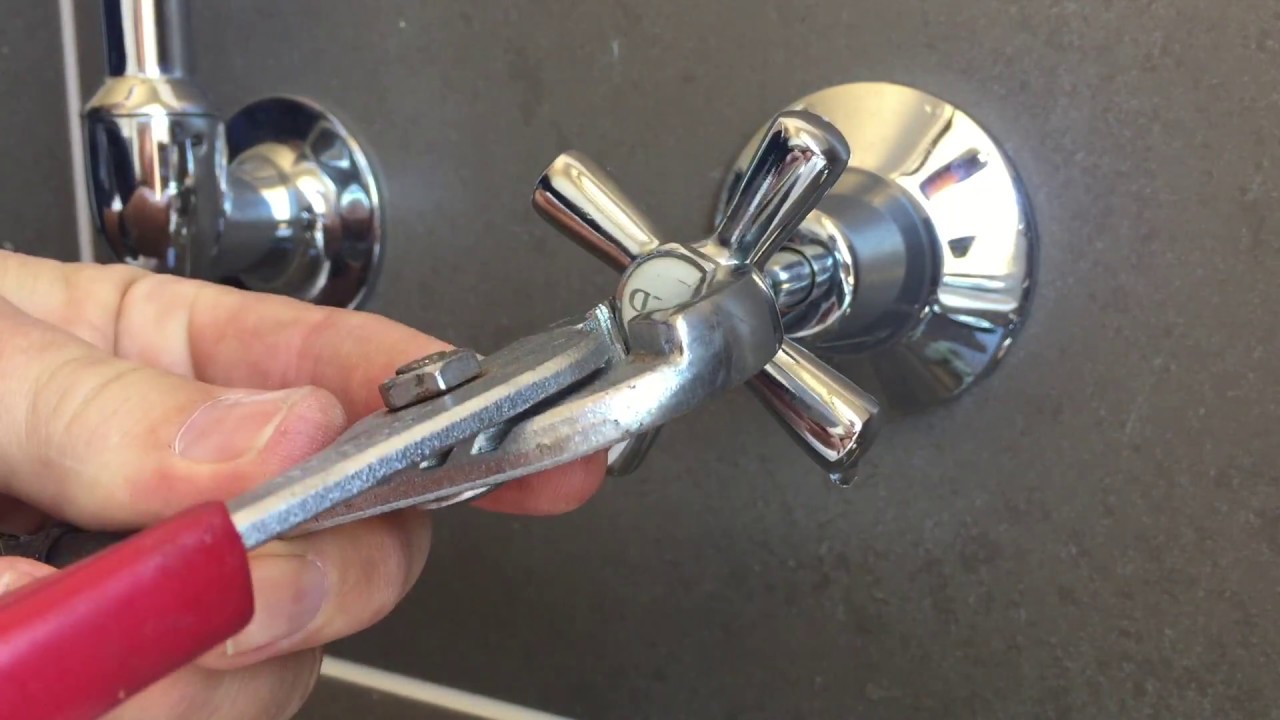
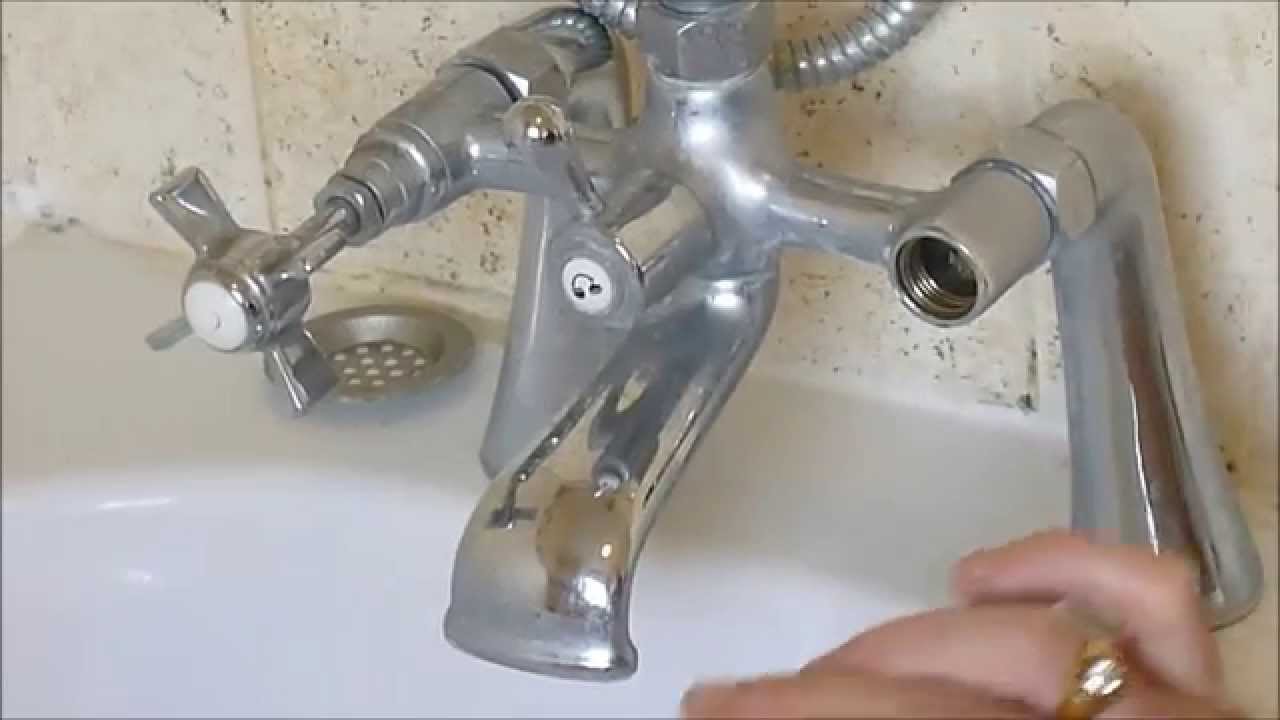
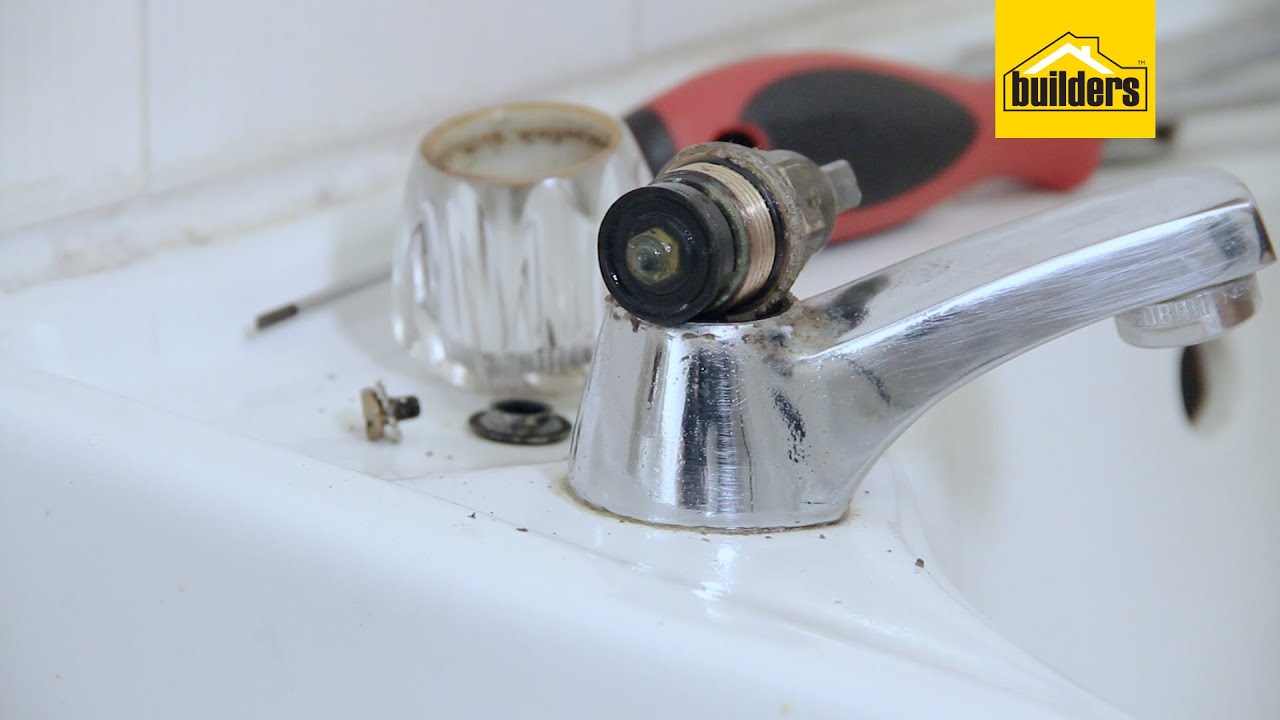
Before you begin, gather all the necessary tools and materials. You will need an adjustable wrench, a screwdriver, replacement washers, and plumber's tape. Turn off the water supply to your bathroom sink faucet by closing the valves under the sink. Then, follow these steps: Step 1: Remove the faucet handle by unscrewing the screw at the base or by prying off the decorative cap with a flathead screwdriver. Step 2: Use the adjustable wrench to loosen and remove the packing nut, which holds the faucet stem in place. Step 3: Once the packing nut is removed, you can easily pull out the faucet stem. Step 4: Inspect the washer at the bottom of the faucet stem. If it is damaged, worn, or hardened, it needs to be replaced. Step 5: Remove the old washer and replace it with a new one of the same size and shape. Make sure the washer is properly seated and secure. Step 6: Apply a thin layer of plumber's tape around the threads of the faucet stem to ensure a tight seal. Step 7: Reinsert the faucet stem and tighten the packing nut with the adjustable wrench. Step 8: Place the faucet handle back on and secure it with the screw or decorative cap. Step 9: Turn the water supply back on and test the faucet for any leaks. If there are no leaks, you have successfully changed the washer in your bathroom sink faucet.Step-by-Step Guide for Changing a Washer in a Bathroom Sink Faucet


Step-by-Step Guide for Changing a Washer in a Bathroom Sink Faucet


Changing a washer in a bathroom sink faucet may seem like a daunting task, but it is actually a simple and easy process that you can do yourself. Not only will you save money on hiring a plumber, but you will also gain the satisfaction of completing the project on your own. Follow this DIY guide to learn how to replace a washer in your bathroom sink faucet.Replacing a Washer in a Bathroom Sink Faucet: A DIY Guide


Replacing a Washer in a Bathroom Sink Faucet: A DIY Guide


If you're short on time, you'll be happy to know that changing a washer in a bathroom sink faucet can be done quickly and easily. With just a few steps, you can have your faucet working like new again. Here's a quick guide to follow: Step 1: Turn off the water supply to your bathroom sink faucet. Step 2: Remove the faucet handle and packing nut. Step 3: Inspect the washer and replace it if necessary. Step 4: Apply plumber's tape and reinsert the faucet stem. Step 5: Put the faucet handle back on and turn the water supply back on. Step 6: Test for leaks and enjoy your newly changed washer.Quick and Easy Steps for Changing a Washer in a Bathroom Sink Faucet

Quick and Easy Steps for Changing a Washer in a Bathroom Sink Faucet


Why spend money on hiring a professional when you can easily change a washer in your bathroom sink faucet yourself? With a little bit of know-how and the right tools, you can successfully complete this DIY project and save money in the process. Here's what you'll need to do: Step 1: Gather all necessary tools and materials. Step 2: Turn off the water supply to your bathroom sink faucet. Step 3: Remove the faucet handle and packing nut. Step 4: Inspect and replace the washer. Step 5: Apply plumber's tape and reinsert the faucet stem. Step 6: Put the faucet handle back on and turn the water supply back on. Step 7: Test for leaks and pat yourself on the back for completing a DIY project.DIY: Changing a Washer in a Bathroom Sink Faucet


DIY: Changing a Washer in a Bathroom Sink Faucet

Changing a washer in a bathroom sink faucet may seem like a small and insignificant task, but it is actually an important maintenance step that should not be overlooked. A worn or damaged washer can cause leaks, which not only wastes water but also leads to higher water bills. By regularly changing the washer in your bathroom sink faucet, you can prevent these issues and ensure that your faucet is functioning properly.The Importance of Changing a Washer in a Bathroom Sink Faucet


The Importance of Changing a Washer in a Bathroom Sink Faucet


As with any DIY project, there are some common mistakes that you should avoid when changing a washer in your bathroom sink faucet. These mistakes can lead to a faulty repair and even cause more damage to your faucet. Here are some things to keep in mind: Not turning off the water supply: Before starting any work, always turn off the water supply to your bathroom sink faucet to prevent any accidents or water damage. Using the wrong size or type of washer: Make sure to use a washer of the same size and shape as the old one. Also, use the correct type of washer for your faucet, such as rubber or silicone. Not applying plumber's tape: This thin layer of tape helps create a tight seal and prevents leaks. Make sure to apply it properly before reinserting the faucet stem.Common Mistakes to Avoid When Changing a Washer in a Bathroom Sink Faucet


Common Mistakes to Avoid When Changing a Washer in a Bathroom Sink Faucet


To successfully change a washer in your bathroom sink faucet, you will need a few tools and materials. These include an adjustable wrench, a screwdriver, replacement washers, and plumber's tape. It's always helpful to have these tools on hand for any future repairs or maintenance.Tools You'll Need for Changing a Washer in a Bathroom Sink Faucet


Tools You'll Need for Changing a Washer in a Bathroom Sink Faucet

It is recommended to change the washer in your bathroom sink faucet at least once a year. However, if you notice any signs of wear or leaks, it is best to replace it immediately. Regularly changing the washer can prevent bigger issues and ensure the proper functioning of your faucet.How Often Should You Change the Washer in Your Bathroom Sink Faucet?


How Often Should You Change the Washer in Your Bathroom Sink Faucet?


If you find yourself constantly having to change the washer in your bathroom sink faucet, it may be a sign of a bigger problem. Here are some troubleshooting tips to help you figure out why your washer keeps wearing out: Check for mineral buildup: Hard water can cause mineral buildup, which can damage the washer and cause it to wear out quickly. Consider installing a water softener to prevent this issue. Inspect the faucet stem: If the faucet stem is damaged or corroded, it can cause the washer to wear out faster. In this case, it may be necessary to replace the entire faucet. Consult a professional: If you're unsure of the cause of the issue, it's best to consult a professional plumber who can properly diagnose and fix the problem. Now that you know how to change a washer in a bathroom sink faucet, you can confidently tackle this DIY project whenever needed. Remember to follow these steps and avoid common mistakes to ensure a successful repair. By regularly maintaining your bathroom sink faucet, you can prevent leaks and keep your faucet working like new for years to come.Troubleshooting: What to Do If Your Bathroom Sink Faucet Washer Keeps Wearing Out


Troubleshooting: What to Do If Your Bathroom Sink Faucet Washer Keeps Wearing Out

:max_bytes(150000):strip_icc()/what-is-under-the-bathroom-sink-3973574-03-c2c800c743054899aca9bdcc0535db34.jpg)


How to Change the Washer in Your Bathroom Sink Faucet

Why Change the Washer in Your Bathroom Sink Faucet?
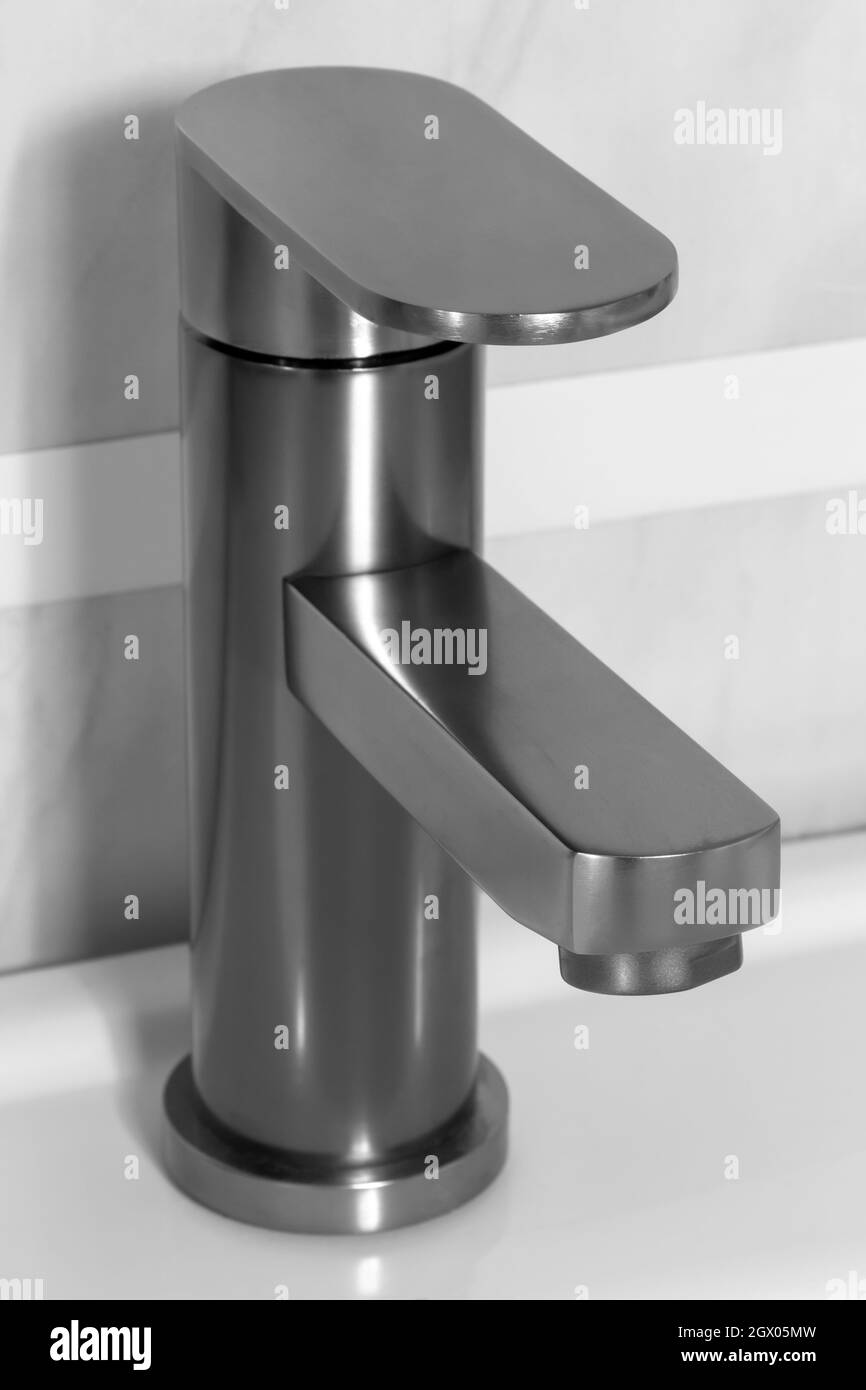
 If you have noticed a leak in your bathroom sink faucet, chances are the culprit is a worn-out washer. The washer is a small, but essential, component of the faucet that helps to create a tight seal and prevent water from leaking out. Over time, the constant use of the faucet can cause the washer to deteriorate and lose its effectiveness. This can result in a constant drip or even a steady stream of water, which not only wastes water but can also lead to higher water bills. That's why it's important to know how to change the washer in your bathroom sink faucet.
What You Will Need
 Before you begin, make sure you have the necessary tools and materials on hand. This includes a
wrench
, a
screwdriver
, and a new
washer
that fits your specific faucet model. You can find the correct size and type of washer at your local hardware store or home improvement center.
Before you begin, make sure you have the necessary tools and materials on hand. This includes a
wrench
, a
screwdriver
, and a new
washer
that fits your specific faucet model. You can find the correct size and type of washer at your local hardware store or home improvement center.
Step-by-Step Guide
 Now, let's get into the process of changing the washer in your bathroom sink faucet.
Step 1:
Turn off the water supply. Before you start working on your faucet, make sure to turn off the water supply using the shut-off valves located under the sink.
Step 2:
Remove the handle. Using a screwdriver, remove the screw that holds the handle in place. Once the screw is removed, you should be able to pull the handle off.
Step 3:
Remove the retaining clip. Underneath the handle, you will see a retaining clip. Use your screwdriver to remove it and set it aside.
Step 4:
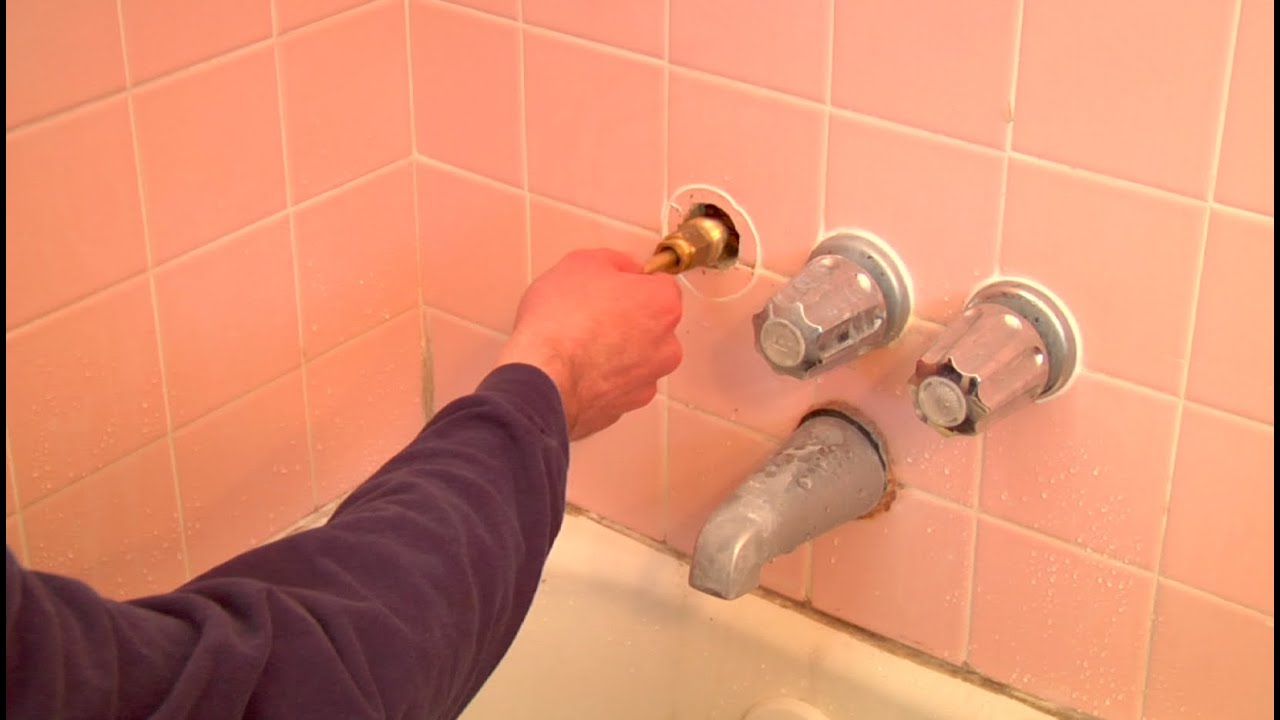
Remove the cartridge. Using a wrench, loosen and remove the cartridge from the faucet. This will expose the old washer.
Step 5:
Replace the washer. Take out the old washer and replace it with the new one. Make sure it is the correct size and type for your faucet.
Step 6:
Reassemble the faucet. Follow the steps in reverse order to put everything back together. Make sure to tighten all the screws and fittings.
Step 7:
Turn on the water supply. Once everything is reassembled, turn on the water supply and test your faucet to ensure the leak has been fixed.
Now, let's get into the process of changing the washer in your bathroom sink faucet.
Step 1:
Turn off the water supply. Before you start working on your faucet, make sure to turn off the water supply using the shut-off valves located under the sink.
Step 2:
Remove the handle. Using a screwdriver, remove the screw that holds the handle in place. Once the screw is removed, you should be able to pull the handle off.
Step 3:
Remove the retaining clip. Underneath the handle, you will see a retaining clip. Use your screwdriver to remove it and set it aside.
Step 4:
Remove the cartridge. Using a wrench, loosen and remove the cartridge from the faucet. This will expose the old washer.
Step 5:
Replace the washer. Take out the old washer and replace it with the new one. Make sure it is the correct size and type for your faucet.
Step 6:
Reassemble the faucet. Follow the steps in reverse order to put everything back together. Make sure to tighten all the screws and fittings.
Step 7:
Turn on the water supply. Once everything is reassembled, turn on the water supply and test your faucet to ensure the leak has been fixed.
Conclusion
 Changing the washer in your bathroom sink faucet may seem like a daunting task, but with the right tools and a little know-how, it can be easily done. By following these steps, you can save yourself the hassle and expense of hiring a plumber and keep your bathroom sink faucet functioning properly. Remember to regularly check and replace the washer to prevent future leaks and maintain the overall efficiency of your faucet.