Is your bathroom sink faucet leaking? The culprit could be a worn out washer. Don't worry, changing a washer in a bathroom sink is a simple DIY task that anyone can do. In this guide, we'll walk you through the steps on how to replace a washer in a bathroom sink and get your faucet working like new again. Change washer in bathroom sink


Change washer in bathroom sink
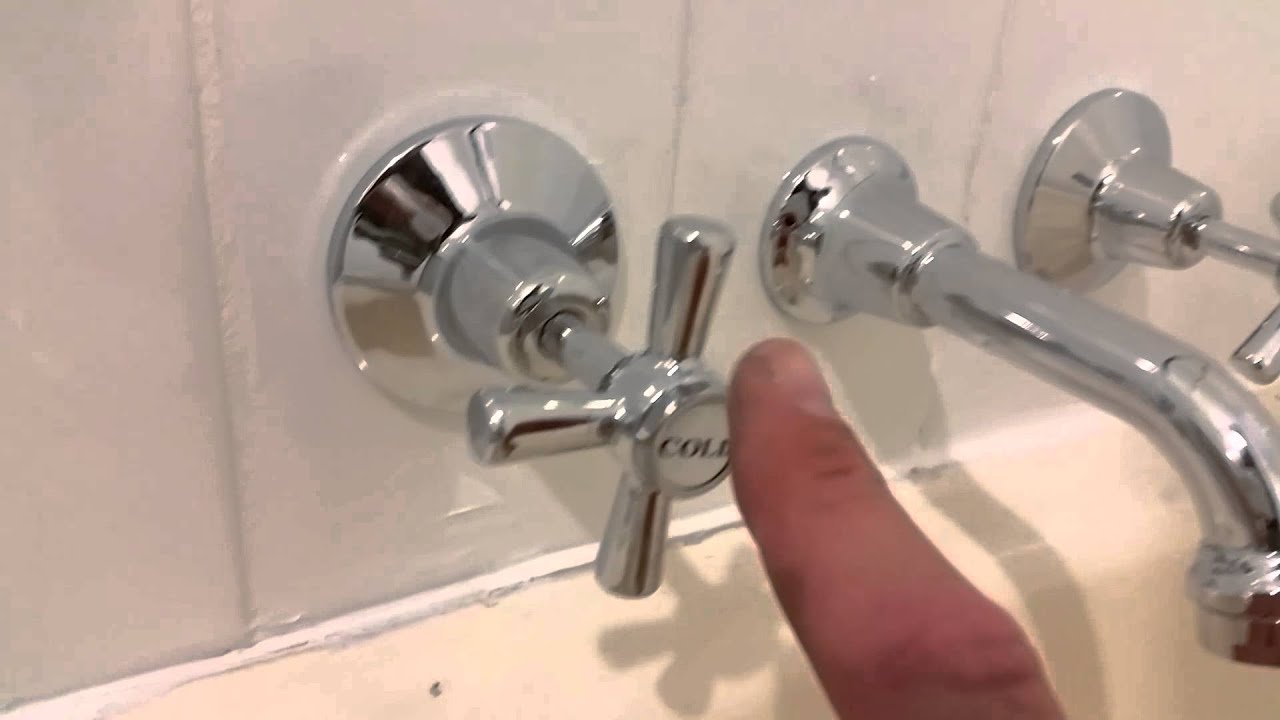
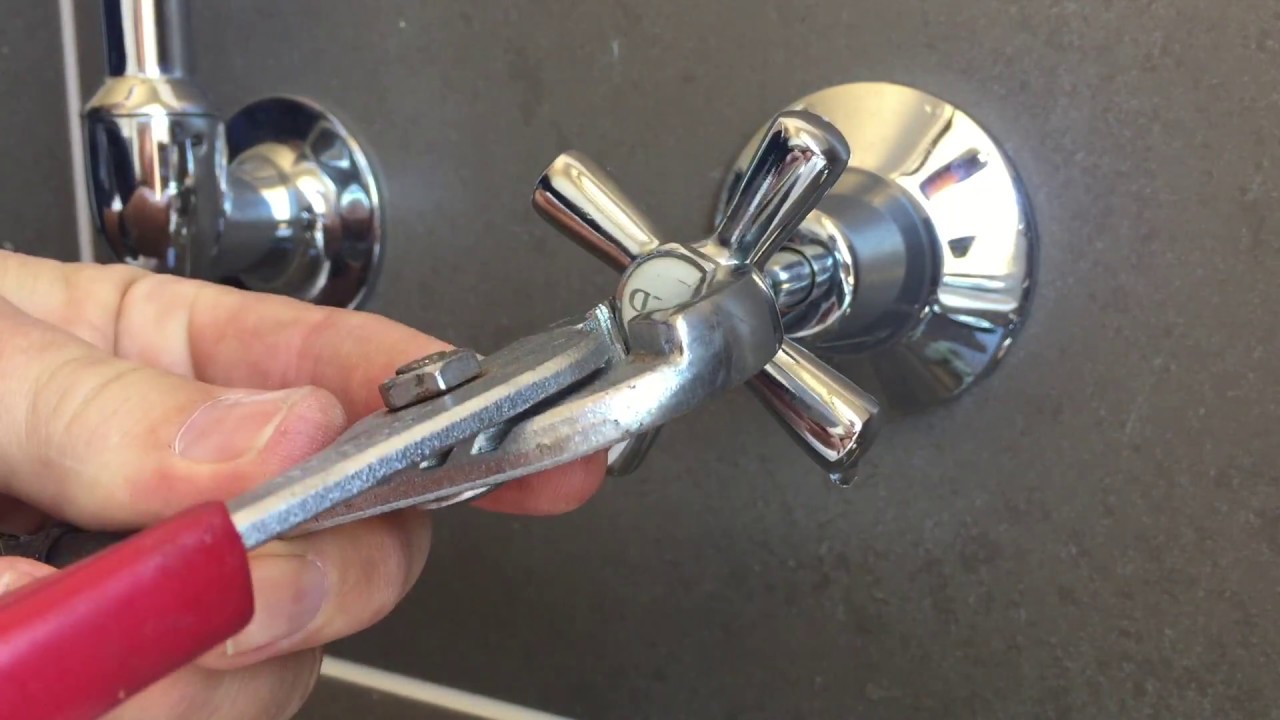
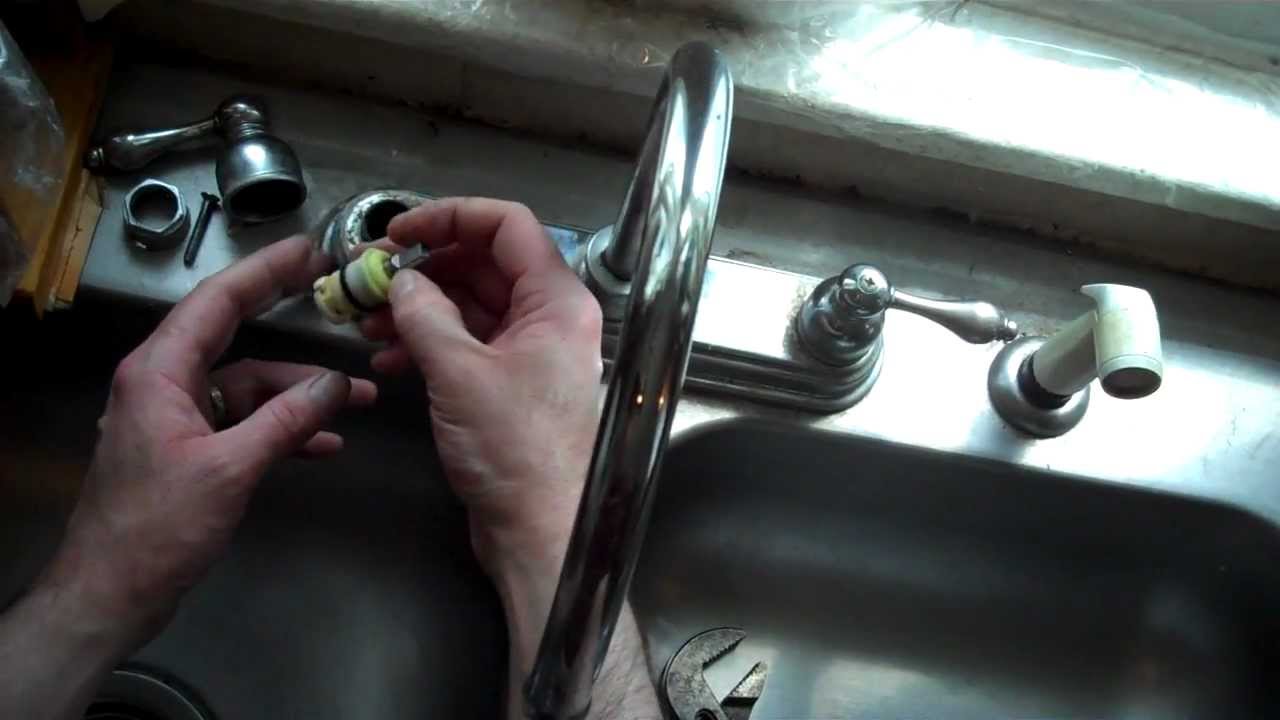

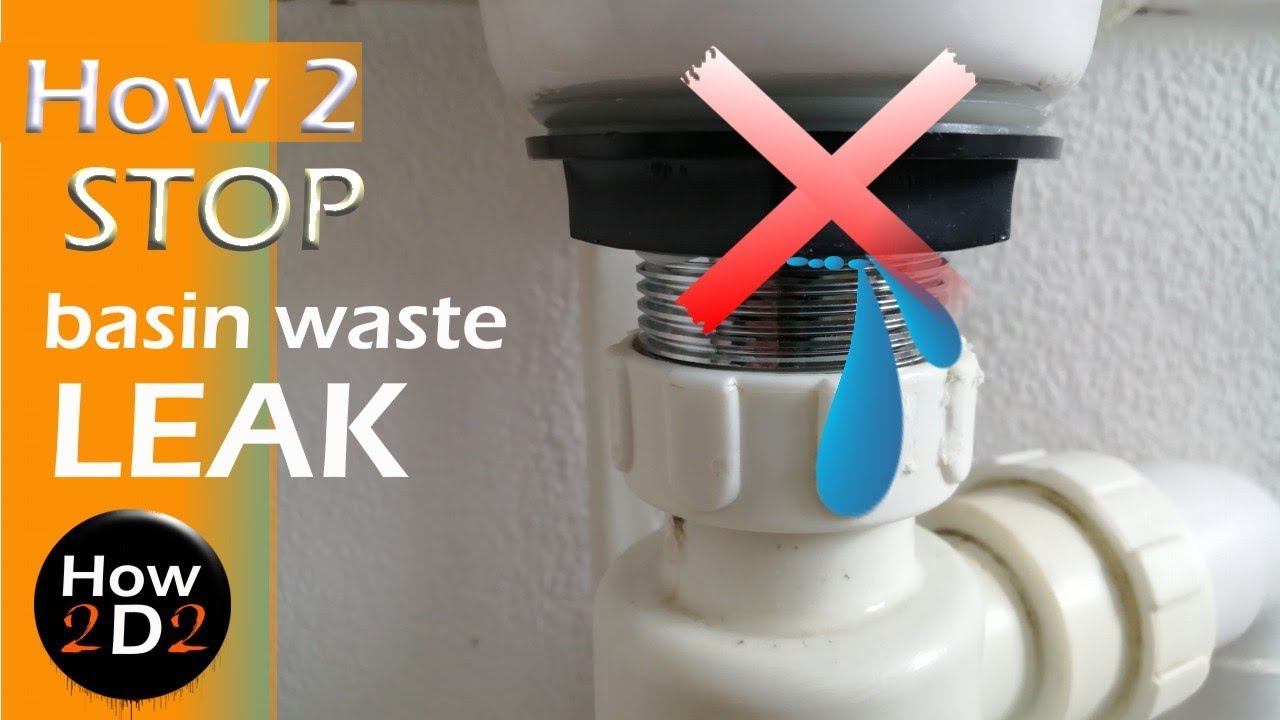
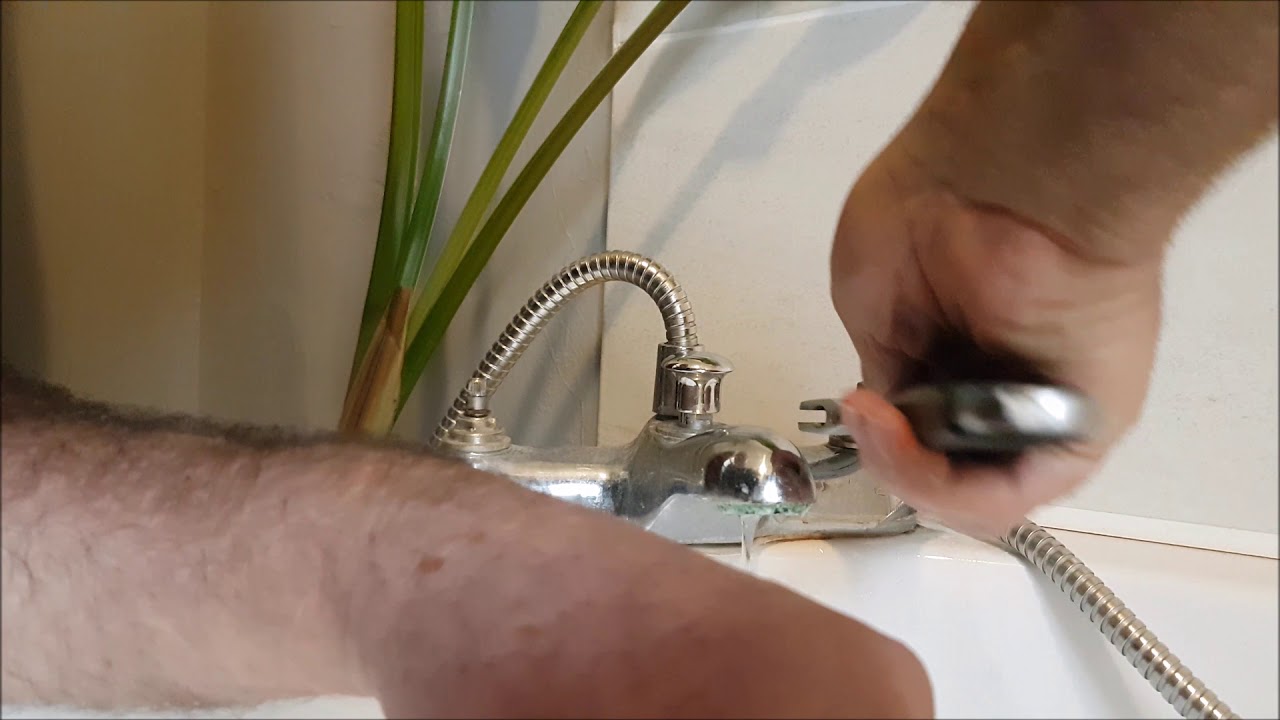
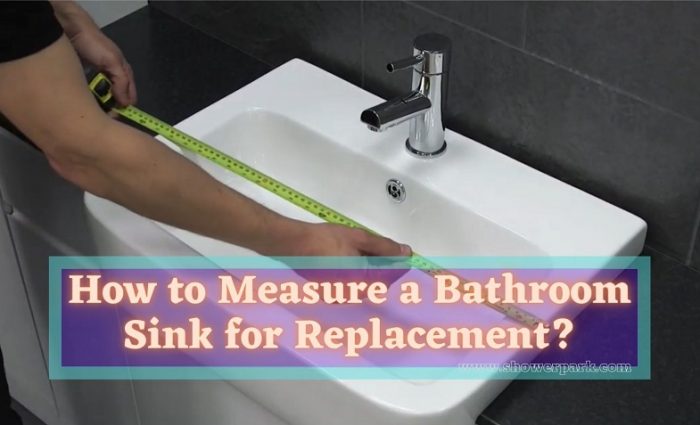
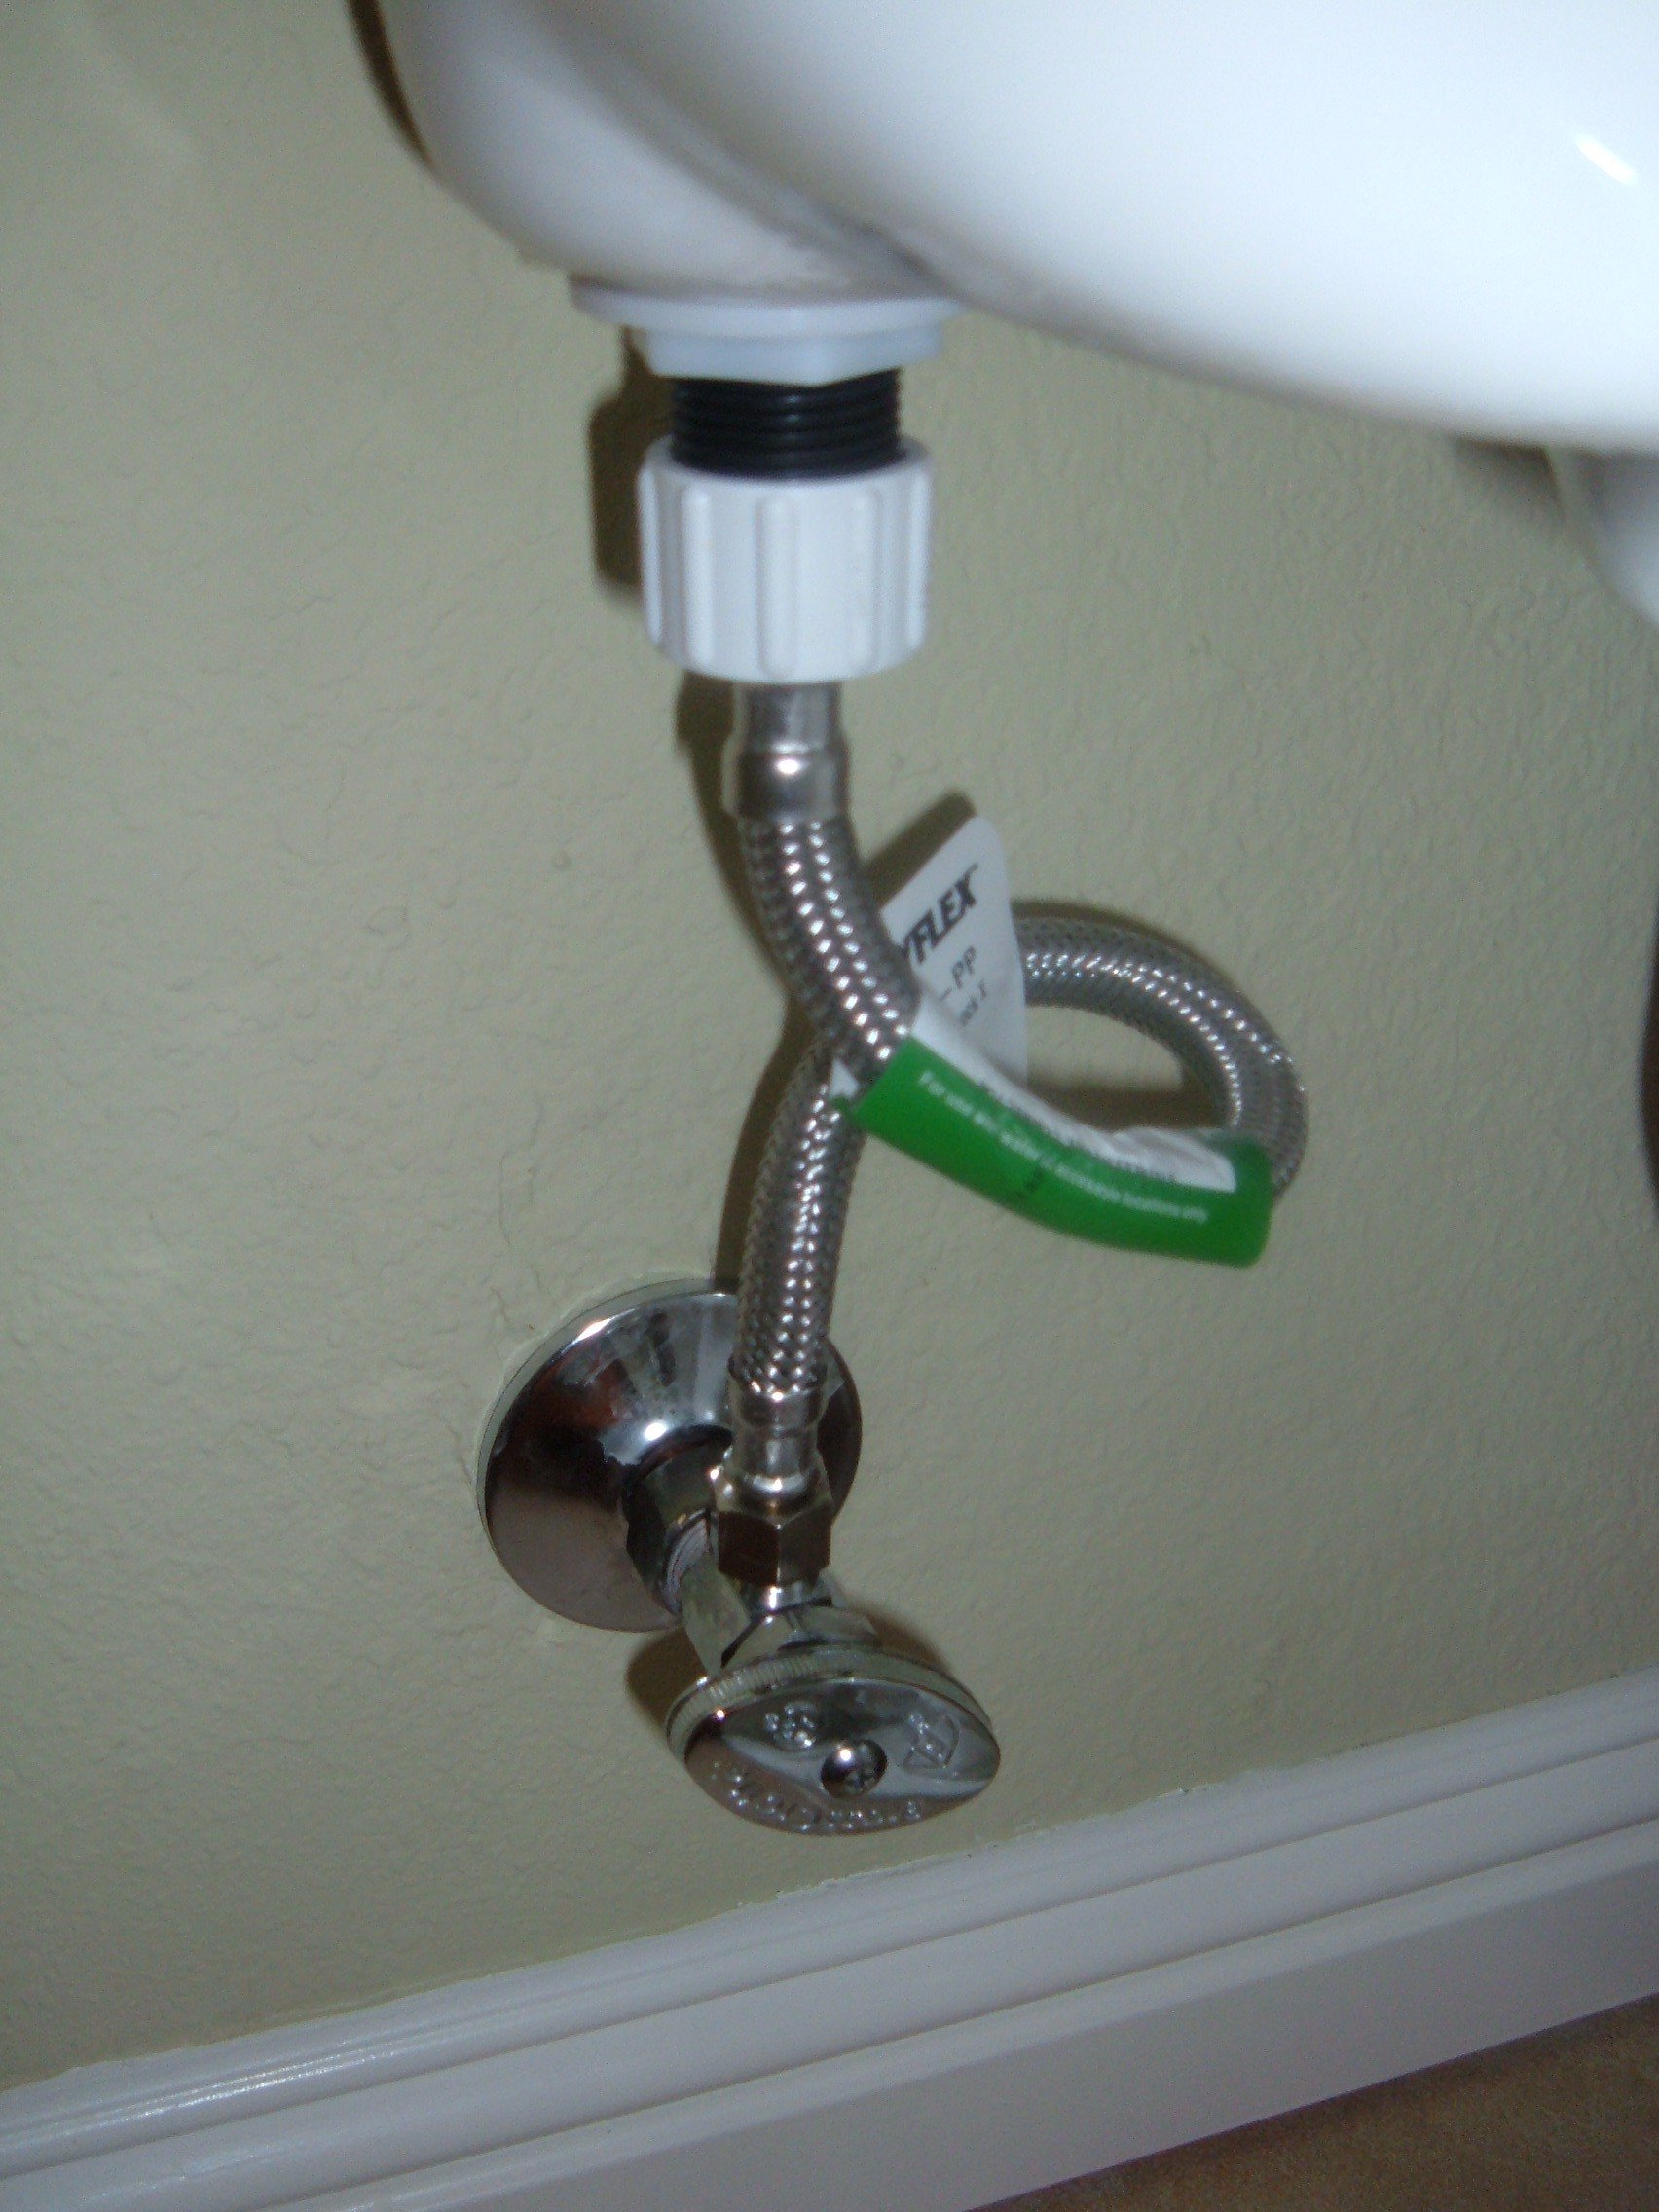
The first step to changing a washer in a bathroom sink is to turn off the water supply to the sink. Look for the shut-off valves under the sink and turn them clockwise to shut off the water. If you can't find shut-off valves, you may need to turn off the main water supply to your house. Next, you'll need to remove the handle of the faucet. Depending on the type of faucet you have, you may need to use a screwdriver or an Allen wrench to remove the handle. Once the handle is removed, you'll have access to the valve stem. How to change a washer in a bathroom sink


How to change a washer in a bathroom sink

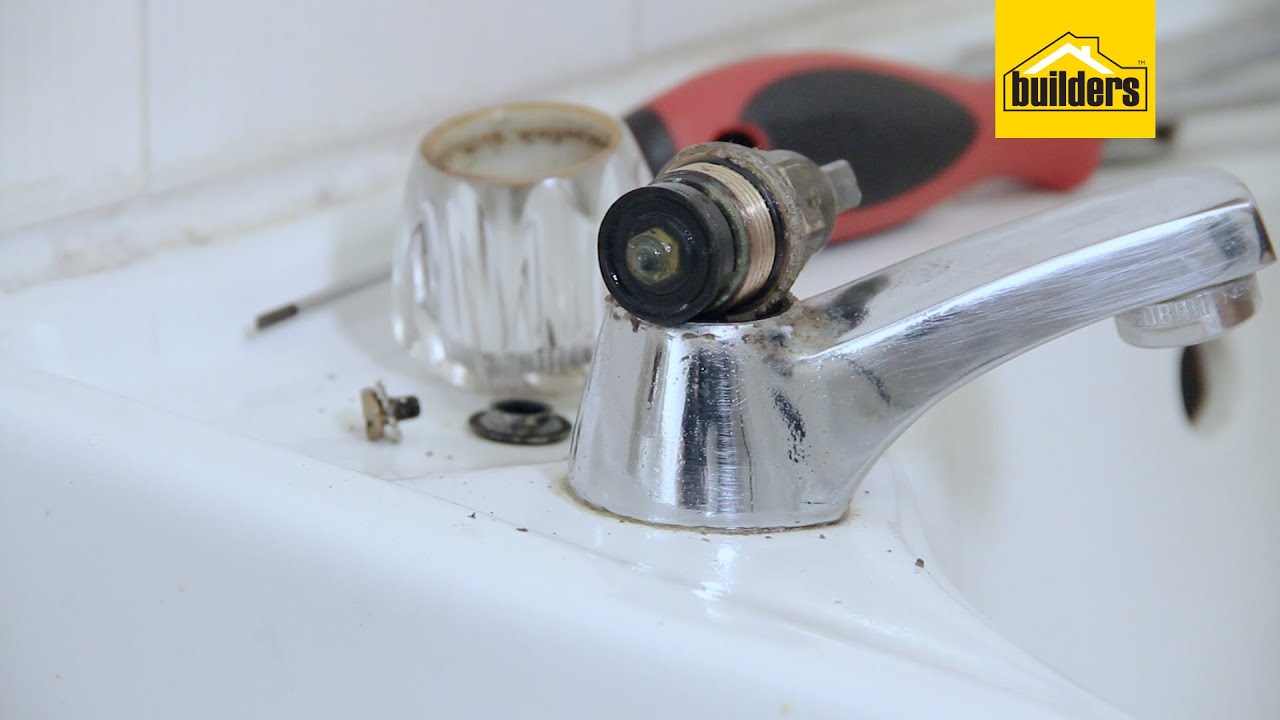
Now it's time to locate the washer. The washer is a small rubber disc that is attached to the end of the valve stem. Use pliers to gently pull the washer off the stem. Inspect the washer for any signs of wear or damage. If it looks worn out, it's time to replace it. Before installing the new washer, clean the valve stem to remove any debris or buildup. Then, slide the new washer onto the stem and make sure it fits snugly. DIY: Replacing a washer in a bathroom sink


DIY: Replacing a washer in a bathroom sink


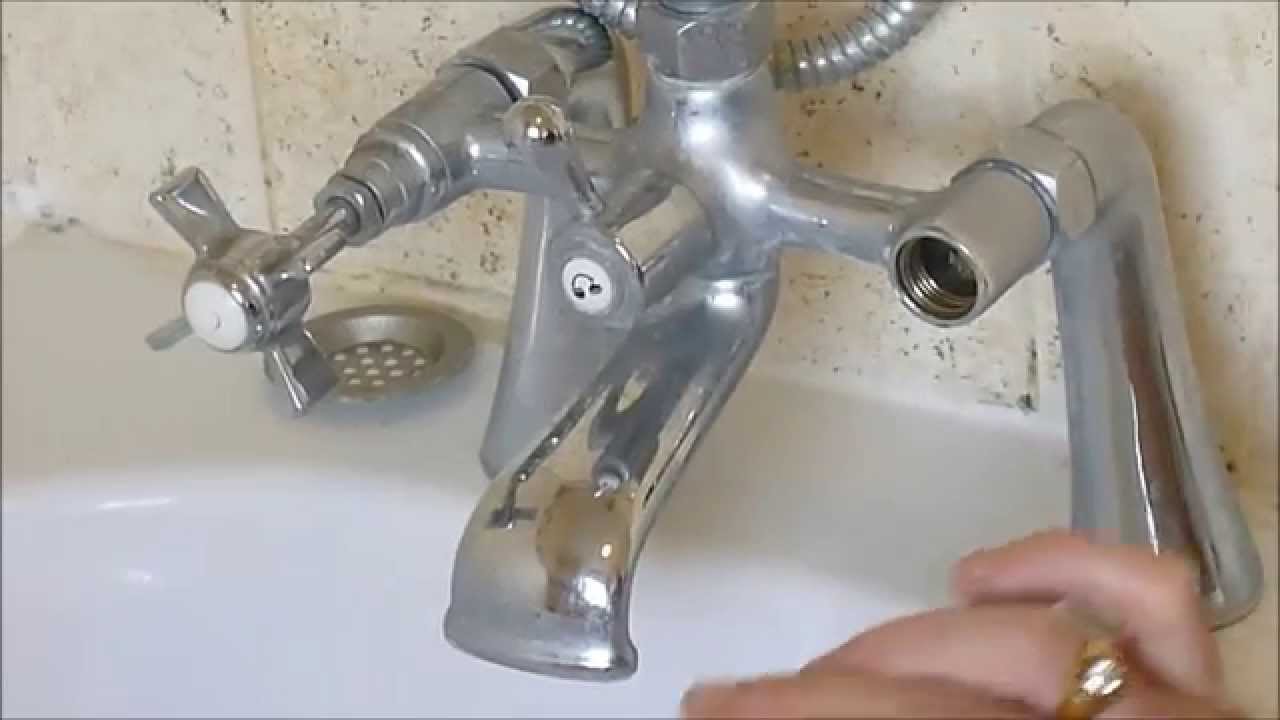
With the new washer in place, it's time to reassemble the faucet. Put the handle back on and tighten any screws or bolts that hold it in place. Turn the water supply back on and test the faucet. If it's still leaking, you may need to tighten the handle or adjust the valve seat. If the faucet is still leaking, you may need to replace the entire faucet. However, most of the time, a simple washer replacement will do the trick. Step-by-step guide for changing a washer in a bathroom sink


Step-by-step guide for changing a washer in a bathroom sink


Replacing a washer in a bathroom sink is a quick and easy fix that can save you time and money. Instead of calling a plumber and paying for a costly repair, you can do it yourself in just a few simple steps. Plus, by fixing the issue yourself, you'll have a sense of accomplishment and won't have to deal with a leaky faucet anymore. Quick and easy fix: Replacing a washer in a bathroom sink


Quick and easy fix: Replacing a washer in a bathroom sink


If you're having trouble finding the washer or removing it, refer to the manufacturer's instructions or consult a professional. Some older faucets may have different types of washers or may require a specialized tool for removal. If you're still having issues with leaks after replacing the washer, it could be a sign of a larger problem with your faucet. It's best to call a plumber in this case to properly diagnose and fix the issue. Troubleshooting: Replacing a washer in a bathroom sink


Troubleshooting: Replacing a washer in a bathroom sink


One common issue when changing a washer in a bathroom sink is accidentally damaging the valve seat. The valve seat is the part of the faucet that connects the valve stem to the spout. If this is damaged, it can cause leaks or other issues with your faucet. Be sure to handle the valve seat with care when replacing the washer. Another problem that may arise is difficulty finding the correct size and type of washer for your faucet. It's important to know the brand and model of your faucet to ensure you purchase the right replacement washer. If you're unsure, take the old washer with you to the hardware store to match it with a new one. Common problems when changing a washer in a bathroom sink


Common problems when changing a washer in a bathroom sink
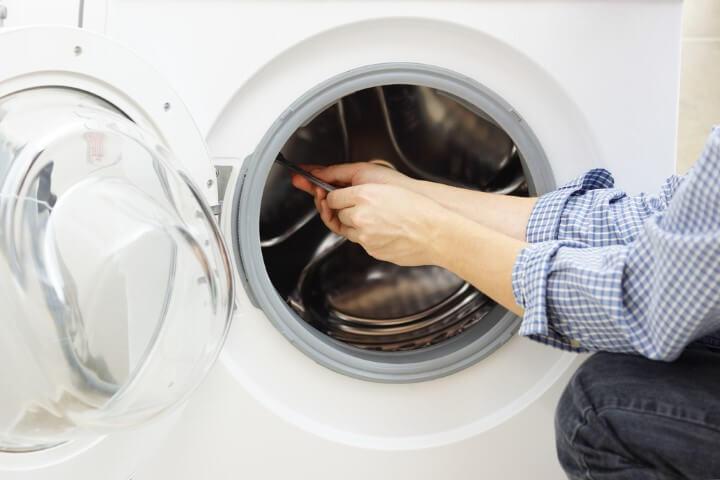


Changing a washer in a bathroom sink doesn't require many tools, but it's important to have the right ones for the job. You'll need pliers, a screwdriver or Allen wrench, and a new washer. You may also need a valve seat wrench if your faucet has one. These tools can be found at most hardware stores for a relatively low cost. Tools needed for changing a washer in a bathroom sink


Tools needed for changing a washer in a bathroom sink


To prevent leaks and ensure a successful washer replacement in your bathroom sink, here are a few tips to keep in mind: Tips for a successful washer replacement in a bathroom sink


Tips for a successful washer replacement in a bathroom sink


The best way to prevent leaks in your bathroom sink is to regularly check and replace the washers when necessary. Over time, washers can wear out and cause leaks, so it's important to stay on top of maintenance to avoid any issues. By following this guide and keeping these tips in mind, you'll be able to successfully change a washer in your bathroom sink and keep your faucet in good working condition. With a little bit of DIY know-how, you can save yourself time and money on plumbing repairs. Preventing leaks: How to change a washer in a bathroom sink


Preventing leaks: How to change a washer in a bathroom sink


Why Changing the Washer in Your Bathroom Sink is Important for Your Home's Design

Ensuring Proper Functionality and Aesthetics
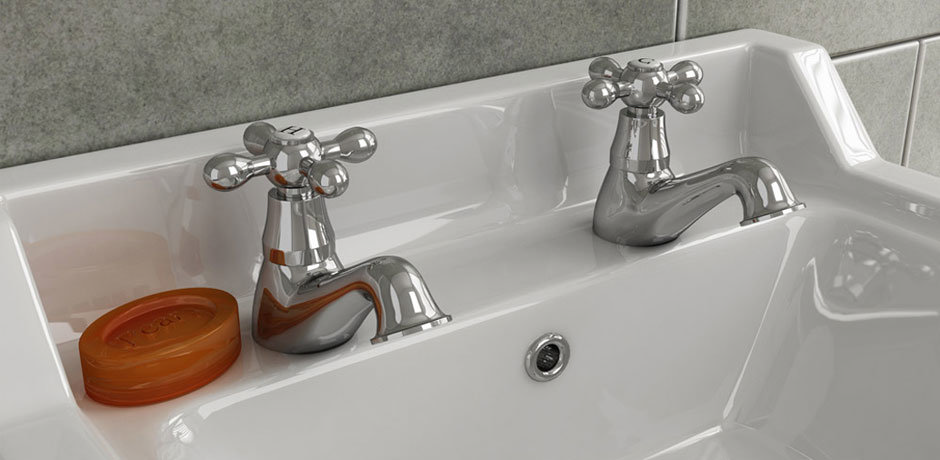
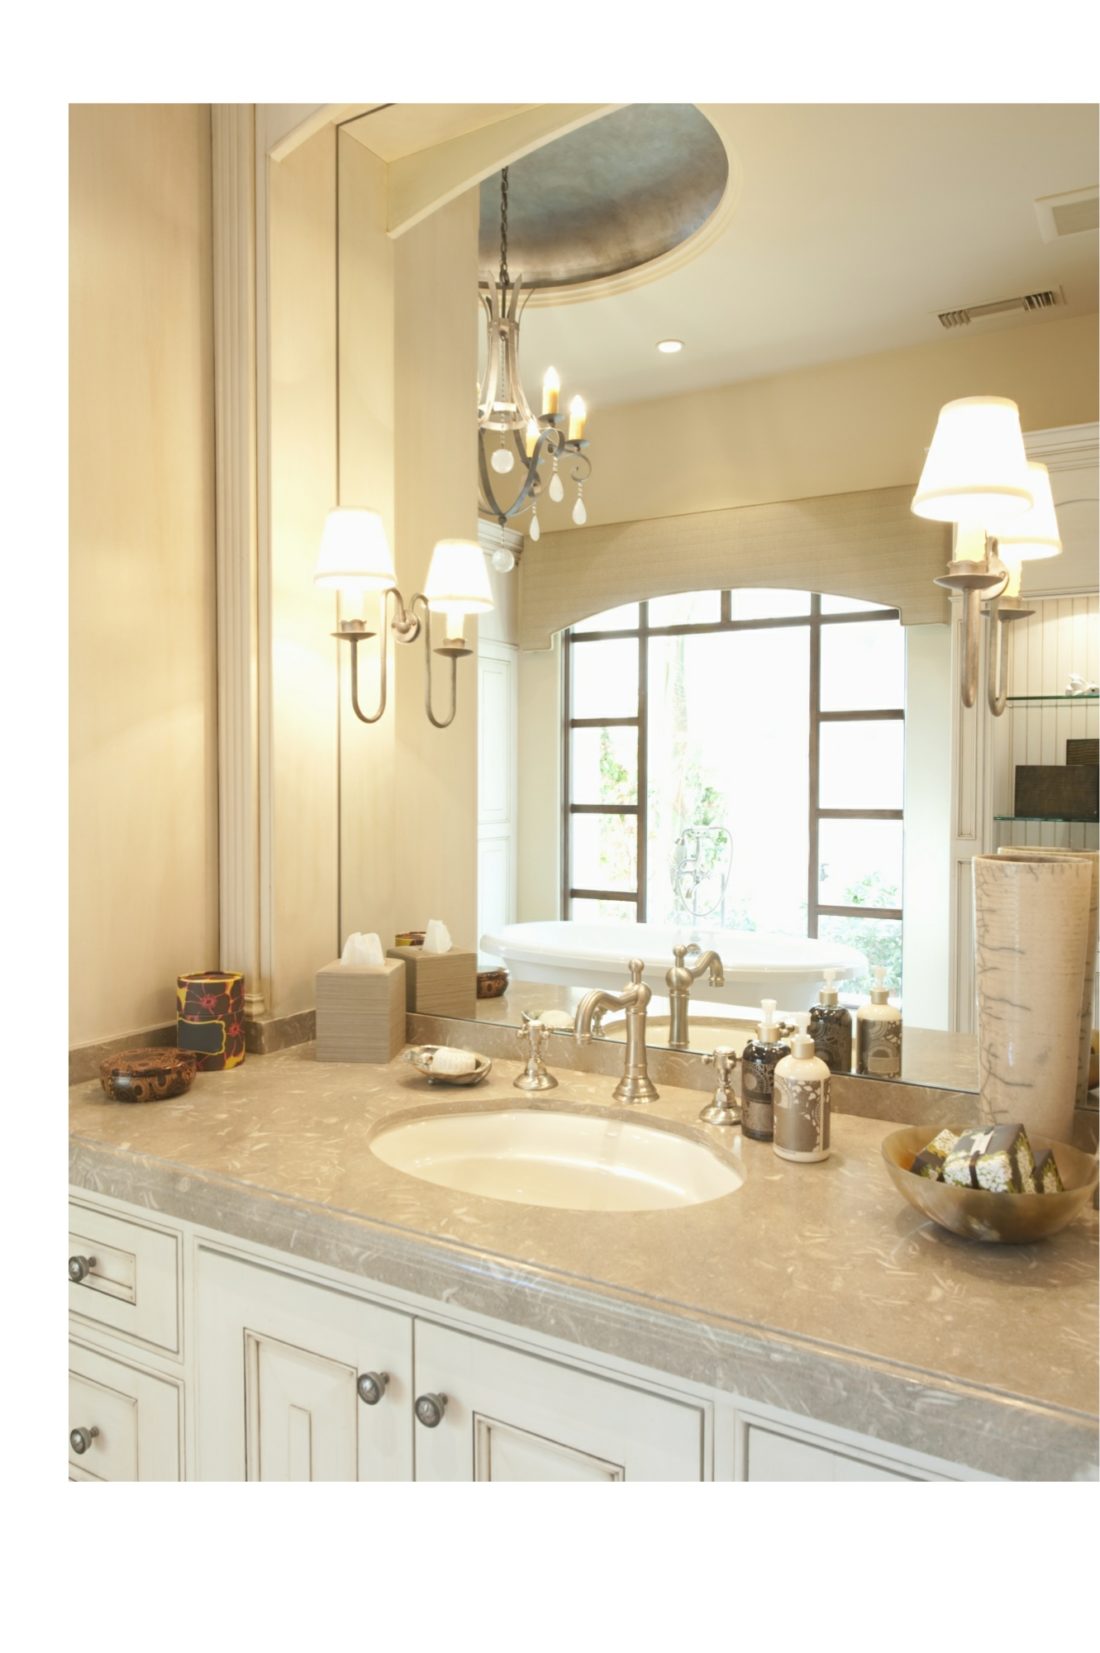
 When it comes to designing and maintaining a beautiful home, every detail matters. From the color of the walls to the furniture pieces, everything must be carefully chosen and maintained to create the perfect ambiance. This also applies to the smaller features of your home, such as the bathroom sink. While it may seem like a minor aspect, the washer in your bathroom sink plays a crucial role in both its functionality and aesthetics.
Proper Functionality:
The washer in your bathroom sink acts as a seal to prevent water from leaking out of the faucet. Over time, this small but important component can wear out due to constant use, resulting in leaks and a decrease in water pressure. This not only creates a nuisance but can also lead to bigger plumbing issues if not addressed promptly. By regularly changing the washer in your bathroom sink, you can ensure that it continues to function properly, saving you from potential headaches and costly repairs.
Aesthetics:
A worn-out washer in your bathroom sink can also affect the overall look of your bathroom. Constant dripping or a decrease in water pressure can cause unsightly stains and mineral buildup, making your sink appear dirty and dull. By replacing the washer, you can restore the sleek and clean appearance of your bathroom sink, adding to the overall appeal of your home's design.
When it comes to designing and maintaining a beautiful home, every detail matters. From the color of the walls to the furniture pieces, everything must be carefully chosen and maintained to create the perfect ambiance. This also applies to the smaller features of your home, such as the bathroom sink. While it may seem like a minor aspect, the washer in your bathroom sink plays a crucial role in both its functionality and aesthetics.
Proper Functionality:
The washer in your bathroom sink acts as a seal to prevent water from leaking out of the faucet. Over time, this small but important component can wear out due to constant use, resulting in leaks and a decrease in water pressure. This not only creates a nuisance but can also lead to bigger plumbing issues if not addressed promptly. By regularly changing the washer in your bathroom sink, you can ensure that it continues to function properly, saving you from potential headaches and costly repairs.
Aesthetics:
A worn-out washer in your bathroom sink can also affect the overall look of your bathroom. Constant dripping or a decrease in water pressure can cause unsightly stains and mineral buildup, making your sink appear dirty and dull. By replacing the washer, you can restore the sleek and clean appearance of your bathroom sink, adding to the overall appeal of your home's design.
How to Change the Washer in Your Bathroom Sink
 Changing the washer in your bathroom sink is a simple and cost-effective task that can be done in a few easy steps. First, you will need to turn off the water supply to your sink and then remove the handle and faucet to access the washer. Using a wrench, carefully unscrew the old washer from the base of the faucet and replace it with a new one. Make sure to match the size and shape of the old washer to ensure a proper fit. Once the new washer is in place, reassemble the faucet and turn the water supply back on. Voila! Your bathroom sink is now functioning properly and looking its best.
In conclusion, while it may seem like a small task, changing the washer in your bathroom sink is a crucial step in maintaining the functionality and aesthetics of your home's design. By prioritizing this simple fix, you can prevent potential plumbing issues and keep your bathroom looking beautiful. So don't forget to add this to your home maintenance checklist and enjoy a well-designed and fully functional bathroom.
Changing the washer in your bathroom sink is a simple and cost-effective task that can be done in a few easy steps. First, you will need to turn off the water supply to your sink and then remove the handle and faucet to access the washer. Using a wrench, carefully unscrew the old washer from the base of the faucet and replace it with a new one. Make sure to match the size and shape of the old washer to ensure a proper fit. Once the new washer is in place, reassemble the faucet and turn the water supply back on. Voila! Your bathroom sink is now functioning properly and looking its best.
In conclusion, while it may seem like a small task, changing the washer in your bathroom sink is a crucial step in maintaining the functionality and aesthetics of your home's design. By prioritizing this simple fix, you can prevent potential plumbing issues and keep your bathroom looking beautiful. So don't forget to add this to your home maintenance checklist and enjoy a well-designed and fully functional bathroom.