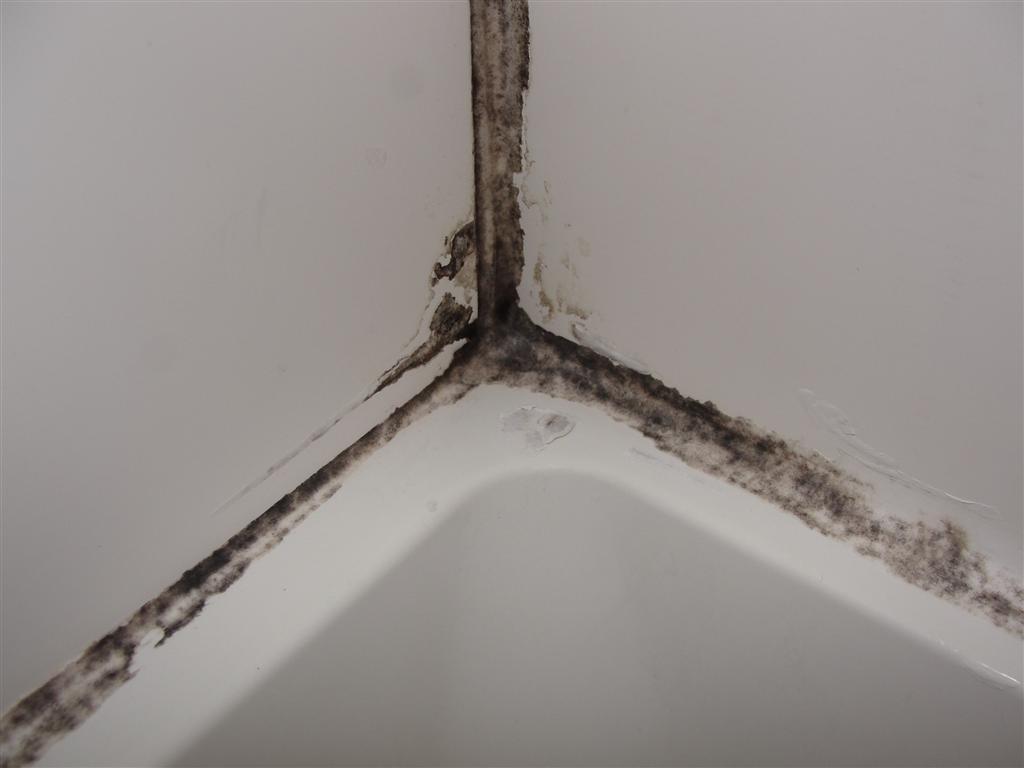
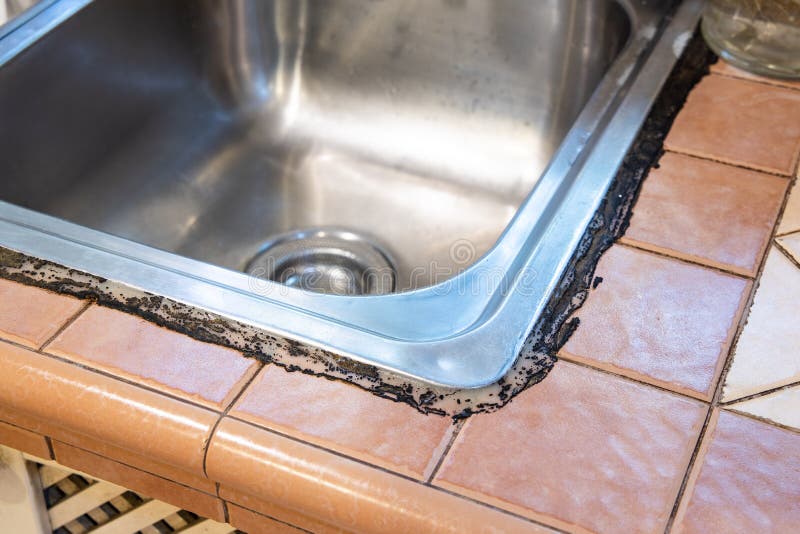
If you've noticed that the caulk around your kitchen sink is always mouldy, you're not alone. This is a common problem that many homeowners face, but luckily, it's also an easy fix. The caulk around your kitchen sink not only provides a clean and finished look, but it also serves as a seal to prevent water from getting between the sink and the countertop. When this seal is compromised, mold can quickly grow and cause unsightly black spots. In this article, we'll discuss how to properly caulk around a kitchen sink to prevent mold and keep your kitchen looking its best.How to Caulk Around a Kitchen Sink


How to Caulk Around a Kitchen Sink


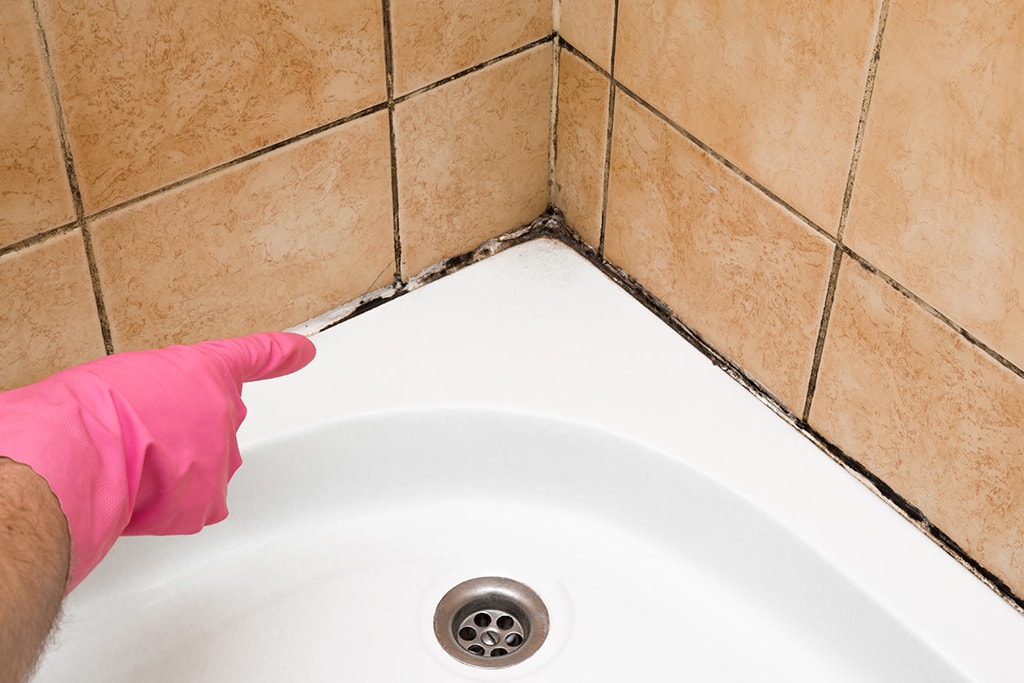
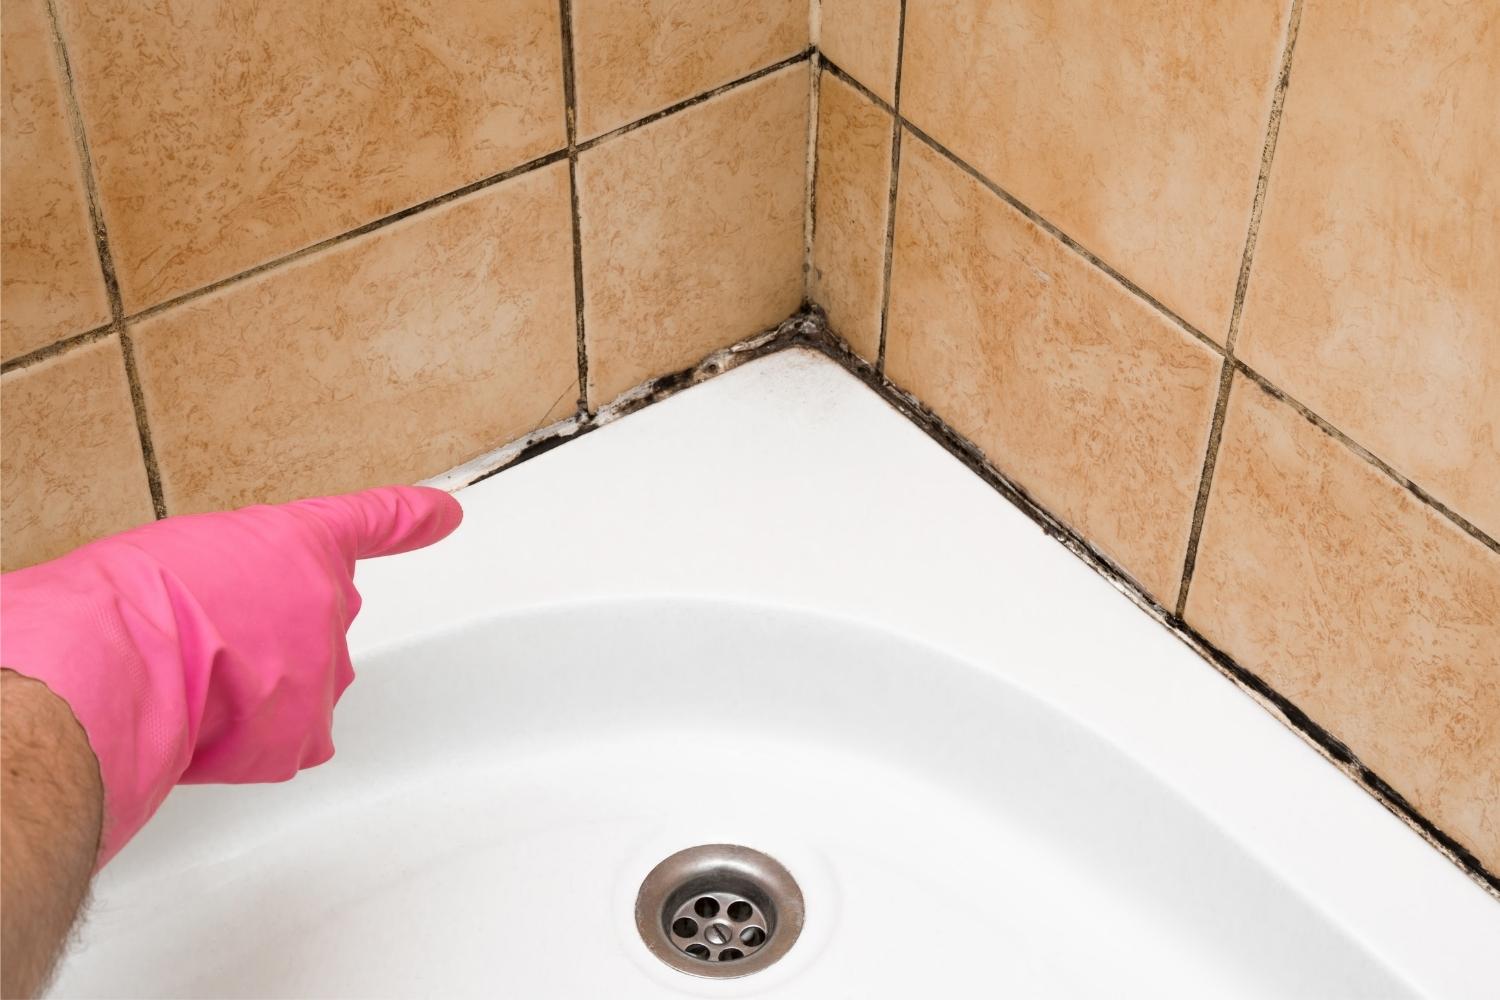
Before we dive into preventing mold, let's first address how to remove it if you already have a buildup. The best way to remove mold from caulk is by using a mixture of one part water and one part bleach. Apply this solution to the affected areas and let it sit for 10-15 minutes. Then, using a scrub brush or old toothbrush, scrub the mold away. Rinse with water and dry the area thoroughly. You can also use a commercial mold and mildew cleaner for tougher cases.How to Remove Mold from Caulk


How to Remove Mold from Caulk


When it comes to choosing the right caulk for your kitchen sink, it's important to select one that is mold and mildew resistant. Look for caulk that specifically states this on the label. Silicone-based caulk is also a good option as it is waterproof and flexible, making it less likely to crack or peel. Some popular brands for kitchen sink caulk include GE Silicone II, DAP Kwik Seal Plus, and Red Devil Kitchen and Bath Caulk.Best Caulk for Kitchen Sink


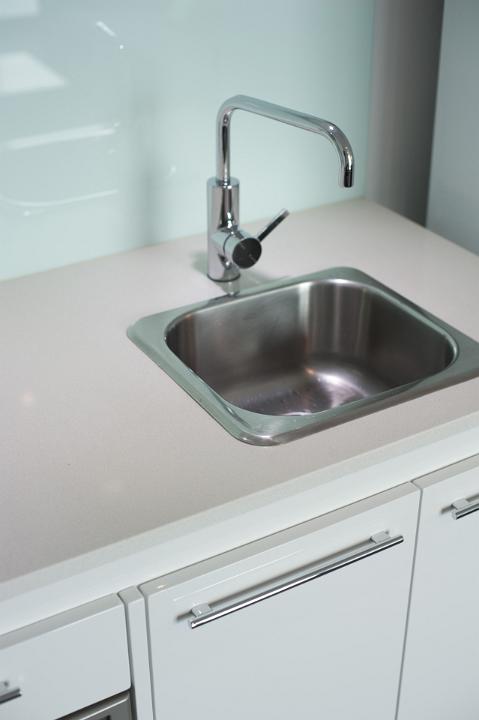
Best Caulk for Kitchen Sink


.jpg)

The key to preventing mold in kitchen sink caulk is to keep the area clean and dry. Wipe down the sink and surrounding countertops regularly to prevent water buildup. It's also important to fix any leaks or dripping faucets as soon as possible. When water sits on caulk for extended periods, it can lead to mold growth. To further prevent mold, make sure to properly ventilate your kitchen after cooking or doing dishes to reduce humidity levels.How to Prevent Mold in Kitchen Sink Caulk


How to Prevent Mold in Kitchen Sink Caulk


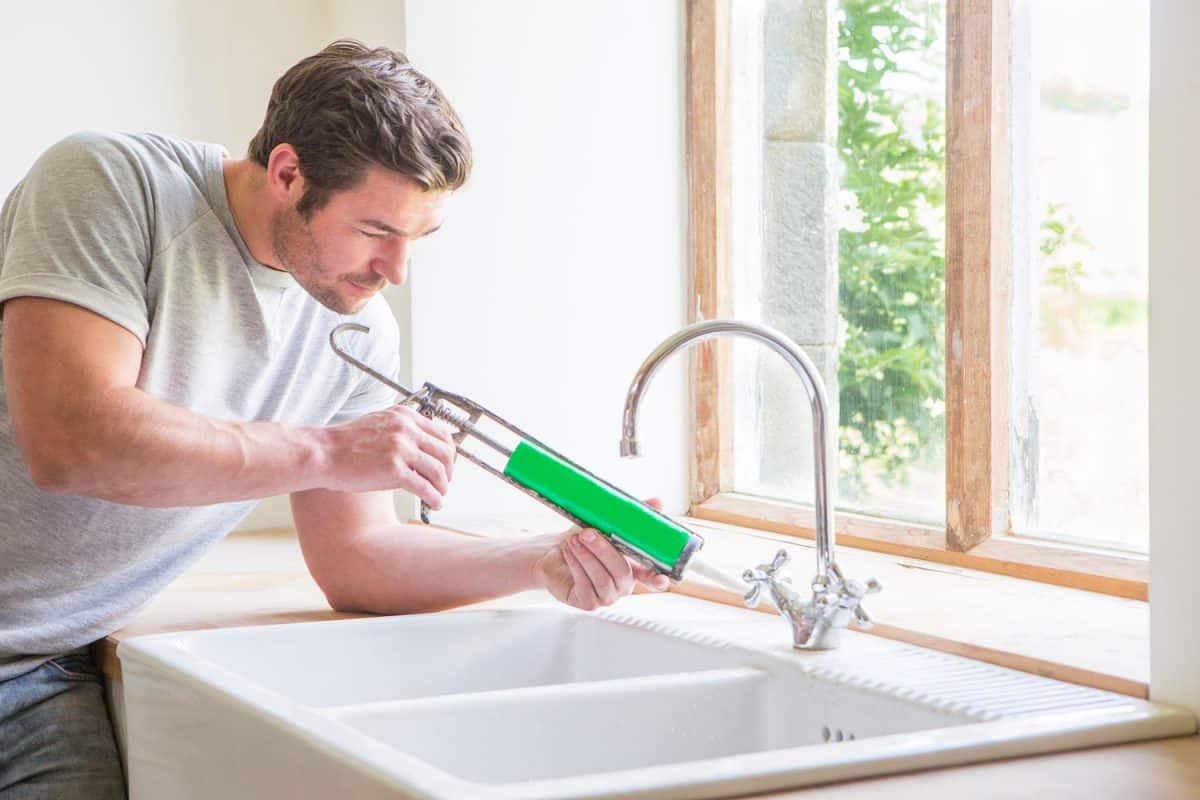
If you're a fan of DIY projects, caulking around your kitchen sink is a task you can easily tackle on your own. Before you start, make sure to have all the necessary materials, including caulk, caulk gun, and a putty knife. Clean the area thoroughly before applying the caulk and use a steady hand to create a smooth and even line. Don't forget to remove any excess caulk with a damp cloth. You can also use painter's tape to create clean edges and prevent any mess. DIY Kitchen Sink Caulking Tips


DIY Kitchen Sink Caulking Tips


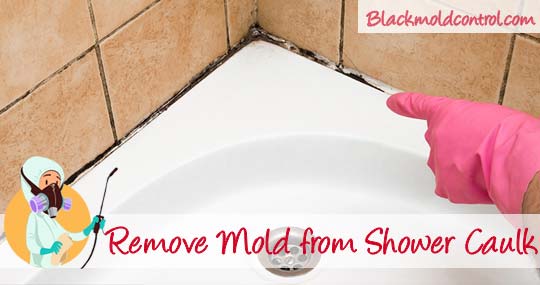
If you don't catch the mold in time and it has already spread over your caulk, it's important to clean it properly. As mentioned earlier, a mixture of bleach and water is an effective solution. However, if the mold has penetrated deep into the caulk, you may need to remove and replace it entirely. To do this, use a putty knife to carefully scrape away the old caulk and clean the area before applying a new bead of caulk.How to Clean Moldy Caulk


How to Clean Moldy Caulk


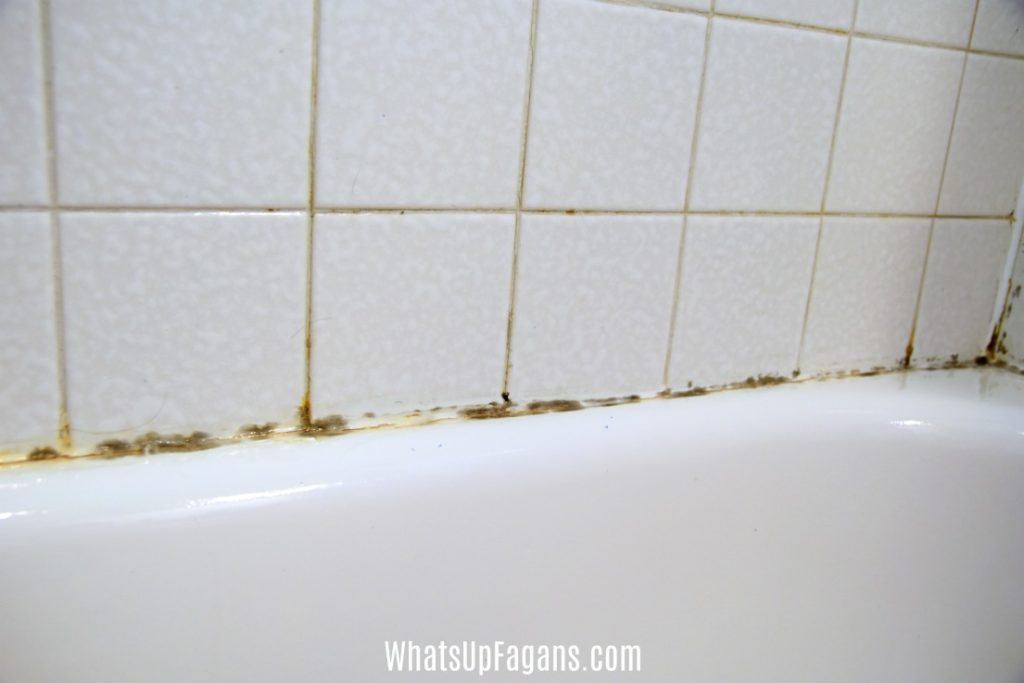
Now that we've covered how to prevent and remove mold from caulk, let's discuss why it happens in the first place. As mentioned earlier, water buildup and high humidity levels are the main culprits. However, a lack of proper ventilation, old or low-quality caulk, and not cleaning the sink regularly can also contribute to mold growth. It's important to address these issues to keep the caulk around your kitchen sink looking clean and mold-free.Why Caulk Around Kitchen Sink Gets Moldy


Why Caulk Around Kitchen Sink Gets Moldy


It's recommended to replace the caulk around your kitchen sink every 1-2 years, even if you don't see any mold growth. Over time, caulk can dry and crack, which can create gaps for water and bacteria to seep through. By regularly replacing the caulk, you can prevent these issues and keep your kitchen looking fresh and clean.How Often Should You Replace Caulk Around Kitchen Sink


How Often Should You Replace Caulk Around Kitchen Sink


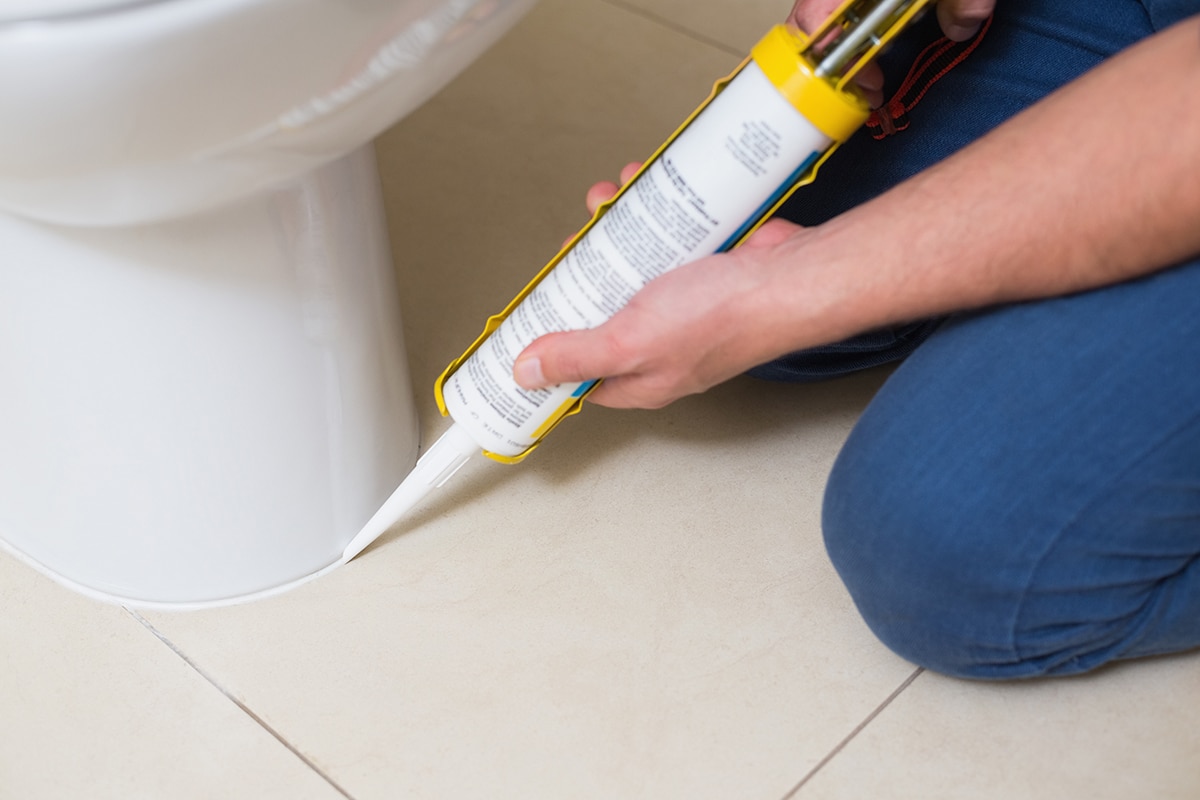

Sealing your kitchen sink with caulk is an important step in preventing mold and maintaining the integrity of your sink and countertop. To do this, make sure the area is clean and dry before applying the caulk. Starting at one end, apply a steady and even bead of caulk along the seam between the sink and countertop. Use a putty knife to smooth out the caulk and remove any excess. Let it dry for 24 hours before using the sink.How to Seal Kitchen Sink with Caulk


How to Seal Kitchen Sink with Caulk


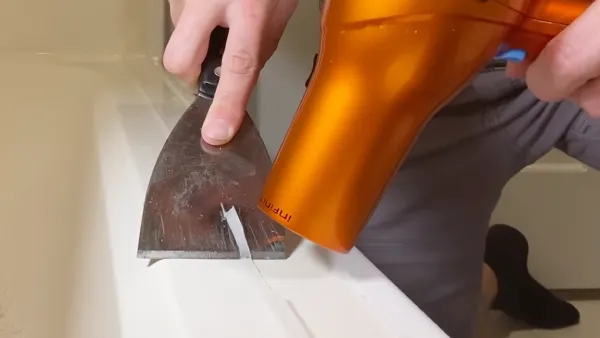
If you're looking to replace the caulk around your kitchen sink, you'll first need to remove the old caulk. To do this, use a putty knife or caulk remover tool to carefully scrape away the old caulk. Be gentle to avoid damaging the countertop or sink. Once all the old caulk is removed, clean the area thoroughly before applying the new caulk.How to Remove Old Caulk from Kitchen Sink


How to Remove Old Caulk from Kitchen Sink

:max_bytes(150000):strip_icc()/how-to-remove-old-caulk-1824827-01-3d0370c59e124dbbaa6560c68bab111c.jpg)


/how-to-remove-old-caulk-1824827-hero-4863fcf5169e426da8f822429ed46301.jpg)
Why Caulk Around Kitchen Sink is Always Mouldy and How to Prevent It

The Importance of Kitchen Sink Caulking
 When designing a house, the kitchen is often considered the heart of the home. It is a functional space where meals are prepared and shared with loved ones. As such, homeowners want their kitchen to be aesthetically pleasing and clean. One important aspect of a clean kitchen is the caulking around the sink. It not only serves as a sealant to prevent water from seeping into the gap between the sink and countertop, but it also adds a finishing touch to the overall design. However,
mouldy caulking
is a common issue that many homeowners face, especially around the kitchen sink. Let's explore why this happens and what can be done to prevent it.
When designing a house, the kitchen is often considered the heart of the home. It is a functional space where meals are prepared and shared with loved ones. As such, homeowners want their kitchen to be aesthetically pleasing and clean. One important aspect of a clean kitchen is the caulking around the sink. It not only serves as a sealant to prevent water from seeping into the gap between the sink and countertop, but it also adds a finishing touch to the overall design. However,
mouldy caulking
is a common issue that many homeowners face, especially around the kitchen sink. Let's explore why this happens and what can be done to prevent it.
The Root Cause of Mouldy Caulk
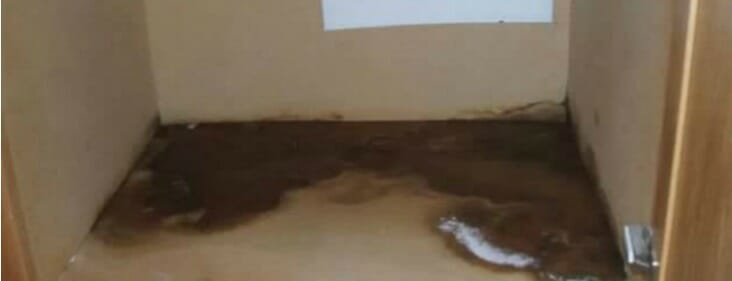
 The main culprit behind mouldy caulking around the kitchen sink is moisture. The kitchen is a high-moisture area, with water constantly splashing around the sink. This moisture can seep into the caulk, creating the perfect environment for mould to grow. Additionally, if the caulk was not properly applied or has cracks or gaps, it can also allow moisture to seep in and create a breeding ground for mould.
Preventing Mouldy Caulk
 The good news is, there are steps homeowners can take to prevent mouldy caulk around their kitchen sink.
Regular cleaning and maintenance
is key. Wiping down the caulk with a mixture of equal parts vinegar and water can help remove any existing mould and prevent its growth. It is also important to regularly check for any cracks or gaps in the caulk and reapply it if necessary.
Proper ventilation in the kitchen can also help reduce moisture levels. Installing a vent fan or opening windows while cooking can help to circulate air and reduce humidity. This, in turn, can prevent mould from forming in the caulk.
Using high-quality caulk designed for wet areas is also essential. Look for
waterproof and mold-resistant
caulk that is specifically made for use in the kitchen and bathrooms. These types of caulk will have a longer lifespan and are less prone to mould growth.
The good news is, there are steps homeowners can take to prevent mouldy caulk around their kitchen sink.
Regular cleaning and maintenance
is key. Wiping down the caulk with a mixture of equal parts vinegar and water can help remove any existing mould and prevent its growth. It is also important to regularly check for any cracks or gaps in the caulk and reapply it if necessary.
Proper ventilation in the kitchen can also help reduce moisture levels. Installing a vent fan or opening windows while cooking can help to circulate air and reduce humidity. This, in turn, can prevent mould from forming in the caulk.
Using high-quality caulk designed for wet areas is also essential. Look for
waterproof and mold-resistant
caulk that is specifically made for use in the kitchen and bathrooms. These types of caulk will have a longer lifespan and are less prone to mould growth.
In Conclusion
 Caulking around the kitchen sink is an important step in kitchen design, not only for aesthetic purposes but also for preventing water damage. However, without proper maintenance and care, it can become a breeding ground for mould. By regularly cleaning and checking for any cracks or gaps, as well as using high-quality caulk, homeowners can prevent mouldy caulk and keep their kitchen looking clean and beautiful.