If you have a leaky air mattress, the first thing you should do is invest in an air mattress repair kit. This kit includes all the necessary tools and materials you need to fix your air mattress, making the repair process quick and easy. The kit typically includes a vinyl patch, adhesive, and other tools that will help you fix the leak in no time.1. Air mattress repair kit

1. Air mattress repair kit

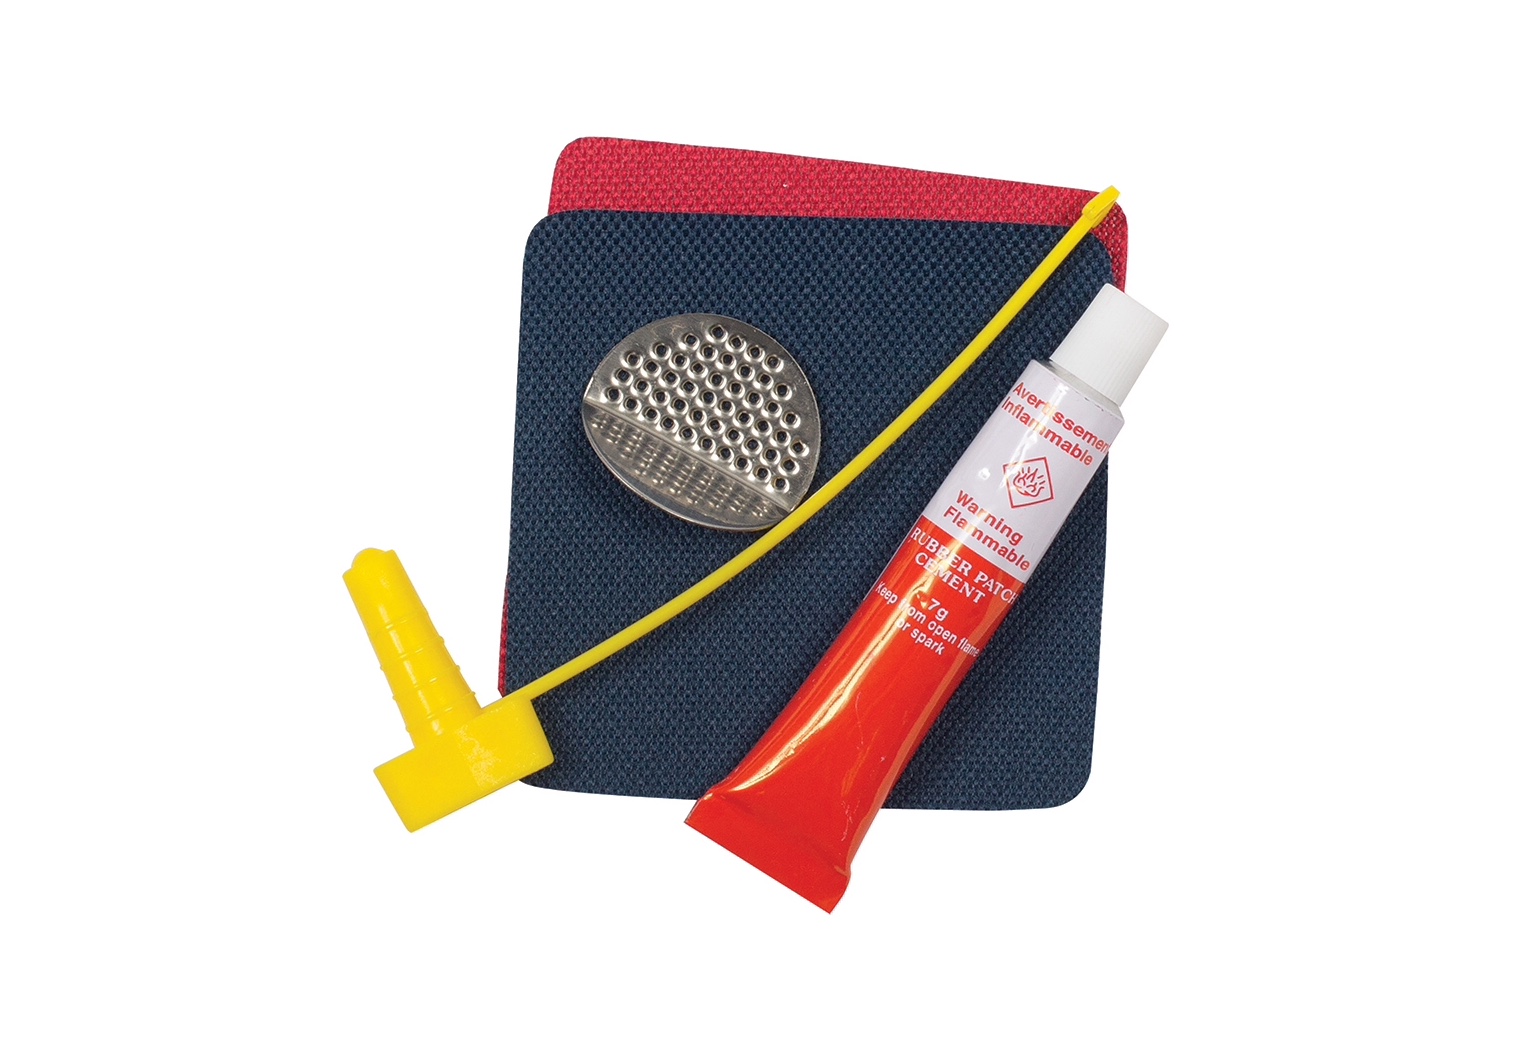


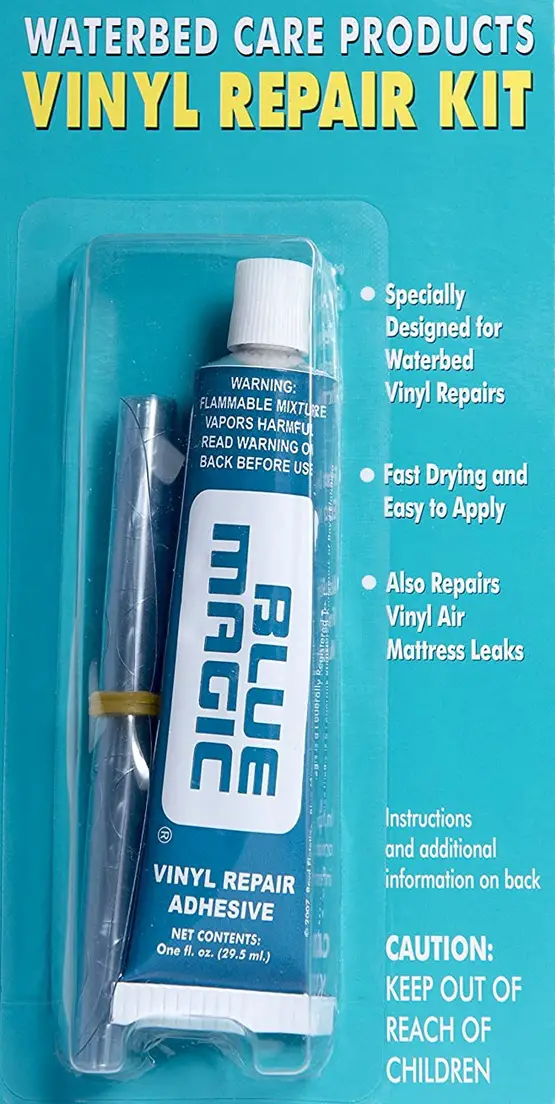
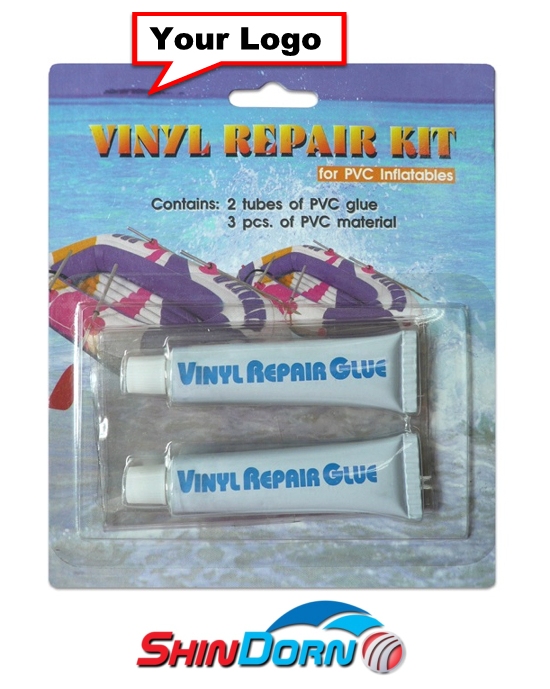
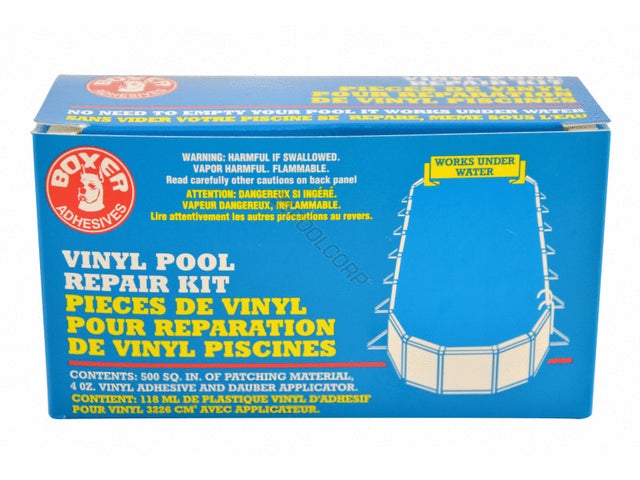
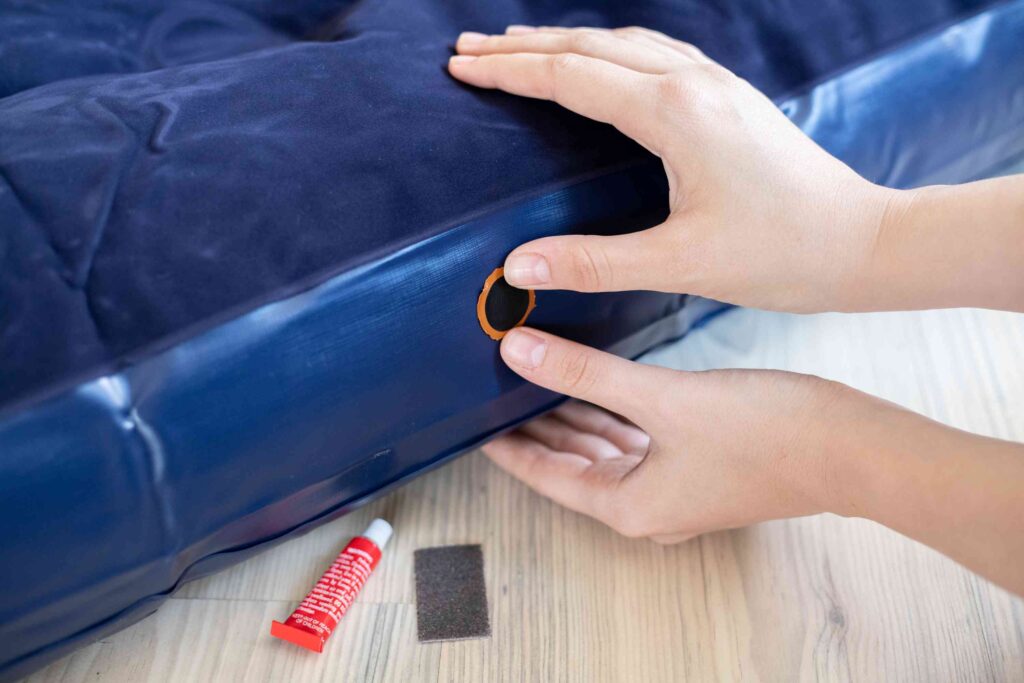
A vinyl patch kit is another essential tool for repairing a leaky air mattress. It is designed specifically for vinyl materials, which most air mattresses are made of. The kit usually includes a piece of vinyl material and adhesive that can be used to patch up small holes or tears in your air mattress. Make sure to clean and dry the affected area before applying the patch for the best results.2. Vinyl patch kit

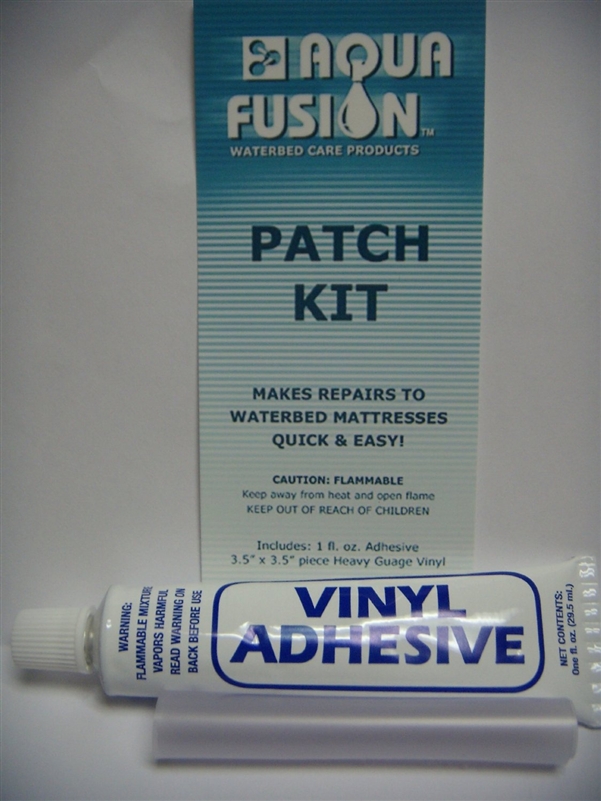

2. Vinyl patch kit


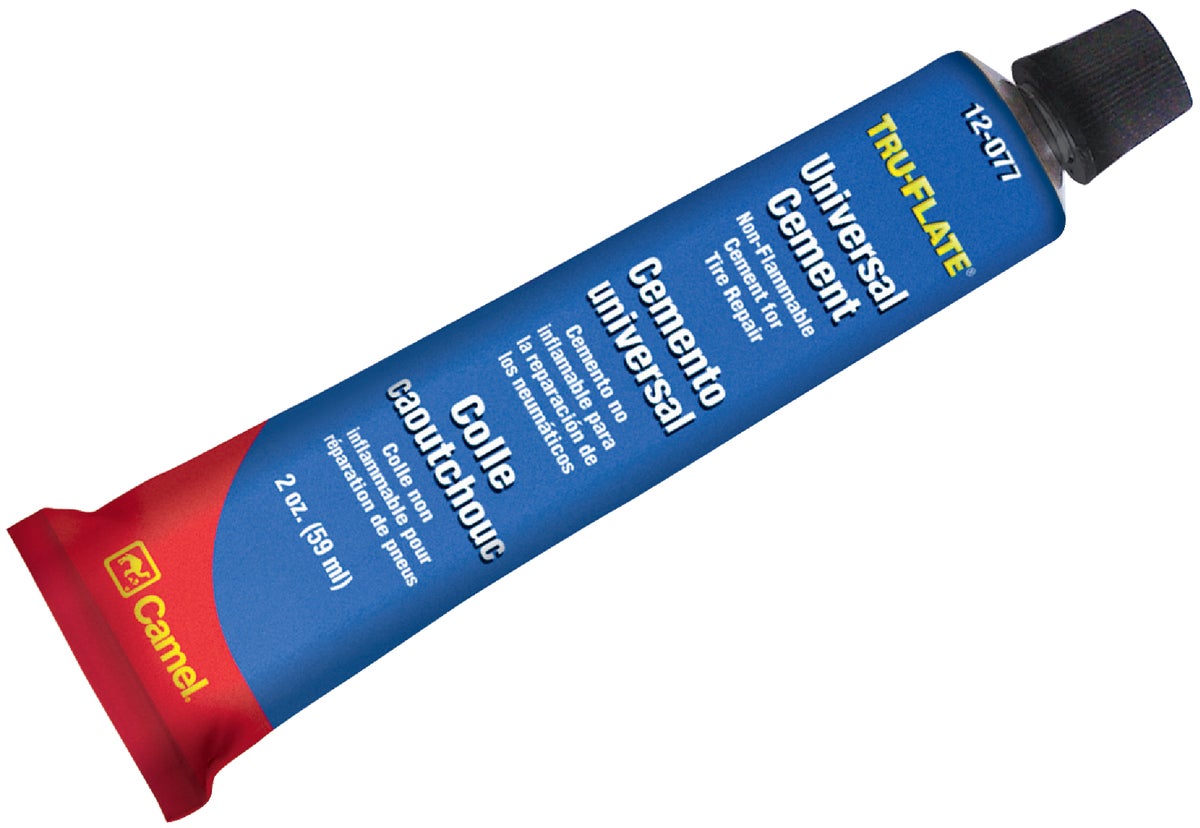
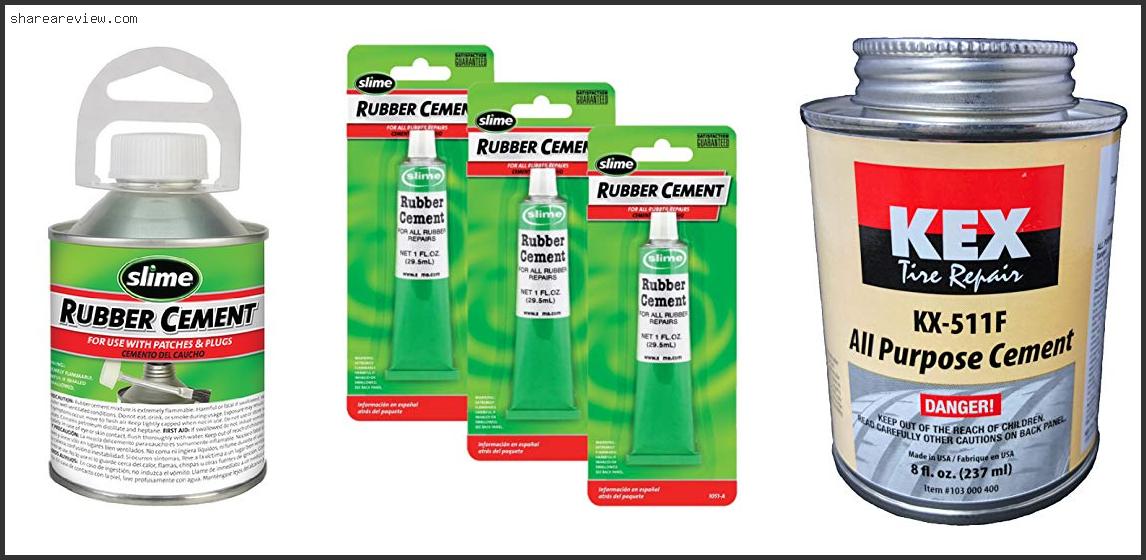
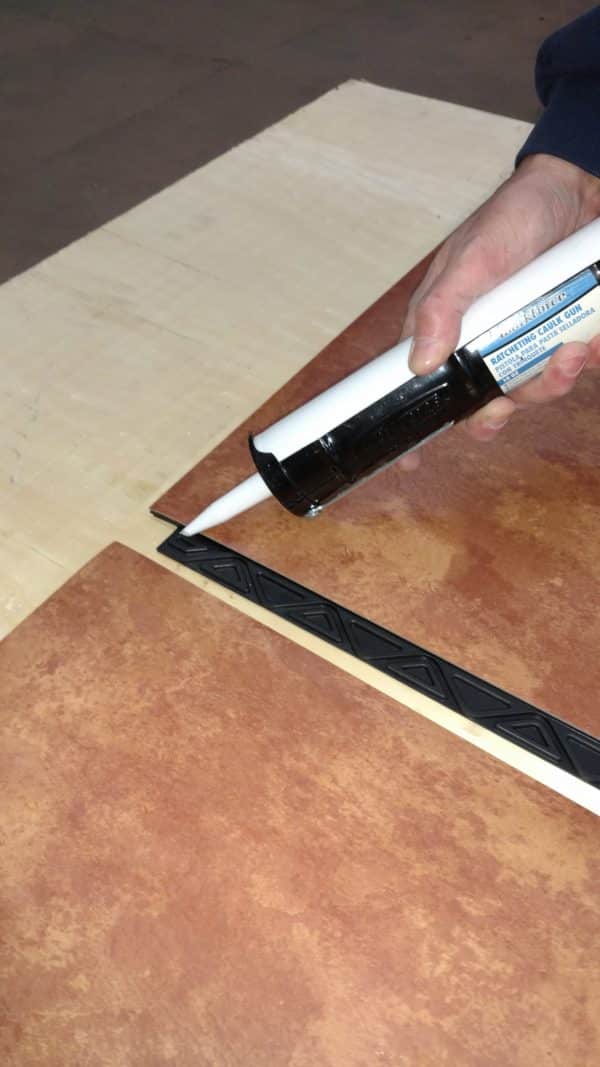
For larger holes or tears in your air mattress, you may need to use rubber cement in addition to a vinyl patch. This strong adhesive is designed to bond rubber materials together, making it an excellent choice for fixing air mattresses. Apply a generous amount of rubber cement to both the patch and the damaged area, then press them together firmly and let it dry completely before inflating your air mattress again.3. Rubber cement


3. Rubber cement


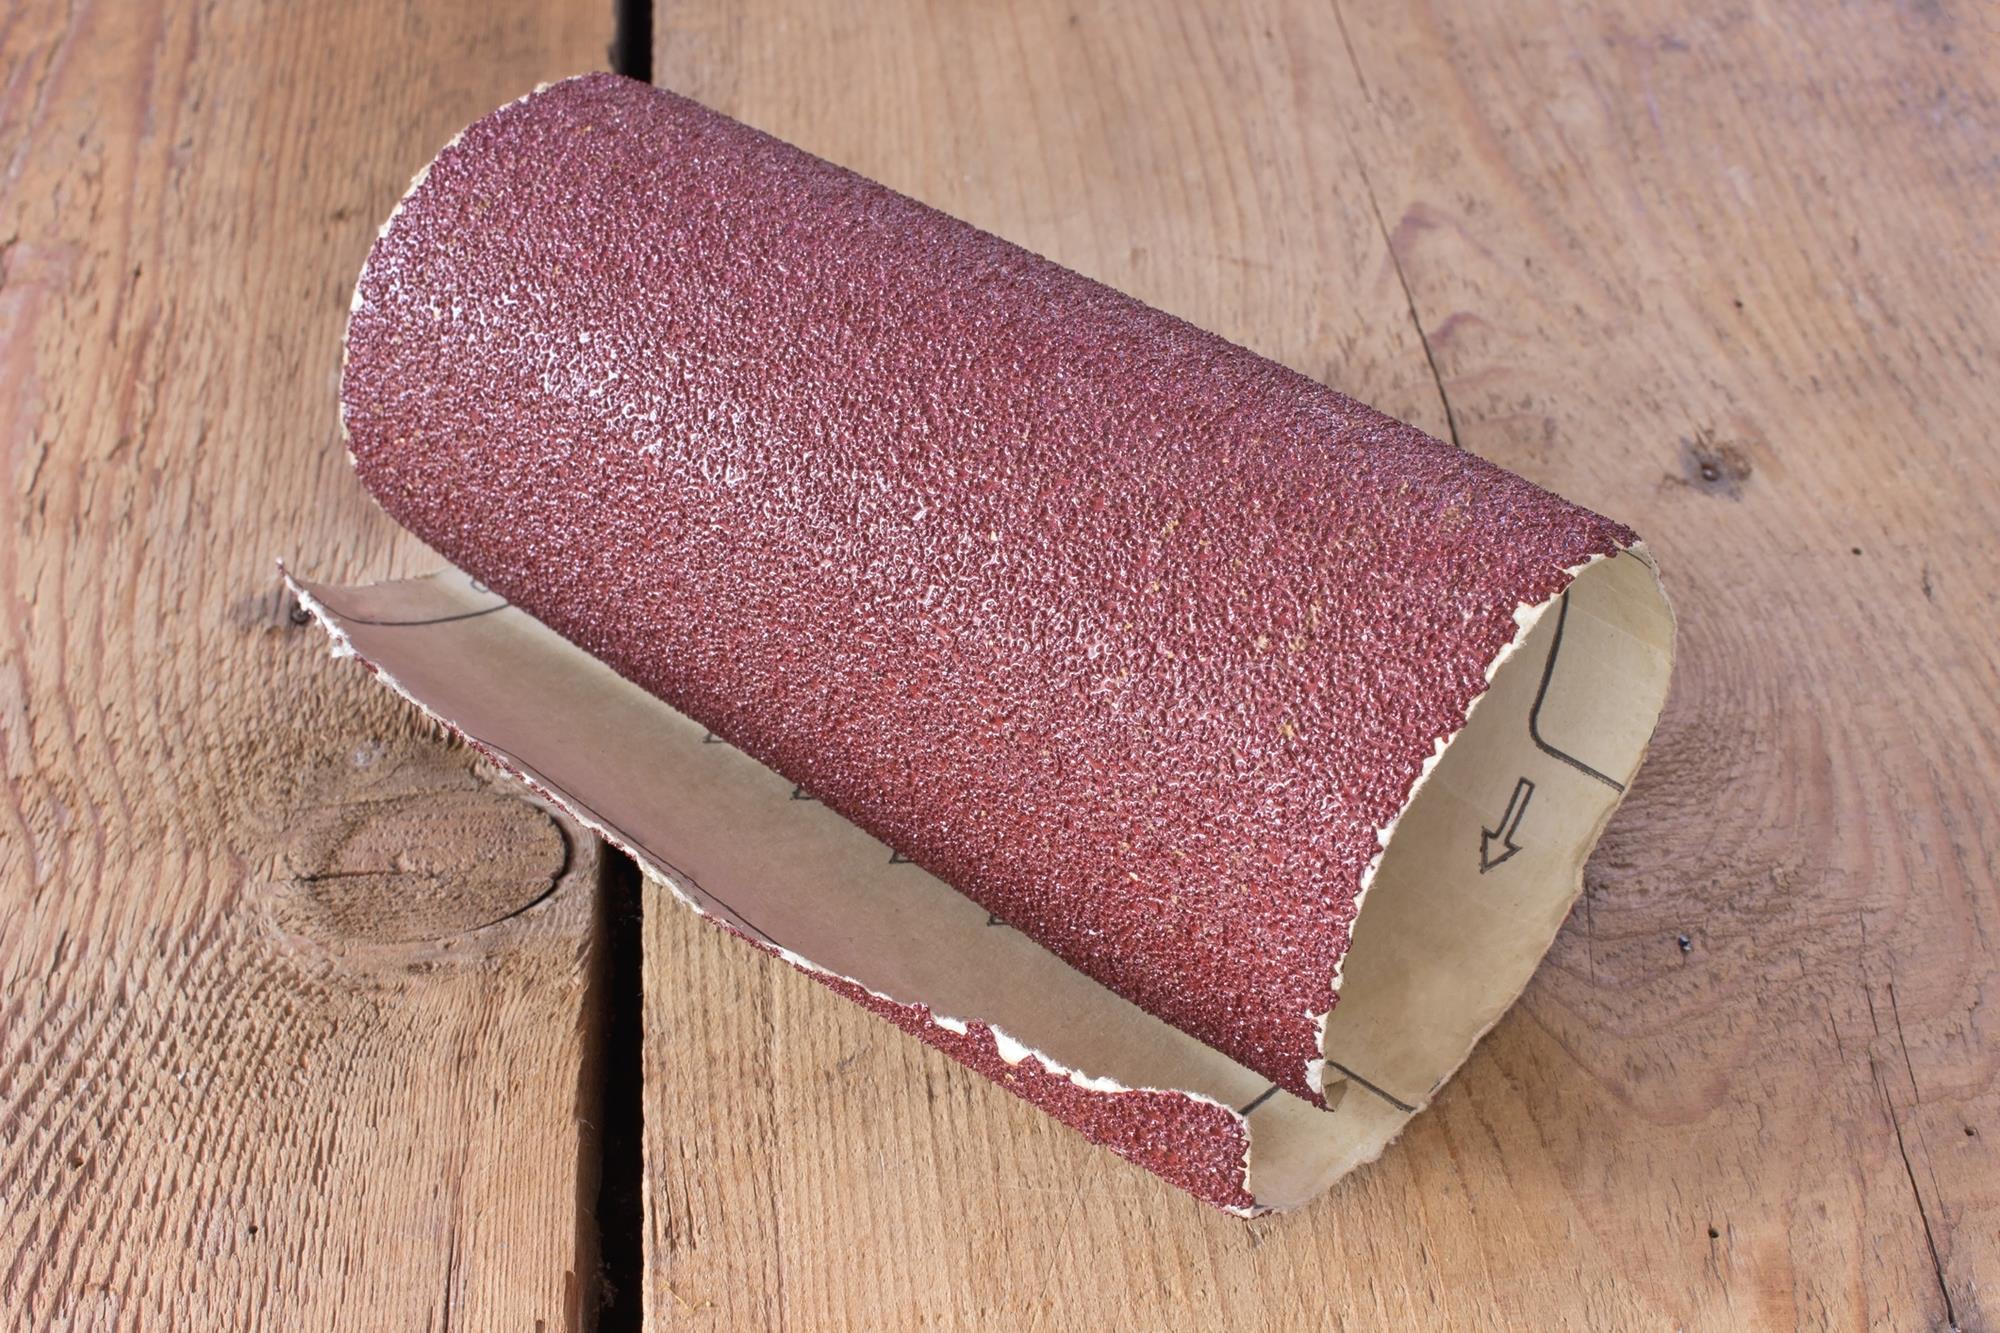
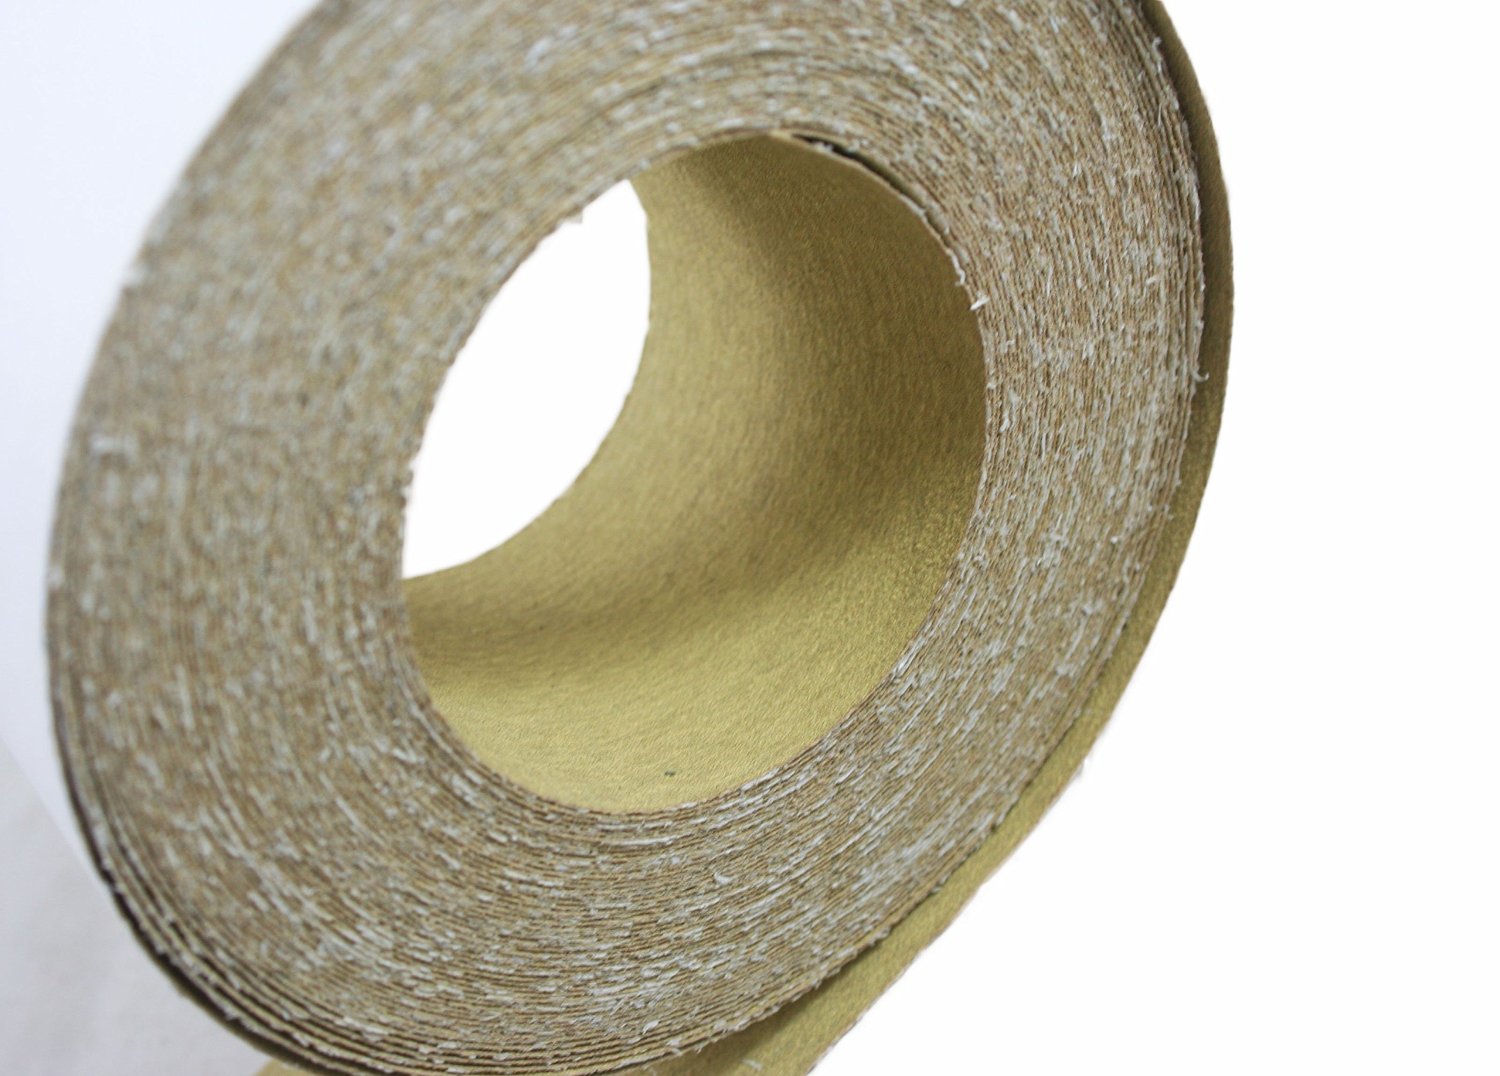
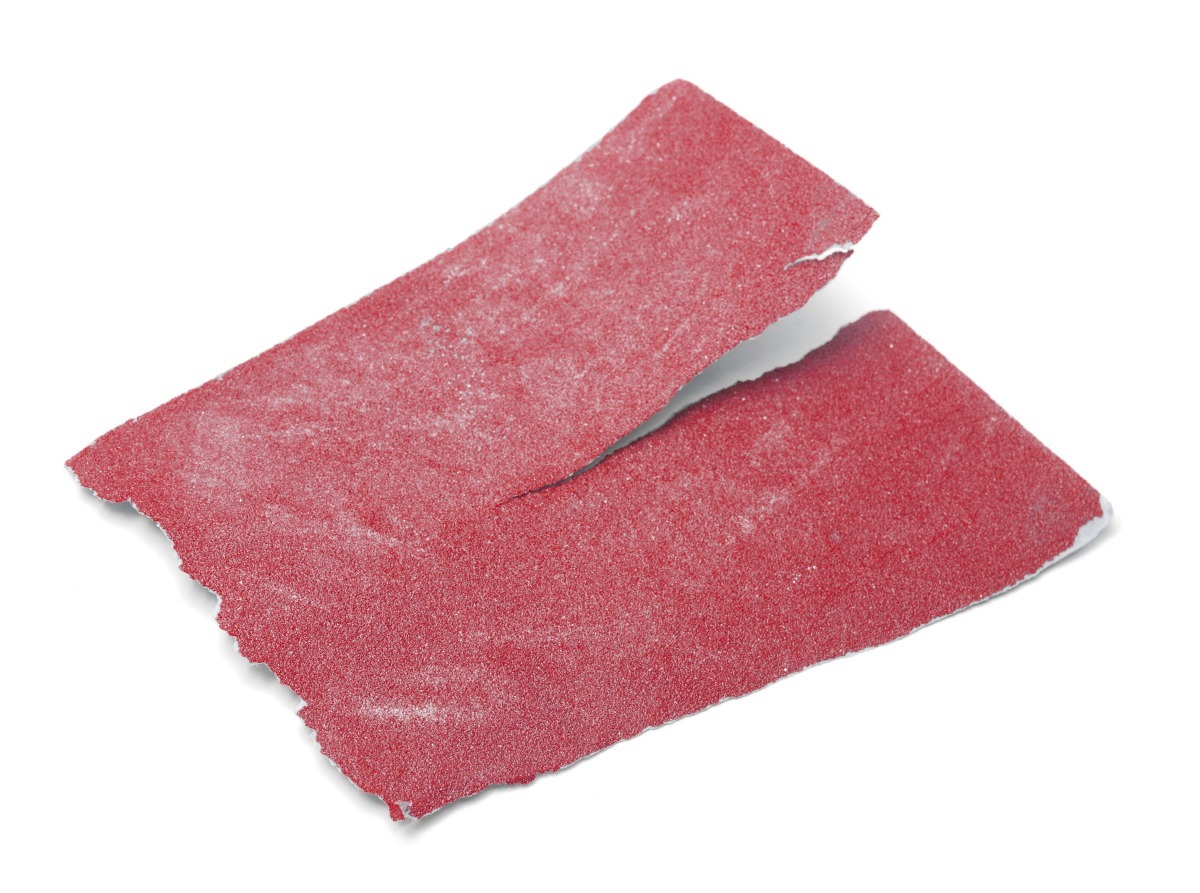
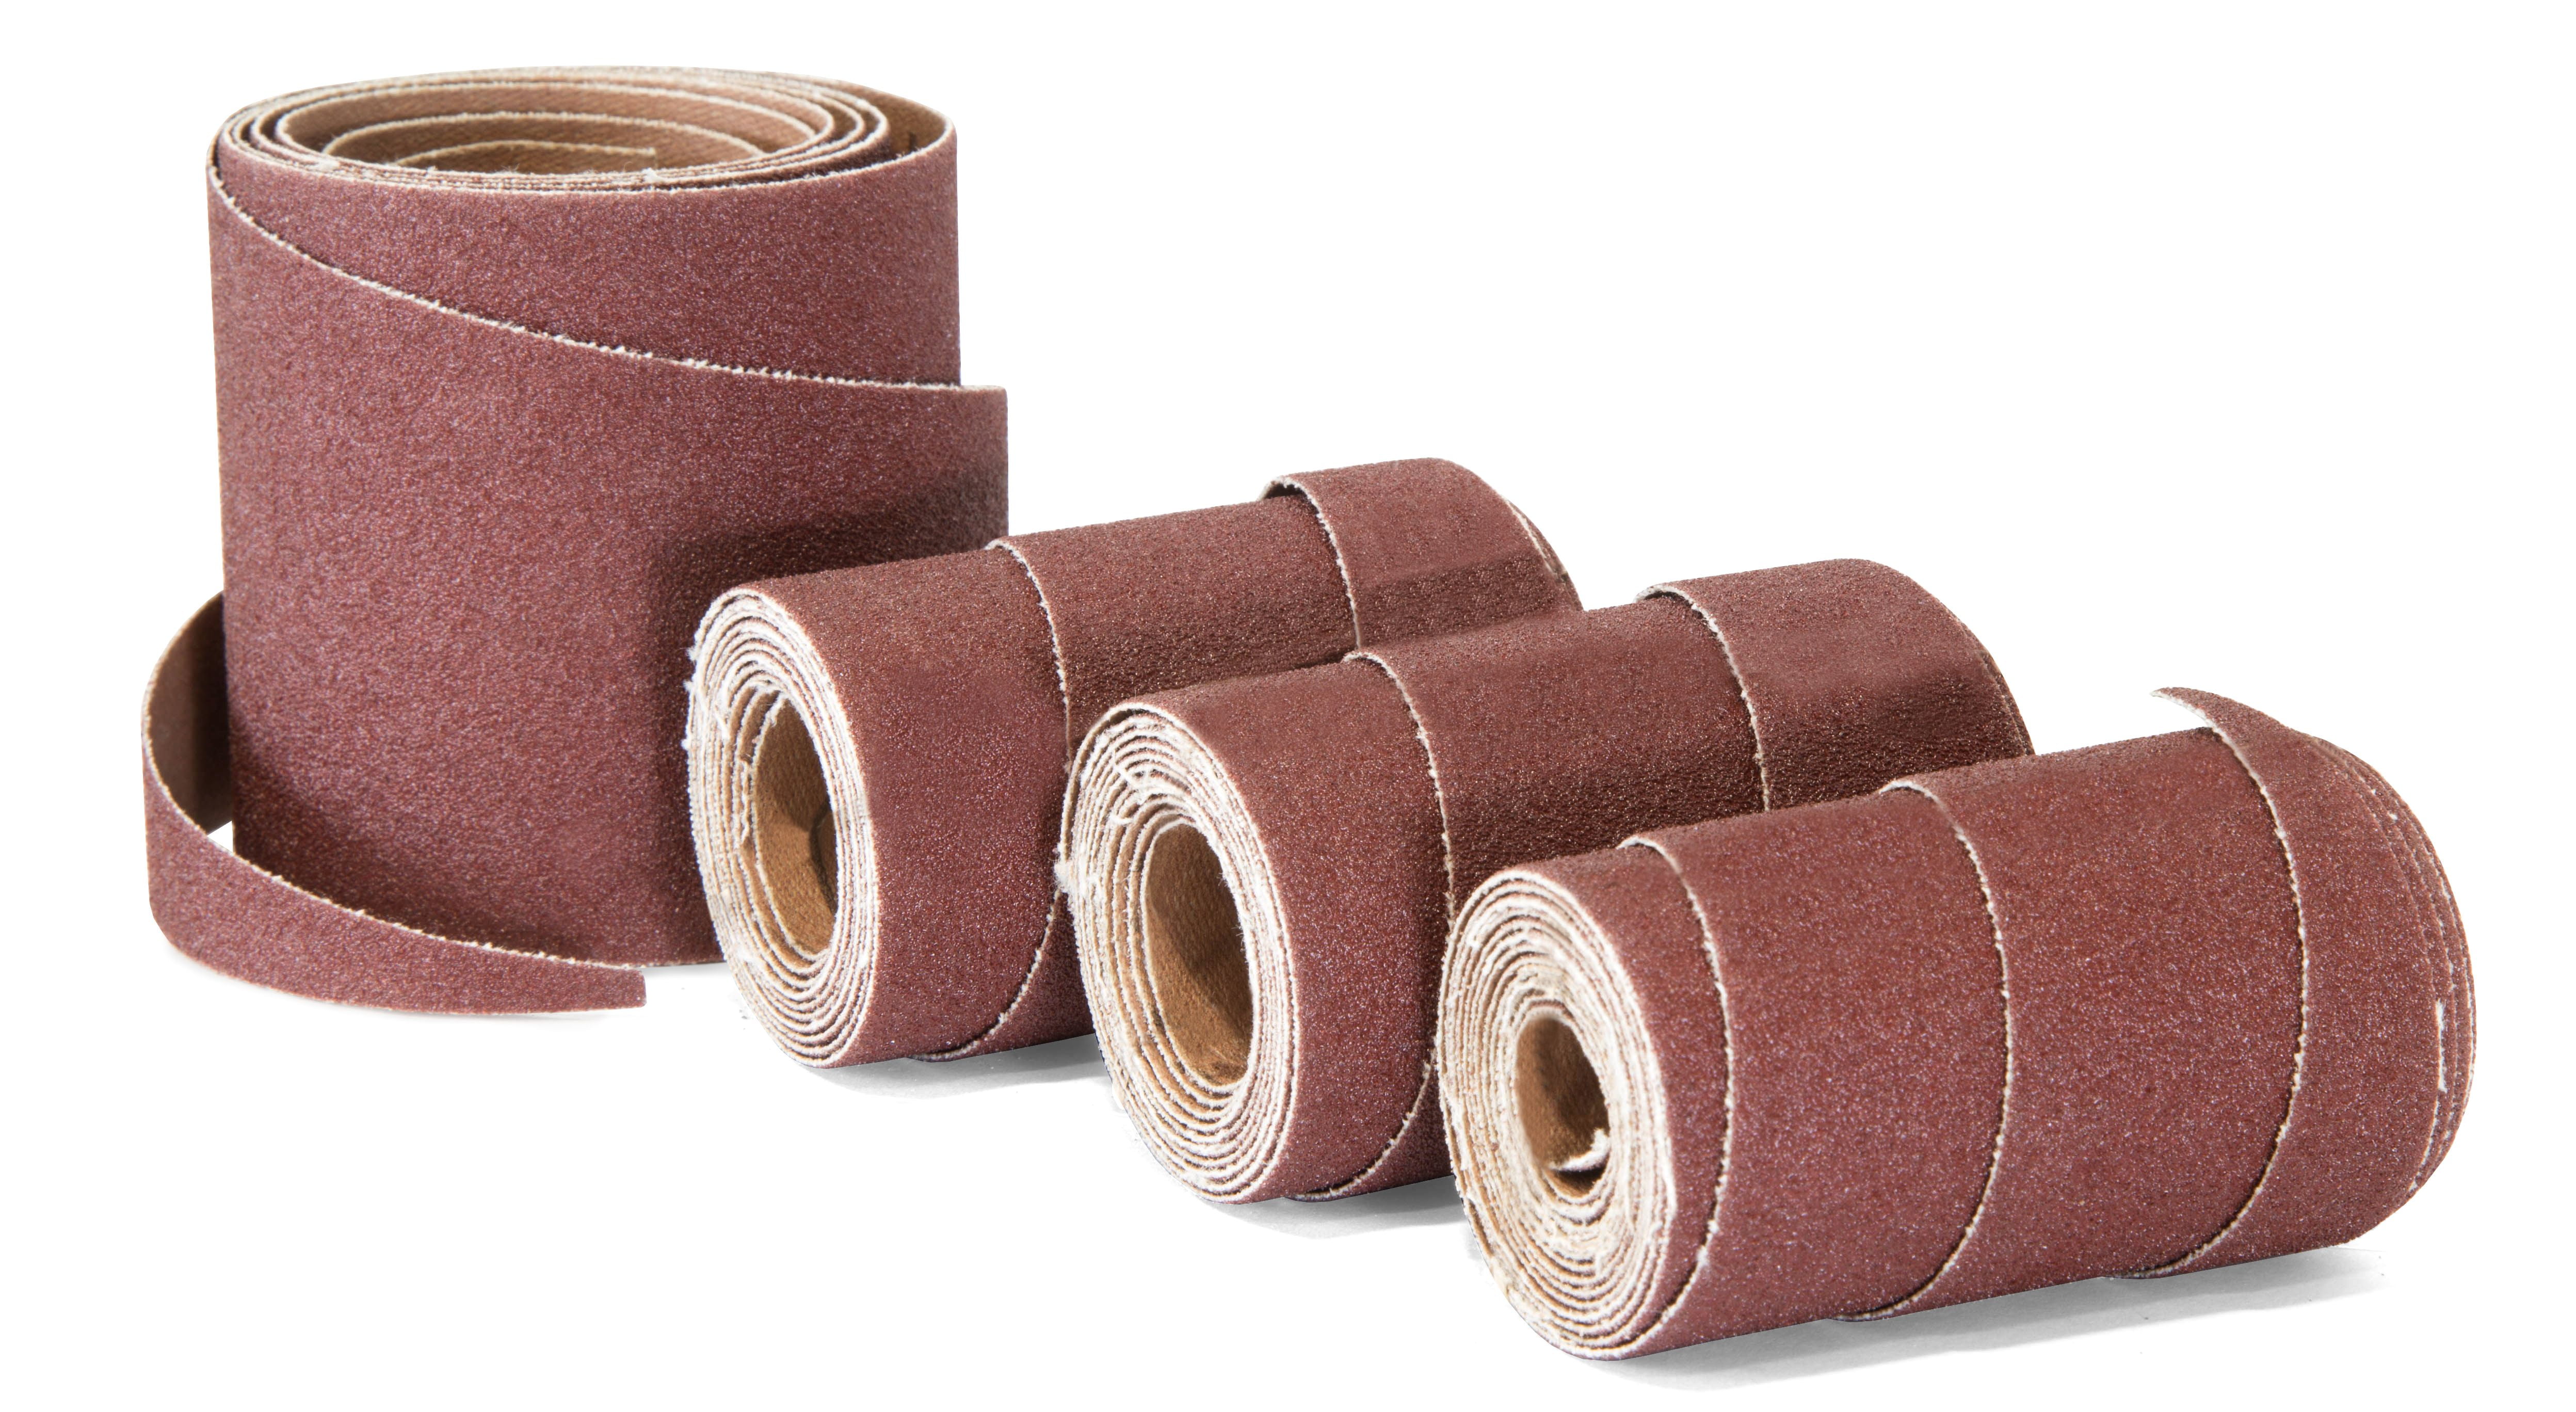
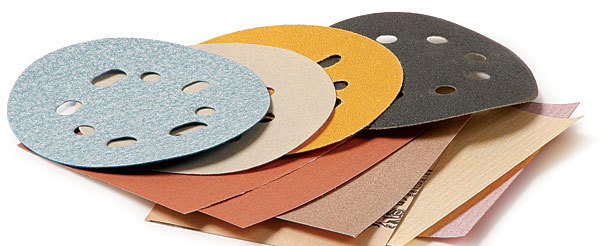
Sometimes, the surface of your air mattress may need to be roughened up before applying a patch or adhesive. This is where sandpaper comes in handy. Gently sand the area around the leak to create a better surface for the adhesive to bond to. Be careful not to sand too much, as this can cause further damage to your air mattress.4. Sandpaper


4. Sandpaper


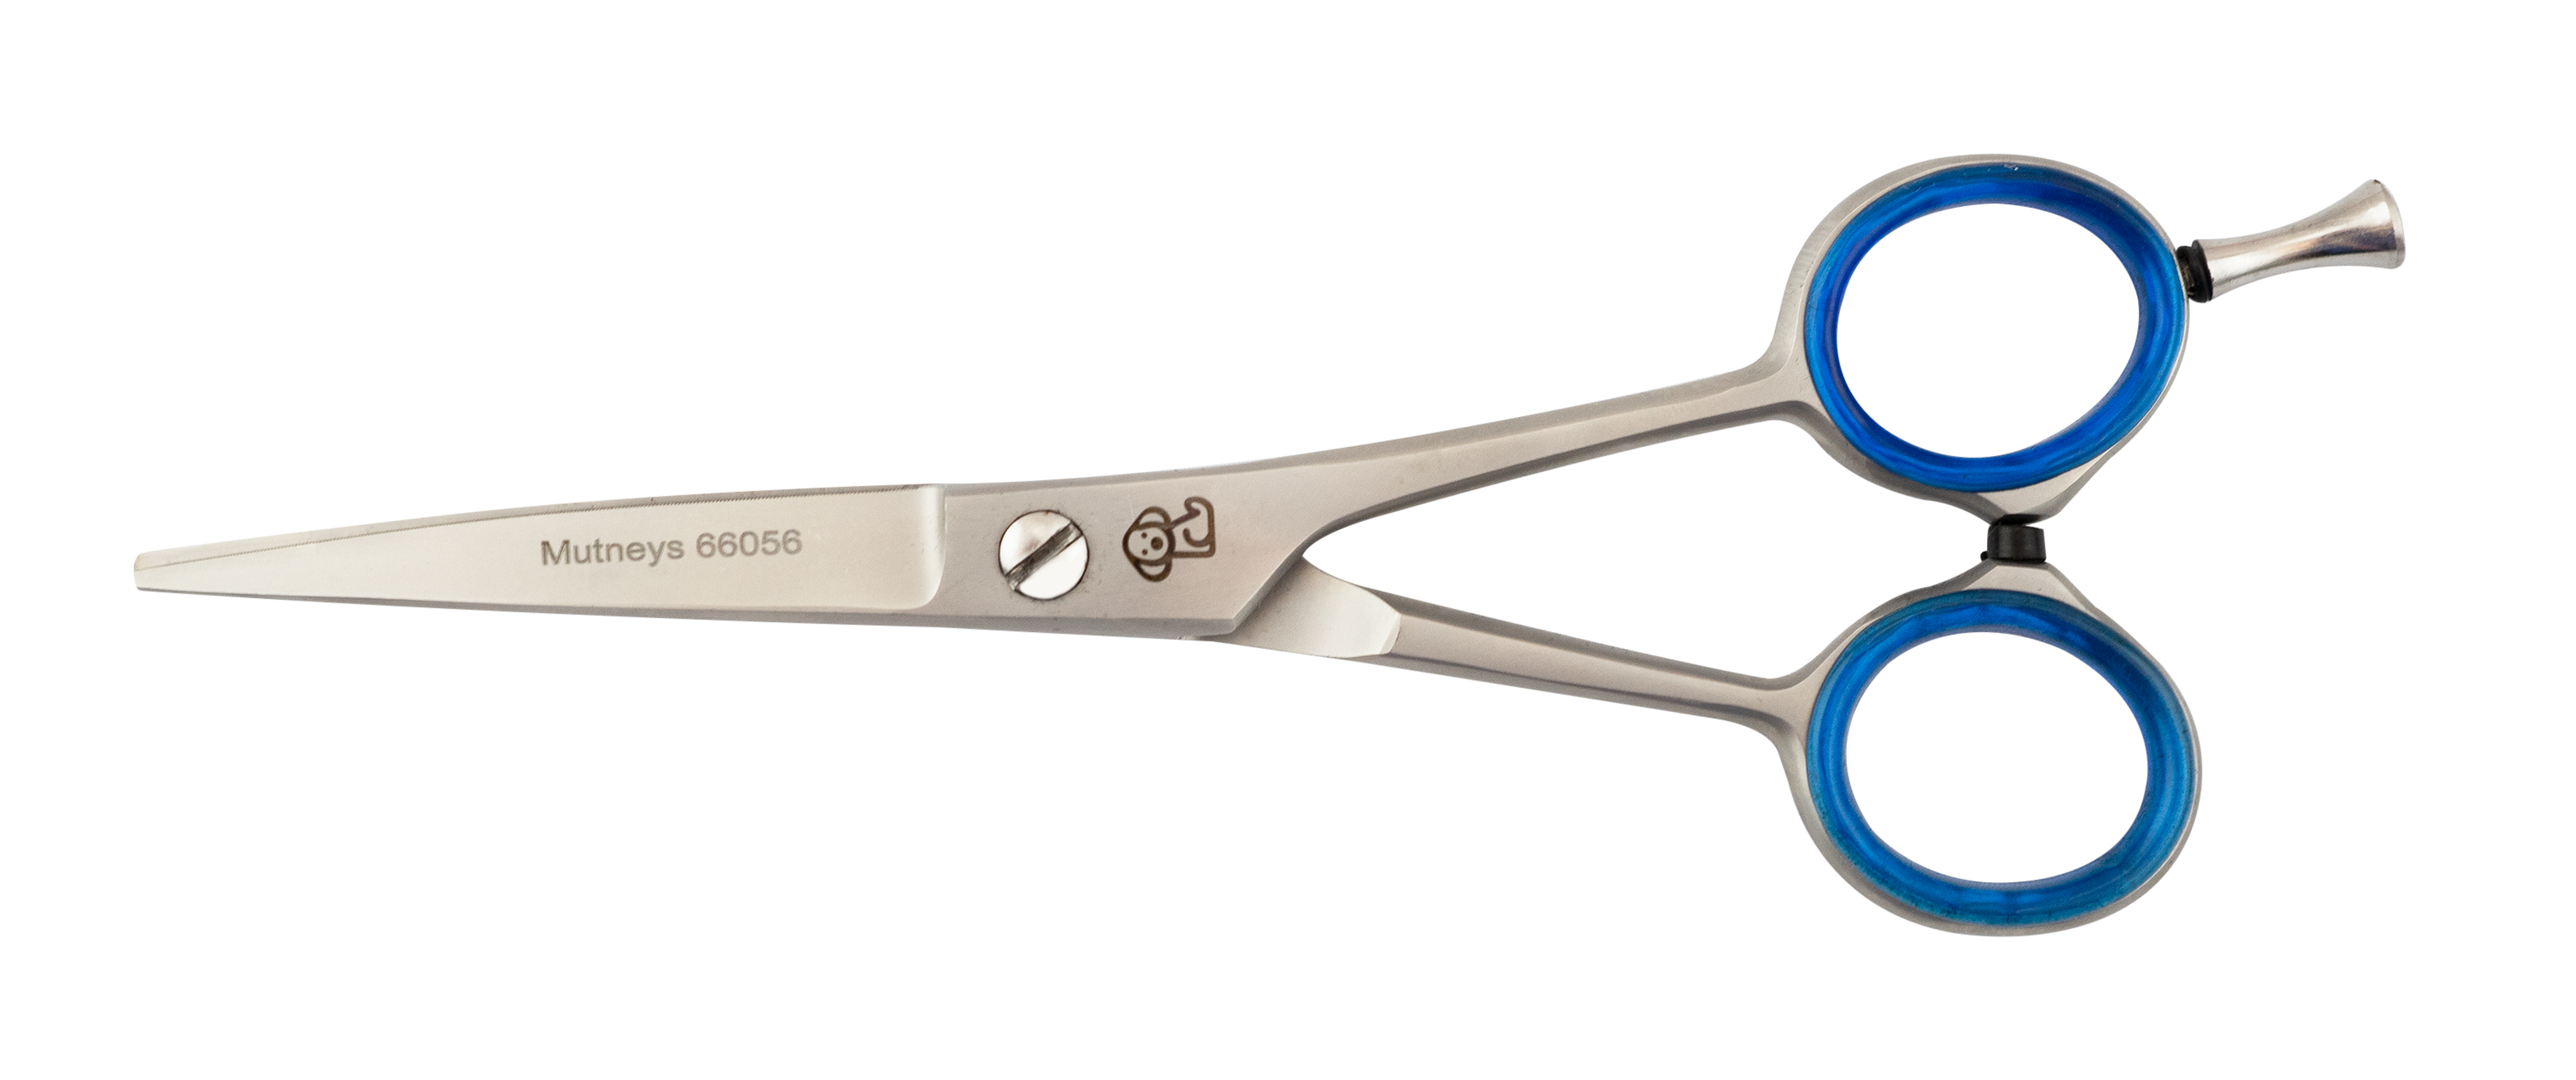
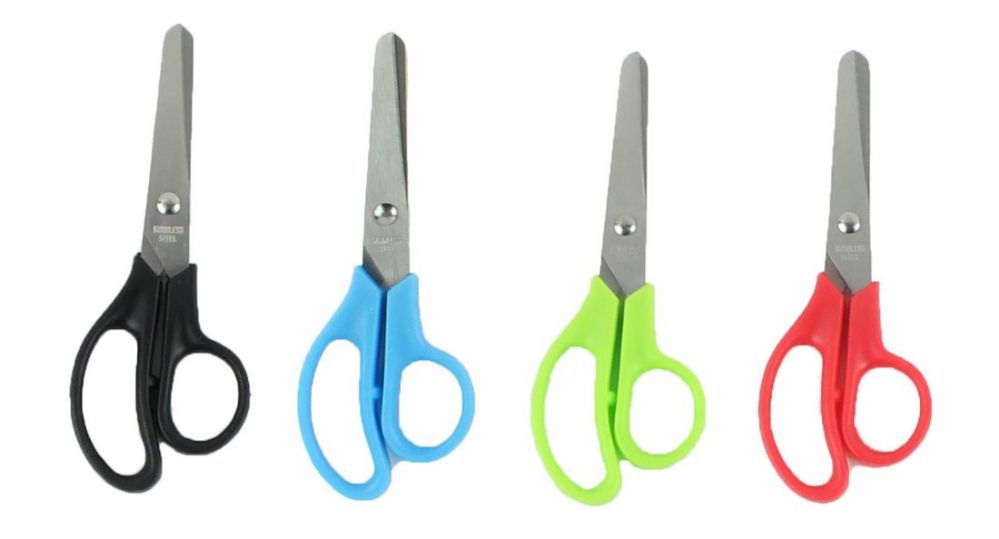
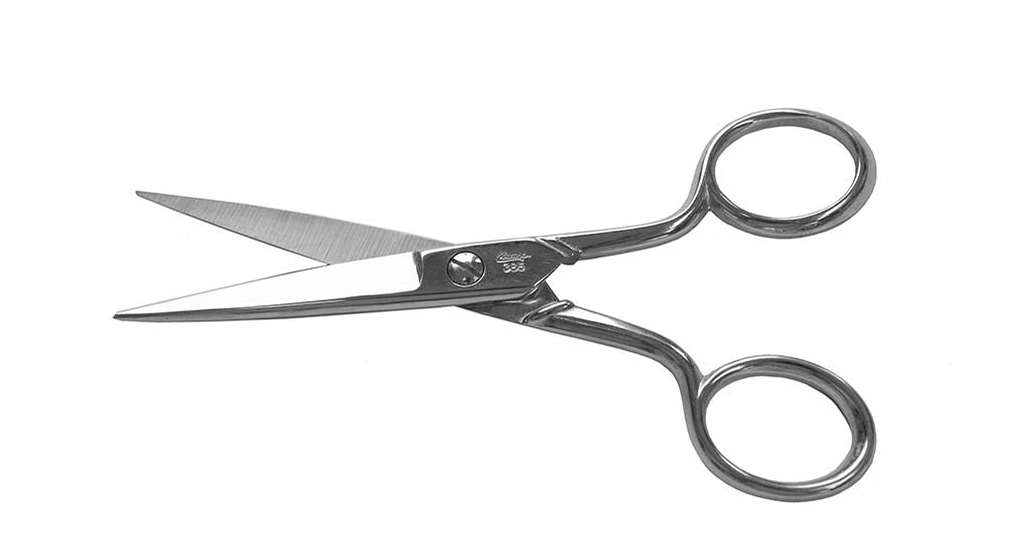
Having a good pair of scissors is essential for any air mattress repair kit. You may need to trim the edges of a vinyl patch or cut out a new patch from the material provided. Make sure to use sharp scissors to avoid creating jagged edges that could cause further damage.5. Scissors

5. Scissors


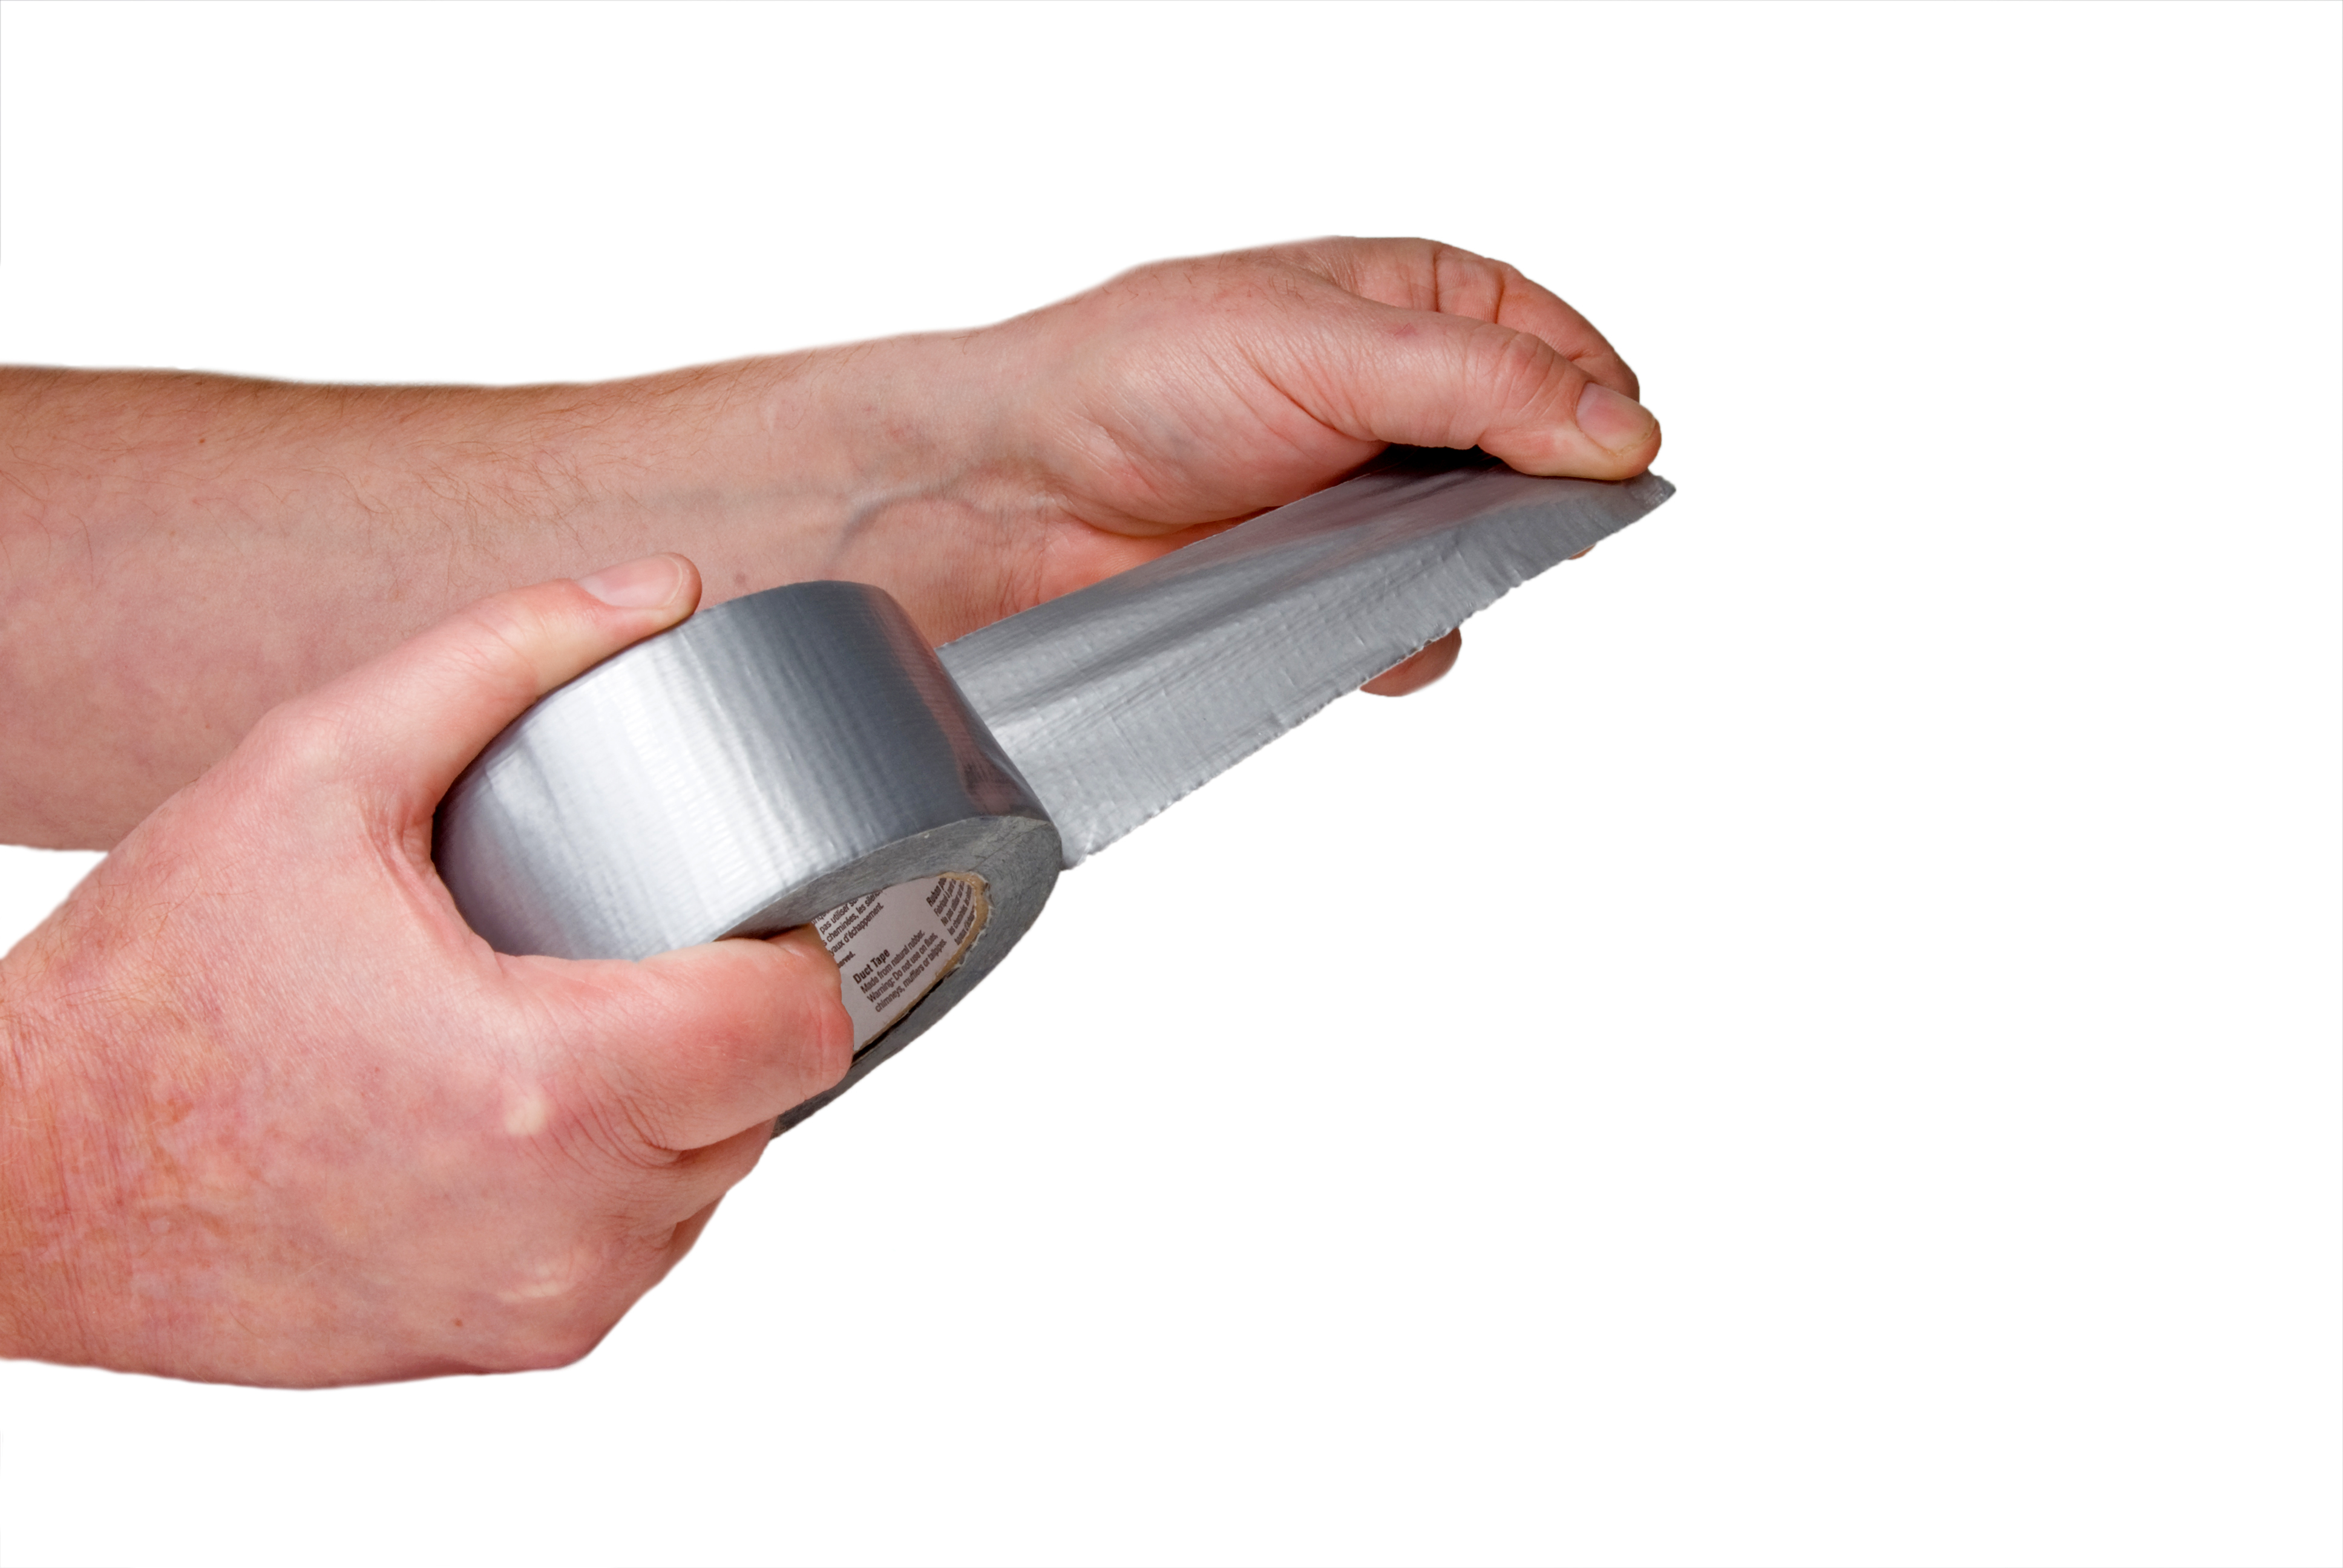
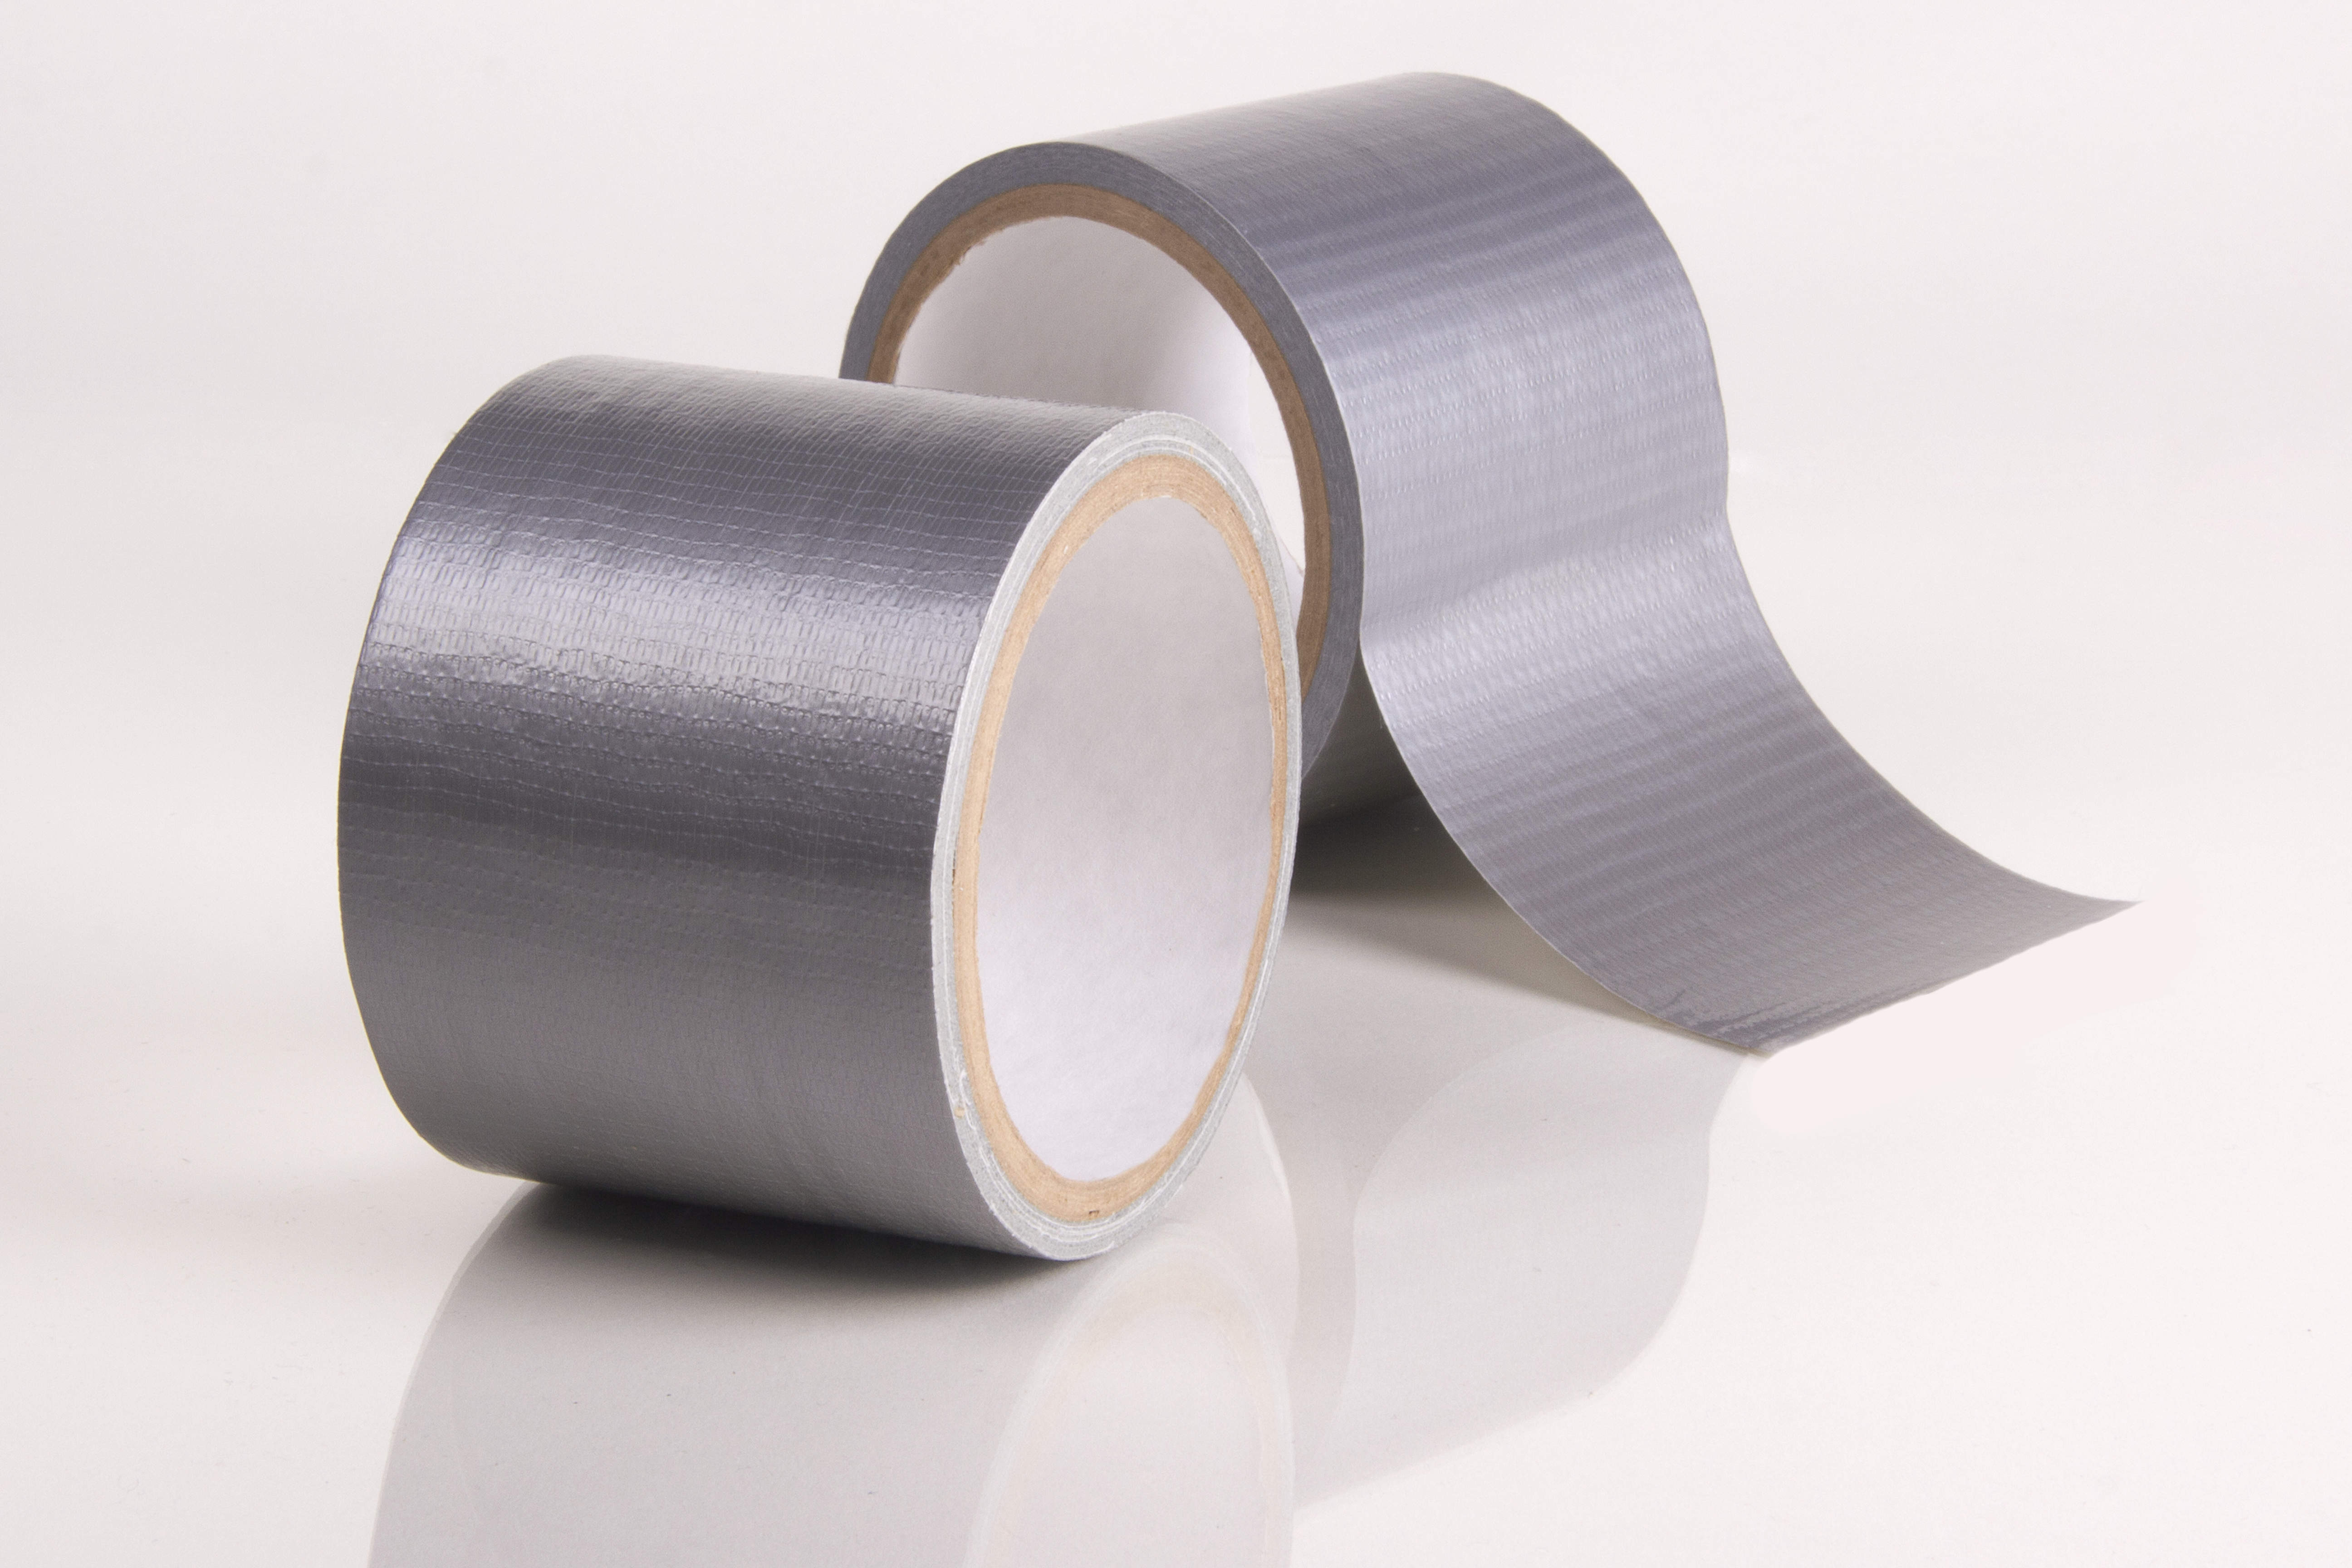
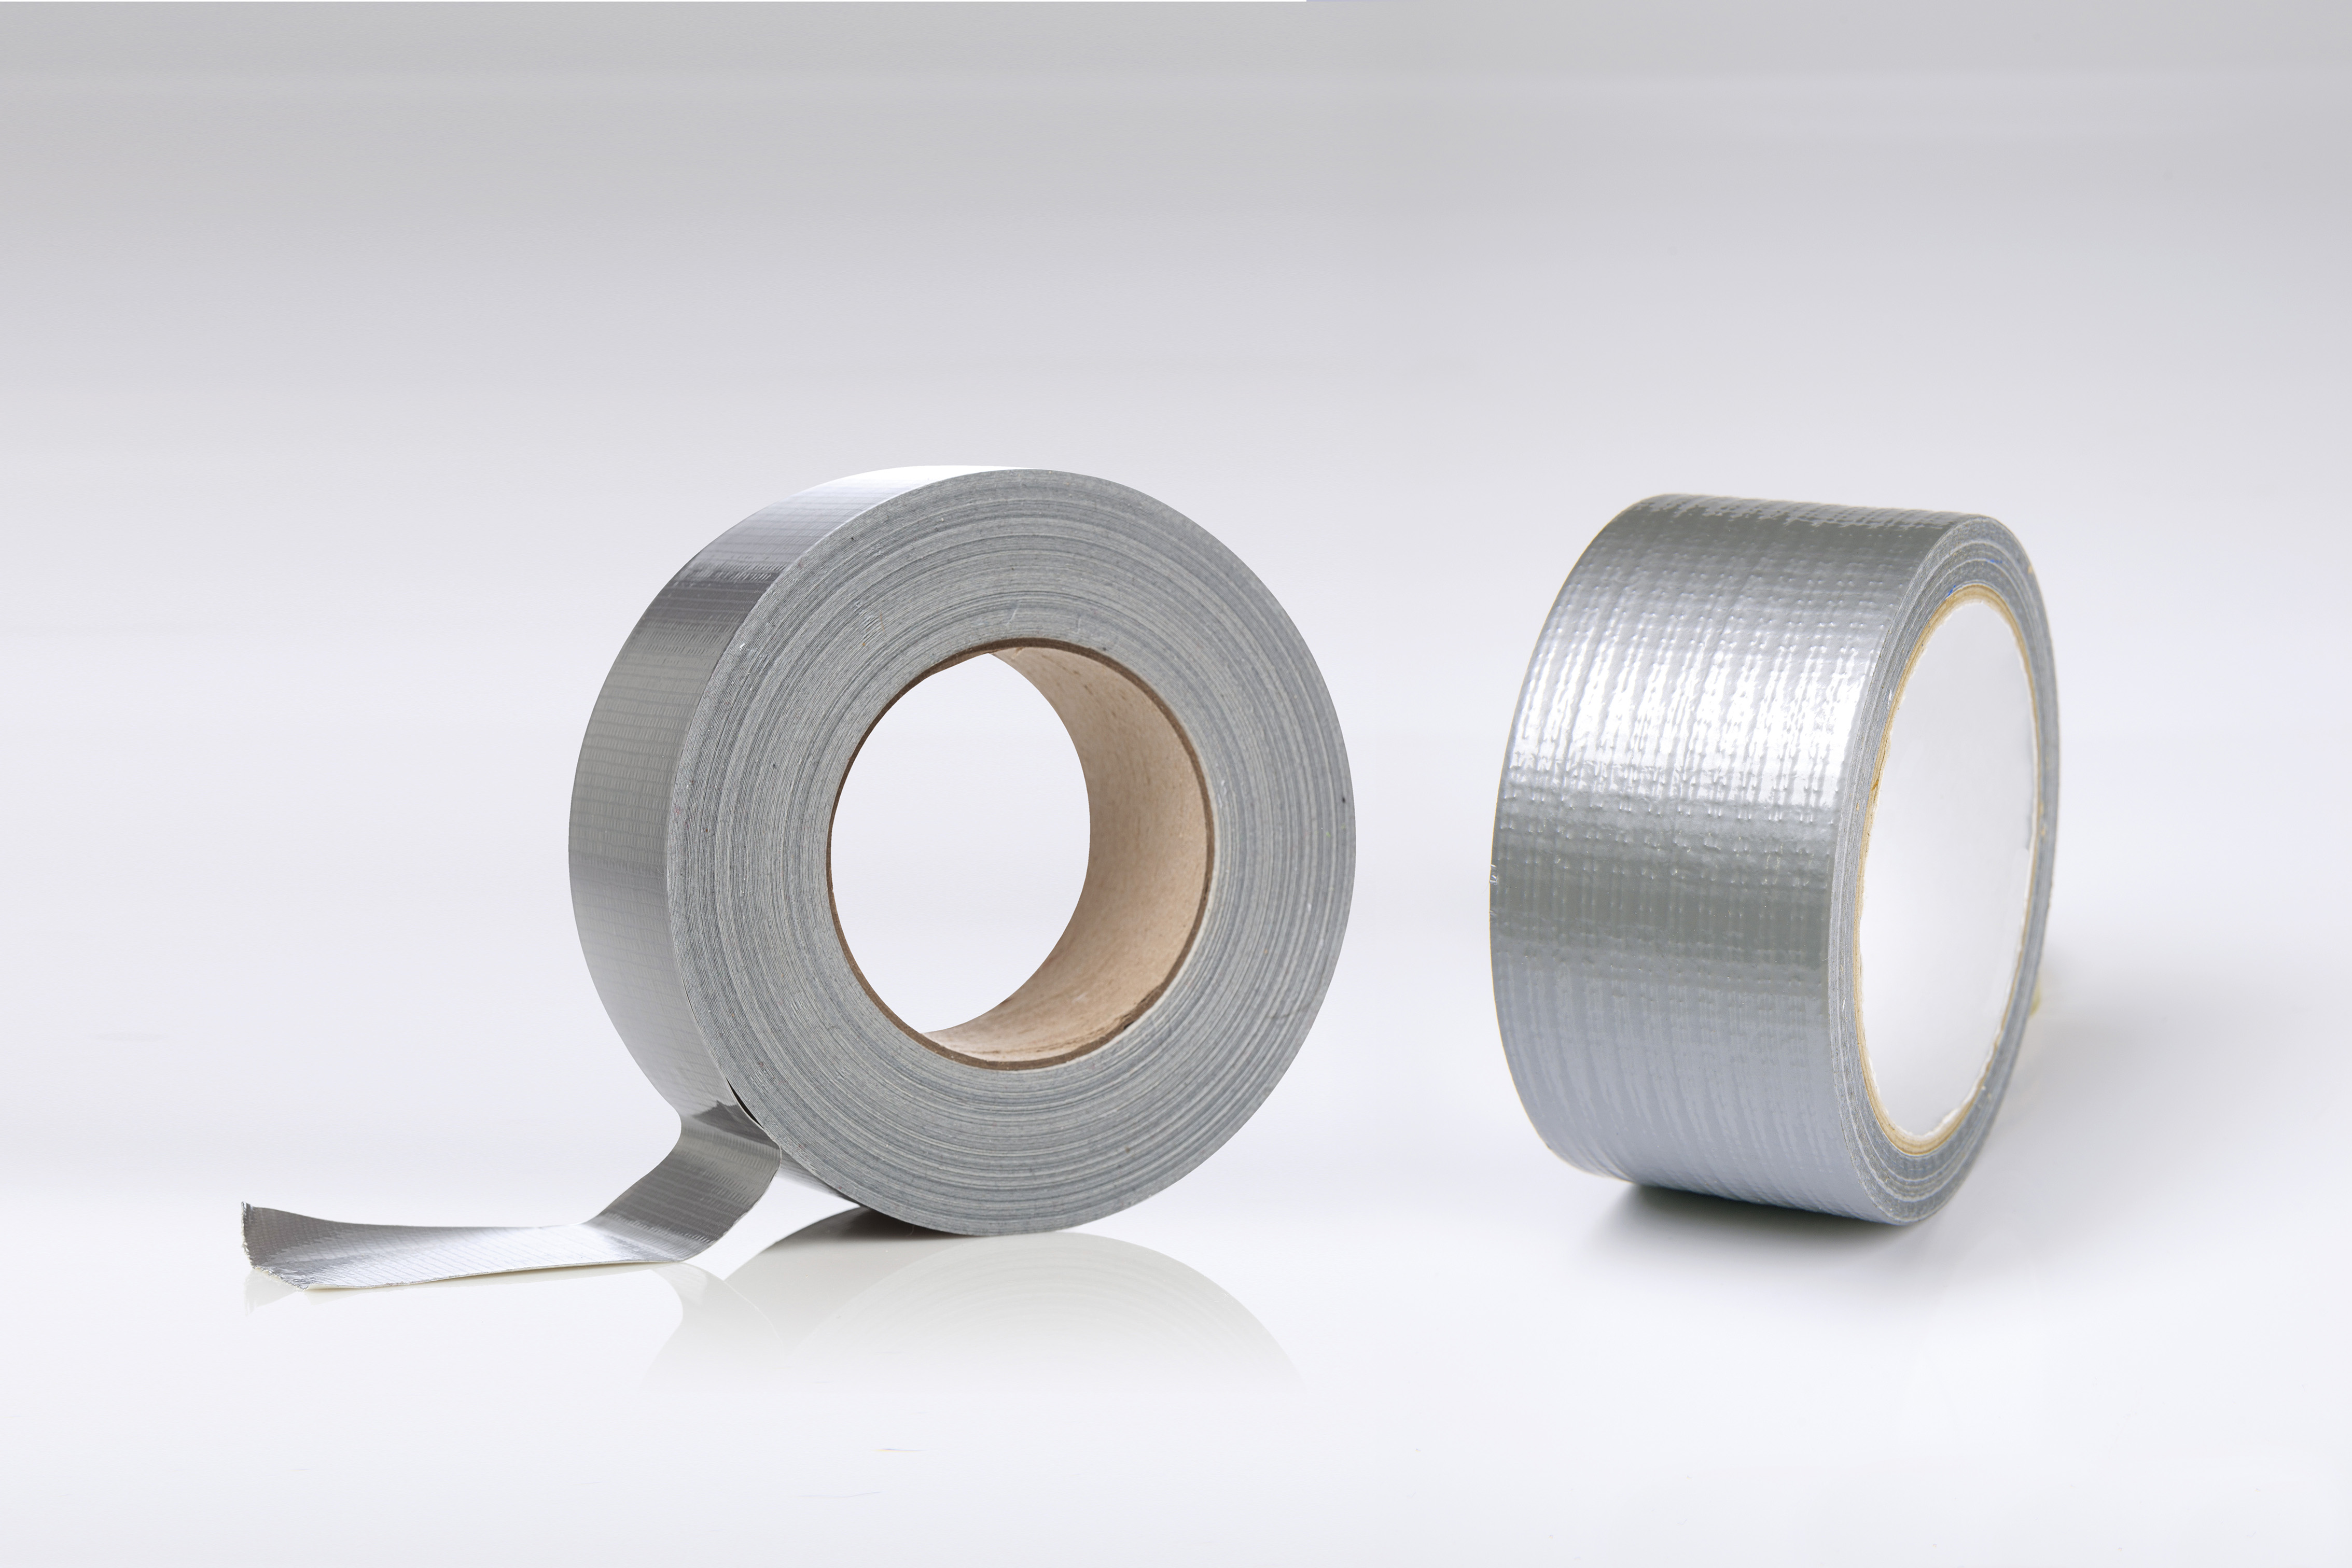
In a pinch, duct tape can be a temporary solution for fixing a leaky air mattress. It is not as reliable as a vinyl patch, but it can help seal smaller holes or tears until you can properly repair the mattress. However, it is not recommended as a long-term solution, as the adhesive can dry out and lose its effectiveness over time.6. Duct tape

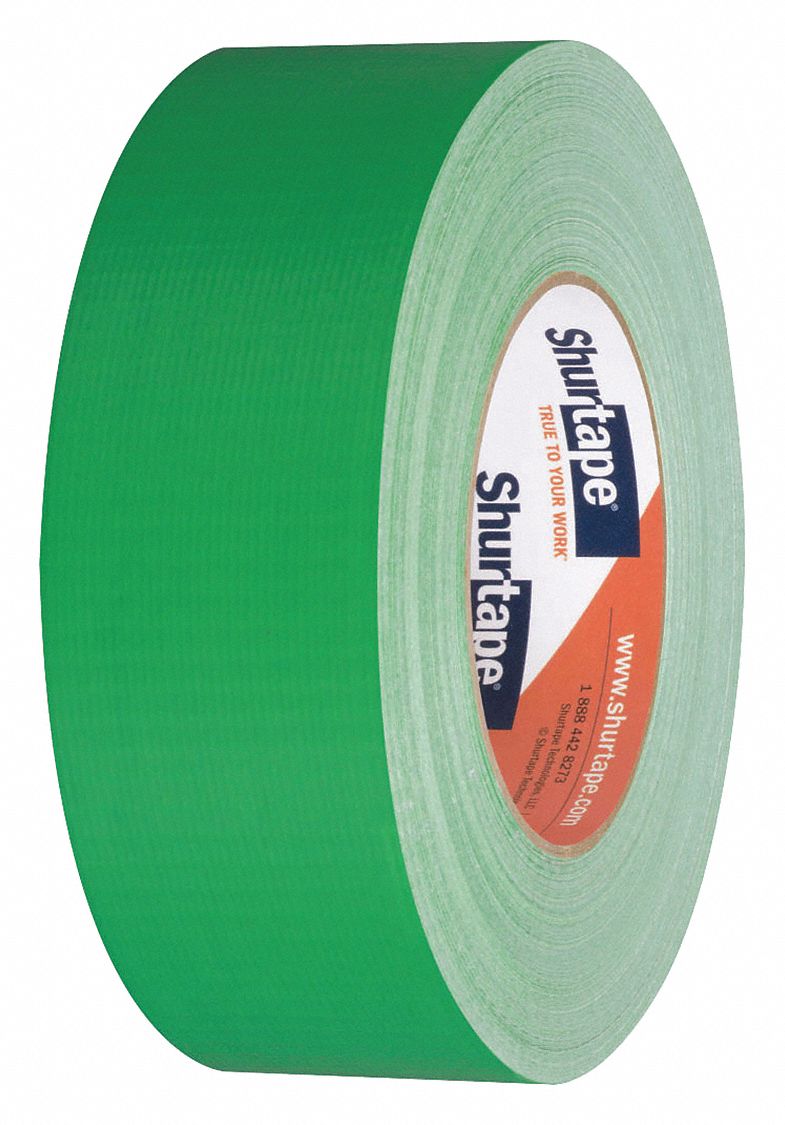

6. Duct tape


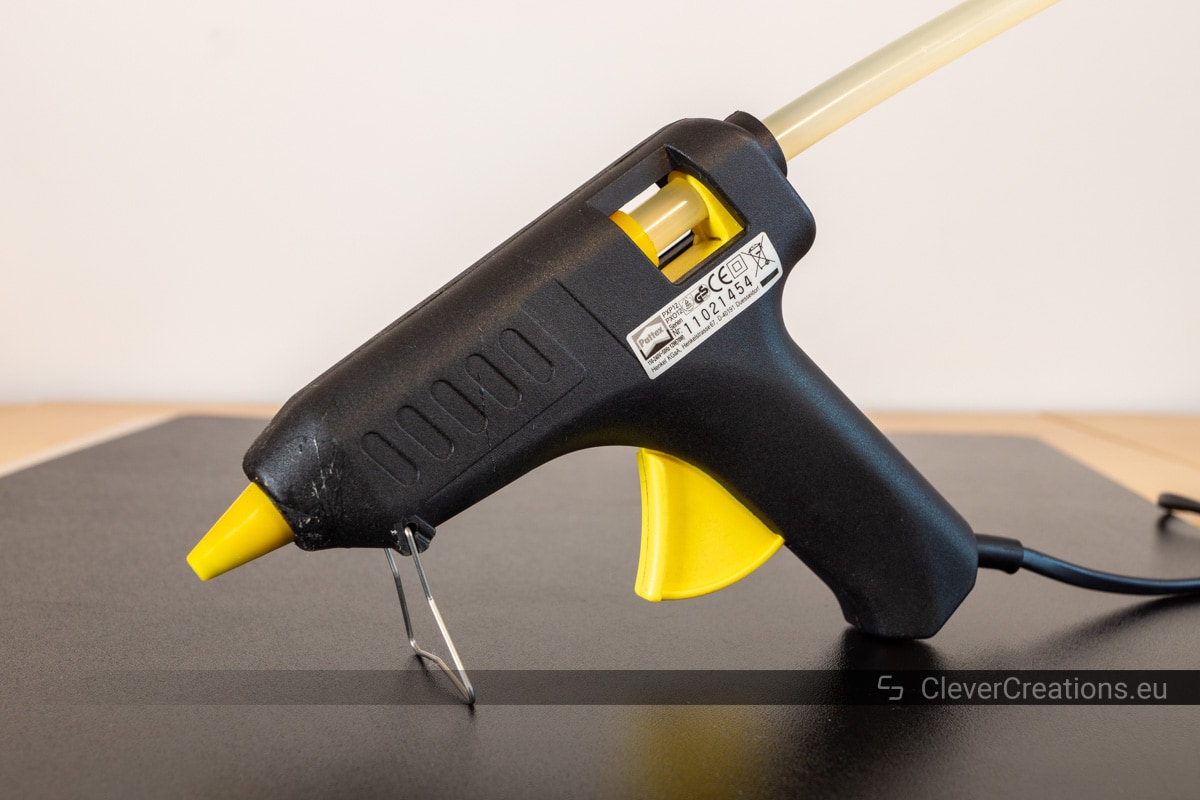
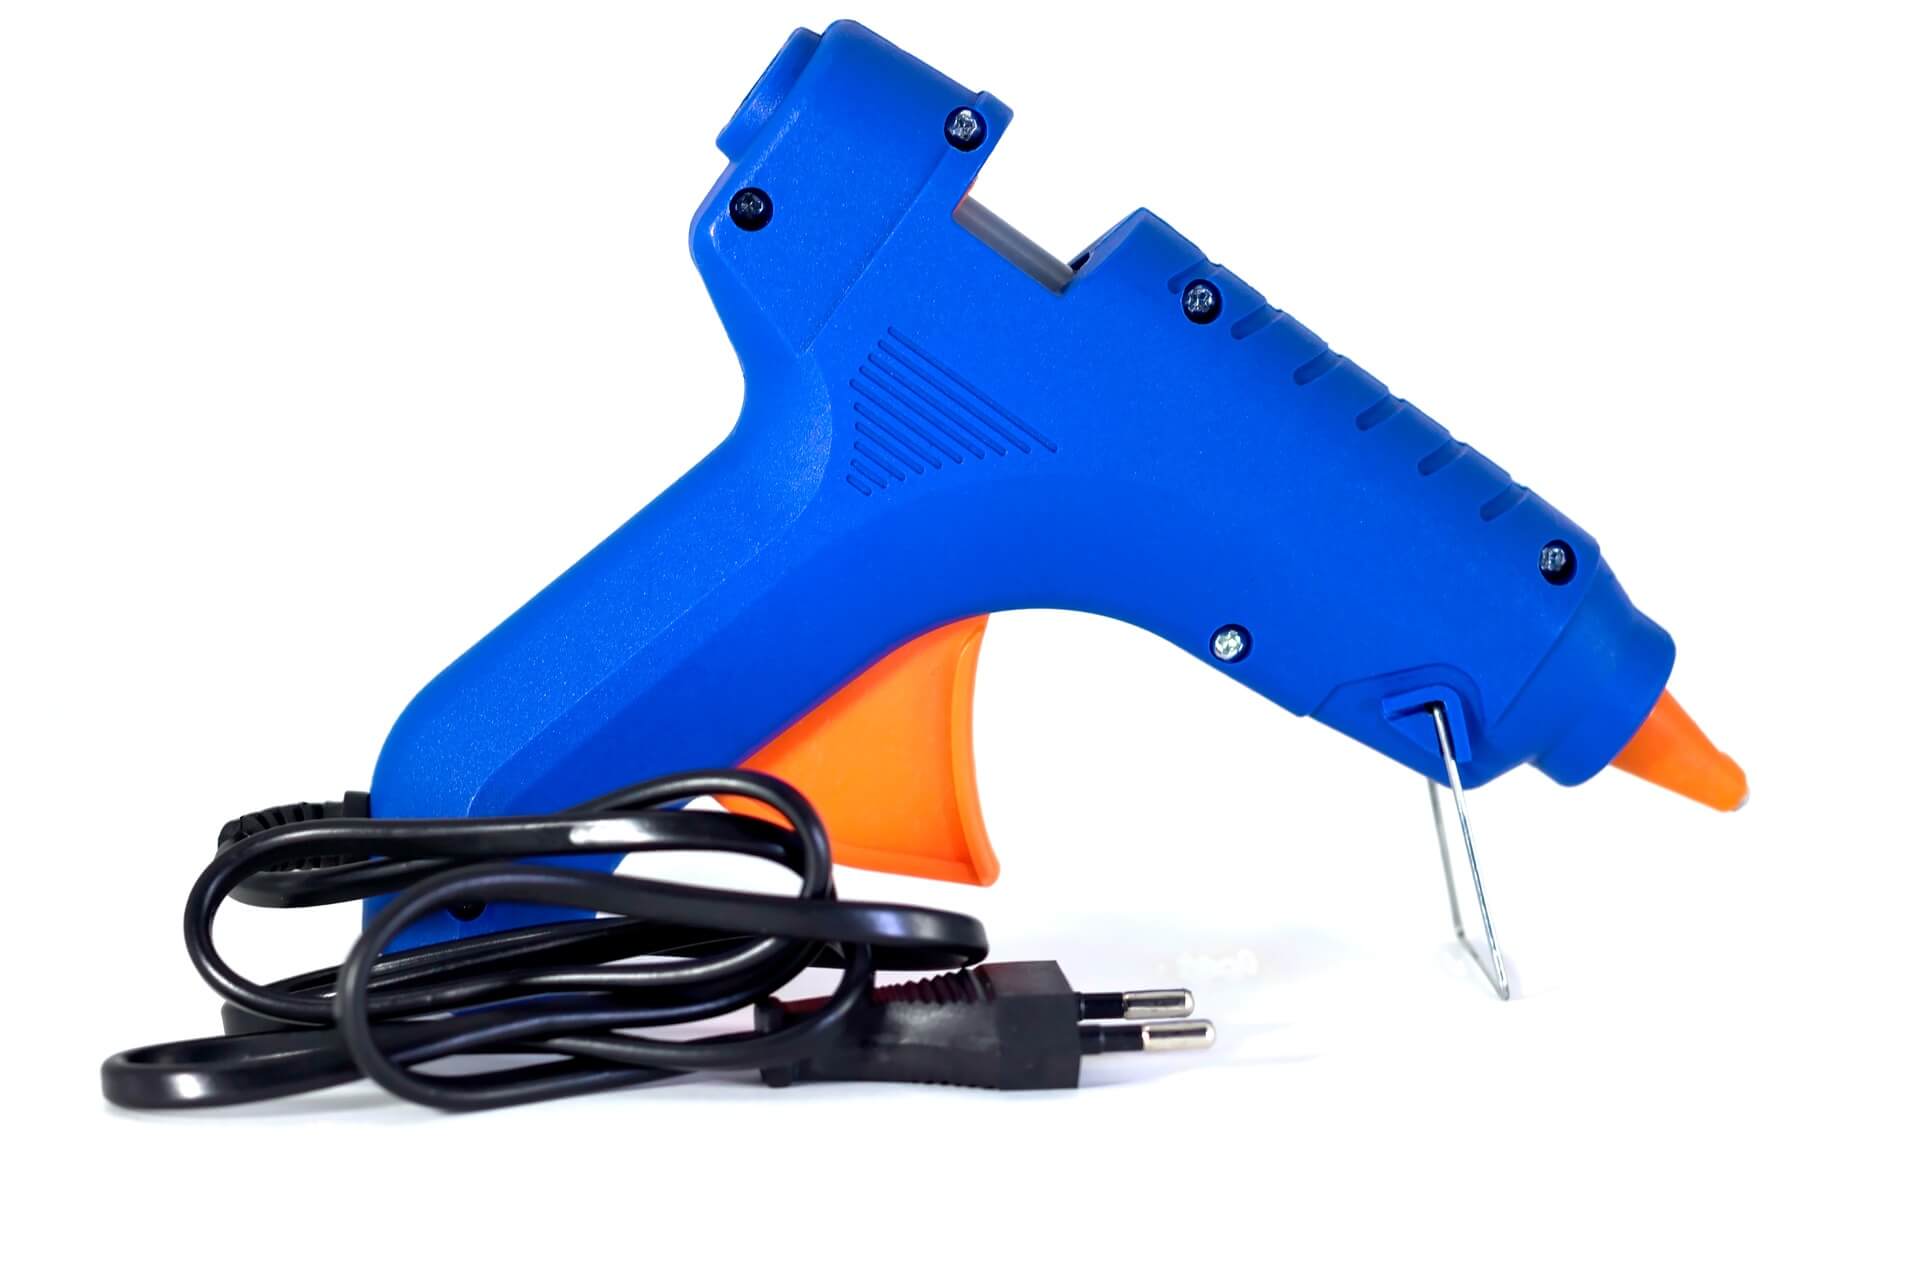
A hot glue gun can also be used to fix small holes or tears in an air mattress. The hot glue dries quickly and creates a strong bond, making it a suitable alternative to rubber cement. However, be careful not to use too much glue, as it can create a hard and uncomfortable spot on your mattress.7. Hot glue gun


7. Hot glue gun


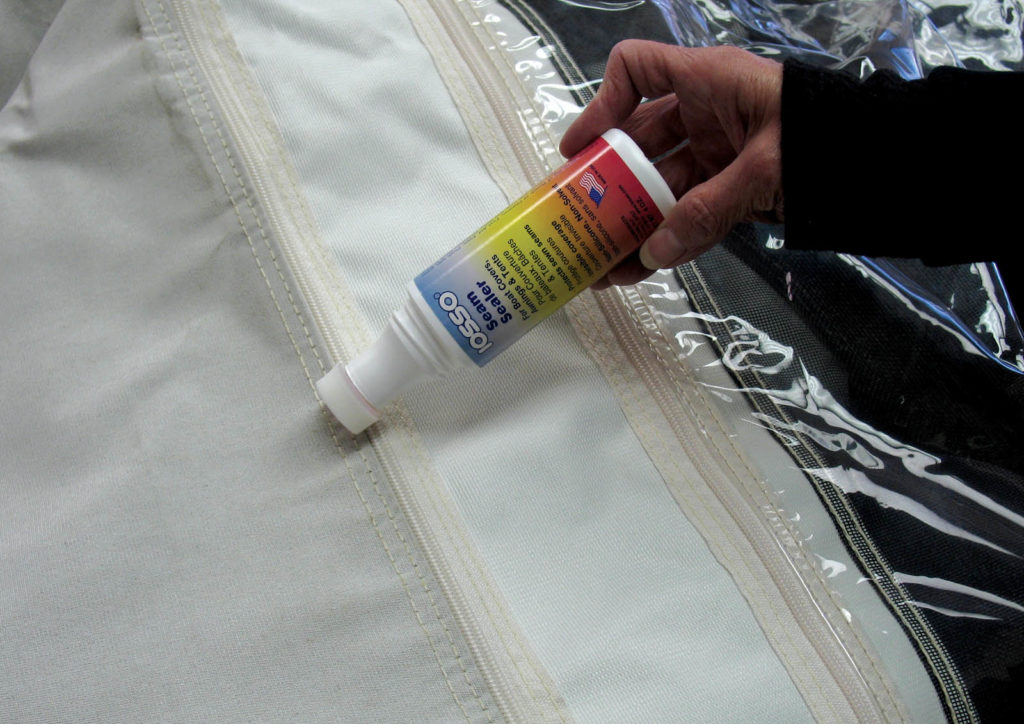
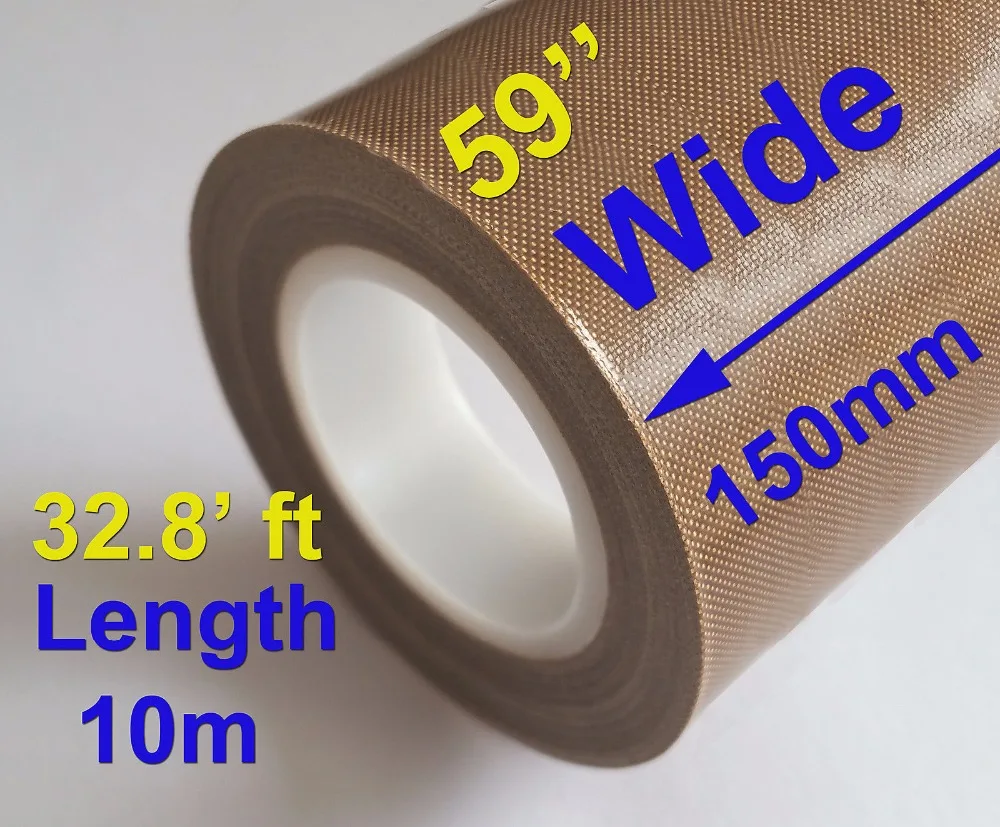
If the leak in your air mattress is coming from a seam rather than a hole or tear, a seam sealer can come in handy. This specialized adhesive is designed to seal and reinforce seams, making it perfect for repairing air mattresses. Simply apply the sealer along the seam and let it dry completely before using your air mattress again.8. Seam sealer
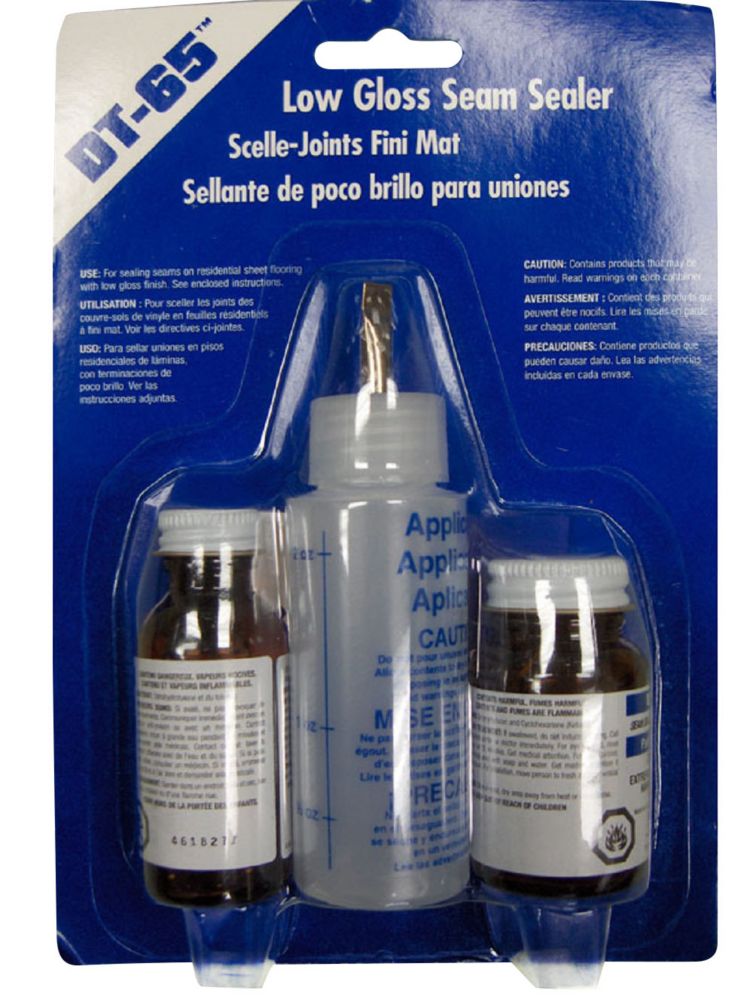

8. Seam sealer


If you don't want to invest in a complete air mattress repair kit, you can purchase an air mattress patch separately. These patches are made specifically for air mattresses and often come with their own adhesive. They are a quick and easy solution for small holes or tears in your air mattress.9. Air mattress patch

9. Air mattress patch


Lastly, adhesive tape can also be used to fix small leaks in an air mattress. It is a temporary solution, but it can help seal the hole until you can properly repair it. Make sure to clean and dry the affected area before applying the tape to ensure a strong bond. In conclusion, having the right tools for repairing a leaky air mattress is crucial for a successful fix. Whether you choose to invest in a complete repair kit or purchase each item separately, having these essential tools on hand will save you time and money in the long run. So next time your air mattress springs a leak, don't panic. With these top 10 best tools for repairing a leaky air mattress, you'll be able to fix it in no time and get back to enjoying a comfortable night's sleep.10. Adhesive tape


10. Adhesive tape


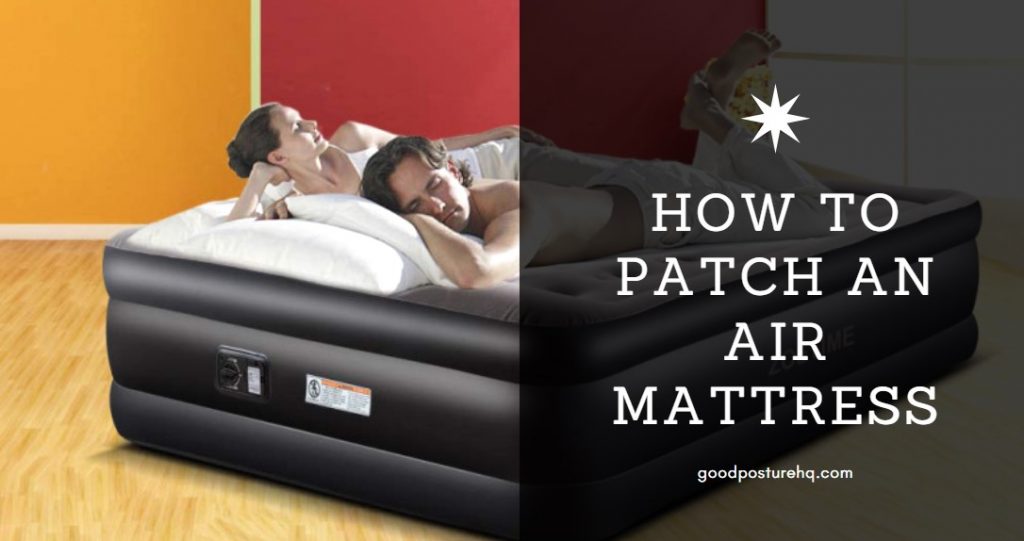
Best Tools for Repairing a Leaky Air Mattress
The Importance of Maintaining Your Air Mattress
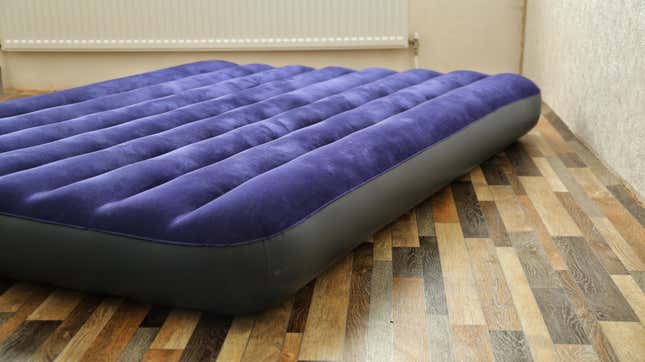
 When it comes to house design, creating a comfortable and inviting space is essential. And one of the key elements of a comfortable bedroom is a good mattress. However, even the best mattresses can encounter problems, and when it comes to air mattresses, leaks are a common issue. Not only can a leaky air mattress disrupt your sleep, but it can also lead to potential health hazards and damage to your flooring. Therefore, it is crucial to have the
best tools for repairing a leaky air mattress
on hand to ensure a good night's rest and maintain the overall condition of your home.
When it comes to house design, creating a comfortable and inviting space is essential. And one of the key elements of a comfortable bedroom is a good mattress. However, even the best mattresses can encounter problems, and when it comes to air mattresses, leaks are a common issue. Not only can a leaky air mattress disrupt your sleep, but it can also lead to potential health hazards and damage to your flooring. Therefore, it is crucial to have the
best tools for repairing a leaky air mattress
on hand to ensure a good night's rest and maintain the overall condition of your home.
Identifying the Source of the Leak
 Before you can repair a leaky air mattress, you need to determine the source of the leak. This can be a challenging task, as the leak may not always be visible. However, with the right tools, you can quickly identify the issue and take the necessary steps to fix it. One of the most effective tools for this task is a
leak detector
. This device uses a solution that bubbles when it comes into contact with air, helping you locate even the tiniest of leaks. Additionally, a
flashlight
can also come in handy, as it can help you spot any punctures or tears in the mattress material.
Before you can repair a leaky air mattress, you need to determine the source of the leak. This can be a challenging task, as the leak may not always be visible. However, with the right tools, you can quickly identify the issue and take the necessary steps to fix it. One of the most effective tools for this task is a
leak detector
. This device uses a solution that bubbles when it comes into contact with air, helping you locate even the tiniest of leaks. Additionally, a
flashlight
can also come in handy, as it can help you spot any punctures or tears in the mattress material.
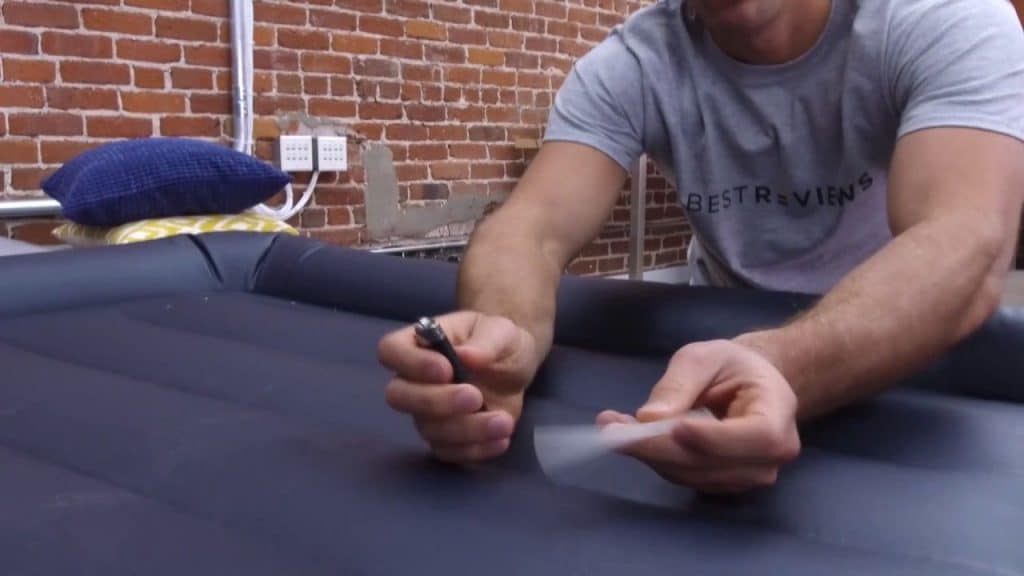
Sealing the Leak
 Once you have identified the source of the leak, the next step is to seal it. The most commonly used tool for this task is a
vinyl patch kit
. These kits typically include a patch and an adhesive that bonds well with the vinyl material of the air mattress. Simply clean the area around the leak, apply the adhesive, and cover it with the patch. Another useful tool for sealing leaks is a
heat gun
. This tool is particularly helpful for repairing larger punctures or tears, as it uses heat to melt the vinyl and create a strong bond between the patch and the mattress.
Once you have identified the source of the leak, the next step is to seal it. The most commonly used tool for this task is a
vinyl patch kit
. These kits typically include a patch and an adhesive that bonds well with the vinyl material of the air mattress. Simply clean the area around the leak, apply the adhesive, and cover it with the patch. Another useful tool for sealing leaks is a
heat gun
. This tool is particularly helpful for repairing larger punctures or tears, as it uses heat to melt the vinyl and create a strong bond between the patch and the mattress.
Preventing Future Leaks
 While it is important to have the right tools for repairing a leaky air mattress, it is also crucial to take preventative measures to avoid future leaks. Regularly inspecting and cleaning your air mattress can help identify any potential issues before they become bigger problems. Additionally, using a
mattress protector
can help prevent accidental punctures and tears, prolonging the lifespan of your air mattress.
In conclusion, having the
best tools for repairing a leaky air mattress
is crucial for maintaining a comfortable and safe sleeping environment. By identifying the source of the leak, sealing it with the appropriate tools, and taking preventative measures, you can ensure that your air mattress remains in excellent condition for years to come. So, make sure to keep these tools on hand and regularly check your air mattress for any signs of leaks.
While it is important to have the right tools for repairing a leaky air mattress, it is also crucial to take preventative measures to avoid future leaks. Regularly inspecting and cleaning your air mattress can help identify any potential issues before they become bigger problems. Additionally, using a
mattress protector
can help prevent accidental punctures and tears, prolonging the lifespan of your air mattress.
In conclusion, having the
best tools for repairing a leaky air mattress
is crucial for maintaining a comfortable and safe sleeping environment. By identifying the source of the leak, sealing it with the appropriate tools, and taking preventative measures, you can ensure that your air mattress remains in excellent condition for years to come. So, make sure to keep these tools on hand and regularly check your air mattress for any signs of leaks.