Kitchen plinth lights can add a beautiful touch to your kitchen and provide functional lighting for tasks such as cooking or cleaning. However, the installation process may seem daunting, especially if you're not familiar with electrical wiring. In this guide, we'll walk you through the steps of wiring kitchen plinth lights and provide some tips for a successful installation.Wiring Kitchen Plinth Light


Wiring Kitchen Plinth Light

The first step in installing kitchen plinth lights is to determine the placement of the lights. Measure the length of your cabinets and decide how many lights you will need. It's important to choose the right type of plinth lights for your kitchen, whether it's LED or halogen, and consider the color temperature and brightness level for your desired ambiance.How to Install Kitchen Plinth Lights


How to Install Kitchen Plinth Lights


When it comes to choosing the best kitchen plinth lights, there are a few options to consider. LED lights are energy-efficient and long-lasting, making them a popular choice. Halogen lights, on the other hand, offer a warmer color temperature and can be dimmed to create a cozy atmosphere. Whichever type you choose, make sure to select high-quality lights from reputable brands for optimal performance.Best Kitchen Plinth Lights


Best Kitchen Plinth Lights


If you're not familiar with electrical wiring, it's essential to have a wiring diagram to guide you through the process. The diagram will show you how to connect the lights to a power source and any necessary switches. Make sure to follow the instructions carefully and turn off the power to the area before starting any work.Wiring Diagram for Kitchen Plinth Lights

Wiring Diagram for Kitchen Plinth Lights


Once you have all the necessary tools and materials, it's time to start the installation process. Here are the steps to follow:Step-by-Step Guide for Wiring Kitchen Plinth Lights


Step-by-Step Guide for Wiring Kitchen Plinth Lights


When choosing the right kitchen plinth lights, it's important to consider not only the type and color temperature but also the size and design. Make sure the lights you choose are the appropriate size for your cabinets and that the design complements your kitchen's style. You may also want to consider using different types of plinth lights for different areas of your kitchen, such as under cabinets and above the sink.Choosing the Right Kitchen Plinth Lights


Choosing the Right Kitchen Plinth Lights

Here are a few additional tips to keep in mind when installing kitchen plinth lights:Tips for Installing Kitchen Plinth Lights


Tips for Installing Kitchen Plinth Lights

While installing kitchen plinth lights may seem straightforward, there are some common mistakes that can occur. These include using the wrong type of lights for the space, improper wiring connections, and not turning off the power before starting work. To avoid these mistakes, make sure to carefully plan and follow the instructions provided in the wiring diagram.Common Mistakes When Wiring Kitchen Plinth Lights


Common Mistakes When Wiring Kitchen Plinth Lights
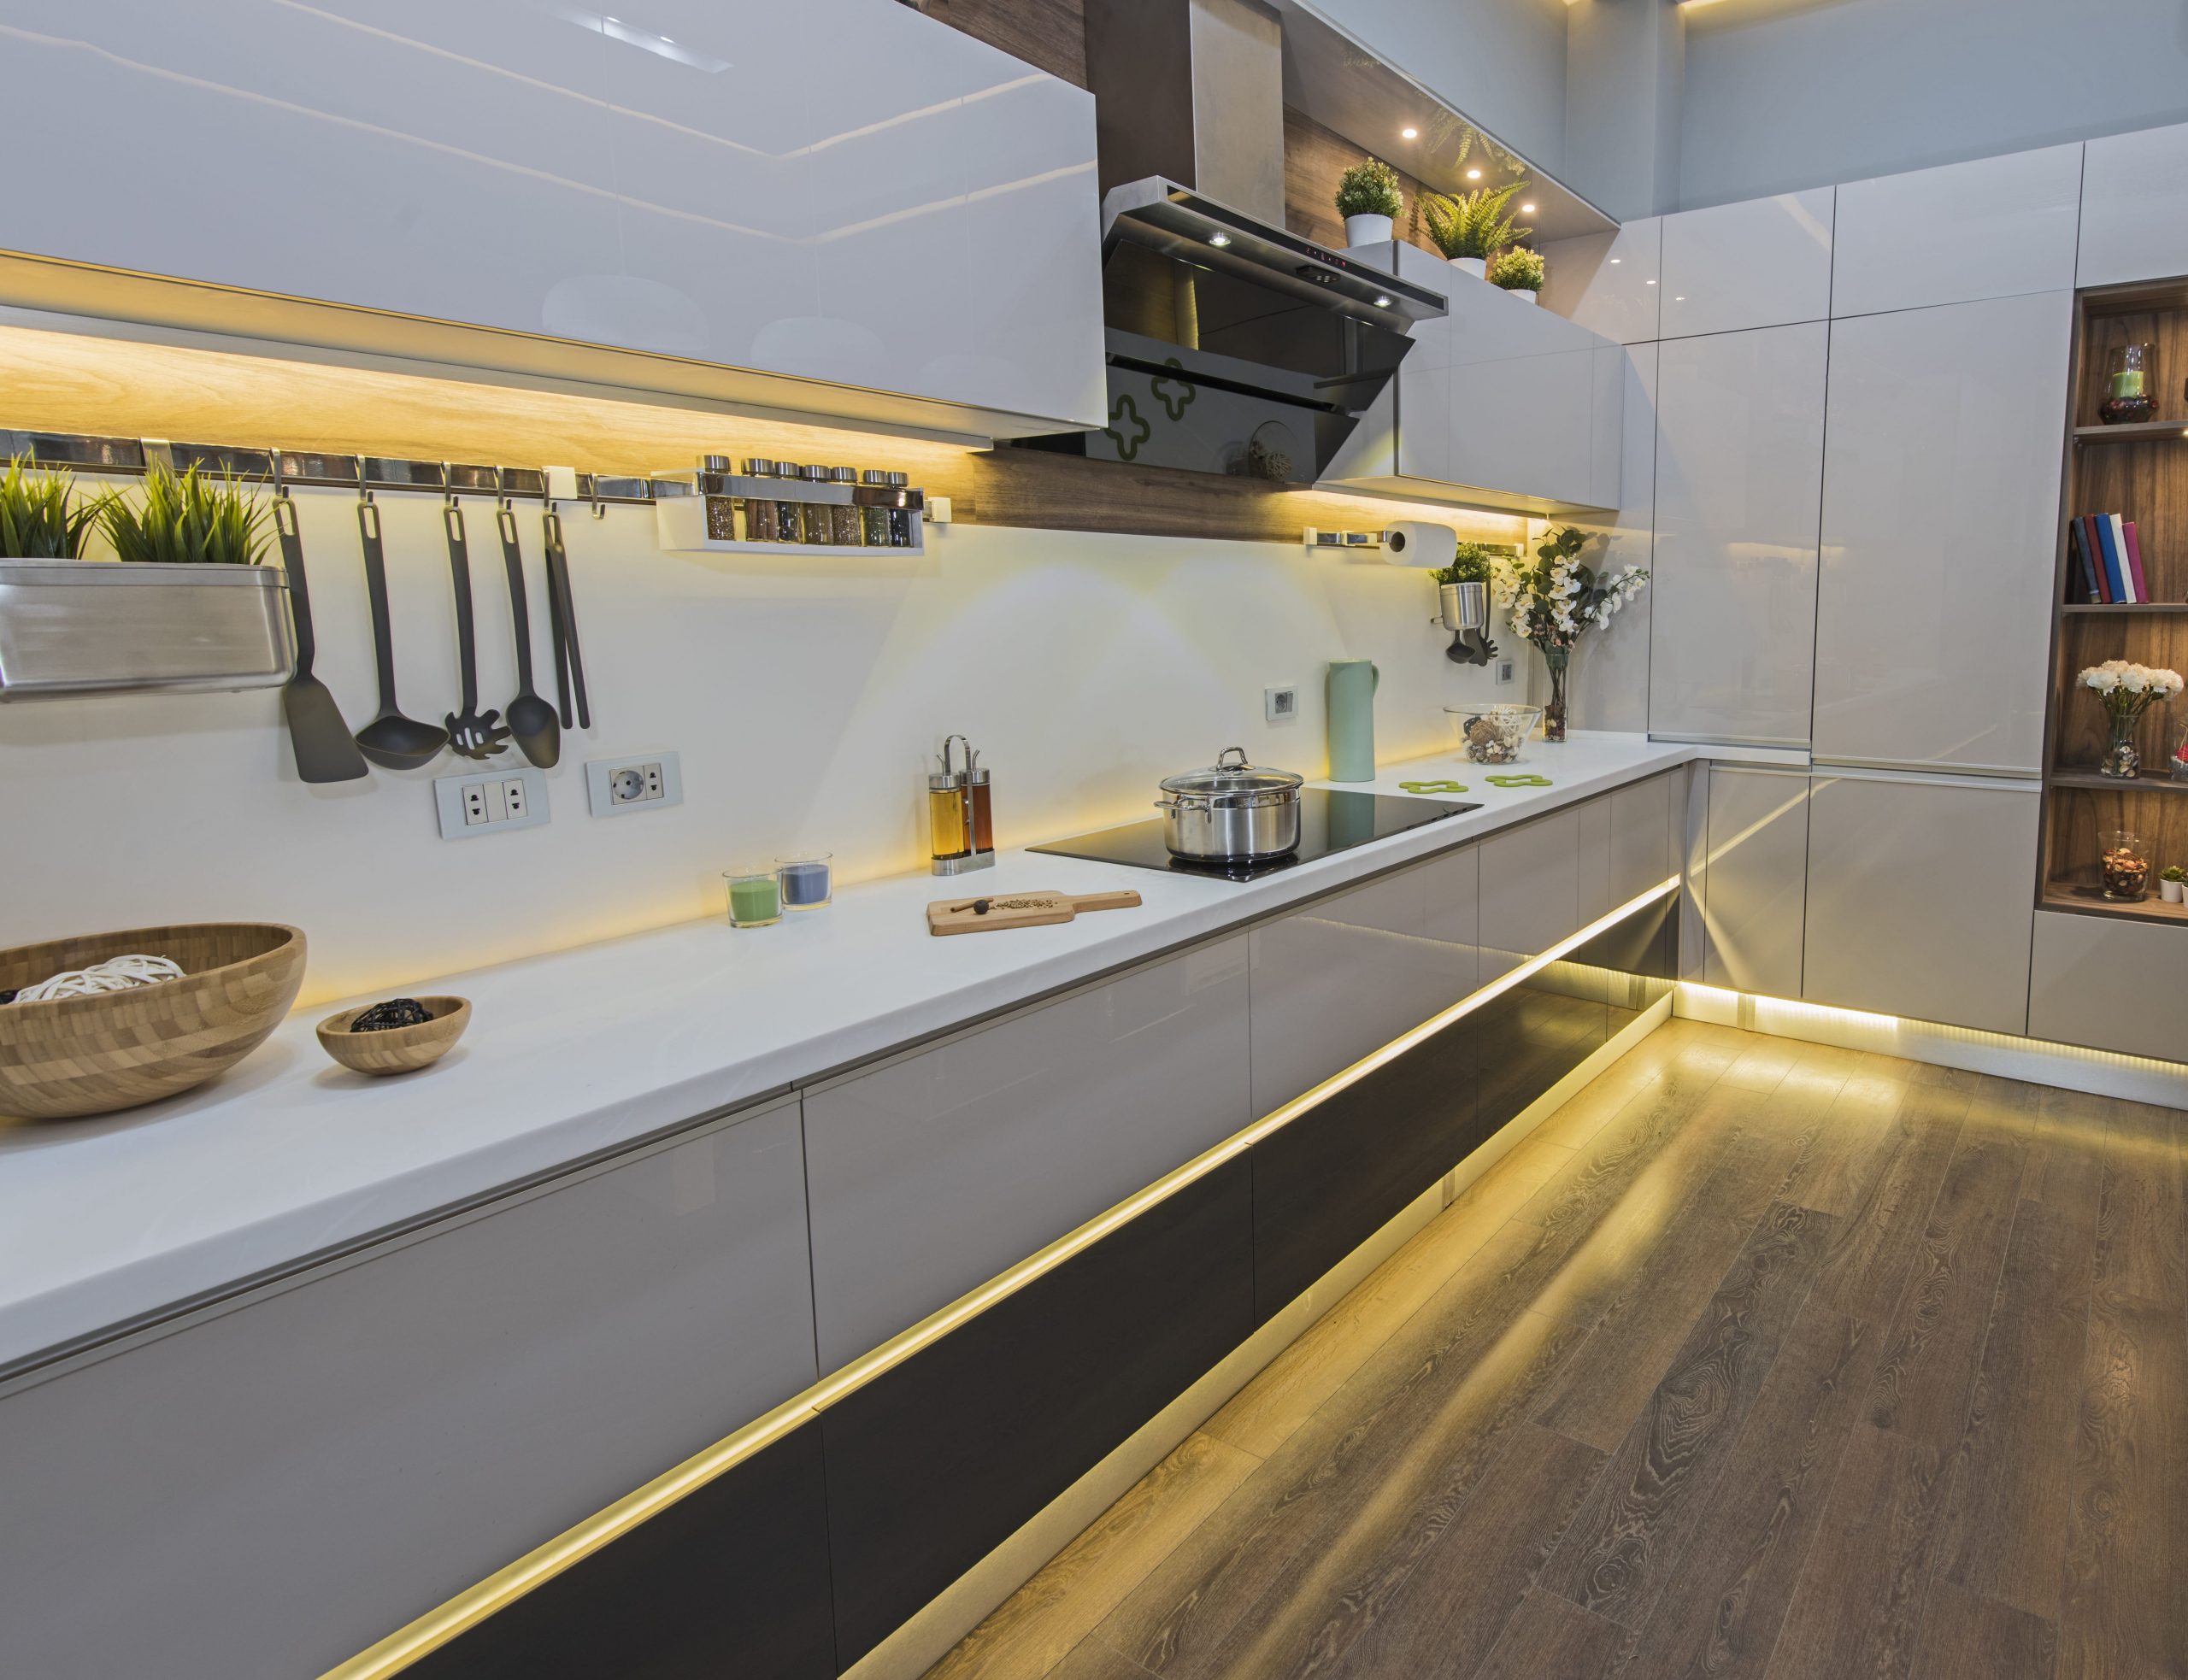

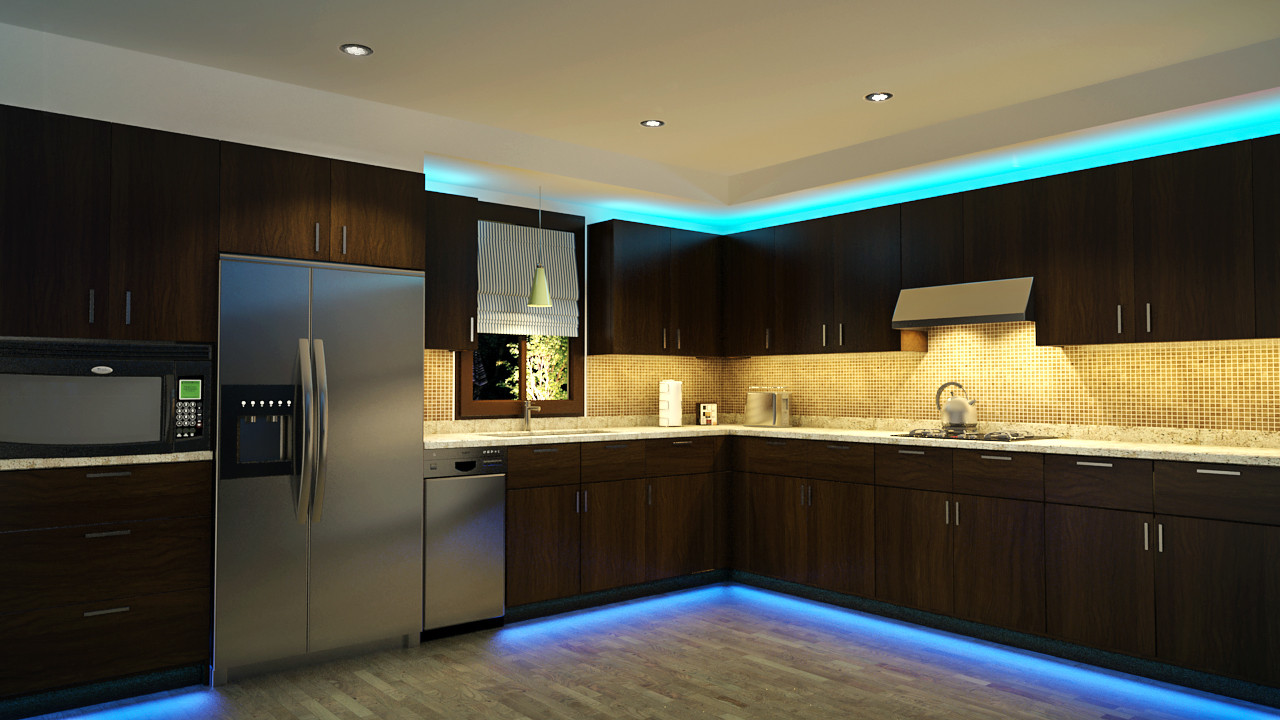

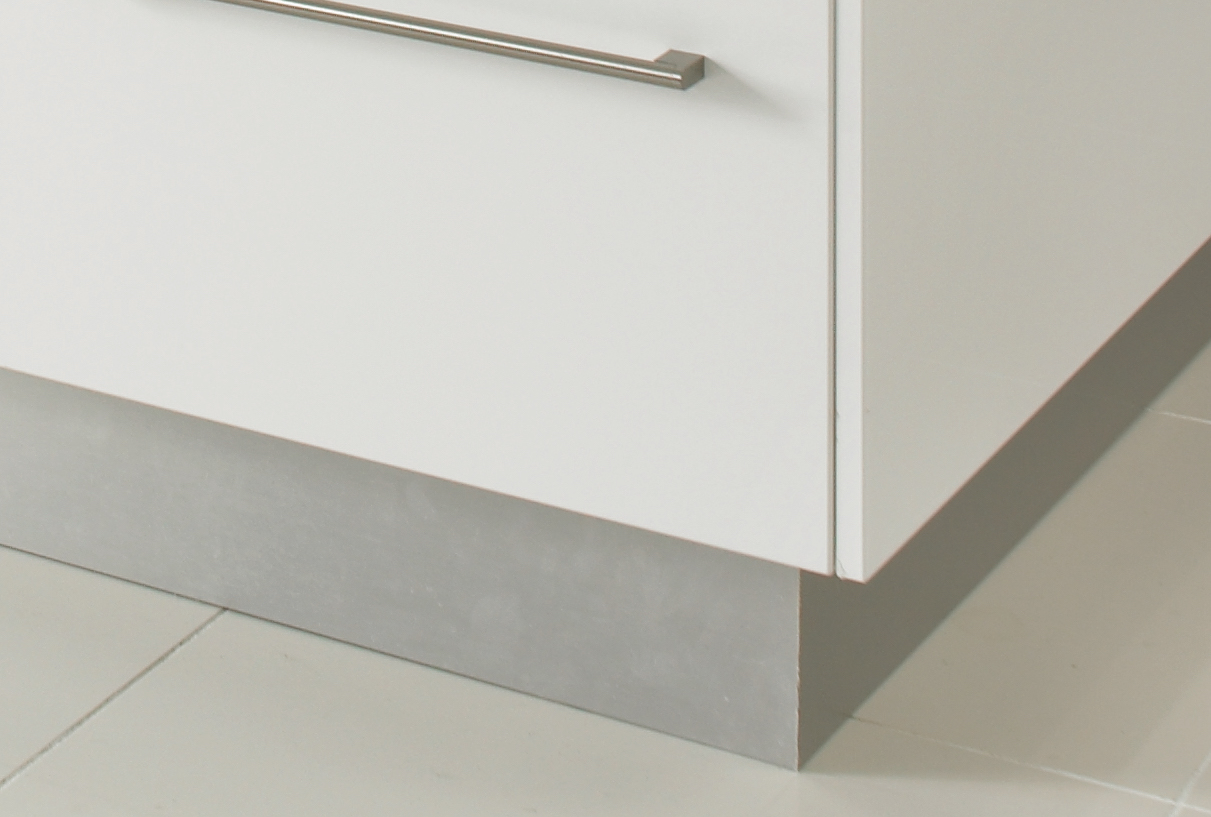
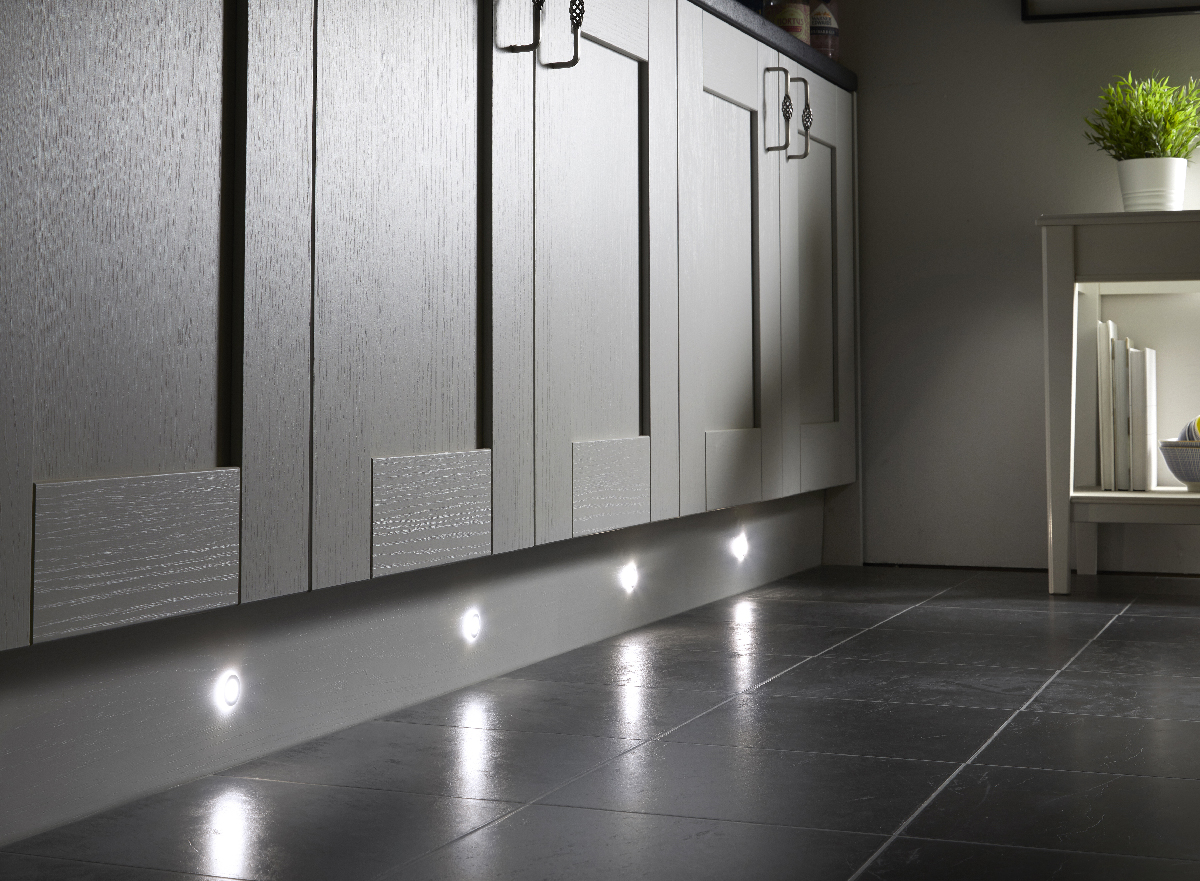
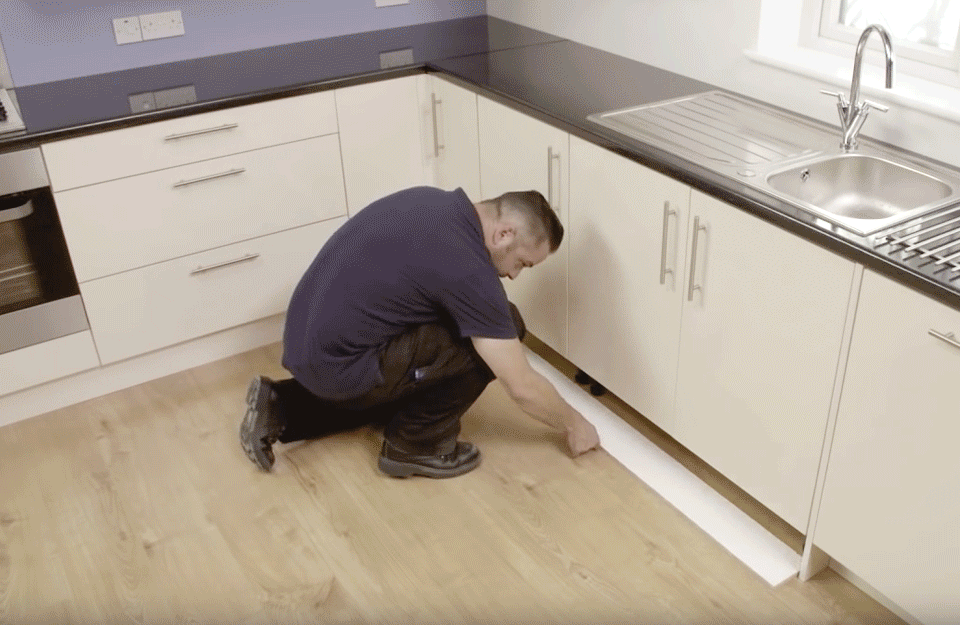
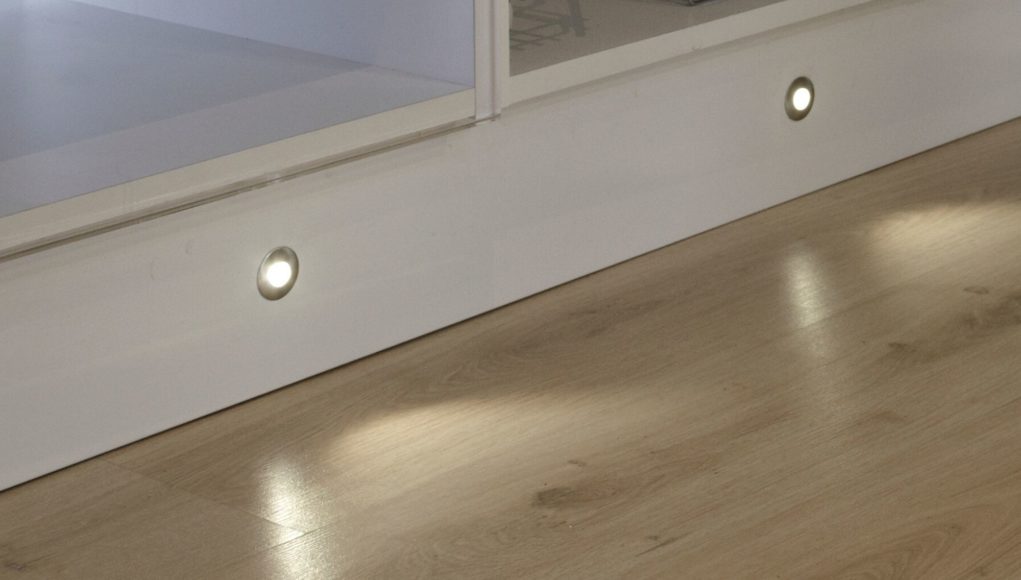
One common concern when installing kitchen plinth lights is how to hide the wires. There are a few options for concealing the wires, such as using cable clips or a cable trunking system. You can also drill a small hole in the cabinet wall to feed the wires through and then cover it with a plinth or baseboard. Whichever method you choose, make sure the wires are safely secured and not exposed.How to Hide Wires for Kitchen Plinth Lights


How to Hide Wires for Kitchen Plinth Lights

While it's always recommended to hire a licensed electrician for any electrical work, some people may prefer to take on the installation of kitchen plinth lights as a DIY project. If you decide to do it yourself, make sure to follow all safety precautions and do thorough research beforehand. It's also a good idea to have someone with electrical experience supervise or assist you during the installation process.DIY Kitchen Plinth Light Installation


DIY Kitchen Plinth Light Installation


How to Wire Kitchen Plinth Lights: A Guide for the Perfect Kitchen Design
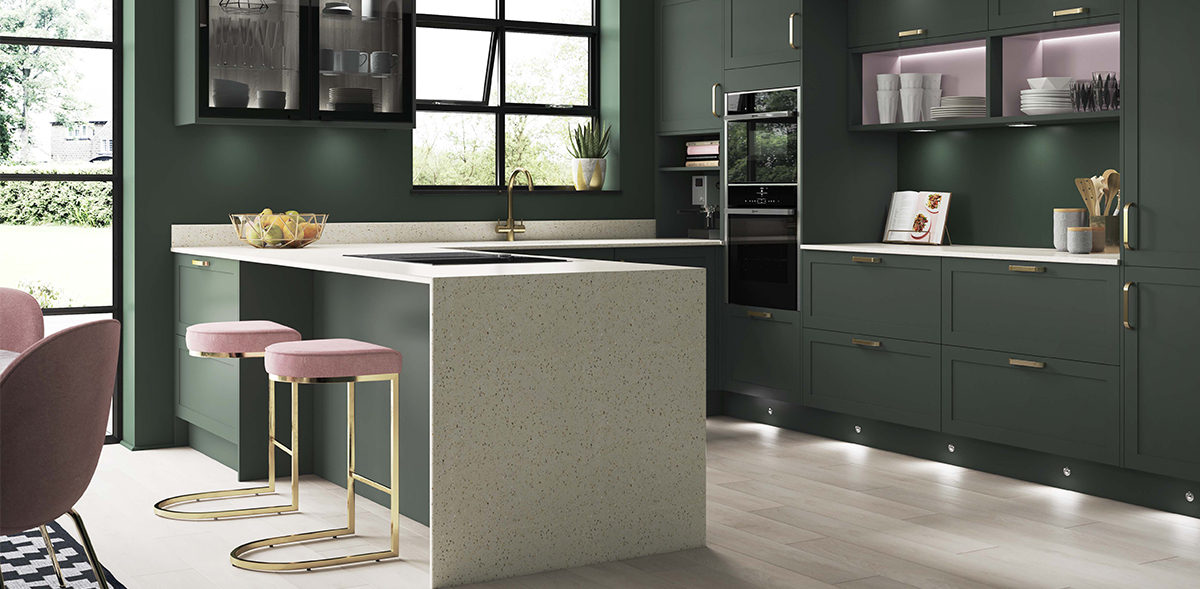
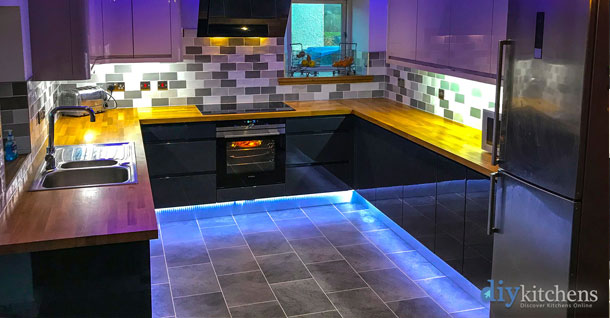
Kitchen plinth lights are a subtle yet effective way to add ambiance and functionality to your kitchen. They are small, low-level lights that are installed at the bottom of your kitchen cabinets or units, providing a soft and warm glow that can improve the overall look and feel of your kitchen. Wiring these lights may seem like a daunting task, but with the right tools and knowledge, you can easily achieve a professional and sleek design for your kitchen.
Gather Your Tools and Materials

The first step in wiring kitchen plinth lights is to gather all the necessary tools and materials. This includes electrical wiring, connectors, a drill, screws, and a screwdriver . It's important to ensure that all of these items are of good quality and suitable for the task at hand. You may also need a wire stripper and pliers for the wiring process.
Plan and Measure Your Layout

Before you start wiring, it's crucial to have a plan and know where you want to install your plinth lights. Measure the length of the plinth area and determine how many lights you will need. It's recommended to have one light for every 10-12 inches of plinth space. This will ensure even lighting and avoid any dark spots.
Turn Off the Power

Safety should always be a top priority when working with electricity. Make sure to turn off the power at the circuit breaker before starting any wiring work. Use a voltage tester to double-check that the power is off before proceeding.
Drill Holes for Wiring

Using a drill , make small holes in the back of your cabinets or units where you want to install the lights. These holes will serve as entry points for the wiring to connect to the lights. Make sure to drill the holes in a hidden area to keep the wires out of sight.
Connect the Wires

Now it's time to connect the wires. Strip the ends of the electrical wires and connect them to the lights with the connectors . Make sure to follow the instructions provided by the manufacturer for the specific lights you are using. Use pliers to tightly secure the connections.
Secure the Lights and Test
Once all the wires are connected, use screws and a screwdriver to secure the lights in place. Make sure they are flush with the bottom of the cabinets or units. Once everything is securely in place, turn the power back on and test the lights to make sure they are working properly.
With these simple steps, you can easily wire kitchen plinth lights and add a touch of elegance and functionality to your kitchen design. Remember to always prioritize safety and consult a professional if you are unsure about any step in the process. Enjoy your newly lit kitchen and the cozy atmosphere it creates!


:max_bytes(150000):strip_icc()/HP-Midcentury-Inspired-living-room-58bdef1c3df78c353cddaa07.jpg)