Removing a bathroom sink drain may seem like a daunting task, but it is actually a fairly simple process. Whether you are looking to replace an old drain or just need to clean out a clog, this guide will walk you through the steps of removing a bathroom sink drain. With the right tools and a little bit of know-how, you can have your sink drain removed in no time.How to Remove a Bathroom Sink Drain


How to Remove a Bathroom Sink Drain


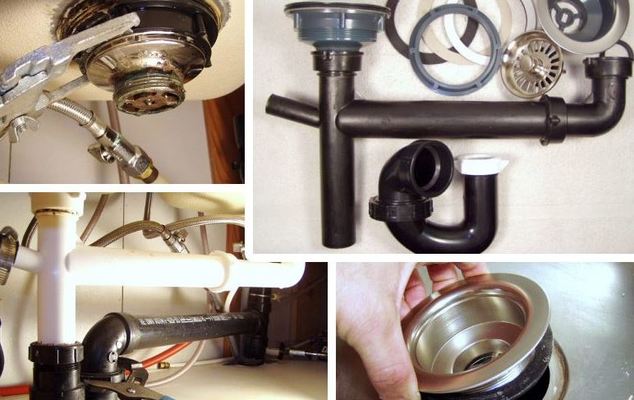
If your bathroom sink drain is old, rusted, or simply not functioning properly, it may be time to replace it. Here's how: Step 1: Turn off the water supply to your sink. Step 2: Use pliers to loosen the slip nut on the P-trap (the curved pipe under the sink) and remove the P-trap. Step 3: Loosen the slip nut connecting the drain assembly to the sink, and remove the drain assembly. Step 4: Clean the area around the drain hole and remove any old putty or sealant. Step 5: Apply a new layer of putty or sealant around the drain hole. Step 6: Place the new drain assembly into the drain hole and secure it with the slip nut. Step 7: Reattach the P-trap and tighten the slip nut. Step 8: Turn the water supply back on and check for any leaks. Congratulations, you have successfully replaced your bathroom sink drain!How to Replace a Bathroom Sink Drain


How to Replace a Bathroom Sink Drain


If you're a DIY enthusiast, you may be wondering if you can remove your bathroom sink drain on your own. The answer is yes! Here are some tips for a successful DIY bathroom sink drain removal: Tip 1: Make sure you have all the necessary tools before you begin. This may include pliers, a wrench, a screwdriver, and a putty knife. Tip 2: Familiarize yourself with the different parts of the drain assembly so you know what you're dealing with. Tip 3: Use a towel or bucket to catch any water that may spill out when you remove the P-trap. Tip 4: Be patient and take your time. Rushing through the process may result in mistakes.DIY Bathroom Sink Drain Removal


DIY Bathroom Sink Drain Removal


If you're new to DIY projects or just need some guidance, here is a step-by-step guide for removing a bathroom sink drain: Step 1: Turn off the water supply to your sink. Step 2: Use pliers to loosen the slip nut on the P-trap and remove the P-trap. Step 3: Use a wrench to loosen the slip nut connecting the drain assembly to the sink, and remove the drain assembly. Step 4: Use a putty knife to scrape off any old putty or sealant around the drain hole. Step 5: Clean the area around the drain hole with a damp cloth. Step 6: If you're replacing the drain, follow the steps in the "How to Replace a Bathroom Sink Drain" section above. Step 7: If you're just cleaning out a clog, use a plunger or a plumbing snake to clear the drain. Step 8: Reattach the drain assembly and the P-trap, making sure everything is tightened securely. Step 9: Turn the water supply back on and test for any leaks. Voila! Your bathroom sink drain has been successfully removed.Step-by-Step Guide for Removing a Bathroom Sink Drain


Step-by-Step Guide for Removing a Bathroom Sink Drain


Here are some additional tips and tricks to keep in mind when removing a bathroom sink drain: Tip 1: If you're having trouble loosening the slip nuts, try using lubricant or heating the nuts with a hairdryer to help loosen them. Tip 2: If your sink has a pop-up drain, you may need to remove the stopper before you can access the drain assembly. Tip 3: If you encounter any stubborn clogs, try using a mixture of baking soda and vinegar to break them up. Tip 4: If you're replacing the drain, make sure to purchase the correct size and type of drain for your sink.Removing a Bathroom Sink Drain: Tips and Tricks

Removing a Bathroom Sink Drain: Tips and Tricks


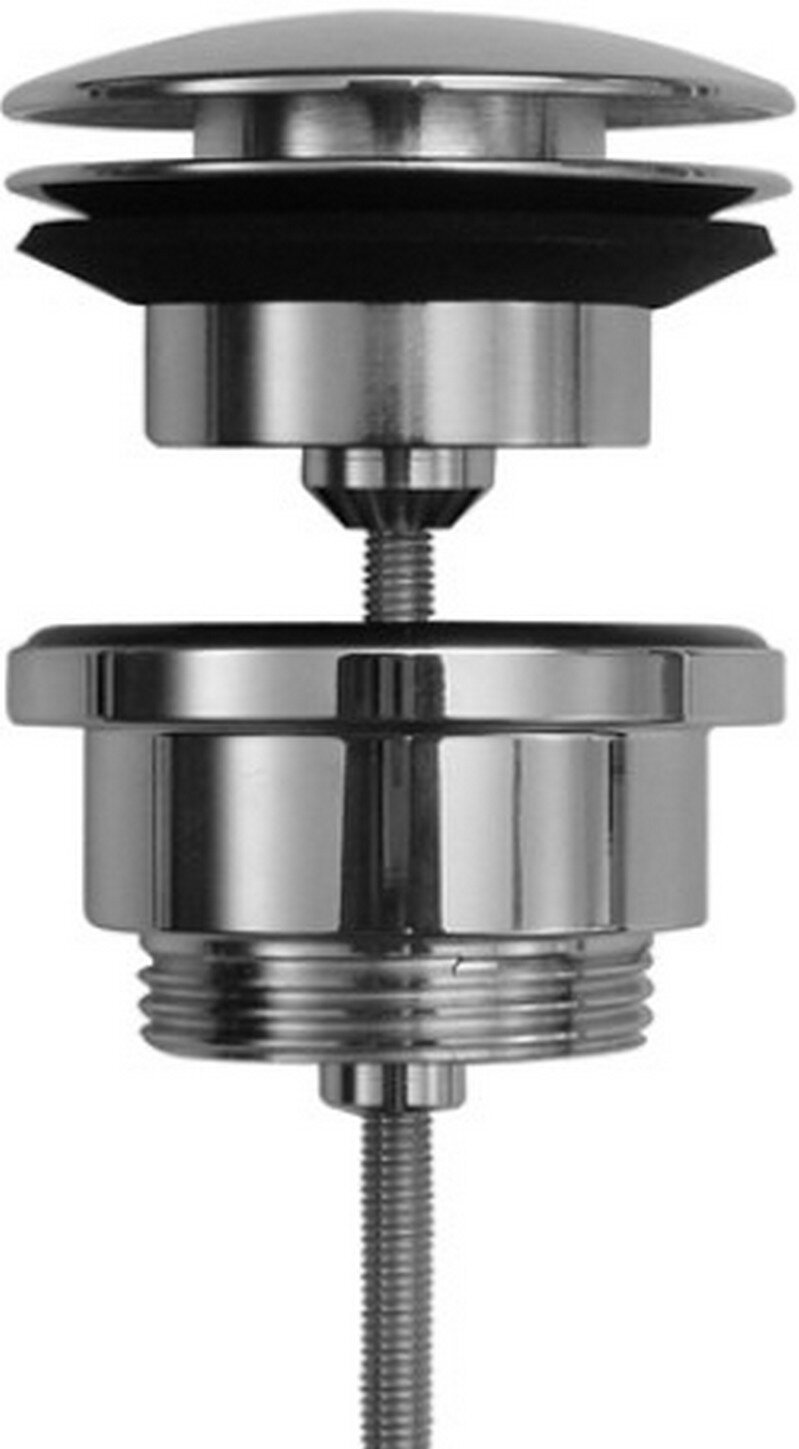
Removing a bathroom sink drain doesn't have to be a complicated process. Here are some tips for a quick and easy removal: Tip 1: Use adjustable pliers to loosen and remove the slip nuts. Tip 2: Instead of a putty knife, use a plastic scraper to remove any old putty or sealant. Tip 3: If you're just cleaning out a clog, try using a drain cleaner before resorting to a plunger or plumbing snake. Tip 4: If you're replacing the drain, opt for a push and lock drain assembly for an easier installation.Quick and Easy Bathroom Sink Drain Removal


Quick and Easy Bathroom Sink Drain Removal


A clogged bathroom sink drain can be a frustrating problem to deal with. Here's how to remove it: Step 1: Use a plunger to try and clear the clog. Step 2: If the plunger doesn't work, use a plumbing snake to break up the clog. Step 3: If the clog is still not cleared, you may need to remove the P-trap and clean it out. Step 4: Once the clog is cleared, reattach the P-trap and test for any leaks. If the clog persists, you may need to call a professional plumber for further assistance.Removing a Clogged Bathroom Sink Drain

Removing a Clogged Bathroom Sink Drain


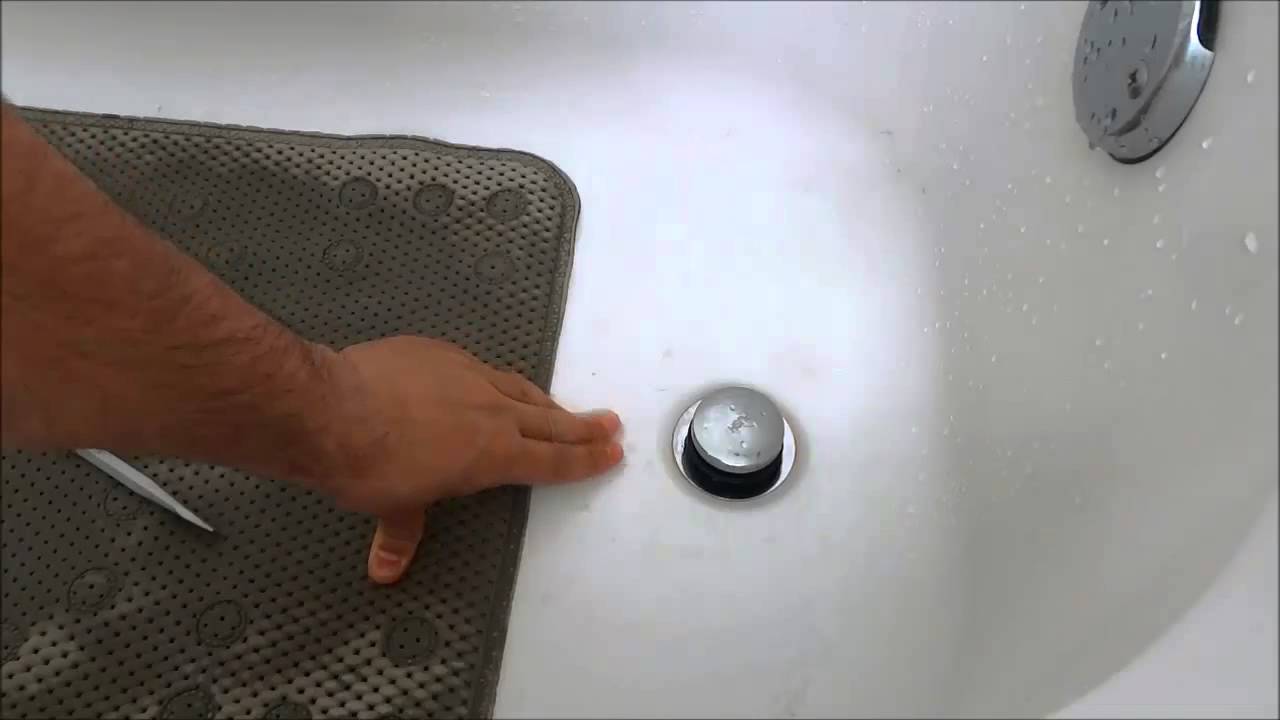
If your bathroom sink has a pop-up drain, you may need to remove the stopper before you can access the drain assembly. Here's how: Step 1: Locate the pivot rod, which is connected to the stopper at the back of the sink. Step 2: Unscrew the pivot rod and remove it from the drain assembly. Step 3: Lift the stopper out of the drain. Step 4: Follow the steps in the "Step-by-Step Guide for Removing a Bathroom Sink Drain" section above to remove the drain assembly.Removing a Pop-Up Bathroom Sink Drain

Removing a Pop-Up Bathroom Sink Drain


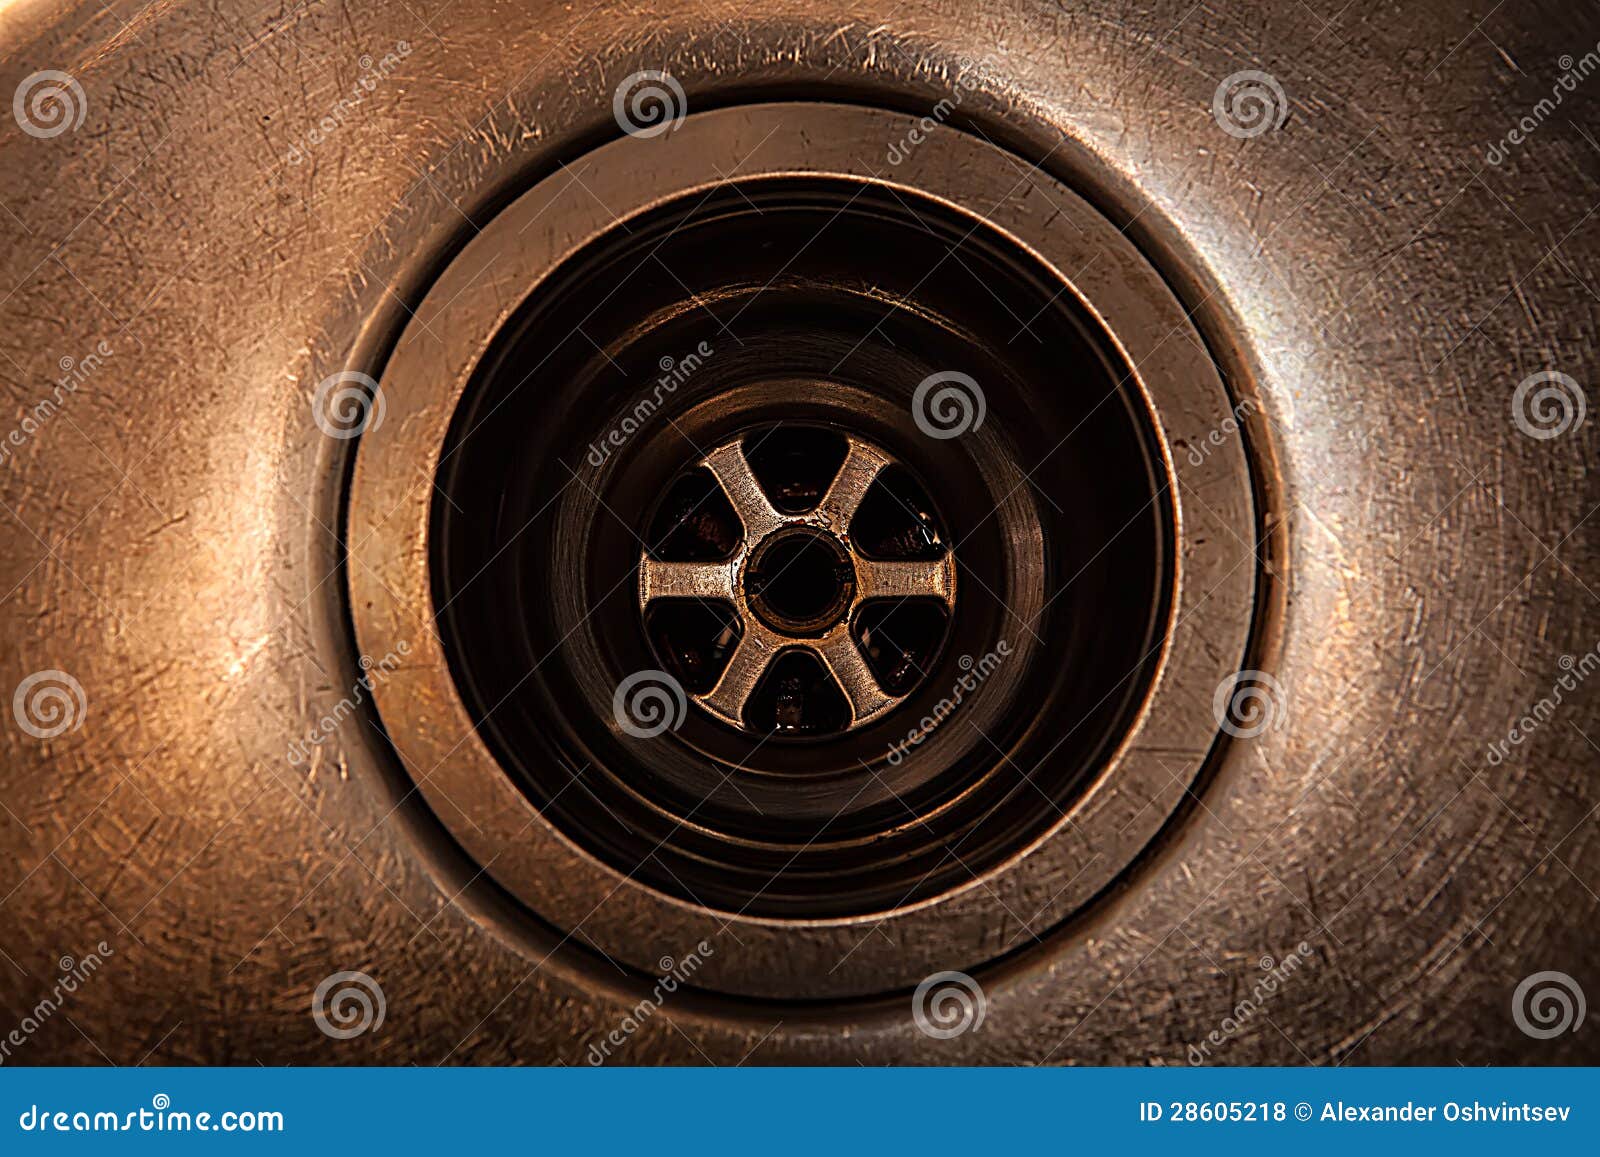
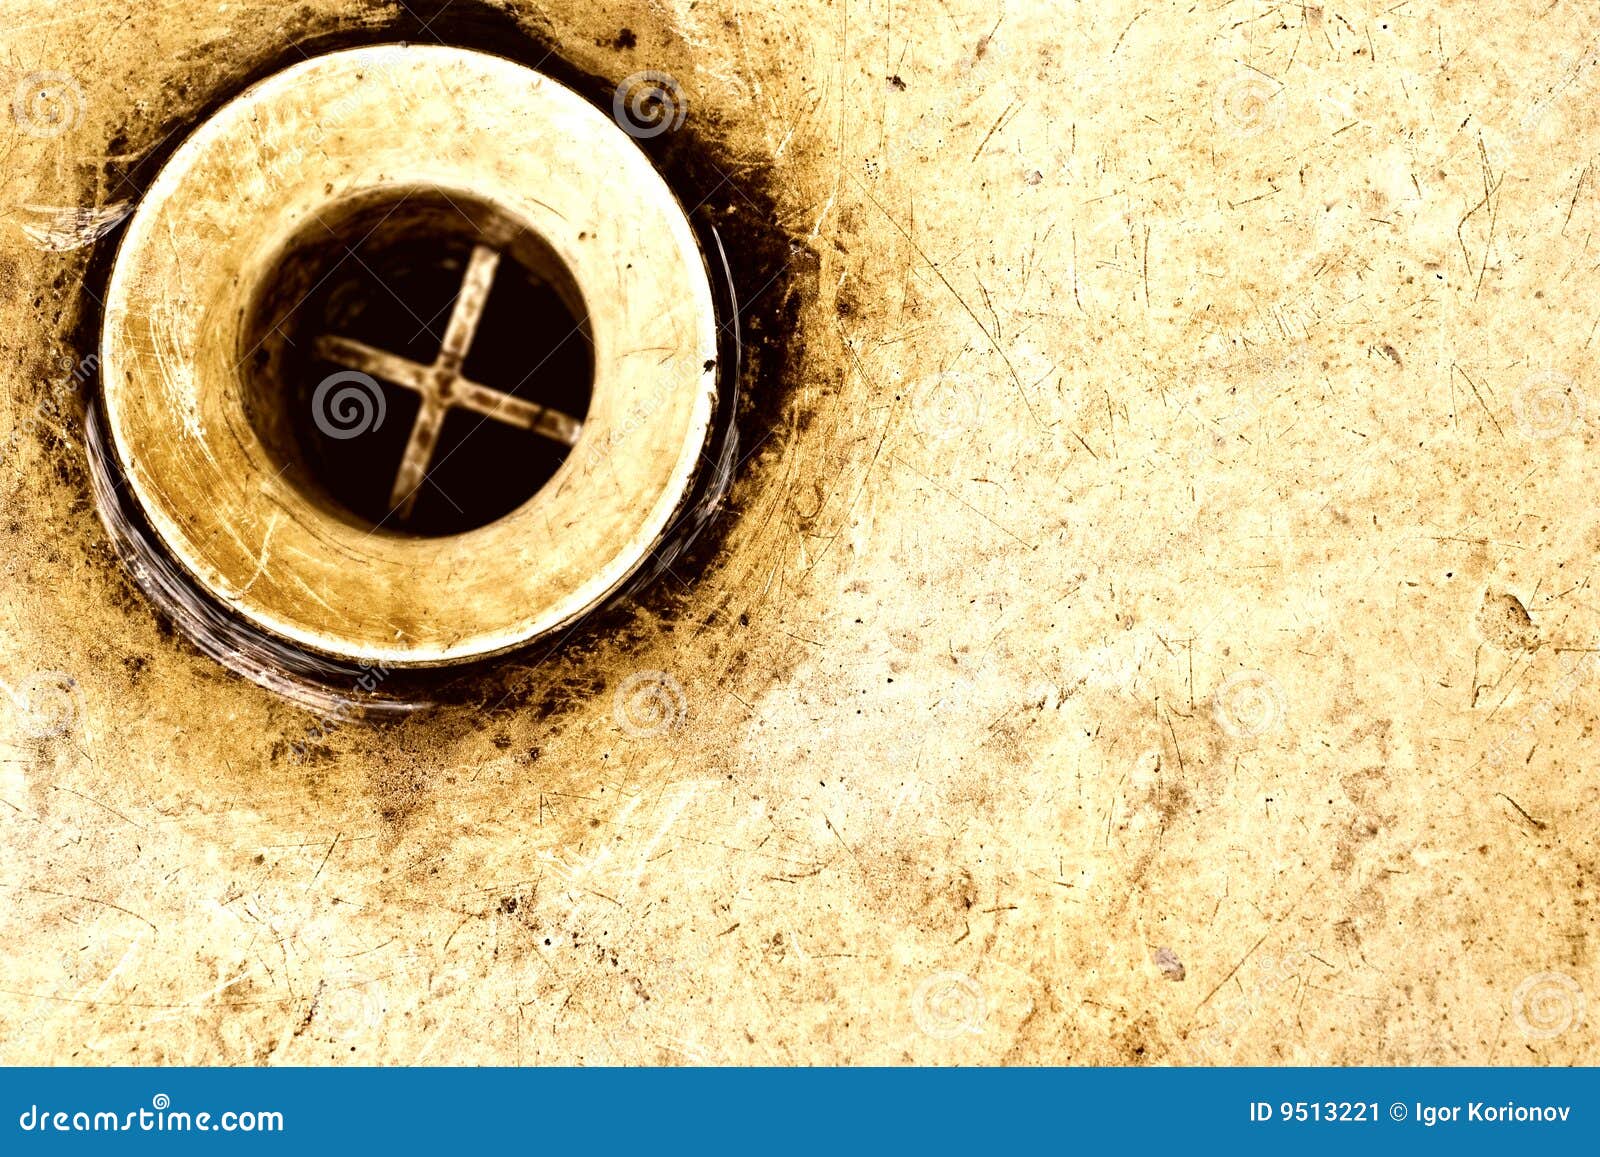
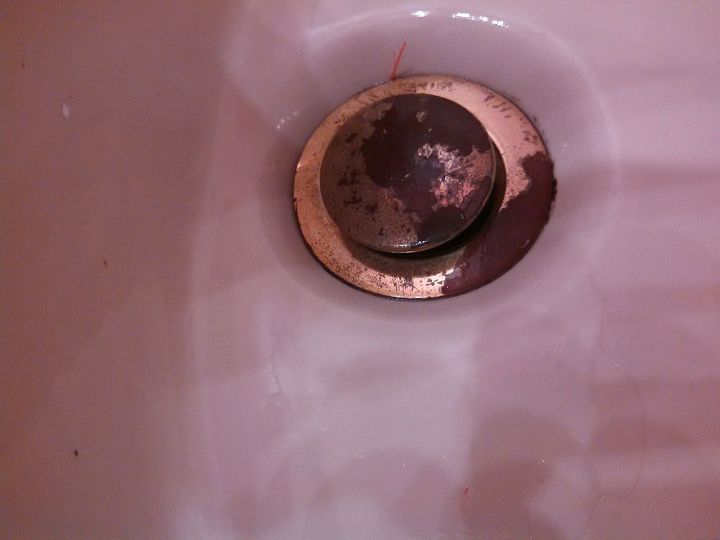
Removing a rusty bathroom sink drain can be a bit more challenging. Here's how to tackle it: Step 1: Use a rust remover or penetrant spray to help loosen the rusted parts. Step 2: If the slip nuts are too rusted, you may need to use a hacksaw to cut them off. Step 3: Use pliers or a wrench to remove the remaining parts of the drain assembly. Step 4: Follow the steps in the "How to Replace a Bathroom Sink Drain" section above to install a new drain assembly.Removing a Rusty Bathroom Sink Drain

Removing a Rusty Bathroom Sink Drain


.JPG)

If you find yourself in a pinch and don't have any tools on hand, you can still remove a bathroom sink drain with some creative solutions: Solution 1: Use a rubber band to grip the slip nuts and loosen them. Solution 2: Use a coin or a butter knife to turn and loosen the slip nuts. Solution 3: If you have access to boiling water, pour it down the drain to help loosen any clogs. Solution 4: If you have a wire hanger, you can straighten it out and use it as a makeshift plumbing snake to clear a clog. Removing a bathroom sink drain may seem like a daunting task, but with the right information and techniques, it can be a quick and easy process. Remember to take your time, use the correct tools, and if all else fails, don't be afraid to call a professional for help. With these tips and tricks, you can successfully remove any bathroom sink drain like a pro.Removing a Bathroom Sink Drain with No Tools

Removing a Bathroom Sink Drain with No Tools


:max_bytes(150000):strip_icc()/bathroom-sink-drain-installation-2718843-02-61e5ecbee1e949be8d8f45ac4f5a6797.jpg)

Efficiently Removing Your Bathroom Sink Drain with a Step-by-Step Video Tutorial

Introduction:
 When it comes to house design, every detail matters. From the color of the walls to the type of bathroom sink, it all contributes to creating the perfect space in your home. However, with daily use, the bathroom sink drain can easily become clogged with hair, soap scum, and other debris. This not only leads to unpleasant odors but also affects the functionality of your sink. Hiring a plumber to fix the issue can be costly, but with the help of a
video for taking out bathroom sink drain
, you can easily tackle this task on your own.
When it comes to house design, every detail matters. From the color of the walls to the type of bathroom sink, it all contributes to creating the perfect space in your home. However, with daily use, the bathroom sink drain can easily become clogged with hair, soap scum, and other debris. This not only leads to unpleasant odors but also affects the functionality of your sink. Hiring a plumber to fix the issue can be costly, but with the help of a
video for taking out bathroom sink drain
, you can easily tackle this task on your own.
The Importance of Regularly Cleaning Your Bathroom Sink Drain:
 Before diving into the tutorial, it's important to understand why regular maintenance of your bathroom sink drain is crucial. As mentioned, a clogged drain can lead to unpleasant odors, but it can also cause slow draining and standing water in your sink. This can be a breeding ground for bacteria and mold, posing potential health hazards. By regularly cleaning your bathroom sink drain, you not only improve its functionality but also maintain a hygienic environment in your home.
Step-by-Step Video Tutorial:
 Now, let's get into the main focus of this article – how to efficiently remove your bathroom sink drain with the help of a video tutorial.
Featured keywords
such as "bathroom sink drain" and "step-by-step" are essential to ensure that your search for the right video is narrowed down to the most relevant results. With the step-by-step instructions provided in the video, you can easily follow along and successfully remove your sink drain without any hassle.
Now, let's get into the main focus of this article – how to efficiently remove your bathroom sink drain with the help of a video tutorial.
Featured keywords
such as "bathroom sink drain" and "step-by-step" are essential to ensure that your search for the right video is narrowed down to the most relevant results. With the step-by-step instructions provided in the video, you can easily follow along and successfully remove your sink drain without any hassle.
The Benefits of Using a Video Tutorial:
 Aside from being a cost-effective solution, using a video tutorial also allows you to see the process being done in real-time. This makes it easier to understand and replicate the steps on your own. Additionally, by having a visual guide, you can avoid any potential mistakes that may occur when following written instructions. This saves you time and effort, ensuring that the task is completed efficiently and effectively.
Conclusion:
 In conclusion, regular maintenance of your bathroom sink drain is crucial for maintaining a clean and hygienic environment in your home. With the help of a
video for taking out bathroom sink drain
, you can easily tackle this task on your own, saving you time and money. Remember to regularly clean your drain to prevent any future clogs and ensure the optimal functionality of your sink. So, why wait? Get your tools ready and follow the step-by-step tutorial to efficiently remove your bathroom sink drain.
In conclusion, regular maintenance of your bathroom sink drain is crucial for maintaining a clean and hygienic environment in your home. With the help of a
video for taking out bathroom sink drain
, you can easily tackle this task on your own, saving you time and money. Remember to regularly clean your drain to prevent any future clogs and ensure the optimal functionality of your sink. So, why wait? Get your tools ready and follow the step-by-step tutorial to efficiently remove your bathroom sink drain.