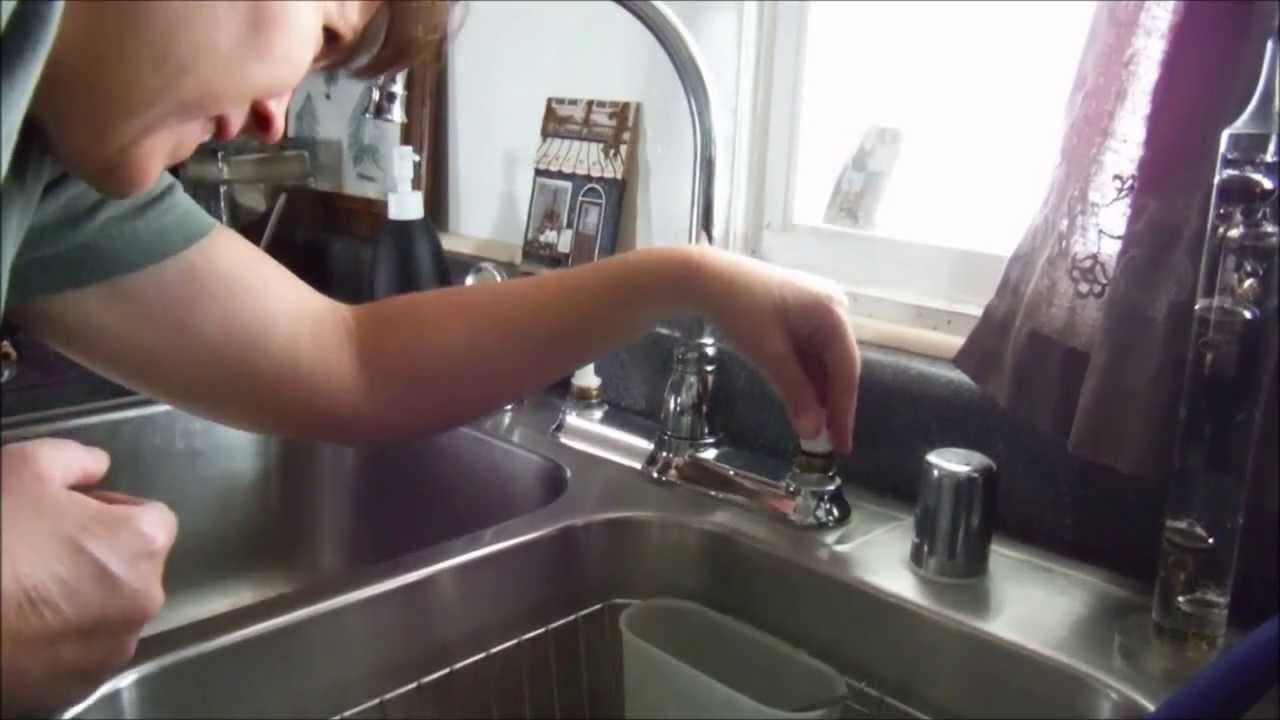
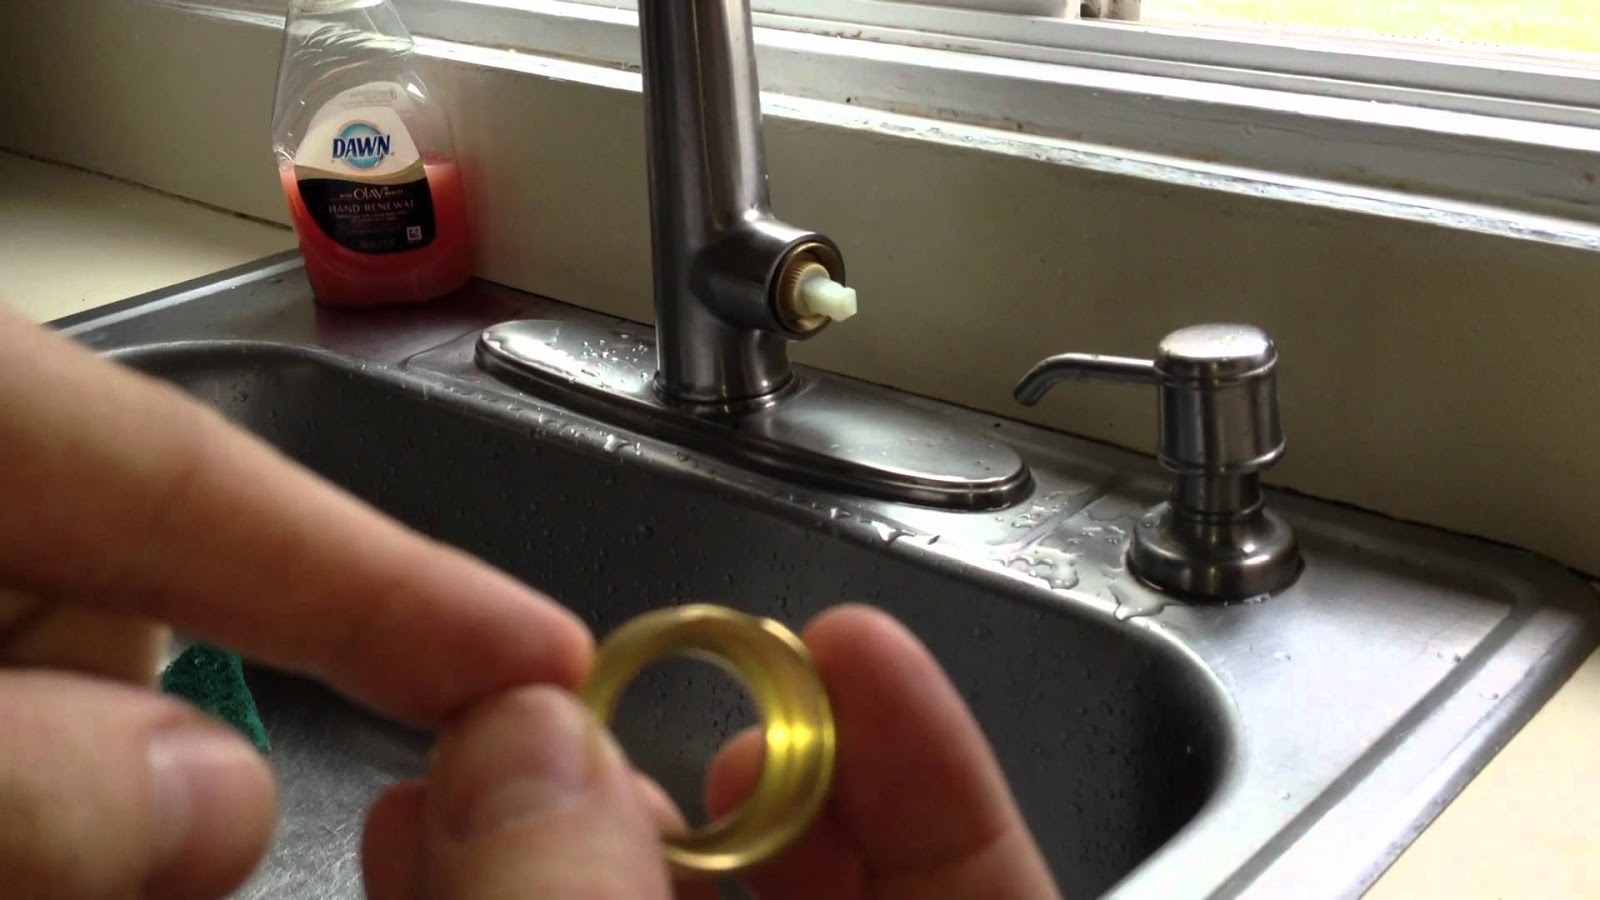
If you have a double-handled kitchen sink faucet, then you know how frustrating it can be when one of the handles starts leaking. Not only can it waste water, but it can also be a constant annoyance every time you try to use the sink. But fear not, fixing a leaky double handle kitchen sink faucet is a relatively simple task that you can do on your own with a few basic tools and some replacement parts. To start, you will need to determine which handle is causing the leak. Turn off the water supply to your kitchen sink by shutting off the valves under the sink. Next, turn on the faucet and see which handle is leaking. Once you have identified the problem handle, you can begin the repair process. Step 1: Remove the Handle Using a screwdriver, loosen and remove the screw that holds the handle in place. Once the screw is removed, you should be able to easily lift the handle off the faucet. If the handle is stuck, you can use a pair of pliers to gently twist and loosen it. Step 2: Replace the O-Ring The most common cause of a leaky kitchen sink faucet handle is a worn or damaged O-ring. This can easily be replaced by removing the old O-ring and replacing it with a new one of the same size. Make sure to clean the area where the O-ring sits before installing the new one. Step 3: Check the Valve Seat If the O-ring is not the culprit, then the issue may be with the valve seat. The valve seat is the part of the faucet that connects to the spout and controls the flow of water. Over time, the valve seat can become corroded, causing leaks. In this case, you will need to replace the entire valve seat, which can be done by following the manufacturer's instructions. Step 4: Reassemble the Handle Once the O-ring or valve seat has been replaced, you can reassemble the handle by following the steps in reverse. Make sure to tighten the screw securely, but not too tight. Step 5: Turn the Water Supply Back On After completing the repair, turn the water supply back on and test the faucet to ensure that it is no longer leaking. With these simple steps, you can fix a leaky double handle kitchen sink faucet and save yourself from the annoyance and wasted water. If you are still experiencing issues after attempting these repairs, it may be time to call a professional plumber for further assistance.How to Fix a Leaky Kitchen Sink Faucet Double Handle


How to Fix a Leaky Kitchen Sink Faucet Double Handle


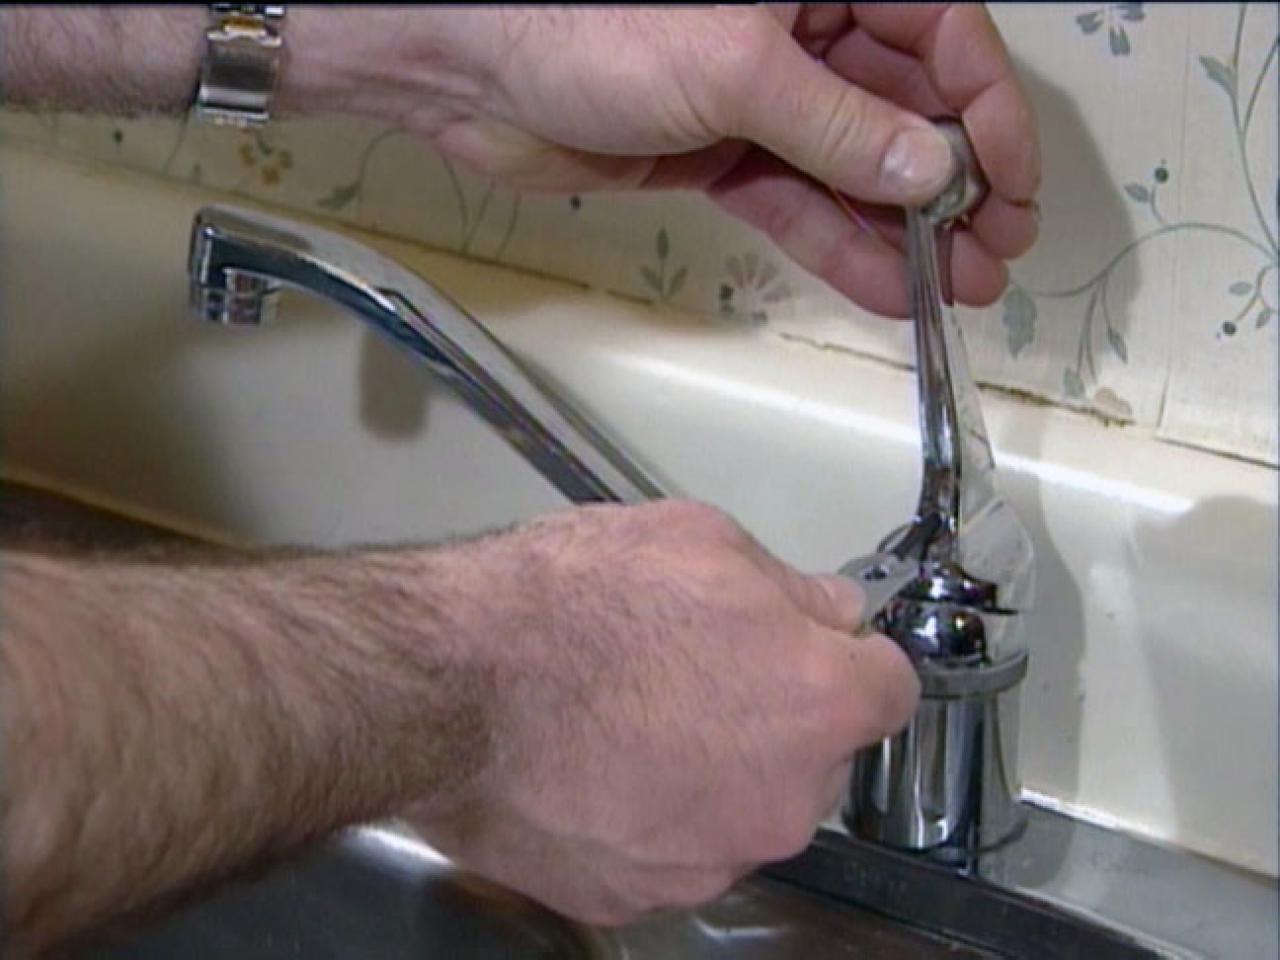
A single handle kitchen sink faucet can be a convenient and stylish addition to your kitchen. However, when that handle starts to leak, it can quickly become a headache. The good news is, fixing a leaky single handle kitchen sink faucet is a task that you can easily do on your own with the right tools and replacement parts. Step 1: Shut Off the Water Supply Before beginning any repairs, make sure to turn off the water supply to your kitchen sink by shutting off the valves under the sink. Step 2: Remove the Handle Using a screwdriver, remove the screw that holds the handle in place. Once the screw is removed, you should be able to easily lift the handle off the faucet. Step 3: Replace the Cartridge The most common cause of a leaky single handle kitchen sink faucet is a worn cartridge. The cartridge is a small valve that controls the flow of water. To replace it, simply remove the old cartridge and replace it with a new one of the same size. Step 4: Reassemble the Handle Once the cartridge has been replaced, reassemble the handle by following the steps in reverse. Make sure to tighten the screw securely, but not too tight. Step 5: Turn the Water Supply Back On After completing the repair, turn the water supply back on and test the faucet to ensure that it is no longer leaking. If your single handle kitchen sink faucet continues to leak after replacing the cartridge, then there may be a more significant issue at hand. In this case, it is best to call a professional plumber for further assistance.How to Fix a Leaky Kitchen Sink Faucet Single Handle


How to Fix a Leaky Kitchen Sink Faucet Single Handle


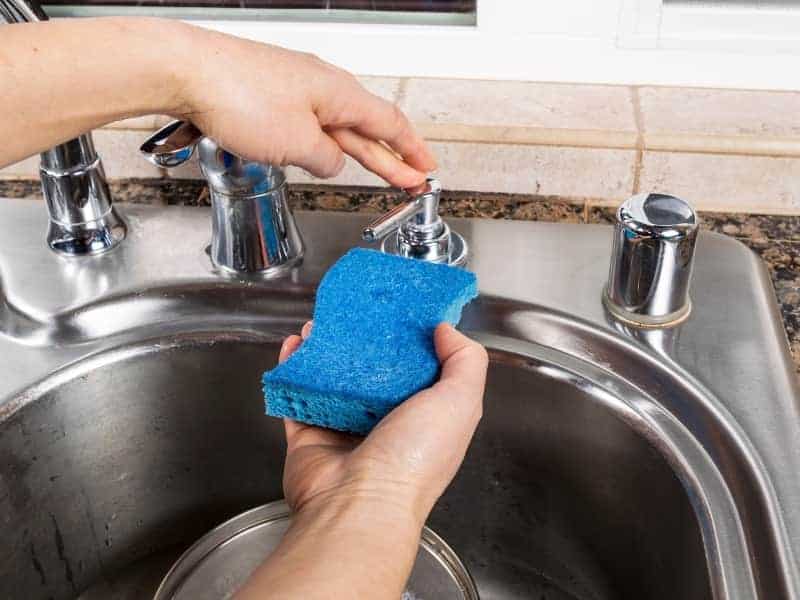
A kitchen sink sprayer can be a handy tool for washing dishes and cleaning the sink. However, over time, it may start to leak or become clogged, making it less effective. If this is the case, it may be time to replace your kitchen sink sprayer. Here's how to do it. Step 1: Shut Off the Water Supply Before beginning any repairs, make sure to turn off the water supply to your kitchen sink by shutting off the valves under the sink. Step 2: Remove the Old Sprayer Using a pair of pliers, loosen and remove the nut that holds the sprayer in place. Once the nut is removed, you should be able to easily pull the old sprayer out. Step 3: Install the New Sprayer Insert the new sprayer into the hole in the sink, making sure that the rubber gasket is in place. Then, from underneath the sink, screw on the nut to hold the sprayer in place. Make sure to tighten the nut securely. Step 4: Connect the Hose Using a wrench, connect the hose from the new sprayer to the water supply pipe under the sink. Make sure to tighten the connection securely. Step 5: Turn the Water Supply Back On After completing the replacement, turn the water supply back on and test the new sprayer to ensure that it is working properly. Replacing a kitchen sink sprayer may seem like a daunting task, but with these simple steps, you can do it on your own and have a fully functioning sprayer in no time.How to Replace a Kitchen Sink Sprayer


How to Replace a Kitchen Sink Sprayer
/25089301983_c5145fe85d_o-58418ef15f9b5851e5f392b5.jpg)


:max_bytes(150000):strip_icc()/installing-a-kitchen-sink-sprayer-2718817-03-514088ddb922466eb3d4cd73f3aa85f4.jpg)

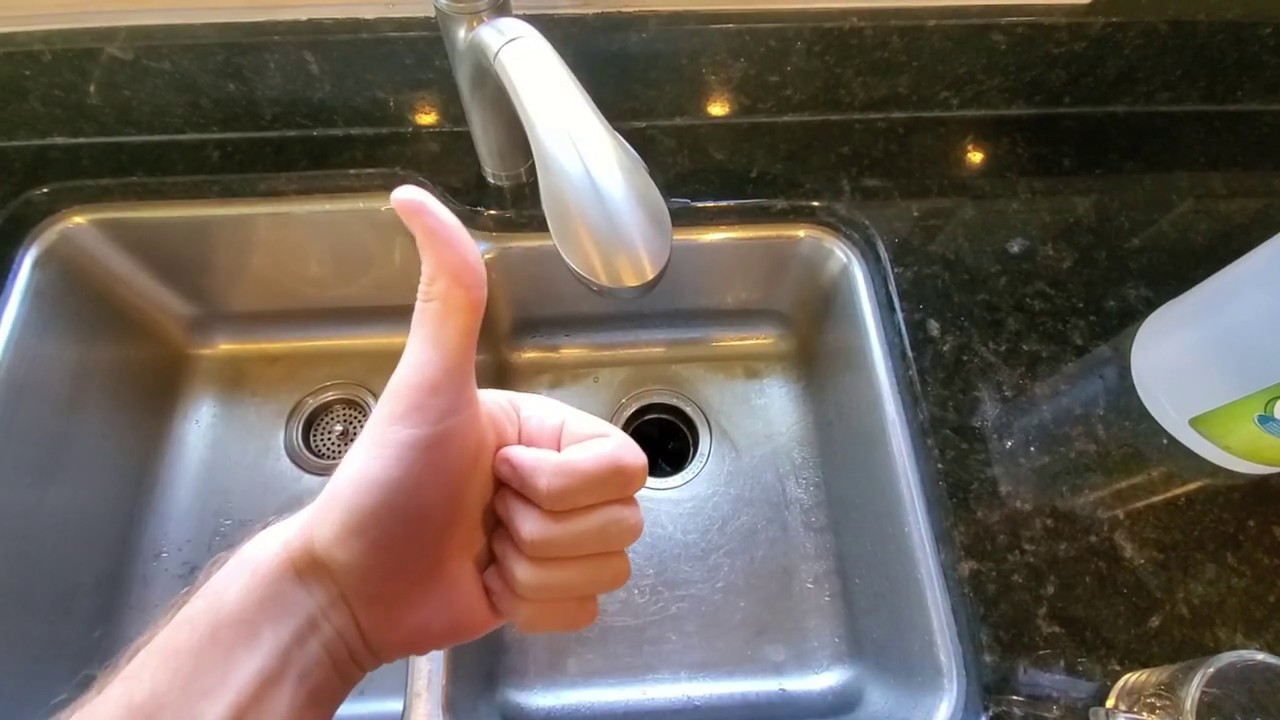
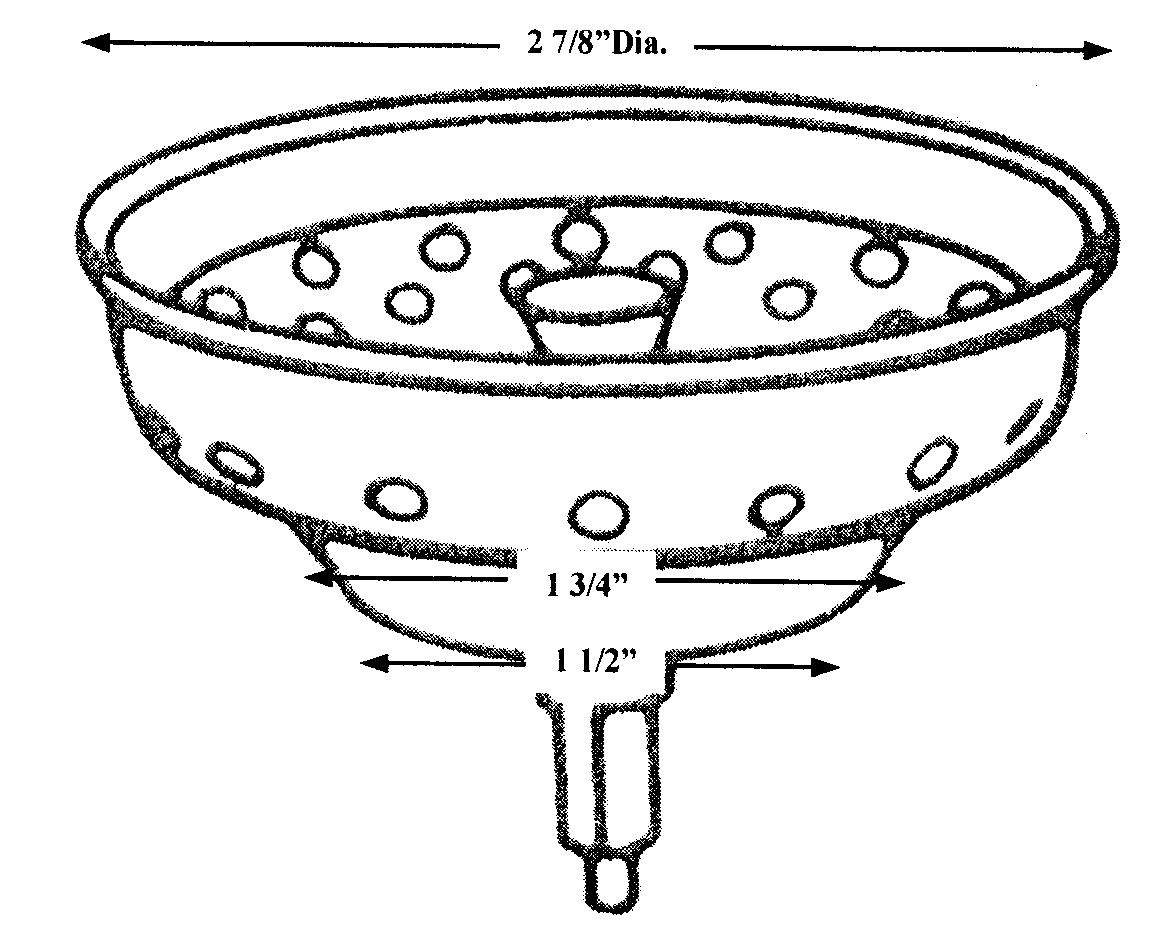
If you are installing a new kitchen sink or replacing an old one, you will need to install a new drain as well. While it may seem like a complicated task, installing a kitchen sink drain is actually a simple process that you can do on your own with the right tools and materials. Here's how. Step 1: Gather Your Materials Before beginning the installation, make sure you have all the necessary materials, including a new drain, plumber's putty, a rubber gasket, and a wrench. Step 2: Apply Plumber's Putty Take a small amount of plumber's putty and roll it into a thin snake shape. Then, place it around the underside of the drain flange. This will create a seal between the drain and the sink. Step 3: Insert the Drain Insert the drain into the sink hole, making sure the plumber's putty is in place. From underneath the sink, place the rubber gasket and the locknut onto the drain and tighten it securely using a wrench. Step 4: Connect the P-Trap Using a wrench, connect the P-trap to the drain and the sink drain pipe. Make sure all connections are tightened securely. Step 5: Turn the Water Supply Back On Once the drain is installed, turn the water supply back on and check for any leaks. If there are no leaks, then your new kitchen sink drain is ready to use. Installing a kitchen sink drain may take a bit of time and effort, but with these steps, you can do it yourself and save money on hiring a plumber.How to Install a Kitchen Sink Drain


How to Install a Kitchen Sink Drain

/how-to-install-a-sink-drain-2718789-hero-b5b99f72b5a24bb2ae8364e60539cece.jpg)


:max_bytes(150000):strip_icc()/how-to-install-a-sink-drain-2718789-hero-24e898006ed94c9593a2a268b57989a3.jpg)


:max_bytes(150000):strip_icc()/how-to-install-a-sink-drain-2718789-04-5715d67f5b7d41429d42bf705bb70e2c.jpg)
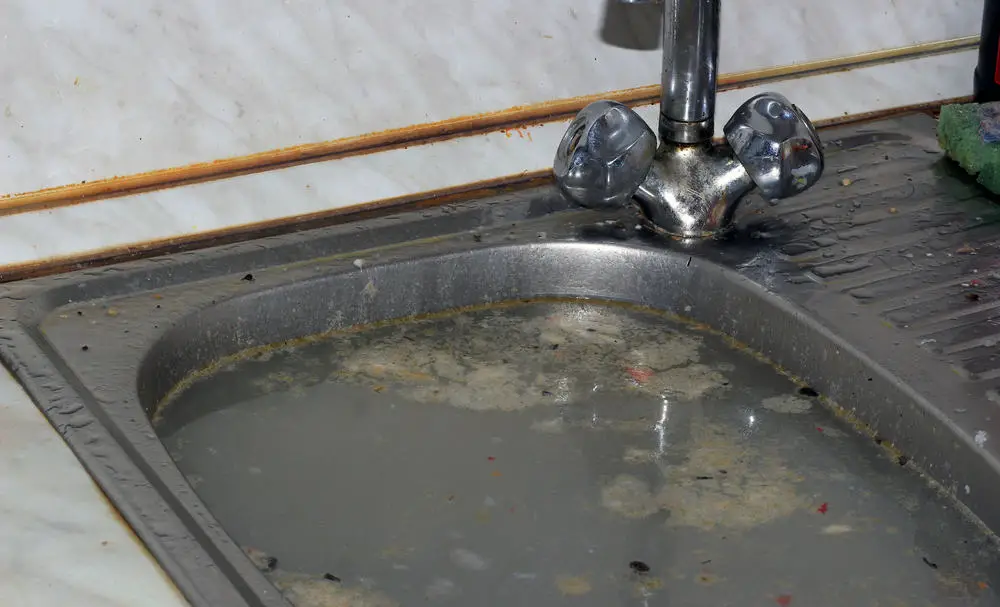
A clogged kitchen sink can be a major inconvenience, making it difficult to wash dishes or even use the sink at all. However, with a few simple techniques, you can easily unclog your kitchen sink and have the water flowing freely again. Here's how. Step 1: Attempt to Plunge the Sink Using a plunger, try to loosen the clog by creating suction in the sink drain. Make sure to cover the entire drain with the plunger and plunge vigorously for a few minutes. Step 2: Try Using a Drain Snake If plunging does not work, you can try using a drain snake to remove the clog. Insert the snake into the drain and turn the handle to move it through the pipe. Once you reach the clog, try to push it through or pull it out. Step 3: Use a Natural Remedy If you prefer a more natural approach, you can try pouring a mixture of baking soda and vinegar down the drain. Let it sit for a few minutes, then pour boiling water down the drain to flush out the clog. Step 4: Use a Chemical Drain Cleaner If all else fails, you can use a chemical drain cleaner to dissolve the clog. Make sure to follow the instructions carefully and use caution when handling these products. Step 5: Call a Professional If none of these methods work, it may be time to call a professional plumber for assistance. They have the tools and expertise to unclog even the most stubborn kitchen sink clogs. With these simple steps, you can easily unclog your kitchen sink and have it functioning properly again in no time.How to Unclog a Kitchen Sink
/plumber-unclogging-kitchen-sink-169270382-5797a9355f9b58461f27f024.jpg)


How to Unclog a Kitchen Sink


/how-to-unclog-a-kitchen-sink-2718799_sketch_FINAL-8c5caa805a69493ab22dfb537c72a1b7.png)


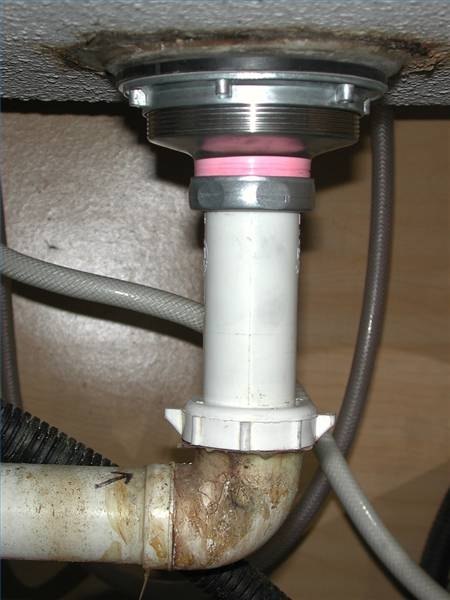
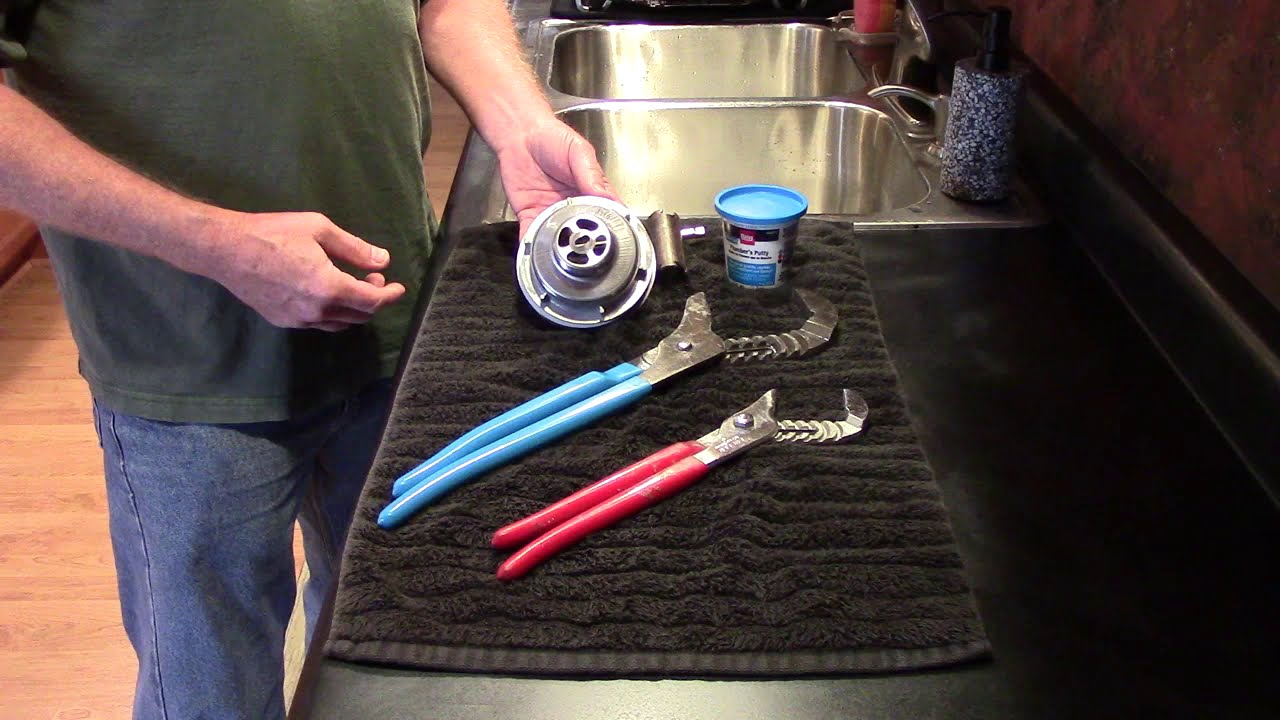
The basket strainer in your kitchen sink is responsible for catching food scraps and debris and keeping them from clogging your drain. Over time, the basket strainer may become worn or damaged and need to be replaced. Here's how to do it. Step 1: Shut Off the Water Supply Before beginning any repairs, make sure to turn off the water supply to your kitchen sink by shutting off the valves under the sink. Step 2: Remove the Old Basket Strainer Using a pair of pliers, loosen and remove the nut that holds the basket strainer in place. Once the nut is removed, you should be able to easily pull the old basket strainer out. Step 3: Install the New Basket Strainer Insert the new basket strainer into the sink hole, making sure to place the rubber gasket and cardboard friction ring in place. From underneath the sink, screw on the nut to hold the basket strainer in place. Make sure to tighten the nut securely. Step 4: Reconnect the Drain Pipe Using a wrench, reconnect the drain pipe to the basket strainer. Make sure all connections are tightened securely. Step 5: Turn the Water Supply Back On After completing the replacement, turn the water supply back on and check for any leaks. If there are no leaks, then your new kitchen sink basket strainer is ready to use. Replacing a kitchen sink basket strainer may seem like a daunting task, but with these simple steps, you can do it yourself and have a fully functioning strainer in no time.How to Replace a Kitchen Sink Basket Strainer


How to Replace a Kitchen Sink Basket Strainer


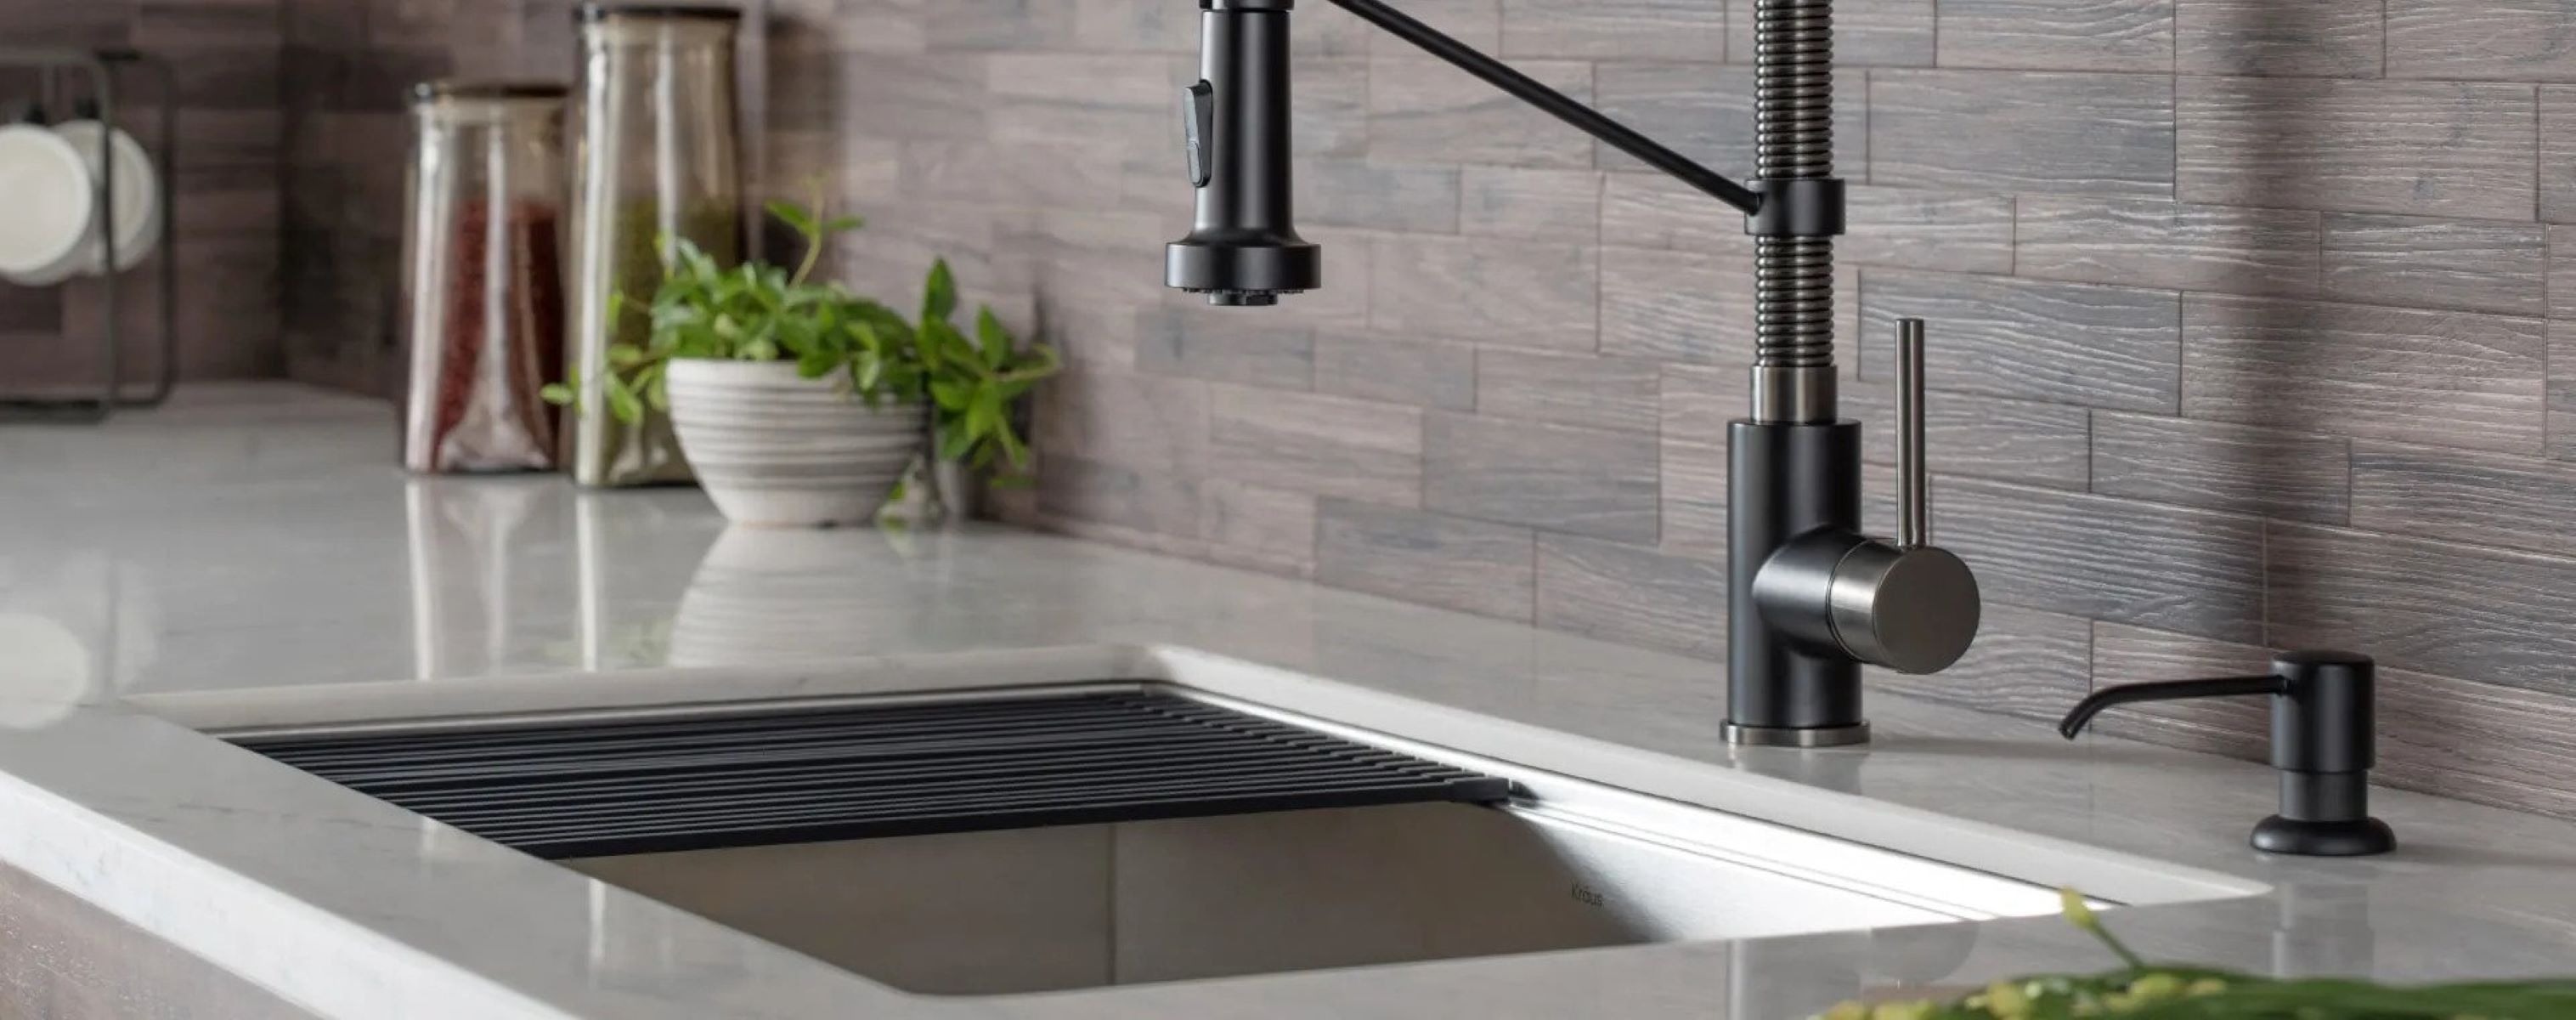
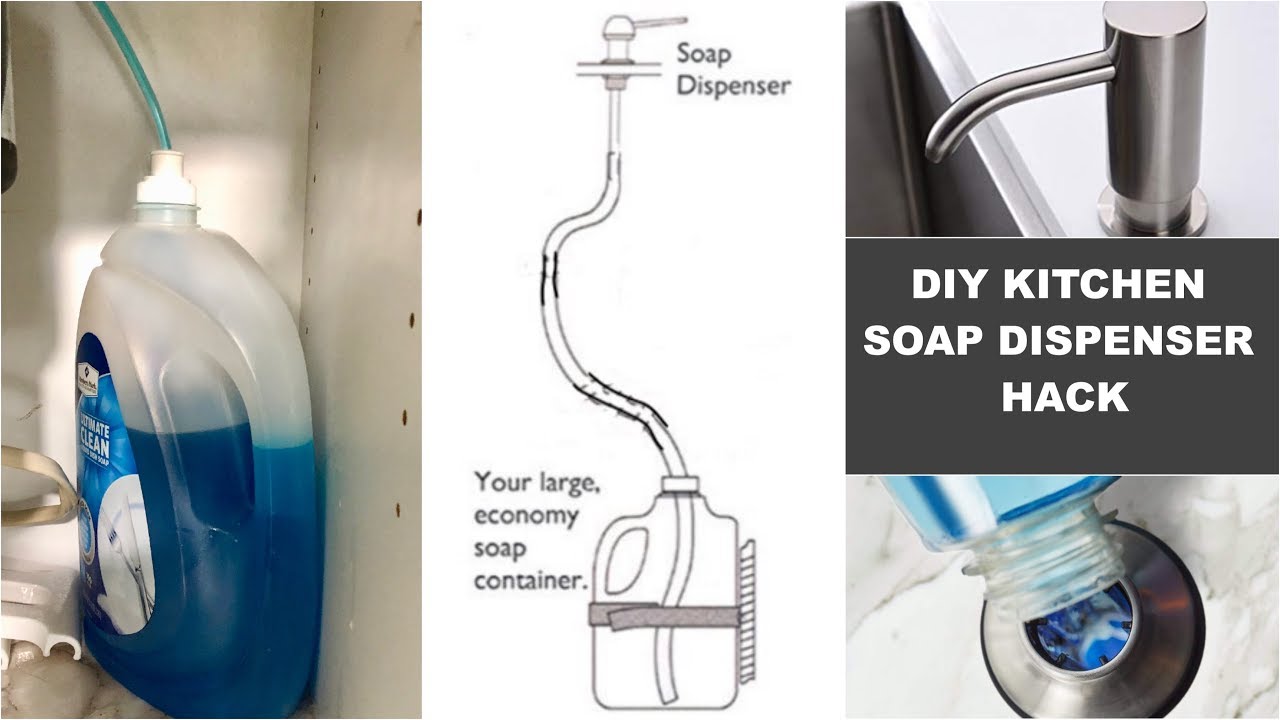
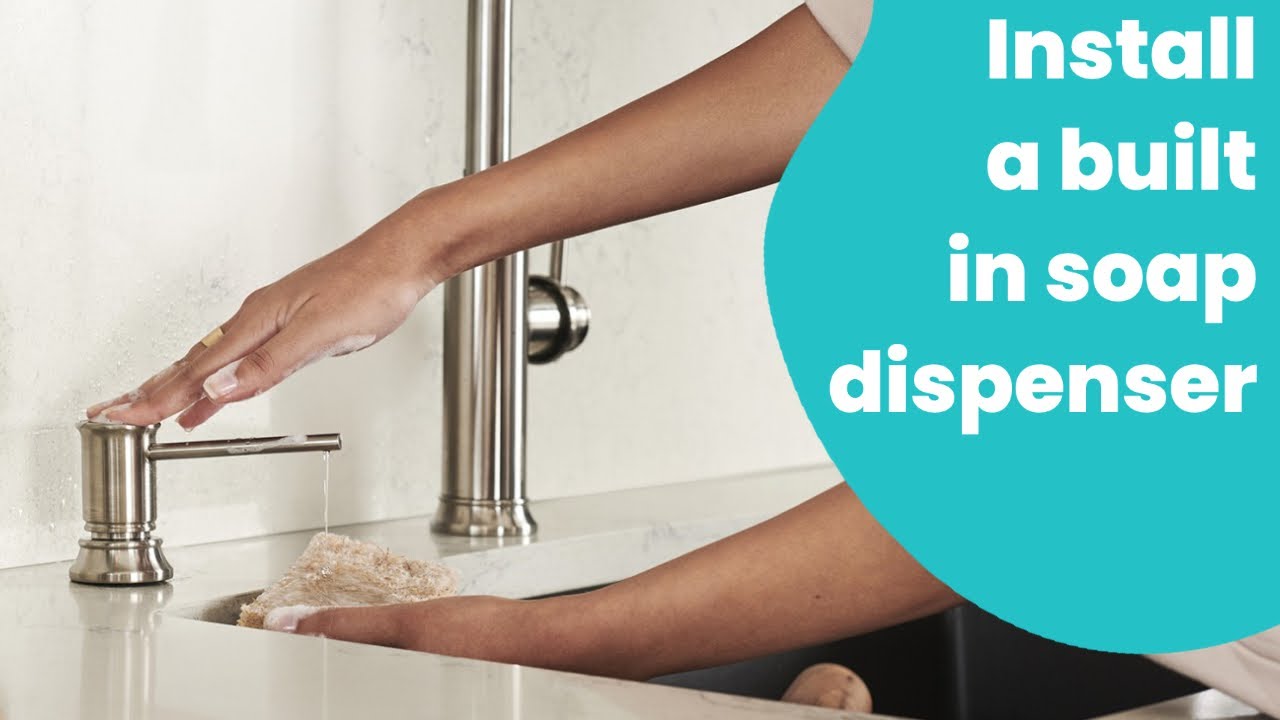
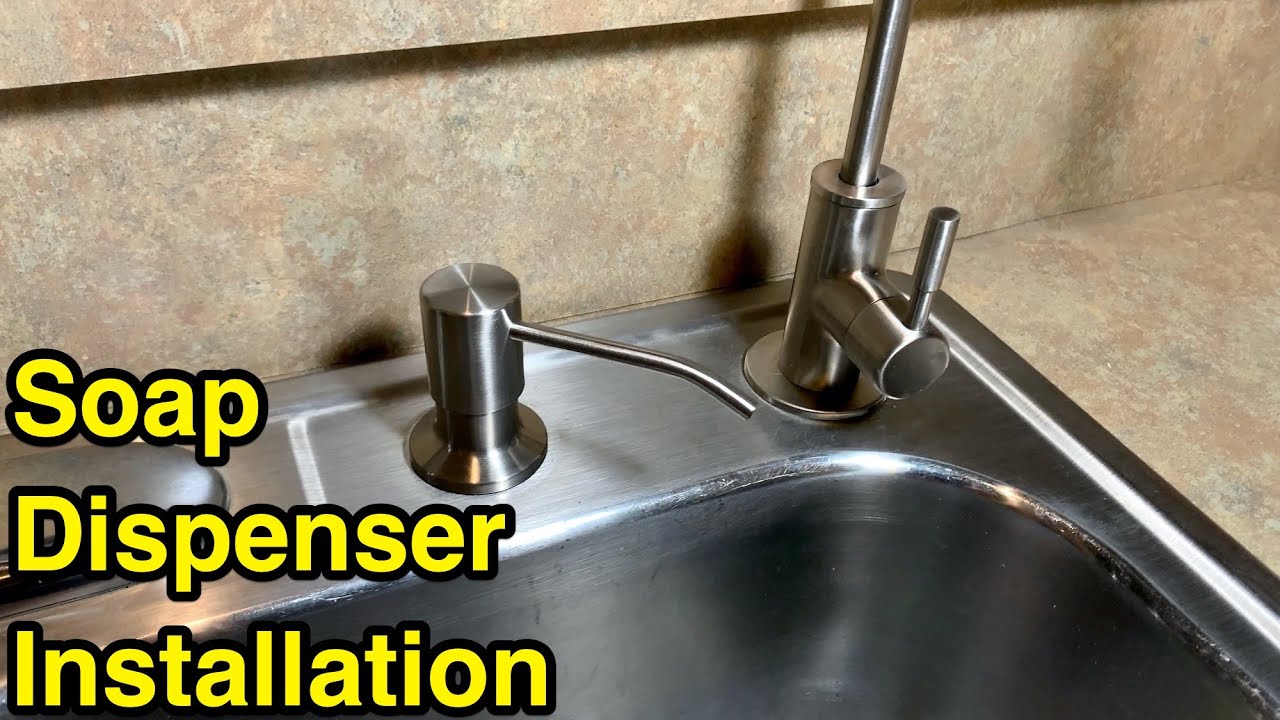
A soap dispenser can be a convenient addition to your kitchen sink, making it easy to wash your hands or dishes without having to reach for a bottle of soap. Installing a kitchen sink soap dispenser is a simple task that you can do on your own with a few basic tools. Here's how. Step 1: Gather Your Materials Before beginning the installation, make sure you have all the necessary materials, including a soap dispenser, plumber's putty, a rubber gasket, and a wrench. Step 2: Apply Plumber's Putty Take a small amount of plumber's putty and roll it into a thin snake shape. Then, place it around the underside of the soap dispenser flange. This will create a seal between the dispenser and the sink. Step 3: Insert the Dispenser Insert the soap dispenser into the sink hole, making sure the plumber's putty is in place. From underneath the sink, place the rubber gasket and the locknut onto the dispenser and tighten it securely using a wrench. Step 4: Connect the Soap Tube Using the provided soap tube, connect the dispenser to the soap bottle under the sink. Make sure to secure the connection tightly. Step 5: Test the DispenserHow to Install a Kitchen Sink Soap Dispenser
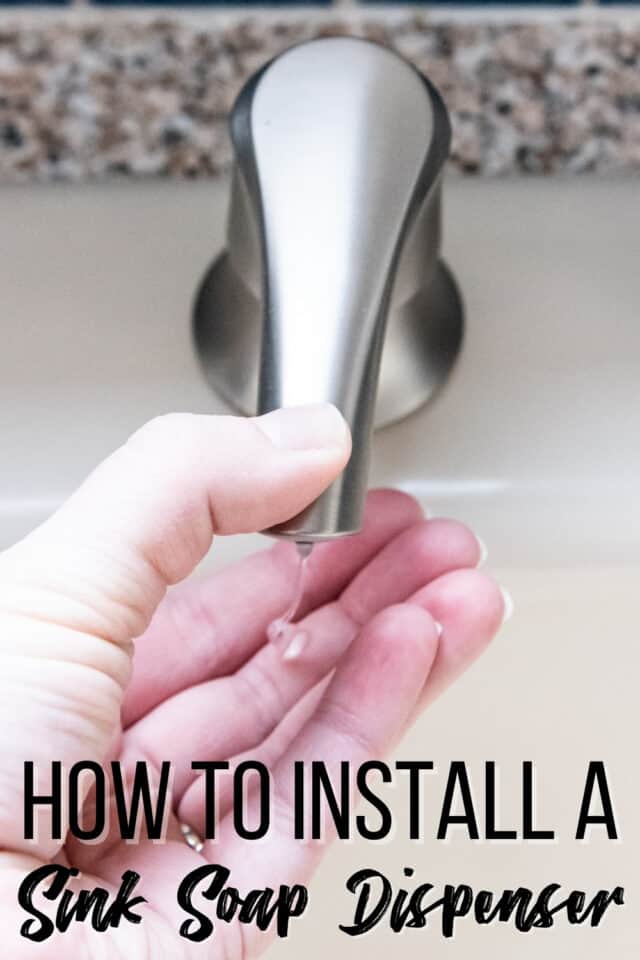

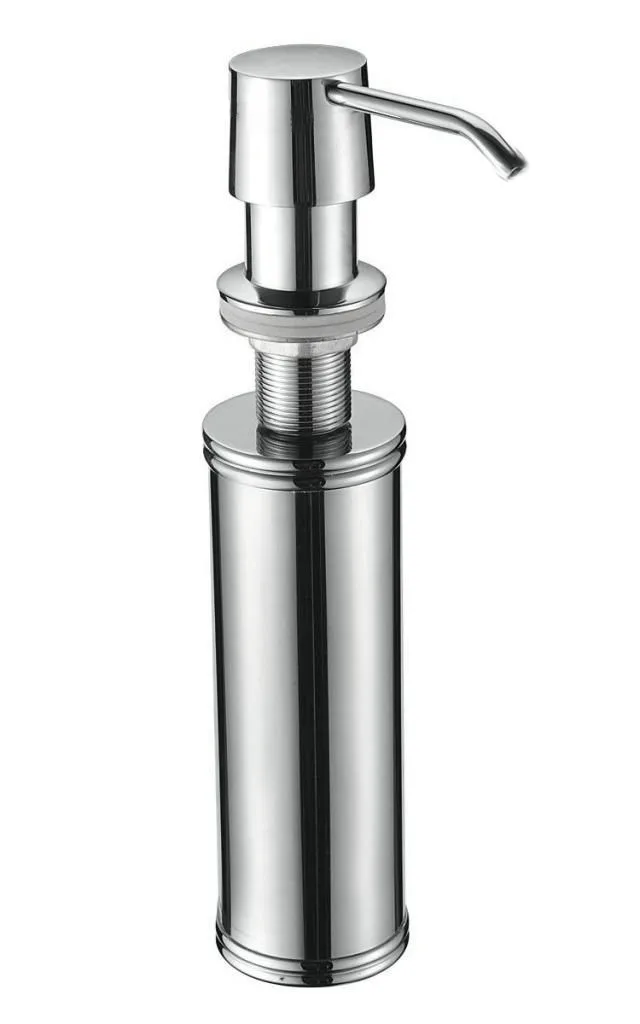
How to Install a Kitchen Sink Soap Dispenser

:max_bytes(150000):strip_icc()/Kitchensinksoapdispenser-GettyImages-91206440-59e82279054ad90011101a01.jpg)


How to Effectively Utilize the Pull-Out Under Kitchen Sink to Prevent Water Damage

The Importance of Properly Functioning Kitchen Fixtures
 The kitchen is one of the most heavily used areas in a house, making it prone to wear and tear. With constant use, certain fixtures such as the kitchen sink may experience issues over time. One common problem that many homeowners face is water damage caused by leaks and spills. Not only can this be a nuisance, but it can also lead to costly repairs and even pose health hazards. That's why it's essential to have a functional and efficient kitchen design, starting with the pull-out under the kitchen sink.
The Advantages of a Pull-Out Under Kitchen Sink
 The pull-out under kitchen sink is a popular feature in modern kitchen designs. It offers several advantages, including convenience, space-saving, and preventing water damage. With a pull-out feature, you can easily access items stored under the sink without having to bend or stretch, reducing strain on your back. It also allows for better organization, making it easier to find and store cleaning supplies and other items. Most importantly, the pull-out under kitchen sink can help prevent water damage by providing an efficient way to stop water flow in case of a leak or spill.
How to Use the Pull-Out to Stop Water Flow
 One of the main benefits of the pull-out under kitchen sink is its ability to stop water flow in case of a leak or spill. To effectively use this feature, follow these simple steps:
Step 1: Locate the Shut-Off Valves
Before you can stop the water flow, you need to know where the shut-off valves are located. In most cases, you can find them under the sink, near the back wall. Look for two valves, one for hot water and one for cold water.Step 2: Turn Off the Water
Once you have located the shut-off valves, turn them clockwise to shut off the water flow. This will prevent any further damage and give you time to address the issue.Step 3: Clean Up and Address the Issue
With the water flow stopped, you can now clean up any spills or leaks and address the issue. If it's a minor leak, you may be able to fix it yourself. However, if it's a severe problem, it's best to call a professional plumber.Conclusion
 The pull-out under kitchen sink is a convenient and practical feature that can help prevent water damage in your kitchen. By knowing how to use it effectively, you can save yourself from potential headaches and costly repairs. So, make sure to include this feature in your kitchen design, and remember to regularly check and maintain it to ensure its proper functioning.