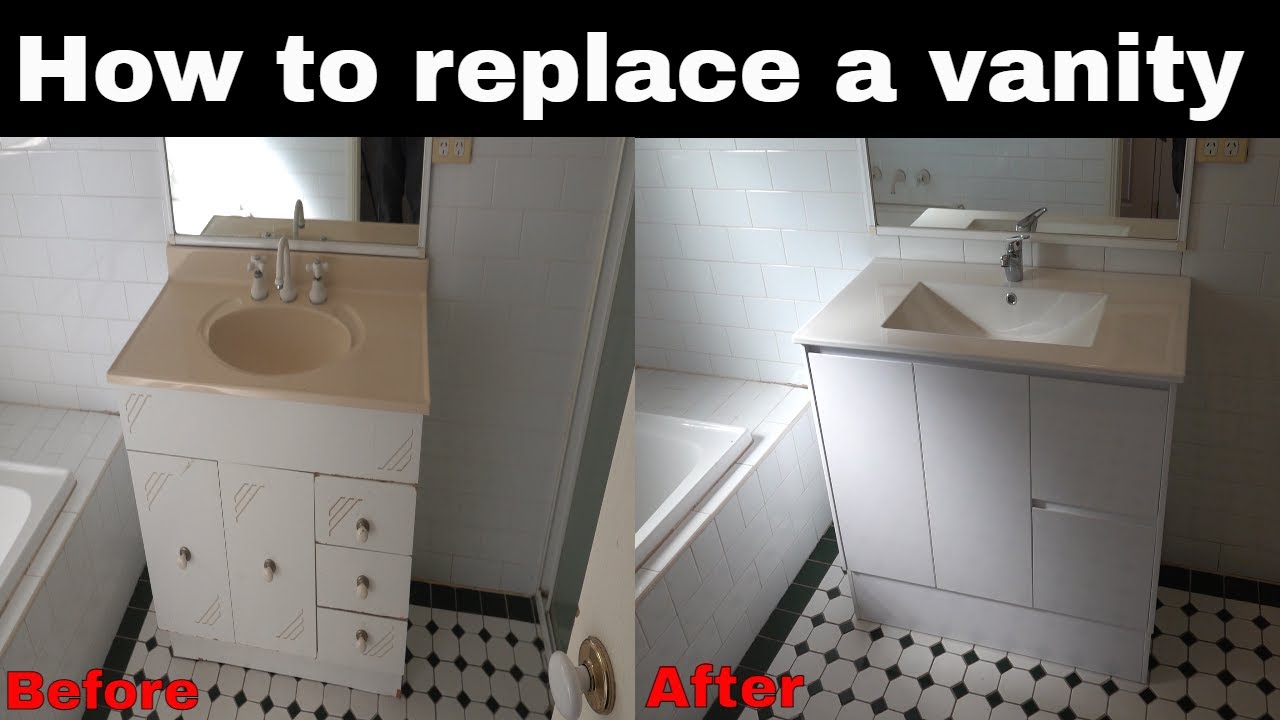
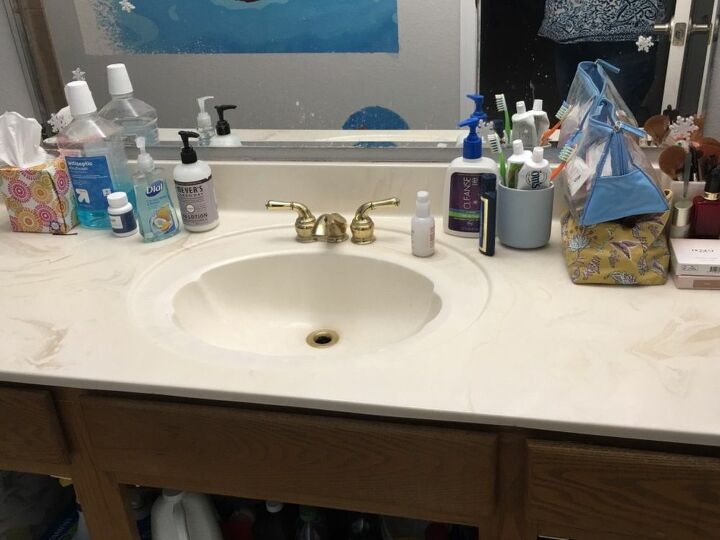
Are you tired of your old bathroom counter sink and looking to replace it with a new one? Or maybe you just want to give your bathroom a fresh look by removing the sink altogether. Whatever the reason may be, taking out a bathroom counter sink may seem like a daunting task. But fear not, with the right tools and techniques, you can easily remove a bathroom counter sink on your own. In this article, we will guide you through the process of removing a bathroom counter sink and provide you with some helpful tips to make the task easier.Removing a Bathroom Counter Sink


Removing a Bathroom Counter Sink


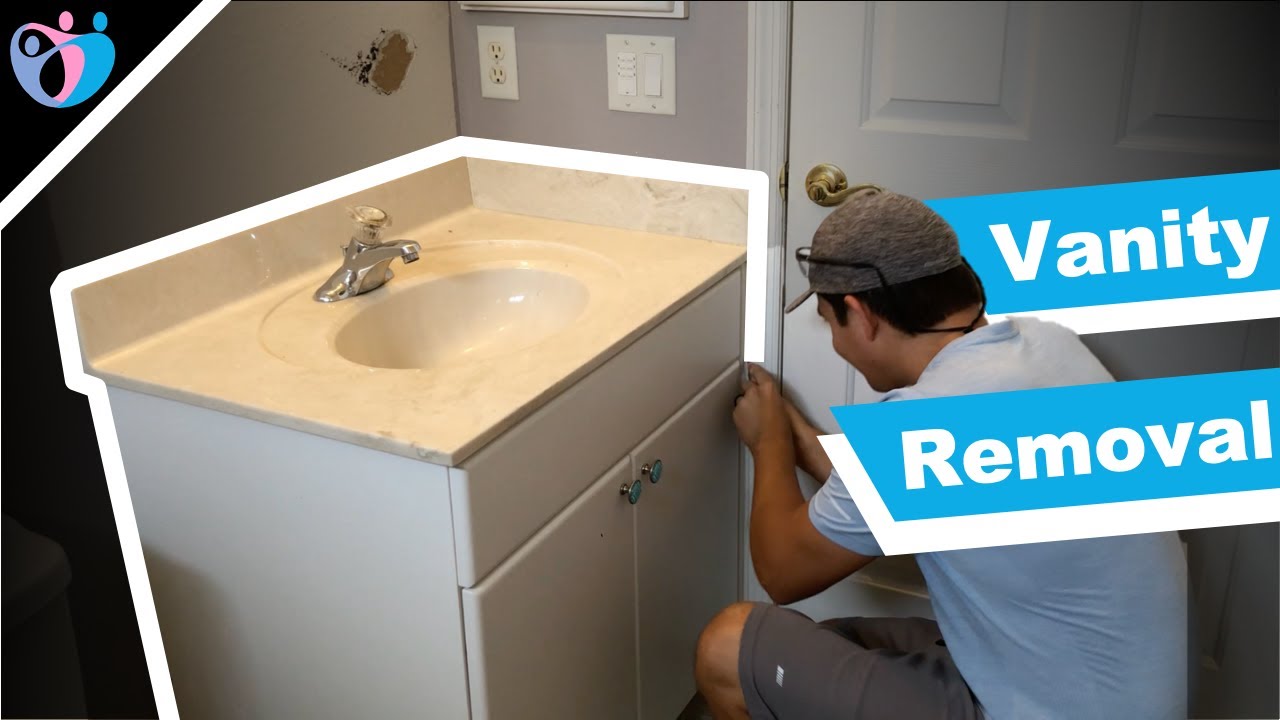
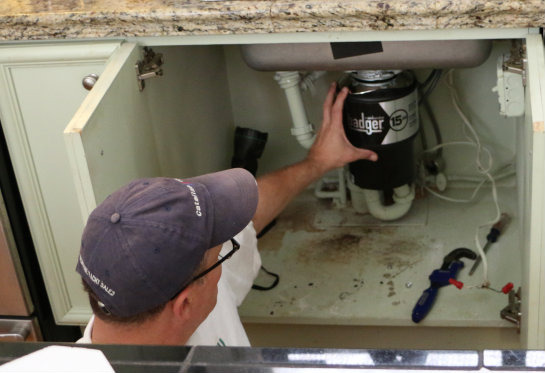
Before starting the removal process, it is important to gather all the necessary tools. These include a wrench, pliers, putty knife, utility knife, and a bucket or container to catch any water that may spill out. With these tools in hand, you are ready to begin taking out your bathroom counter sink. Start by turning off the water supply to the sink. This can usually be done by turning the shut-off valves located under the sink in a clockwise direction. Once the water is turned off, turn on the faucet to release any remaining water in the pipes. Next, use the wrench to loosen and remove the nuts and bolts that hold the sink in place. These are usually located under the sink and can be easily removed with the wrench. If the nuts and bolts are too tight, you can use pliers to loosen them. Once all the nuts and bolts are removed, the sink should be loose and easy to lift out.How to Take Out a Bathroom Counter Sink


How to Take Out a Bathroom Counter Sink


If you are a DIY enthusiast, removing a bathroom counter sink can be a fun and rewarding project. However, it is important to exercise caution and follow proper safety measures to avoid any accidents. Make sure to wear protective gear such as gloves and safety glasses while working. One important tip to keep in mind when removing a bathroom counter sink is to be gentle. The sink and surrounding area can be easily damaged if too much force is applied. Take your time and work carefully to avoid any mishaps.DIY Bathroom Counter Sink Removal


DIY Bathroom Counter Sink Removal


:max_bytes(150000):strip_icc()/8_IMG_3767-56a4a2753df78cf772835b72.JPG)

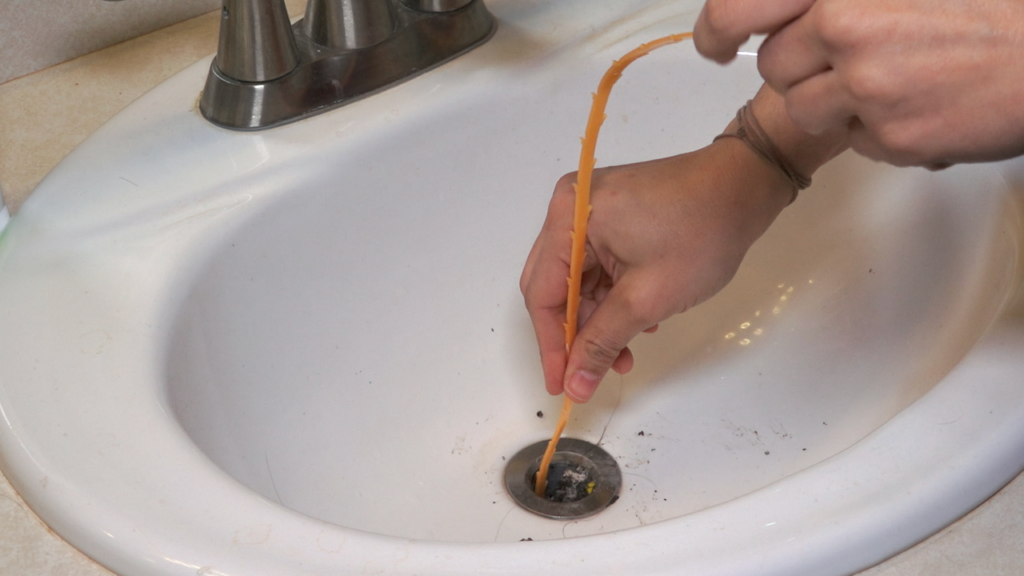
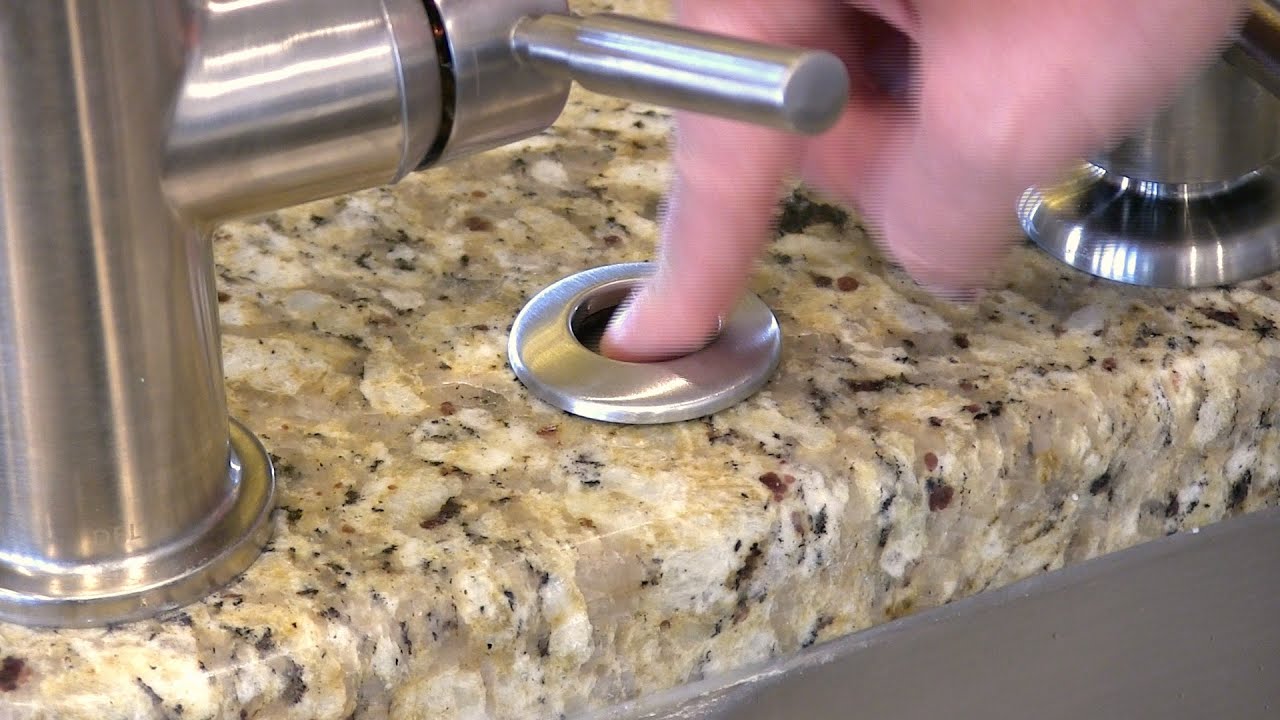
Here is a step-by-step guide to help you remove a bathroom counter sink: Step 1: Turn off the water supply to the sink and drain any remaining water. Step 2: Use a wrench or pliers to loosen and remove the nuts and bolts holding the sink in place. Step 3: Gently lift the sink out of its place and set it aside. Step 4: Use a putty knife to remove any caulk or adhesive from the edges of the sink. Step 5: If the sink is attached to the wall, use a utility knife to cut through any caulk or adhesive holding it in place. Step 6: Once the sink is completely free, lift it out and place it in the designated disposal area. Step 7: Clean the surrounding area and prepare it for the installation of the new sink.Step-by-Step Guide for Removing a Bathroom Counter Sink


Step-by-Step Guide for Removing a Bathroom Counter Sink


To successfully remove a bathroom counter sink, you will need the following tools: - Wrench - Pliers - Putty knife - Utility knife - Bucket or containerTools Needed for Taking Out a Bathroom Counter Sink


Tools Needed for Taking Out a Bathroom Counter Sink


Removing a bathroom counter sink can be a delicate task, and it is important to take precautions to avoid any damage to the surrounding area. Here are some tips to help you remove the sink without causing any damage: - Use a putty knife or utility knife to carefully cut through any caulk or adhesive holding the sink in place. - Be gentle and avoid using excessive force when removing the sink. - Place a towel or cloth under the sink to catch any water that may spill out during the removal process.Tips for Removing a Bathroom Counter Sink Without Damaging the Surrounding Area


Tips for Removing a Bathroom Counter Sink Without Damaging the Surrounding Area


Before you start removing your bathroom counter sink, there are a few things you should keep in mind: - If the sink is attached to the wall, make sure to cut through any caulk or adhesive before attempting to lift it out. - Have a designated disposal area ready to safely dispose of the old sink. - If you are unsure about any step of the removal process, it is best to seek professional help.Removing a Bathroom Counter Sink: What You Need to Know


Removing a Bathroom Counter Sink: What You Need to Know


Deciding whether to hire a professional or do it yourself when it comes to removing a bathroom counter sink ultimately depends on your skill level and comfort with DIY projects. Hiring a professional will ensure that the task is done correctly and efficiently, but it may come at a higher cost. However, if you are confident in your DIY skills, taking out a bathroom counter sink can be a satisfying and cost-effective project to tackle on your own.Professional vs. DIY: Taking Out a Bathroom Counter Sink
Professional vs. DIY: Taking Out a Bathroom Counter Sink

:max_bytes(150000):strip_icc()/steam-cleaning-professional-vs-diy-2908776-hero-24ffd77737924bca908036dabcdcbbad.jpg)


Here are some common mistakes to avoid when taking out a bathroom counter sink: - Using excessive force, which can cause damage to the surrounding area. - Forgetting to turn off the water supply, which can result in a messy and potentially dangerous situation. - Not having the necessary tools, which can make the task more difficult and time-consuming.Common Mistakes to Avoid When Removing a Bathroom Counter Sink


Common Mistakes to Avoid When Removing a Bathroom Counter Sink


Once you have successfully removed your bathroom counter sink, it is important to dispose of it properly. Most sinks are made of porcelain or ceramic, which can be recycled. You can check with your local recycling center for the proper way to dispose of your old sink.How to Dispose of a Bathroom Counter Sink After Removal


How to Dispose of a Bathroom Counter Sink After Removal


Taking Out Bathroom Counter Sink: A Simple Way to Upgrade Your Bathroom Design

Why Change Your Bathroom Counter Sink?
 When it comes to house design, the bathroom is often overlooked. However, it is one of the most used and functional spaces in a home. An outdated or dull bathroom can easily bring down the overall aesthetic of your house. This is why it is important to regularly update and upgrade your bathroom design.
One simple way to give your bathroom a fresh and modern look is by taking out the counter sink. Not only does this open up space, but it also allows for more creative and functional design options. With the right tools and techniques, you can easily remove your old counter sink and replace it with a new one that better suits your style.
When it comes to house design, the bathroom is often overlooked. However, it is one of the most used and functional spaces in a home. An outdated or dull bathroom can easily bring down the overall aesthetic of your house. This is why it is important to regularly update and upgrade your bathroom design.
One simple way to give your bathroom a fresh and modern look is by taking out the counter sink. Not only does this open up space, but it also allows for more creative and functional design options. With the right tools and techniques, you can easily remove your old counter sink and replace it with a new one that better suits your style.
How to Take Out Your Bathroom Counter Sink
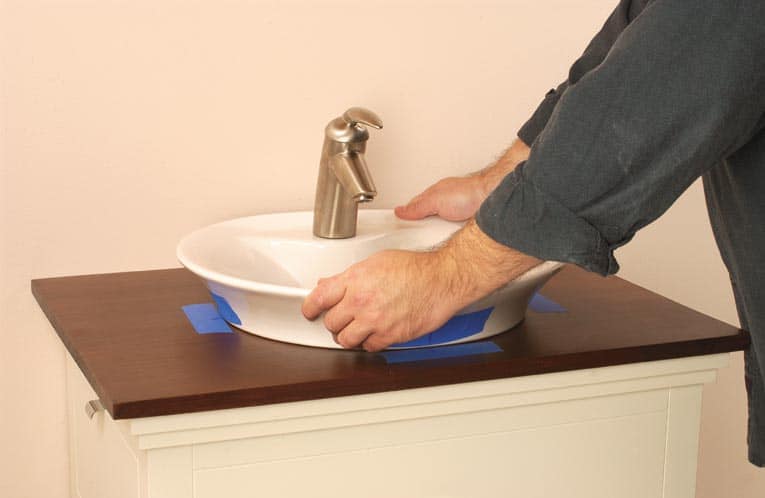
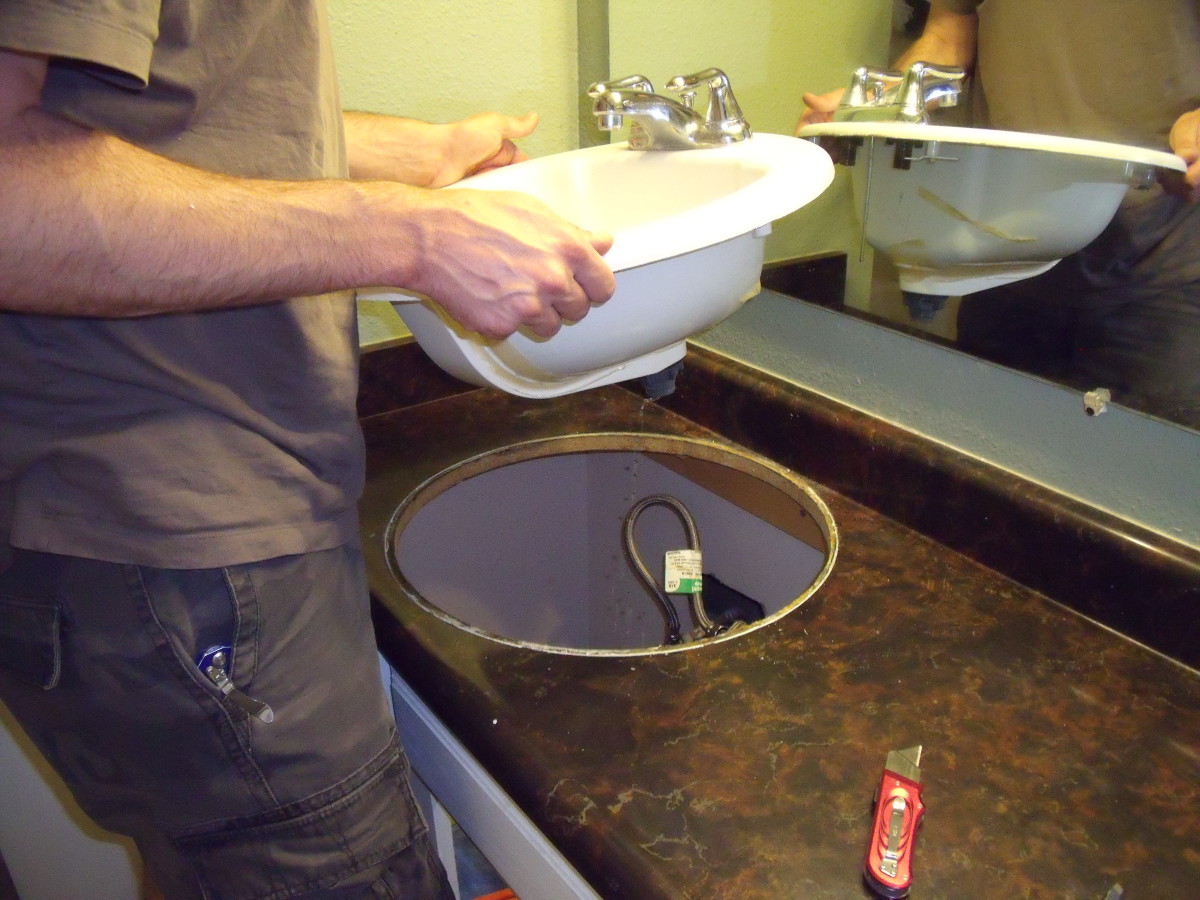
 Before you start the process of removing your bathroom counter sink, it is important to have a clear plan in place. This includes having all the necessary tools and supplies ready, as well as understanding the layout and connections of your sink.
First, turn off the water supply to your sink. This can usually be done by turning off the valves under the sink or shutting off the main water supply to your house. Then, disconnect the water supply lines and the drain pipes from the sink.
Next, remove any caulk or adhesive that is holding the sink in place. This can be done using a putty knife or a caulk removal tool. Once the sink is free, carefully lift it out of its place. You may need another person to help you with this step, especially if the sink is heavy.
Before you start the process of removing your bathroom counter sink, it is important to have a clear plan in place. This includes having all the necessary tools and supplies ready, as well as understanding the layout and connections of your sink.
First, turn off the water supply to your sink. This can usually be done by turning off the valves under the sink or shutting off the main water supply to your house. Then, disconnect the water supply lines and the drain pipes from the sink.
Next, remove any caulk or adhesive that is holding the sink in place. This can be done using a putty knife or a caulk removal tool. Once the sink is free, carefully lift it out of its place. You may need another person to help you with this step, especially if the sink is heavy.
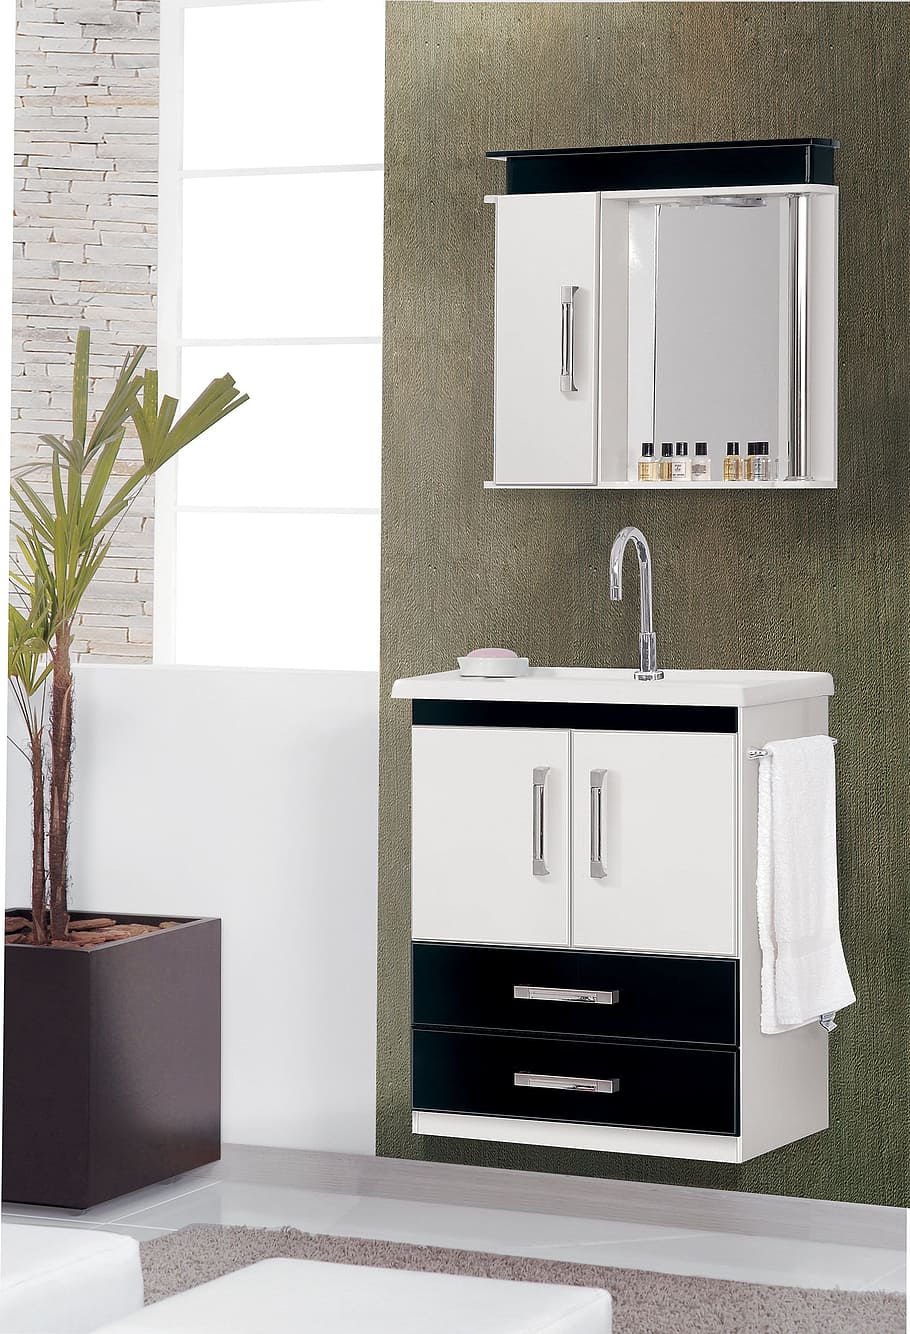
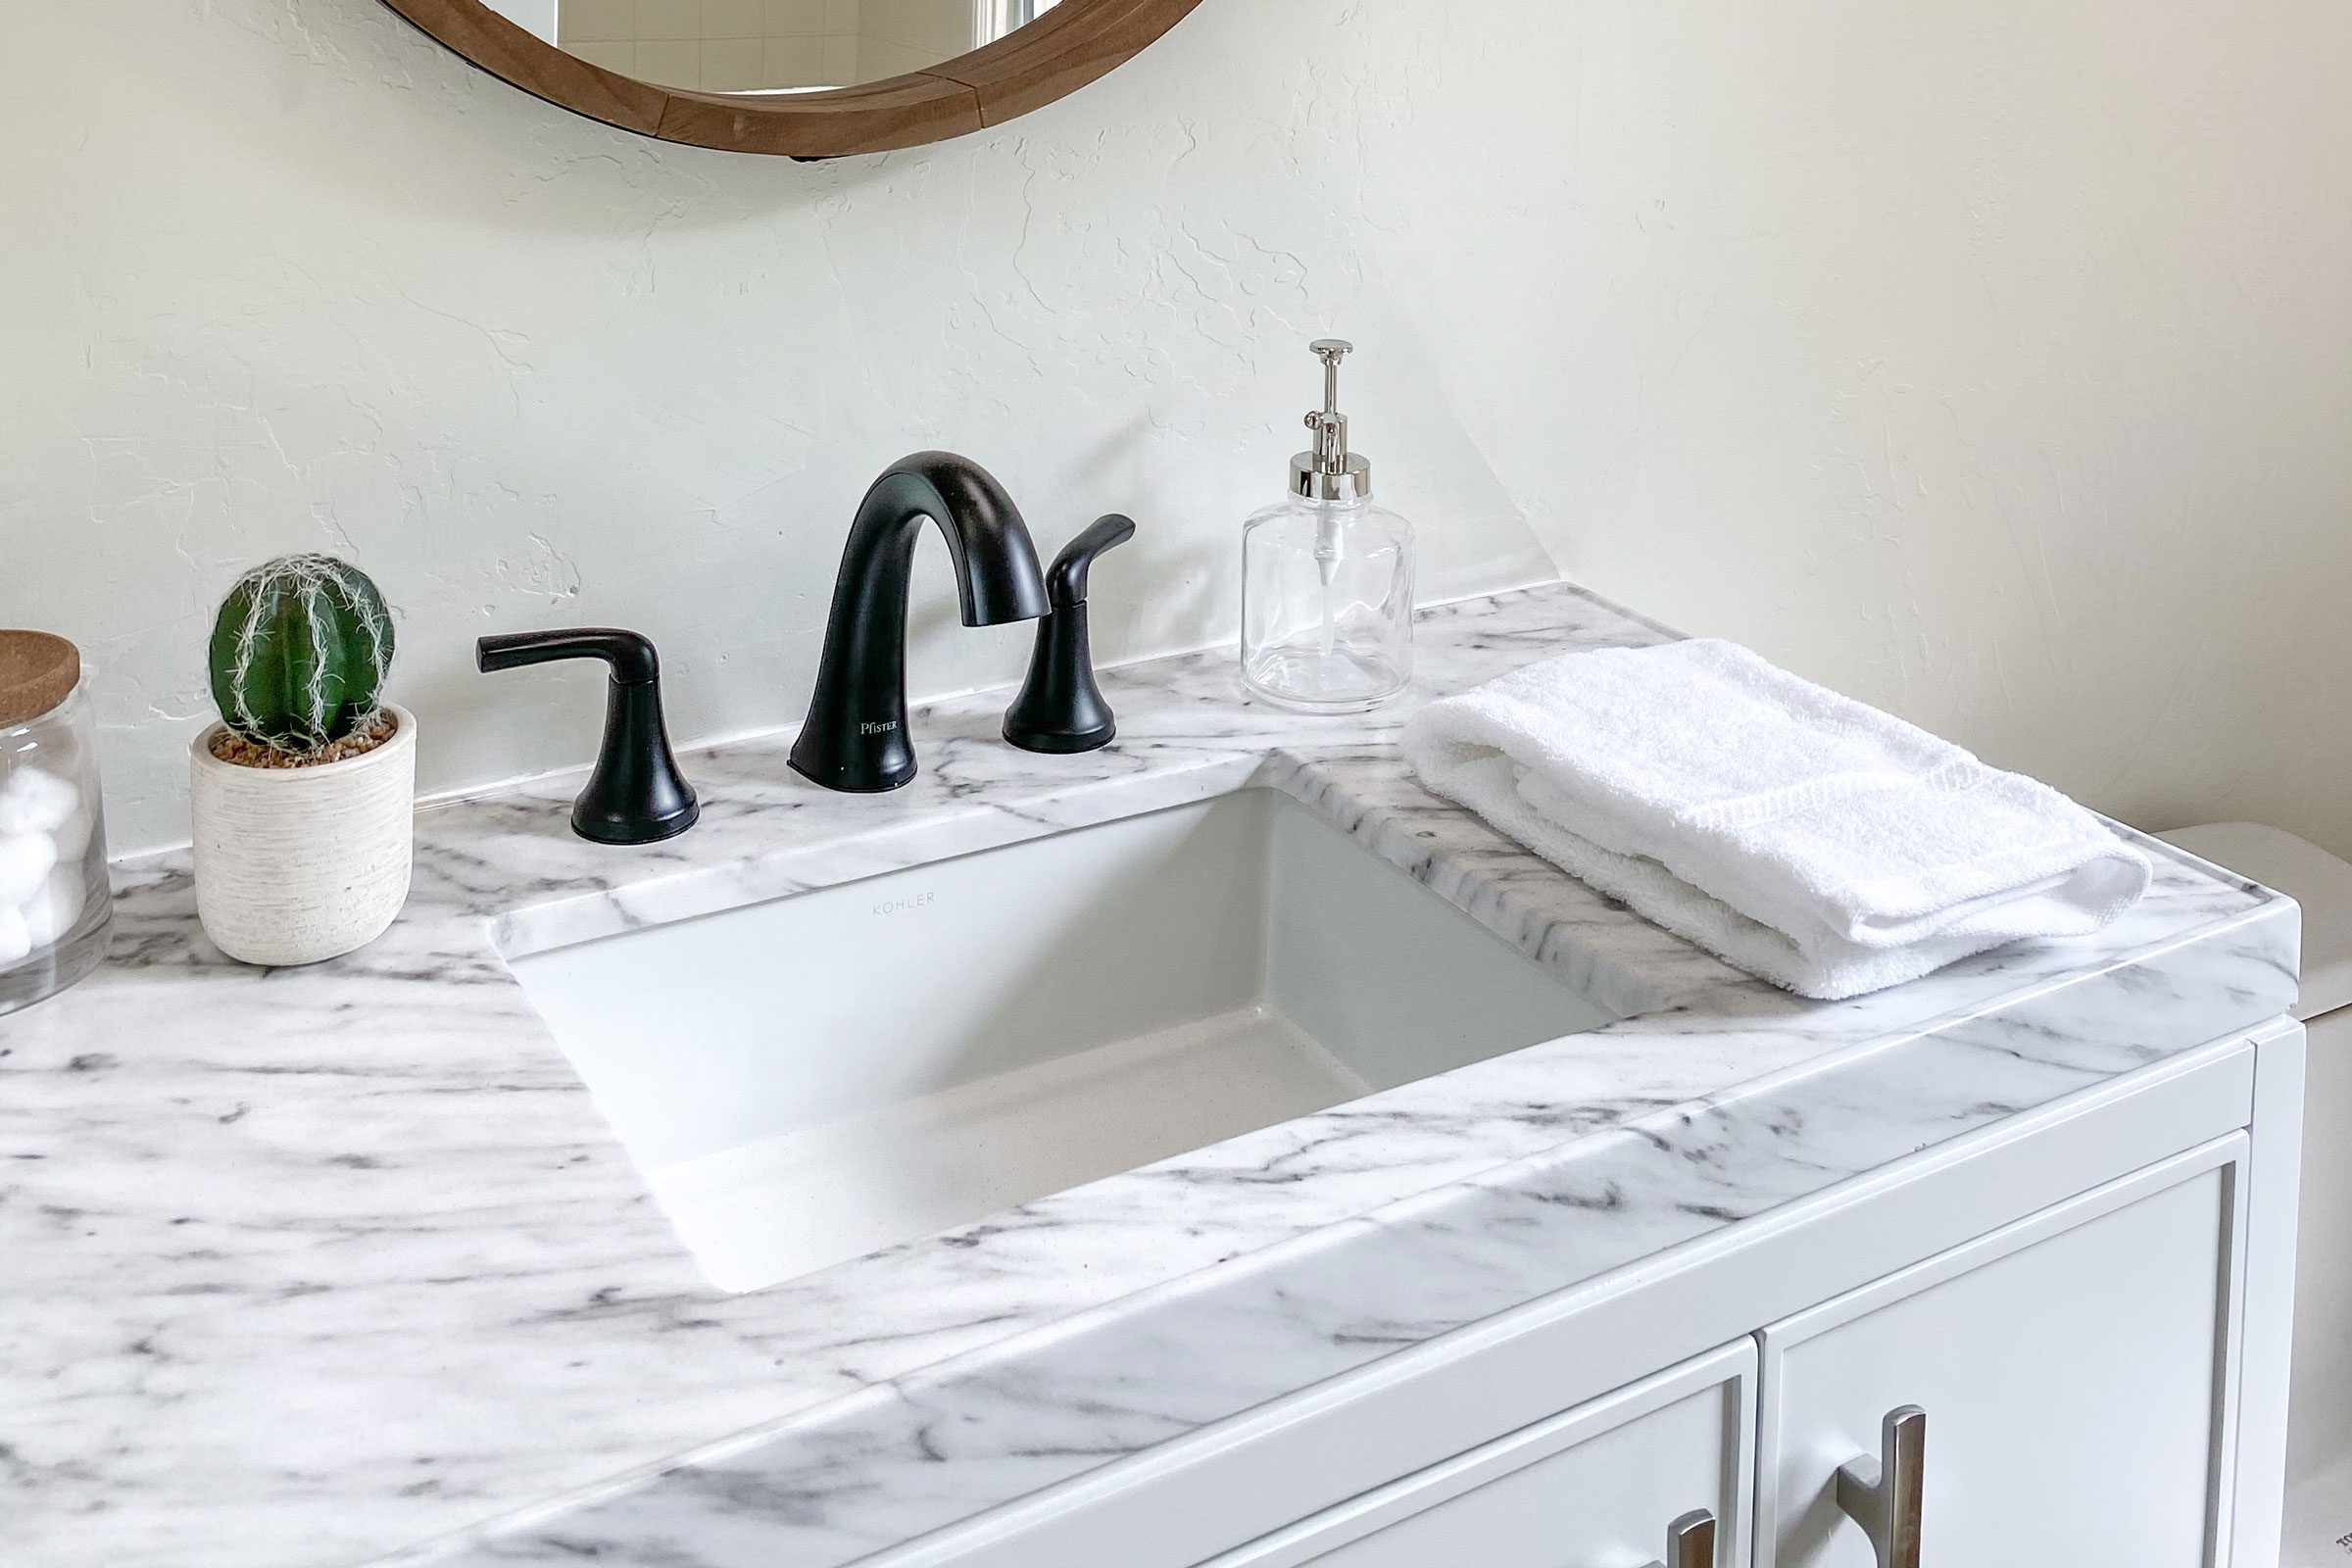
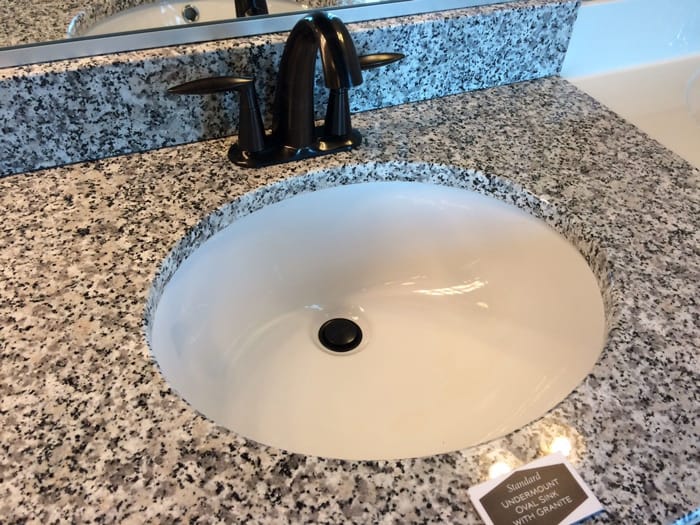
The Benefits of Changing Your Bathroom Counter Sink
 Replacing your old bathroom counter sink with a new one can bring many benefits to your bathroom design. First and foremost, it can give your bathroom a fresh and updated look. With a variety of sink styles, materials, and colors available, you can easily find one that suits your personal taste and complements your overall bathroom design.
Additionally, taking out your counter sink can open up space and make your bathroom feel more spacious and airy. This is especially beneficial for smaller bathrooms that may feel cramped with a bulky sink taking up a lot of space. You can also use this opportunity to add storage options, such as a vanity or shelves, to keep your bathroom organized and clutter-free.
Replacing your old bathroom counter sink with a new one can bring many benefits to your bathroom design. First and foremost, it can give your bathroom a fresh and updated look. With a variety of sink styles, materials, and colors available, you can easily find one that suits your personal taste and complements your overall bathroom design.
Additionally, taking out your counter sink can open up space and make your bathroom feel more spacious and airy. This is especially beneficial for smaller bathrooms that may feel cramped with a bulky sink taking up a lot of space. You can also use this opportunity to add storage options, such as a vanity or shelves, to keep your bathroom organized and clutter-free.
Final Thoughts
 In conclusion, taking out your bathroom counter sink is a simple and effective way to upgrade your bathroom design. Not only does it give your bathroom a fresh and modern look, but it also allows for more creative and functional design options. With proper planning and the right tools, you can easily remove your old sink and replace it with one that better suits your style. So why wait? Start planning your bathroom counter sink upgrade today and give your bathroom the makeover it deserves.