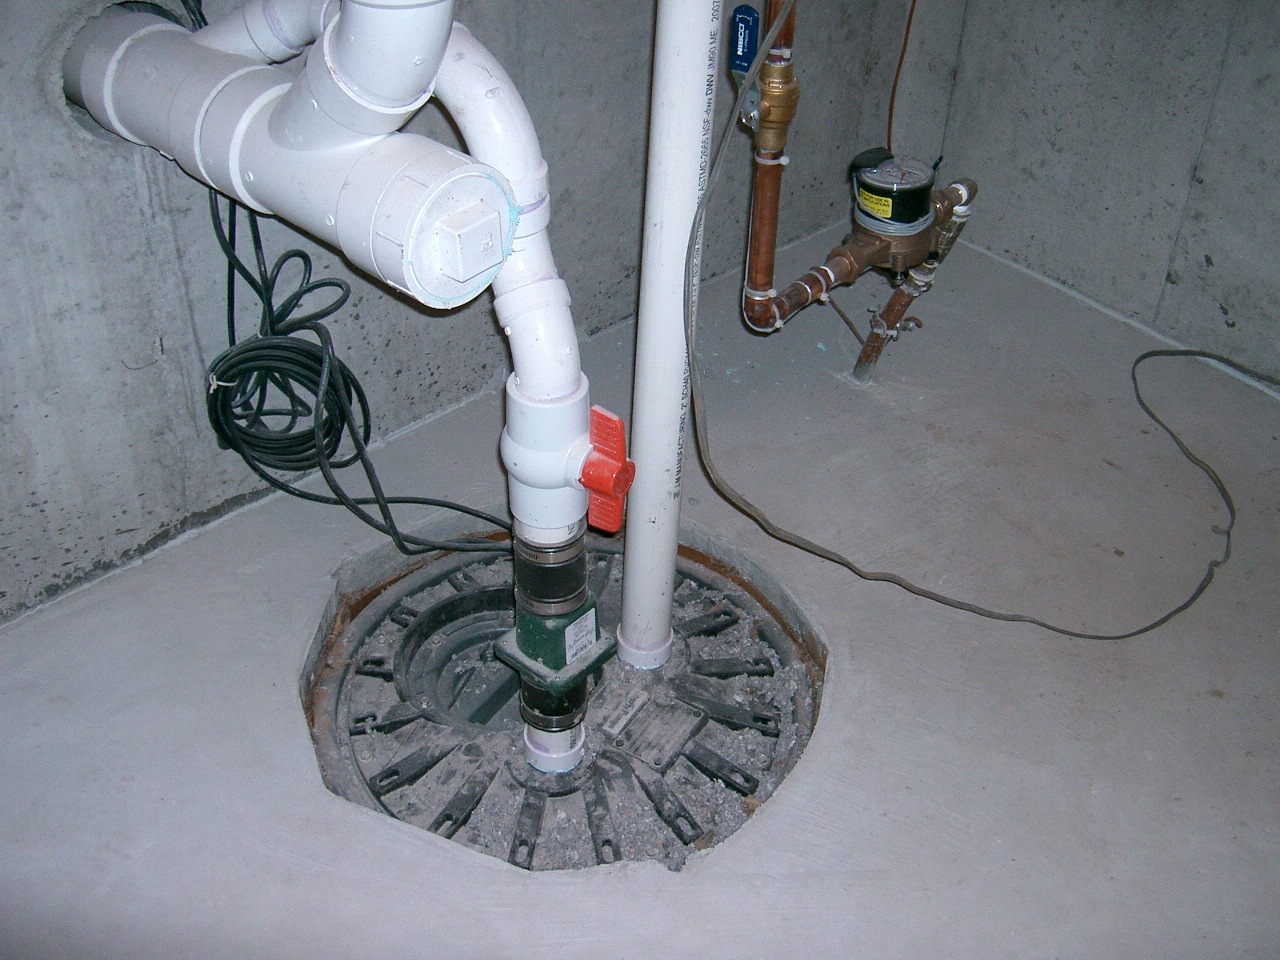
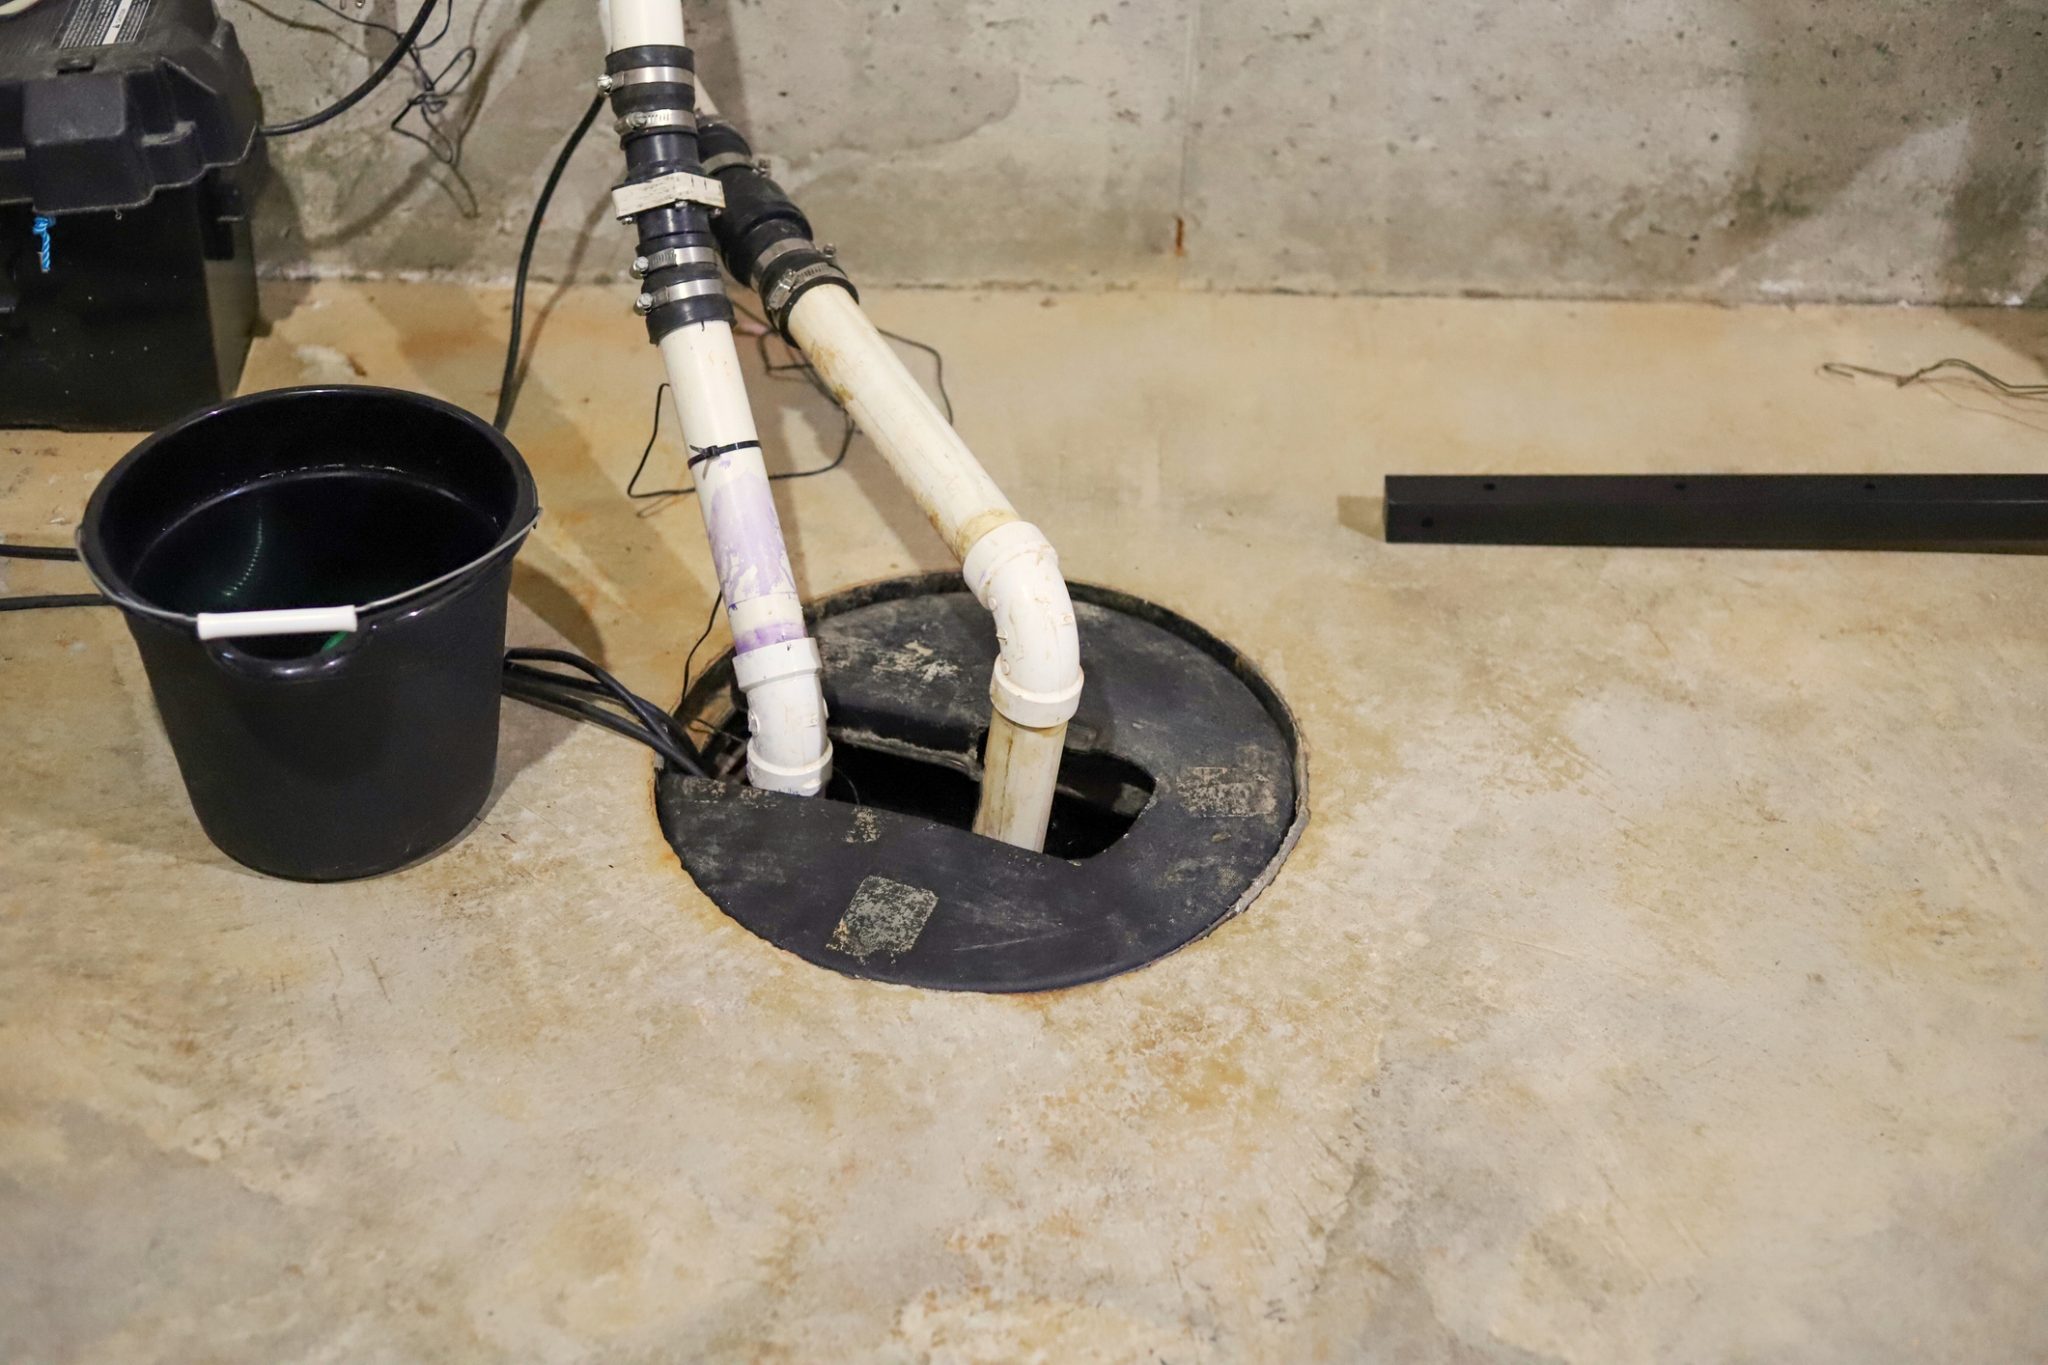
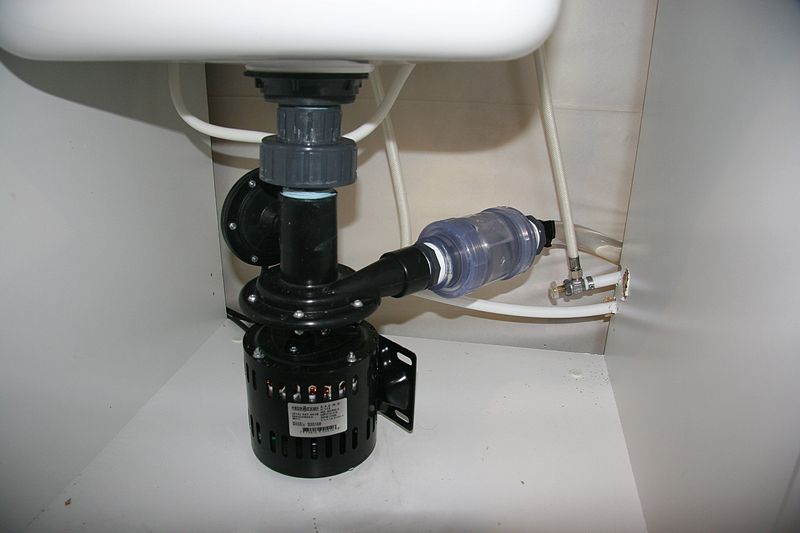
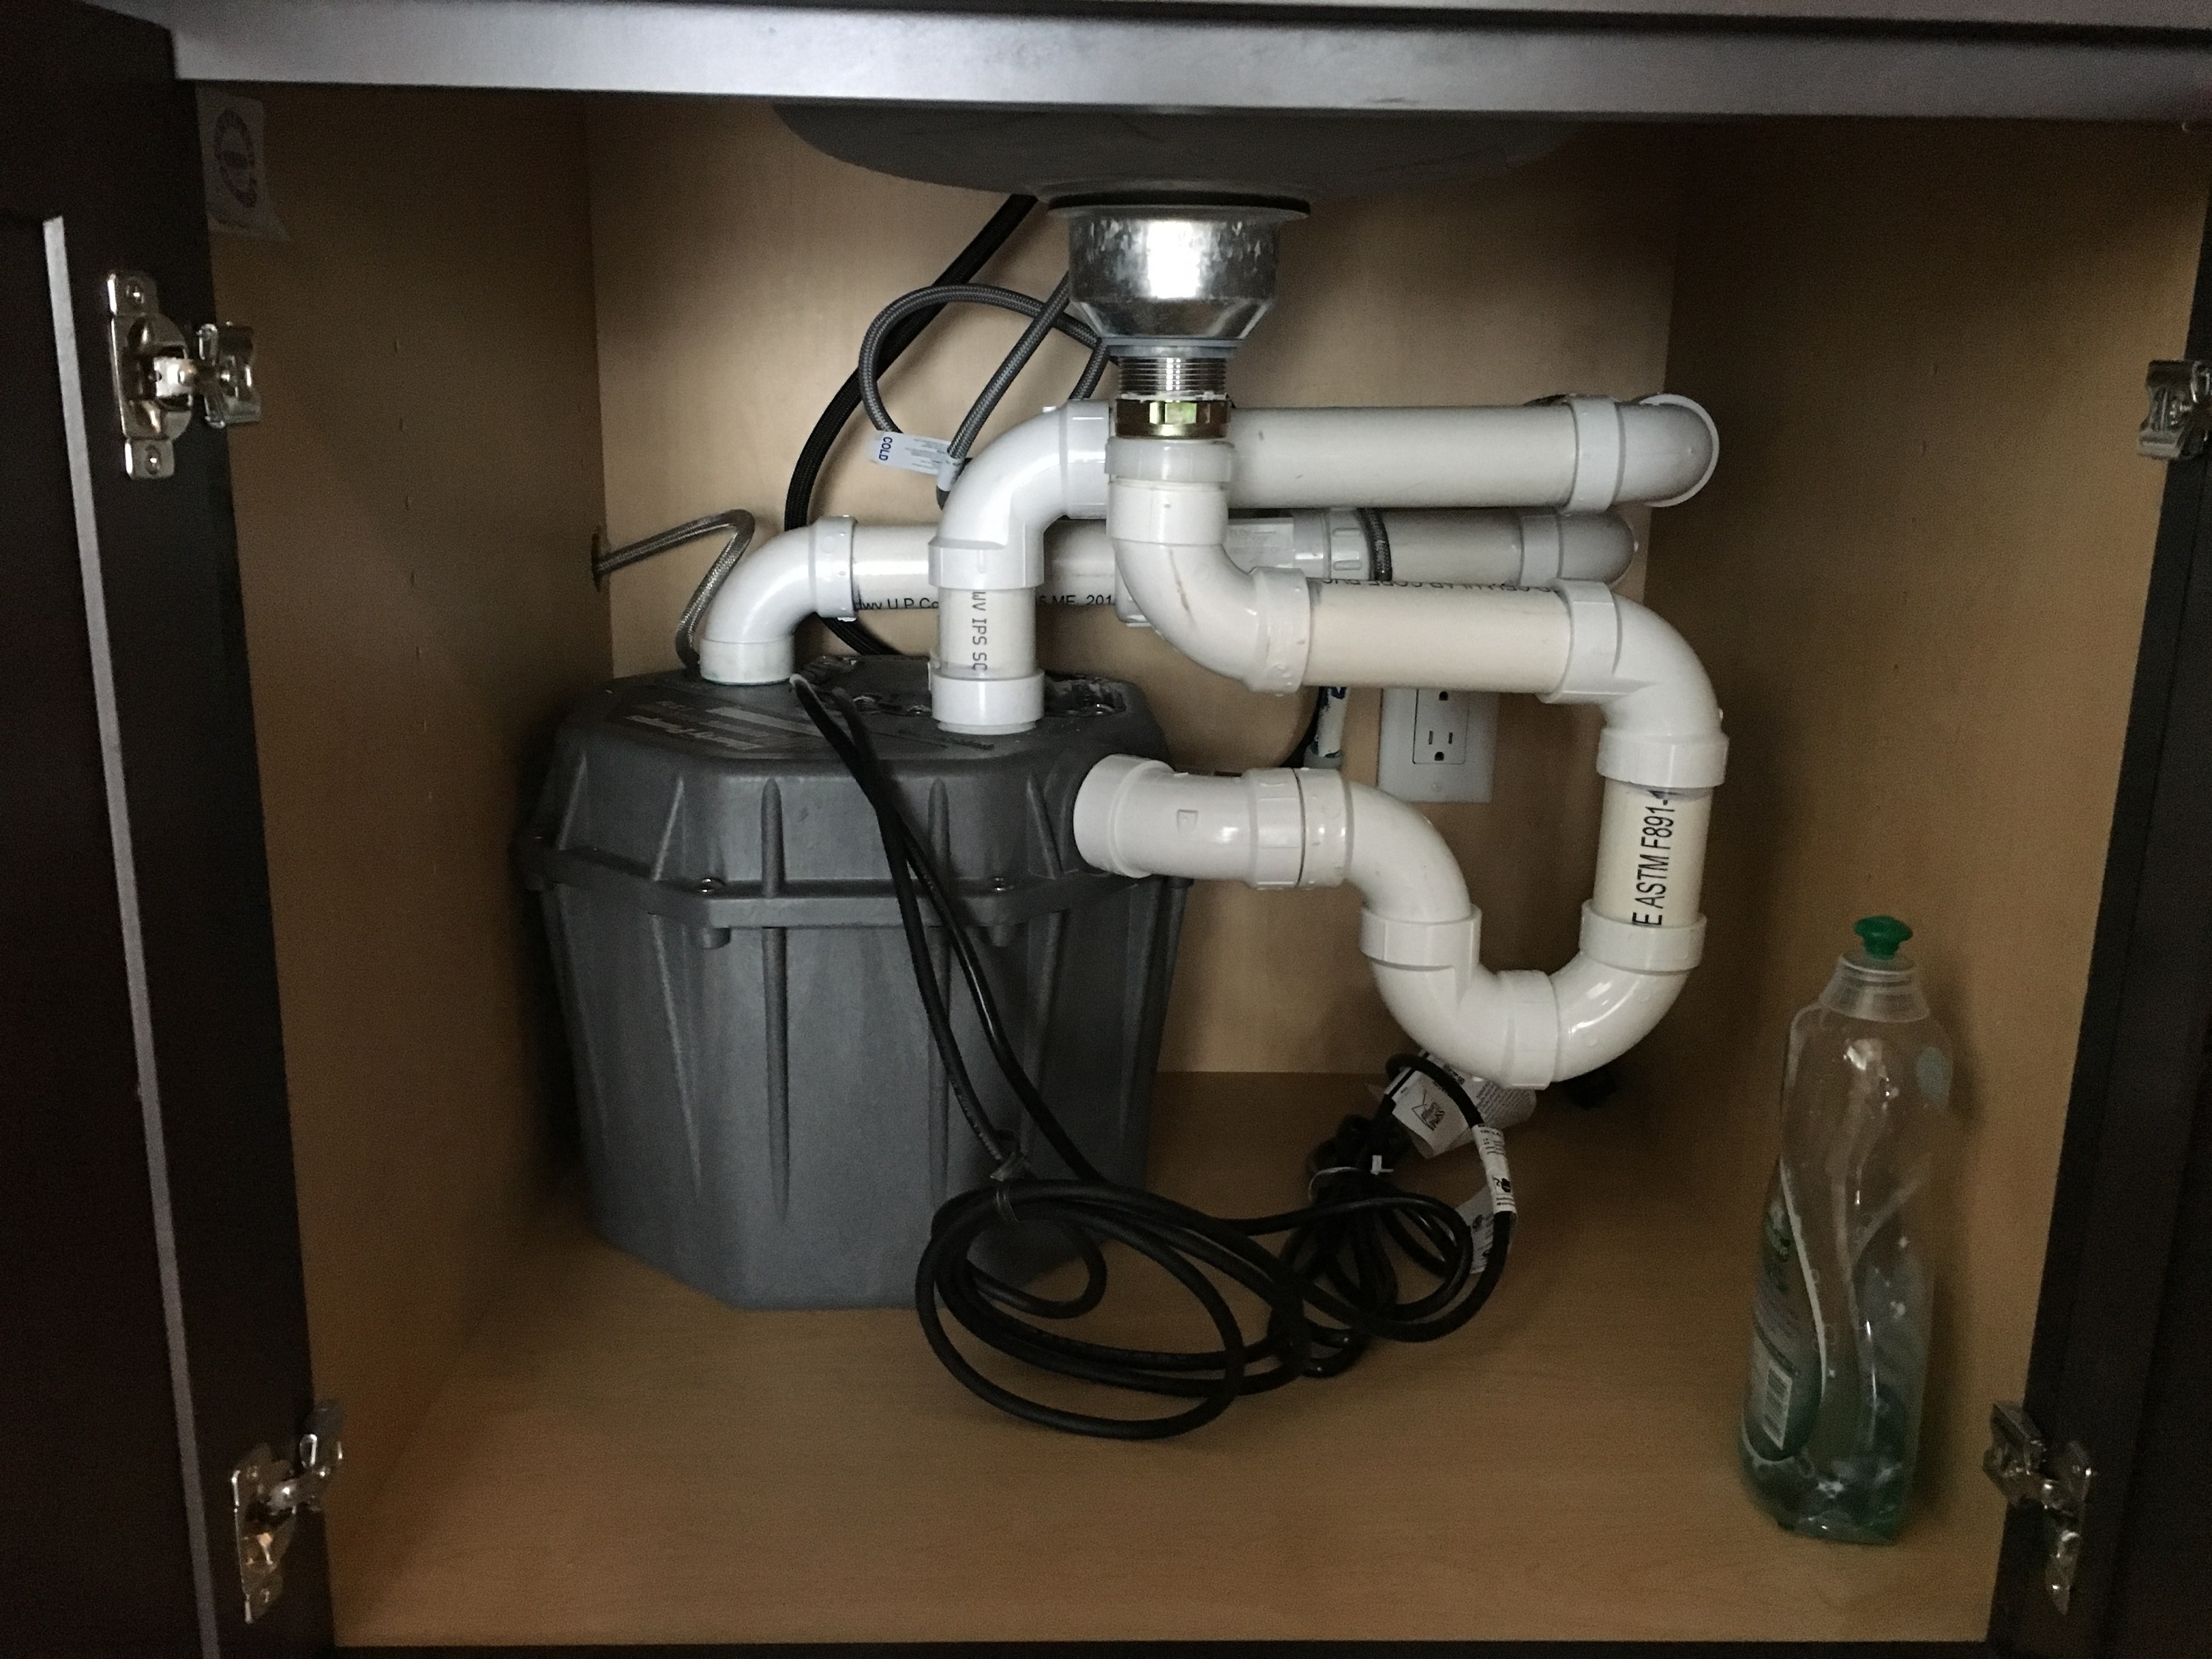
Installing a sump pump in your kitchen sink drain can be a simple and effective solution to prevent flooding and water damage in your home. Here's a step-by-step guide on how to install a sump pump in your kitchen sink drain. Step 1: Gather all the necessary tools and materials. You will need a sump pump, a drill, a hacksaw, PVC pipes, PVC cement, and a check valve. Step 2: Turn off the water supply to your sink and disconnect the plumbing pipes from the sink drain. Step 3: Use the drill to create a hole in the side of the sink drain for the sump pump discharge pipe. Step 4: Install the check valve onto the discharge pipe and secure it with PVC cement. Step 5: Cut a piece of PVC pipe to fit the length between the sump pump and the check valve. Connect the sump pump to the check valve with the PVC pipe and secure it with PVC cement. Step 6: Connect the discharge pipe to the other end of the check valve and secure it with PVC cement. Step 7: Place the sump pump in the sink drain and make sure it is securely in place. Step 8: Reconnect the plumbing pipes to the sink drain. Step 9: Test the sump pump by pouring a bucket of water into the sink. The sump pump should turn on and drain the water through the discharge pipe. Step 10: Monitor the sump pump regularly to ensure it is functioning properly and make any necessary adjustments.How to Install a Sump Pump in Your Kitchen Sink Drain


How to Install a Sump Pump in Your Kitchen Sink Drain

/how-to-install-a-sink-drain-2718789-hero-24e898006ed94c9593a2a268b57989a3.jpg)

/how-to-install-sump-pumps-1398056-hero-abd3b18a98ce46559bed3cd99054963f.jpg)

If your kitchen sink drain is old, damaged, or clogged, it may be time to replace it. Here's a step-by-step guide on how to replace a kitchen sink drain. Step 1: Turn off the water supply to your sink. Step 2: Use a wrench to disconnect the plumbing pipes from the sink drain. Step 3: Remove the old drain from the sink by unscrewing it from the bottom. Step 4: Clean the area around the drain hole and remove any old putty or debris. Step 5: Apply plumber's putty around the edge of the new drain and insert it into the drain hole. Step 6: Secure the new drain in place by tightening the nut underneath the sink with a wrench. Step 7: Reconnect the plumbing pipes to the new drain and tighten them with a wrench. Step 8: Turn on the water supply and test the new drain by running water through it. Step 9: Check for any leaks and make any necessary adjustments.How to Replace a Kitchen Sink Drain


How to Replace a Kitchen Sink Drain

/how-to-install-a-sink-drain-2718789-hero-b5b99f72b5a24bb2ae8364e60539cece.jpg)


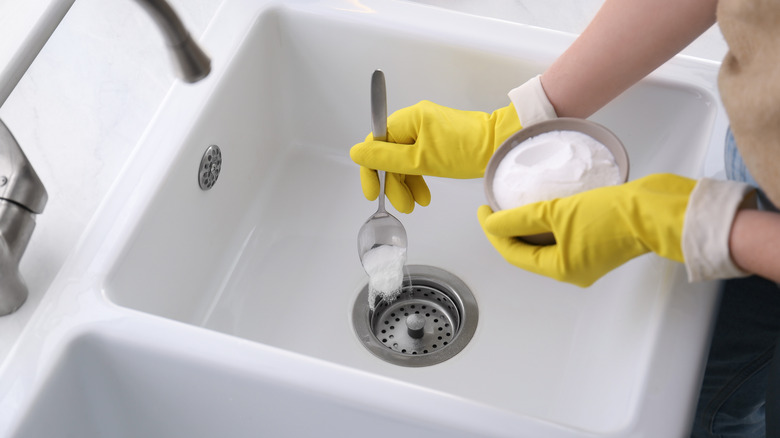
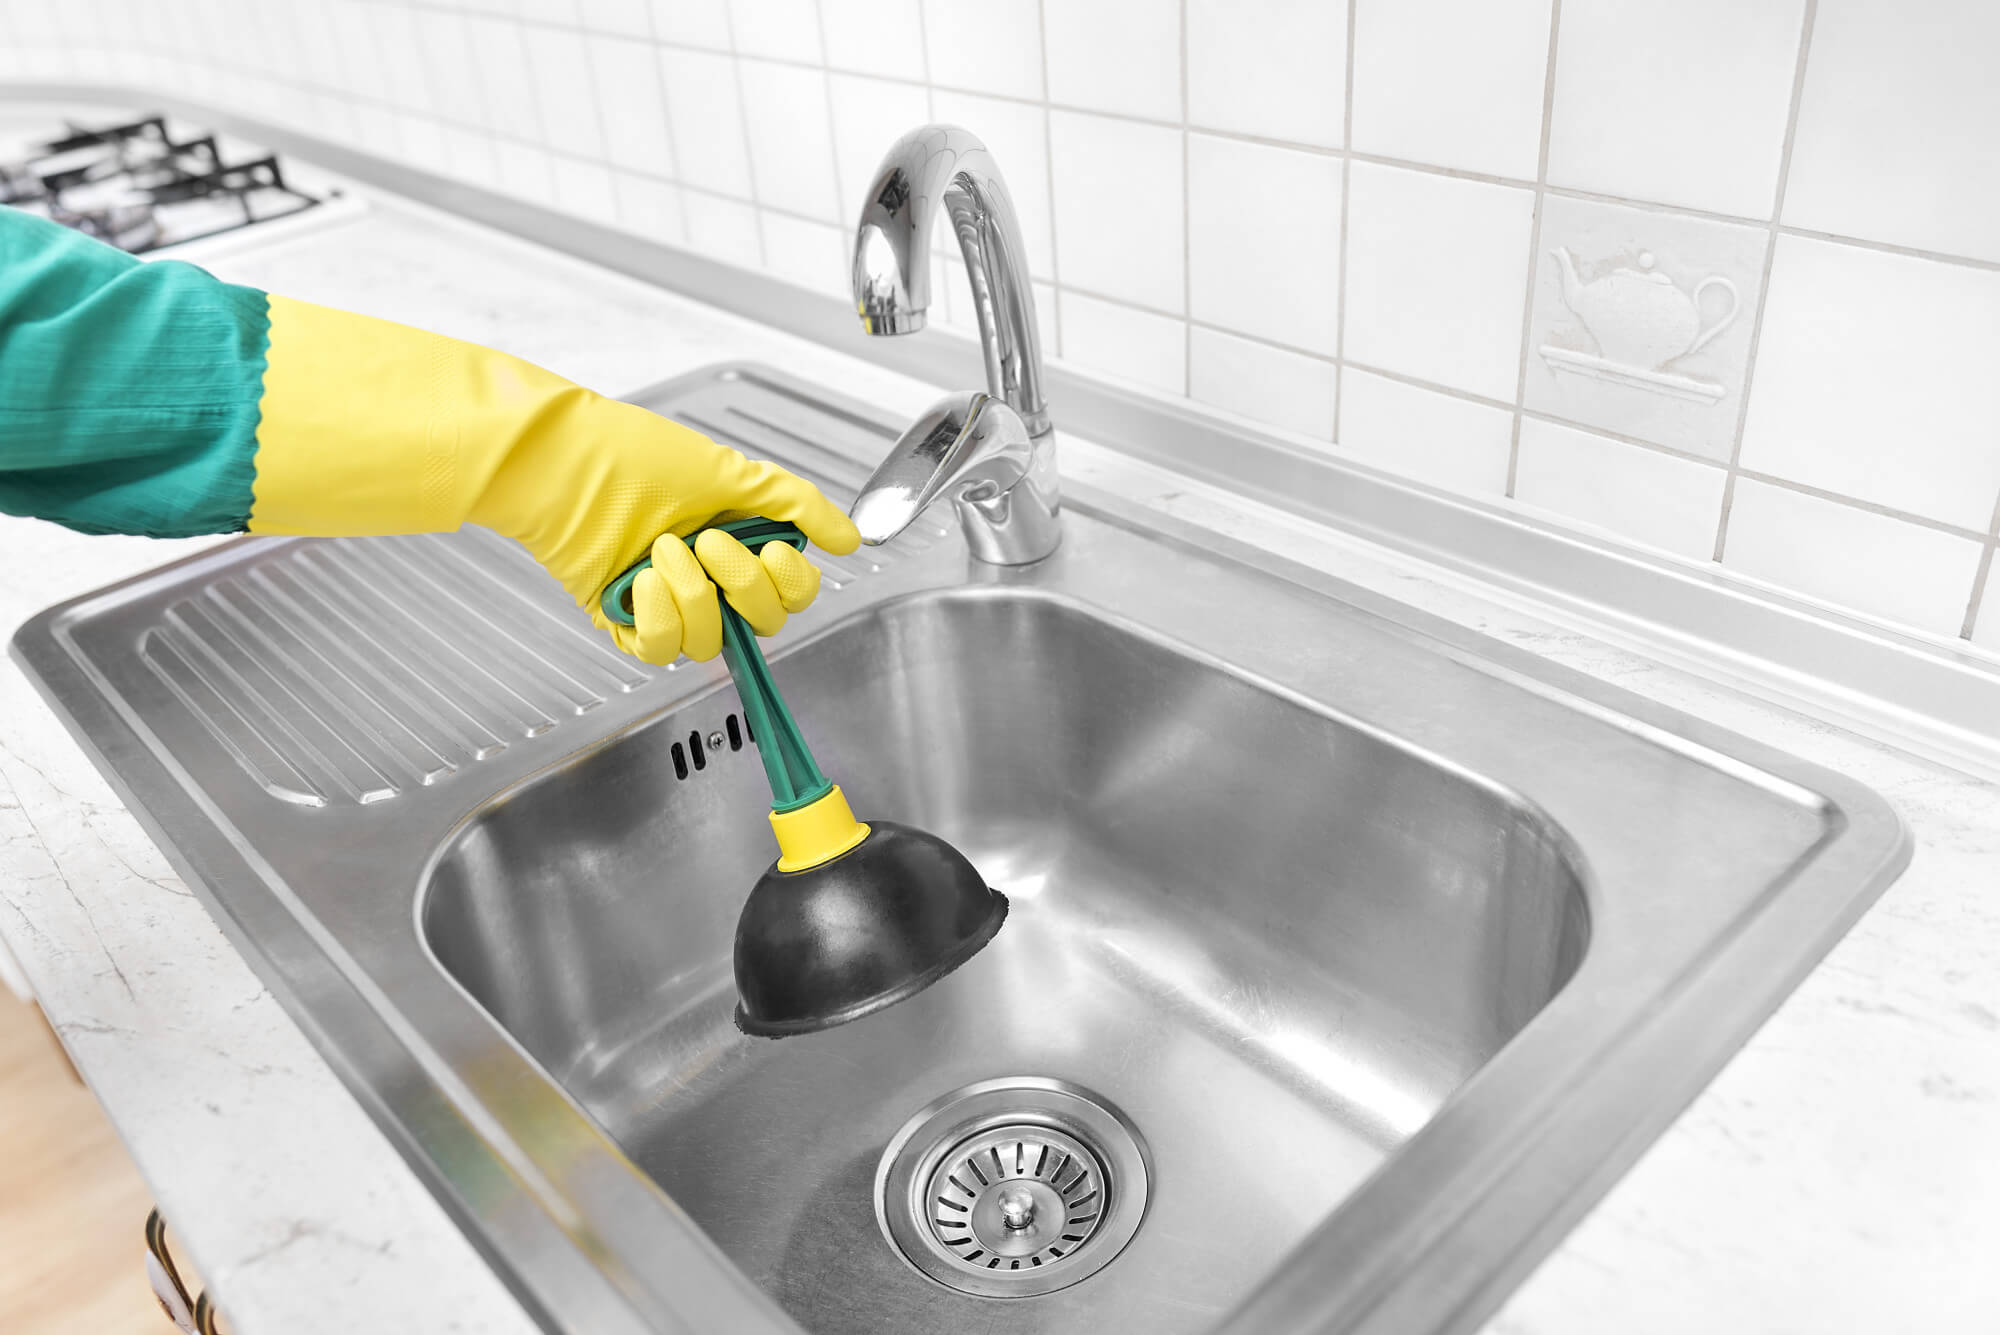
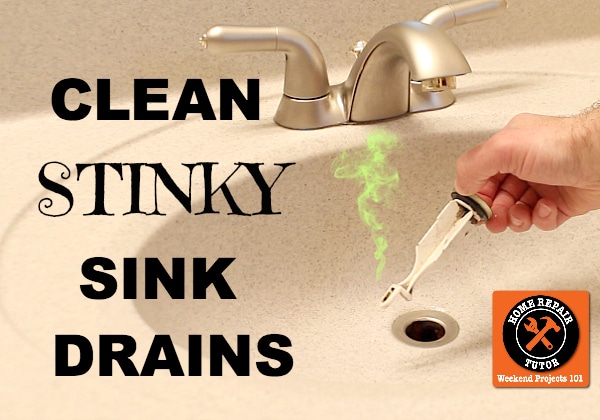
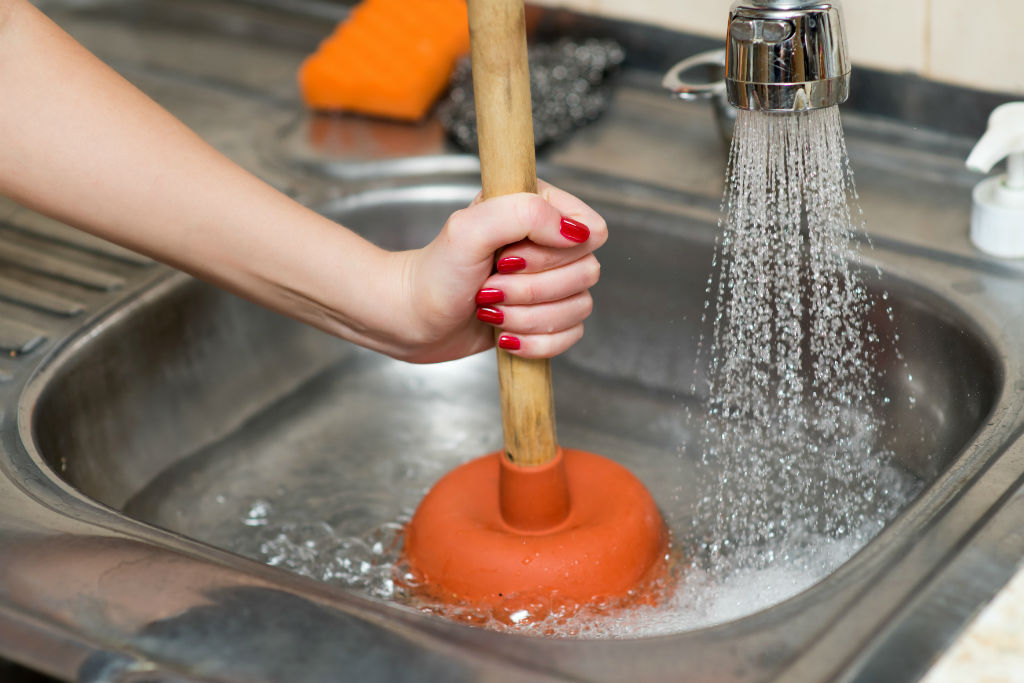
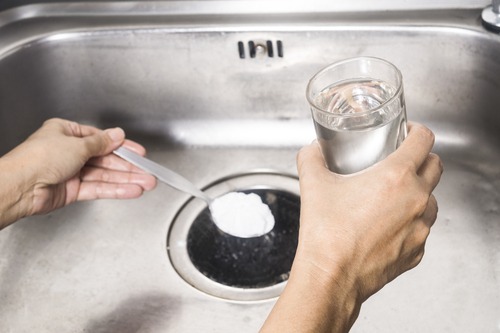
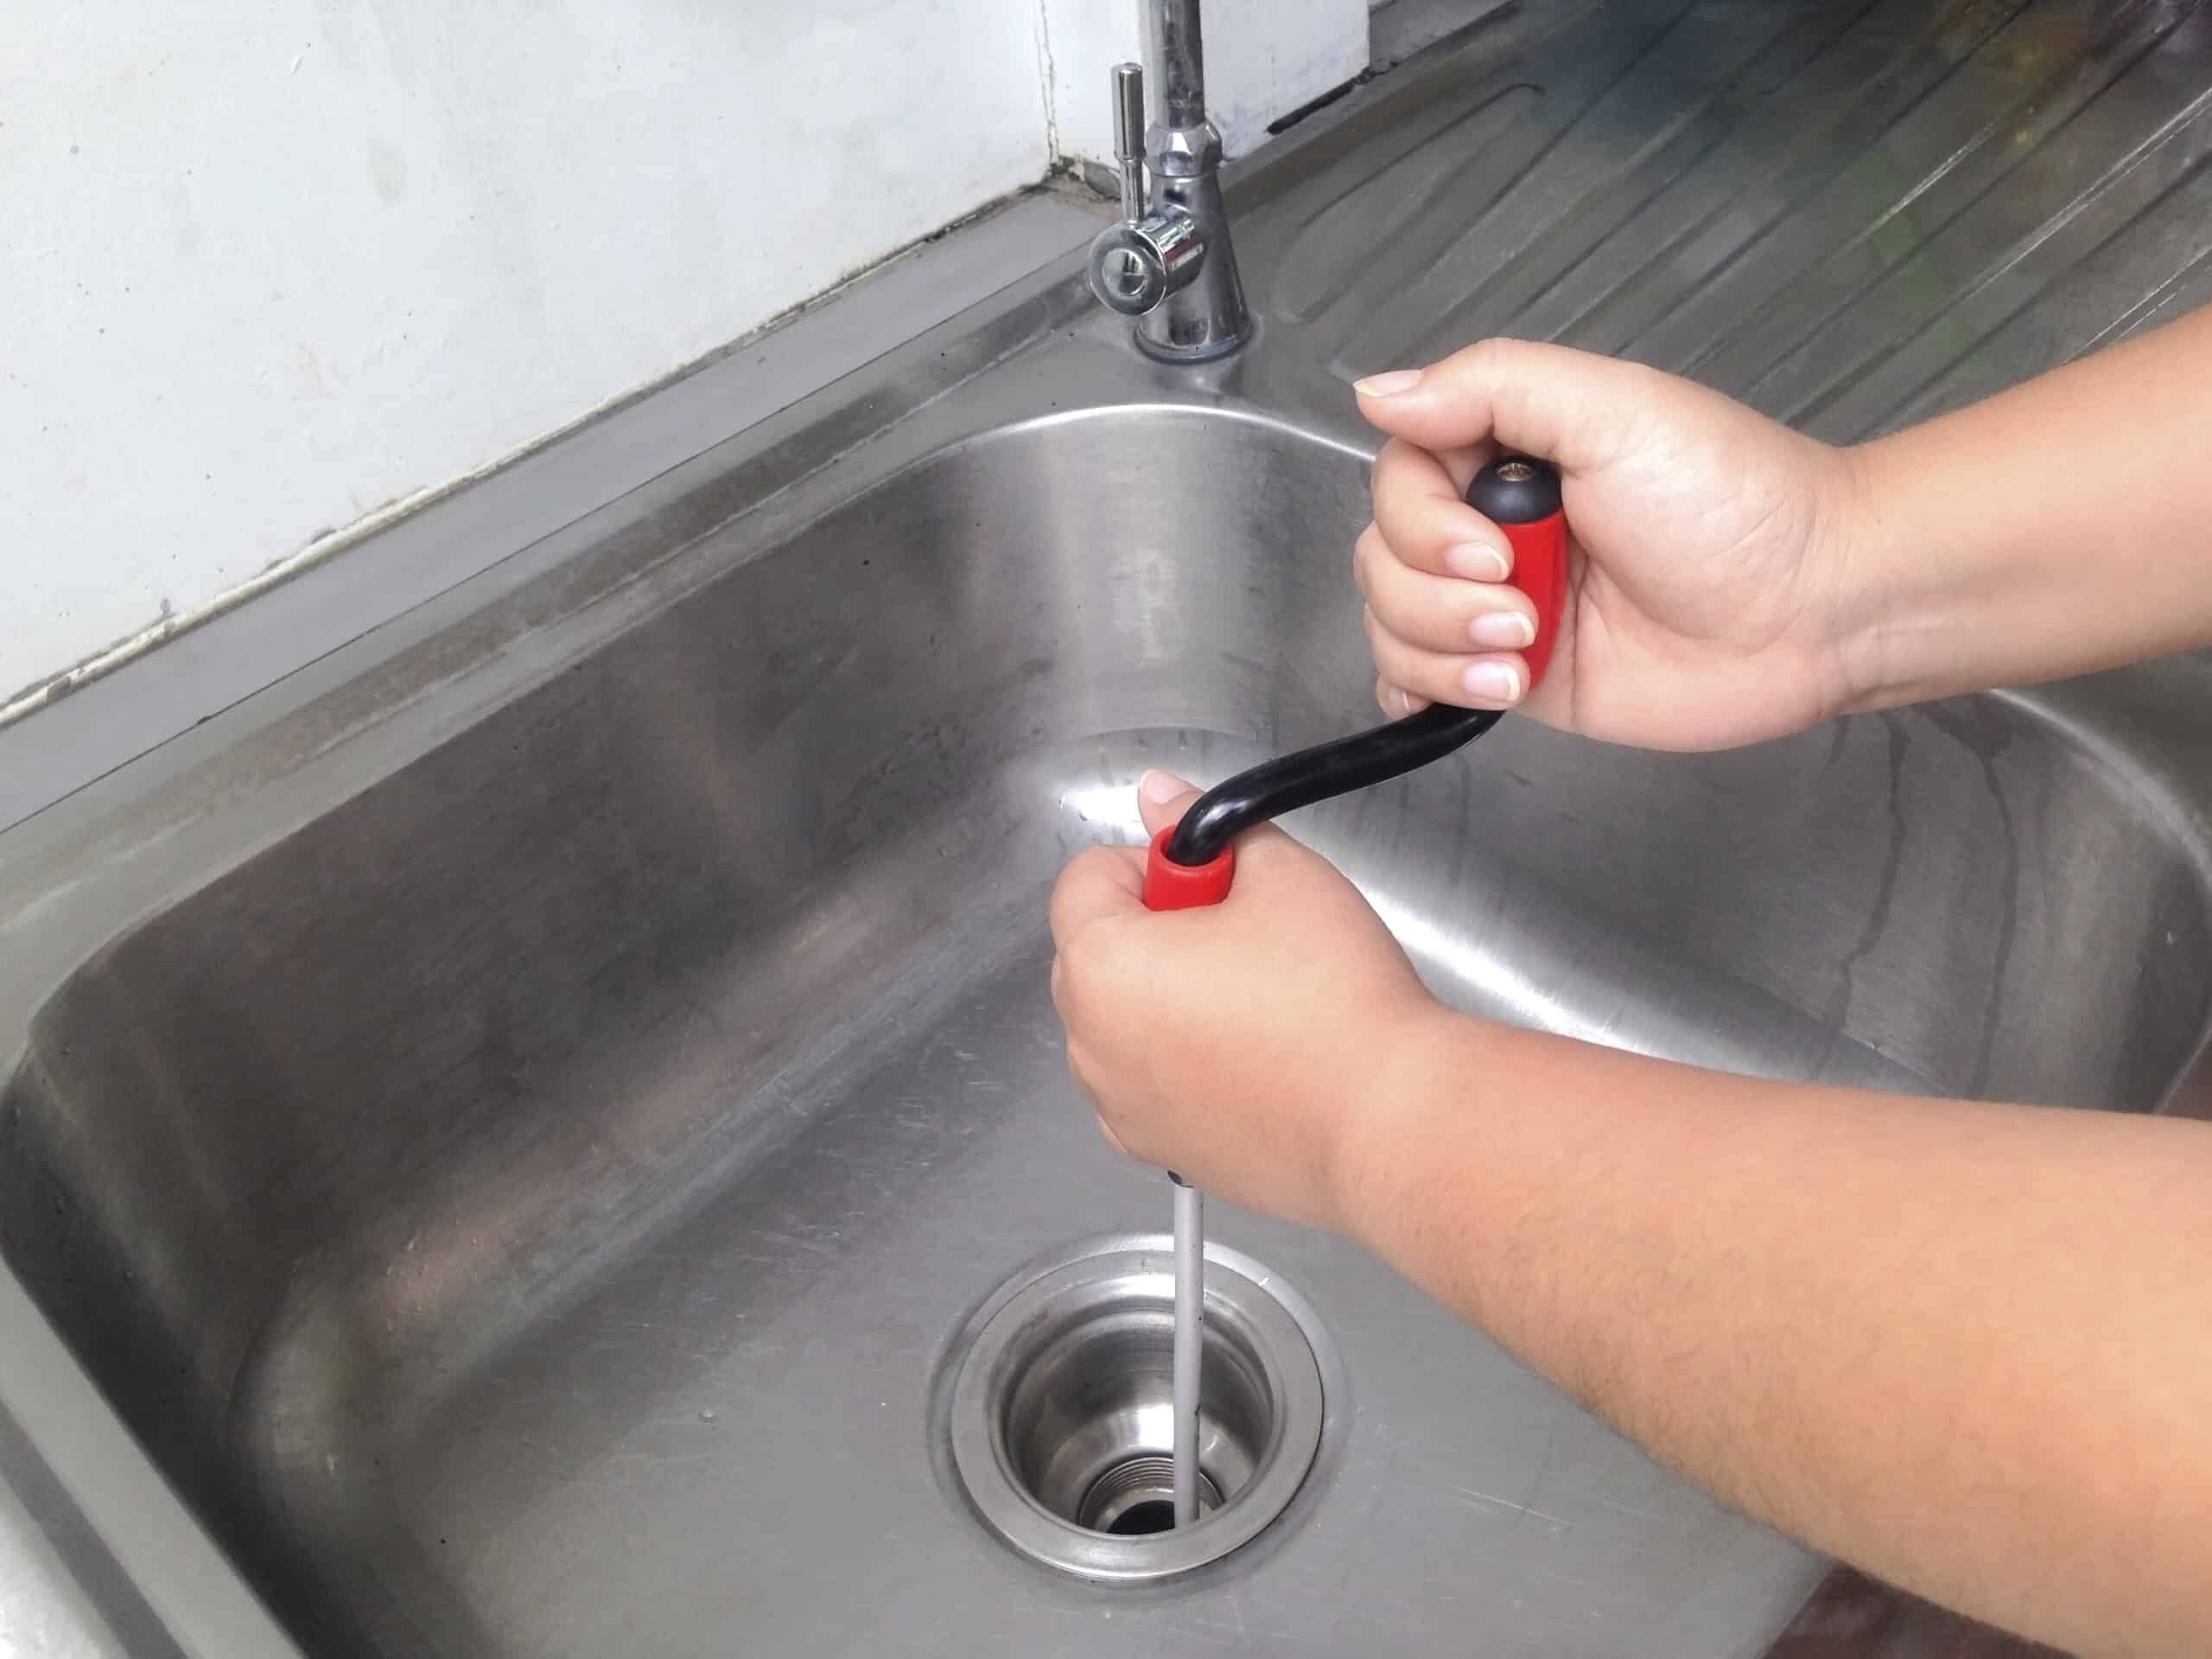
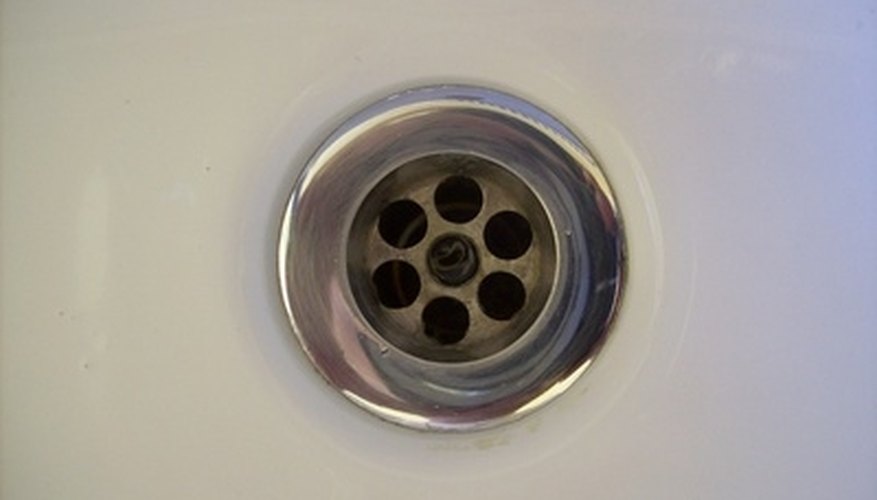
A clogged kitchen sink drain can be a frustrating and messy problem, but it can be easily fixed with a few simple steps. Here's how to unclog a kitchen sink drain. Step 1: Boil a pot of water and pour it down the drain. The hot water can help loosen and dissolve any build-up in the drain. Step 2: Use a plunger to create suction and dislodge any clogs in the drain. Step 3: If the plunger doesn't work, try using a drain snake to remove the clog. Step 4: Mix equal parts baking soda and vinegar and pour it down the drain. Let it sit for 15 minutes, then pour hot water down the drain to flush out the clog. Step 5: If none of the above methods work, it may be necessary to remove the plumbing pipes from under the sink and manually remove the clog. Step 6: Once the clog is removed, reattach the plumbing pipes and run water through the drain to ensure it is clear.How to Unclog a Kitchen Sink Drain


How to Unclog a Kitchen Sink Drain

:max_bytes(150000):strip_icc()/freshen-and-unclog-drain-with-baking-soda-1900466-22-bbf940b70afa4d5abef0c54da23b1d3f.jpg)
:max_bytes(150000):strip_icc()/how-to-unclog-a-kitchen-sink-2718799_sketch_FINAL-8c5caa805a69493ab22dfb537c72a1b7.png)


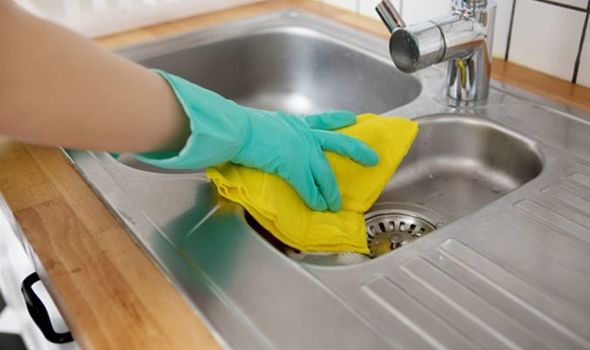
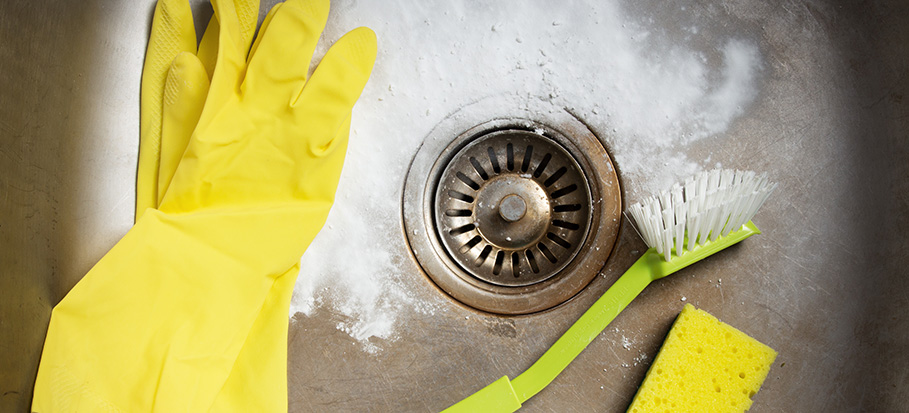
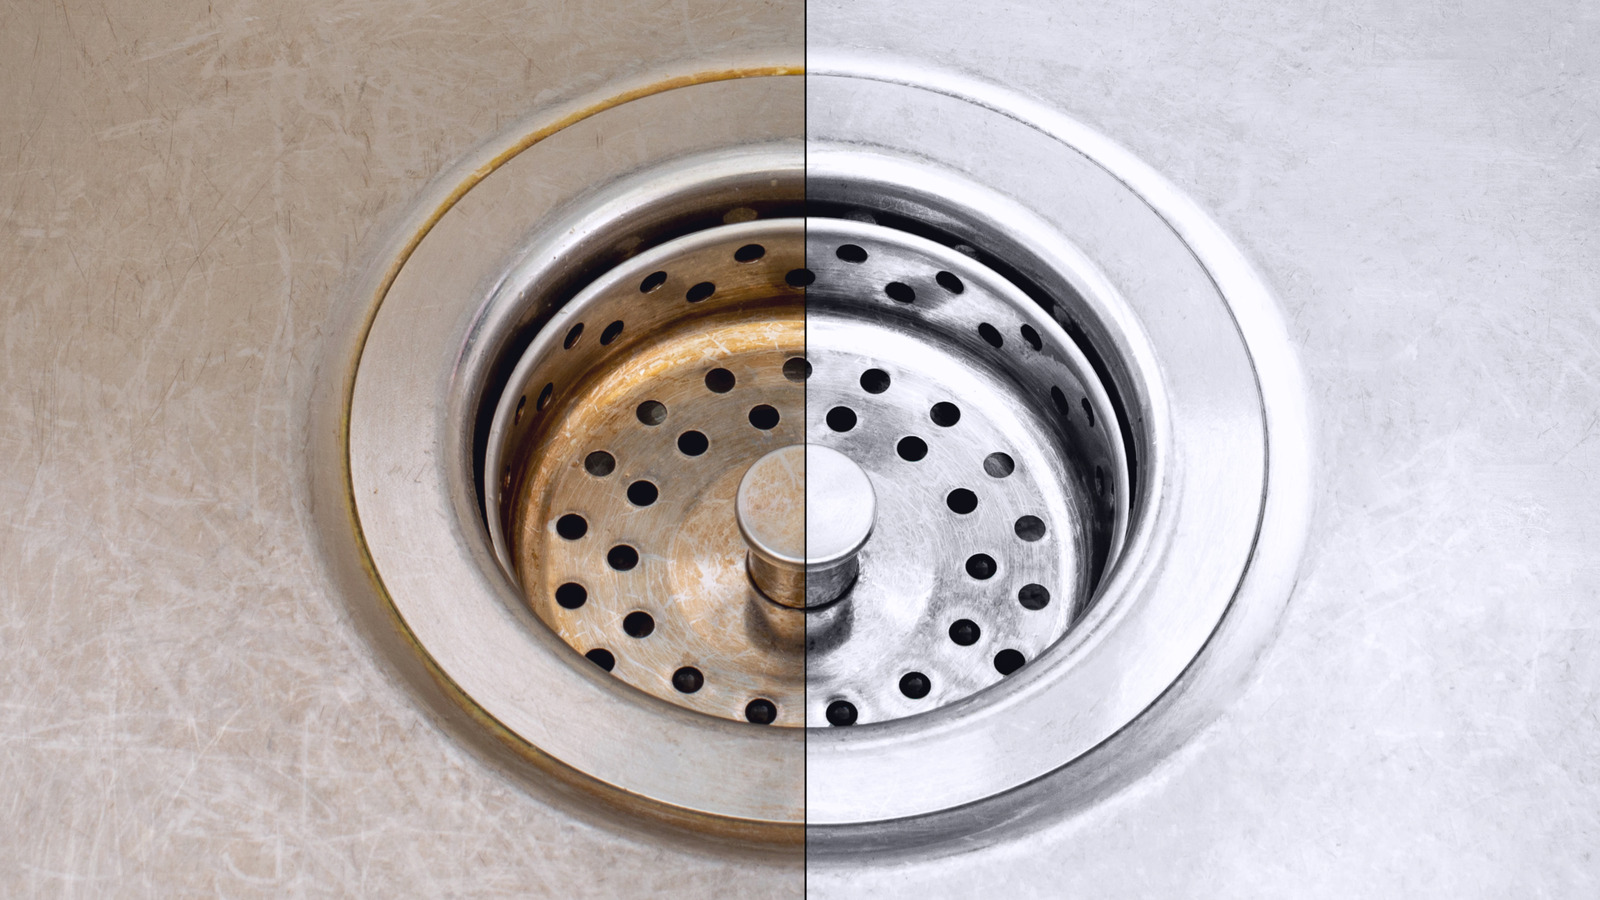
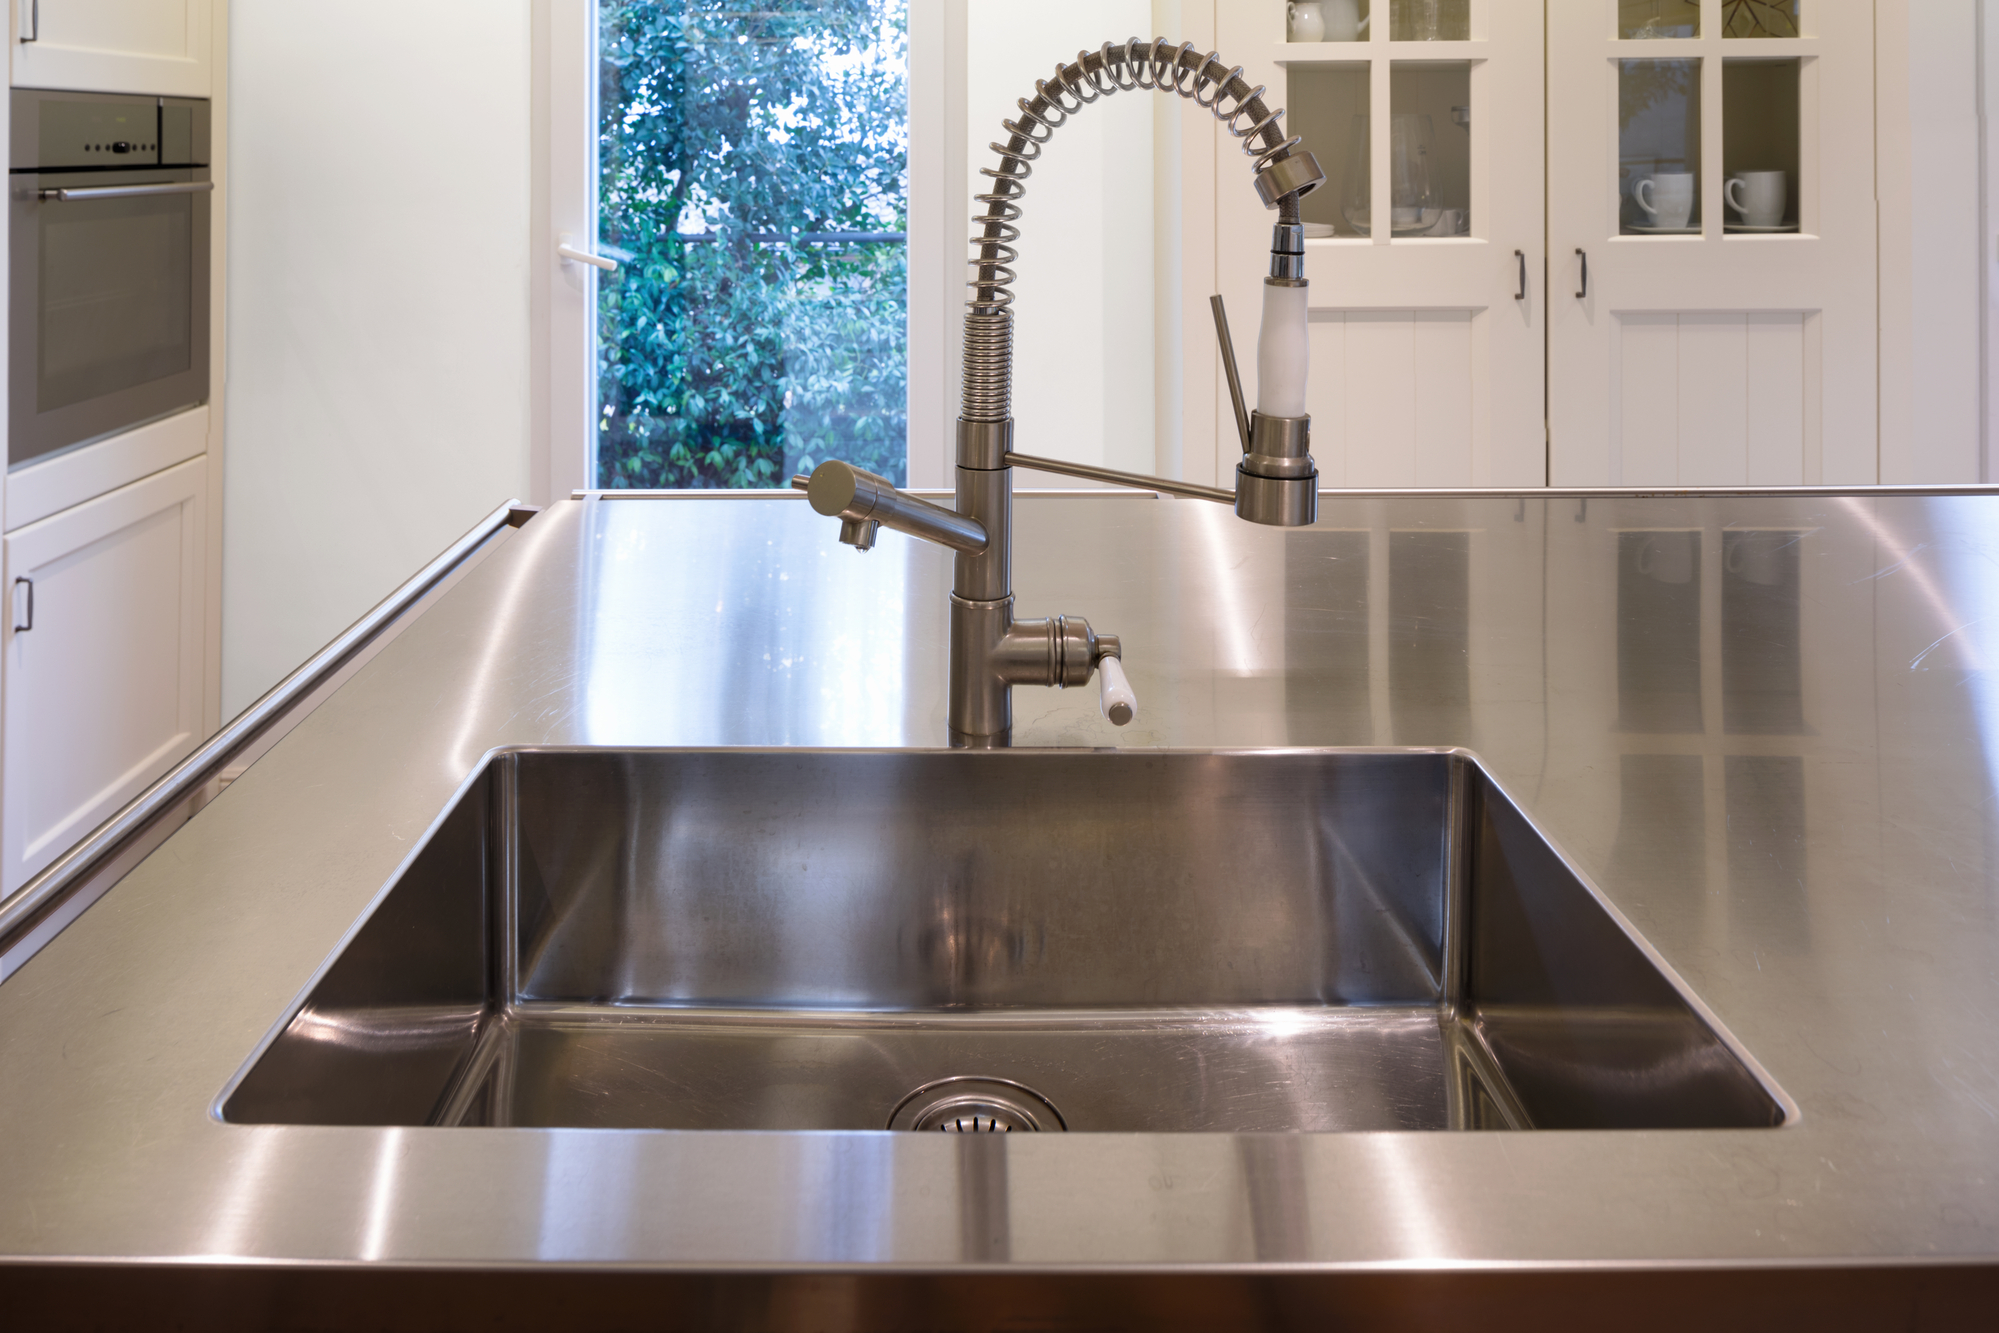
Regularly cleaning your kitchen sink drain can prevent clogs and keep it functioning properly. Here's how to clean a kitchen sink drain. Step 1: Remove any debris or food particles from the drain using a small brush or toothbrush. Step 2: Pour a cup of baking soda down the drain, followed by a cup of vinegar. Let it sit for 15 minutes. Step 3: Pour boiling water down the drain to flush out any build-up. Step 4: If the drain still has an odor, mix equal parts water and bleach and pour it down the drain. Let it sit for 15 minutes, then flush it out with hot water. Step 5: Regularly pour boiling water down the drain to prevent build-up and keep it clean.How to Clean a Kitchen Sink Drain


How to Clean a Kitchen Sink Drain


:max_bytes(150000):strip_icc()/how-to-clean-a-kitchen-sink-and-drain-01-5660035-a1d8afe3894346f9a579e66c55e64b7d.jpg)
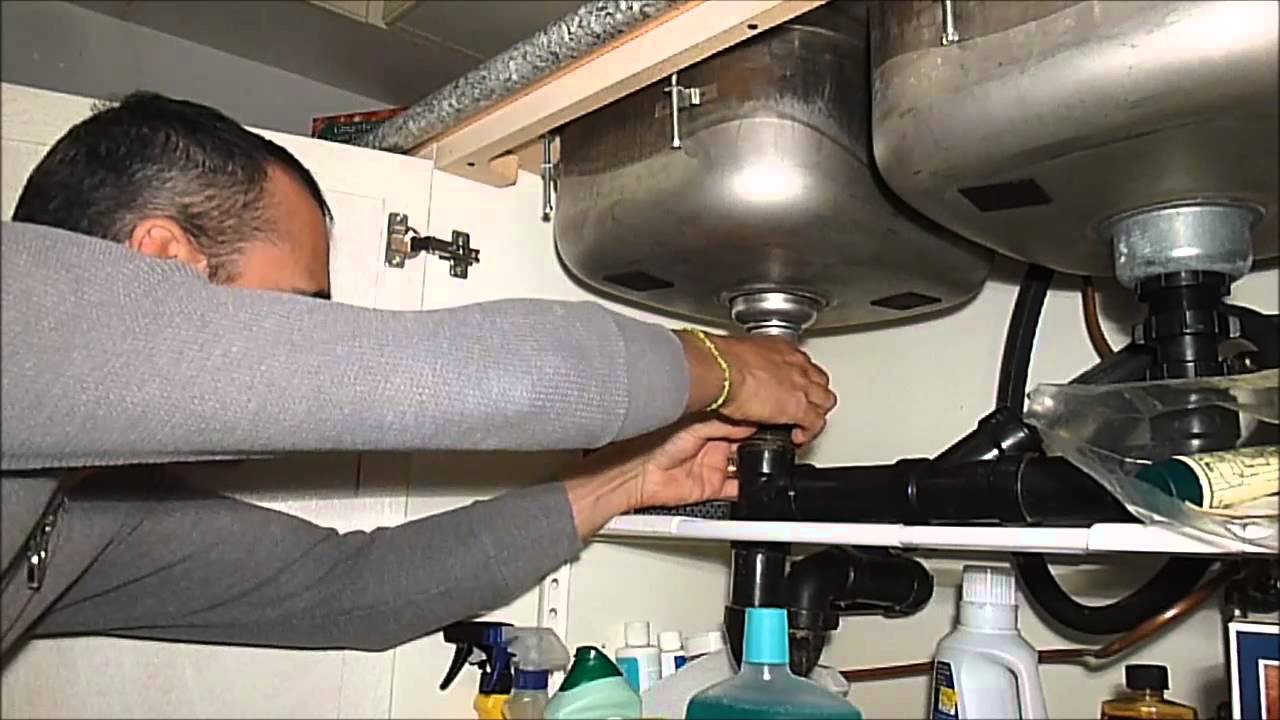
A leaky kitchen sink drain can cause damage to your cabinets and flooring, and can also lead to water waste. Here's how to fix a leaky kitchen sink drain. Step 1: Turn off the water supply to your sink. Step 2: Use a wrench to loosen and remove the nut at the bottom of the drain. Step 3: Remove the old gasket and replace it with a new one. Step 4: Apply plumber's putty around the edge of the drain and insert it back into the drain hole. Step 5: Secure the drain in place by tightening the nut with a wrench. Step 6: Turn on the water supply and check for any leaks. Make any necessary adjustments.How to Fix a Leaky Kitchen Sink Drain


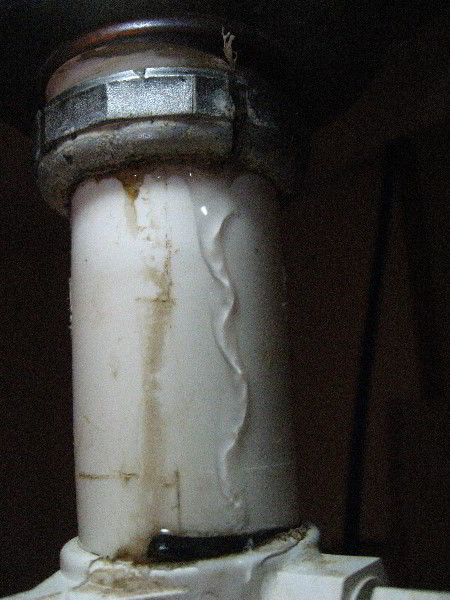
How to Fix a Leaky Kitchen Sink Drain


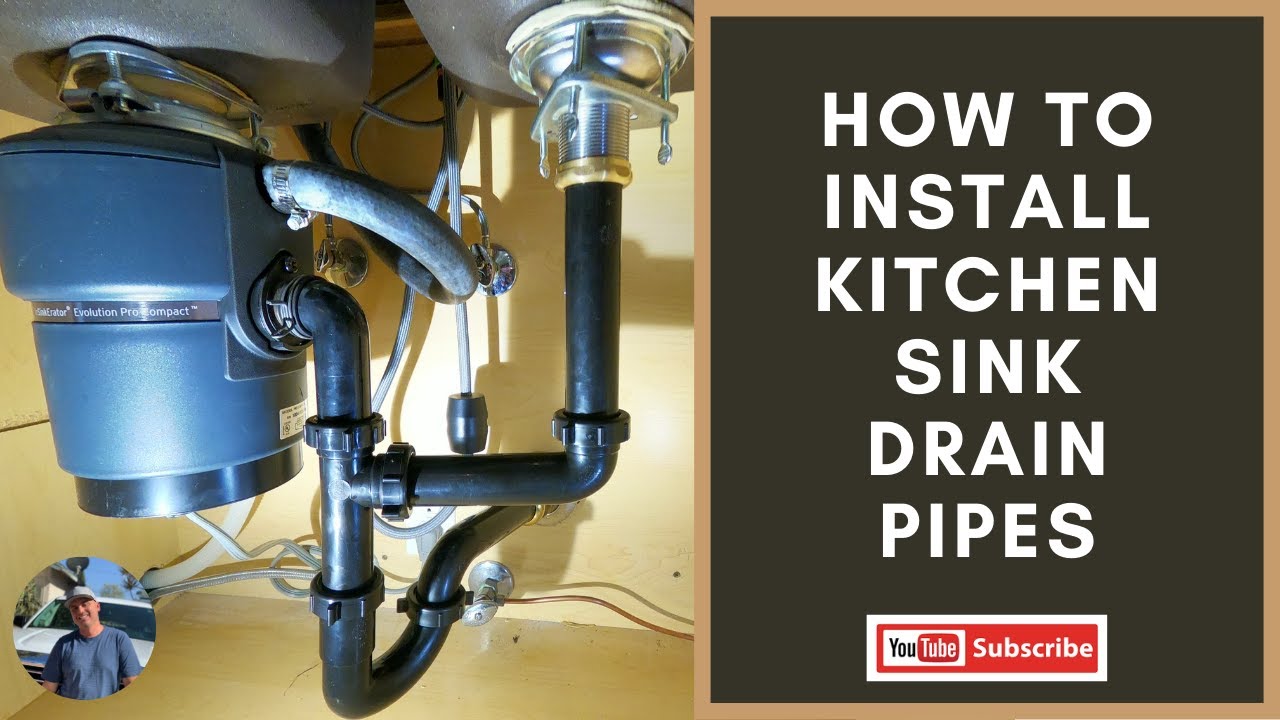
If you are installing a new kitchen sink, you will need to install a drain pipe as well. Here's how to install a kitchen sink drain pipe. Step 1: Measure the distance between the sink drain and the main sewer line to determine the length of the drain pipe needed. Step 2: Cut the PVC pipe to the appropriate length using a hacksaw. Step 3: Use PVC cement to connect the pipes together, starting from the sink drain and working towards the main sewer line. Step 4: Once the pipes are connected, use plumbing straps to secure the drain pipe to the underside of the sink. Step 5: Test the drain pipe by running water through it and check for any leaks. Make any necessary adjustments.How to Install a Kitchen Sink Drain Pipe


How to Install a Kitchen Sink Drain Pipe
:max_bytes(150000):strip_icc()/how-to-install-a-sink-drain-2718789-hero-24e898006ed94c9593a2a268b57989a3.jpg)


A clogged kitchen sink drain can be a nuisance, but it can be cleared with a few simple steps. Here's how to clear a clogged kitchen sink drain. Step 1: Remove any debris or food particles from the drain using a small brush or toothbrush. Step 2: Pour a cup of baking soda down the drain, followed by a cup of vinegar. Let it sit for 15 minutes. Step 3: Use a plunger to create suction and dislodge the clog. Step 4: If the plunger doesn't work, try using a drain snake to remove the clog. Step 5: If the clog is still not cleared, it may be necessary to remove the plumbing pipes from under the sink and manually remove the clog. Step 6: Once the clog is removed, reattach the plumbing pipes and run water through the drain to ensure it is clear.How to Clear a Clogged Kitchen Sink Drain

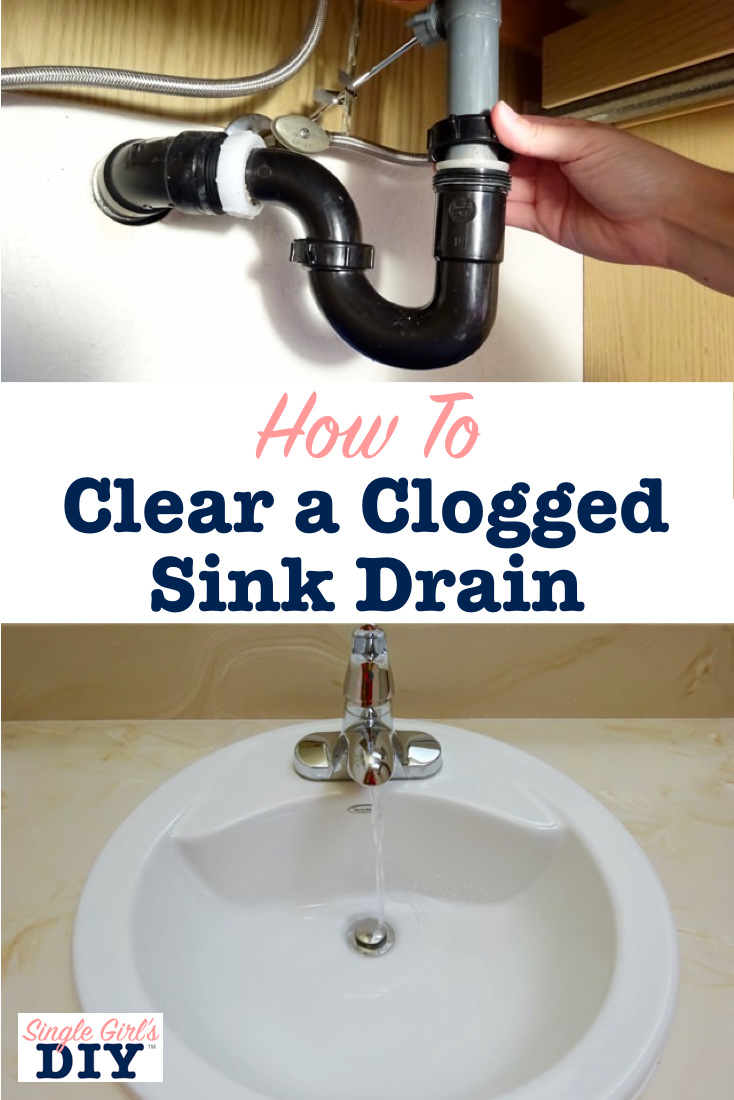

How to Clear a Clogged Kitchen Sink Drain


If your kitchen sink drain is damaged, it may be possible to repair it instead of replacing it. Here's how to repair a kitchen sink drain. Step 1: Turn off the water supply to your sink. Step 2: Use a wrench to loosen and remove the nut at the bottom of the drain. Step 3: Remove the damaged parts of the drain, such as the gasket or flange. Step 4: Replace the damaged parts with new ones. Step 5: Apply plumber's putty around the edge of the drain and insert it back into the drain hole. Step 6: Secure the drain in place by tightening the nut with a wrench. Step 7: Turn on the water supply and check for any leaks. Make any necessary adjustments.How to Repair a Kitchen Sink Drain


How to Repair a Kitchen Sink Drain


A kitchen sink drain basket is an important component that helps prevent food scraps from clogging your drain. Here's how to install a kitchen sink drain basket. Step 1: Remove the old drain basket by unscrewing it from the bottom of the sink. Step 2: Clean the area around the drain hole and remove any old putty or debris. Step 3: Apply plumber's putty around the edge of the drain basket and insert it into the drain hole. Step 4: Secure the drain basket in place by tightening the nut underneath the sink with a wrench. Step 5: Test the drain basket by running water through it and checking for any leaks.How to Install a Kitchen Sink Drain Basket


How to Install a Kitchen Sink Drain Basket


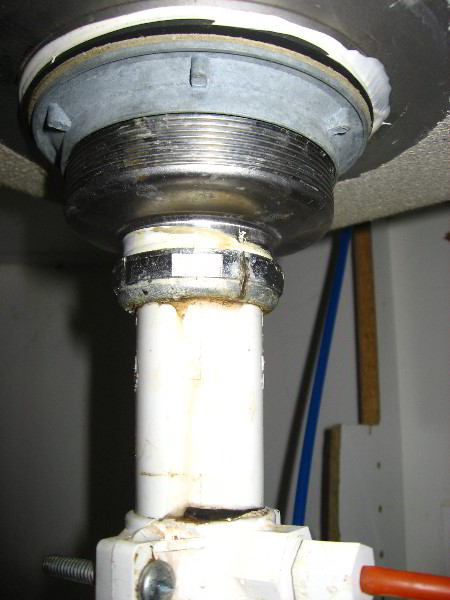
If the flange of your kitchen sink drain is damaged or worn out, it may need to be replaced. Here's how to replace a kitchen sink drain flange. Step 1: Turn off the water supply to your sink. Step 2: Disconnect the plumbing pipes from the sink drain. Step 3: Remove the old flange by unscrewing it from the bottom of the sink. Step 4: Clean the area around the drain hole and remove any old putty or debris. Step 5: Apply plumber's putty around the edge of the new flange and insert it into the drain hole. Step 6: Secure the flange in place by tightening the nut with a wrench. Step 7: Reconnect the plumbing pipes to the new flange and tighten them with a wrench. Step 8: Turn on the water supply and check for any leaks. Make any necessary adjustments.How to Replace a Kitchen Sink Drain Flange


How to Replace a Kitchen Sink Drain Flange


The Importance of a Sump Pump for Your Kitchen Sink Drain
Preventing Water Damage and Flooding
 When designing a house, the kitchen sink is often overlooked in terms of water damage prevention. However, it is important to keep in mind that the kitchen sink is one of the most frequently used areas in a household and is also prone to clogging. This can lead to overflowing water and potential flooding, causing extensive damage to your home and belongings. This is where a sump pump comes in handy.
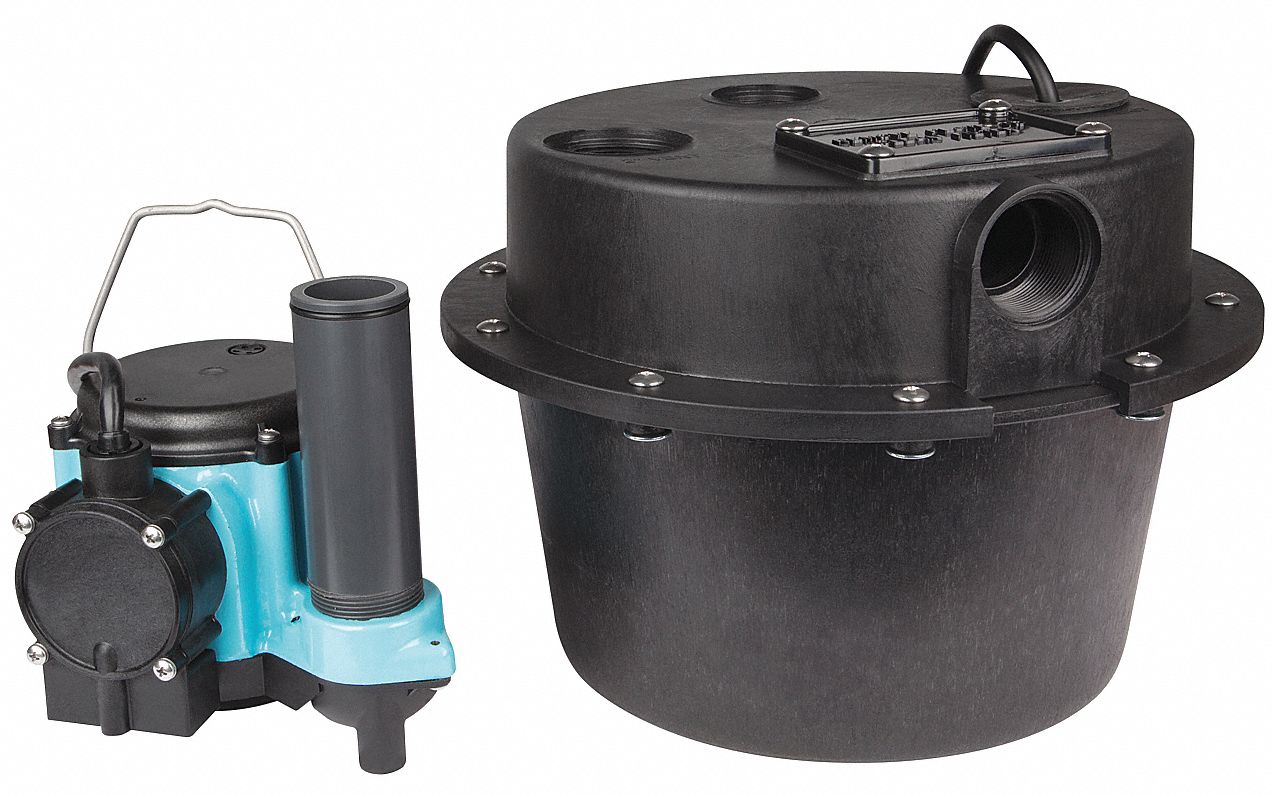
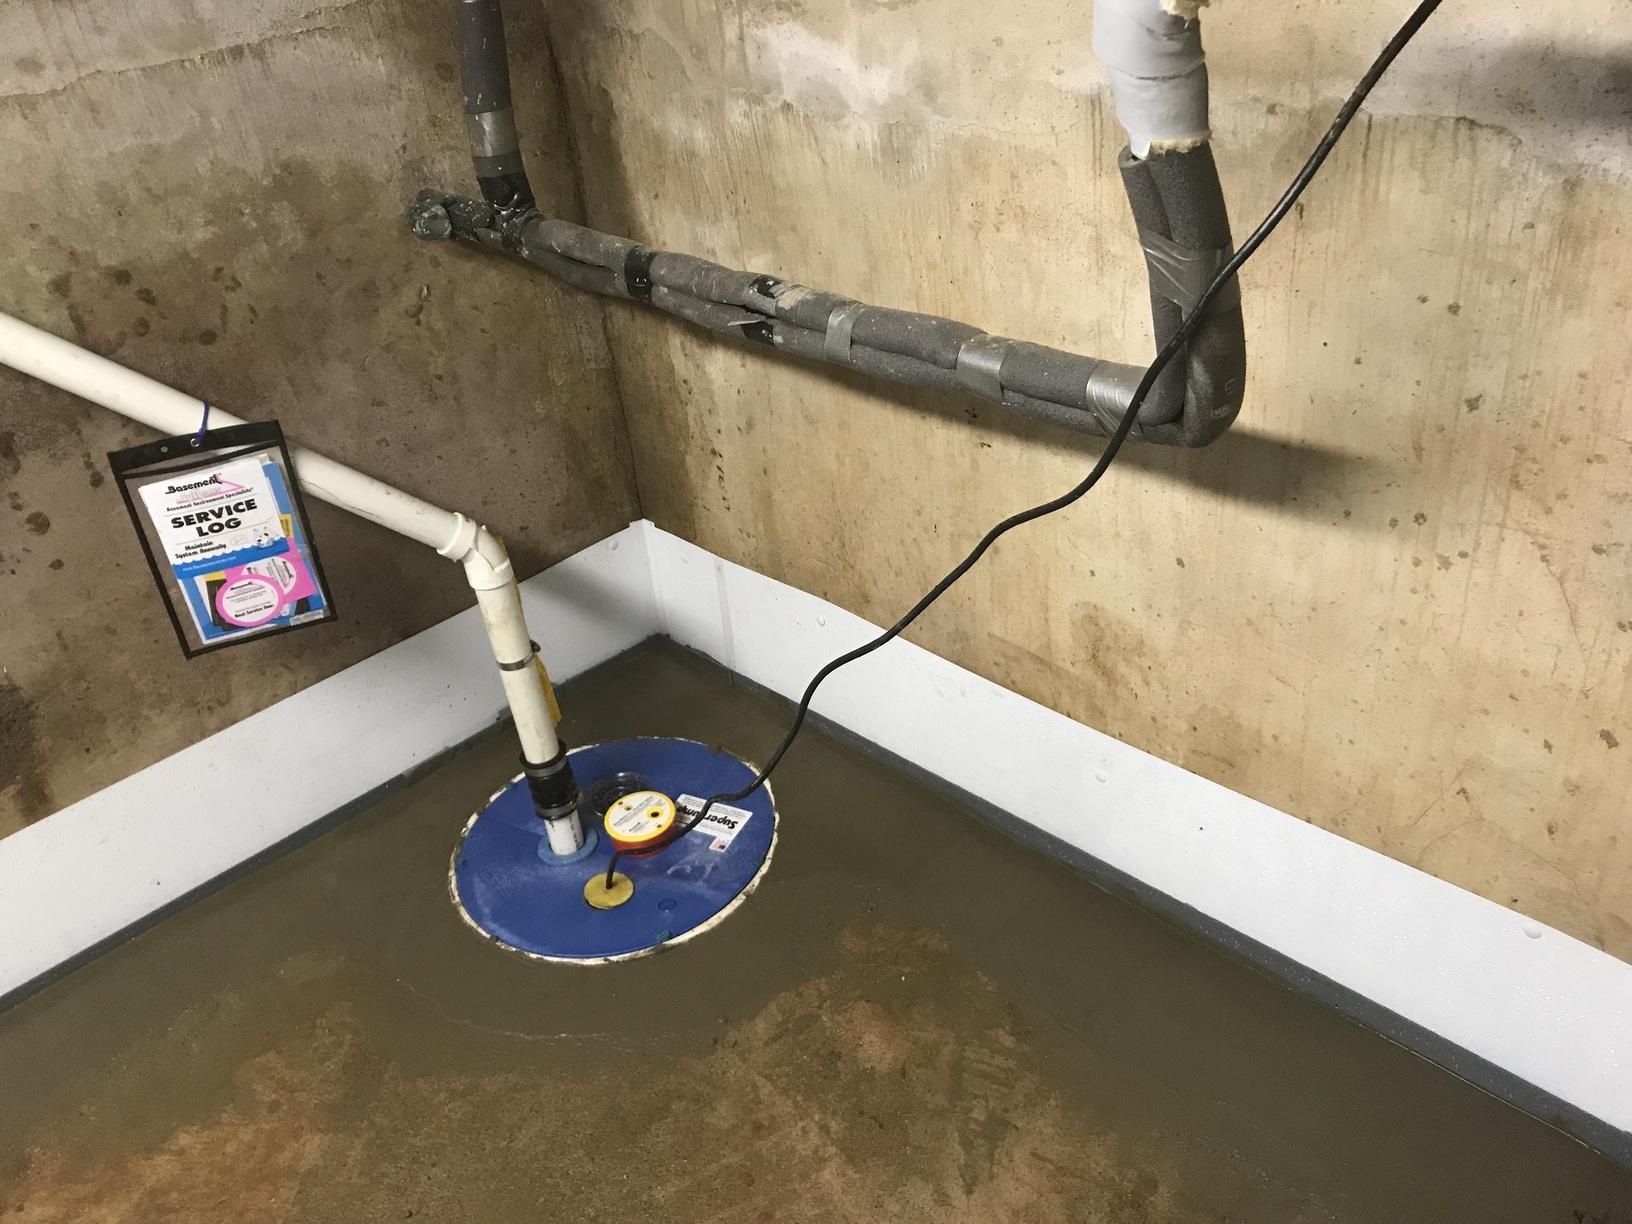
A sump pump
is a device that is installed in the lowest part of a basement or crawl space and is designed to
remove excess water
that accumulates in a sump pit. It is typically used to prevent basement flooding, but can also be beneficial for your kitchen sink drain. By having a sump pump installed, you can
prevent water damage and flooding
in your kitchen and the rest of your home.
When designing a house, the kitchen sink is often overlooked in terms of water damage prevention. However, it is important to keep in mind that the kitchen sink is one of the most frequently used areas in a household and is also prone to clogging. This can lead to overflowing water and potential flooding, causing extensive damage to your home and belongings. This is where a sump pump comes in handy.
A sump pump
is a device that is installed in the lowest part of a basement or crawl space and is designed to
remove excess water
that accumulates in a sump pit. It is typically used to prevent basement flooding, but can also be beneficial for your kitchen sink drain. By having a sump pump installed, you can
prevent water damage and flooding
in your kitchen and the rest of your home.
Improving Indoor Air Quality
 Another benefit of having a sump pump for your kitchen sink drain is that it helps to
improve indoor air quality
. Stagnant water in your drain can lead to the growth of mold and mildew, which can release harmful spores into the air. These spores can cause respiratory issues and aggravate allergies. By regularly
pumping out excess water
, a sump pump helps to keep your kitchen drain clean and free of standing water, thus improving the air quality in your home.
Another benefit of having a sump pump for your kitchen sink drain is that it helps to
improve indoor air quality
. Stagnant water in your drain can lead to the growth of mold and mildew, which can release harmful spores into the air. These spores can cause respiratory issues and aggravate allergies. By regularly
pumping out excess water
, a sump pump helps to keep your kitchen drain clean and free of standing water, thus improving the air quality in your home.
Increased Home Value
 In addition to its practical benefits, a sump pump can also
increase the value
of your home. In areas prone to heavy rainfall or flooding, having a sump pump installed is seen as a desirable feature by potential buyers. It gives them peace of mind knowing that their home is equipped to handle excess water and prevent potential damage.
In addition to its practical benefits, a sump pump can also
increase the value
of your home. In areas prone to heavy rainfall or flooding, having a sump pump installed is seen as a desirable feature by potential buyers. It gives them peace of mind knowing that their home is equipped to handle excess water and prevent potential damage.
Conclusion
 Overall, a sump pump is an essential tool for any household, including your kitchen sink drain. It helps to prevent water damage and flooding, improves indoor air quality, and can even increase the value of your home. So when designing your house, don't overlook the importance of
installing a sump pump
for your kitchen sink drain. Trust us, your future self will thank you.
Overall, a sump pump is an essential tool for any household, including your kitchen sink drain. It helps to prevent water damage and flooding, improves indoor air quality, and can even increase the value of your home. So when designing your house, don't overlook the importance of
installing a sump pump
for your kitchen sink drain. Trust us, your future self will thank you.