If you're looking to upgrade your kitchen with a sleek and modern touch, installing a stainless steel undermount kitchen sink is the way to go. Not only does it add a touch of style to your kitchen, but it also has practical benefits like being easy to clean and maintain. If you're a handy DIY-er, you can easily install an undermount sink yourself with the right tools and materials. Follow our step-by-step guide for a successful installation.How to Install a Stainless Steel Undermount Kitchen Sink


How to Install a Stainless Steel Undermount Kitchen Sink

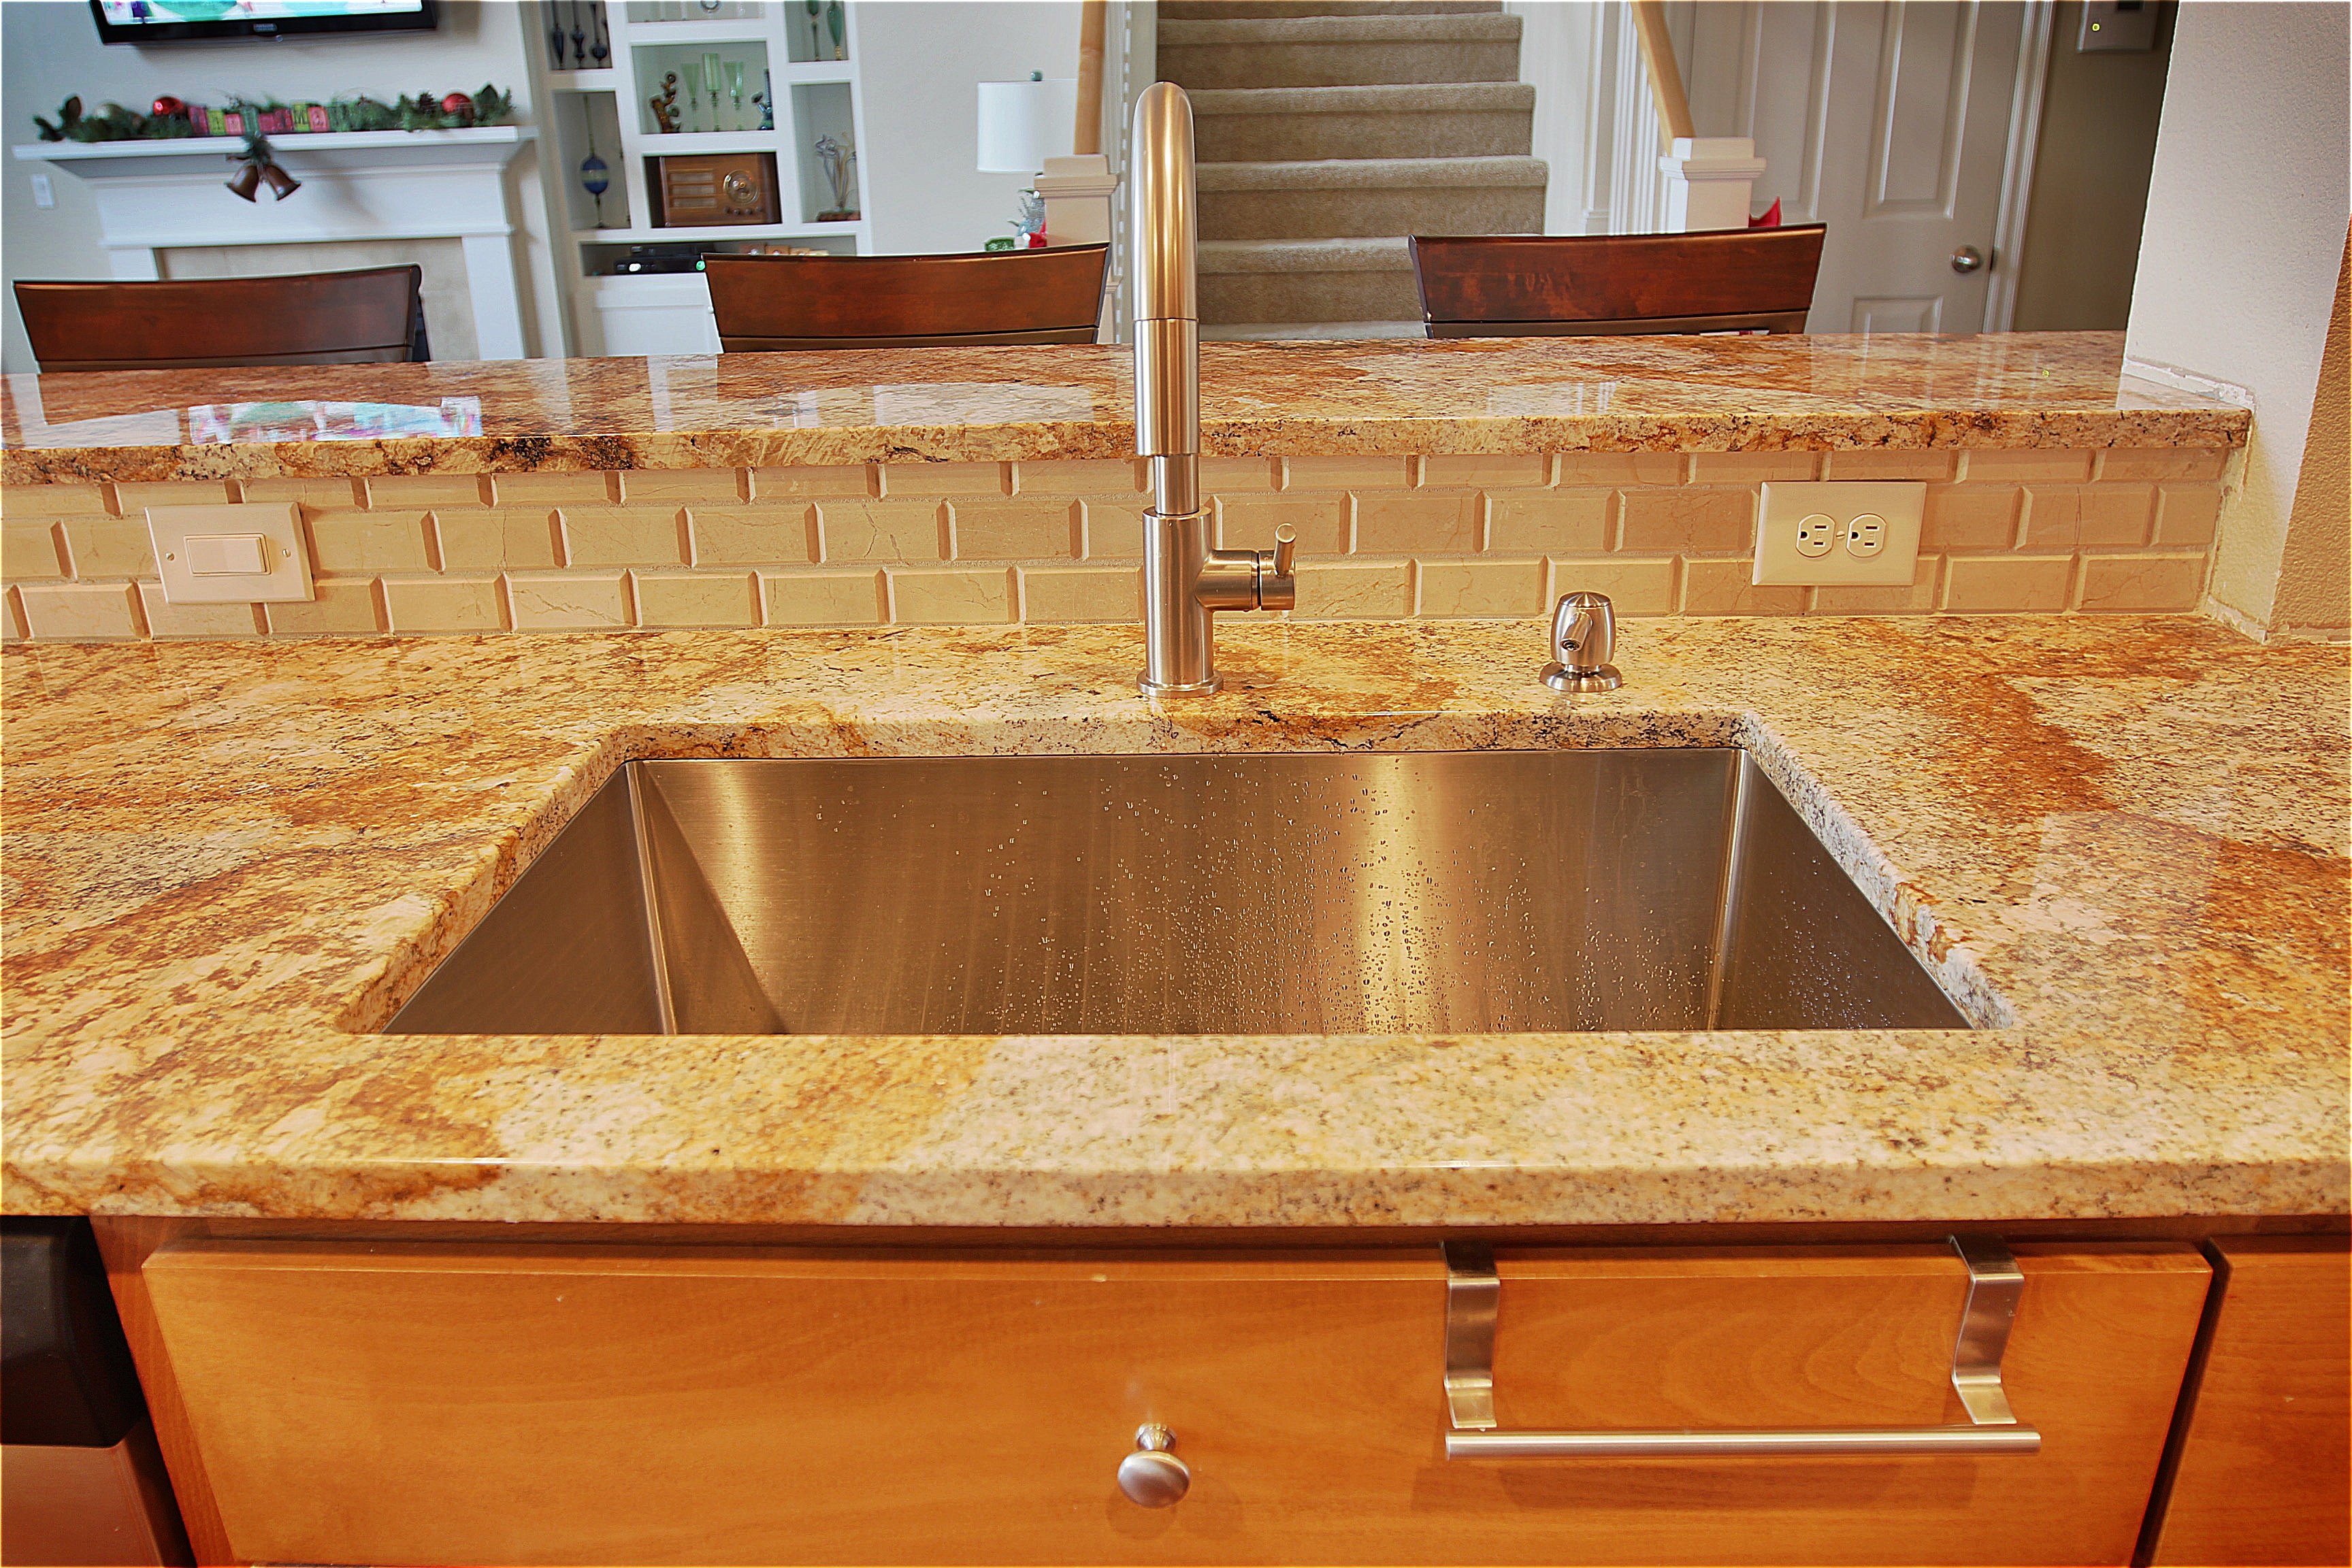


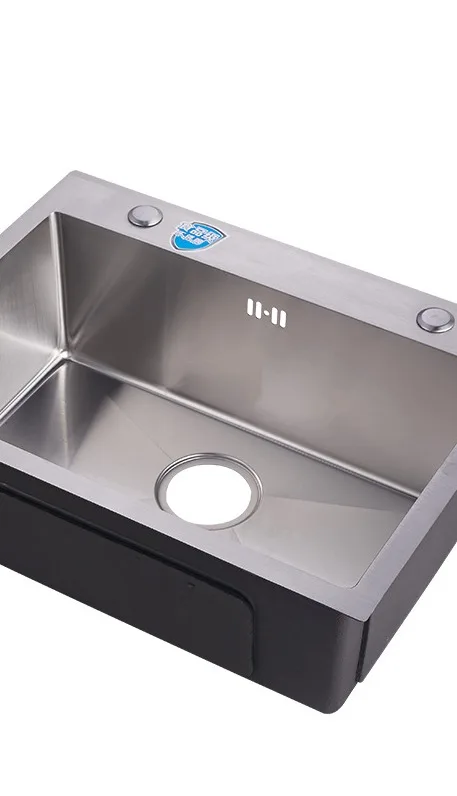
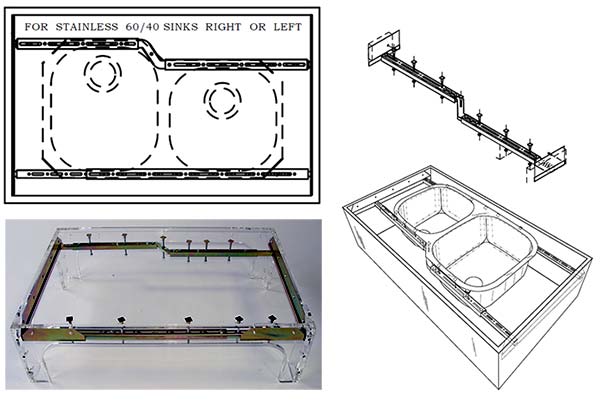
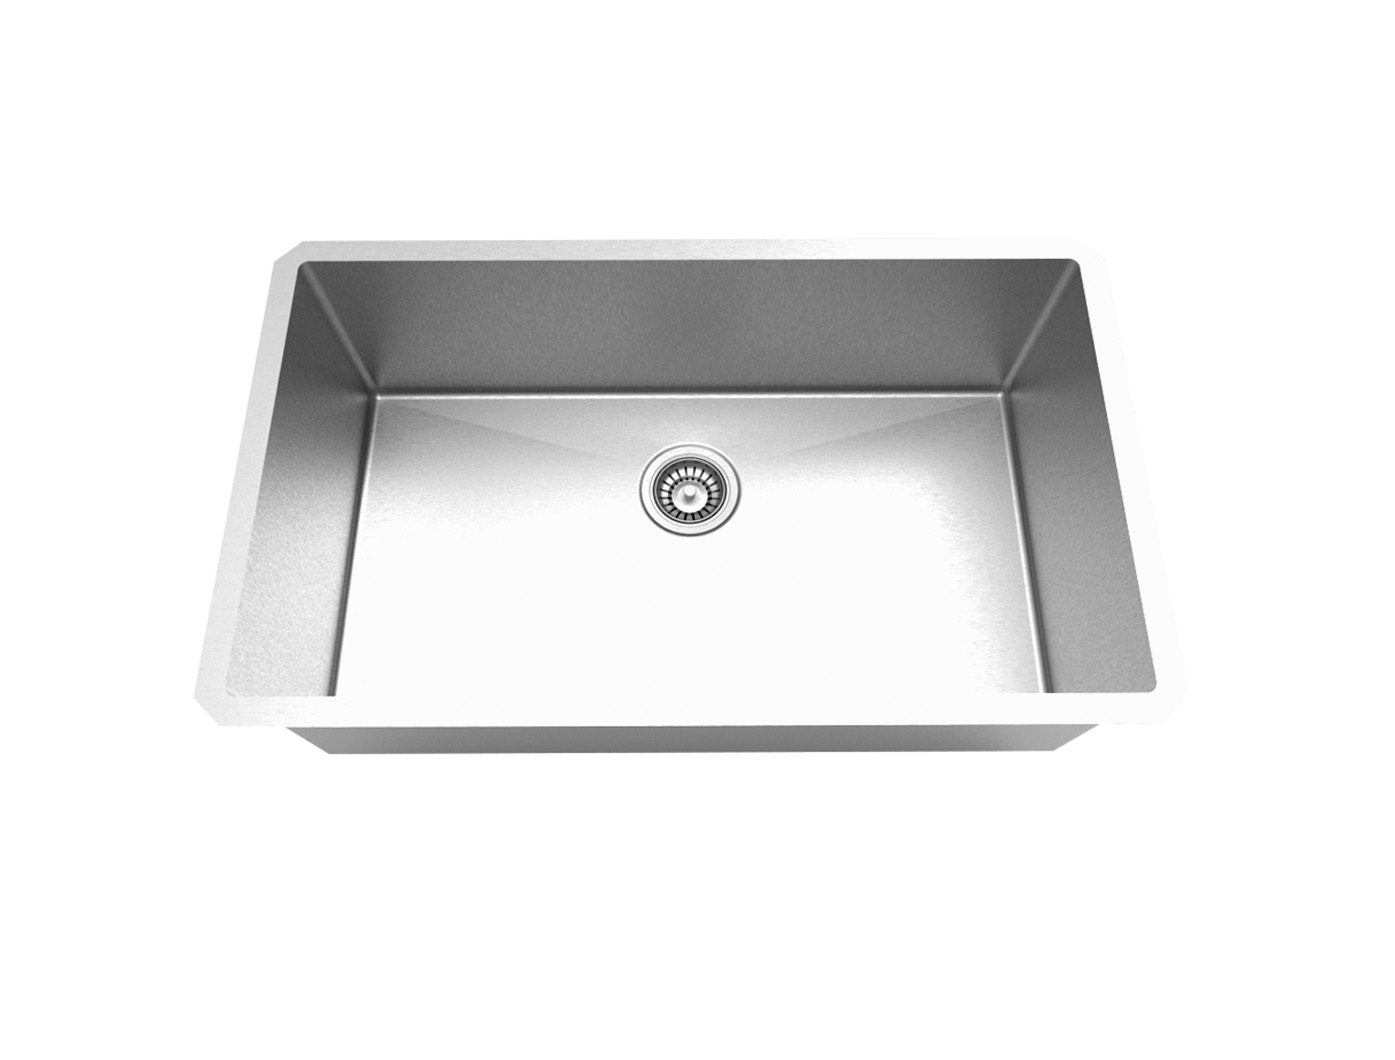
An undermount kitchen sink is installed underneath the countertop, giving a seamless appearance with no visible edges. Unlike top-mount sinks, undermount sinks require extra support and sealing to ensure they are secure and leak-free. Here's how to install an undermount kitchen sink in a few simple steps.How to Install an Undermount Kitchen Sink


How to Install an Undermount Kitchen Sink


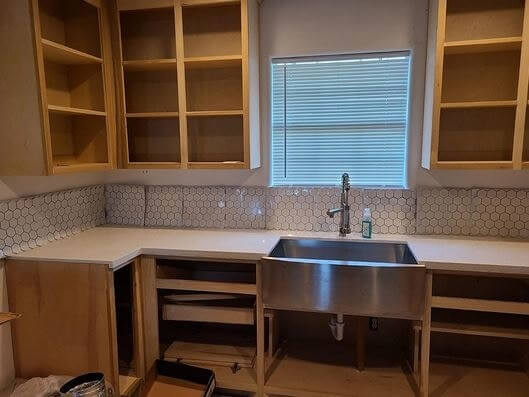
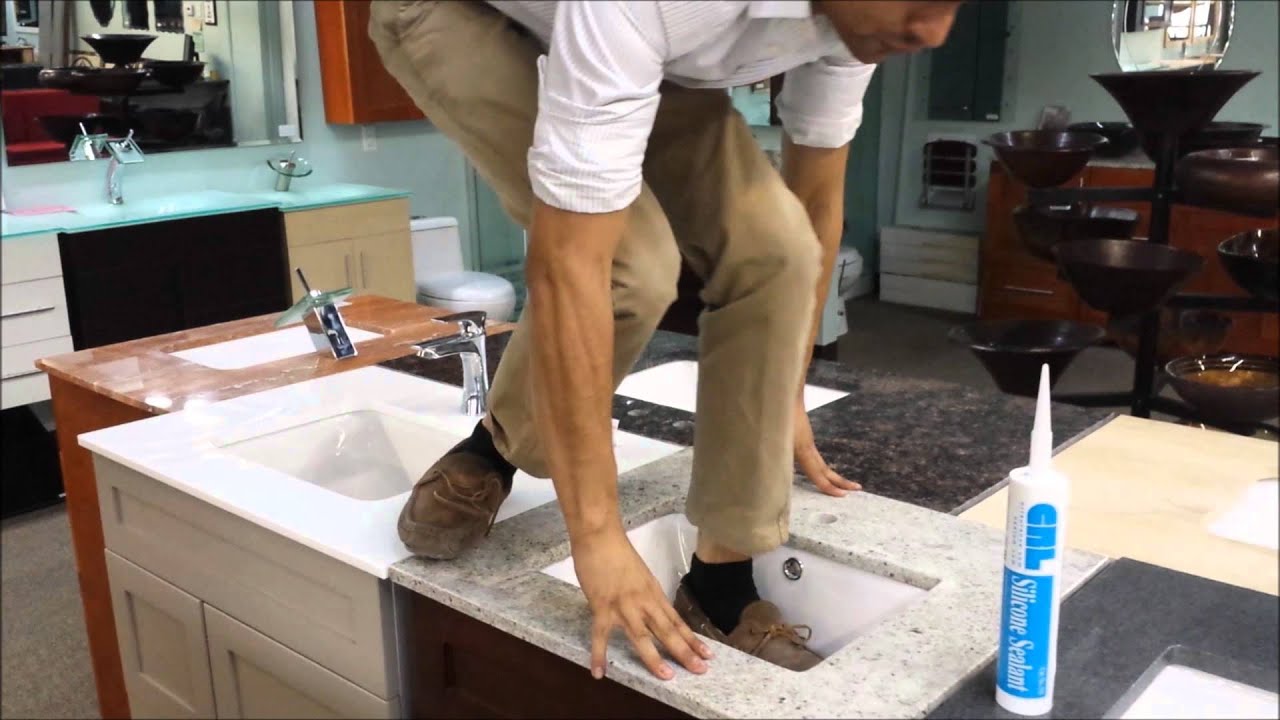
Before you begin, make sure you have all the necessary tools and materials ready. This includes a drill, silicone sealant, mounting clips, and a wrench. Now, let's get started! Step 1: Turn off the water supply to your kitchen sink and disconnect the plumbing. Step 2: Measure and mark the center of the sink cabinet where the sink will be installed. Step 3: Use a drill to create pilot holes on the underside of the countertop where the mounting clips will go. Step 4: Apply a generous amount of silicone sealant on the edge of the sink and carefully lower it into the cabinet, aligning it with the markings made in Step 2. Step 5: Secure the mounting clips to the underside of the countertop using the pilot holes created in Step 3. Make sure they are tight and hold the sink in place. Step 6: Reconnect the plumbing and turn on the water supply to test for any leaks.Step-by-Step Guide for Installing an Undermount Kitchen Sink


Step-by-Step Guide for Installing an Undermount Kitchen Sink


Installing a stainless steel undermount kitchen sink is a DIY project that can save you money and give you a sense of accomplishment. However, it's important to follow the proper steps and techniques to ensure a successful installation. Here are some tips to keep in mind: Tip #1: Make sure to properly measure and mark the center of the sink cabinet before drilling any holes. Tip #2: Use a drill with caution to avoid damaging the countertop or sink. Tip #3: Apply enough silicone sealant to ensure a watertight seal. Tip #4: Double-check the alignment of the sink before securing the mounting clips.DIY Guide for Installing a Stainless Steel Undermount Kitchen Sink

DIY Guide for Installing a Stainless Steel Undermount Kitchen Sink

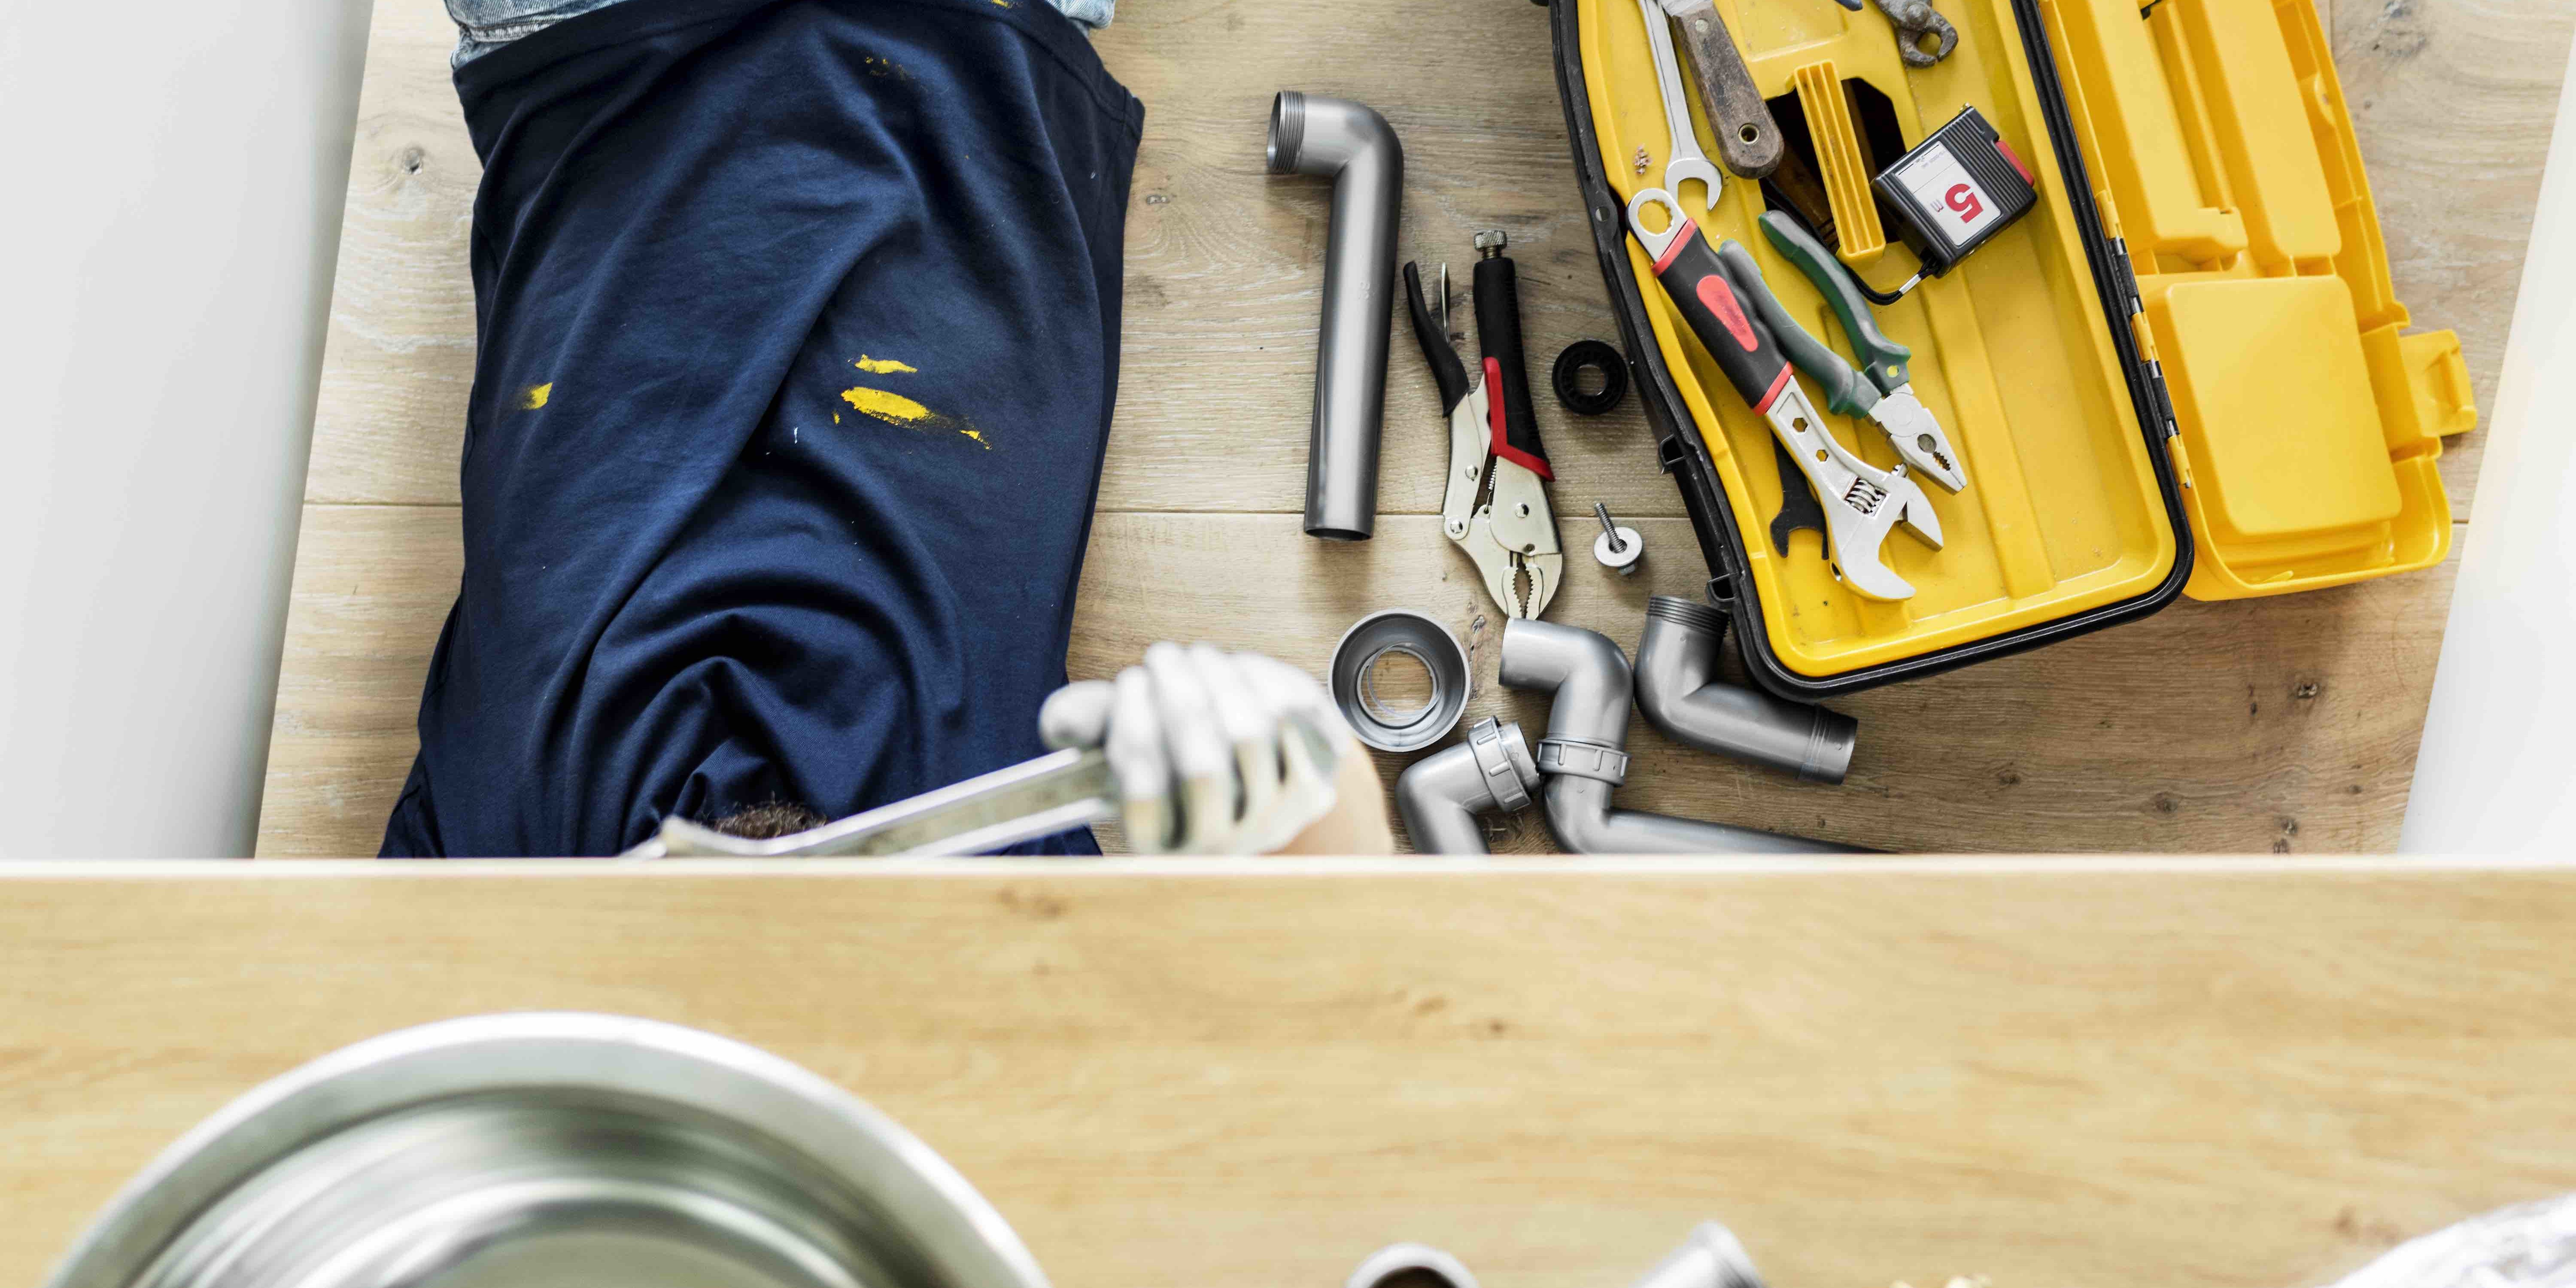
Here's a list of the essential tools and materials you'll need for a successful installation: Tools: Drill, wrench, silicone gun Materials: Silicone sealant, mounting clips, sink brackets, plumber's putty, and a level.Tools and Materials Needed for Installing a Stainless Steel Undermount Kitchen Sink


Tools and Materials Needed for Installing a Stainless Steel Undermount Kitchen Sink


Installing a stainless steel undermount kitchen sink may seem like a daunting task, but with the right techniques, you can do it yourself. Here are some additional tips to ensure a successful installation: Tip #1: Have a friend or family member help you lift and position the sink into place. Tip #2: Use a level to ensure the sink is perfectly aligned before securing the mounting clips. Tip #3: Allow the silicone sealant to fully cure before reconnecting the plumbing and using the sink.Tips for a Successful Stainless Steel Undermount Kitchen Sink Installation


Tips for a Successful Stainless Steel Undermount Kitchen Sink Installation


While installing a stainless steel undermount kitchen sink may seem like a simple task, there are a few common mistakes to avoid to ensure a successful installation. Here are some things to watch out for: Mistake #1: Not properly measuring and marking the center of the sink cabinet before drilling. Mistake #2: Using too much or too little silicone sealant, which can lead to leaks. Mistake #3: Not tightening the mounting clips enough, causing the sink to shift and potentially leak.Common Mistakes to Avoid When Installing a Stainless Steel Undermount Kitchen Sink


Common Mistakes to Avoid When Installing a Stainless Steel Undermount Kitchen Sink


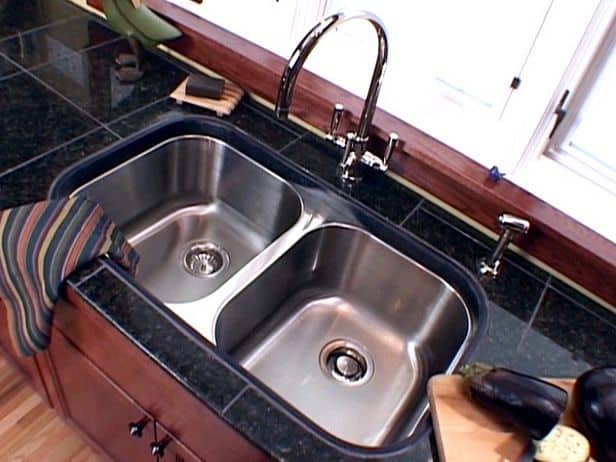
One of the most important steps in installing an undermount kitchen sink is properly sealing and securing it to avoid leaks and damage. Here's how to do it: Step 1: Apply a generous amount of silicone sealant around the edge of the sink and on the underside of the countertop. Step 2: Lower the sink into place and make sure it is aligned with the markings made earlier. Step 3: Secure the mounting clips to the underside of the countertop, making sure they are tight and hold the sink in place. Step 4: Allow the silicone sealant to fully cure before reconnecting the plumbing and using the sink.How to Properly Seal and Secure a Stainless Steel Undermount Kitchen Sink


How to Properly Seal and Secure a Stainless Steel Undermount Kitchen Sink


If you're a visual learner, there are plenty of video tutorials available online that can guide you through the process of installing a stainless steel undermount kitchen sink. These videos can provide helpful tips and tricks to make the installation process easier and more efficient.Video Tutorial: Installing a Stainless Steel Undermount Kitchen Sink


Video Tutorial: Installing a Stainless Steel Undermount Kitchen Sink


The decision to hire a professional or tackle the installation yourself ultimately comes down to your skill level and comfort with DIY projects. While hiring a professional may cost more, it can save you time and give you peace of mind knowing the job was done correctly. However, if you're confident in your abilities and follow the proper steps, installing a stainless steel undermount kitchen sink can be a rewarding DIY project. Now that you have a better understanding of how to install a stainless steel undermount kitchen sink, you can upgrade your kitchen with a stylish and functional addition. Remember to take your time, follow the proper steps, and seek professional help if needed. Happy installing!Professional Installation vs. DIY: Which is Best for a Stainless Steel Undermount Kitchen Sink?


Professional Installation vs. DIY: Which is Best for a Stainless Steel Undermount Kitchen Sink?


The Benefits of Installing a Stainless Steel Undermount Kitchen Sink

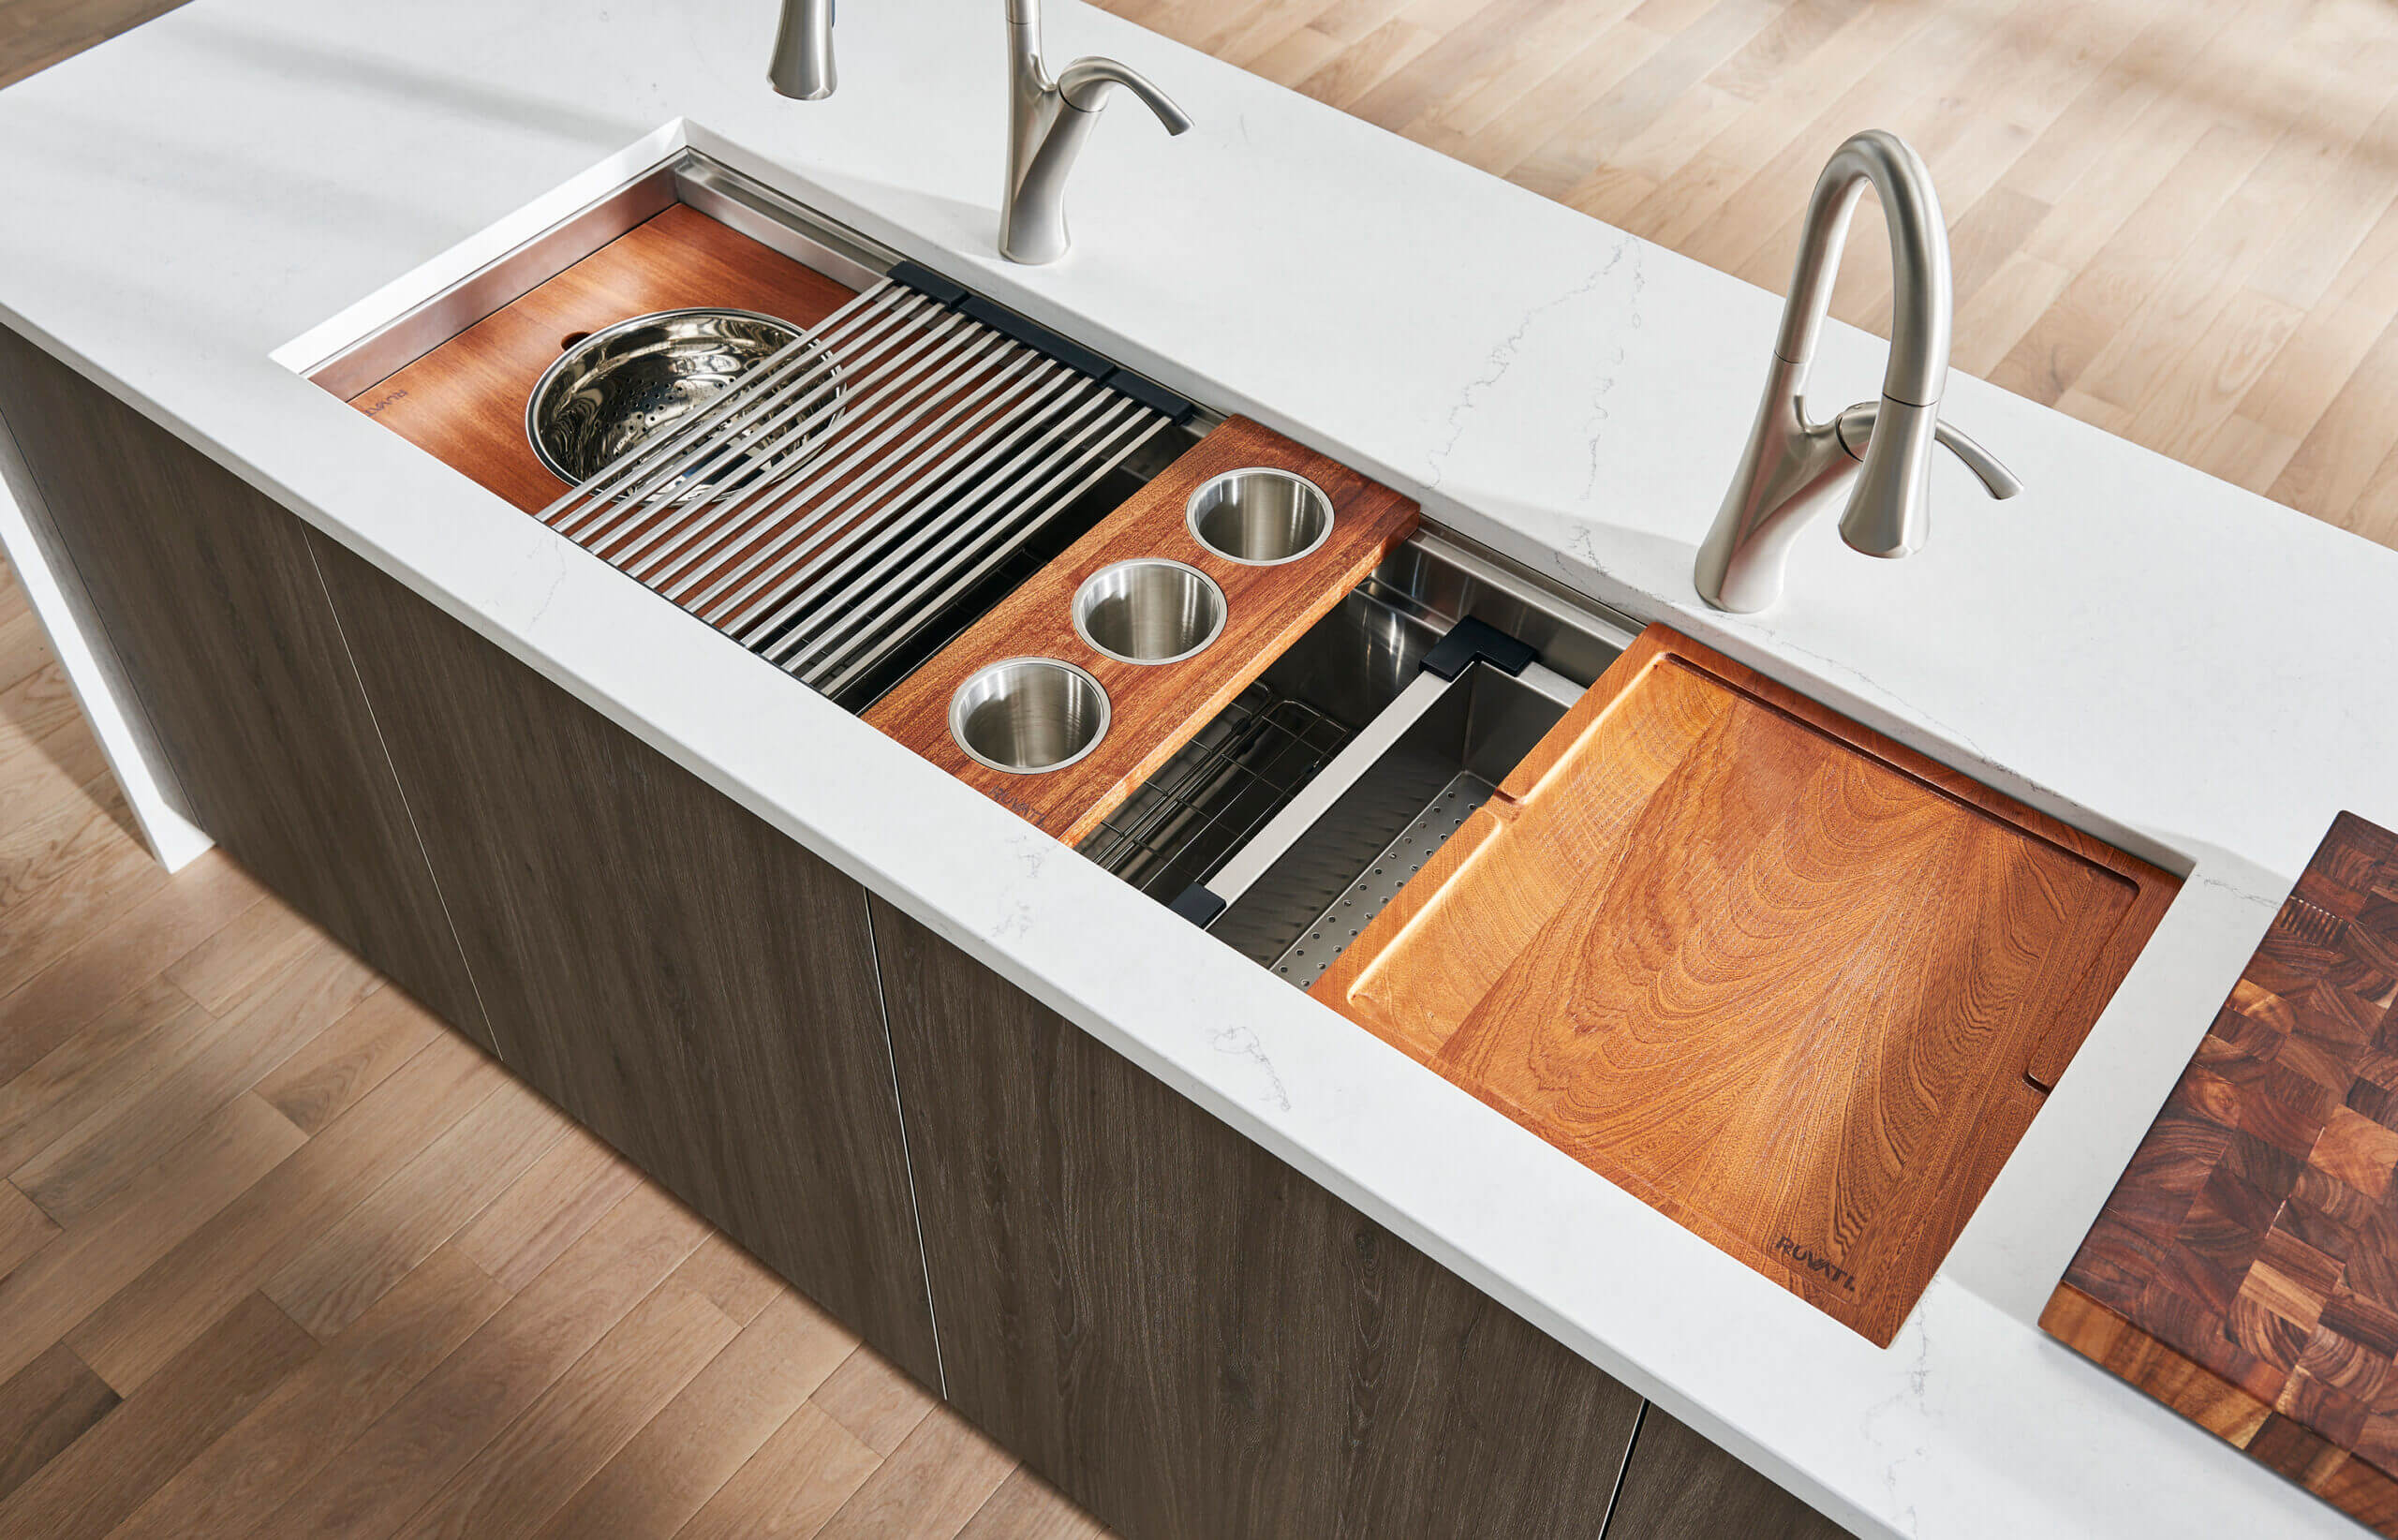
Efficiency and Space-Saving Design
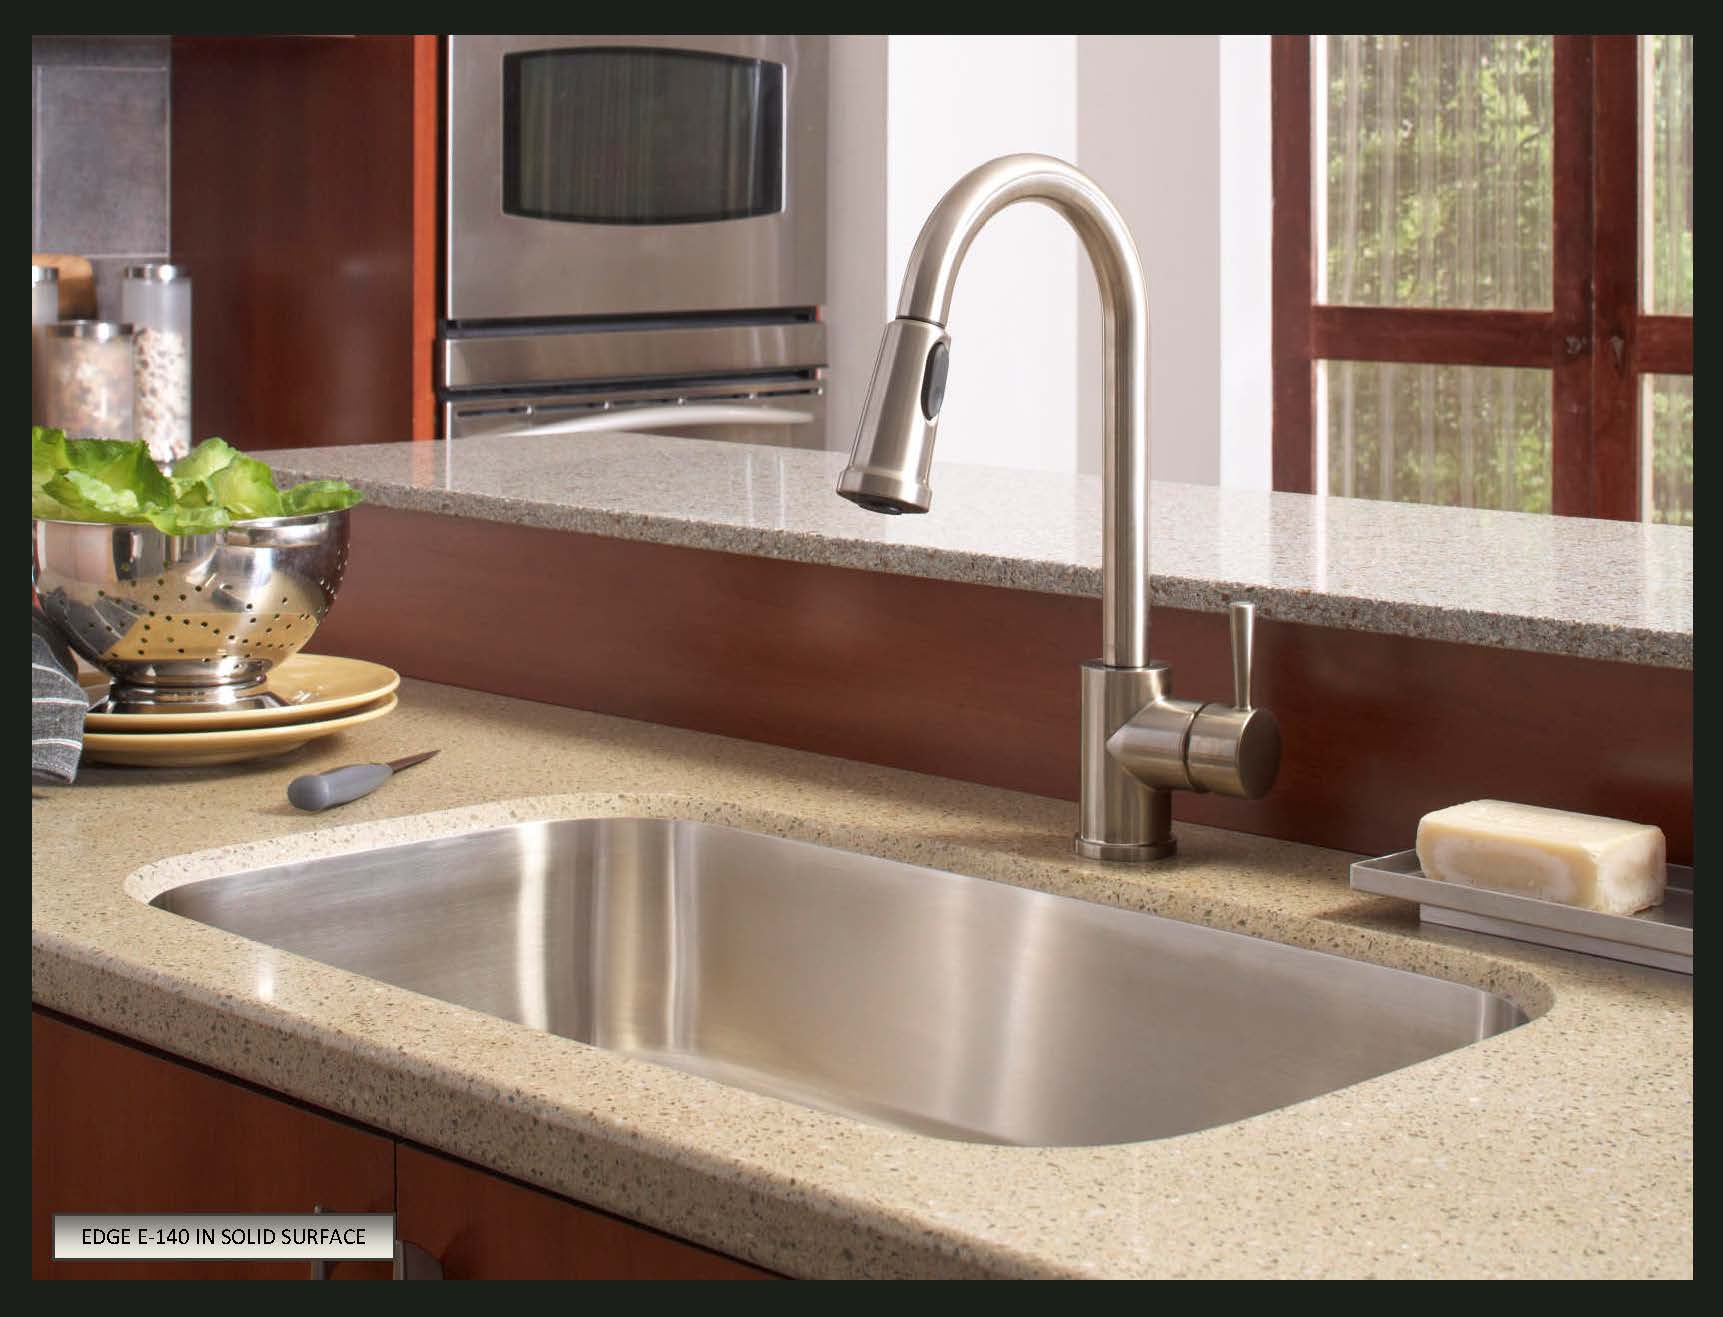
 When it comes to designing a functional and efficient kitchen, every detail matters. That's why
installing a stainless steel undermount kitchen sink
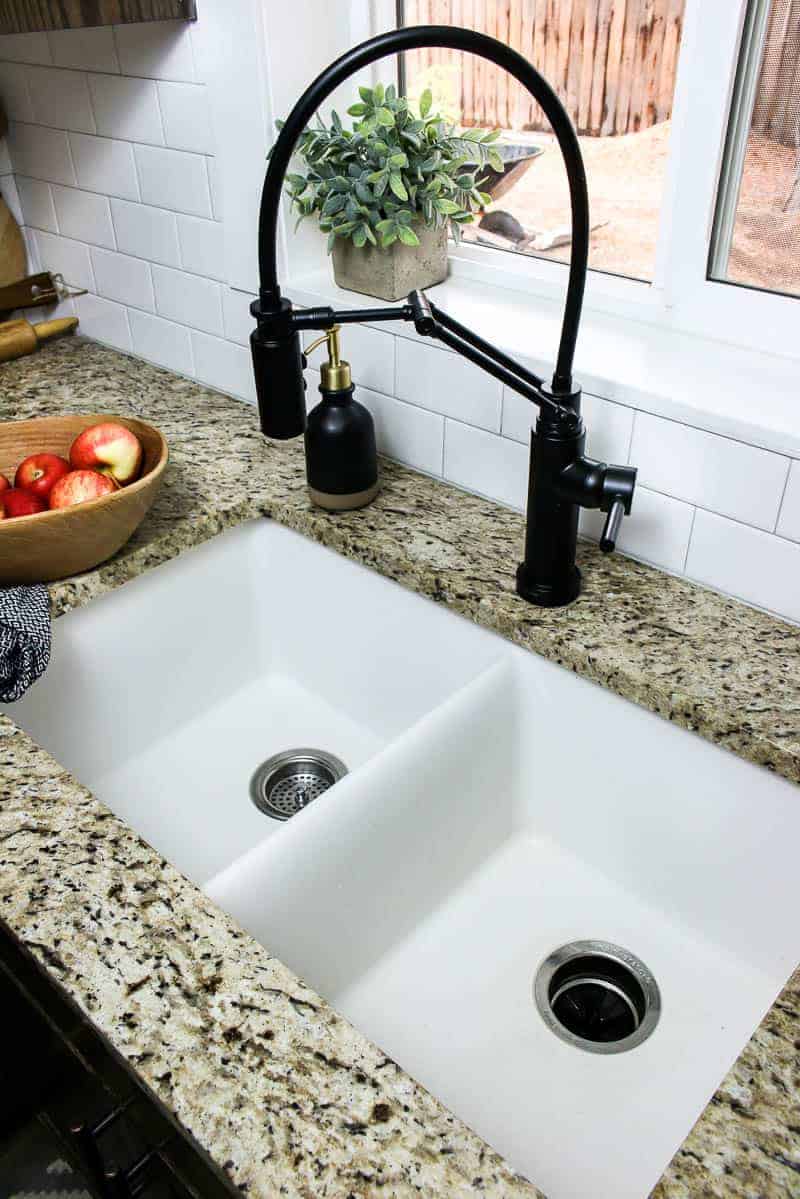
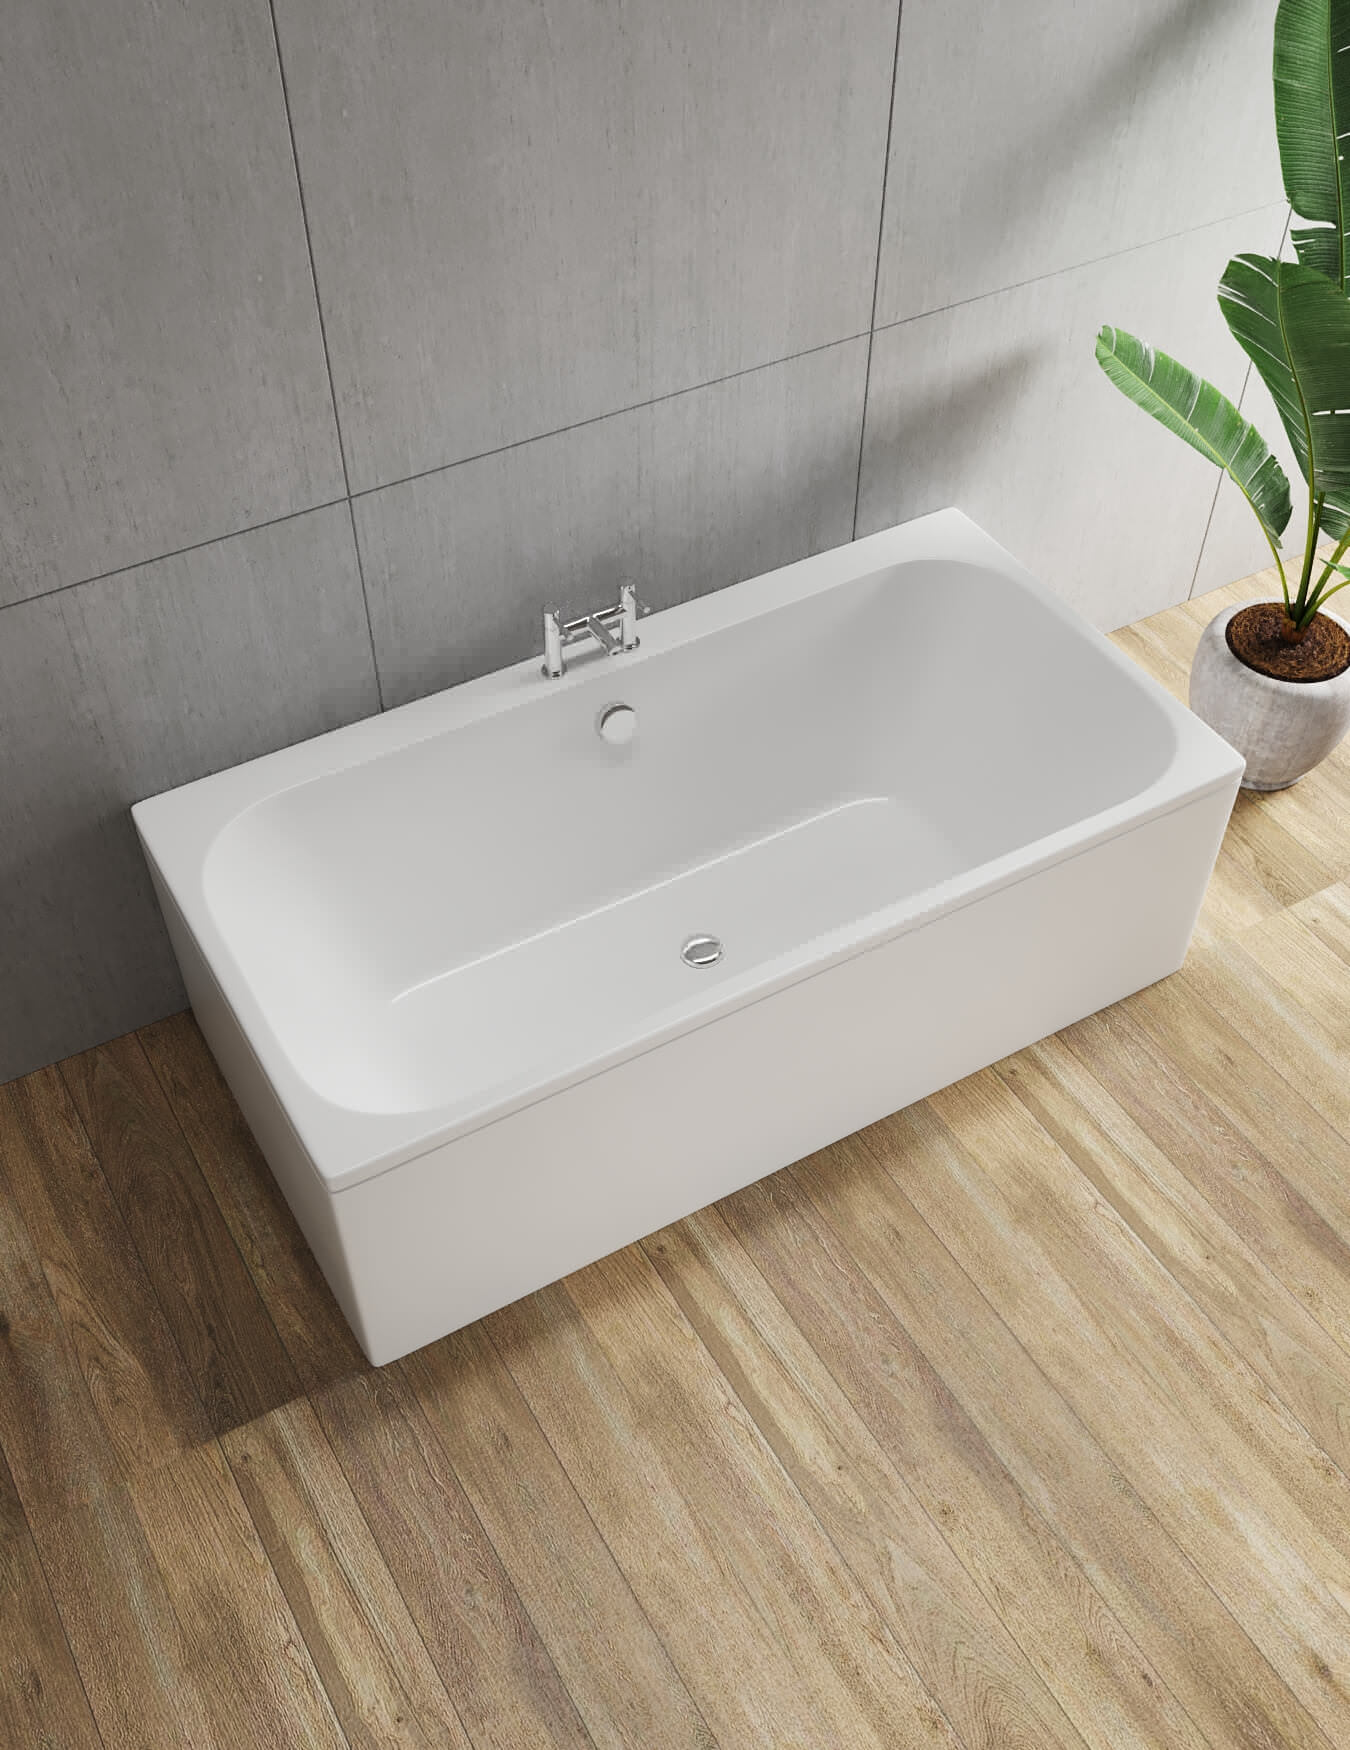
is a smart choice for any homeowner. The sleek and streamlined design of these sinks allows them to be installed directly underneath the countertop, providing a seamless and integrated look. This not only adds a modern touch to your kitchen, but it also saves valuable counter space, making your kitchen feel more spacious and organized.
When it comes to designing a functional and efficient kitchen, every detail matters. That's why
installing a stainless steel undermount kitchen sink
is a smart choice for any homeowner. The sleek and streamlined design of these sinks allows them to be installed directly underneath the countertop, providing a seamless and integrated look. This not only adds a modern touch to your kitchen, but it also saves valuable counter space, making your kitchen feel more spacious and organized.
Durable and Easy to Clean
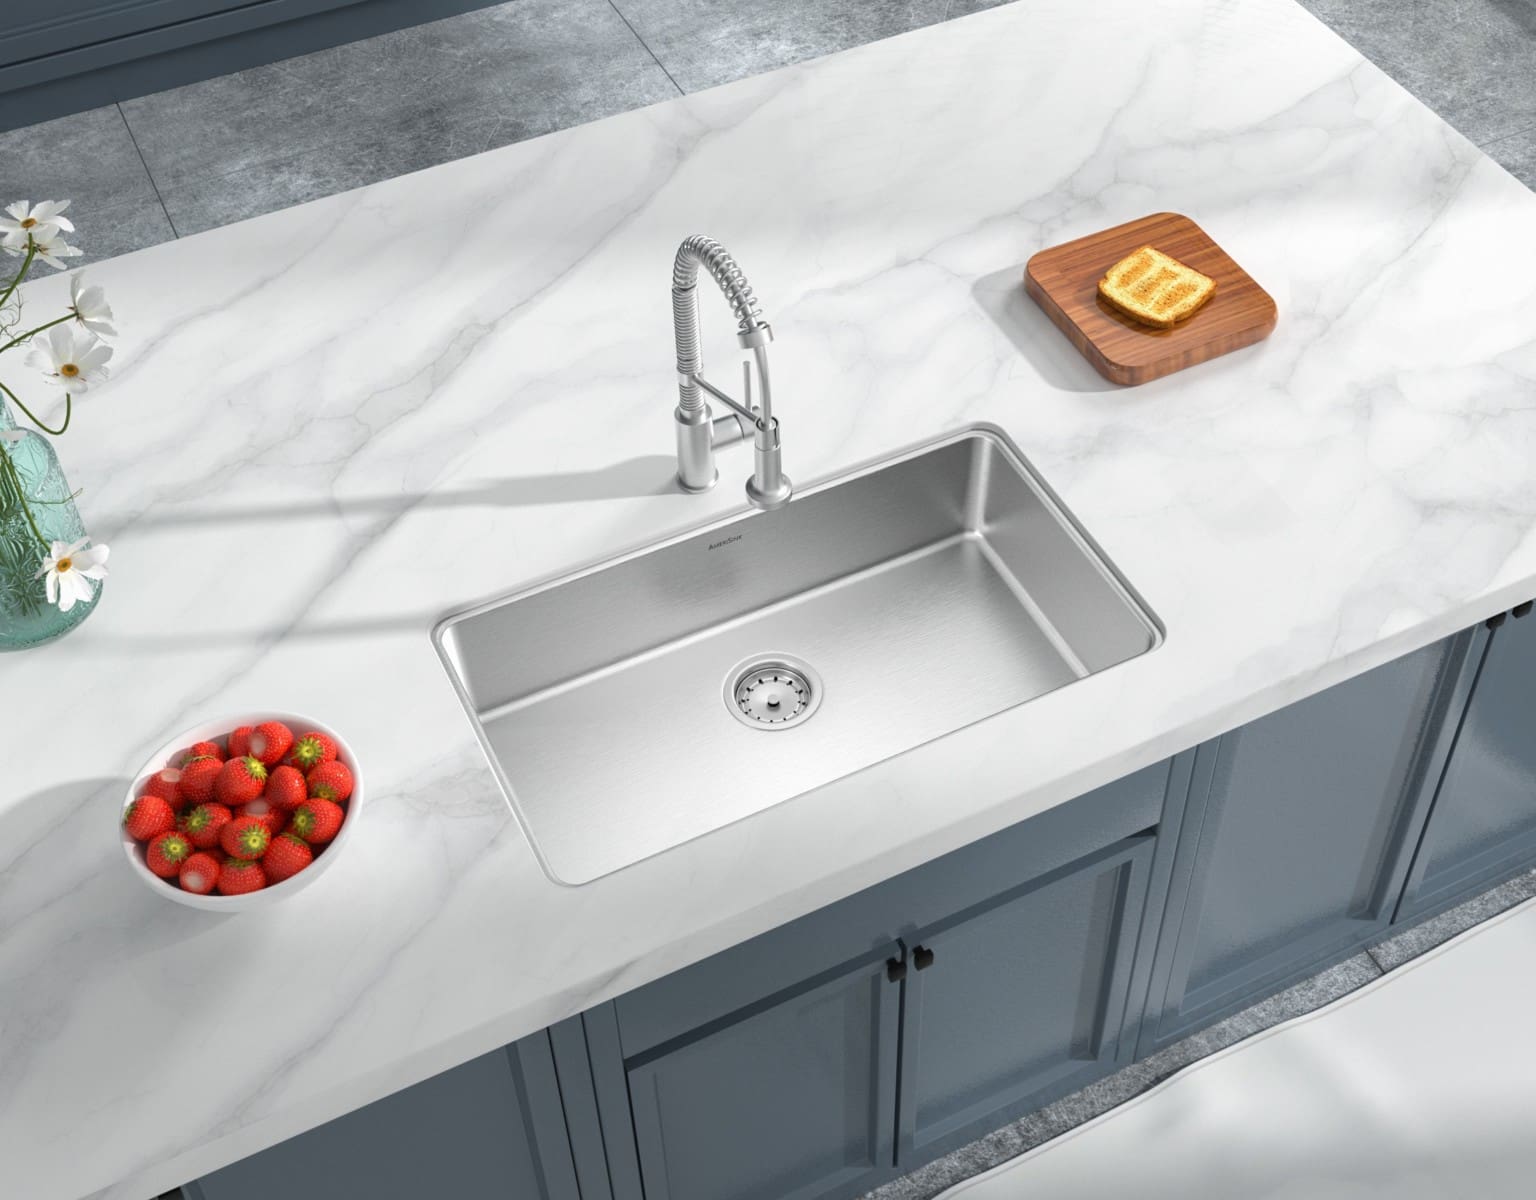 Stainless steel
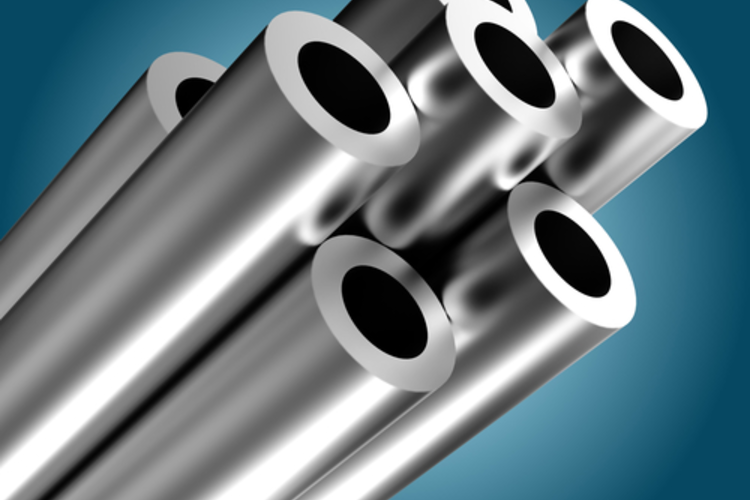
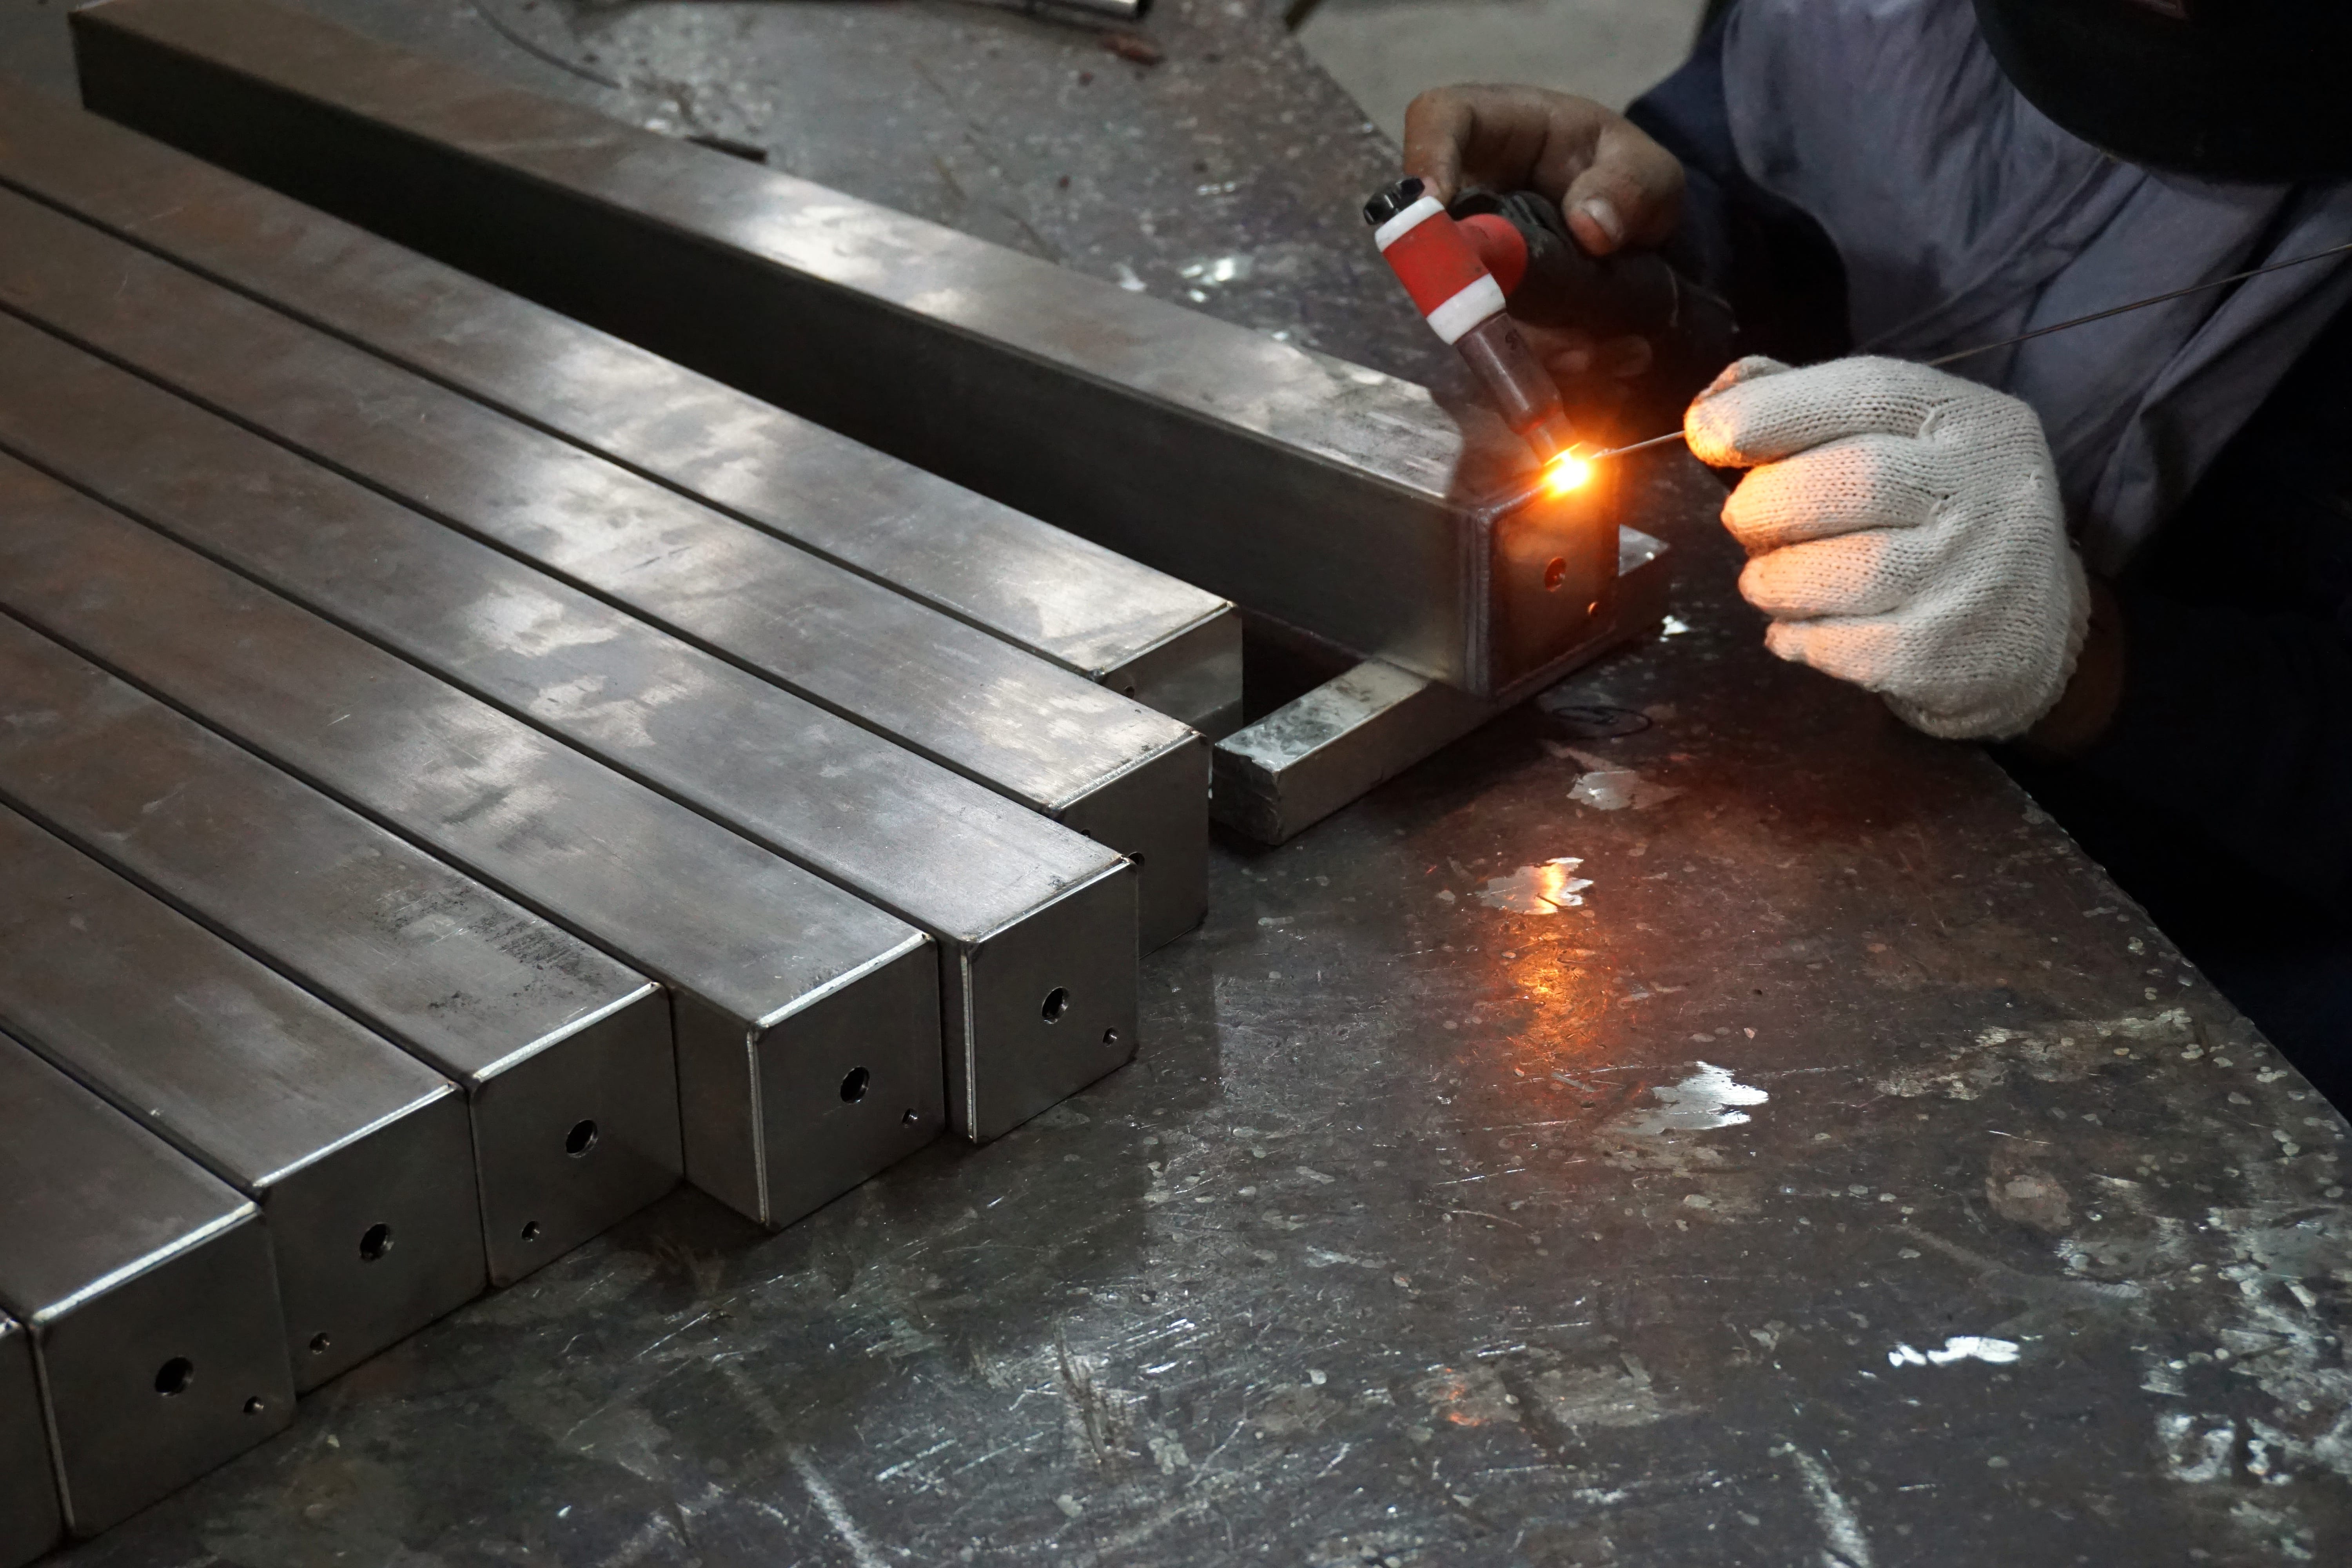
is known for its durability and resistance to corrosion, making it the perfect material for a kitchen sink. These sinks are able to withstand heavy use and are less likely to show scratches or stains, making them a practical choice for a busy kitchen. Additionally,
stainless steel undermount kitchen sinks
are easy to clean and maintain. They can be easily wiped down with a mild cleaner and cloth, leaving them looking shiny and new.
Stainless steel
is known for its durability and resistance to corrosion, making it the perfect material for a kitchen sink. These sinks are able to withstand heavy use and are less likely to show scratches or stains, making them a practical choice for a busy kitchen. Additionally,
stainless steel undermount kitchen sinks
are easy to clean and maintain. They can be easily wiped down with a mild cleaner and cloth, leaving them looking shiny and new.
Versatility and Compatibility
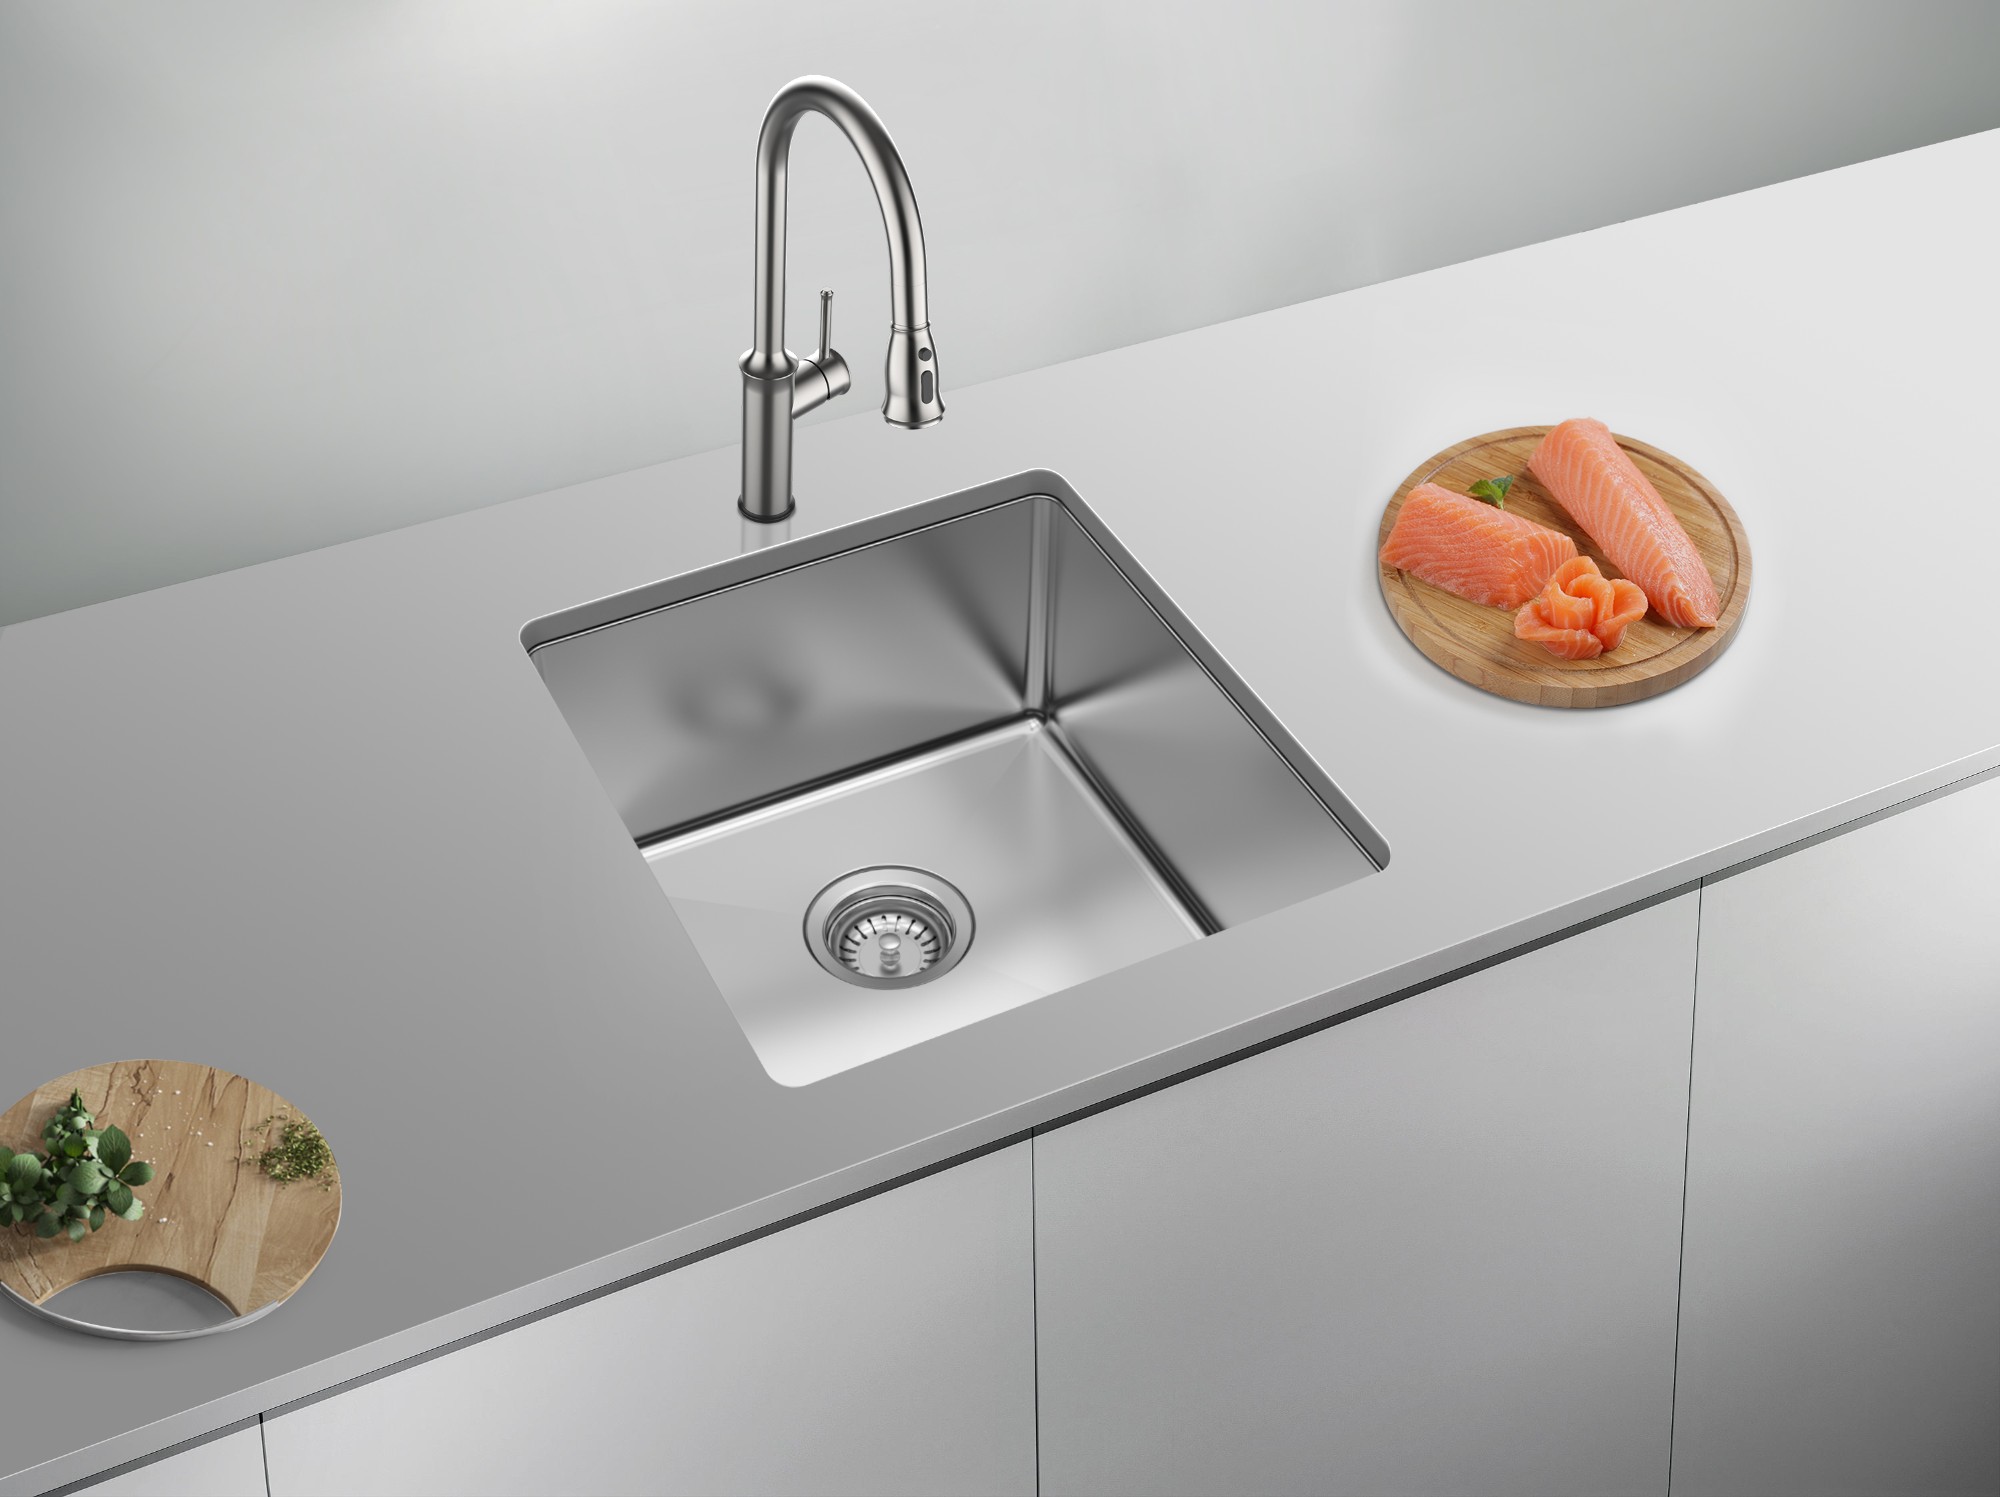 Another great advantage of
stainless steel undermount kitchen sinks
is their versatility and compatibility with different kitchen designs. Whether you have a traditional or contemporary kitchen, these sinks can complement any style and add a touch of sophistication. They also come in a variety of sizes, shapes, and configurations, allowing you to choose the perfect fit for your kitchen layout.
Another great advantage of
stainless steel undermount kitchen sinks
is their versatility and compatibility with different kitchen designs. Whether you have a traditional or contemporary kitchen, these sinks can complement any style and add a touch of sophistication. They also come in a variety of sizes, shapes, and configurations, allowing you to choose the perfect fit for your kitchen layout.
Cost-Effective Option
 Compared to other materials such as granite or porcelain,
stainless steel undermount kitchen sinks
are a more cost-effective option. They are relatively affordable and offer great value for their durability and longevity. Additionally, they are easy to install, which can save you money on installation costs.
In conclusion,
installing a stainless steel undermount kitchen sink
is a wise investment for any homeowner looking to upgrade their kitchen. Its efficiency, durability, versatility, and cost-effectiveness make it a top choice for many modern kitchens. So why wait? Upgrade your kitchen with a sleek and functional stainless steel undermount sink today!
Compared to other materials such as granite or porcelain,
stainless steel undermount kitchen sinks
are a more cost-effective option. They are relatively affordable and offer great value for their durability and longevity. Additionally, they are easy to install, which can save you money on installation costs.
In conclusion,
installing a stainless steel undermount kitchen sink
is a wise investment for any homeowner looking to upgrade their kitchen. Its efficiency, durability, versatility, and cost-effectiveness make it a top choice for many modern kitchens. So why wait? Upgrade your kitchen with a sleek and functional stainless steel undermount sink today!