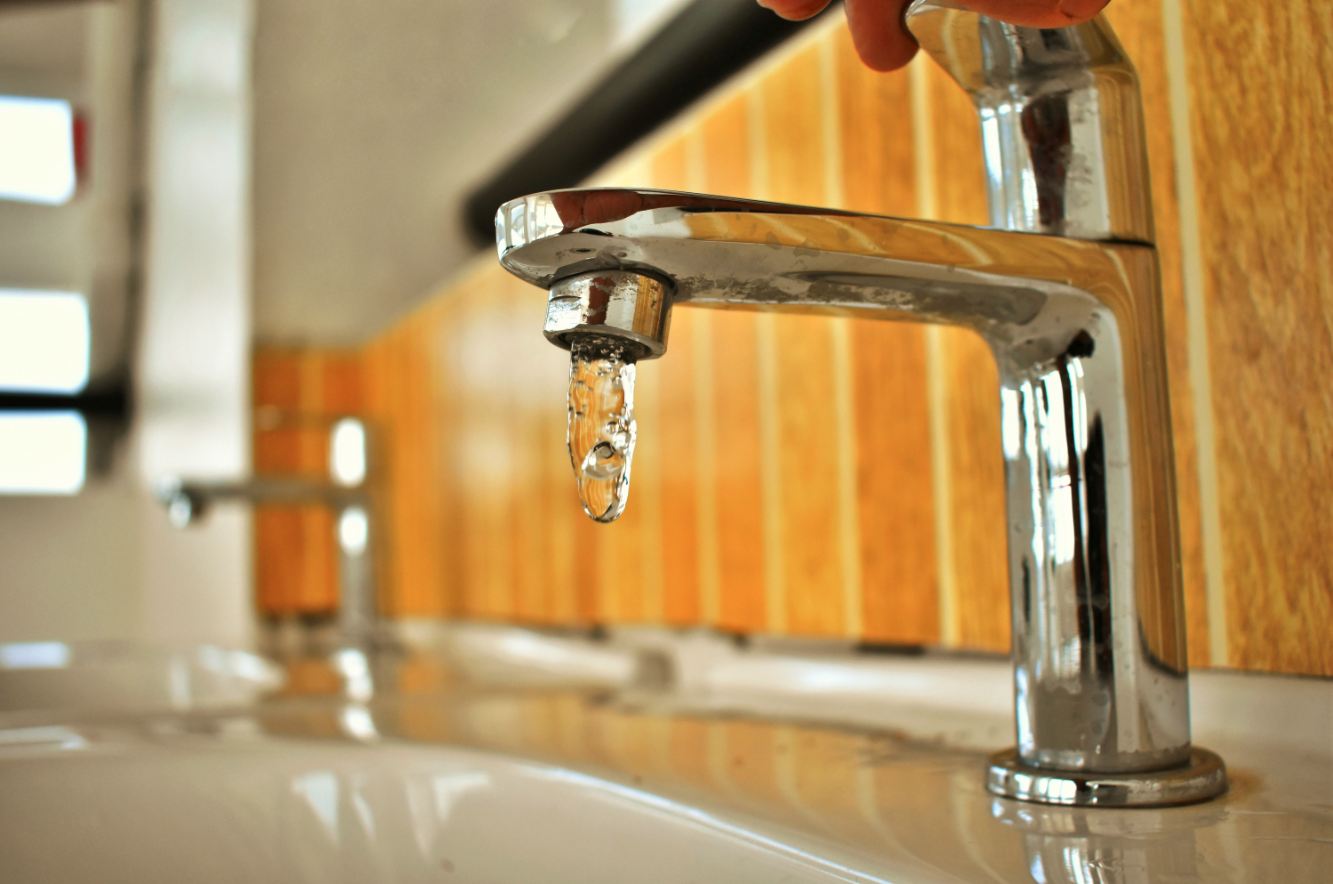
If you're experiencing low water pressure in your kitchen sink sprayer, it can be frustrating and inconvenient. But before you call a plumber or start shopping for a new sprayer, try these simple tips to fix the issue yourself. Check the Water Supply Valve The first thing you should do is check the water supply valve under your sink. Make sure it is fully open and not partially closed. A partially closed valve can restrict water flow and cause low pressure in your sprayer. Clean the Aerator The aerator is the small piece at the end of your sprayer that helps regulate water flow. Over time, it can become clogged with mineral deposits and debris, causing low pressure. Unscrew the aerator and clean it with a mixture of equal parts water and vinegar. This will remove any buildup and allow for better water flow. Replace the Sprayer Head If cleaning the aerator doesn't improve the water pressure, the issue may be with the sprayer head itself. Over time, the sprayer head can become clogged or worn out, leading to decreased water flow. Consider replacing the head with a new one to see if it improves the pressure. Main keywords: low pressure, kitchen sink sprayer, fix, water supply valve, aerator, clean, replace, sprayer head, clogged, worn out.How to Fix a Low Pressure Kitchen Sink Sprayer


How to Fix a Low Pressure Kitchen Sink Sprayer

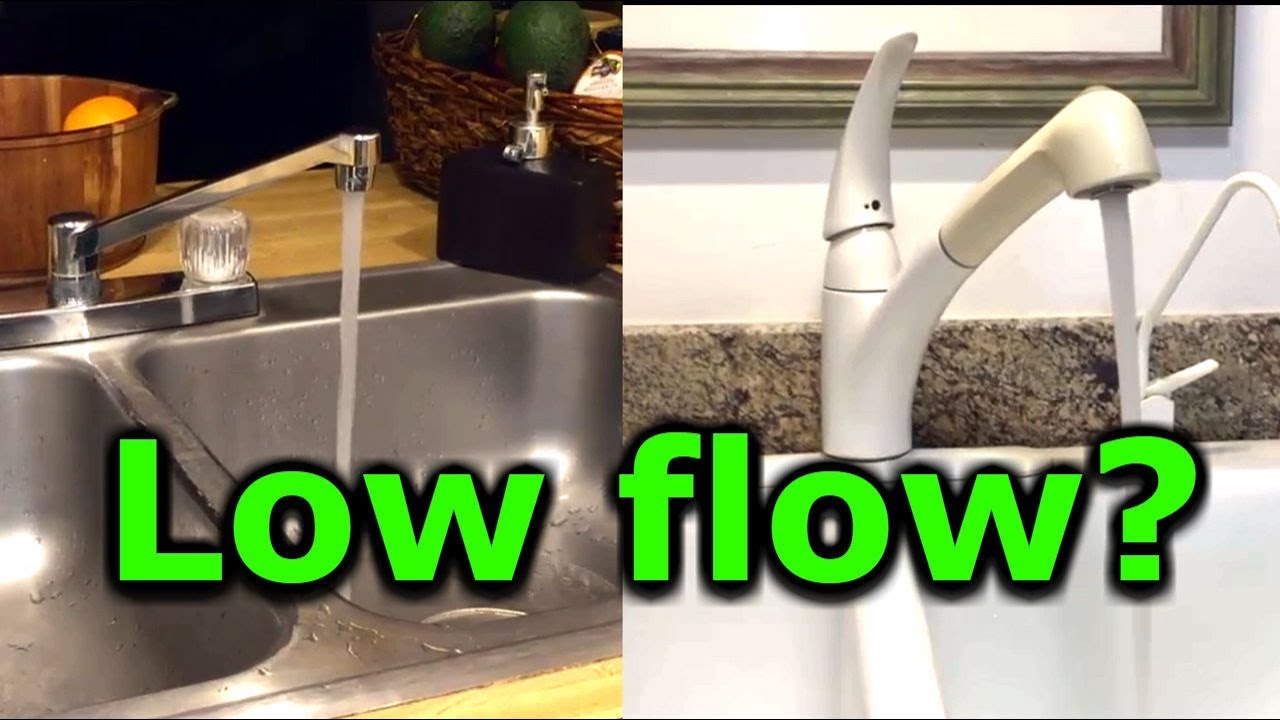


If you're looking to increase the water pressure in your kitchen sink sprayer, there are a few things you can try. Adjust the Water Pressure Regulator Most homes have a water pressure regulator that controls the water pressure throughout the house. If it is set too low, it can affect the pressure in your kitchen sink sprayer. Locate the regulator and adjust it to increase the pressure. Check for Leaks Leaks in your plumbing can also lead to low water pressure. Check for any leaks under your sink and in the pipes leading to your sprayer. If you find any, repair them to improve the pressure. Install a Booster Pump If the water pressure in your home is consistently low, consider installing a booster pump specifically for your kitchen sink. This will increase the pressure and ensure a strong flow of water. Main keywords: increase, water pressure, kitchen sink sprayer, adjust, regulator, leaks, plumbing, repair, booster pump, low.How to Increase Water Pressure in Kitchen Sink Sprayer


How to Increase Water Pressure in Kitchen Sink Sprayer


If your kitchen sink sprayer is experiencing low water pressure, here are some common troubleshooting tips to help you identify and fix the issue. Check Other Fixtures If the low pressure is only affecting your kitchen sink sprayer, the issue is most likely isolated to that specific fixture. But if other faucets in your home are also experiencing low pressure, the problem may be with your water supply or plumbing. Inspect the Hose The hose that connects your sprayer to the water supply can become kinked or damaged, leading to low pressure. Make sure the hose is free from any obstructions or damage. Clear Clogs Clogs in the sprayer head or in the aerator can cause low pressure. Use a toothpick or small brush to clear any clogs and improve the water flow. Main keywords: troubleshooting, low water pressure, kitchen sink sprayer, fixtures, isolated, water supply, plumbing, hose, kinked, damaged, clear, clogs.Troubleshooting Low Water Pressure in Kitchen Sink Sprayer


Troubleshooting Low Water Pressure in Kitchen Sink Sprayer


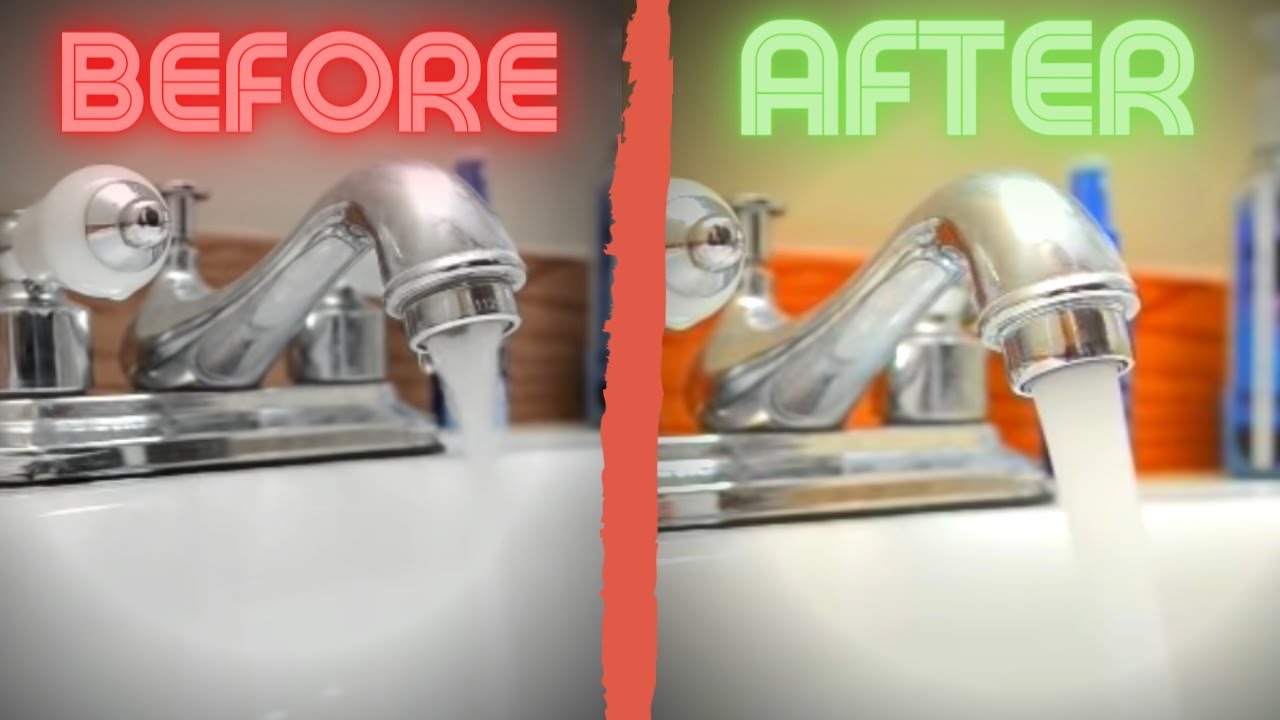
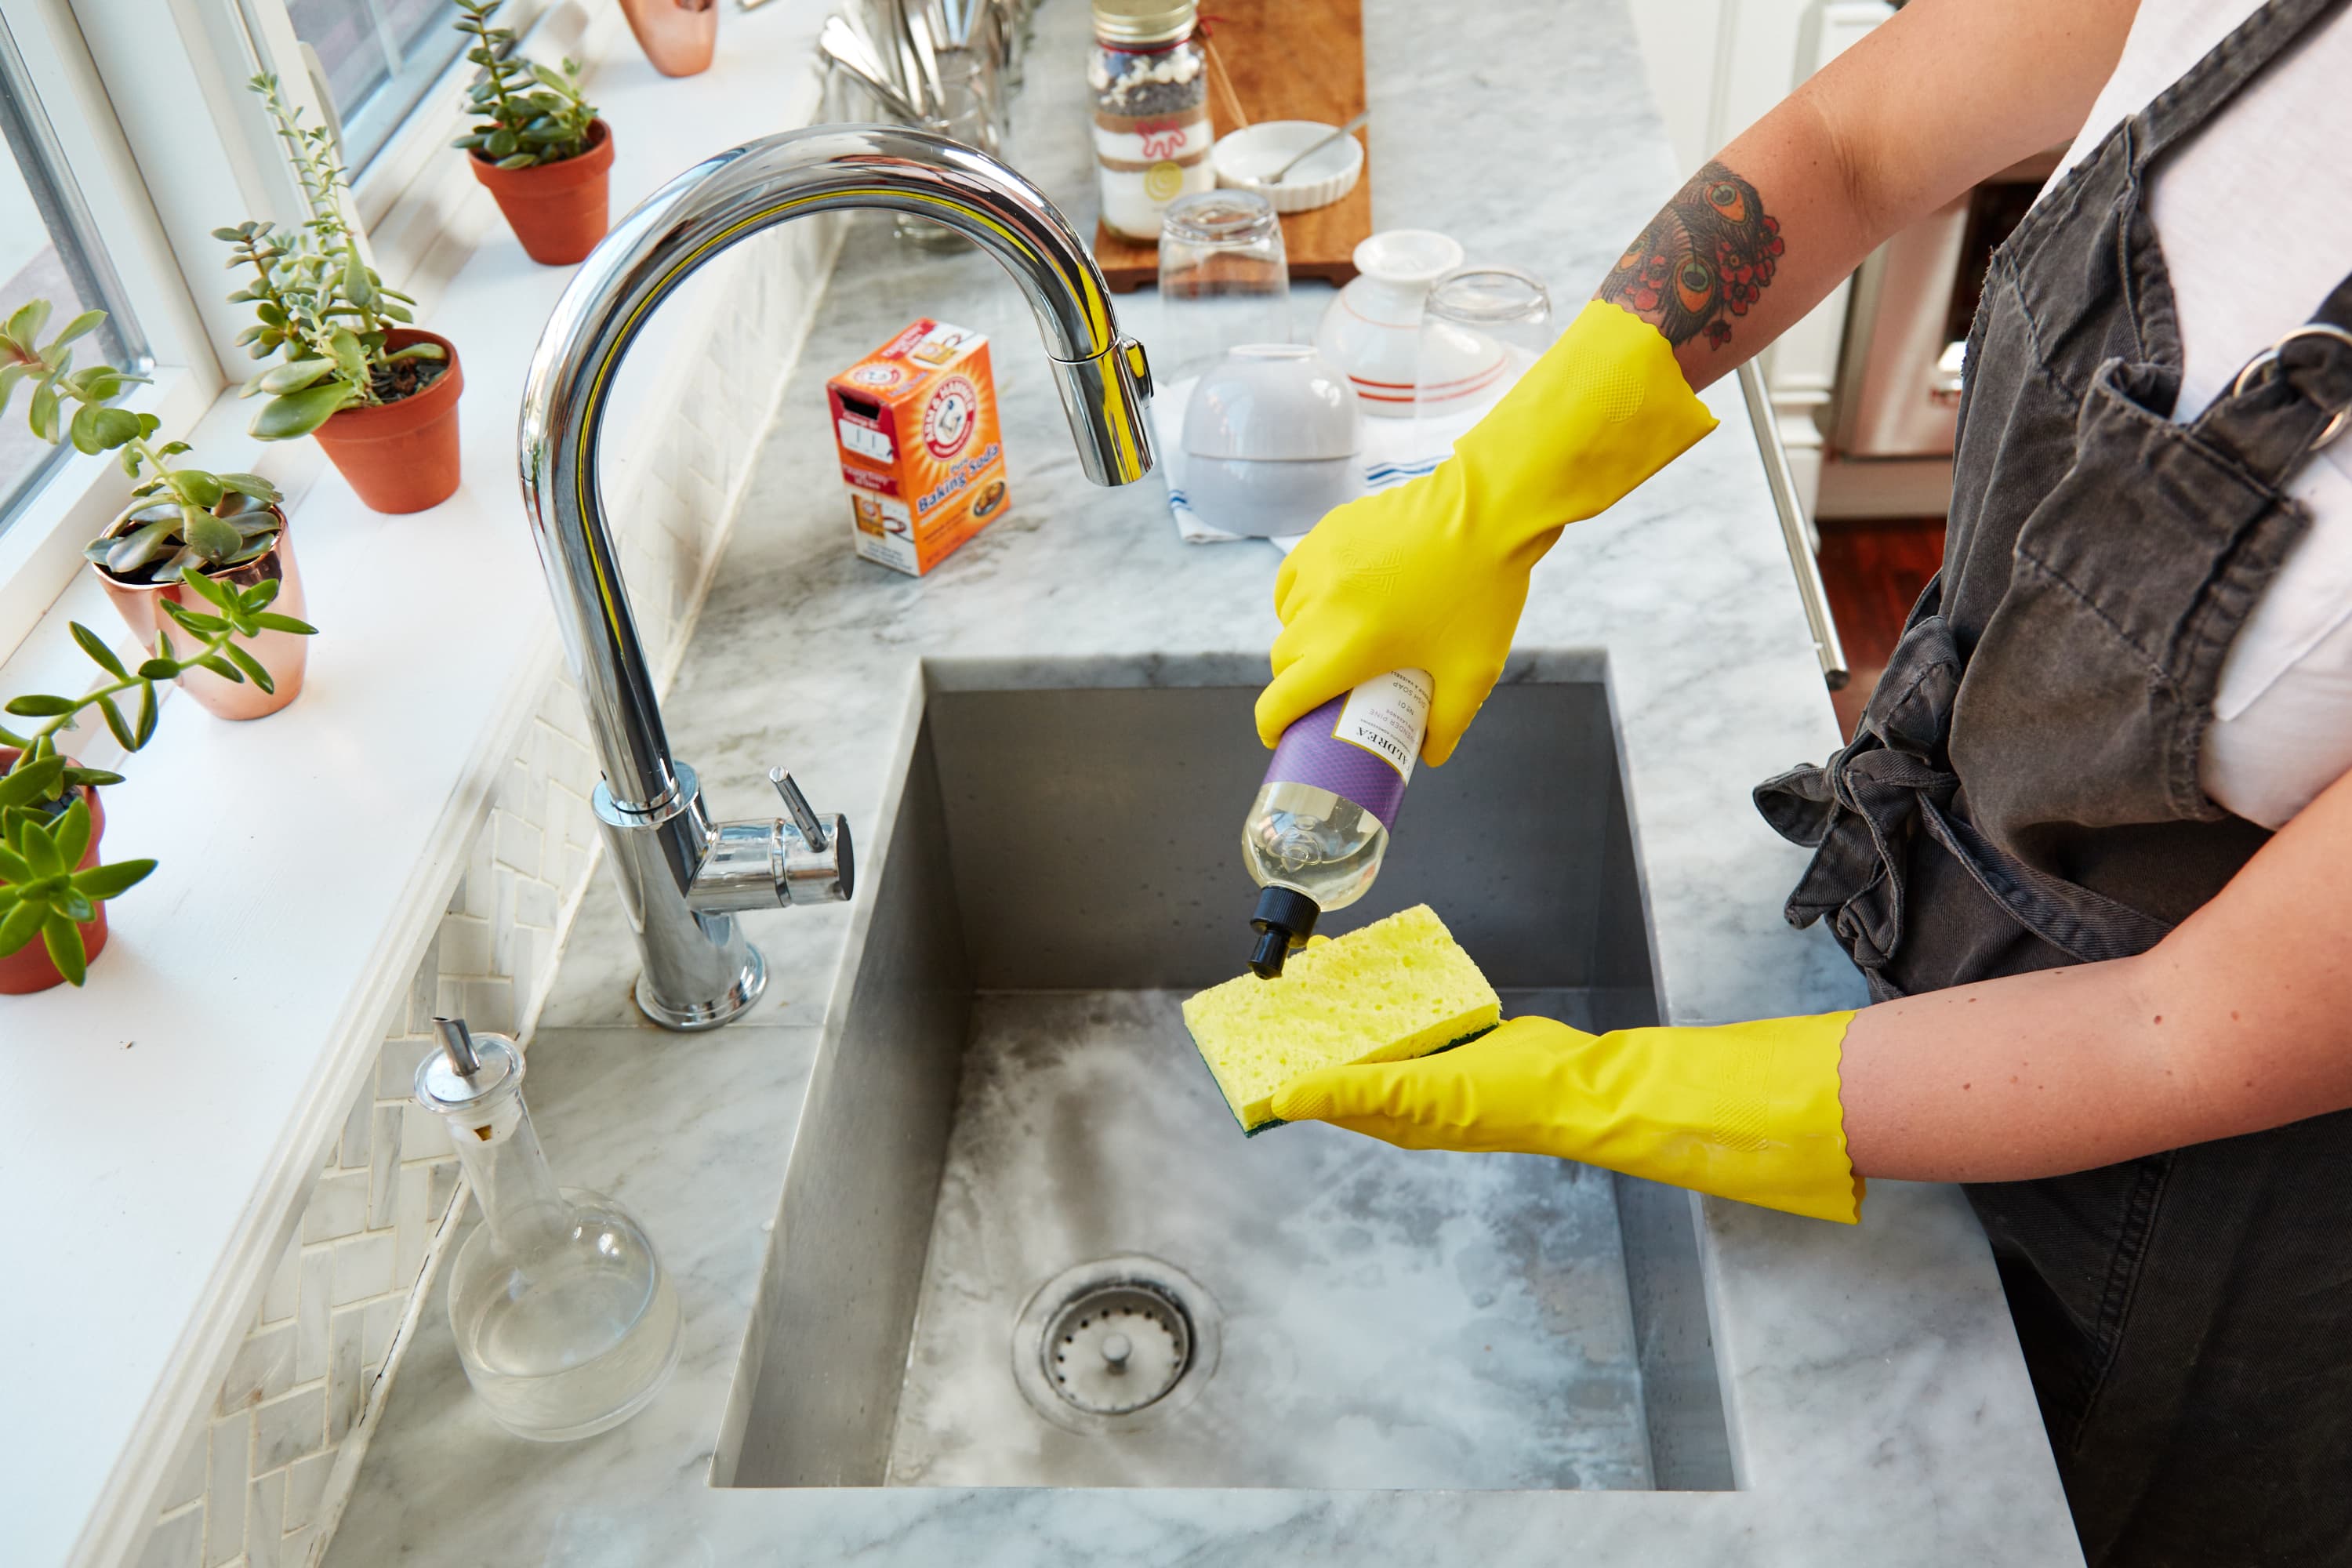
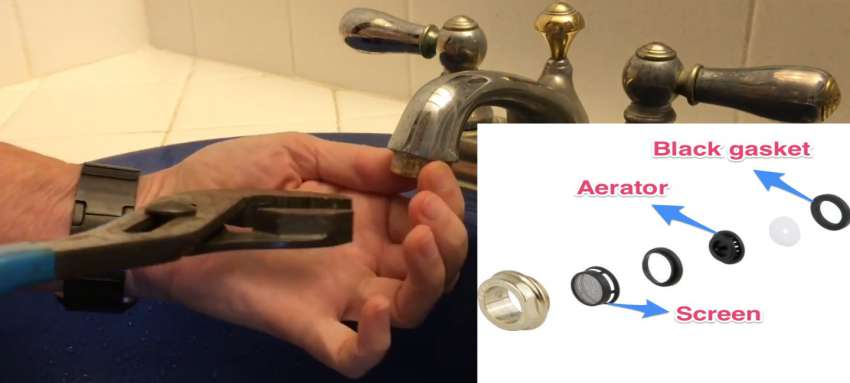
A dirty or clogged nozzle can lead to low water pressure in your kitchen sink sprayer. Here's how to clean it to improve the water flow. Remove the Nozzle Unscrew the nozzle from the sprayer head and soak it in a mixture of equal parts water and vinegar for at least 30 minutes. This will help dissolve any mineral deposits and buildup. Scrub with a Toothbrush After soaking, use a toothbrush to scrub the nozzle, paying special attention to any crevices or small openings. This will help remove any remaining buildup and ensure proper water flow. Rinse and Reattach Rinse the nozzle thoroughly with water and reattach it to the sprayer head. Test the water pressure to see if it has improved. Main keywords: clean, kitchen sink sprayer, nozzle, unscrew, soak, water, vinegar, mineral deposits, buildup, scrub, toothbrush, rinse, reattach, water pressure.How to Clean a Kitchen Sink Sprayer Nozzle


How to Clean a Kitchen Sink Sprayer Nozzle


If your hose is damaged or kinked, it may need to be replaced to improve the water pressure in your kitchen sink sprayer. Turn off the Water Supply Before replacing the hose, turn off the water supply under your sink. This will prevent any water from spraying out while you work. Disconnect the Hose Using pliers, loosen and remove the hose from the sprayer head and water supply valve. Carefully pull the hose out from under the sink. Install the New Hose Attach the new hose to the sprayer head and water supply valve. Make sure the connections are secure. Turn the water supply back on and test the water pressure. Main keywords: replacing, kitchen sink sprayer, hose, damaged, kinked, turn off, water supply, disconnect, pliers, install, new hose, attach, connections, secure, test, water pressure.Replacing a Kitchen Sink Sprayer Hose


Replacing a Kitchen Sink Sprayer Hose


If you're looking to upgrade your kitchen sink with a sprayer, here's how to install it yourself. Gather Supplies You will need a kitchen sink sprayer kit, adjustable wrench, plumber's tape, and a drill with a hole saw attachment. Remove the Old Faucet Start by turning off the water supply and removing the old faucet. Follow the manufacturer's instructions to ensure proper removal. Install the Sprayer Base Place the sprayer base on the sink and secure it with a mounting nut and washers. Use the hole saw attachment to create a hole for the sprayer hose. Connect the Hose and Sprayer Head Attach the hose to the sprayer base and connect the sprayer head. Use plumber's tape to ensure a tight seal. Turn on the Water Supply Turn the water supply back on and test the sprayer to make sure it is working properly. Main keywords: install, kitchen sink sprayer, upgrade, gather supplies, adjustable wrench, plumber's tape, drill, hole saw attachment, remove, old faucet, manufacturer's instructions, sprayer base, mounting nut, washers, hole, hose, sprayer head, plumber's tape, water supply, test, working.How to Install a Kitchen Sink Sprayer


How to Install a Kitchen Sink Sprayer


/25089301983_c5145fe85d_o-58418ef15f9b5851e5f392b5.jpg)

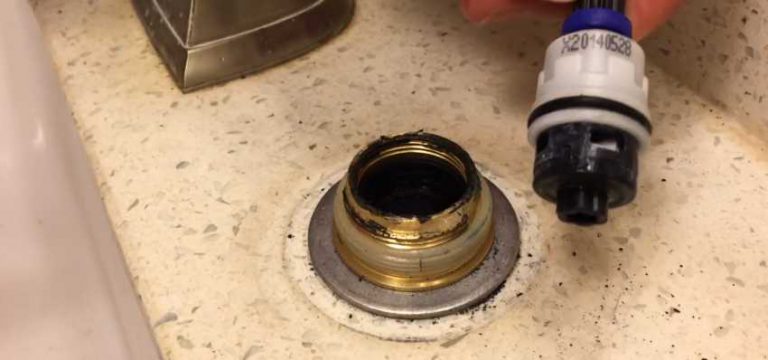
If you're looking to fine-tune the water pressure in your kitchen sink sprayer, here's how to do it. Locate the Pressure Regulator Under your sink, locate the pressure regulator. It may be a valve or a screw that can be adjusted. Turn the Regulator Using a wrench or screwdriver, turn the regulator to the right to increase the pressure and to the left to decrease it. Make small adjustments until you find the desired pressure. Test the Water Flow Turn on the water supply and test the sprayer to see if the pressure has improved. If not, continue adjusting the regulator until you find the right balance. Main keywords: adjusting, water pressure, kitchen sink sprayer, fine-tune, locate, pressure regulator, valve, screw, adjusted, wrench, screwdriver, increase, decrease, small adjustments, desired pressure, test, water flow, improved, adjusting, regulator, balance.Adjusting the Water Pressure on a Kitchen Sink Sprayer


Adjusting the Water Pressure on a Kitchen Sink Sprayer
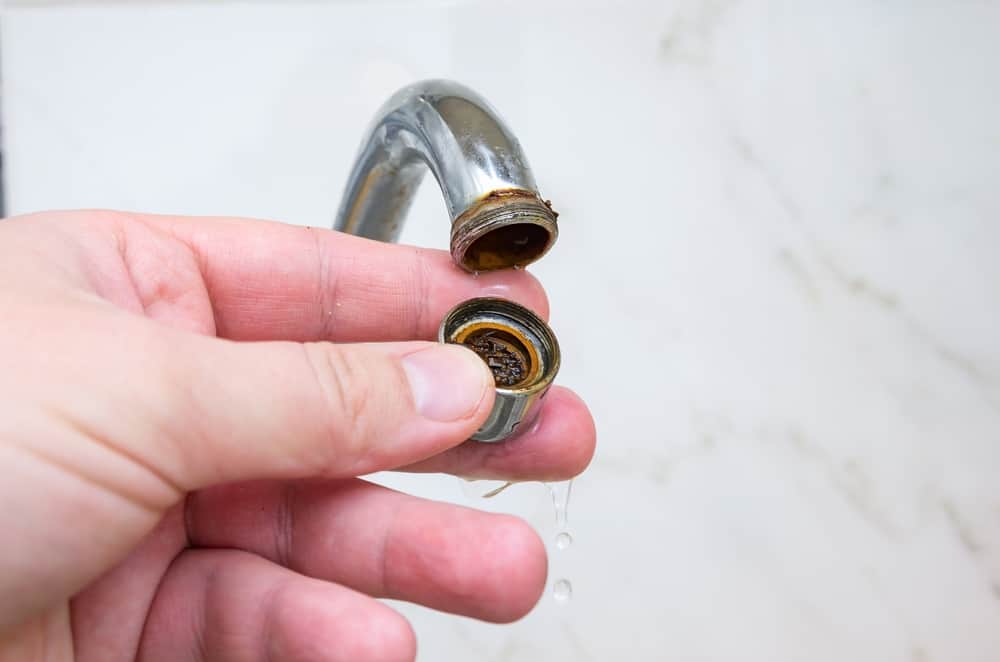
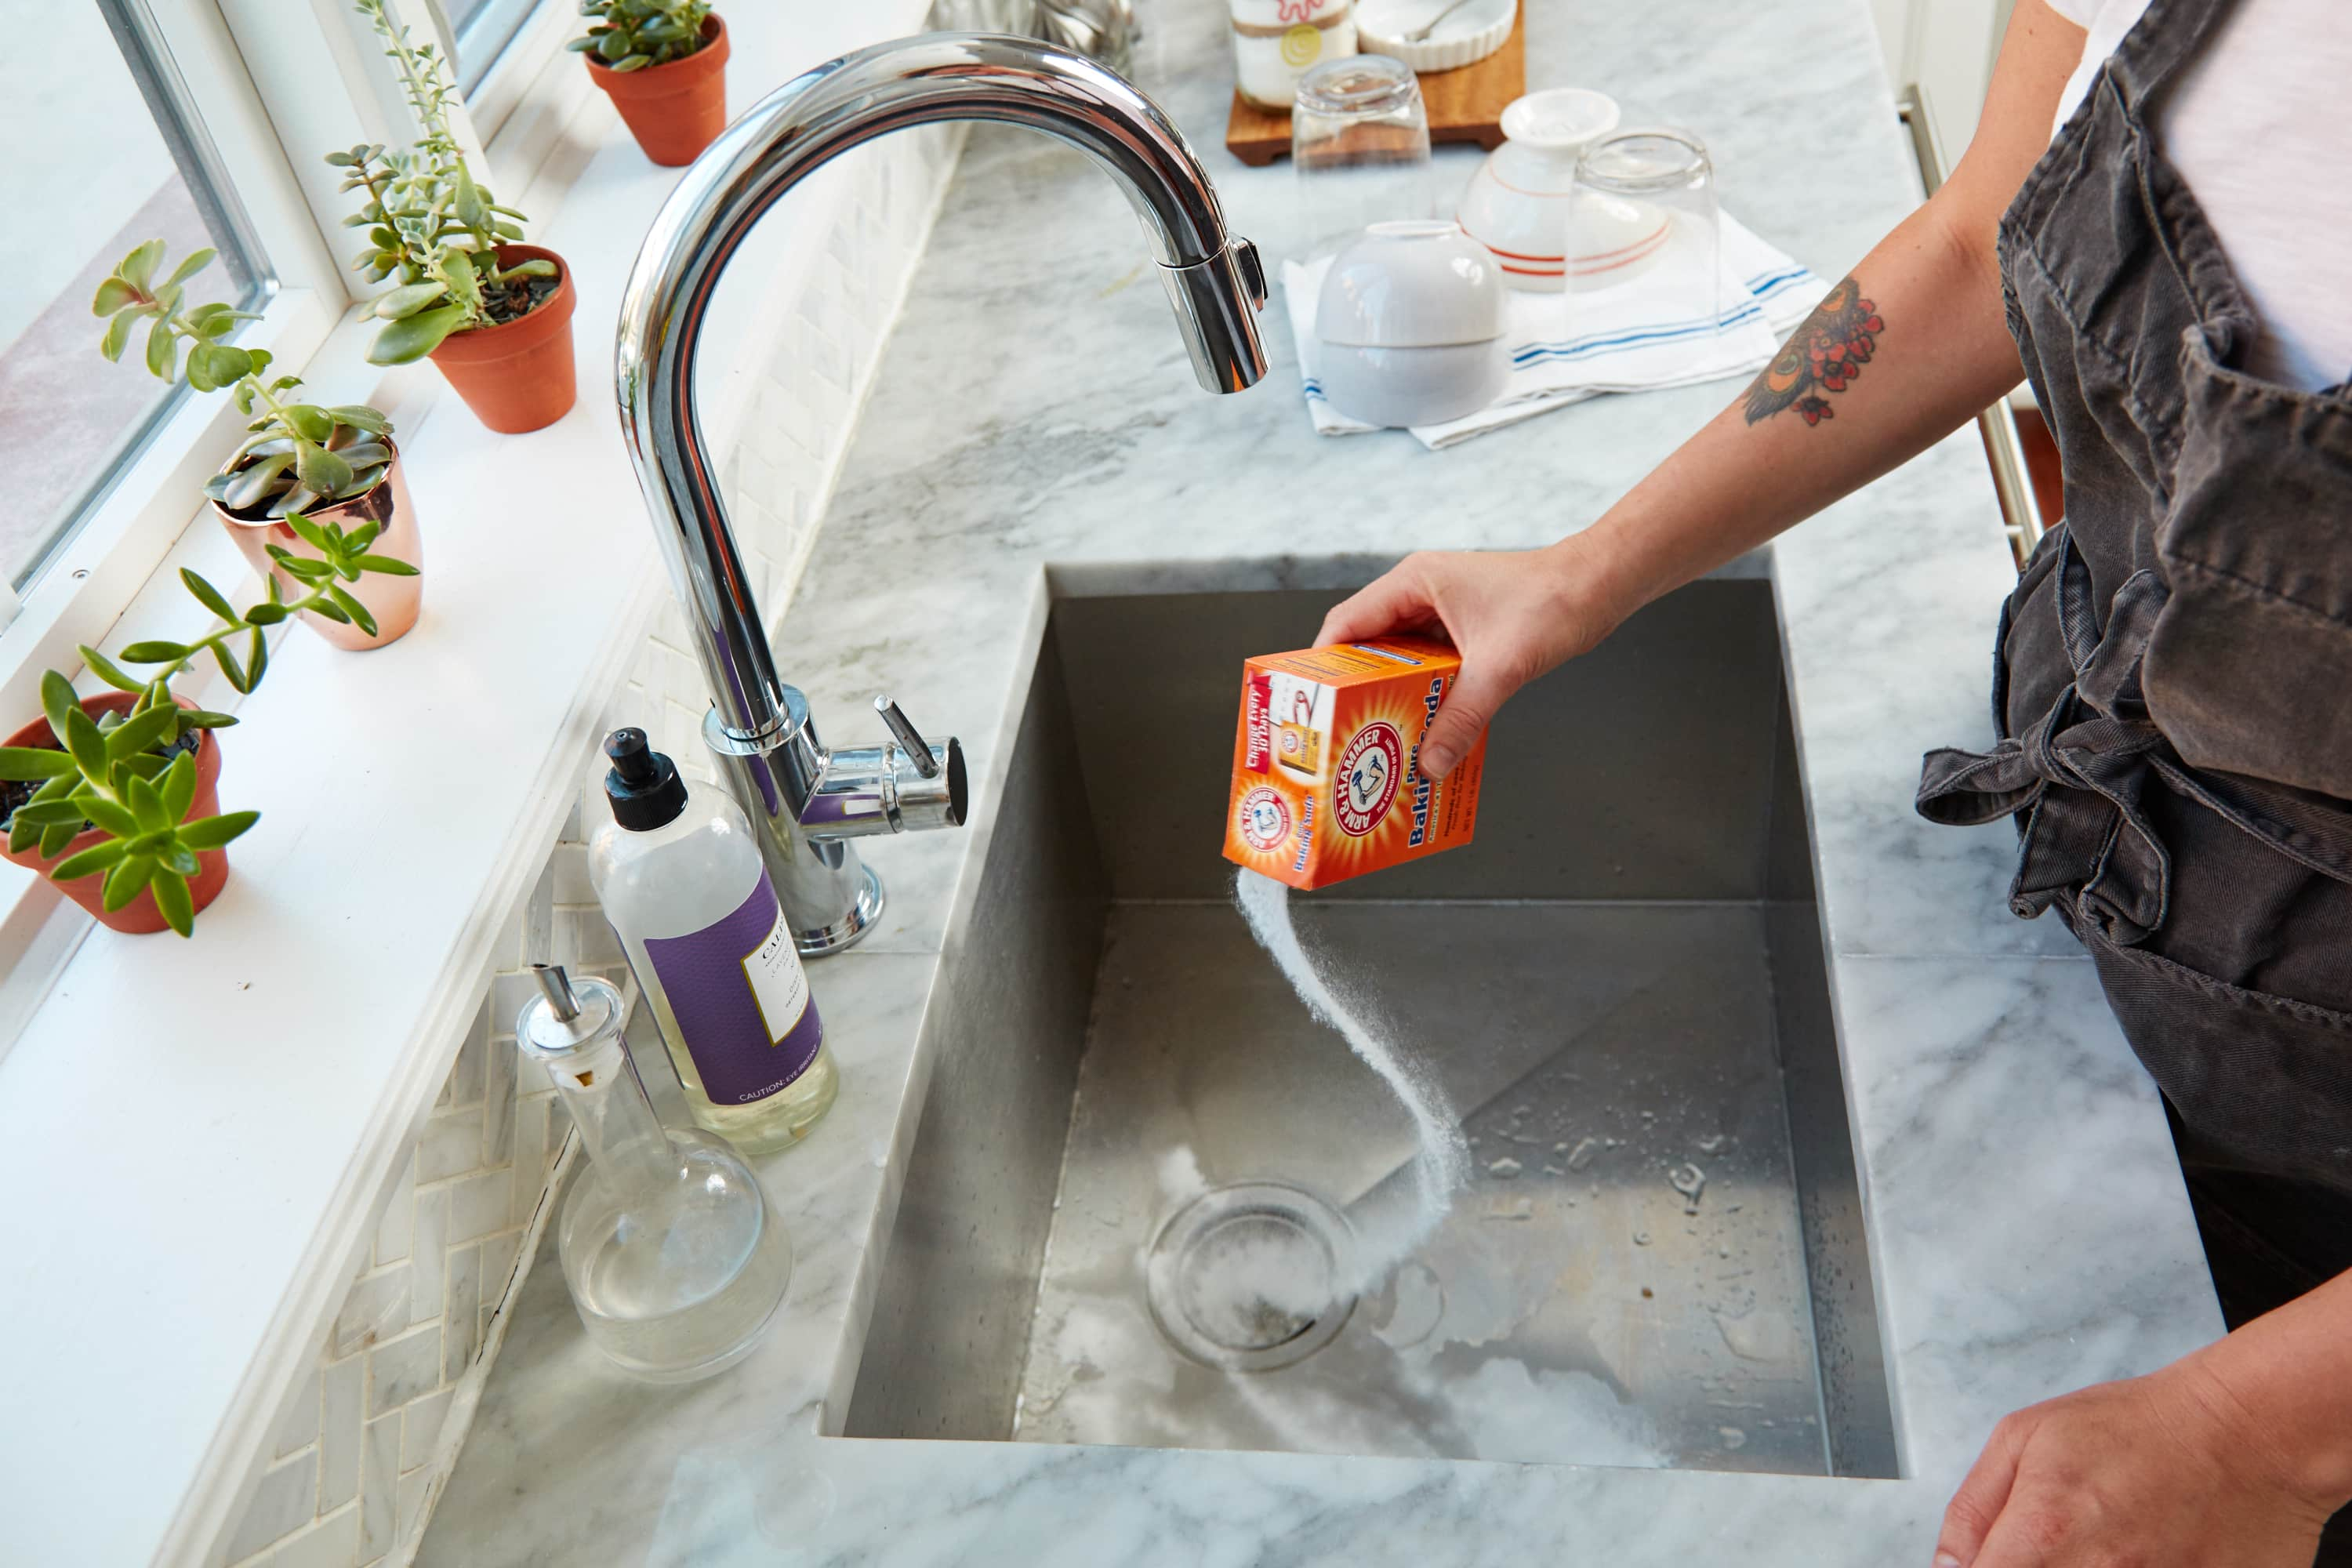
There are several potential causes for low water pressure in your kitchen sink sprayer. Here are some of the most common ones to watch out for. Mineral Buildup Over time, mineral deposits can accumulate in your sprayer head or aerator, leading to decreased water flow. Damaged Hose If your hose is damaged or kinked, it can restrict water flow and cause low pressure. Plumbing Issues Leaks or clogs in your plumbing can also lead to low water pressure in your kitchen sink sprayer. Main keywords: common causes, low water pressure, kitchen sink sprayer, mineral buildup, mineral deposits, decreased, water flow, damaged, kinked, restrict, plumbing, leaks, clogs.Common Causes of Low Water Pressure in Kitchen Sink Sprayer

Common Causes of Low Water Pressure in Kitchen Sink Sprayer


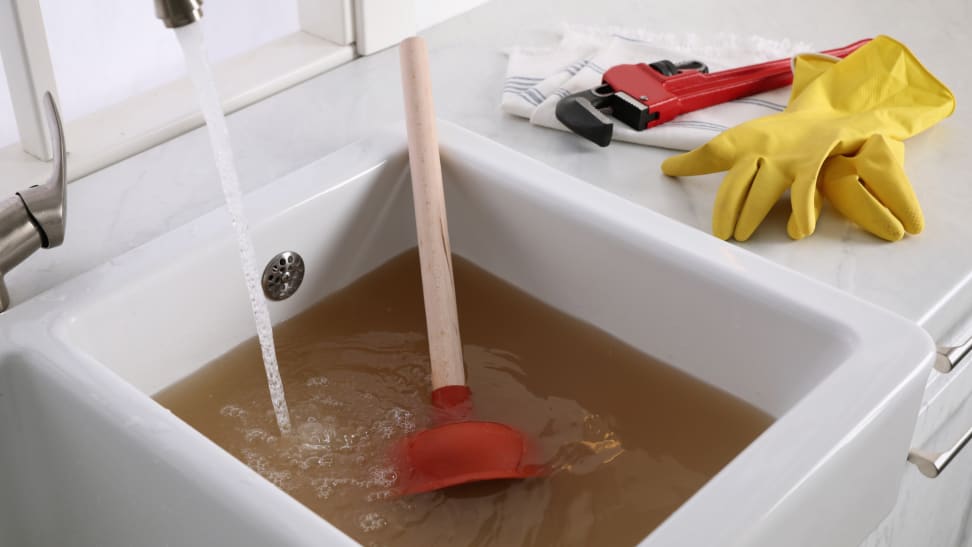
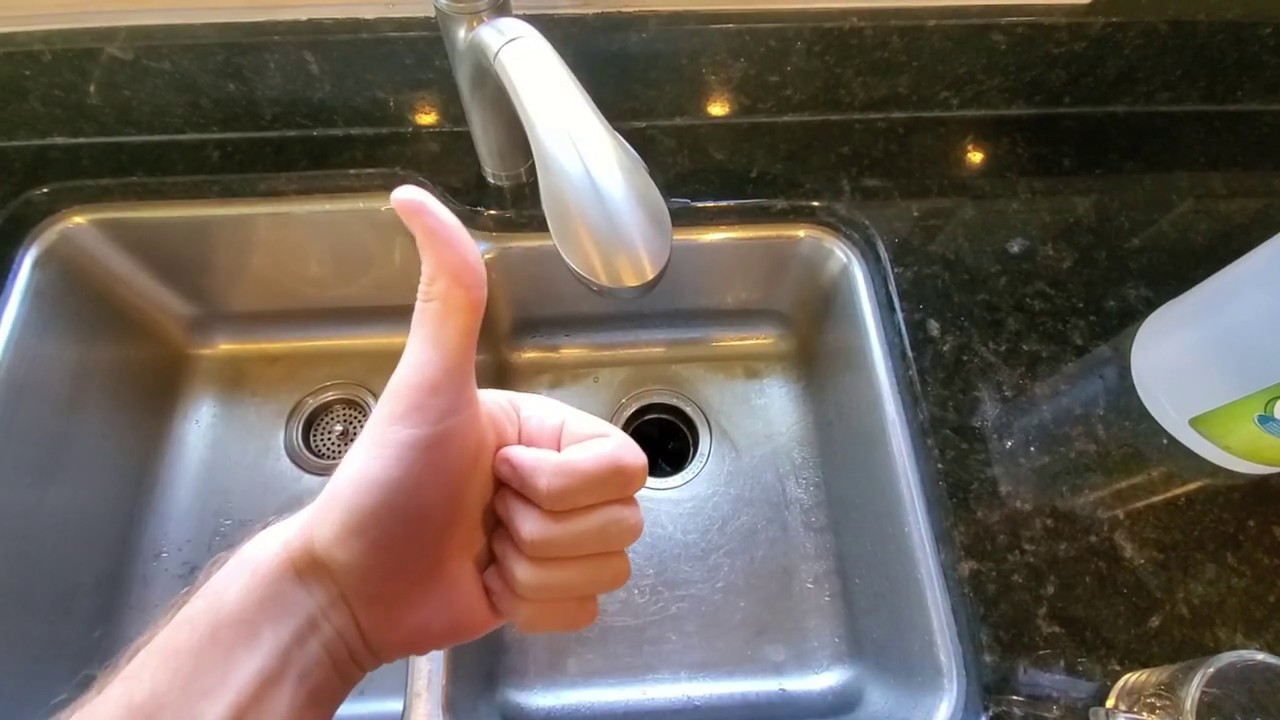
If your kitchen sink sprayer is not working at all, it may be clogged. Here's how to unclog it and get it working again. Remove the Nozzle Unscrew the nozzle from the sprayer head and use a toothpick or small brush to clear any clogs. Check the Hose Inspect the hose for any kinks or damage. Straighten out any kinks and replace the hose if necessary. Run Hot Water Turn on the hot water in your sink and let it run for a few minutes. This can help loosen any debris or buildup in the sprayer head. Reattach the Nozzle Once the sprayer is unclogged, reattach the nozzle and test the water flow. If it is still not working, consider replacing the sprayer head. Main keywords: unclog, kitchen sink sprayer, not working, remove, nozzle, unscrew, toothpick, small brush, check, hose, inspect, kinks, damage, hot water, loosen, debris, buildup, reattach, test, water flow, replacing, sprayer head.How to Unclog a Kitchen Sink Sprayer


How to Unclog a Kitchen Sink Sprayer


/how-to-unclog-a-kitchen-sink-2718799_sketch_FINAL-8c5caa805a69493ab22dfb537c72a1b7.png)
If your sprayer head is damaged or not working properly, it may need to be replaced. Here's how to do it. Turn off the Water Supply Before replacing the sprayer head, turn off the water supply under your sink. Unscrew the Old Head Using pliers, loosen and unscrew the old sprayer head from the hose. Attach the New Head Screw the new sprayer head onto the hose and tighten with pliers. Make sure the connections are secure. Turn on the Water Supply Turn the water supply back on and test the new sprayer head to make sure it is working properly. Main keywords: replacing, kitchen sink sprayer head, damaged, not working, turn off, water supply, unscrew, old head, pliers, attach, new head, tighten, connections, secure, turn on, test, working properly.Replacing a Kitchen Sink Sprayer Head


Replacing a Kitchen Sink Sprayer Head


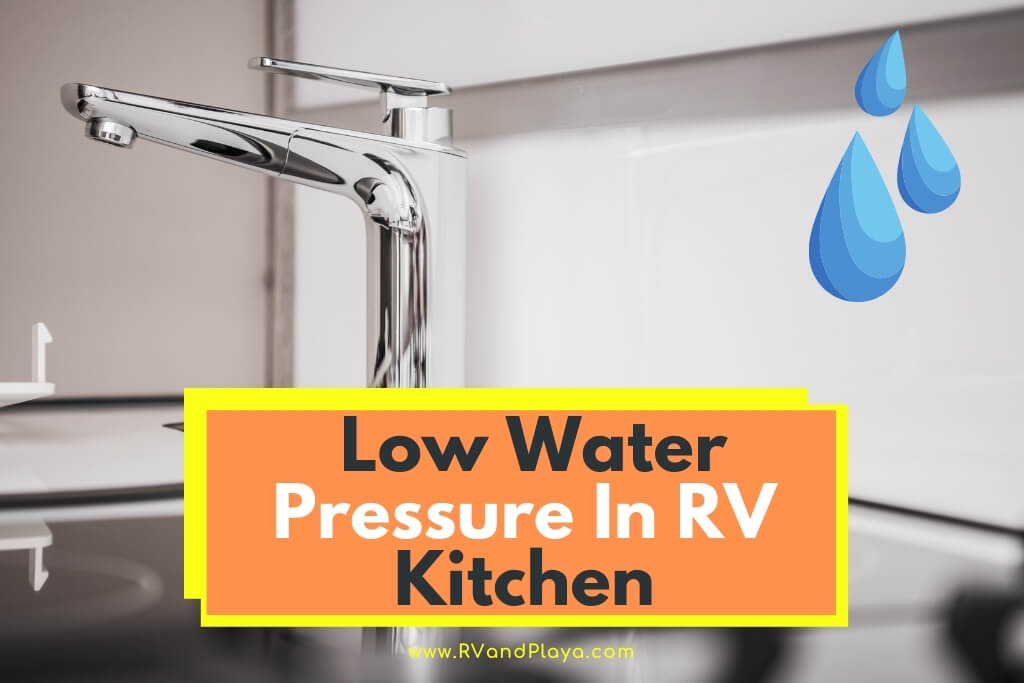
The Importance of a High-Pressure Sprayer for Your Kitchen Sink

Improve Your Kitchen's Functionality and Design
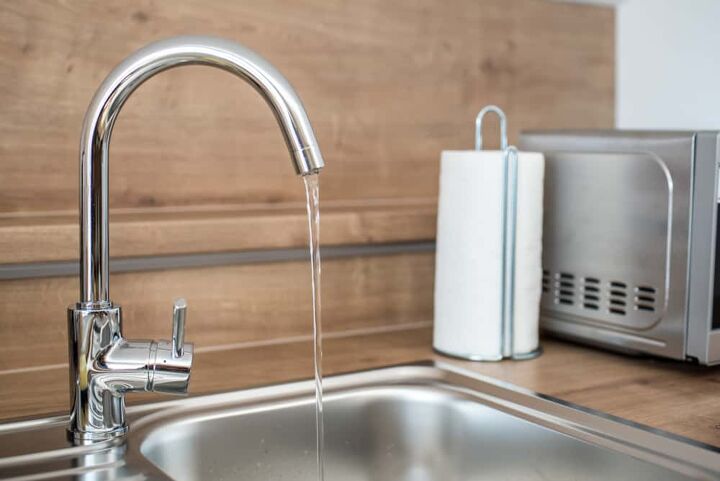
 When it comes to designing and renovating your kitchen, there are countless elements to consider. From choosing the right appliances to deciding on the perfect color scheme, every detail plays a crucial role in creating a functional and visually appealing space. One often overlooked aspect of kitchen design is the pressure of the sprayer on your kitchen sink. While it may seem like a minor detail, a low-pressure sprayer can significantly impact your daily kitchen routine and the overall look of your kitchen.
Low water pressure in your sink sprayer can be frustrating and inconvenient.
It can make it difficult to properly clean dishes, rinse fruits and vegetables, and fill pots with water. This can lead to wasted time and effort, making simple tasks more challenging than they need to be. Not to mention, a weak sprayer can make your kitchen appear outdated and unappealing. In contrast, a high-pressure sprayer can make a world of difference in both functionality and design.
When it comes to designing and renovating your kitchen, there are countless elements to consider. From choosing the right appliances to deciding on the perfect color scheme, every detail plays a crucial role in creating a functional and visually appealing space. One often overlooked aspect of kitchen design is the pressure of the sprayer on your kitchen sink. While it may seem like a minor detail, a low-pressure sprayer can significantly impact your daily kitchen routine and the overall look of your kitchen.
Low water pressure in your sink sprayer can be frustrating and inconvenient.
It can make it difficult to properly clean dishes, rinse fruits and vegetables, and fill pots with water. This can lead to wasted time and effort, making simple tasks more challenging than they need to be. Not to mention, a weak sprayer can make your kitchen appear outdated and unappealing. In contrast, a high-pressure sprayer can make a world of difference in both functionality and design.
Increased Efficiency and Effectiveness
 A high-pressure sprayer can make your kitchen tasks more efficient and effective.
With a strong and steady stream of water, you can quickly and easily clean dirty dishes and remove stubborn food particles. This is especially useful for larger pots and pans that require more pressure to get clean. Additionally, a powerful sprayer can also save you time and water, as you won't have to spend as much time rinsing and re-rinsing dishes.
A high-pressure sprayer can make your kitchen tasks more efficient and effective.
With a strong and steady stream of water, you can quickly and easily clean dirty dishes and remove stubborn food particles. This is especially useful for larger pots and pans that require more pressure to get clean. Additionally, a powerful sprayer can also save you time and water, as you won't have to spend as much time rinsing and re-rinsing dishes.
Enhanced Aesthetics
 Not only does a high-pressure sprayer improve functionality, but it can also enhance the overall aesthetics of your kitchen.
A sleek and modern sprayer can add a touch of sophistication and elegance to your sink area.
It can also complement your other kitchen fixtures and appliances, creating a cohesive and visually appealing space. Whether you opt for a classic chrome finish or a trendy matte black, a high-pressure sprayer can elevate the design of your kitchen.
Not only does a high-pressure sprayer improve functionality, but it can also enhance the overall aesthetics of your kitchen.
A sleek and modern sprayer can add a touch of sophistication and elegance to your sink area.
It can also complement your other kitchen fixtures and appliances, creating a cohesive and visually appealing space. Whether you opt for a classic chrome finish or a trendy matte black, a high-pressure sprayer can elevate the design of your kitchen.
Upgrade Your Kitchen with a High-Pressure Sprayer
/25089301983_c5145fe85d_o-58418ef15f9b5851e5f392b5.jpg) In conclusion, a high-pressure sprayer is an essential element in any well-designed kitchen.
It not only improves functionality but also adds to the overall aesthetics of the space.
If you're experiencing low water pressure in your kitchen sink, consider upgrading to a high-pressure sprayer. With its many benefits, it's a small but impactful change that can make a big difference in your daily routine and the look of your kitchen.
In conclusion, a high-pressure sprayer is an essential element in any well-designed kitchen.
It not only improves functionality but also adds to the overall aesthetics of the space.
If you're experiencing low water pressure in your kitchen sink, consider upgrading to a high-pressure sprayer. With its many benefits, it's a small but impactful change that can make a big difference in your daily routine and the look of your kitchen.