If you've noticed a puddle of water under your kitchen sink, chances are your shut off valve is leaking. This is a common plumbing issue that can be easily fixed with a few simple steps. Not only is a leaking shut off valve wasteful and expensive, it can also lead to bigger problems if left untreated. In this guide, we'll show you how to fix a leaky shut off valve under your kitchen sink and prevent future leaks.How to Fix a Leaky Shut Off Valve Under Your Kitchen Sink

How to Fix a Leaky Shut Off Valve Under Your Kitchen Sink


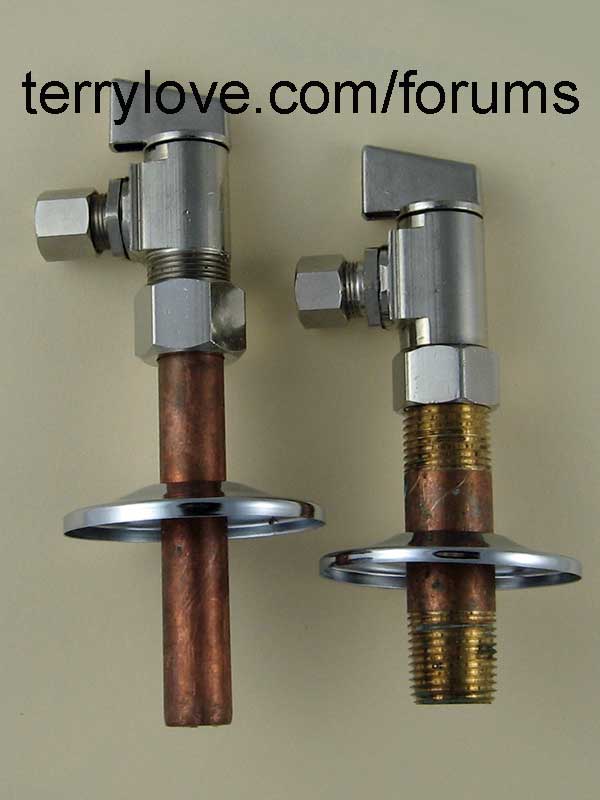
:max_bytes(150000):strip_icc()/water-shut-off-valve-types-2718739-hero-fff0f5191aeb45d595492f8c9b4b4be2.jpg)


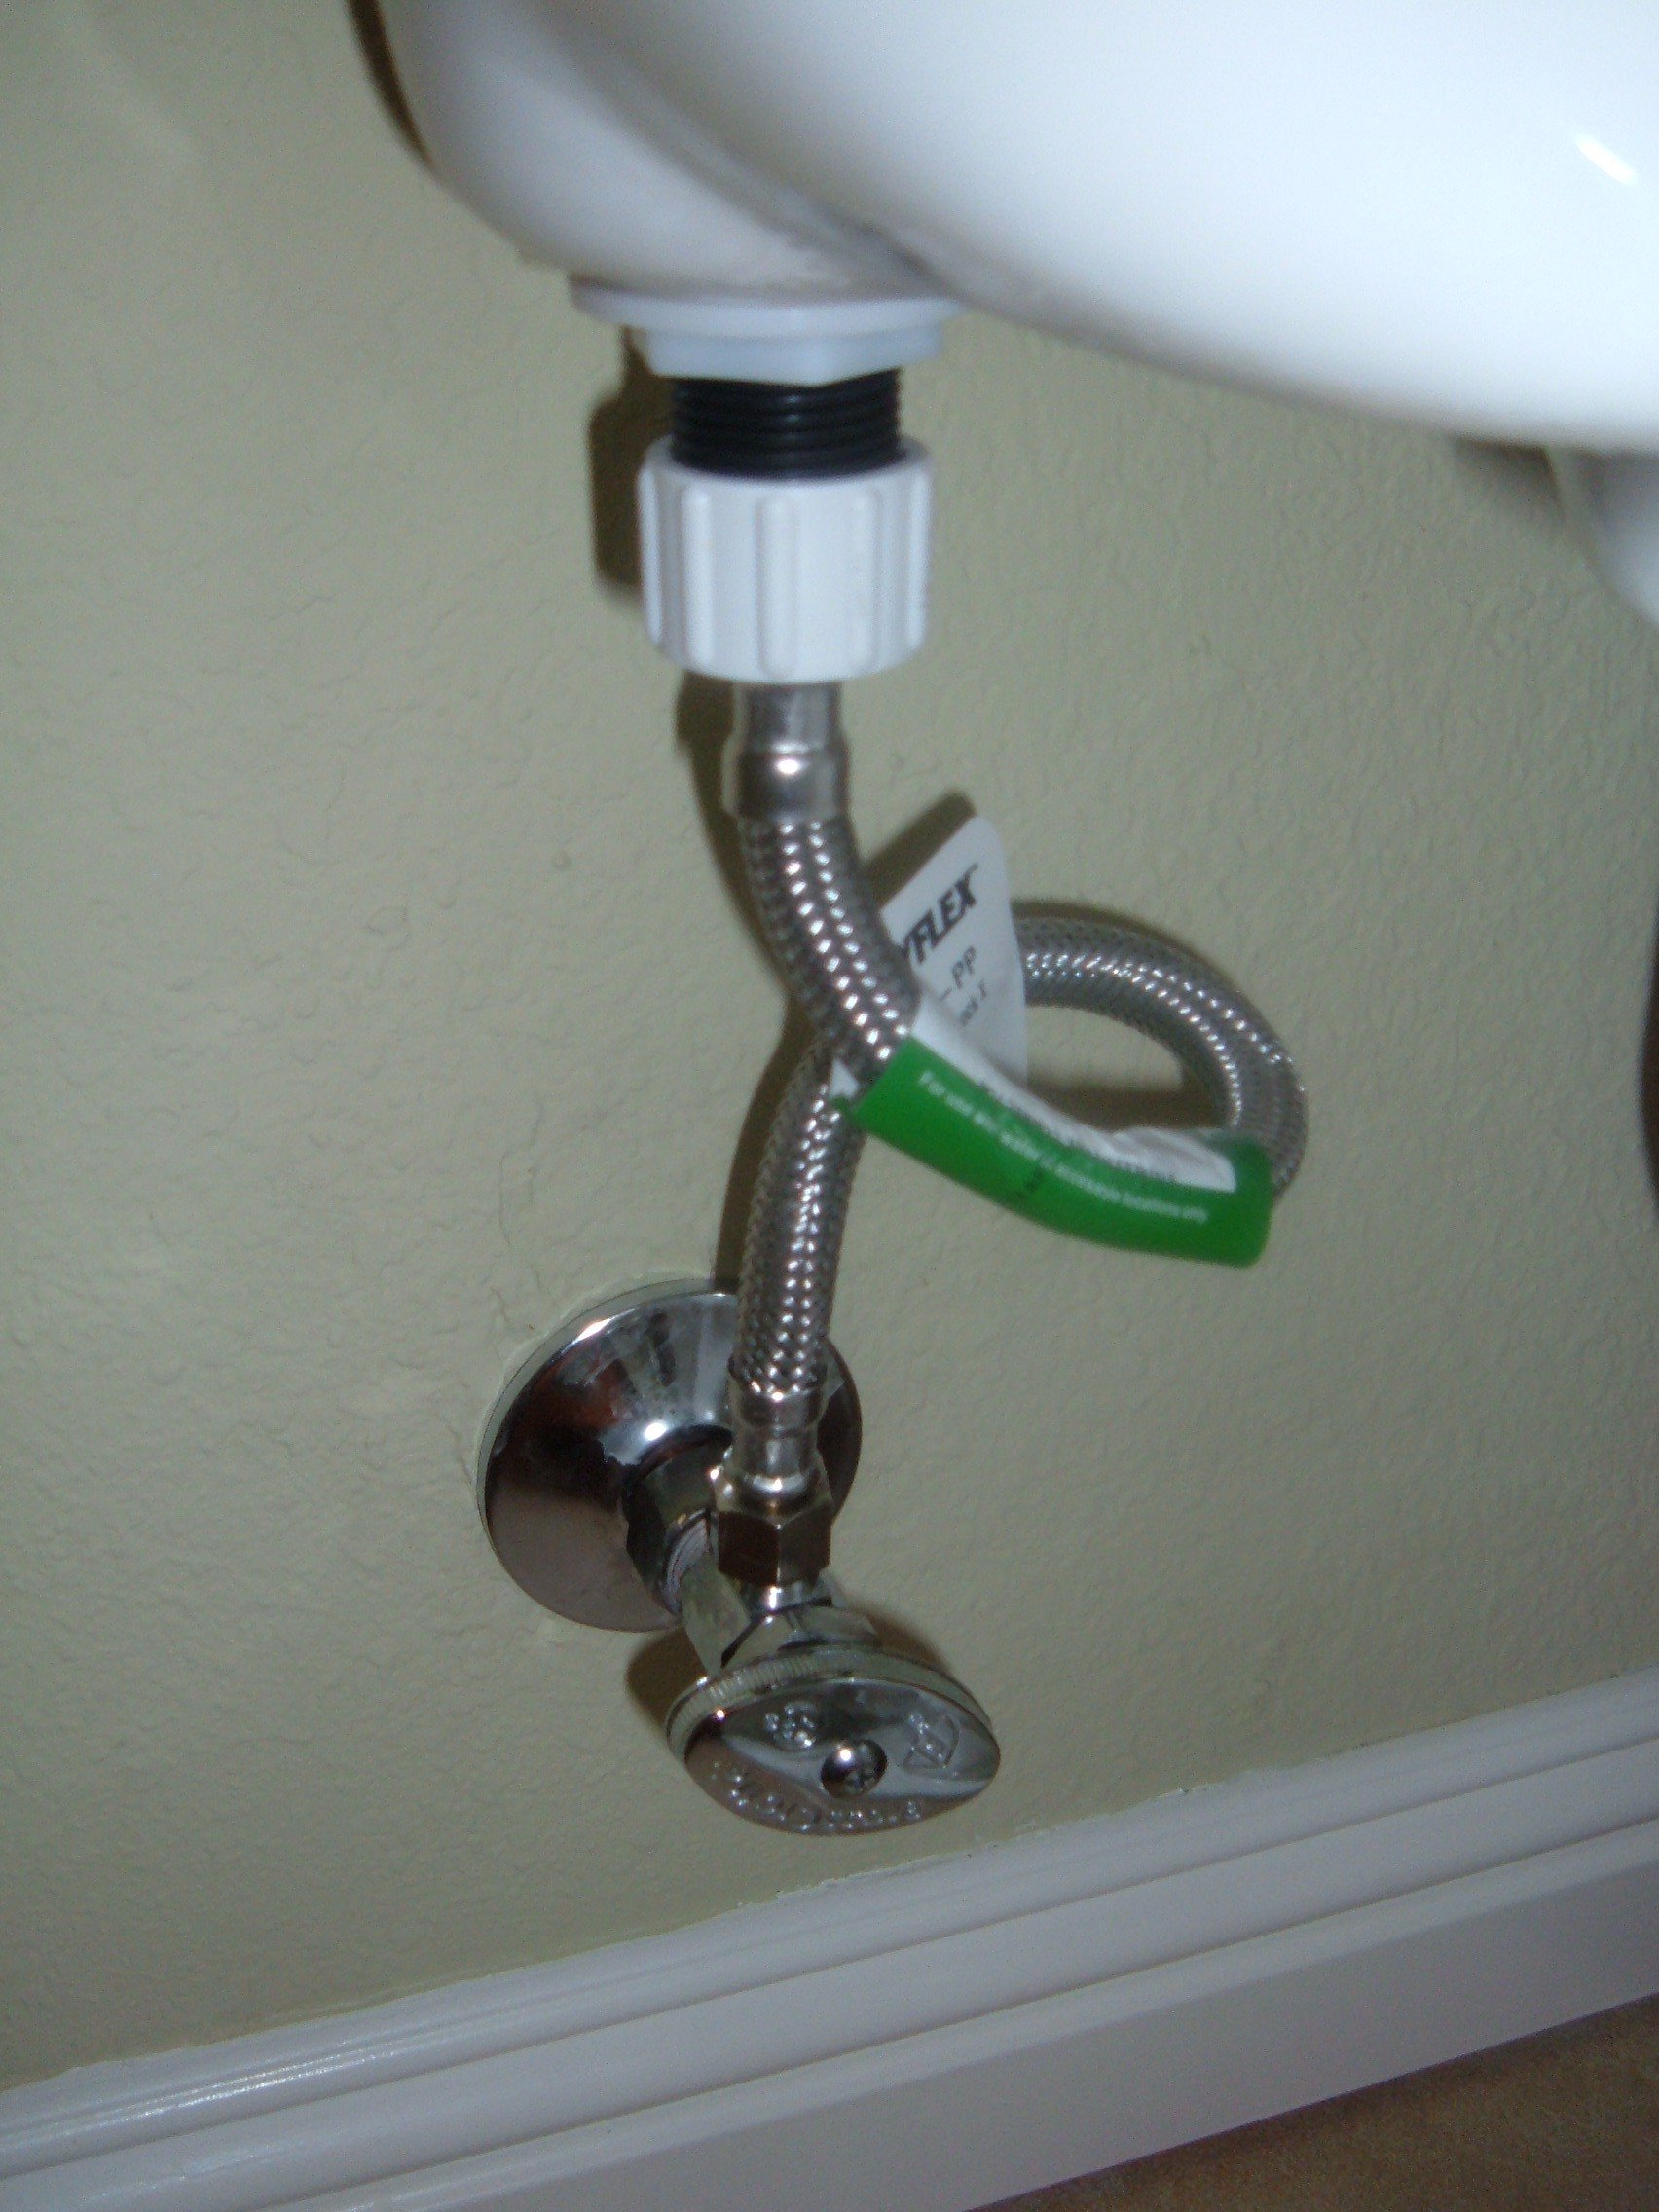
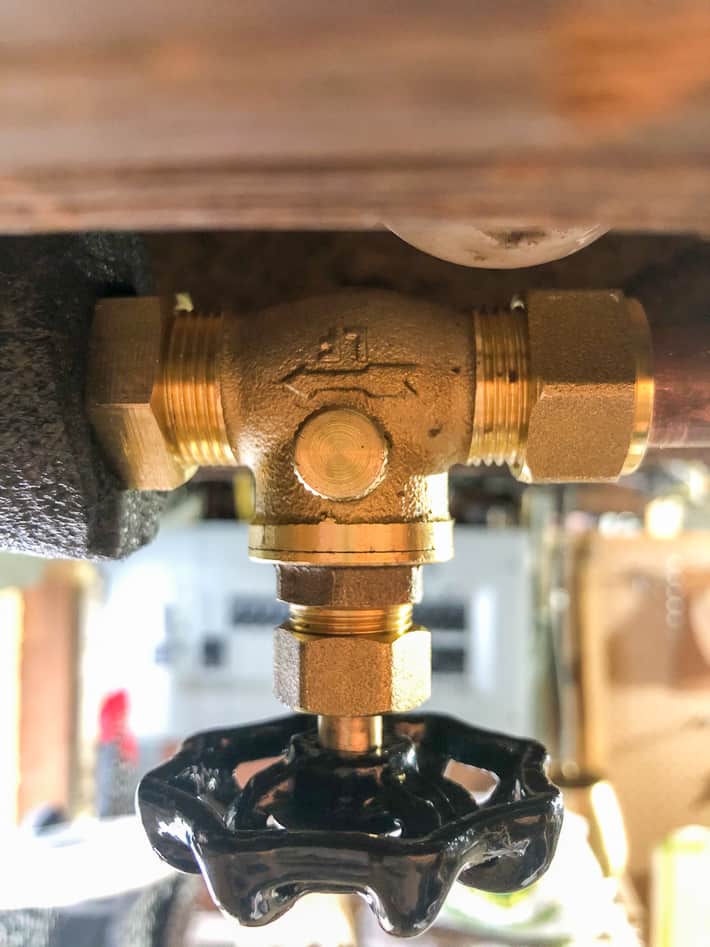
The first step in fixing a leaky shut off valve is to identify the source of the leak. This could be a loose connection, worn out gasket, or damaged valve. Once you've located the source, you can begin the repair process.How to Repair a Leaking Shut Off Valve Under Your Kitchen Sink

How to Repair a Leaking Shut Off Valve Under Your Kitchen Sink
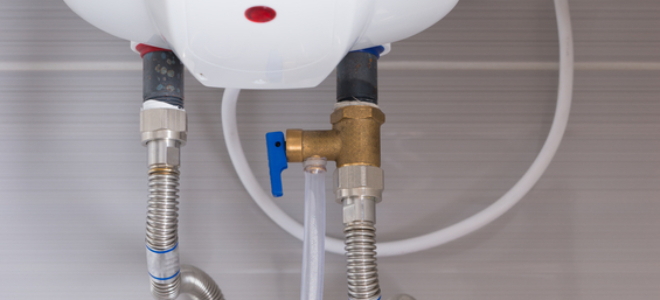
:max_bytes(150000):strip_icc()/sink-pipe-under-wash-basin-119001607-6f28aec4c66944efb7a9a38cb622ab8b.jpg)

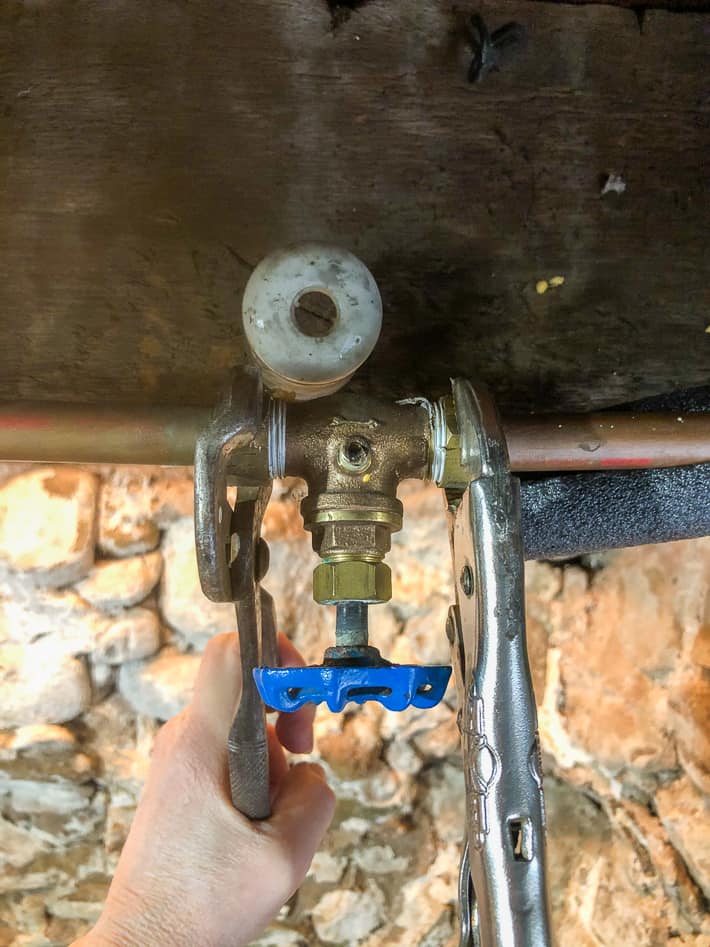
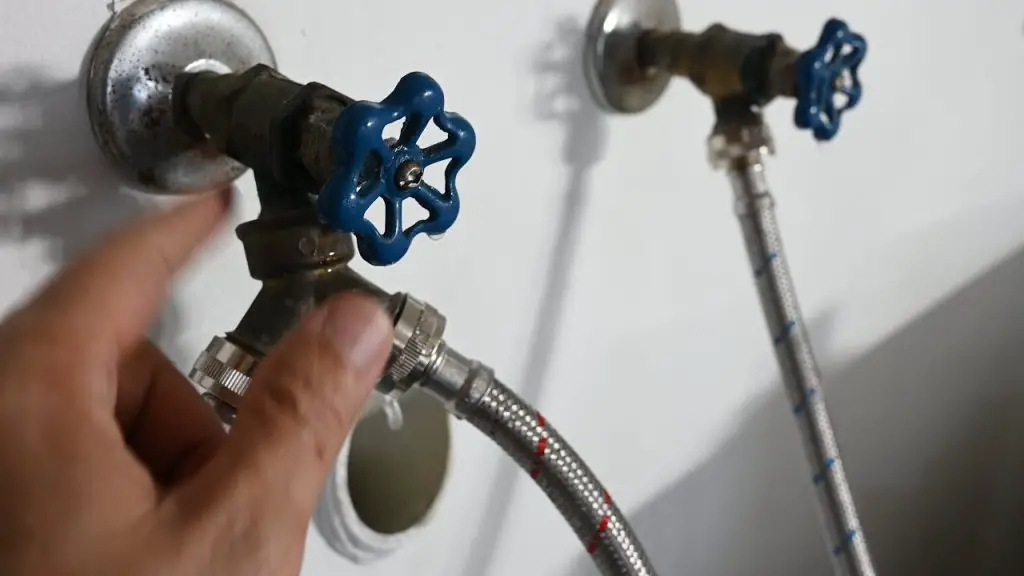
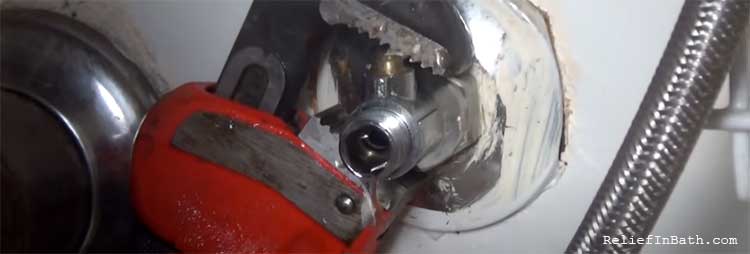
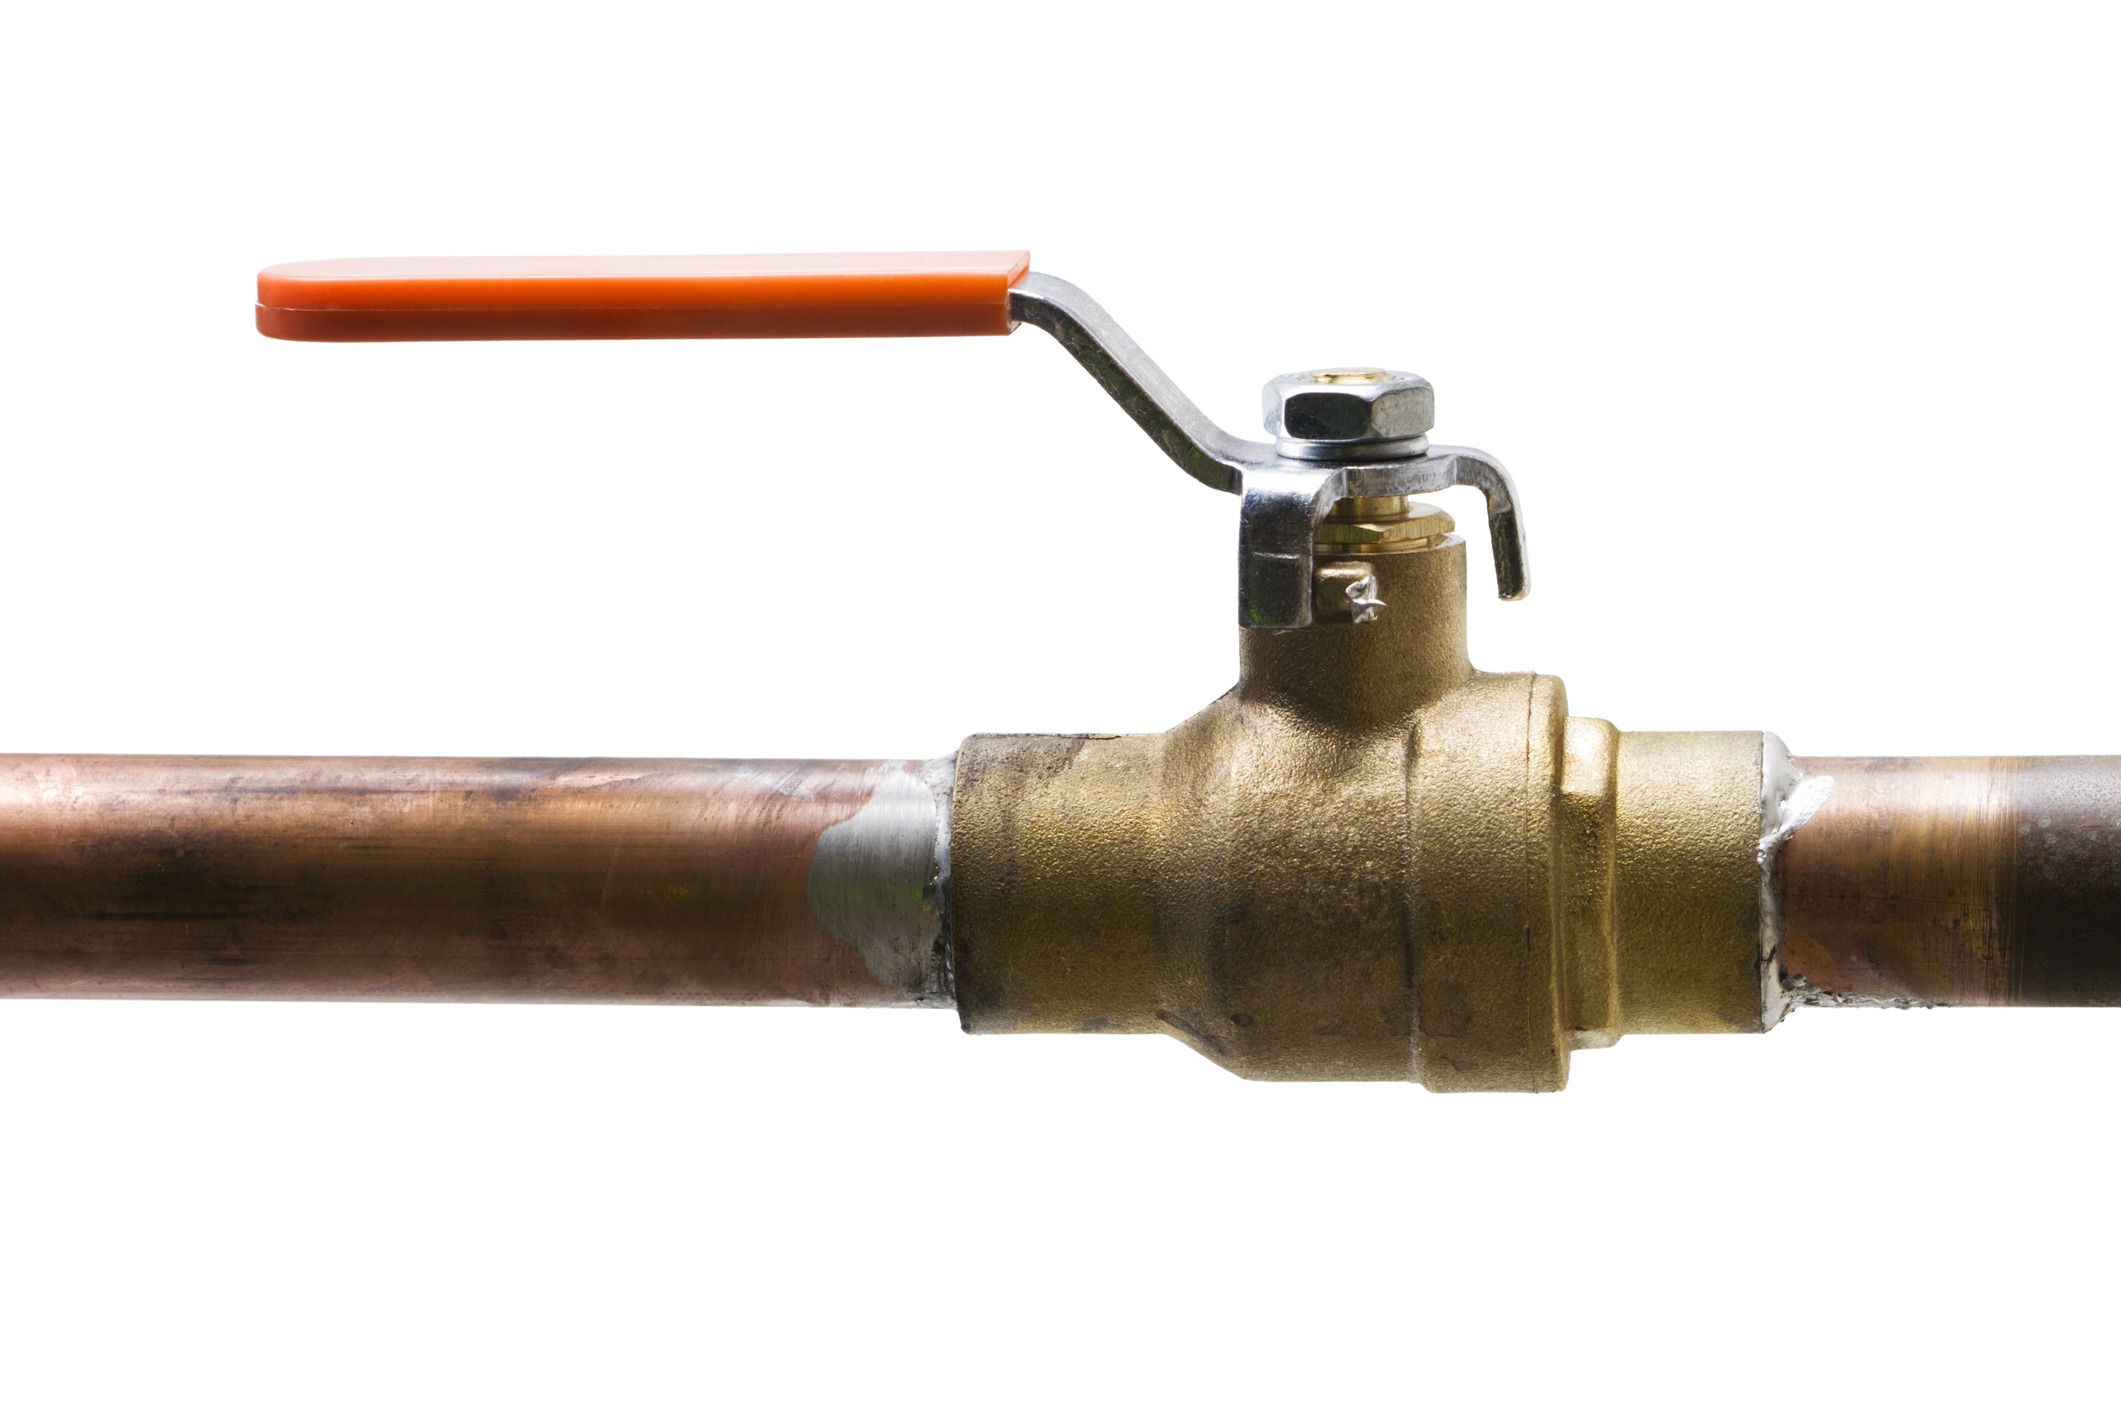
Step 1: Shut off the water supply to your kitchen sink. This can usually be done by turning the valve located under your sink clockwise. Step 2: Place a bucket or towel under the valve to catch any water that may leak during the repair process. Step 3: Use a wrench to loosen the nut on the shut off valve and remove the valve from the pipe. Step 4: Take apart the valve and inspect the gaskets for any signs of wear or damage. If the gaskets are old and worn, they will need to be replaced. Step 5: Clean any debris or buildup from the valve and pipe before reassembling. Step 6: Replace the old gaskets with new ones and reassemble the valve. Make sure all connections are tight. Step 7: Turn the water supply back on and check for any leaks. If there are still leaks, you may need to replace the entire valve.Steps to Stop a Shut Off Valve from Leaking Under Your Kitchen Sink
Steps to Stop a Shut Off Valve from Leaking Under Your Kitchen Sink

Fixing a leaky shut off valve under your kitchen sink is a simple DIY project that can save you time and money. With the right tools and a little bit of know-how, you can successfully repair your shut off valve in no time.DIY Guide for Fixing a Leaky Shut Off Valve Under Your Kitchen Sink


DIY Guide for Fixing a Leaky Shut Off Valve Under Your Kitchen Sink


There are several reasons why a shut off valve under your kitchen sink may start leaking. Some of the most common causes include: 1. Old or worn gaskets: Over time, the gaskets inside the shut off valve can become worn and cracked, leading to leaks. 2. Loose connections: If the connections between the valve and the pipe are not tight enough, water can leak out. 3. Damaged valve: If the valve itself is damaged, it will need to be replaced in order to stop the leak.Common Causes of a Leaking Shut Off Valve Under Your Kitchen Sink


Common Causes of a Leaking Shut Off Valve Under Your Kitchen Sink
Prevention is key when it comes to plumbing issues. Here are a few tips to help prevent a shut off valve from leaking under your kitchen sink: 1. Regularly check for leaks: Make it a habit to check under your sink for any signs of leaks. This can help catch and fix any issues before they become bigger problems. 2. Replace old gaskets: If you notice that the gaskets in your shut off valve are old and worn, replace them before they start leaking. 3. Tighten connections: Make sure all connections between the valve and the pipe are tight to prevent water from leaking out.Tips for Preventing a Shut Off Valve from Leaking Under Your Kitchen Sink


Tips for Preventing a Shut Off Valve from Leaking Under Your Kitchen Sink
Adjustable wrench - to loosen and tighten connections Bucket or towel - to catch any water that may leak during the repair process New gaskets - to replace old, worn out gaskets Screwdriver - to take apart the shut off valveTools You'll Need to Fix a Leaky Shut Off Valve Under Your Kitchen Sink


Tools You'll Need to Fix a Leaky Shut Off Valve Under Your Kitchen Sink
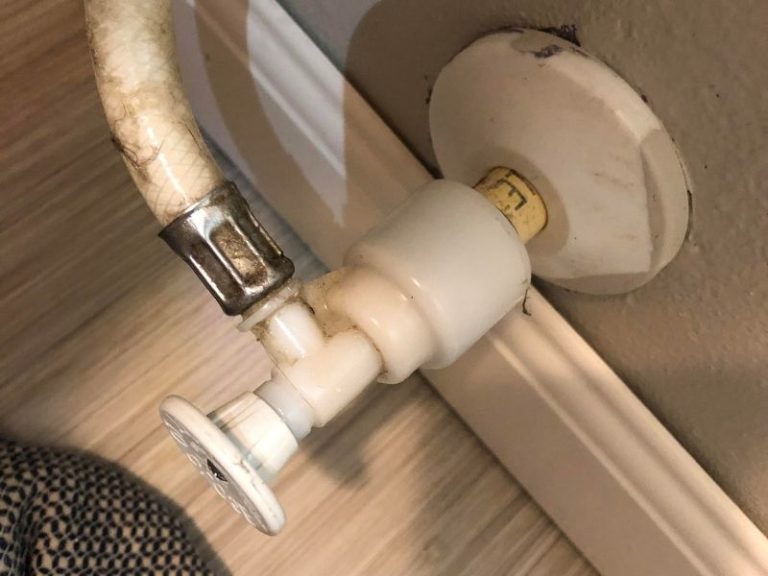
If you've tried repairing your shut off valve and it still leaks, it may be time to replace the entire valve. Here's how to do it: Step 1: Shut off the water supply to your kitchen sink. Step 2: Remove the old shut off valve using an adjustable wrench. Step 3: Clean any debris or buildup from the pipe before installing the new valve. Step 4: Install the new shut off valve and make sure all connections are tight. Step 5: Turn the water supply back on and check for any leaks.How to Replace a Leaking Shut Off Valve Under Your Kitchen Sink


How to Replace a Leaking Shut Off Valve Under Your Kitchen Sink

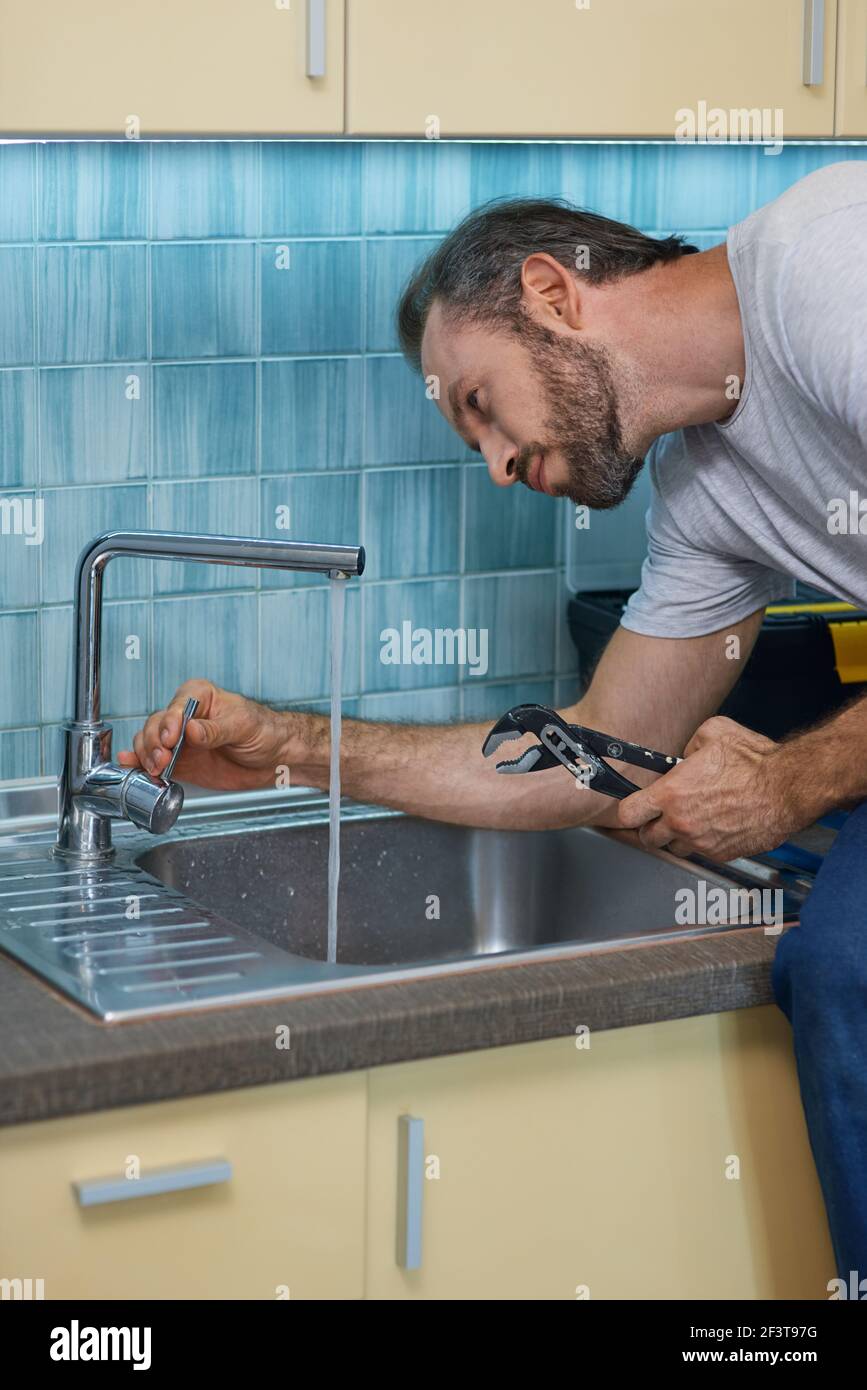
It's important to be able to recognize the signs of a leaking shut off valve so you can address the issue as soon as possible. Here are a few signs to look out for: 1. Water puddles under your sink: This is the most obvious sign of a leaking shut off valve. 2. Damp or musty smell: If water has been leaking for a while, you may notice a musty smell under your sink. 3. Increased water bill: A leaking shut off valve can waste a lot of water, resulting in a higher water bill.Signs That Your Shut Off Valve is Leaking Under Your Kitchen Sink
Signs That Your Shut Off Valve is Leaking Under Your Kitchen Sink
If you're not comfortable fixing a leaking shut off valve yourself, it's always best to call a professional plumber. They have the knowledge and experience to quickly and effectively fix the issue. Plus, they can also provide advice on how to properly maintain your shut off valve to prevent future leaks. Don't let a leaky shut off valve under your kitchen sink go untreated. By following these steps and tips, you can easily fix the issue and avoid costly repairs in the future. Remember to regularly check for leaks and maintain your shut off valve to keep your kitchen sink functioning properly.Professional Plumbers' Advice for Fixing a Leaky Shut Off Valve Under Your Kitchen Sink

Professional Plumbers' Advice for Fixing a Leaky Shut Off Valve Under Your Kitchen Sink


Why a Leaking Shut Off Valve Under Your Kitchen Sink is a Cause for Concern

The Importance of a Properly Functioning Shut Off Valve
 Shut off valves
are an essential component of any home's plumbing system, and
leaks
in these valves can cause significant problems if left unchecked. One common area where
shut off valve leaks
occur is under the kitchen sink. While it may seem like a minor inconvenience, a leaking shut off valve can lead to more significant issues if not addressed promptly.
Shut off valves
are an essential component of any home's plumbing system, and
leaks
in these valves can cause significant problems if left unchecked. One common area where
shut off valve leaks
occur is under the kitchen sink. While it may seem like a minor inconvenience, a leaking shut off valve can lead to more significant issues if not addressed promptly.
The Potential Consequences of a Leaking Shut Off Valve
 The primary function of a
shut off valve
is to control the flow of water to a specific area, such as a sink or appliance. When this valve is leaking, it not only wastes water but also makes it challenging to turn off the water supply when necessary. This can lead to
water damage
and
mold growth
if the leak is not fixed.
Furthermore, a leaking shut off valve can also result in
higher water bills
and
unnecessary repairs
if the issue is not addressed promptly. The continuous flow of water can put a strain on your plumbing system, causing other components to wear out faster and potentially leading to more significant issues down the line.
The primary function of a
shut off valve
is to control the flow of water to a specific area, such as a sink or appliance. When this valve is leaking, it not only wastes water but also makes it challenging to turn off the water supply when necessary. This can lead to
water damage
and
mold growth
if the leak is not fixed.
Furthermore, a leaking shut off valve can also result in
higher water bills
and
unnecessary repairs
if the issue is not addressed promptly. The continuous flow of water can put a strain on your plumbing system, causing other components to wear out faster and potentially leading to more significant issues down the line.
Causes of Shut Off Valve Leaks
 There are several reasons why a
shut off valve
might start leaking. One common cause is
corrosion
or
rust
on the valve itself, which can weaken the seal and cause water to leak out. In some cases, the
valve
may have been
improperly installed
or not tightened enough, leading to a loose connection and eventual leaking.
Another potential cause of a leaking shut off valve is
high water pressure
. If the water pressure in your home is too high, it can put excess strain on your plumbing system and cause leaks to develop over time.
There are several reasons why a
shut off valve
might start leaking. One common cause is
corrosion
or
rust
on the valve itself, which can weaken the seal and cause water to leak out. In some cases, the
valve
may have been
improperly installed
or not tightened enough, leading to a loose connection and eventual leaking.
Another potential cause of a leaking shut off valve is
high water pressure
. If the water pressure in your home is too high, it can put excess strain on your plumbing system and cause leaks to develop over time.
How to Fix a Leaking Shut Off Valve
 If you notice a leaking shut off valve under your kitchen sink, it's crucial to address the issue promptly. In most cases, the best course of action is to
replace the valve
entirely. This will ensure that the leak is fixed properly and prevent any further damage or issues.
Professional plumbers
have the necessary tools and expertise to replace a leaking shut off valve quickly and efficiently. They can also inspect the rest of your plumbing system to ensure that there are no other leaks or potential issues that need to be addressed.
In conclusion, a leaking shut off valve under your kitchen sink is not something to ignore. It can lead to
water damage
,
mold growth
, and
higher water bills
if left unchecked. If you notice a leak, it's best to
call a professional
to replace the valve and ensure that your plumbing system is functioning properly. Don't let a small leak turn into a big problem – take care of it as soon as possible.
If you notice a leaking shut off valve under your kitchen sink, it's crucial to address the issue promptly. In most cases, the best course of action is to
replace the valve
entirely. This will ensure that the leak is fixed properly and prevent any further damage or issues.
Professional plumbers
have the necessary tools and expertise to replace a leaking shut off valve quickly and efficiently. They can also inspect the rest of your plumbing system to ensure that there are no other leaks or potential issues that need to be addressed.
In conclusion, a leaking shut off valve under your kitchen sink is not something to ignore. It can lead to
water damage
,
mold growth
, and
higher water bills
if left unchecked. If you notice a leak, it's best to
call a professional
to replace the valve and ensure that your plumbing system is functioning properly. Don't let a small leak turn into a big problem – take care of it as soon as possible.