When it comes to repairing your kitchen sink, choosing the right caulk is crucial for a successful and long-lasting fix. With so many options on the market, it can be overwhelming to figure out which one is best for your specific needs. However, there are a few key things to keep in mind that will help you make the right decision. Featured keyword: kitchen sink repair First and foremost, it’s important to choose a caulk that is specifically designed for use in kitchens and bathrooms. These areas are prone to high levels of moisture and humidity, so regular caulk may not hold up as well over time. Look for a caulk that is labeled as “kitchen and bath” or “mold and mildew resistant” to ensure it can withstand the conditions in your sink area. Another important factor to consider is the type of material your sink is made of. If you have a porcelain or enamel sink, a silicone caulk is recommended as it adheres well to these surfaces and is also waterproof. On the other hand, if you have a stainless steel sink, a latex caulk may be a better choice as it is more flexible and can expand and contract with temperature changes. Main keywords: caulk, kitchen and bathroom, mold and mildew resistant, sink material, silicone caulk, latex caulk1. How to Choose the Right Caulk for Your Kitchen Sink Repair


1. How to Choose the Right Caulk for Your Kitchen Sink Repair


Now that you know what to look for in a caulk, let’s dive into some specific recommendations for the best products on the market for kitchen sink repair. Featured keyword: best caulk for kitchen sink repair One of the top choices for many professionals and DIY enthusiasts is GE Silicone II Kitchen and Bath Caulk. This caulk is waterproof, mold and mildew resistant, and can adhere to a variety of surfaces. It also comes in a range of colors to match your sink and countertop. If you prefer a latex caulk, DAP Kwik Seal Plus Kitchen and Bath Adhesive Caulk is a great option. It also has mold and mildew resistance and is paintable, making it a versatile choice for kitchen sink repair. Main keywords: GE Silicone II, DAP Kwik Seal Plus, waterproof, mold and mildew resistant, adhere, paintable2. The Best Caulks for Kitchen Sink Repair


2. The Best Caulks for Kitchen Sink Repair


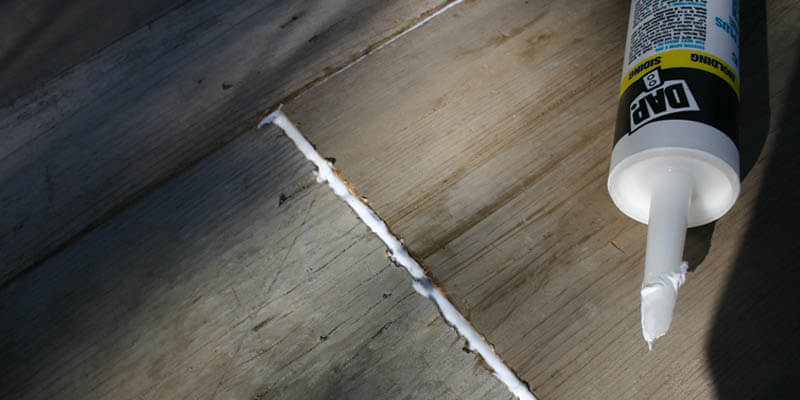
Applying caulk may seem like a simple task, but there are a few tips and tricks that can help ensure a smooth and professional-looking finish. Featured keyword: applying caulk Firstly, make sure to properly clean and dry the area around your sink before applying caulk. Any dirt or moisture can compromise the adhesion of the caulk and lead to future issues. When applying the caulk, use a steady and even hand to create a straight line. You can also use a caulk smoothing tool or a wet finger to smooth out the caulk for a more seamless finish. Main keywords: clean, dry, adhesion, caulk smoothing tool3. Tips for Applying Caulk to Your Kitchen Sink Repair


3. Tips for Applying Caulk to Your Kitchen Sink Repair


Even with the best caulk and careful application, there are some common mistakes that can still happen during a kitchen sink repair. Featured keyword: common mistakes when caulking One of the most common mistakes is using too much caulk. This can create a messy and uneven finish and also waste product. It’s best to start with a small amount and add more if needed. Another mistake is not allowing enough time for the caulk to dry before using your sink. Most caulk requires at least 24 hours to fully dry and cure, so make sure to plan accordingly and avoid any unnecessary use of the sink during this time. Main keywords: too much caulk, messy, uneven finish, dry time, cure4. Common Mistakes to Avoid When Caulking Your Kitchen Sink Repair


4. Common Mistakes to Avoid When Caulking Your Kitchen Sink Repair


If you’re repairing your kitchen sink, chances are there is old caulk that needs to be removed first. This can be a tedious task, but it’s important to properly remove the old caulk to ensure a strong bond with the new caulk. Featured keyword: remove old caulk To remove old caulk, you can use a caulk remover tool or a utility knife. Carefully scrape away the old caulk and make sure to clean and dry the area before applying the new caulk. Main keywords: caulk remover, utility knife, scrape, clean, dry5. How to Remove Old Caulk from Your Kitchen Sink


5. How to Remove Old Caulk from Your Kitchen Sink


We’ve touched on the importance of using a caulk specifically designed for kitchens and bathrooms, but it’s also crucial to choose a high-quality product for your kitchen sink repair. Featured keyword: high-quality caulk A high-quality caulk will not only provide better adhesion and durability, but it can also save you time and money in the long run. Cheaper caulk may need to be replaced more frequently, leading to more repairs and costs over time. Main keywords: adhesion, durability, save money6. The Importance of Using a High-Quality Caulk for Kitchen Sink Repair


6. The Importance of Using a High-Quality Caulk for Kitchen Sink Repair


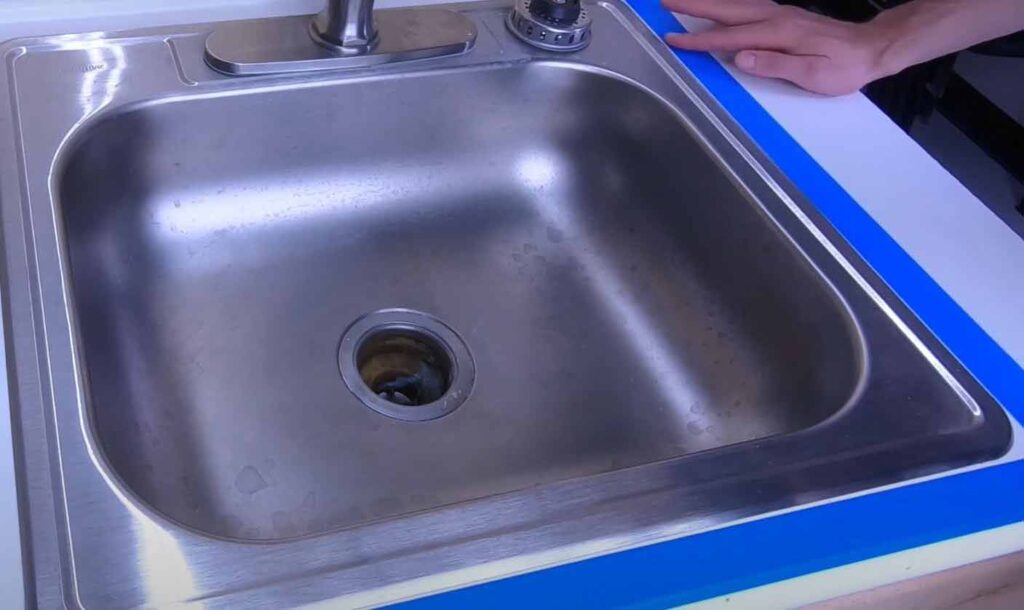
Properly prepping your kitchen sink before caulking is key to a successful repair. This includes cleaning and drying the area, as well as removing any old caulk. Featured keyword: prep kitchen sink for caulking In addition, it’s important to make sure the surface is free of any debris or residue. You can use a mild cleaner or rubbing alcohol to ensure a clean surface for the caulk to adhere to. Main keywords: cleaning, drying, removing, debris, residue, mild cleaner, rubbing alcohol7. How to Properly Prep Your Kitchen Sink for Caulking

7. How to Properly Prep Your Kitchen Sink for Caulking


While there are various types of caulk available, silicone caulk is often the preferred choice for kitchen sink repair. But what are the benefits of using this type of caulk? Featured keyword: silicone caulk benefits For one, silicone caulk is waterproof and flexible, making it perfect for use in areas with high levels of moisture and movement. It also has excellent adhesion and is resistant to mold and mildew growth. Main keywords: flexible, waterproof, adhesion, mold and mildew resistant8. The Benefits of Using Silicone Caulk for Kitchen Sink Repair


8. The Benefits of Using Silicone Caulk for Kitchen Sink Repair
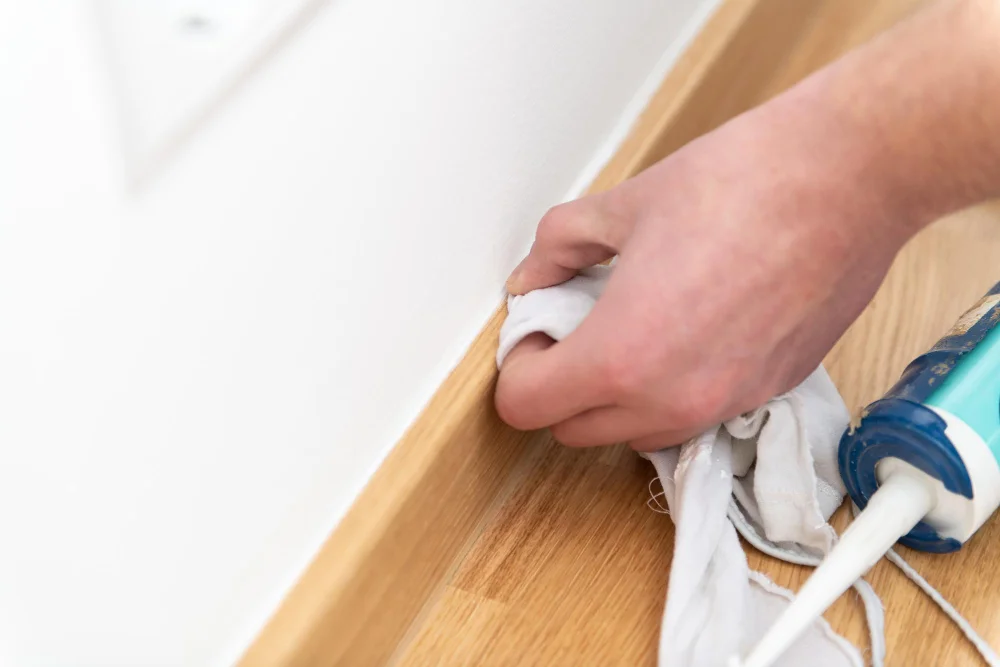


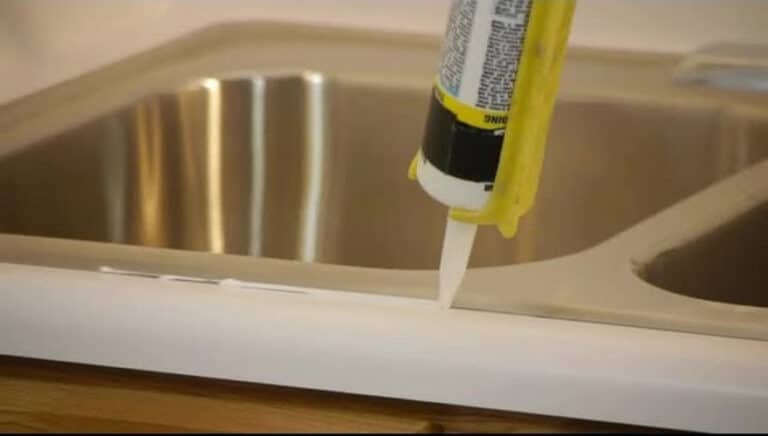
Now that you have all the information on choosing the right caulk and prepping your sink, let’s break down the steps for applying caulk to your kitchen sink repair. Featured keyword: caulking guide Step 1: Clean and dry the area around your sink. Step 2: Remove any old caulk using a caulk remover tool or utility knife. Step 3: Clean the surface with a mild cleaner or rubbing alcohol. Step 4: Cut the tip of the caulk tube at a 45-degree angle. Step 5: Apply a small bead of caulk along the seam of the sink and countertop. Step 6: Use a caulk smoothing tool or your finger to smooth out the caulk. Step 7: Wipe away any excess caulk with a damp cloth. Step 8: Allow the caulk to dry for at least 24 hours before using your sink. Main keywords: clean, remove, cut, apply, bead, seam, smooth, excess, dry9. Step-by-Step Guide to Caulking Your Kitchen Sink


9. Step-by-Step Guide to Caulking Your Kitchen Sink


With the right caulk and proper technique, you can achieve a professional-looking finish on your kitchen sink repair. Featured keyword: professional-looking caulk job One way to ensure a clean and seamless finish is to use painter’s tape along the edges of the sink and countertop before applying caulk. This will provide a straight line and make clean-up easier. In addition, using a caulk smoothing tool or a wet finger to smooth out the caulk will create a more polished look. Main keywords: painter’s tape, edges, straight line, caulk smoothing tool, polished10. How to Achieve a Professional-Looking Caulk Job on Your Kitchen Sink Repair


10. How to Achieve a Professional-Looking Caulk Job on Your Kitchen Sink Repair


:max_bytes(150000):strip_icc()/Basic-kitchen-sink-types-1821207_color_rev-0b539306b9ef4236a136624ad2a89a4c.jpg)

Seralant Suggestions for Kitchen Sink Repair

Why is Seralant Important for Kitchen Sink Repair?
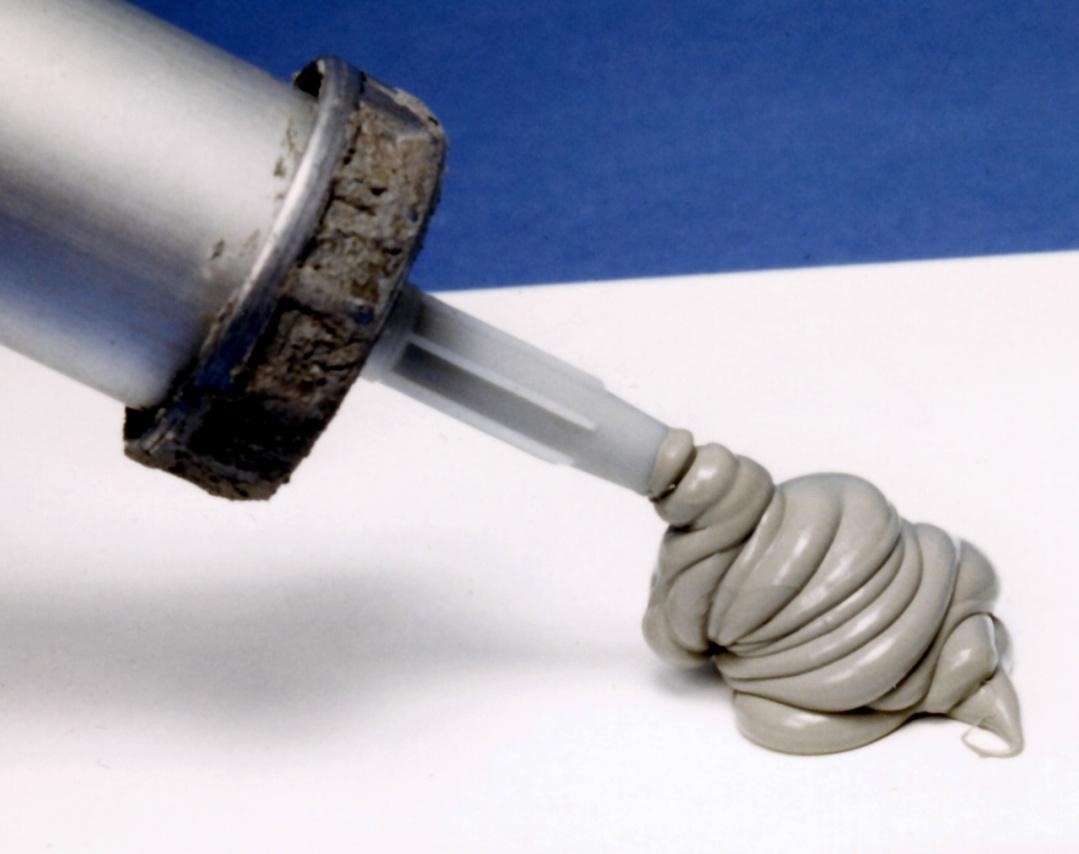
 When it comes to kitchen sink repair, one crucial element that is often overlooked is the use of
seralant
. Seralant is a type of adhesive that is used to seal gaps and joints in various surfaces, including sinks. It plays a vital role in preventing water from seeping into these gaps and causing damage. Without proper seralant, the structural integrity of your sink can be compromised, leading to leaks, mold growth, and other issues. Therefore, it is essential to use the right seralant and apply it correctly to ensure a successful kitchen sink repair.
When it comes to kitchen sink repair, one crucial element that is often overlooked is the use of
seralant
. Seralant is a type of adhesive that is used to seal gaps and joints in various surfaces, including sinks. It plays a vital role in preventing water from seeping into these gaps and causing damage. Without proper seralant, the structural integrity of your sink can be compromised, leading to leaks, mold growth, and other issues. Therefore, it is essential to use the right seralant and apply it correctly to ensure a successful kitchen sink repair.
Choosing the Right Seralant for Your Kitchen Sink Repair
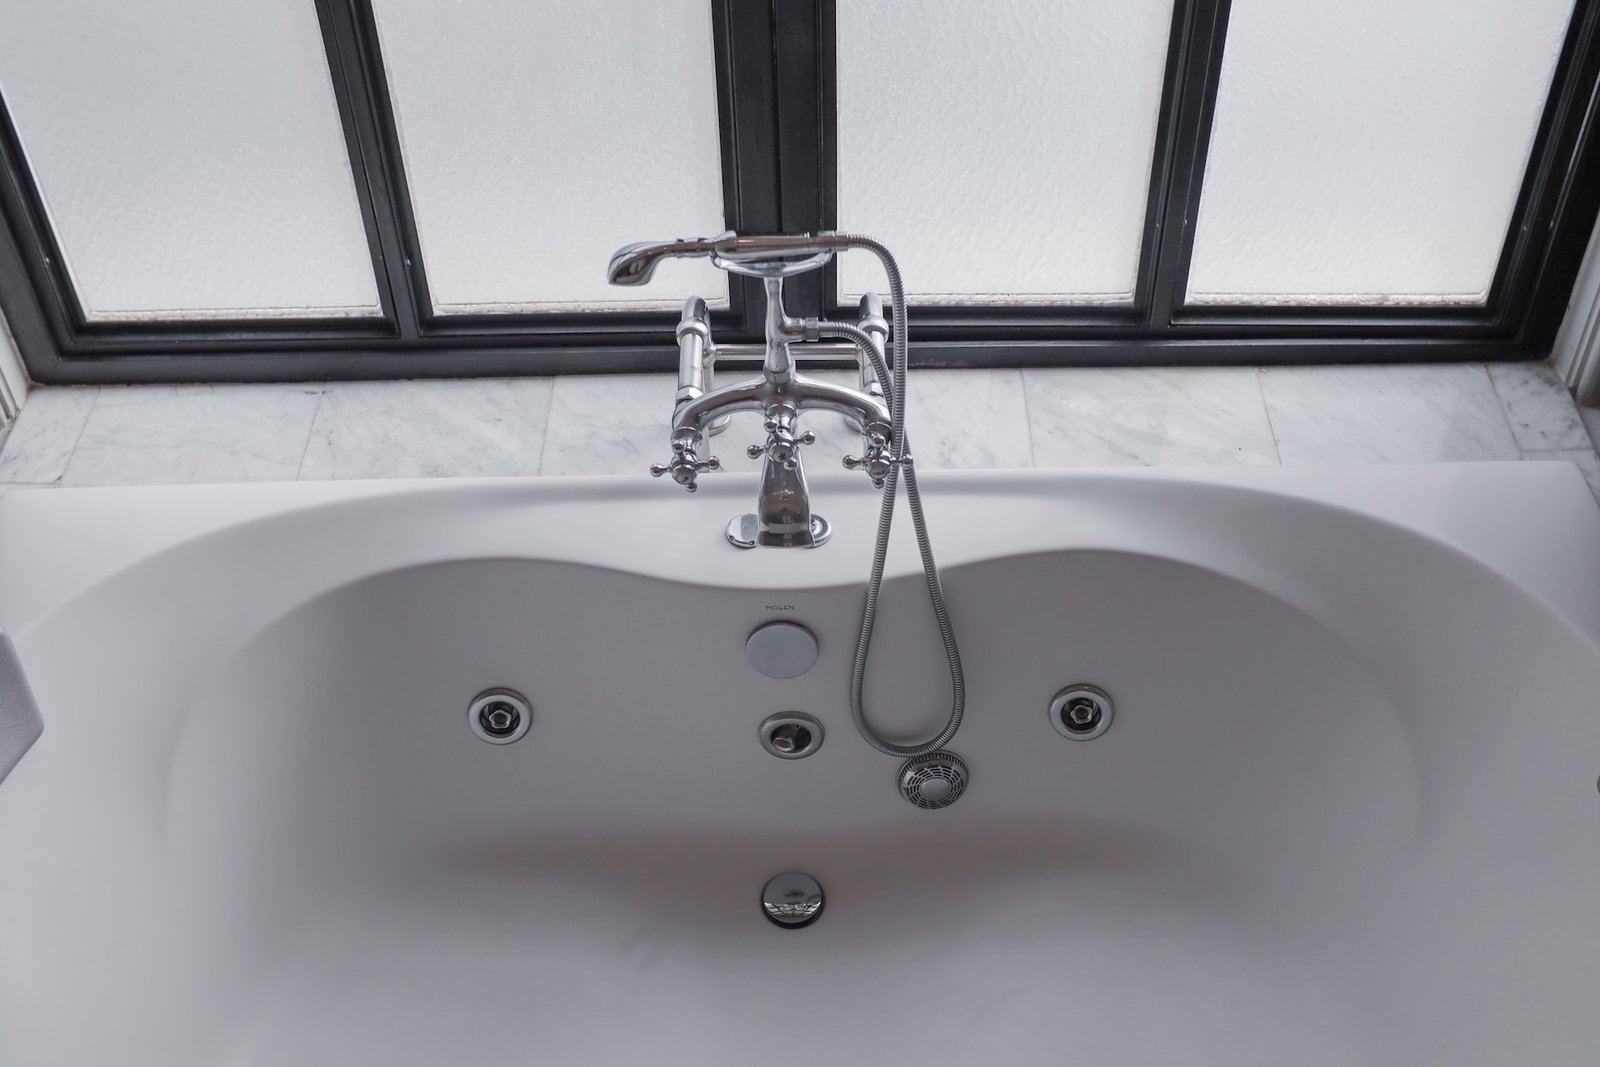
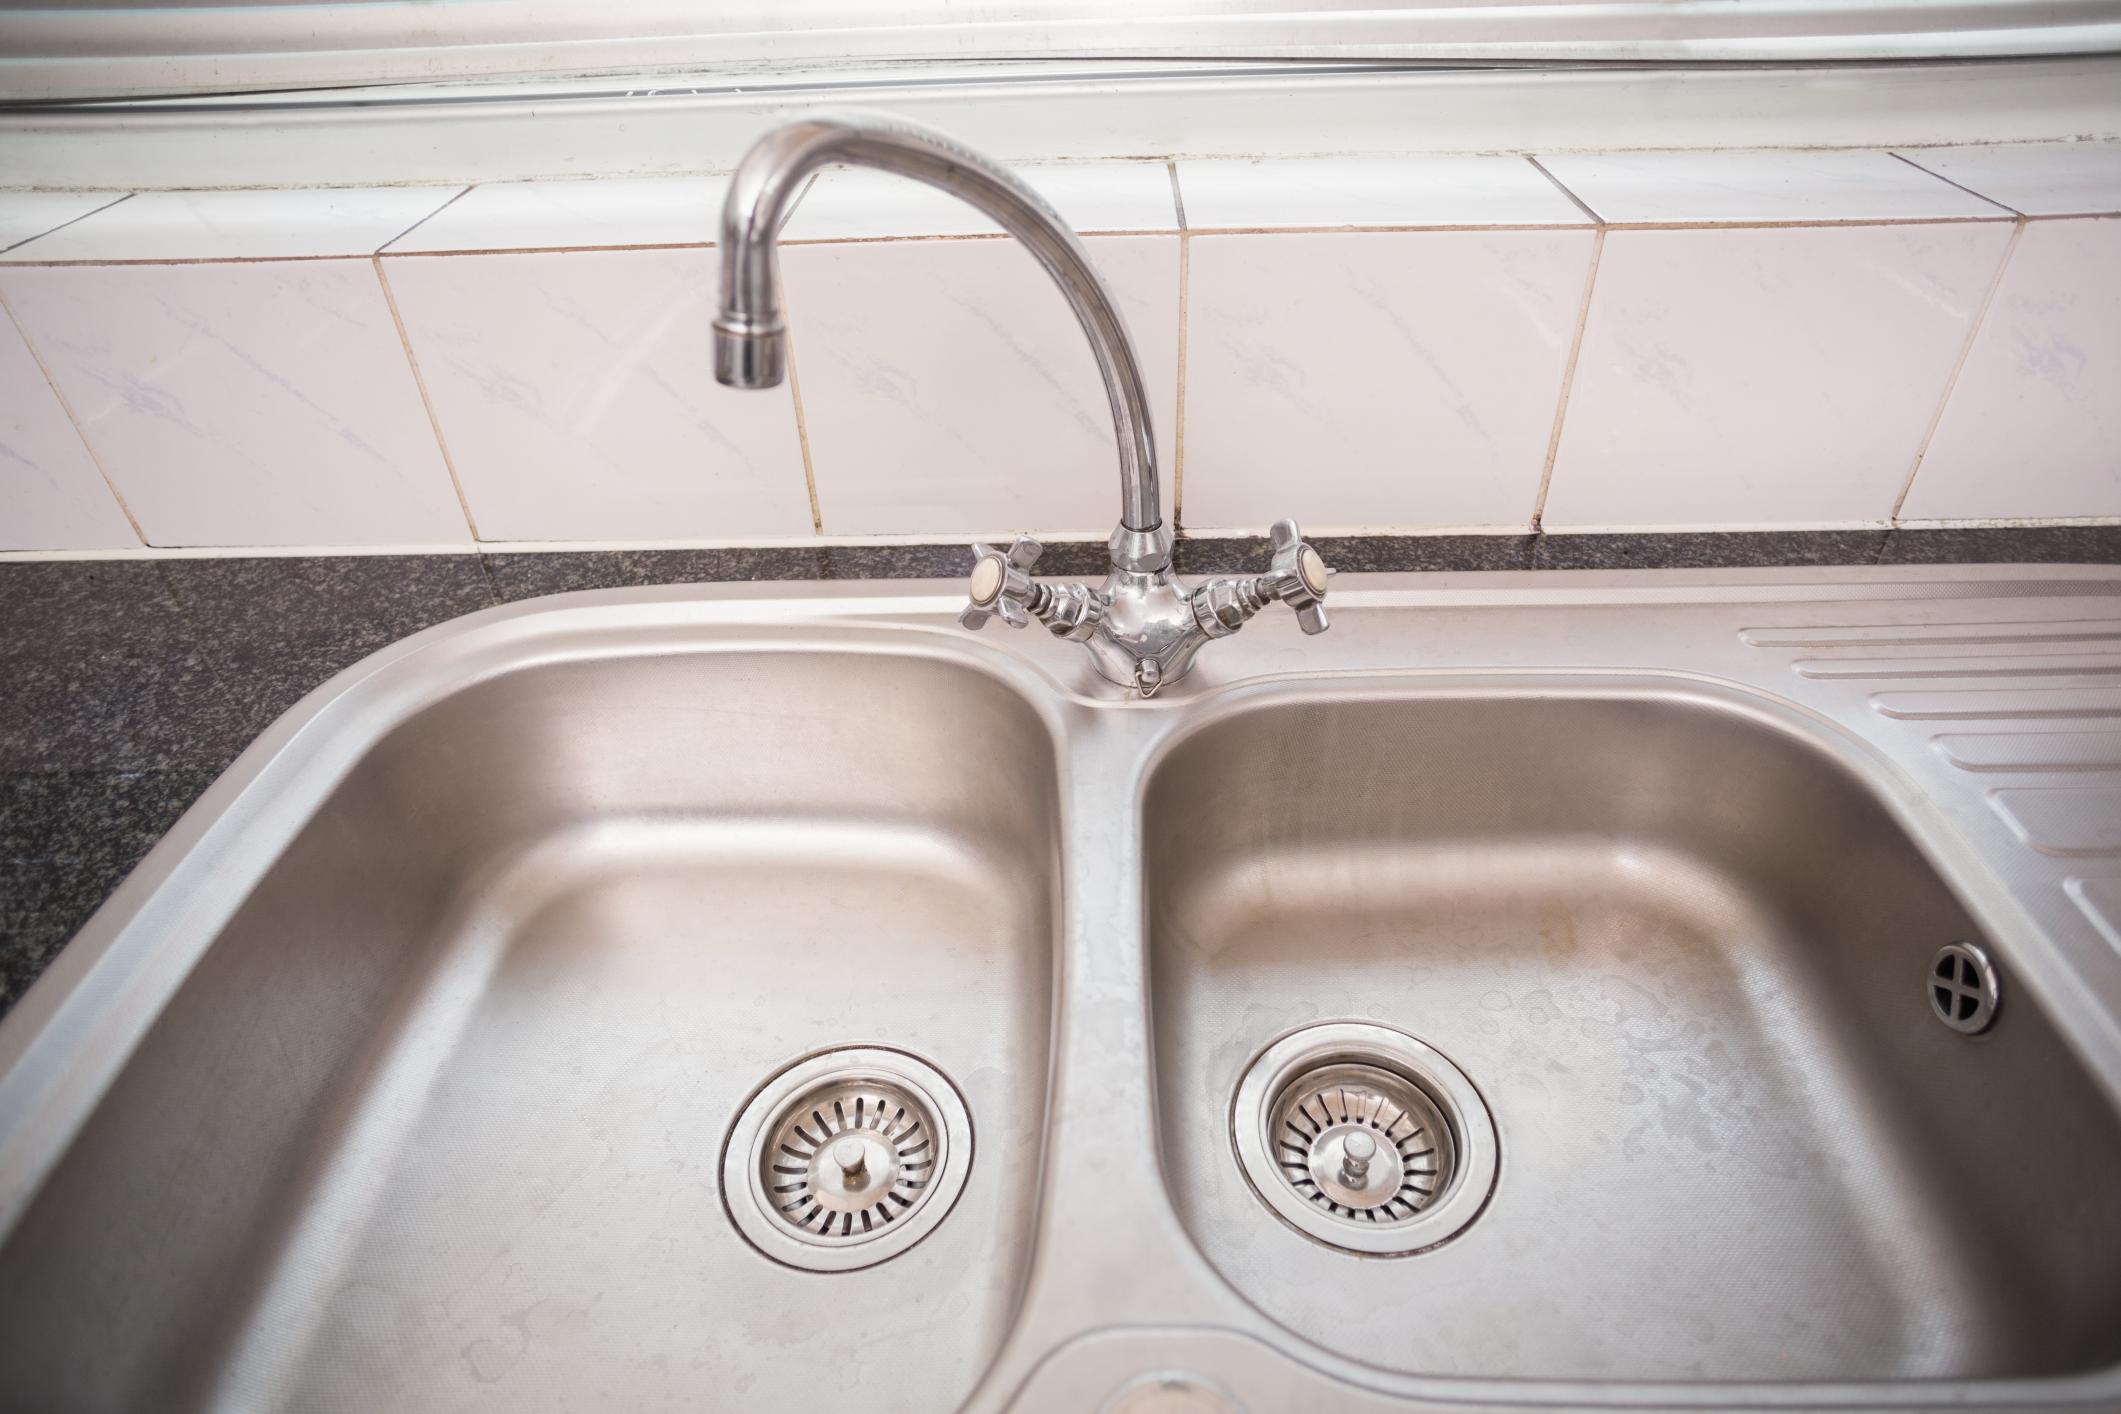
 When it comes to choosing the right seralant for your kitchen sink repair, there are a few things to consider. First, you need to determine the type of sink you have. Sinks can be made of various materials, such as stainless steel, porcelain, or granite, and each may require a different type of seralant. Additionally, you should select a seralant that is water-resistant and can withstand high temperatures, as the kitchen sink is a high-moisture and high-heat area.
Silicone
seralant is a popular choice for kitchen sinks, as it is durable, waterproof, and heat-resistant.
When it comes to choosing the right seralant for your kitchen sink repair, there are a few things to consider. First, you need to determine the type of sink you have. Sinks can be made of various materials, such as stainless steel, porcelain, or granite, and each may require a different type of seralant. Additionally, you should select a seralant that is water-resistant and can withstand high temperatures, as the kitchen sink is a high-moisture and high-heat area.
Silicone
seralant is a popular choice for kitchen sinks, as it is durable, waterproof, and heat-resistant.
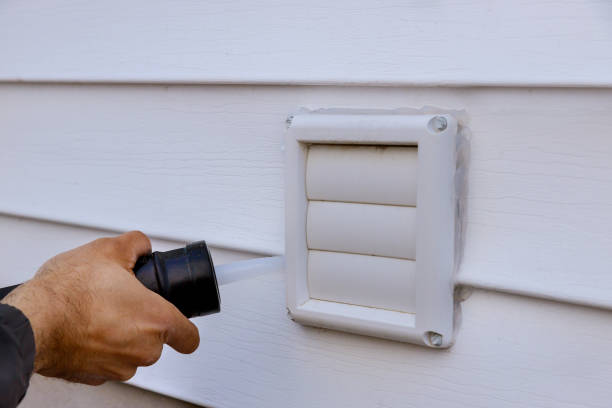
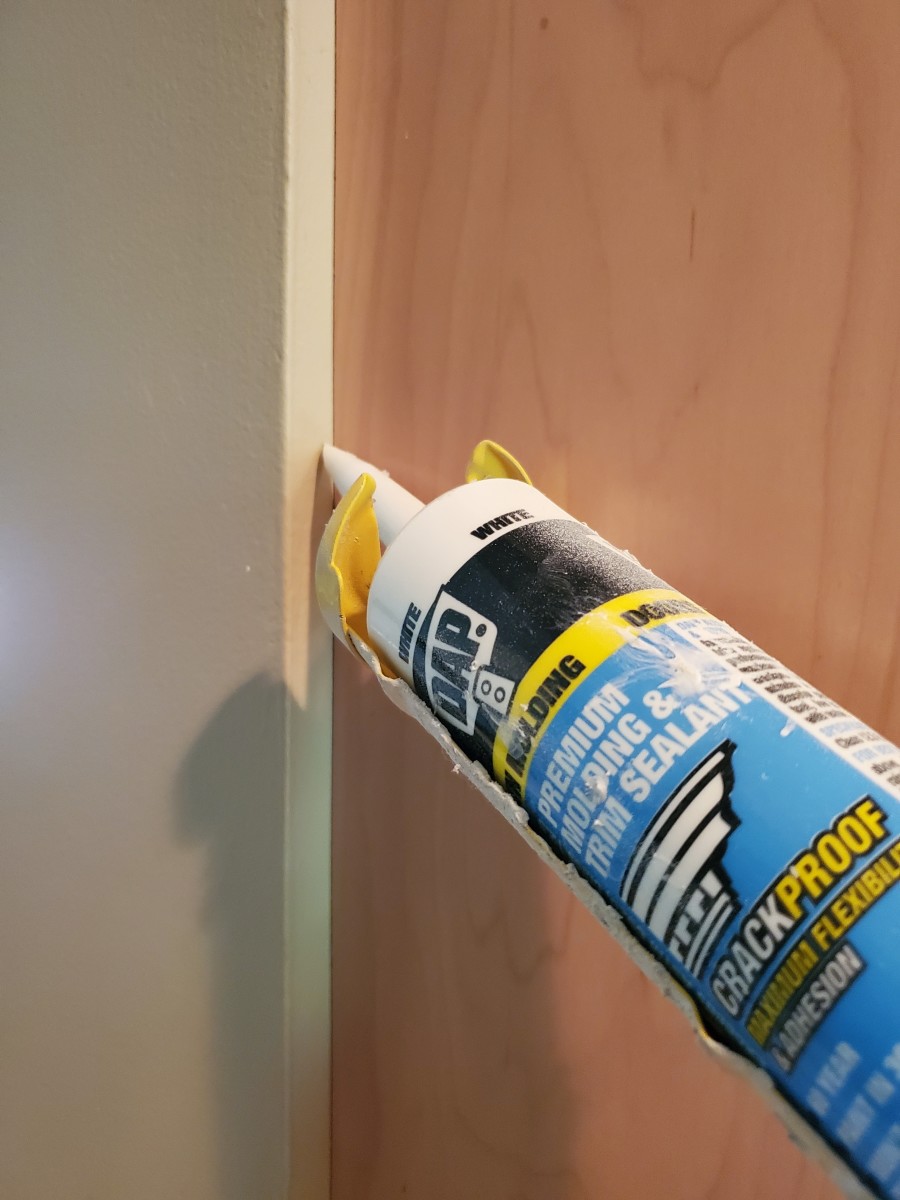
Proper Application of Seralant for Kitchen Sink Repair
 Once you have selected the right seralant, the next crucial step is its proper application. One common mistake people make is applying too much seralant, which can lead to unsightly and messy results. The key is to
apply a thin, even layer
of seralant around the edges and gaps of the sink. You can use a seralant gun or a small putty knife to achieve a smooth and precise application. It is also essential to
clean and dry
the area thoroughly before applying the seralant to ensure a strong bond.
Once you have selected the right seralant, the next crucial step is its proper application. One common mistake people make is applying too much seralant, which can lead to unsightly and messy results. The key is to
apply a thin, even layer
of seralant around the edges and gaps of the sink. You can use a seralant gun or a small putty knife to achieve a smooth and precise application. It is also essential to
clean and dry
the area thoroughly before applying the seralant to ensure a strong bond.
Additional Tips for a Successful Kitchen Sink Repair
 Apart from using the right seralant and applying it correctly, there are a few other tips to keep in mind for a successful kitchen sink repair. Firstly, it is crucial to
allow the seralant to cure
for at least 24 hours before using the sink. This will ensure that the seralant has fully bonded and will provide a watertight seal. Additionally,
regular maintenance and reapplication
of seralant may be necessary to prevent future leaks and damage. It is also a good idea to
consult a professional
if you are unsure about the repair process or if the damage is extensive.
In conclusion, seralant is an essential element in kitchen sink repair that should not be overlooked. By choosing the right seralant and applying it correctly, you can ensure a successful repair and prevent future issues. Remember to
use a thin, even layer
of seralant, allow it to cure properly, and perform regular maintenance for a long-lasting and functional kitchen sink.
Apart from using the right seralant and applying it correctly, there are a few other tips to keep in mind for a successful kitchen sink repair. Firstly, it is crucial to
allow the seralant to cure
for at least 24 hours before using the sink. This will ensure that the seralant has fully bonded and will provide a watertight seal. Additionally,
regular maintenance and reapplication
of seralant may be necessary to prevent future leaks and damage. It is also a good idea to
consult a professional
if you are unsure about the repair process or if the damage is extensive.
In conclusion, seralant is an essential element in kitchen sink repair that should not be overlooked. By choosing the right seralant and applying it correctly, you can ensure a successful repair and prevent future issues. Remember to
use a thin, even layer
of seralant, allow it to cure properly, and perform regular maintenance for a long-lasting and functional kitchen sink.