Removing a stainless steel kitchen sink may seem like a daunting task, but with the right tools and techniques, it can be a simple DIY project. Whether you're looking to upgrade your sink or just need to replace a damaged one, removing a stainless steel kitchen sink can be done in a few easy steps. In this guide, we'll walk you through the process of removing a stainless steel kitchen sink and provide helpful tips and tricks along the way.How to Remove a Stainless Steel Kitchen Sink


How to Remove a Stainless Steel Kitchen Sink


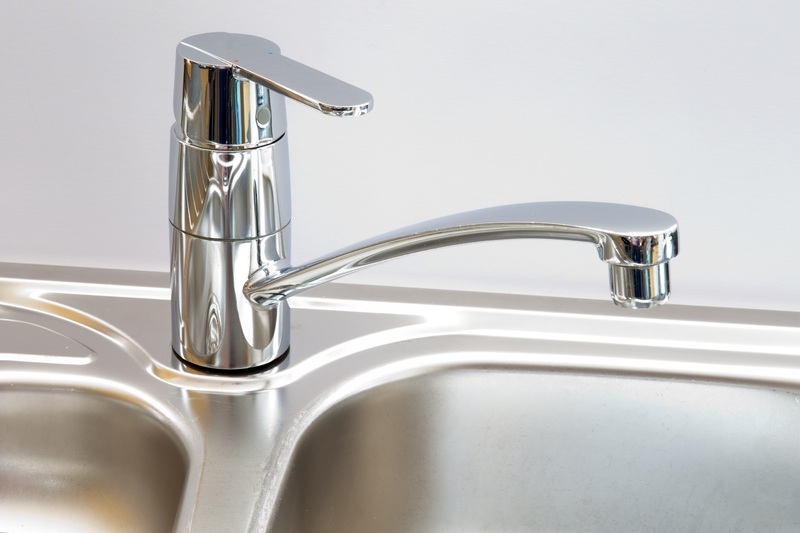
Before you begin, make sure you have all the necessary tools and materials. You will need a wrench, pliers, screwdriver, putty knife, and a bucket or container to catch any water that may come out of the pipes. It's also a good idea to have an extra set of hands to help you maneuver the sink. The first step is to turn off the water supply to the sink. This can usually be done by turning the shut-off valve under the sink in a clockwise direction. Then, turn on the faucet to release any water that may be left in the pipes. Next, use a wrench to loosen the clips or brackets that hold the sink in place. These are typically located under the sink and may need to be unscrewed or pried off with a screwdriver. Once the sink is loose, carefully lift it up and out of the counter, being mindful of any pipes or plumbing attached. If your sink has a garbage disposal, you will need to disconnect it before removing the sink. Use pliers to loosen the hose clamp and disconnect the drain hose. Then, use a screwdriver to remove the mounting bracket and carefully lift the disposal out of the sink. Once the sink is removed, you may notice a layer of caulk or silicone around the edges. Use a putty knife to scrape off this residue and clean the area thoroughly. If you are replacing the sink, make sure the new sink is the same size and style as the old one. If you are not replacing the sink, you can skip this step and move on to installing the new sink.Removing a Stainless Steel Kitchen Sink: A Step-by-Step Guide


Removing a Stainless Steel Kitchen Sink: A Step-by-Step Guide


:no_upscale()/cdn.vox-cdn.com/uploads/chorus_asset/file/19495086/drain_0.jpg)

Removing a stainless steel kitchen sink can save you time and money, as hiring a professional can be costly. With a little bit of DIY know-how, you can easily remove and replace your own sink. One important thing to keep in mind is to work slowly and carefully. Rushing through the process can lead to mistakes and potentially damage your sink or plumbing. Another tip is to prepare the work area before beginning. Lay down towels or a drop cloth to protect the surrounding area and have a bucket or container ready to catch any water or debris that may come out of the pipes. Lastly, make sure to read the manufacturer's instructions for your sink before starting the removal process. This will give you a better understanding of how your sink is installed and the specific steps you need to take to remove it.DIY: Removing a Stainless Steel Kitchen Sink


DIY: Removing a Stainless Steel Kitchen Sink


Here are a few tips and tricks to make the process of removing a stainless steel kitchen sink even easier:Removing a Stainless Steel Kitchen Sink: Tips and Tricks


Removing a Stainless Steel Kitchen Sink: Tips and Tricks


There is no one-size-fits-all method for removing a stainless steel kitchen sink. The best way to remove your sink will depend on the specific type of sink you have and how it is installed. However, following the steps outlined in this guide will give you a good starting point for removing your sink. It's also important to consider the age and condition of your sink. If your sink is old and worn, you may encounter more difficulties during removal. In this case, it's best to be patient and work slowly to avoid causing any damage.The Best Way to Remove a Stainless Steel Kitchen Sink


The Best Way to Remove a Stainless Steel Kitchen Sink


Before attempting to remove a stainless steel kitchen sink, it's important to have a basic understanding of how sinks are installed. This will help you identify any potential issues and make the removal process smoother. Stainless steel sinks are typically installed using clips or brackets that hold the sink in place. These may need to be unscrewed or pried off in order to remove the sink. It's also important to disconnect any plumbing or electrical connections before removing the sink.Removing a Stainless Steel Kitchen Sink: What You Need to Know


Removing a Stainless Steel Kitchen Sink: What You Need to Know

Here is a simple step-by-step guide to removing a stainless steel kitchen sink:Step-by-Step Guide to Removing a Stainless Steel Kitchen Sink


Step-by-Step Guide to Removing a Stainless Steel Kitchen Sink

When removing a stainless steel kitchen sink, there are a few common mistakes that can be easily avoided:Removing a Stainless Steel Kitchen Sink: Common Mistakes to Avoid

Removing a Stainless Steel Kitchen Sink: Common Mistakes to Avoid

Properly removing a stainless steel kitchen sink requires patience, attention to detail, and the right tools and techniques. By following the steps outlined in this guide and avoiding common mistakes, you can safely and successfully remove your sink without any issues. It's important to remember to work slowly and carefully, and to seek professional help if you encounter any difficulties during the removal process. With a little bit of effort, you can easily remove your stainless steel kitchen sink and make way for a new and improved one.How to Properly Remove a Stainless Steel Kitchen Sink

How to Properly Remove a Stainless Steel Kitchen Sink


Here are some tools and techniques that will come in handy when removing a stainless steel kitchen sink:Removing a Stainless Steel Kitchen Sink: Tools and Techniques


Removing a Stainless Steel Kitchen Sink: Tools and Techniques

Why Should You Consider Removing a Stainless Steel Kitchen Sink?
The Benefits of a Stainless Steel Kitchen Sink
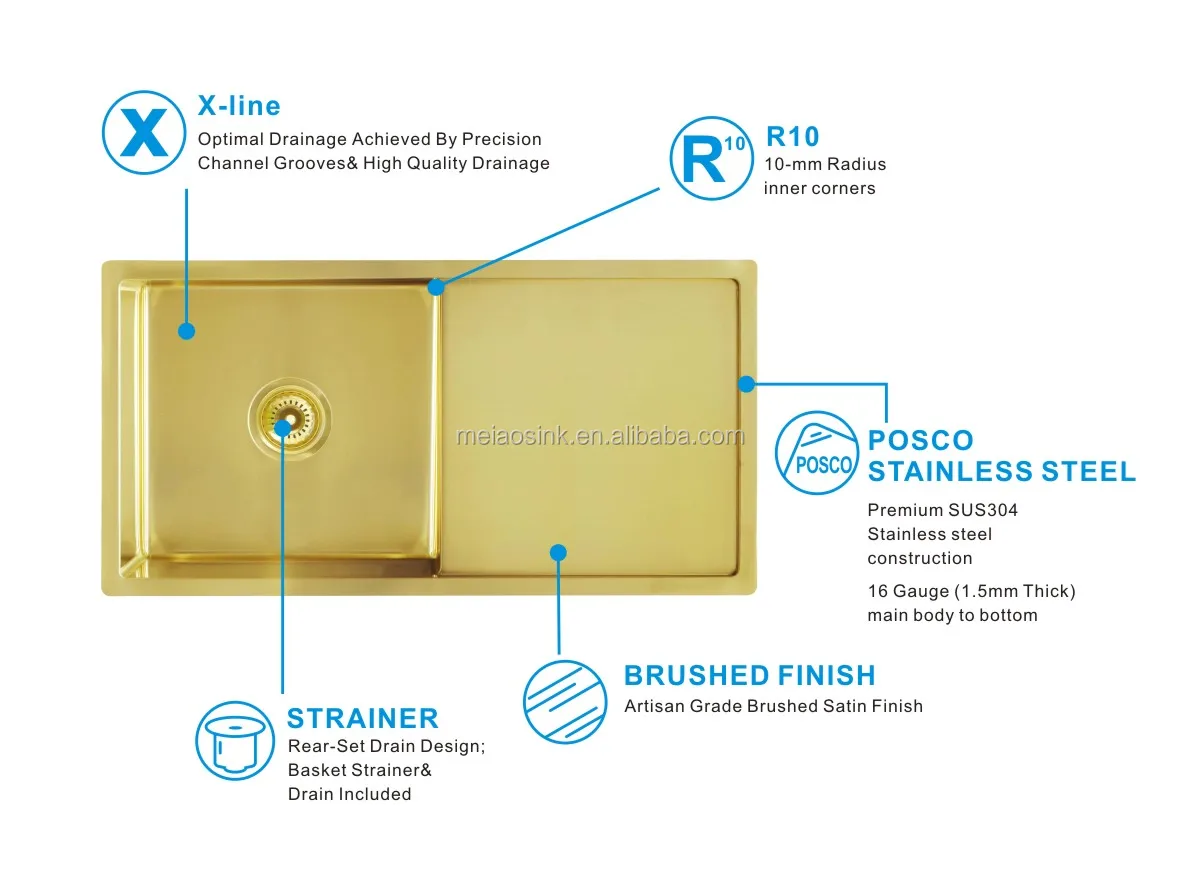
 Stainless steel kitchen sinks have been a popular choice among homeowners for many years. They are durable, affordable, and easy to maintain, making them a practical choice for any kitchen. However, as trends in kitchen design and technology continue to evolve, many people are starting to consider removing their stainless steel kitchen sink in favor of other options.
Improved Aesthetics
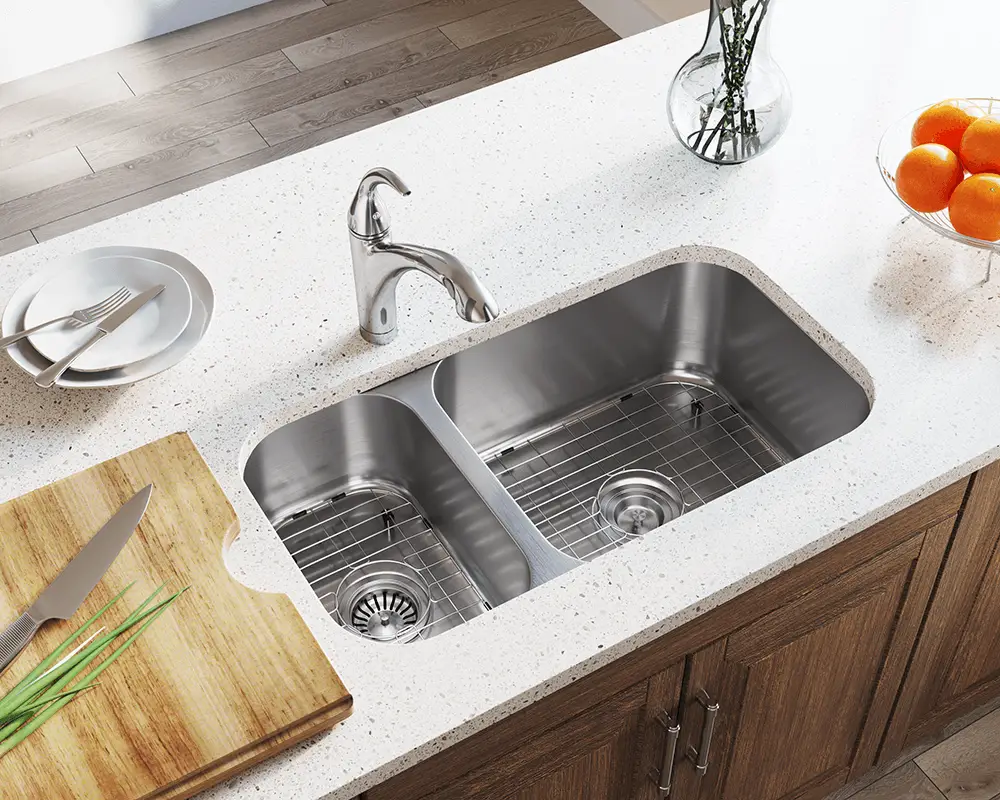
 One of the main reasons why people are choosing to remove their stainless steel kitchen sink is for aesthetic purposes. While stainless steel sinks are functional and practical, they can also be quite utilitarian in appearance. With the rise of modern and luxurious kitchen designs, homeowners are looking for sinks that can serve as a focal point and add to the overall aesthetic of their space. By removing a stainless steel sink and replacing it with a different material, such as a farmhouse sink or granite composite sink, you can instantly elevate the look of your kitchen and create a more cohesive design.
Increased Durability
 While stainless steel sinks are known for their durability, they are not without their flaws. Over time, they can become scratched, stained, and dented, especially in high-traffic kitchens. This can be frustrating for homeowners who want their kitchen to look pristine and well-maintained. By removing a stainless steel sink and replacing it with a more durable material, such as a cast iron or fireclay sink, you can ensure that your kitchen sink will withstand the test of time and continue to look beautiful for years to come.
Enhanced Functionality
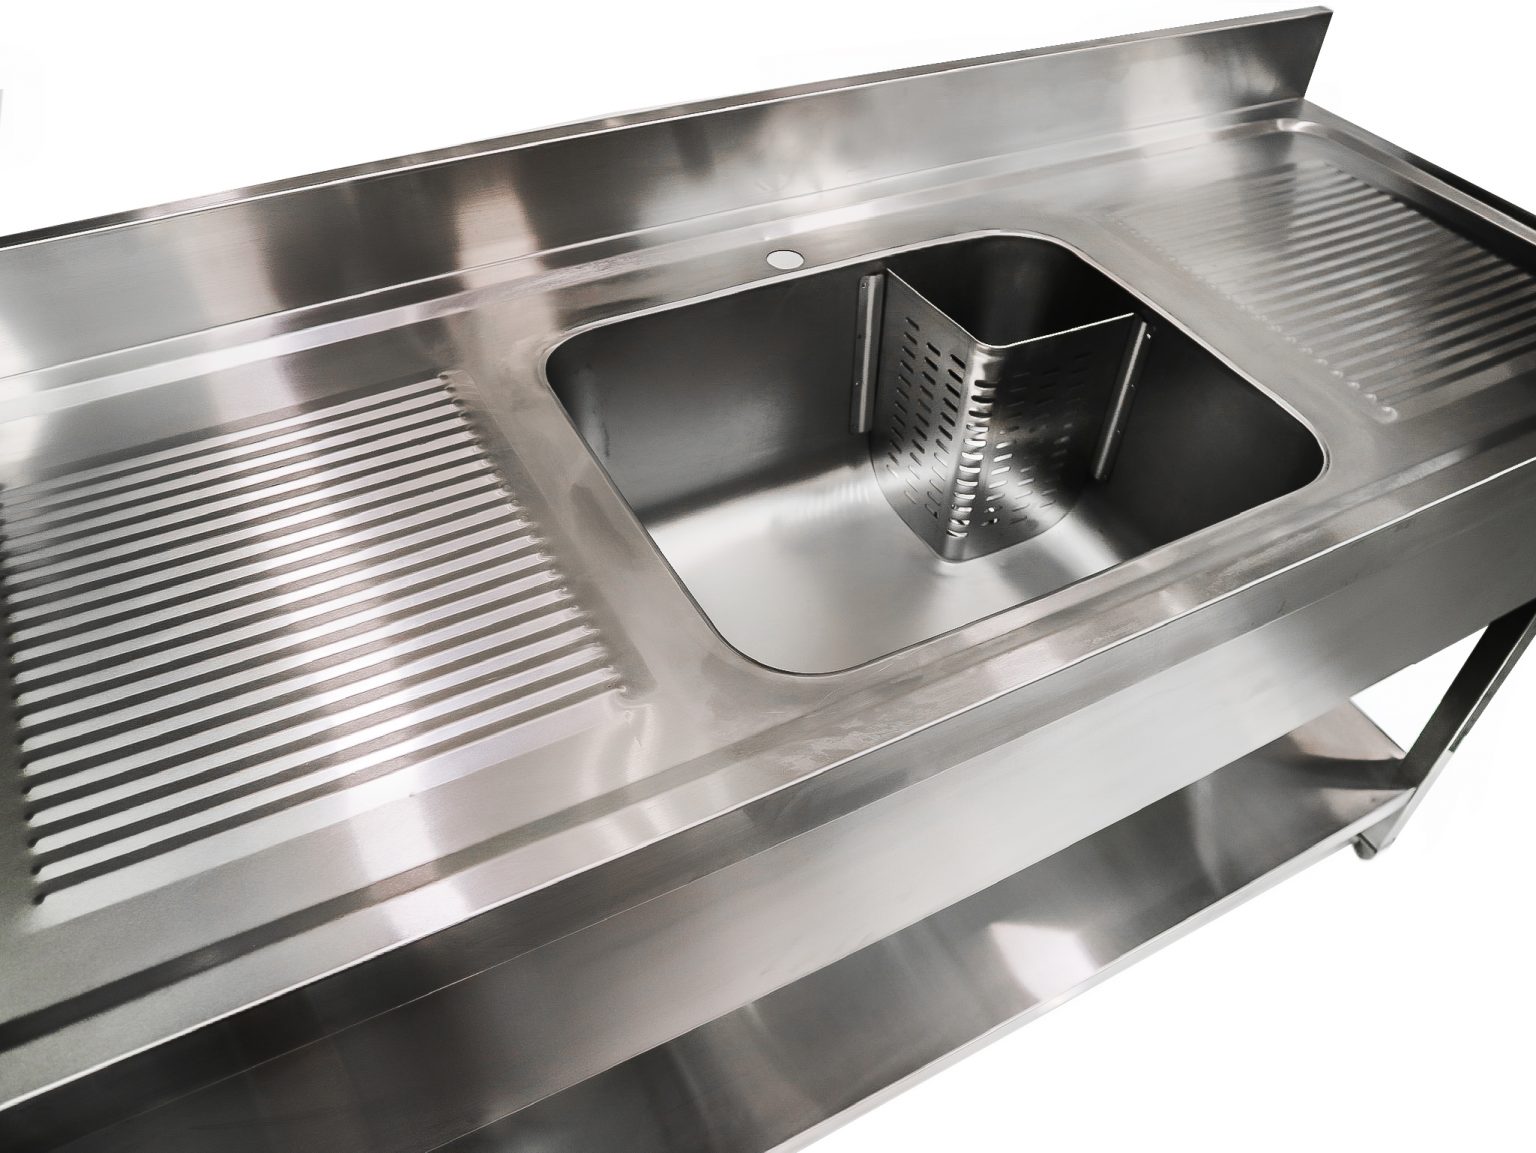
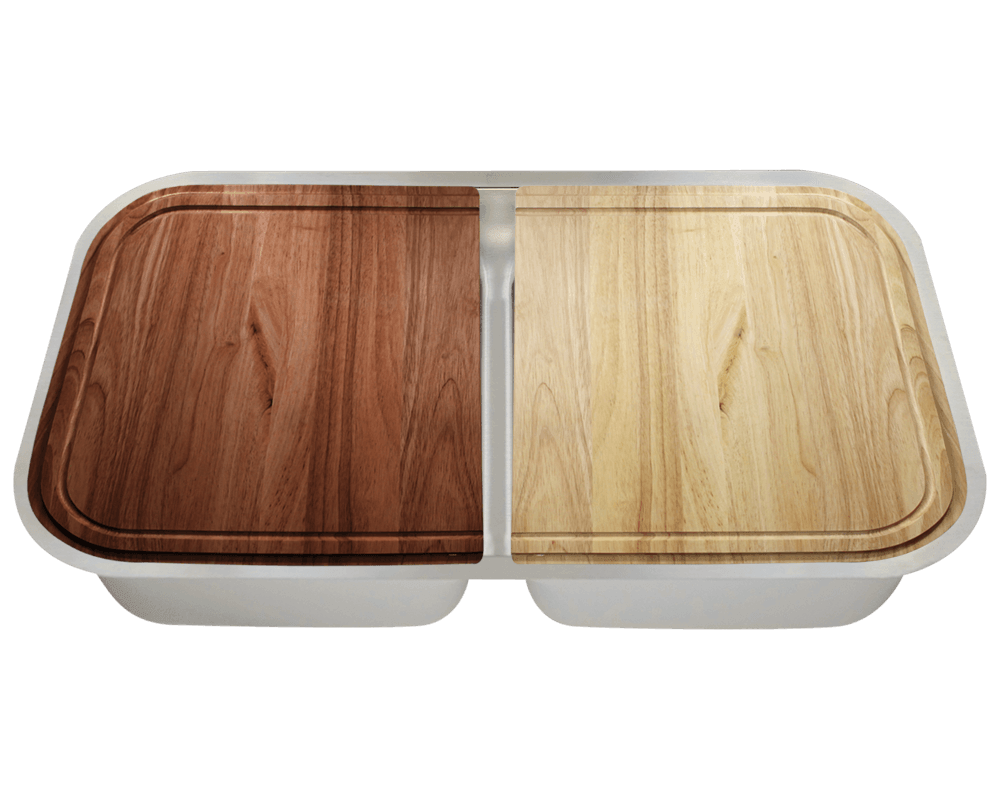
 Another reason to consider removing a stainless steel kitchen sink is for improved functionality. While stainless steel sinks are great for everyday use, they may not be the best option for specialized tasks. For example, if you love to cook and find yourself using large pots and pans frequently, a single basin sink may not be the most efficient option. By removing your stainless steel sink and replacing it with a double basin or apron front sink, you can improve your kitchen's functionality and make tasks like washing dishes and preparing food easier and more enjoyable.
In Conclusion
 While stainless steel kitchen sinks have been a staple in homes for many years, they may not be the best option for everyone. By considering the benefits of removing a stainless steel sink and replacing it with a different material, you can improve the aesthetics, durability, and functionality of your kitchen and create a space that truly reflects your personal style. So if you're looking to give your kitchen a makeover, don't overlook the impact that a new sink can make.