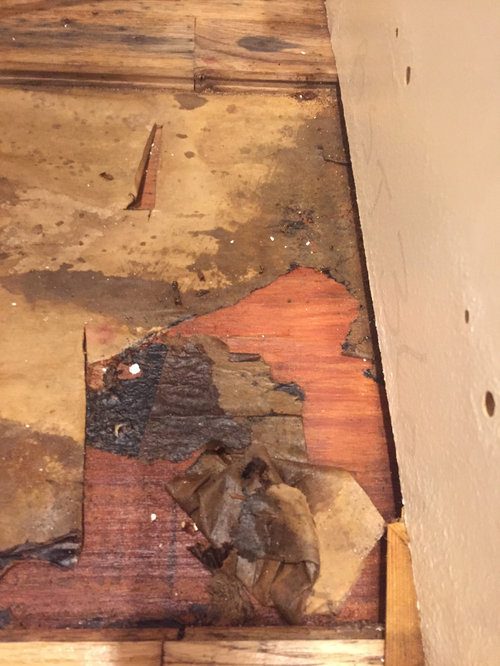
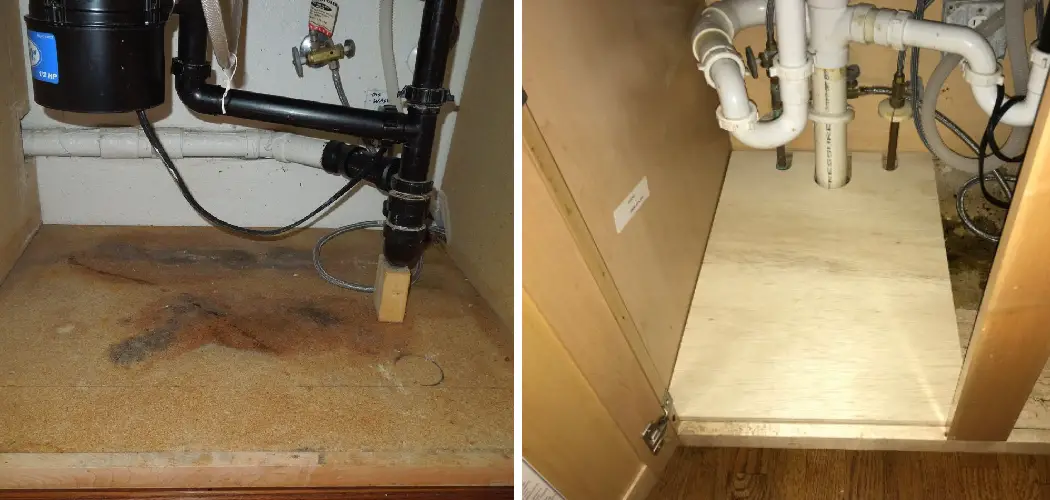
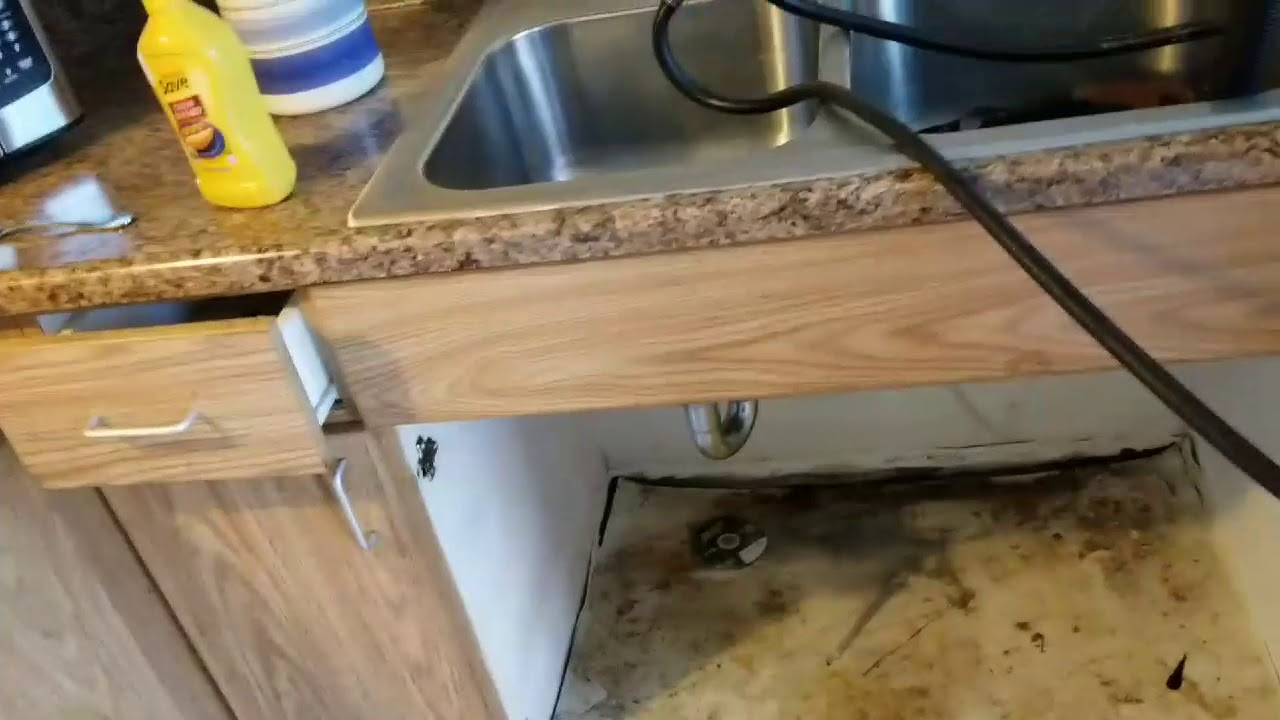
If you've noticed some sponginess or water damage under your kitchen sink, it's probably time to replace the wood. This is a common issue in many homes, and luckily, it's a relatively simple fix that you can do yourself. In this guide, we'll walk you through the process of replacing the wood under your kitchen sink step-by-step.How to Replace the Wood Under the Kitchen Sink


How to Replace the Wood Under the Kitchen Sink

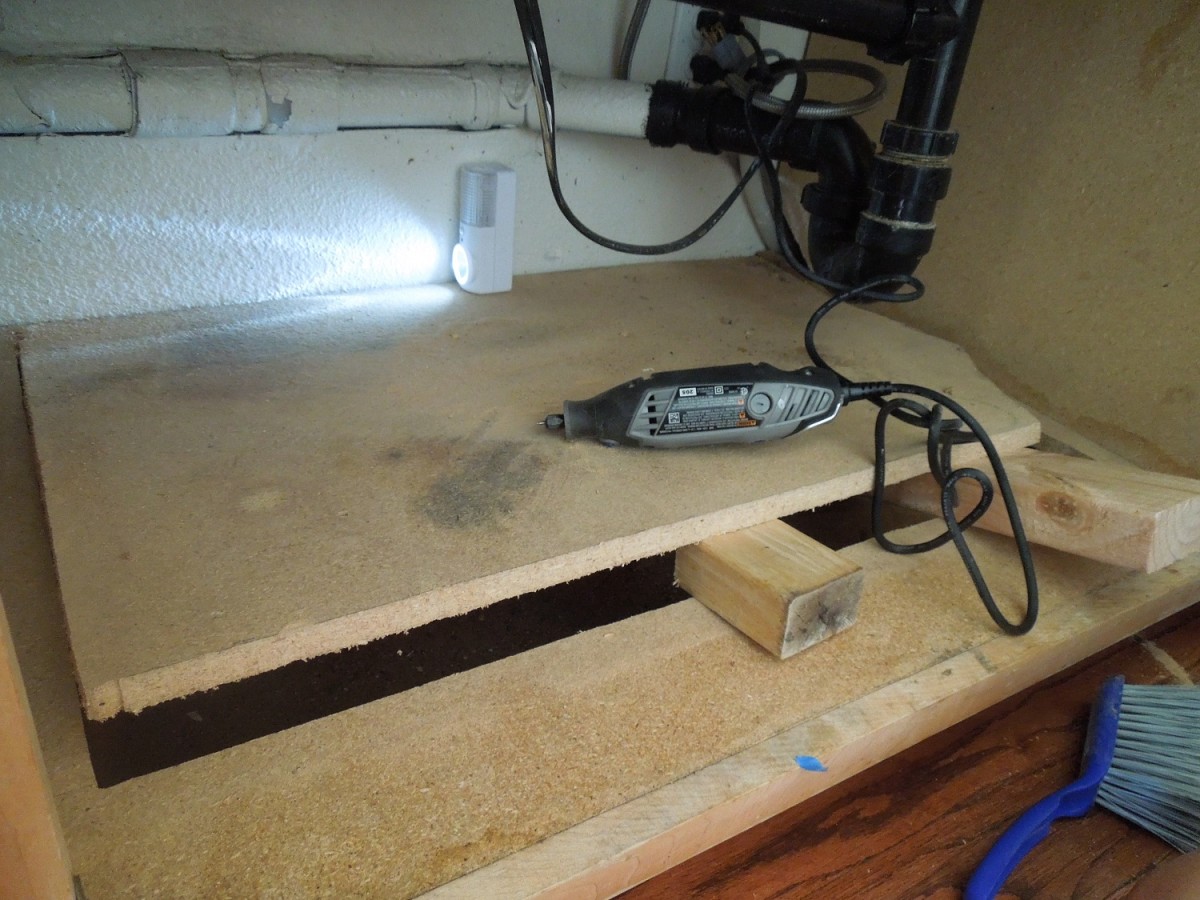
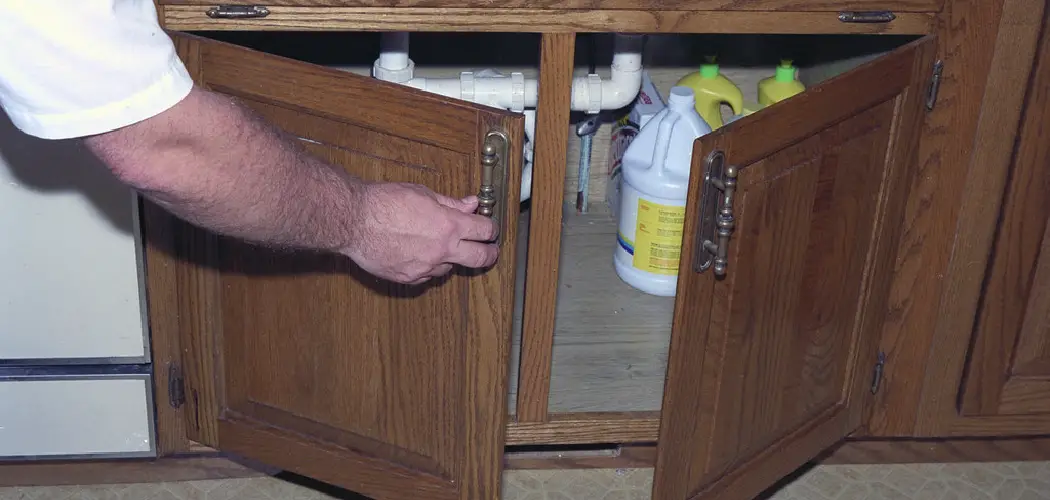
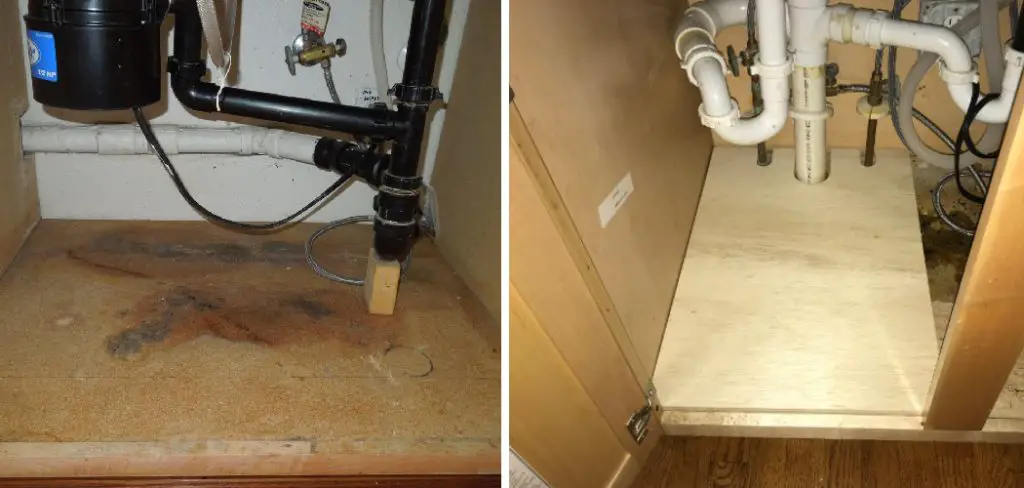


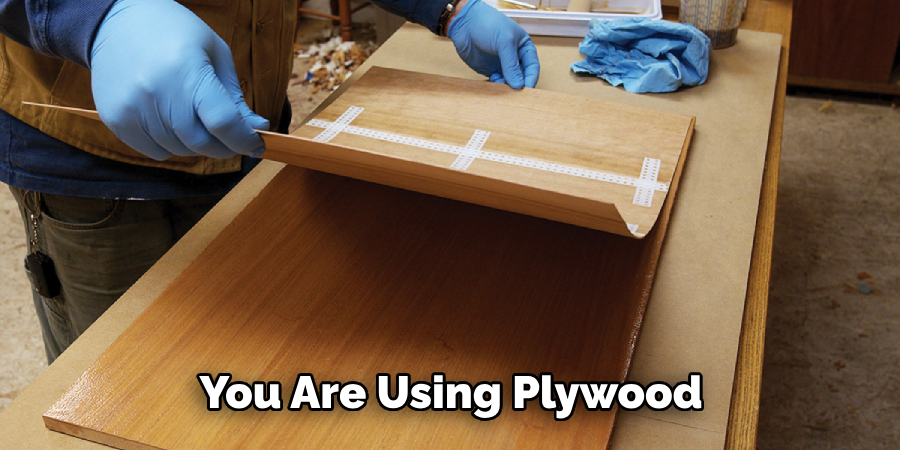
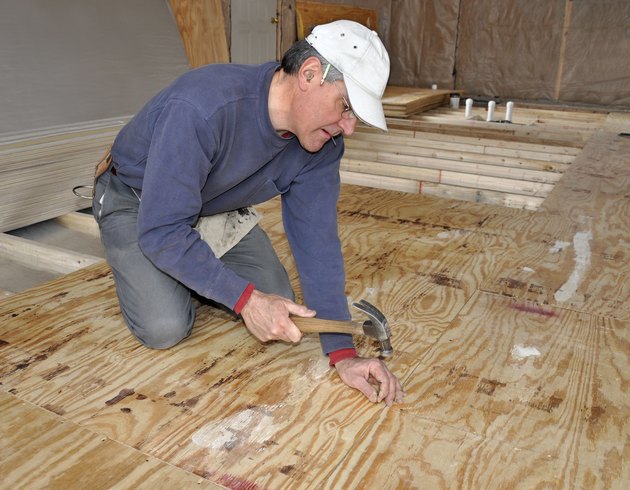
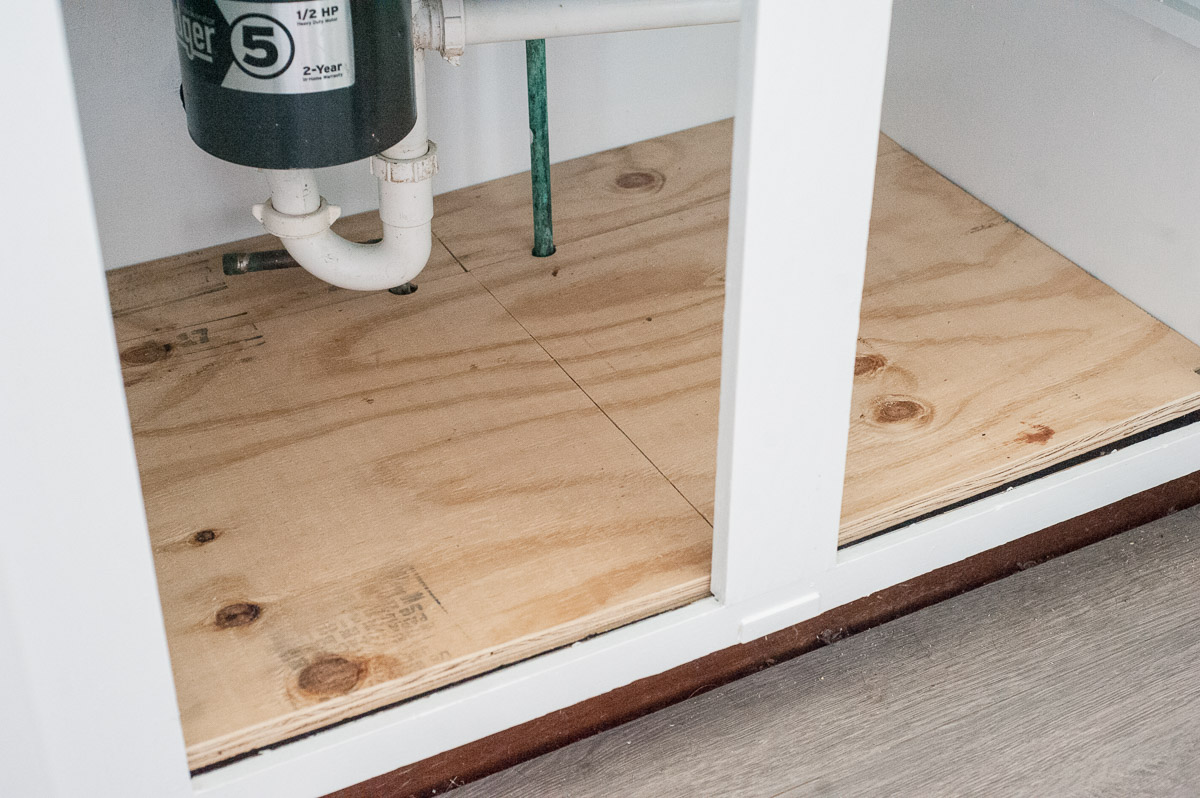
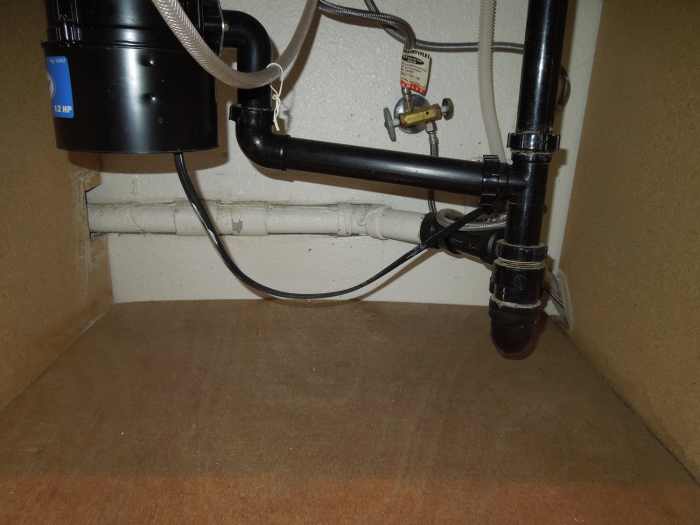
The first step in replacing the wood under your kitchen sink is to remove the sink and any pipes that may be in the way. This will allow you to access the damaged wood and replace it with new, sturdy wood. Make sure to turn off the water supply and disconnect any water lines before starting this process. Once the sink and pipes are removed, you can assess the damage and determine how much of the wood needs to be replaced. If the damage is extensive, you may need to replace the entire cabinet base. If the damage is minor, you can just replace the affected area. Next, measure and cut a new piece of wood to fit the space. It's important to use pressure-treated or water-resistant wood to prevent future damage. You can also use a waterproof sealant on the wood for extra protection. Now, it's time to remove the old wood. Use a saw or pry bar to carefully remove the damaged wood without causing any further damage to the surrounding area. Once the old wood is removed, clean the area and make sure it is dry before proceeding. Place the new piece of wood in the space and secure it with screws or nails. Make sure it is level and sturdy before moving on to the next step. Next, reattach the sink and pipes, making sure everything is properly connected and sealed. Turn the water supply back on and check for any leaks. If everything looks good, you can move on to replacing the cabinet base.Replacing the Wood Under the Kitchen Sink: A Step-by-Step Guide


Replacing the Wood Under the Kitchen Sink: A Step-by-Step Guide


Replacing the wood under your kitchen sink is a DIY project that anyone can tackle. With the right tools and materials, you can save yourself the cost of hiring a professional and have the satisfaction of completing the project yourself. Make sure to have all the necessary tools on hand before starting, including a saw, hammer, screwdriver, and sealant. You'll also need the new piece of wood, as well as any additional materials for the cabinet base replacement. Follow the steps outlined in the previous section to replace the wood under your kitchen sink. Take your time and be careful not to cause any further damage to the surrounding area. With a little patience and effort, you'll have a sturdy, water-resistant base for your kitchen sink.DIY: Replacing the Wood Under Your Kitchen Sink


DIY: Replacing the Wood Under Your Kitchen Sink


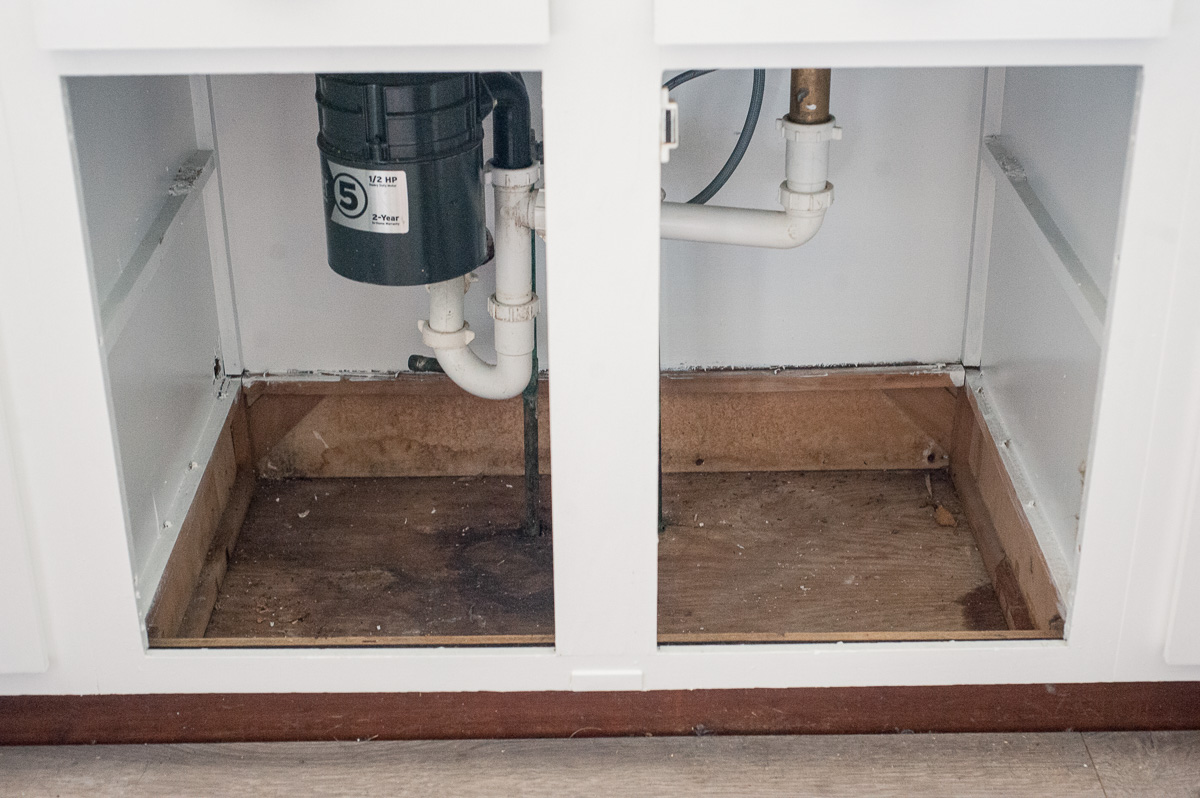
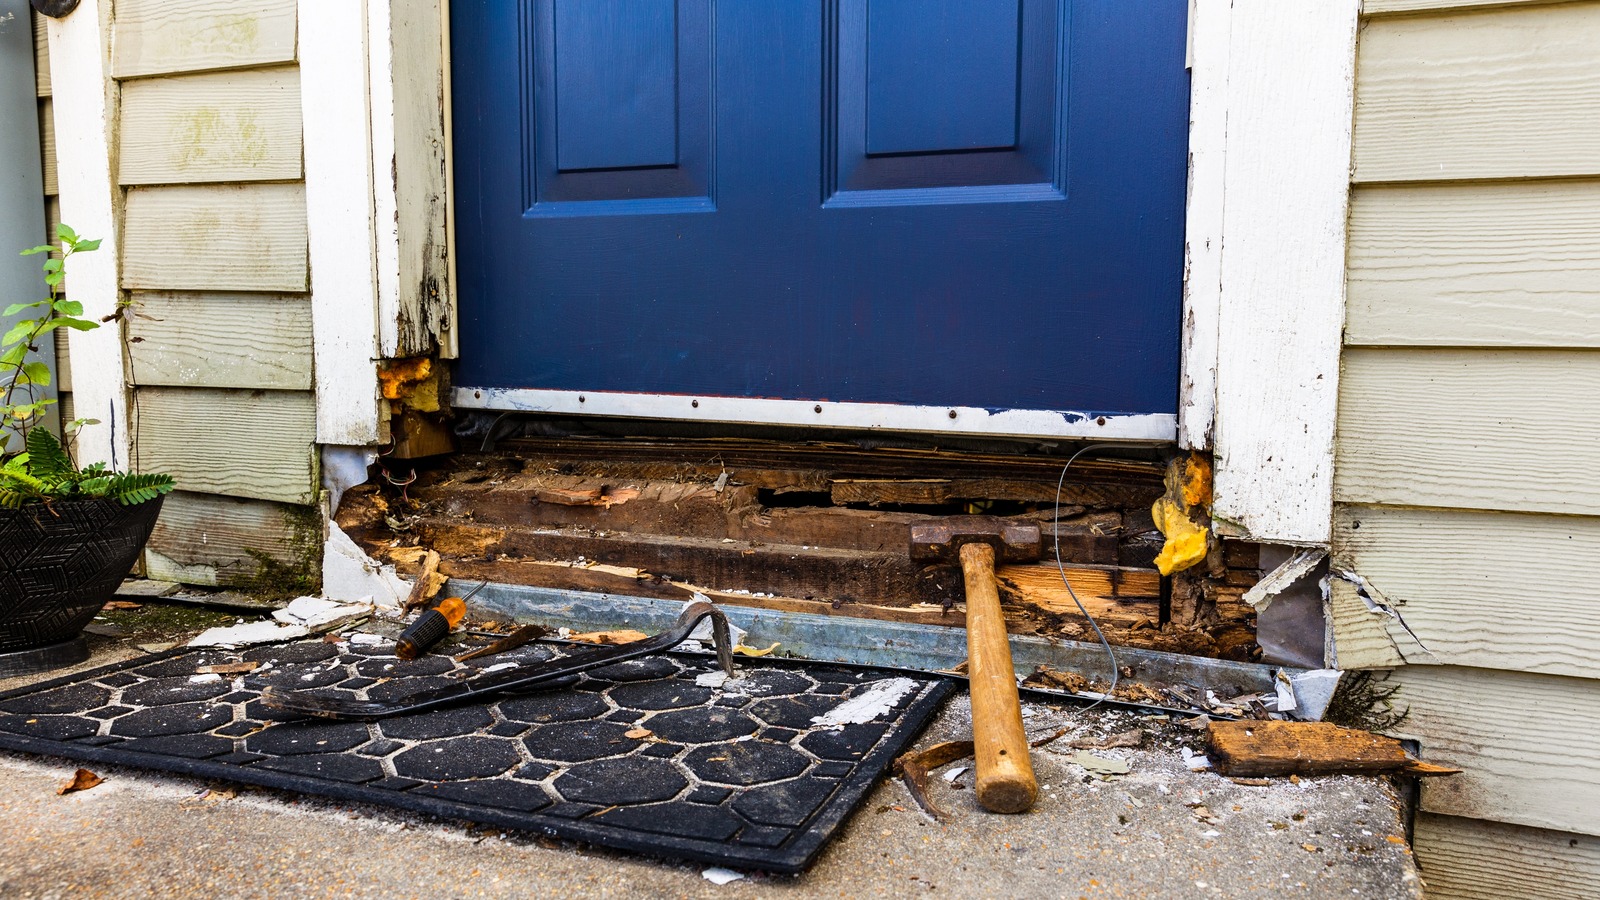
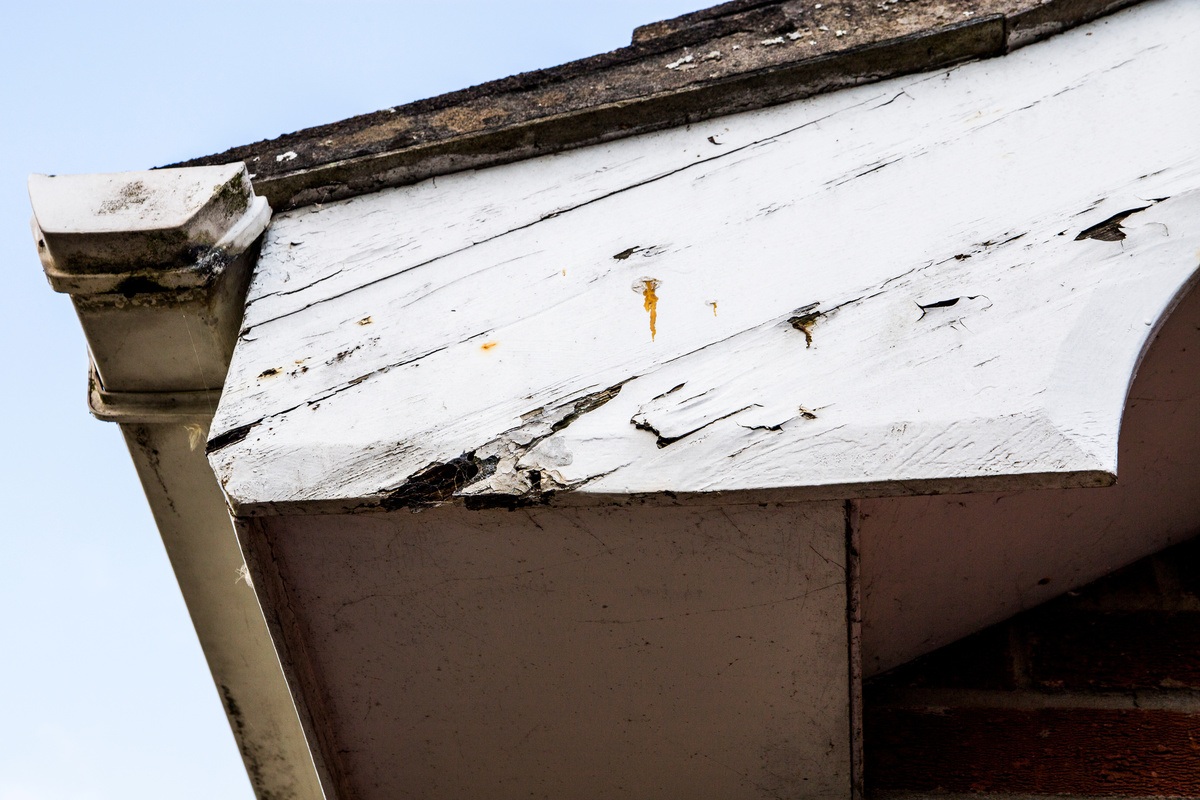
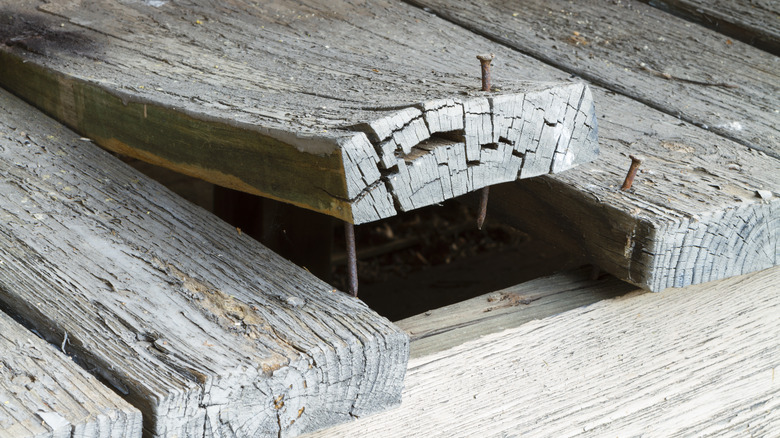
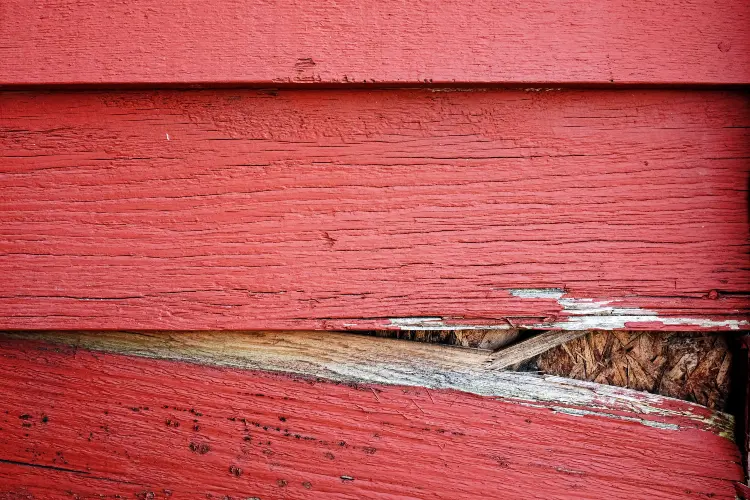
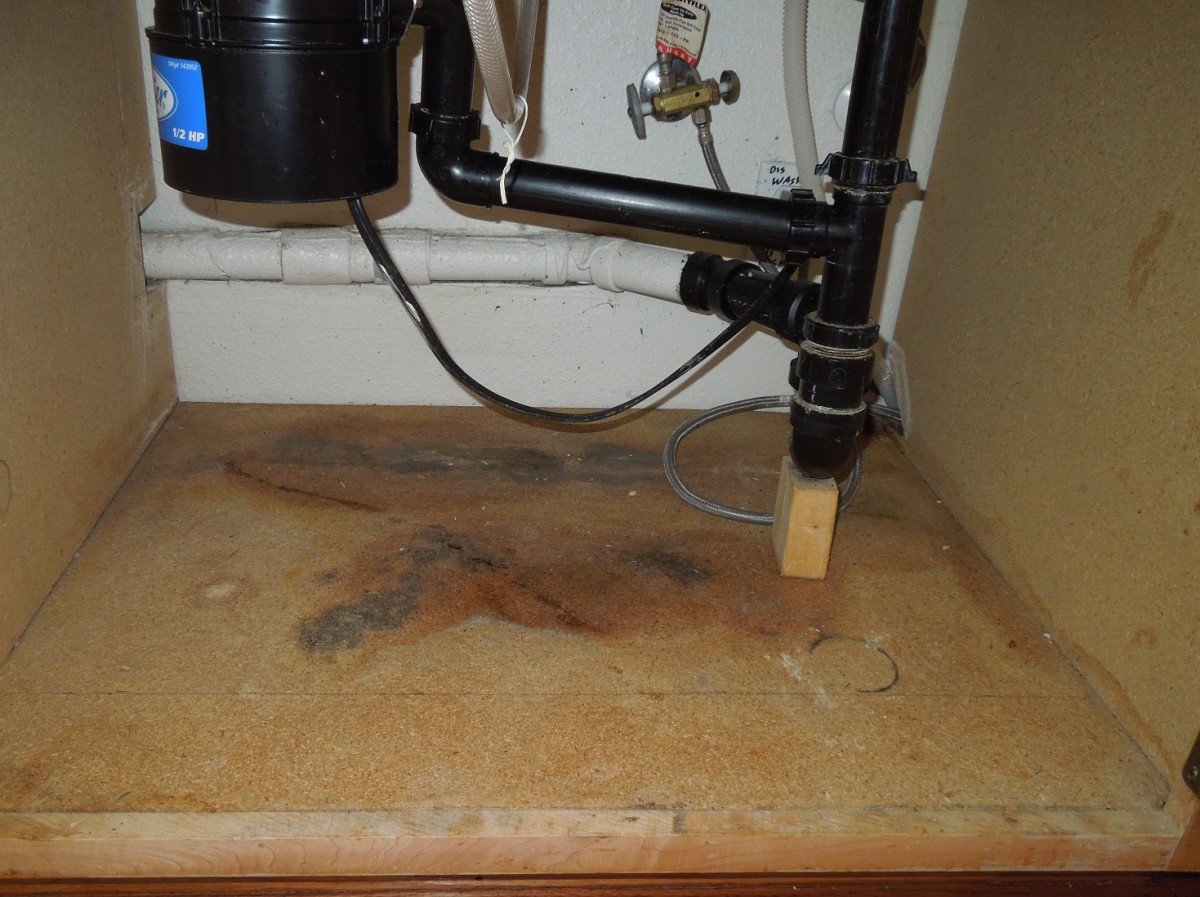
One of the main reasons for replacing the wood under your kitchen sink is due to rot. This can be caused by a leaky pipe, excess moisture, or poor ventilation. Whatever the cause may be, it's important to address it and replace the damaged wood as soon as possible to prevent further damage. When replacing rotten wood, it's important to not only replace the damaged wood, but also identify and address the root cause of the rot. This may involve fixing a leak, improving ventilation, or sealing the area to prevent future moisture build-up. By addressing the cause of the rot and using water-resistant materials, you can prevent the need for future wood replacements under your kitchen sink.Replacing Rotten Wood Under the Kitchen Sink


Replacing Rotten Wood Under the Kitchen Sink


Here are a few tips to keep in mind when replacing the wood under your kitchen sink: 1. Use the right materials: As mentioned earlier, it's important to use pressure-treated or water-resistant wood for this project. This will ensure that your new wood is protected from any future moisture damage. 2. Take proper measurements: Measure twice, cut once. Make sure to accurately measure the space and cut the new piece of wood to fit perfectly. 3. Use safety precautions: Make sure to wear gloves and safety glasses when working with tools. This will protect you from any potential injuries. 4. Address the root cause of the damage: As mentioned earlier, it's important to identify and address the cause of the damage to prevent future issues.Tips for Replacing Wood Under the Kitchen Sink
Tips for Replacing Wood Under the Kitchen Sink

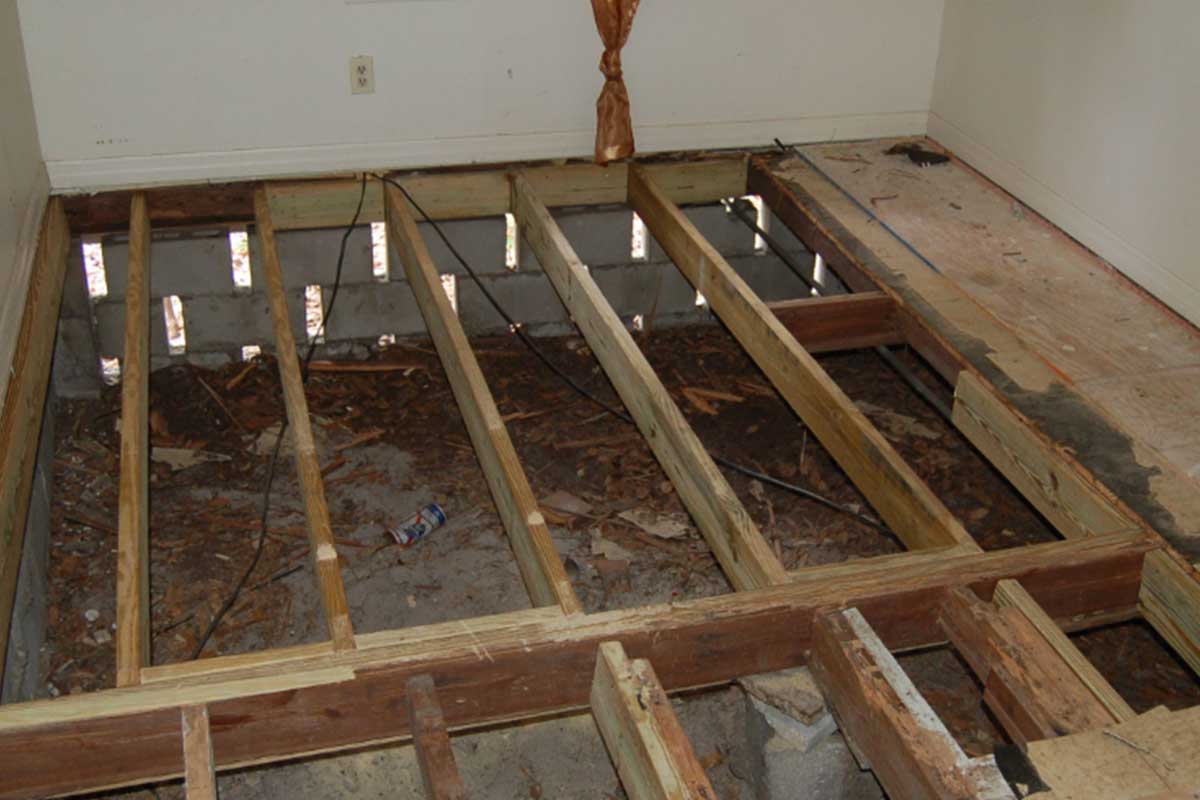
In some cases, the damage to the wood under your kitchen sink may have spread to the subfloor. This is the layer of wood underneath the main floor and may require additional work to replace. If you suspect that the subfloor is also damaged, it's best to consult a professional for assistance. They will be able to properly assess the damage and determine the best course of action for replacement.Replacing the Subfloor Under the Kitchen Sink


Replacing the Subfloor Under the Kitchen Sink


To replace the wood under your kitchen sink, you'll need the following tools and materials: Tools: saw, hammer, screwdriver, pry bar, safety glasses, gloves Materials: pressure-treated or water-resistant wood, sealant, screws or nailsTools and Materials Needed for Replacing Wood Under the Kitchen Sink


Tools and Materials Needed for Replacing Wood Under the Kitchen Sink
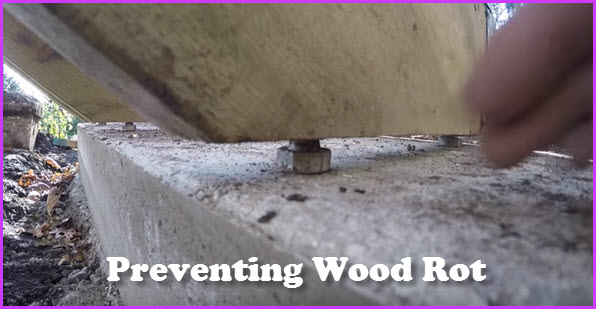
Prevention is key when it comes to wood rot under the kitchen sink. Here are a few tips to help prevent this issue: 1. Fix leaks promptly: If you notice any leaks under your kitchen sink, make sure to fix them as soon as possible to prevent water damage to the wood. 2. Improve ventilation: Make sure your kitchen has proper ventilation to prevent excess moisture from building up under the sink. 3. Use a waterproof sealant: Applying a waterproof sealant to the wood under your kitchen sink can add an extra layer of protection against moisture.How to Prevent Wood Rot Under the Kitchen Sink


How to Prevent Wood Rot Under the Kitchen Sink


In some cases, the damage to the wood under your kitchen sink may be extensive, requiring you to replace the entire cabinet base. This is a more involved process and may require the help of a professional. If you're not confident in your DIY skills or the damage is too severe, it's best to consult a professional for this task. They will have the expertise and tools needed to properly replace the cabinet base and ensure it is sturdy and water-resistant.Replacing the Cabinet Base Under the Kitchen Sink


Replacing the Cabinet Base Under the Kitchen Sink


Here are a few common mistakes to avoid when replacing the wood under your kitchen sink: 1. Forgetting to turn off the water supply: This can lead to a messy and potentially dangerous situation. Make sure to turn off the water supply before starting any work. 2. Rushing the process: Take your time and be careful when removing the old wood and installing the new piece. Rushing can lead to mistakes and further damage. 3. Not addressing the root cause: As mentioned earlier, it's important to identify and address the cause of the damage to prevent future issues.Common Mistakes to Avoid When Replacing Wood Under the Kitchen Sink


Common Mistakes to Avoid When Replacing Wood Under the Kitchen Sink


Why You Should Consider Replacing Wood Under Your Kitchen Sink
The Importance of a Strong Foundation
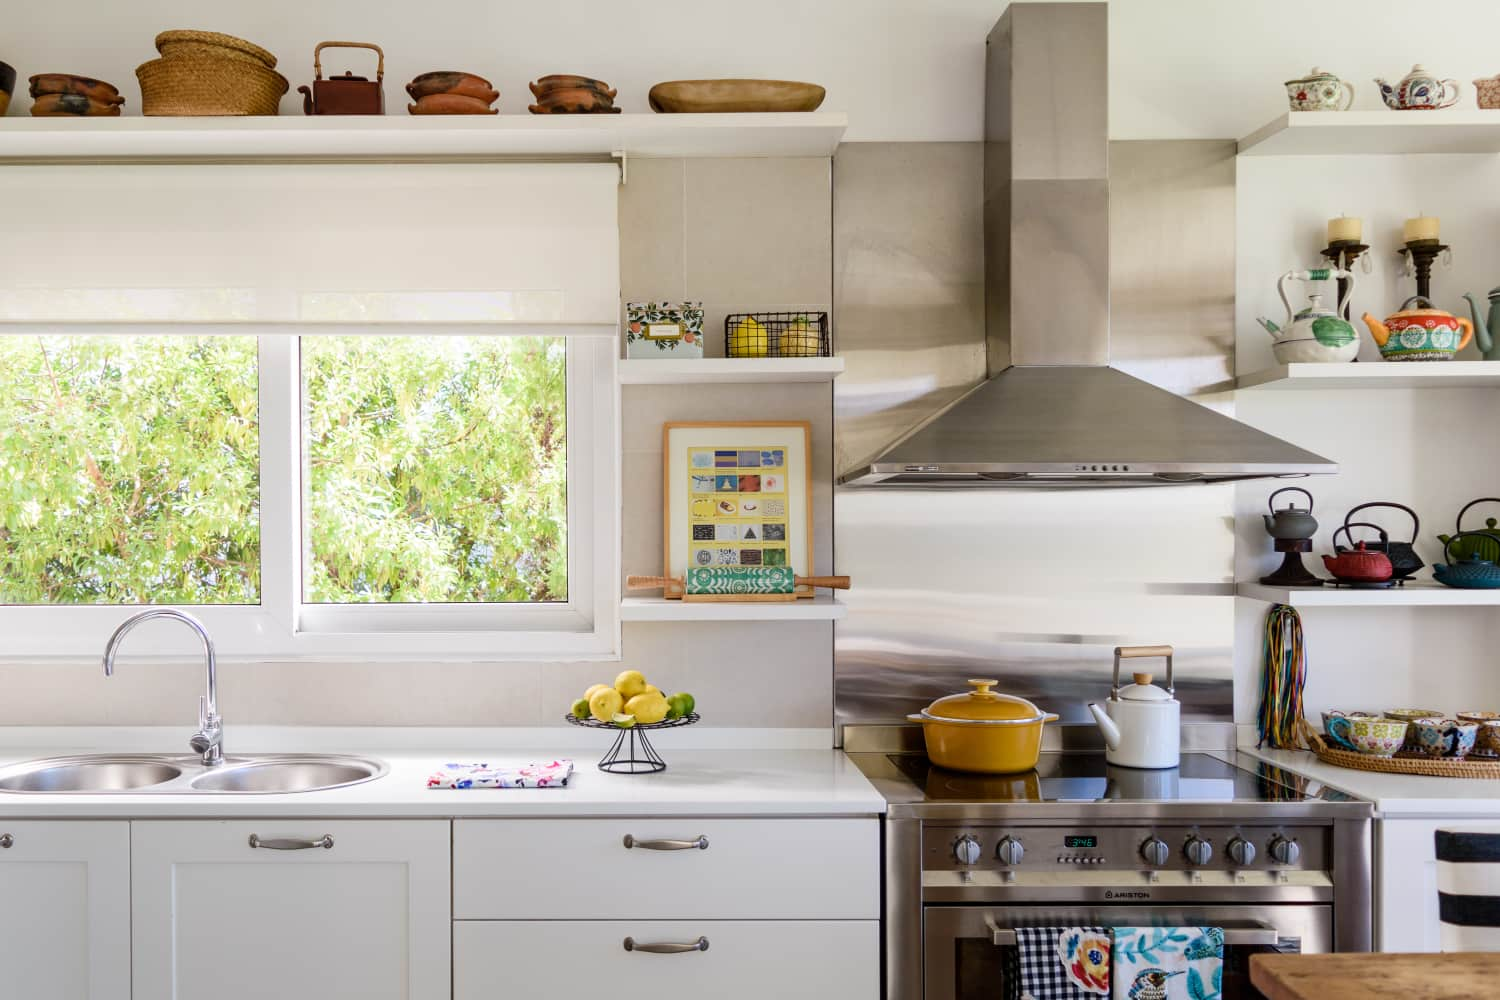
 When it comes to house design, the foundation is often overlooked. However, it is one of the most important aspects of a well-built and functional home. The same goes for the kitchen, which is considered the heart of the home. It is where we prepare meals, gather with family and friends, and store essential items. With all the activity that happens in the kitchen, it is crucial to have a strong and stable foundation, especially under the sink area.
The Problem with Wood Under the Sink
 Traditionally, wood has been the go-to material for constructing kitchen cabinets and sink bases. However, wood is not the most durable material when it comes to moisture and water exposure. Over time, the constant contact with water can cause wood to warp, rot, and even attract mold and mildew. This not only compromises the structural integrity of the kitchen but also poses a health hazard. Therefore, it is essential to regularly check and replace any damaged wood under the kitchen sink.
The Benefits of Replacing Wood with Water-Resistant Materials
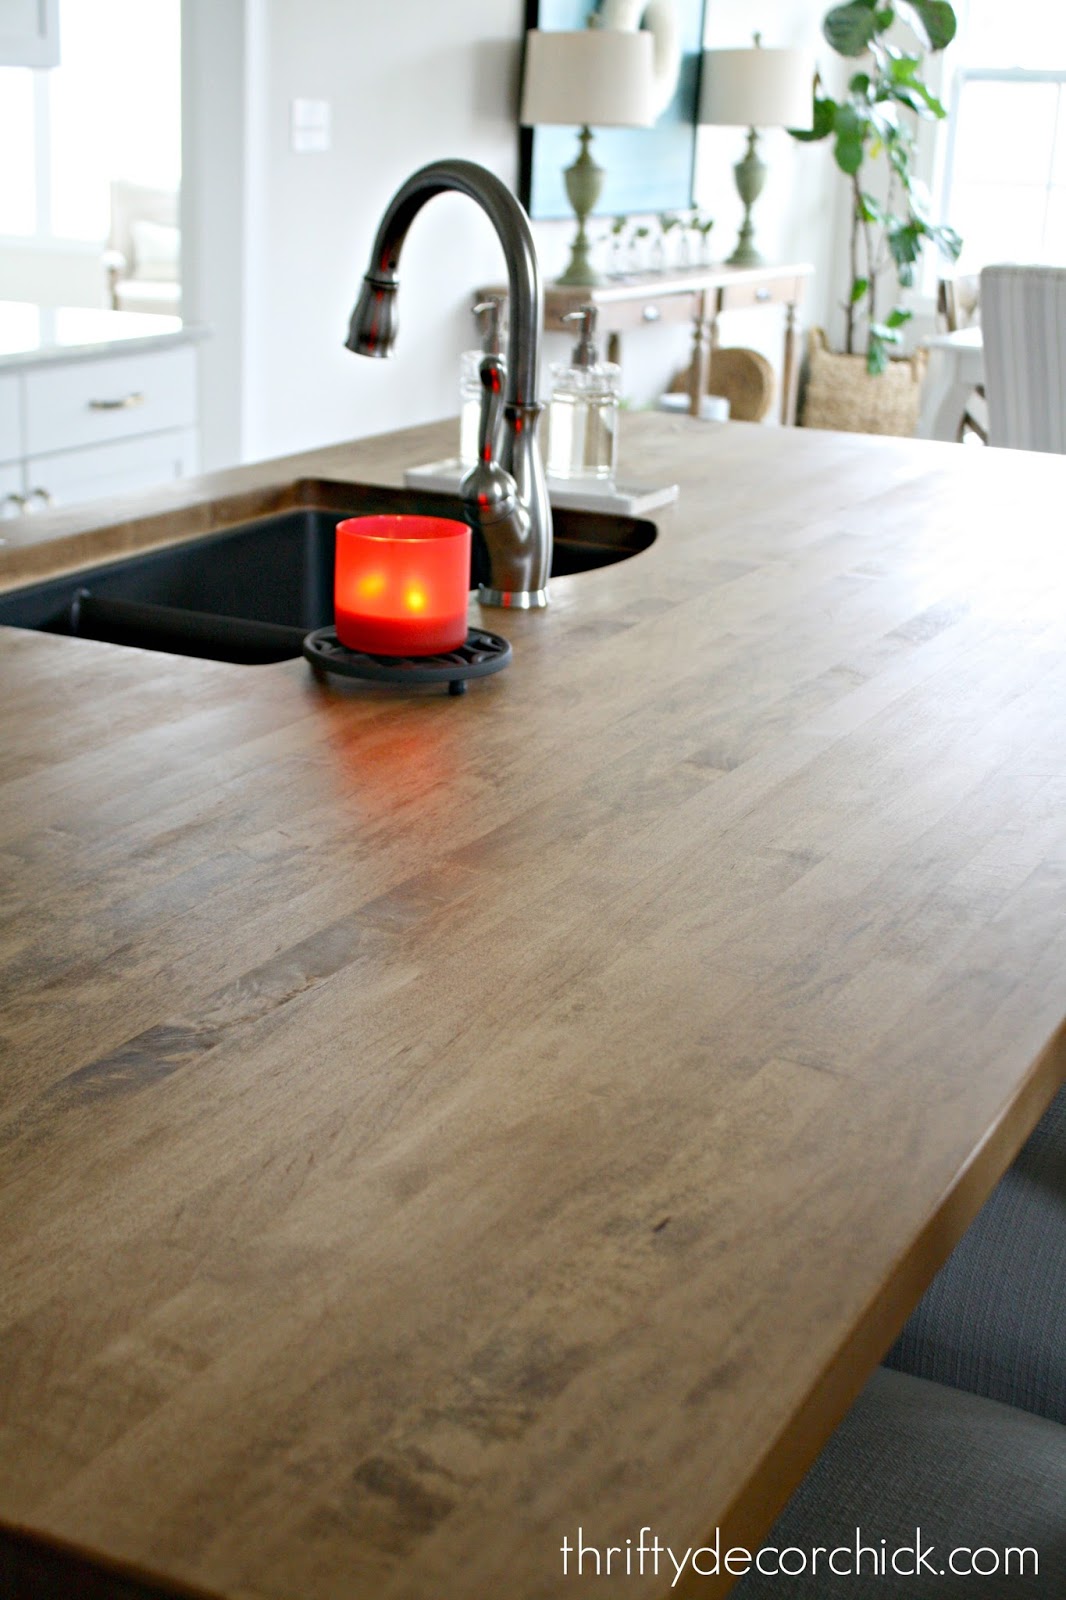
 Fortunately, there are many water-resistant materials that can be used to replace wood under the kitchen sink. Some popular options include stainless steel, PVC, and composite materials. These materials are not only water-resistant, but they are also more durable and easier to maintain than wood. They are also less susceptible to mold and mildew growth, making them a more hygienic choice for the kitchen.
Upgrading to these materials not only ensures a strong foundation for your kitchen but also enhances its overall design and functionality.
Stainless steel, for example, adds a sleek and modern look to any kitchen, while PVC and composite materials come in a variety of colors and designs to suit different styles.
Fortunately, there are many water-resistant materials that can be used to replace wood under the kitchen sink. Some popular options include stainless steel, PVC, and composite materials. These materials are not only water-resistant, but they are also more durable and easier to maintain than wood. They are also less susceptible to mold and mildew growth, making them a more hygienic choice for the kitchen.
Upgrading to these materials not only ensures a strong foundation for your kitchen but also enhances its overall design and functionality.
Stainless steel, for example, adds a sleek and modern look to any kitchen, while PVC and composite materials come in a variety of colors and designs to suit different styles.
Professional Installation is Key
 While it may be tempting to replace the wood under your kitchen sink yourself, it is best to leave it to the professionals. A professional contractor will have the expertise and tools to properly install the new materials, ensuring a sturdy and long-lasting foundation for your kitchen. They can also provide valuable advice on the best materials to use for your specific kitchen design and needs.
In conclusion, replacing wood under your kitchen sink is a crucial step in maintaining a strong and functional foundation for your kitchen. By opting for water-resistant materials and hiring a professional to do the installation, you can not only improve the structural integrity of your kitchen but also enhance its overall design and hygiene. Don't neglect this important aspect of house design and make sure to regularly check and replace any damaged wood under your kitchen sink.
While it may be tempting to replace the wood under your kitchen sink yourself, it is best to leave it to the professionals. A professional contractor will have the expertise and tools to properly install the new materials, ensuring a sturdy and long-lasting foundation for your kitchen. They can also provide valuable advice on the best materials to use for your specific kitchen design and needs.
In conclusion, replacing wood under your kitchen sink is a crucial step in maintaining a strong and functional foundation for your kitchen. By opting for water-resistant materials and hiring a professional to do the installation, you can not only improve the structural integrity of your kitchen but also enhance its overall design and hygiene. Don't neglect this important aspect of house design and make sure to regularly check and replace any damaged wood under your kitchen sink.


