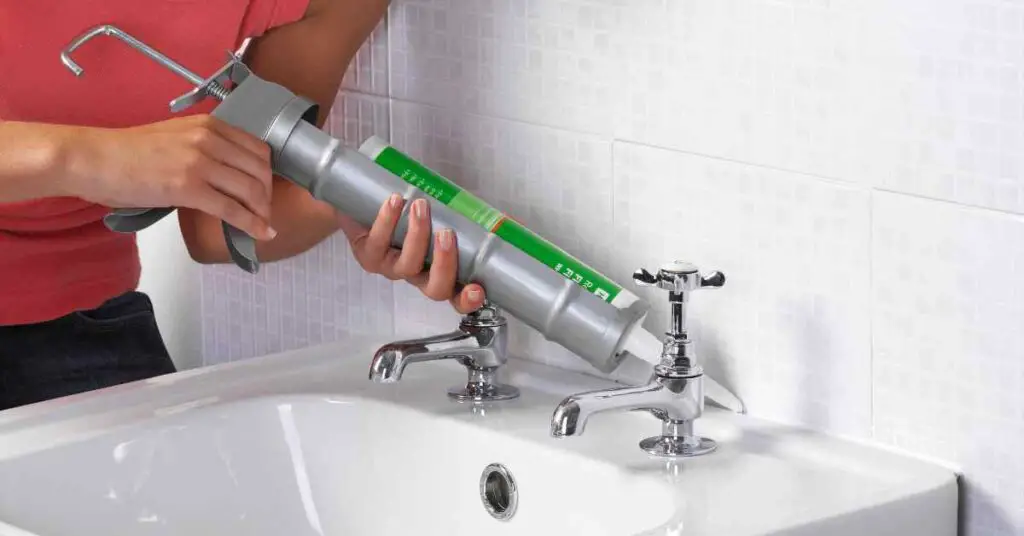
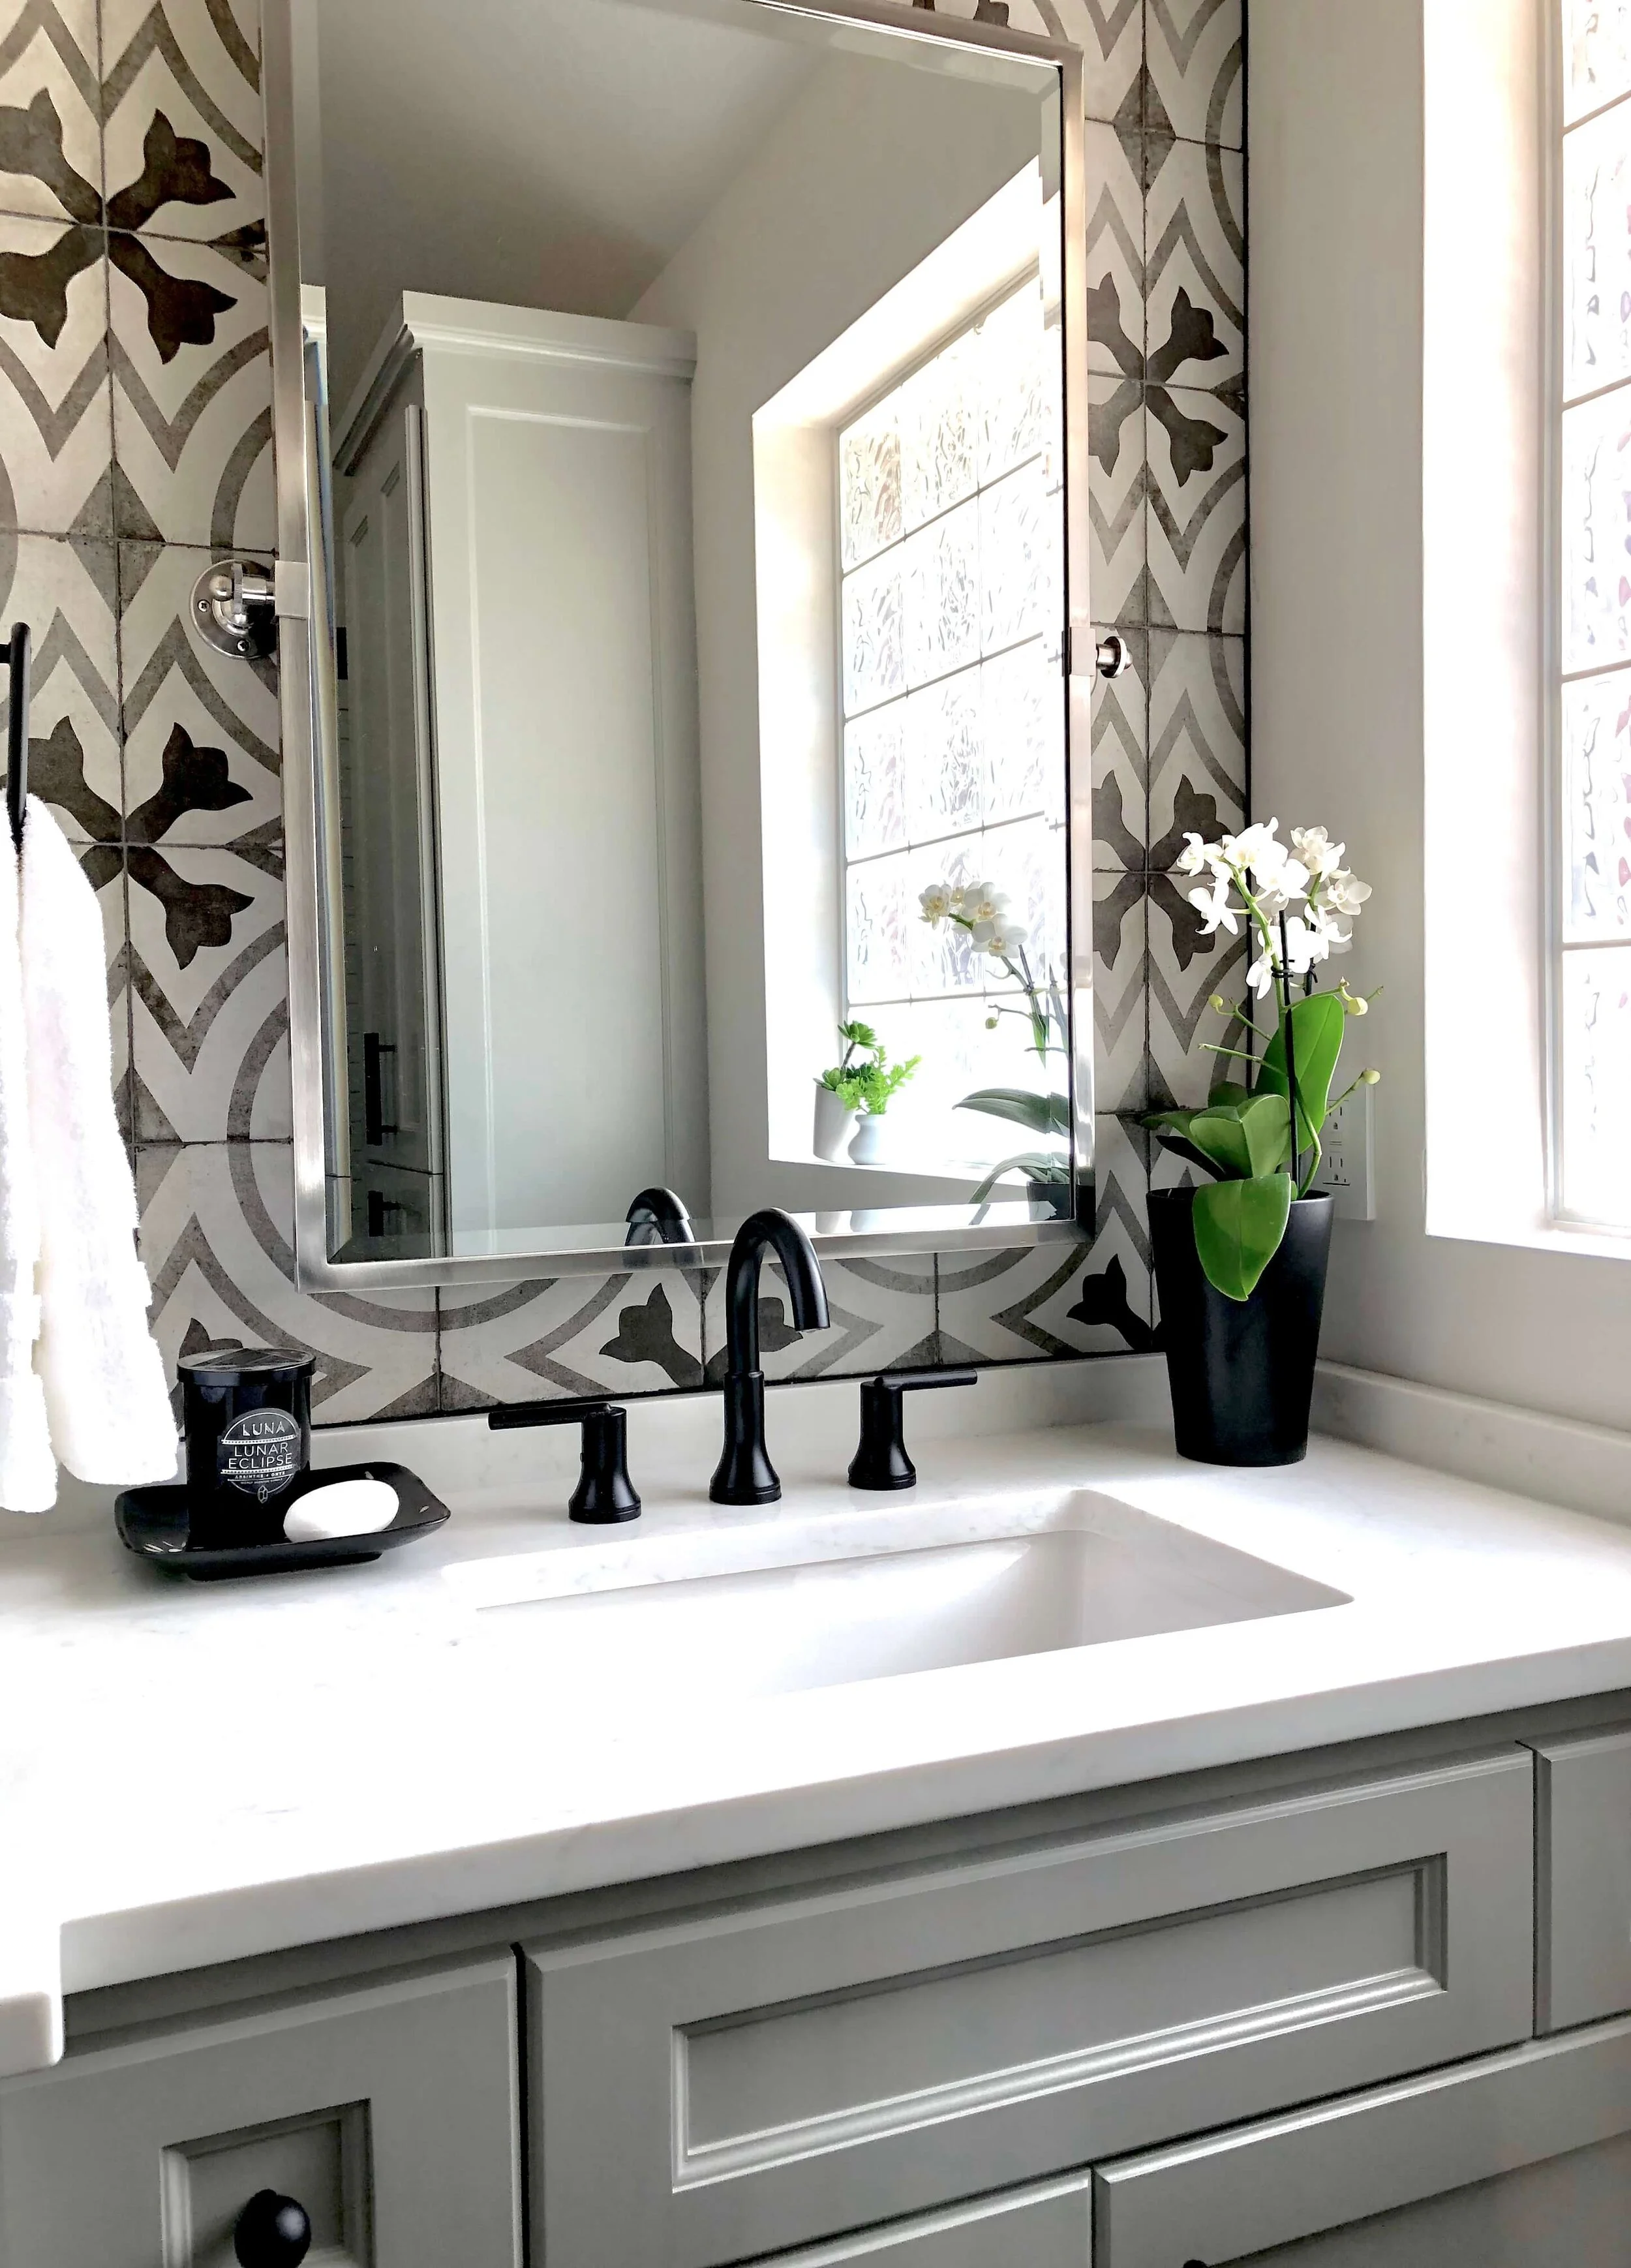
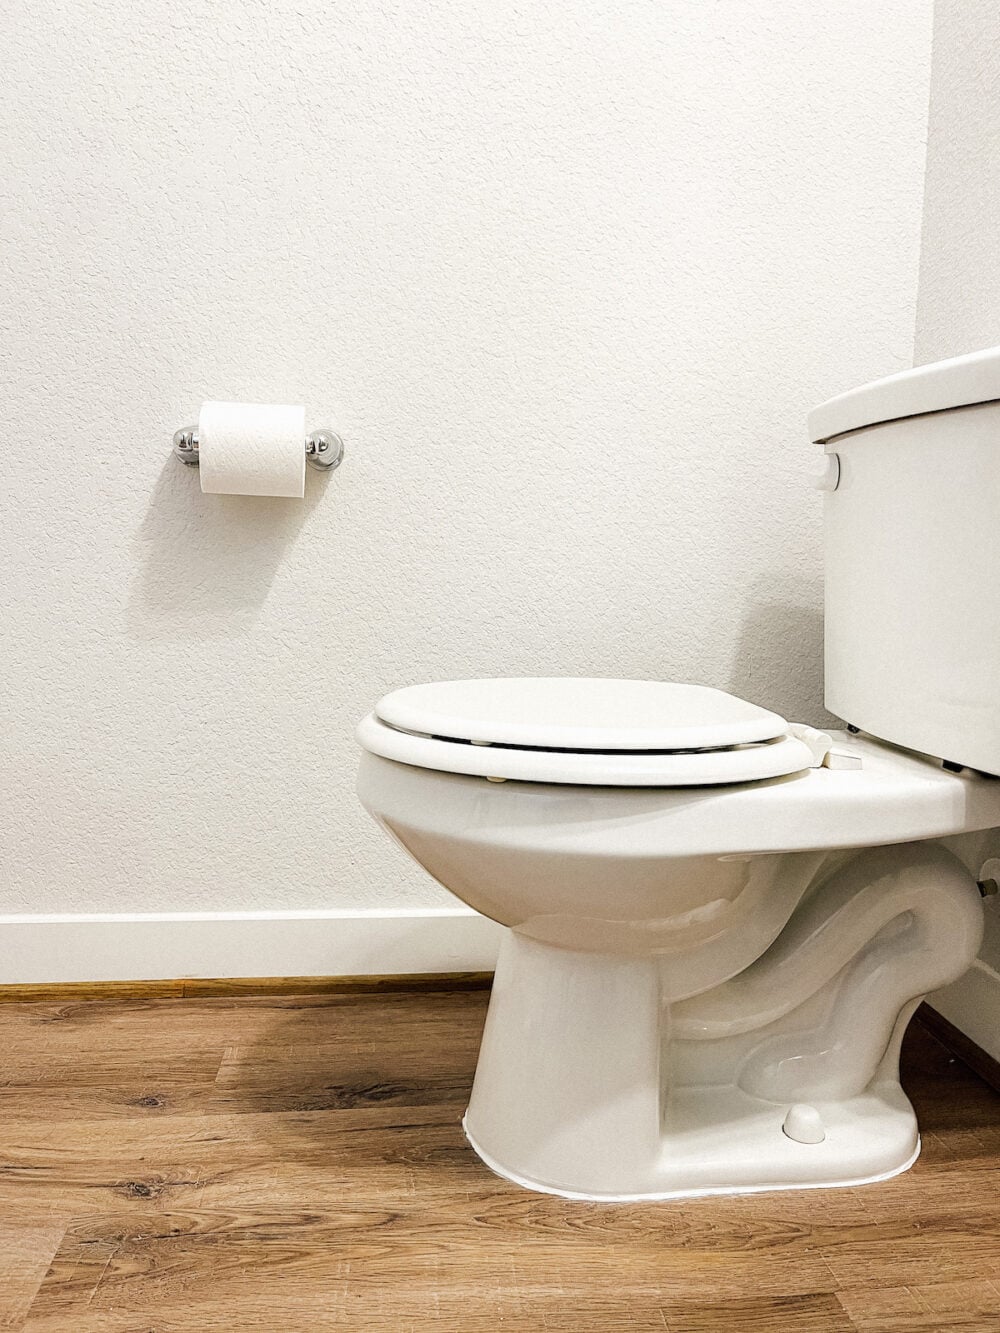
Replacing the caulk around your bathroom sink may seem like a daunting task, but with the right tools and technique, it can be a simple and satisfying DIY project. Not only does it improve the appearance of your sink, but it also helps prevent water damage and mold growth. Follow these steps to learn how to replace caulk around your bathroom sink and keep it looking clean and fresh.How to Replace Caulk Around a Bathroom Sink


How to Replace Caulk Around a Bathroom Sink


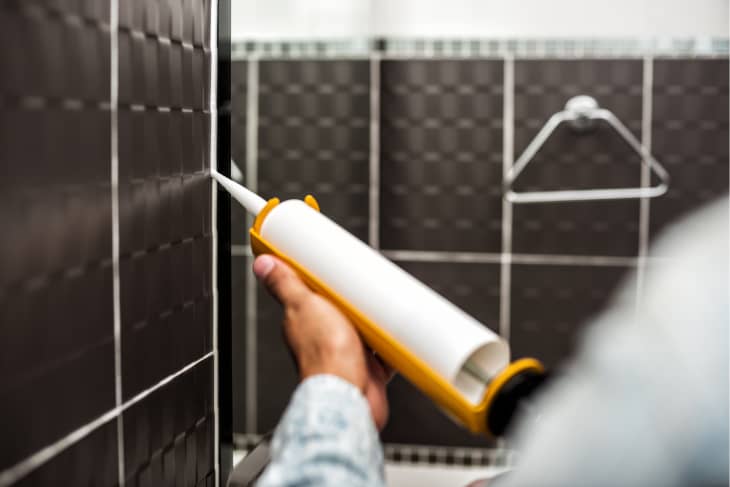
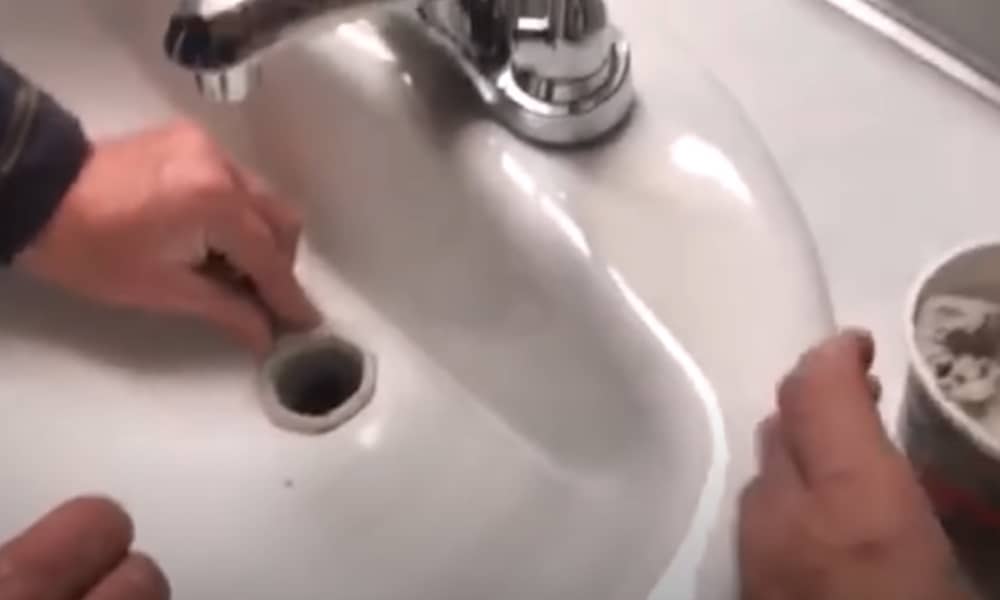
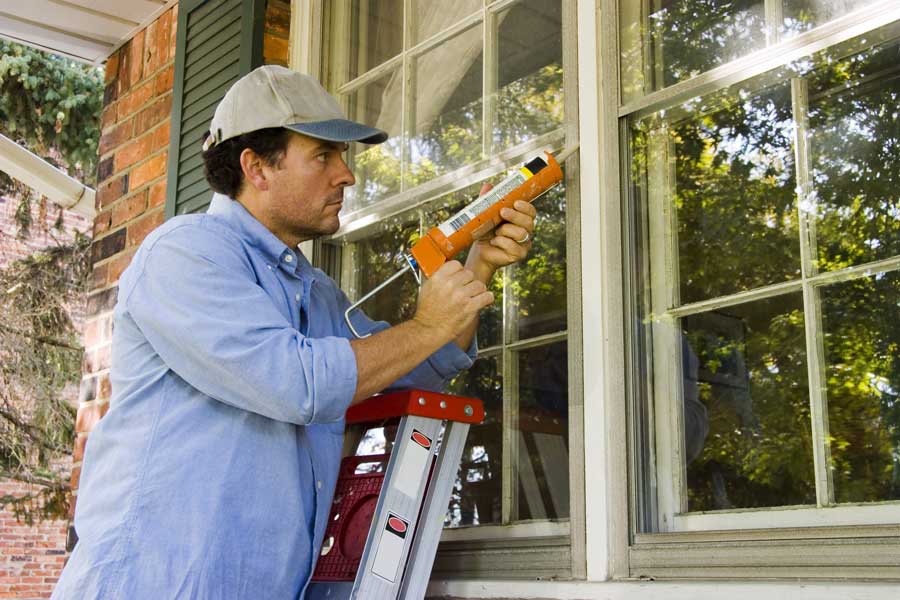
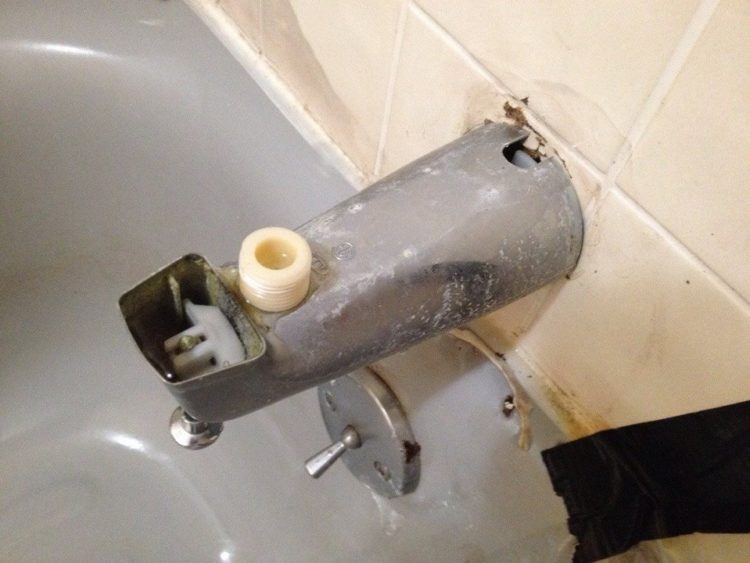
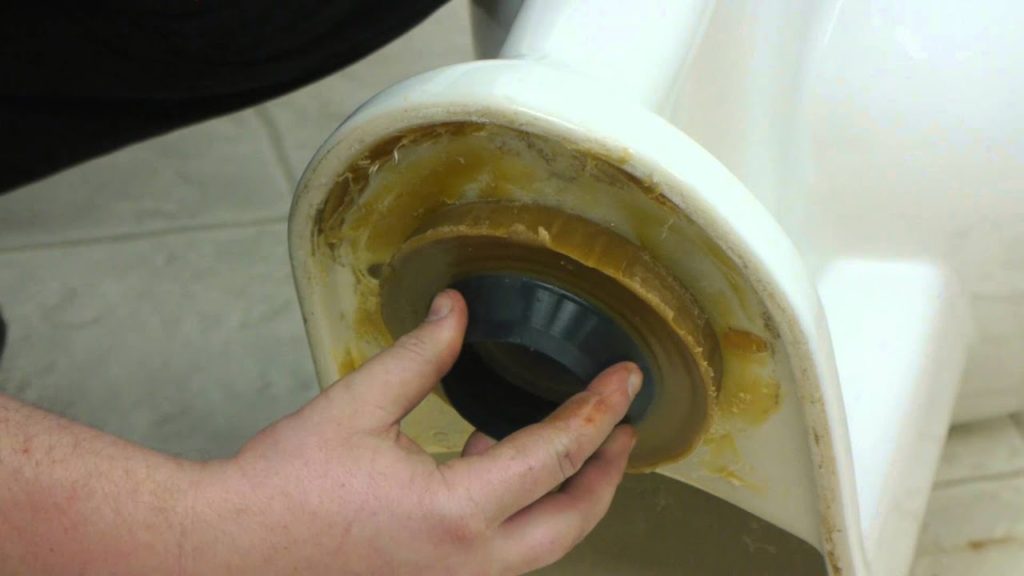
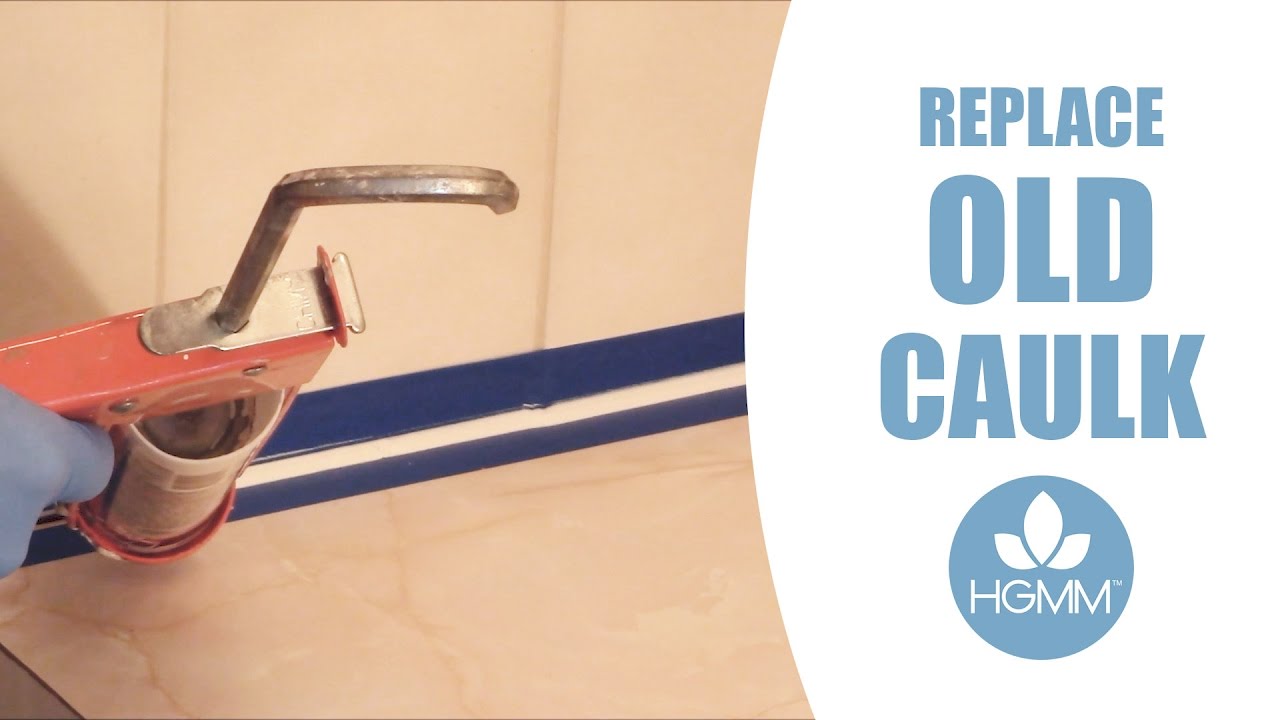
Before starting, gather all the necessary tools and materials. You will need a caulk gun, caulk remover, a utility knife, a putty knife, and a new tube of caulk. It is also helpful to have a clean rag and some rubbing alcohol to wipe down the area before applying the new caulk. Step 1: Remove the Old Caulk Use the caulk remover to soften and loosen the old caulk. Once it is soft, use a putty knife to scrape away the old caulk. Be gentle to avoid damaging the sink or countertop. Once all the old caulk is removed, wipe down the area with a clean rag and rubbing alcohol to remove any residue. Step 2: Prepare the Surface Use a utility knife to remove any remaining bits of old caulk or debris. Make sure the surface is clean and dry before proceeding. Step 3: Cut the Caulk Tube and Load It Into the Caulk Gun Cut the tip of the caulk tube at a 45-degree angle and load it into the caulk gun. Make sure to puncture the seal inside the tube before loading it into the gun. Step 4: Apply the Caulk Hold the caulk gun at a 45-degree angle and apply a steady bead of caulk along the seam between the sink and countertop. Use even pressure to ensure a smooth and consistent line. If you make a mistake, simply wipe away the excess caulk with a damp rag and start again. Step 5: Smooth the Caulk Using your finger or a putty knife, smooth out the caulk to create a neat and even line. Wipe away any excess caulk with a damp rag. Step 6: Let the Caulk Dry Allow the caulk to dry according to the manufacturer's instructions. This usually takes about 24 hours, but it may vary depending on the type of caulk used. Step 7: Clean Up Once the caulk is completely dry, use a damp rag to wipe away any residue. If necessary, touch up any areas that may need additional caulk.Replacing Caulk Around a Bathroom Sink: A Step-by-Step Guide


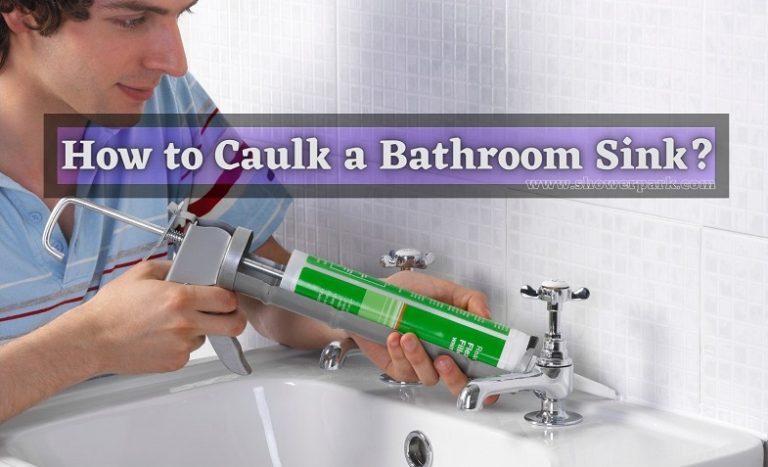
Replacing Caulk Around a Bathroom Sink: A Step-by-Step Guide


Replacing caulk around a bathroom sink is a simple and cost-effective DIY project that can save you time and money in the long run. By following these steps, you can easily replace old, cracked, or discolored caulk and give your bathroom sink a fresh, new look.DIY: Replacing Caulk Around a Bathroom Sink


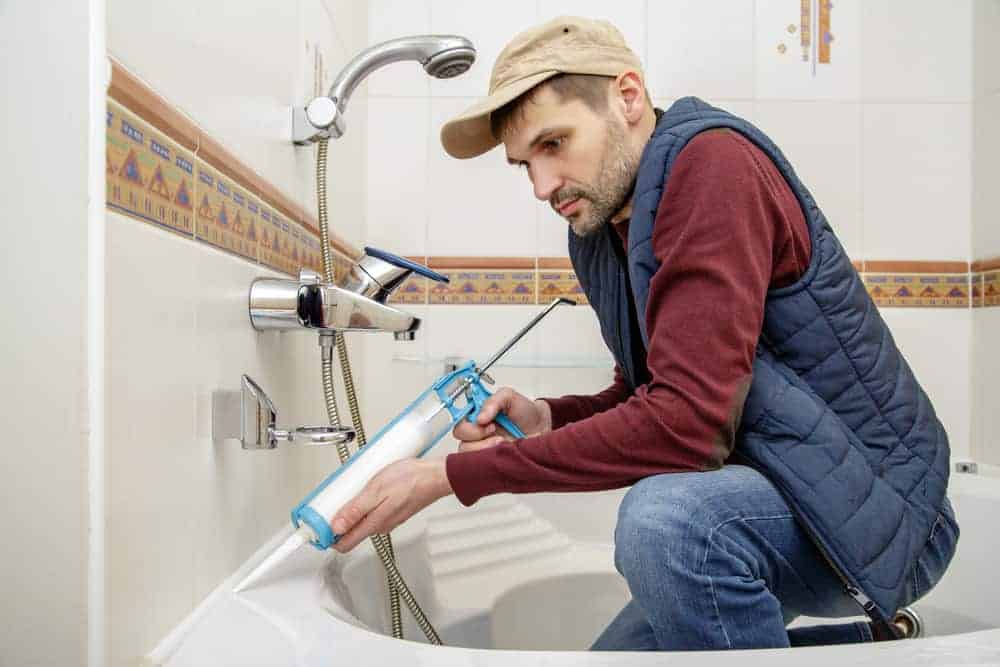
DIY: Replacing Caulk Around a Bathroom Sink


Here are some quick and easy tips to keep in mind when replacing caulk around your bathroom sink:Quick and Easy Tips for Replacing Caulk Around a Bathroom Sink


Quick and Easy Tips for Replacing Caulk Around a Bathroom Sink

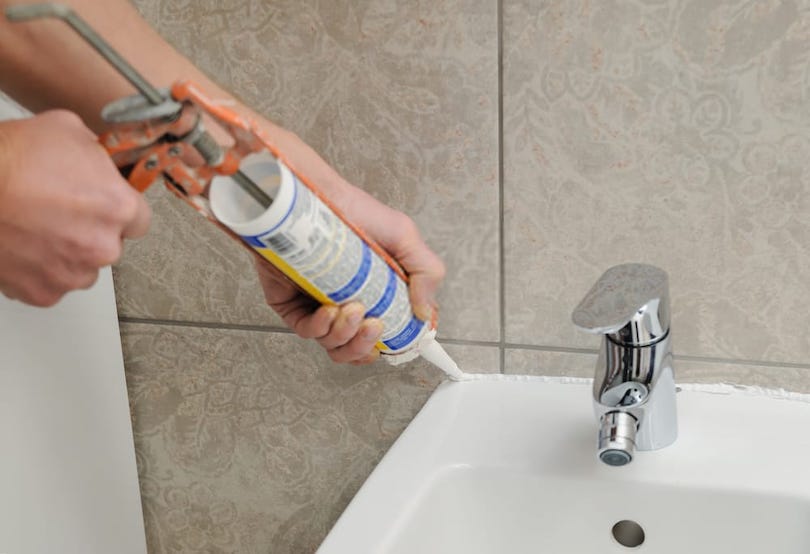
Replacing caulk around a bathroom sink is not just for aesthetic purposes. It also serves an important function in preventing water damage and mold growth. Old or cracked caulk can allow water to seep into the walls or under the sink, causing damage and potentially creating a breeding ground for mold. By regularly replacing caulk, you can avoid costly repairs and keep your bathroom clean and healthy.The Importance of Replacing Caulk Around a Bathroom Sink


The Importance of Replacing Caulk Around a Bathroom Sink

There are many different types of caulk available, so it is important to choose the right one for your bathroom sink. Look for a caulk that is specifically designed for use in bathrooms and is waterproof. Some popular options include silicone caulk and acrylic caulk.Best Caulk for Replacing Around a Bathroom Sink


Best Caulk for Replacing Around a Bathroom Sink


Here are some additional tips from experts to help you achieve a professional and long-lasting result:Expert Tips for Replacing Caulk Around a Bathroom Sink


Expert Tips for Replacing Caulk Around a Bathroom Sink


Replacing caulk around a bathroom sink can be a simple task, but there are some common mistakes that can lead to less than desirable results. Here are some mistakes to avoid:Common Mistakes to Avoid When Replacing Caulk Around a Bathroom Sink


Common Mistakes to Avoid When Replacing Caulk Around a Bathroom Sink


It is recommended to replace caulk around a bathroom sink every 1-2 years. However, if you notice any signs of damage or wear, it is important to replace it immediately to prevent water damage and mold growth.How Often Should You Replace Caulk Around a Bathroom Sink?


How Often Should You Replace Caulk Around a Bathroom Sink?
To successfully replace caulk around a bathroom sink, you will need the following tools and materials:Tools and Materials Needed for Replacing Caulk Around a Bathroom Sink


Tools and Materials Needed for Replacing Caulk Around a Bathroom Sink

Why Replacing Caulk Around Bathroom Sink is Important for a Professional and Well-Designed House

Prevent Water Damage and Mold Growth
 Replacing caulk around your bathroom sink is a crucial step in maintaining a professional and well-designed house. The caulk acts as a barrier between your sink and the surrounding walls and counter, preventing water from seeping in and causing damage. Over time, the caulk can become cracked or worn, allowing water to seep through and potentially cause costly damage to your house. Additionally, water that seeps into the walls or floor can create the perfect environment for mold growth, which can be harmful to your health and difficult to remove. By regularly replacing the caulk around your bathroom sink, you can avoid these issues and keep your house in top shape.
Enhance the Aesthetics of Your Bathroom
 Caulk not only serves a functional purpose but also plays a significant role in the overall aesthetics of your bathroom. As caulk ages, it can become discolored and dirty, making your bathroom appear unkempt and unprofessional. By replacing the caulk, you can instantly refresh the look of your sink and give your bathroom a clean and polished appearance. Additionally, there are now various types and colors of caulk available, allowing you to choose one that best complements the design and style of your bathroom. This small change can make a big difference in the overall look and feel of your house.
Extend the Lifespan of Your Sink
 Another reason to replace caulk around your bathroom sink is to prolong the lifespan of your sink. Water damage caused by old or cracked caulk can lead to rust and corrosion, which can weaken the structure of your sink and shorten its lifespan. By regularly replacing the caulk, you can prevent this damage and ensure that your sink stays in top condition for many years to come. This will also save you money in the long run, as you won't have to replace your sink prematurely due to water damage.
In conclusion,
replacing caulk around your bathroom sink is essential for maintaining a professional and well-designed house. It not only prevents water damage and mold growth but also enhances the aesthetics of your bathroom and extends the lifespan of your sink. Make sure to regularly check and replace any old or damaged caulk to keep your house in top shape.
Another reason to replace caulk around your bathroom sink is to prolong the lifespan of your sink. Water damage caused by old or cracked caulk can lead to rust and corrosion, which can weaken the structure of your sink and shorten its lifespan. By regularly replacing the caulk, you can prevent this damage and ensure that your sink stays in top condition for many years to come. This will also save you money in the long run, as you won't have to replace your sink prematurely due to water damage.
In conclusion,
replacing caulk around your bathroom sink is essential for maintaining a professional and well-designed house. It not only prevents water damage and mold growth but also enhances the aesthetics of your bathroom and extends the lifespan of your sink. Make sure to regularly check and replace any old or damaged caulk to keep your house in top shape.