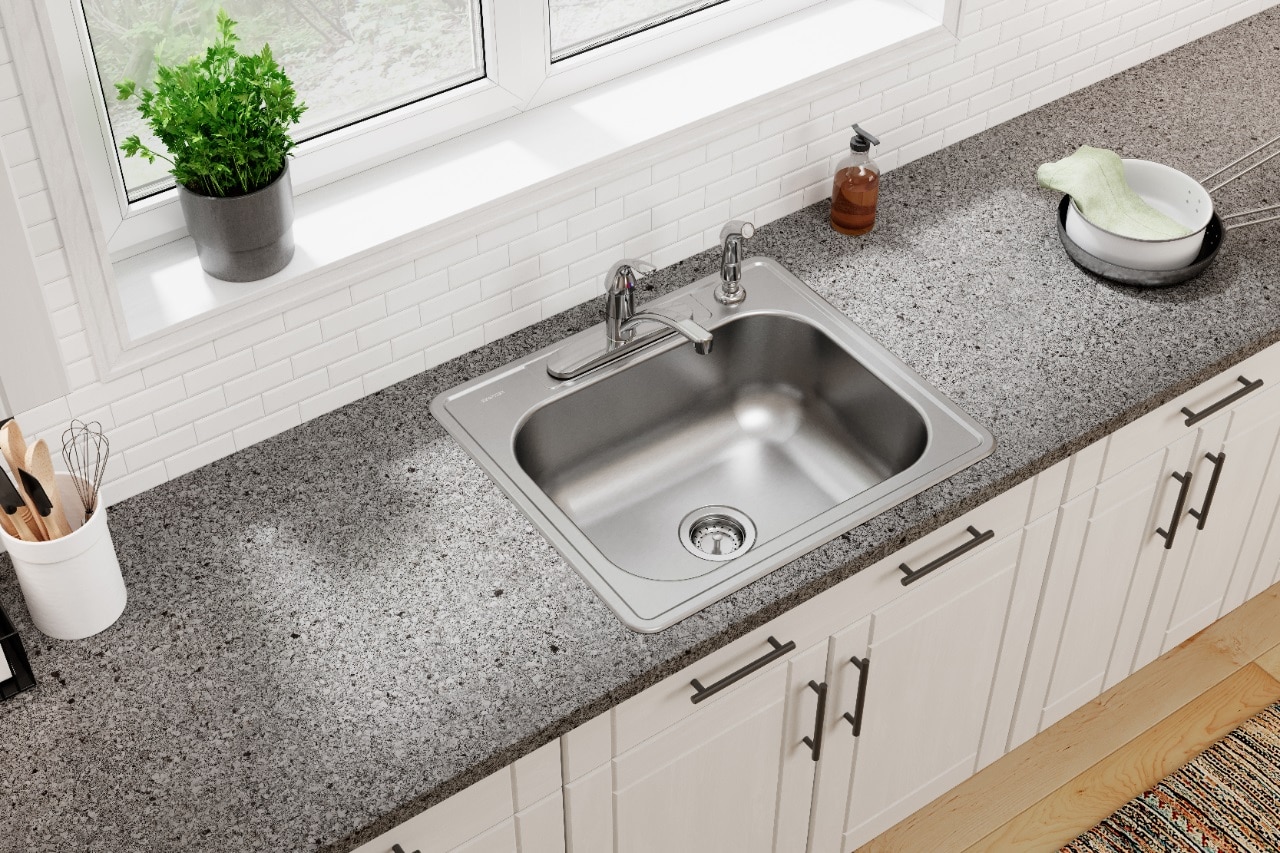
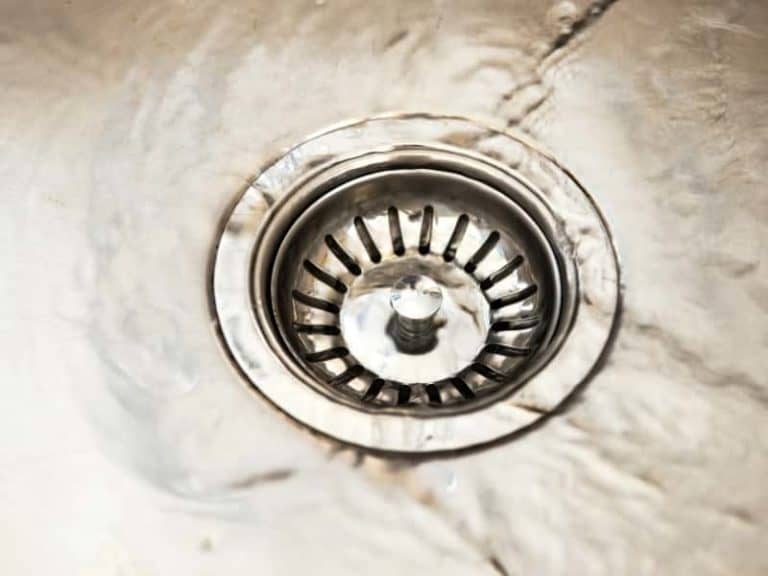
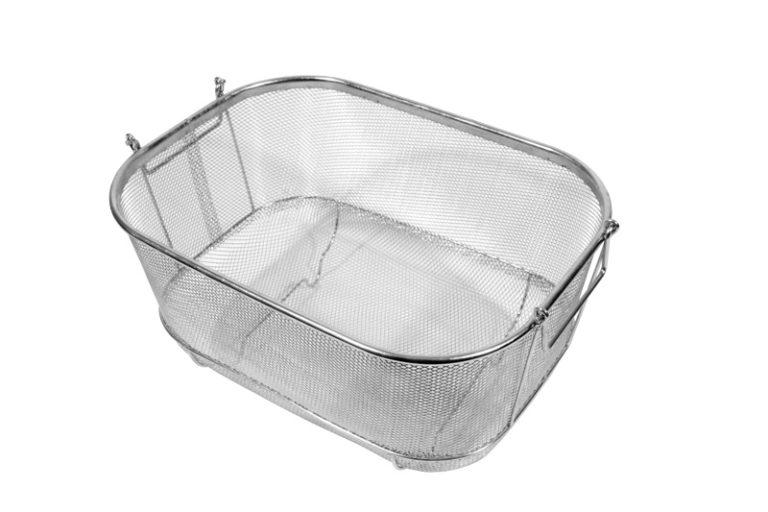
The strainer basket in your kitchen sink is an essential component that prevents food scraps and debris from clogging your plumbing system. Over time, the strainer basket may become worn out or damaged, and it will need to be replaced. This may seem like a daunting task, but with the right tools and knowledge, you can easily replace the strainer basket yourself. In this article, we will provide you with a step-by-step guide on how to replace a strainer basket in a kitchen sink. Let's get started!How to Replace a Strainer Basket in a Kitchen Sink
Replacing a strainer basket in a kitchen sink is a simple task that can save you time and money. By following these steps, you can easily replace the strainer basket without the need for professional help.Replacing a Kitchen Sink Strainer Basket: A DIY Guide
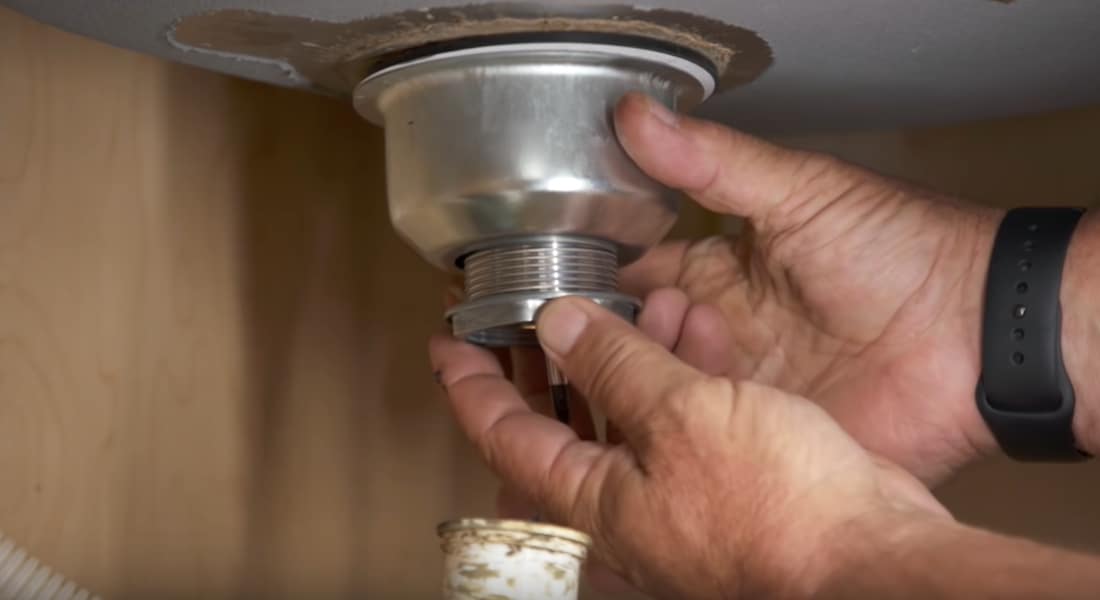
Step 1: The first step is to gather all the necessary tools and materials. You will need a new strainer basket, a plumber's wrench, a screwdriver, and plumber's putty. Step 2: Turn off the water supply to your sink. This can usually be done by turning off the valves under the sink or shutting off the main water supply. Step 3: Place a bucket or container underneath the sink to catch any water that may spill out during the process. Step 4: Using the plumber's wrench, loosen the locknut that holds the strainer basket in place. This may require some effort, so make sure you have a good grip on the wrench. Step 5: Once the locknut is loosened, remove the old strainer basket from the sink. You may need to use a screwdriver to pry it out if it is stuck. Step 6: Clean the area around the sink where the strainer basket was located. This will ensure a clean surface for the new strainer basket to be installed. Step 7: Apply a thin layer of plumber's putty around the edge of the strainer basket. This will create a watertight seal when the new strainer basket is installed. Step 8: Place the new strainer basket into the sink and screw on the locknut from underneath. Use the plumber's wrench to tighten the locknut securely. Step 9: Wipe away any excess putty that may have squeezed out from the edges of the strainer basket. Step 10: Turn the water supply back on and check for any leaks. If there are no leaks, your new strainer basket is successfully installed!Step-by-Step Guide to Replacing a Strainer Basket in a Kitchen Sink
By replacing the strainer basket in your kitchen sink yourself, you can save money on hiring a professional plumber. It is a simple task that can be done in just a few steps. However, if you are not confident in your DIY skills, it is always best to seek professional help.DIY Kitchen Sink Repair: Replacing a Strainer Basket
Tip 1: When choosing a new strainer basket, make sure it is the same size and shape as the old one to ensure a proper fit. Tip 2: To prevent any scratches on your sink, place a cloth or towel underneath the sink when using the plumber's wrench. Tip 3: If the locknut is difficult to loosen, you can use a lubricant such as WD-40 to make it easier.Replacing a Strainer Basket in a Kitchen Sink: Tips and Tricks
Regularly replacing your strainer basket can help maintain the proper functioning of your kitchen sink. It is a simple task that should be done every few years to prevent any potential plumbing problems.Easy Kitchen Sink Maintenance: Replacing a Strainer Basket
Mistake 1: Forgetting to turn off the water supply before starting the process can result in a messy situation. Mistake 2: Not cleaning the area around the sink can result in a poor seal and potential leaks. Mistake 3: Overtightening the locknut can cause damage to the sink and the strainer basket.Replacing a Strainer Basket in a Kitchen Sink: Common Mistakes to Avoid
Tools: Plumber's wrench, screwdriver Materials: New strainer basket, plumber's puttyTools and Materials Needed for Replacing a Strainer Basket in a Kitchen Sink
For a visual demonstration of how to replace a strainer basket in a kitchen sink, check out this helpful video tutorial.Step-by-Step Video Tutorial: Replacing a Strainer Basket in a Kitchen Sink
To ensure a successful replacement of your strainer basket, here are some expert tips to keep in mind: Tip 1: Take your time and be patient when loosening the locknut. Tip 2: Use a good quality plumber's putty to create a strong seal. Tip 3: If you encounter any problems during the process, don't hesitate to call a professional plumber. Now that you know how to replace a strainer basket in a kitchen sink, you can easily tackle this DIY task and keep your sink functioning properly. Remember to regularly check and replace your strainer basket to prevent any potential plumbing issues. Happy repairing!Expert Tips for Replacing a Strainer Basket in a Kitchen Sink
Why Replacing a Strainer Basket is Important for Your Kitchen Sink

The Importance of a Functioning Strainer Basket
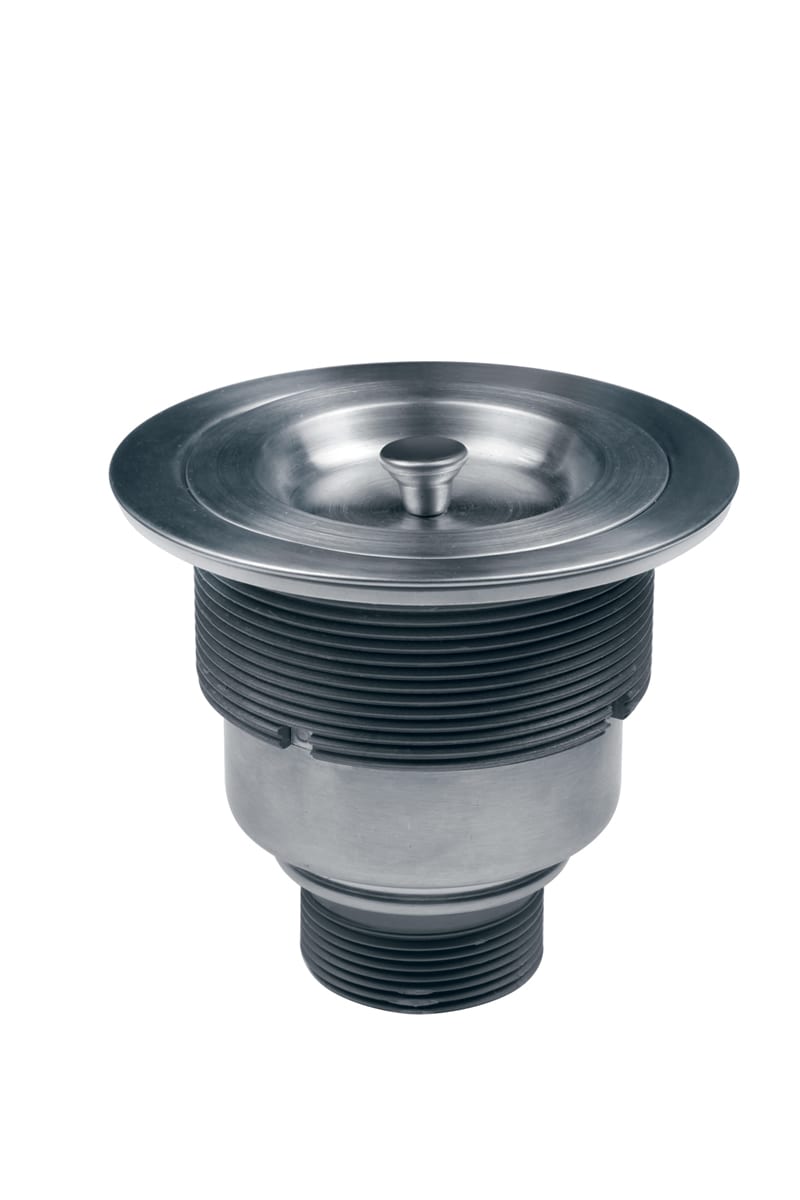
 A strainer basket is an essential component of any kitchen sink. It is a small, removable basket that fits snugly into the drain and catches food scraps, debris, and other particles to prevent them from clogging your pipes. A functioning strainer basket not only helps to keep your sink clean and free from unpleasant odors, but it also protects your plumbing system from potential damage.
Replacing a Damaged Strainer Basket
Over time, a strainer basket can become damaged or worn out due to constant use and exposure to harsh chemicals. If you notice that your sink is taking longer to drain or there is a foul smell coming from your drain, it may be time to replace your strainer basket. Ignoring a damaged strainer basket can lead to bigger plumbing issues, such as blocked pipes, which can be costly to repair.
Choosing the Right Replacement Strainer Basket
When it comes to replacing your strainer basket, it is important to choose the right one for your sink.
Stainless steel
strainer baskets are a popular choice as they are durable, rust-resistant, and easy to clean. They also come in various sizes and designs to match your kitchen sink's style.
Steps to Replace a Strainer Basket
Replacing a strainer basket may seem like a daunting task, but it can be done with some basic tools and DIY skills. The first step is to remove the old strainer basket by unscrewing the locknut underneath your sink. Once the old strainer basket is removed, clean the area thoroughly before installing the new one. Place the new strainer basket into the drain and secure it with the locknut. Finally, test the new strainer basket by running water down the sink to ensure it is working correctly.
In Conclusion
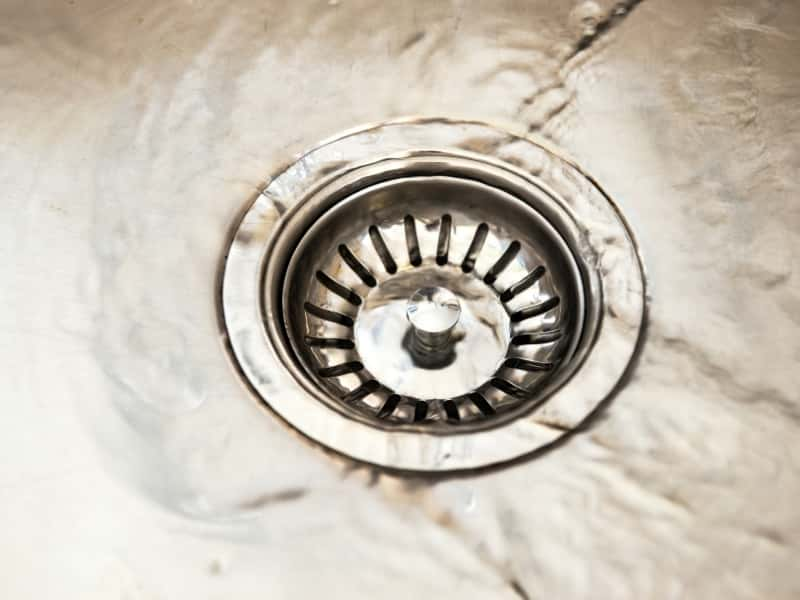 In conclusion, a functioning strainer basket is crucial for maintaining a clean and well-functioning kitchen sink. If you notice any signs of damage or wear and tear, it is important to replace the strainer basket as soon as possible to avoid more significant plumbing issues. By following the simple steps outlined above, you can easily replace your strainer basket and ensure your kitchen sink stays in top condition for years to come.


