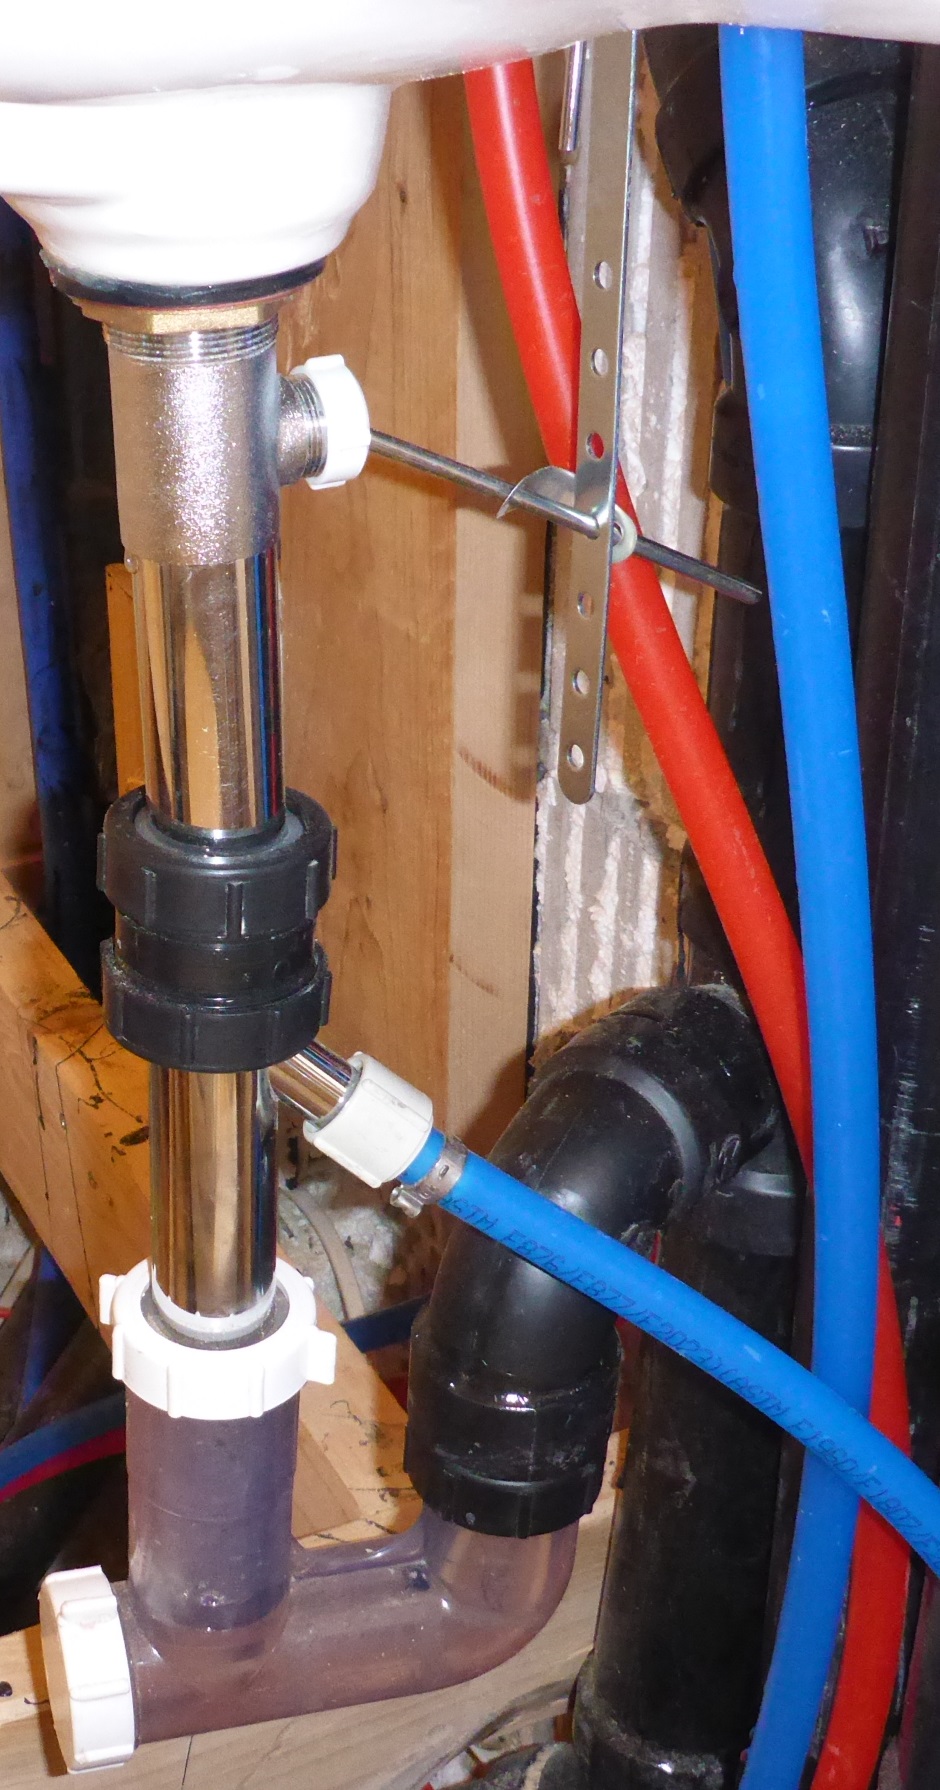
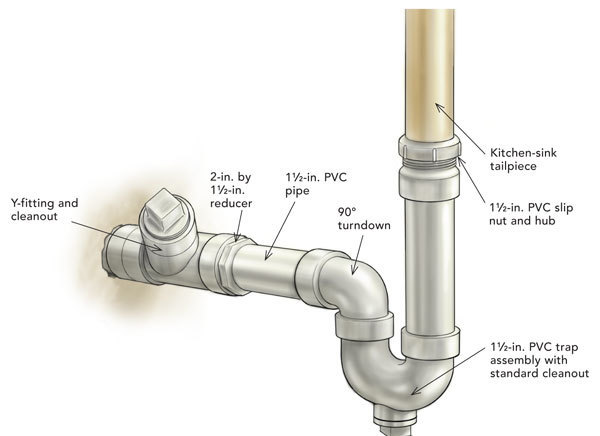
If your bathroom sink is constantly leaking or has started to rust, it may be time to replace the tailpiece. The tailpiece is the pipe that connects the sink drain to the main plumbing line. It is an essential component of your sink and helps to keep the water flowing smoothly. In this article, we will discuss the top 10 tips for replacing a bathroom sink tailpiece.Replace Tailpiece Bathroom Sink


Replace Tailpiece Bathroom Sink


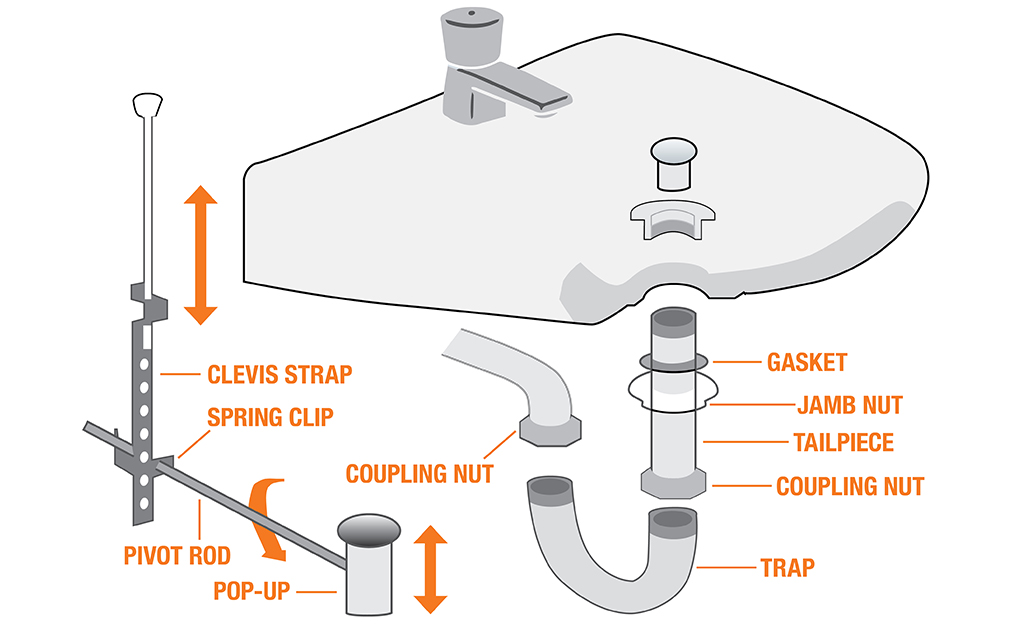
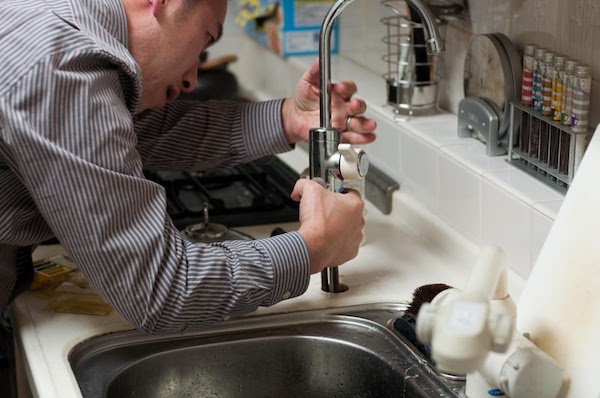
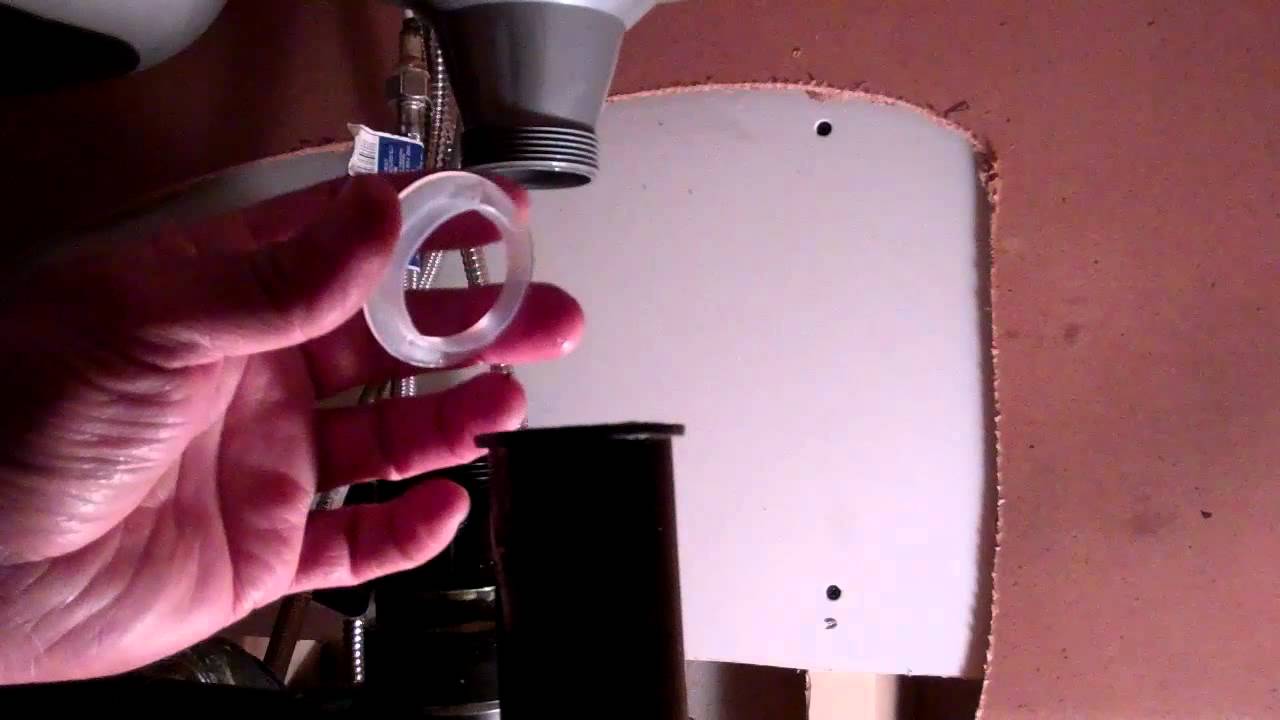
The first step in replacing a bathroom sink tailpiece is to turn off the water supply. You can do this by turning off the water valve under the sink. Next, you will need to remove the old tailpiece. This can be done by loosening the slip nuts at both ends of the tailpiece with a pair of pliers. Once the old tailpiece is removed, you can proceed with installing the new one.How to Replace a Bathroom Sink Tailpiece

How to Replace a Bathroom Sink Tailpiece


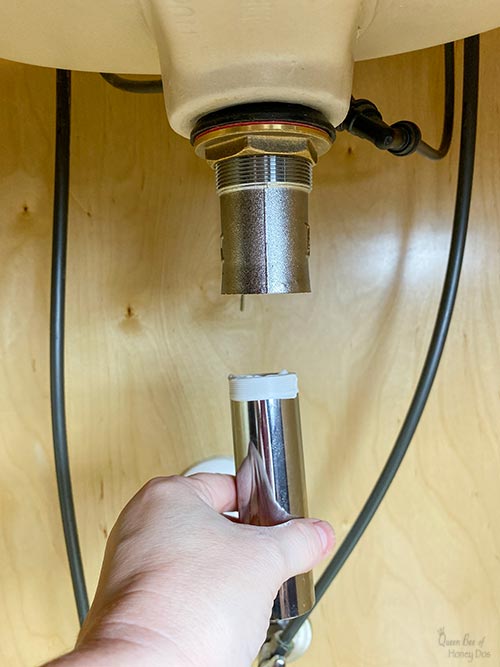
Replacing a bathroom sink tailpiece may seem like a daunting task, but it is actually quite simple. The key is to have the right tools and follow the correct steps. You will need a new tailpiece, slip nuts, washers, and plumber's putty. Make sure to measure the old tailpiece before purchasing the new one to ensure a proper fit.Bathroom Sink Tailpiece Replacement


Bathroom Sink Tailpiece Replacement
/bathroom-sink-drain-installation-2718843-03-6fee5b9d9f7d475abfe06a95ddb1f695.jpg)


Replacing a bathroom sink tailpiece can be done as a DIY project, saving you time and money. With the right tools and a step-by-step guide, you can easily replace the tailpiece yourself. It is important to follow safety precautions and turn off the water supply before beginning the replacement process.DIY Bathroom Sink Tailpiece Replacement


DIY Bathroom Sink Tailpiece Replacement


Step 1: Turn off the water supply Step 2: Remove the old tailpiece Step 3: Clean the sink and drain Step 4: Apply plumber's putty Step 5: Install the new tailpiece Step 6: Tighten the slip nuts Step 7: Turn on the water supply and check for leaksStep-by-Step Guide to Replacing a Bathroom Sink Tailpiece

Step-by-Step Guide to Replacing a Bathroom Sink Tailpiece

/Bathroomsink-GettyImages-73452873-595fb1ce5f9b583f1809c7ad.jpg)
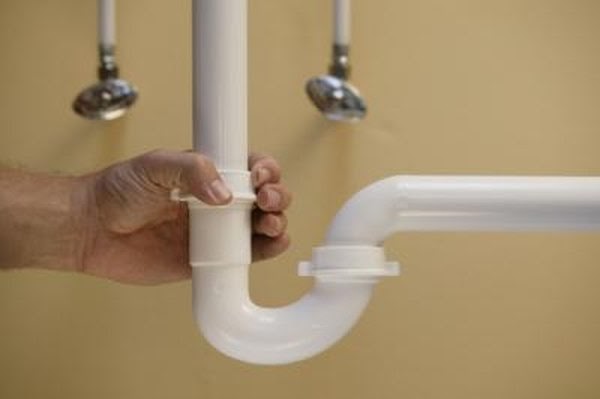
Tip 1: Use a basin wrench for hard-to-reach areas Tip 2: Use Teflon tape to prevent leaks Tip 3: Apply plumber's putty evenly to create a watertight seal Tip 4: Double-check measurements before purchasing a new tailpiece Tip 5: Have a bucket or towel handy to catch any excess waterReplacing a Bathroom Sink Tailpiece: Tips and Tricks


Replacing a Bathroom Sink Tailpiece: Tips and Tricks


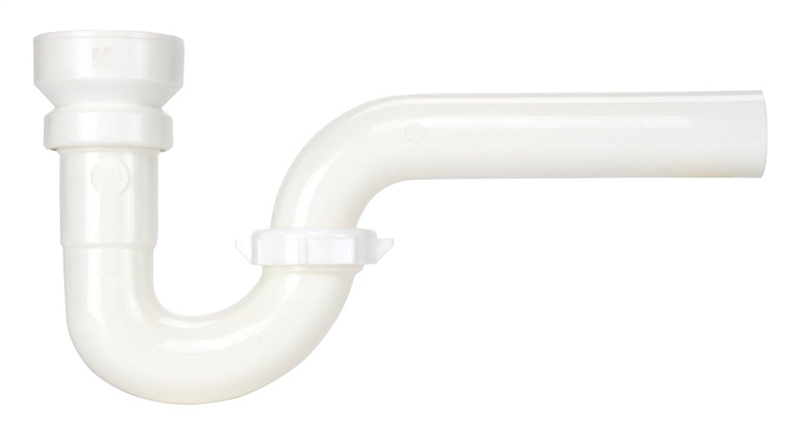
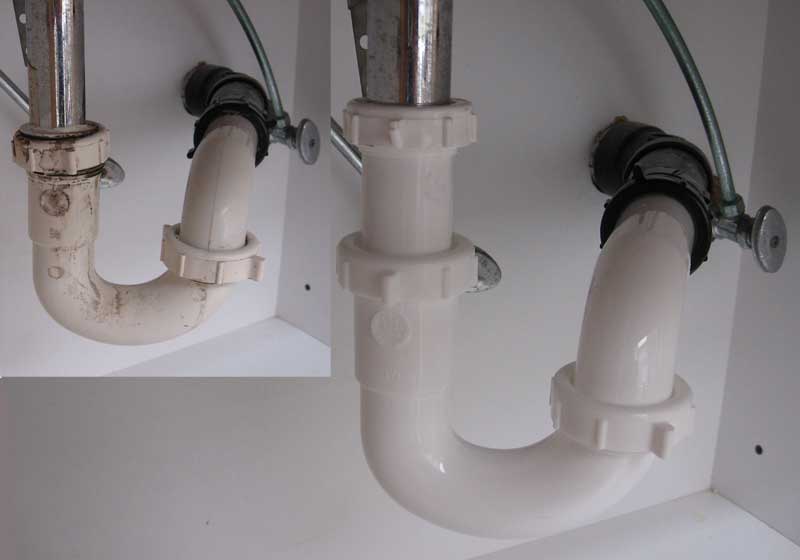
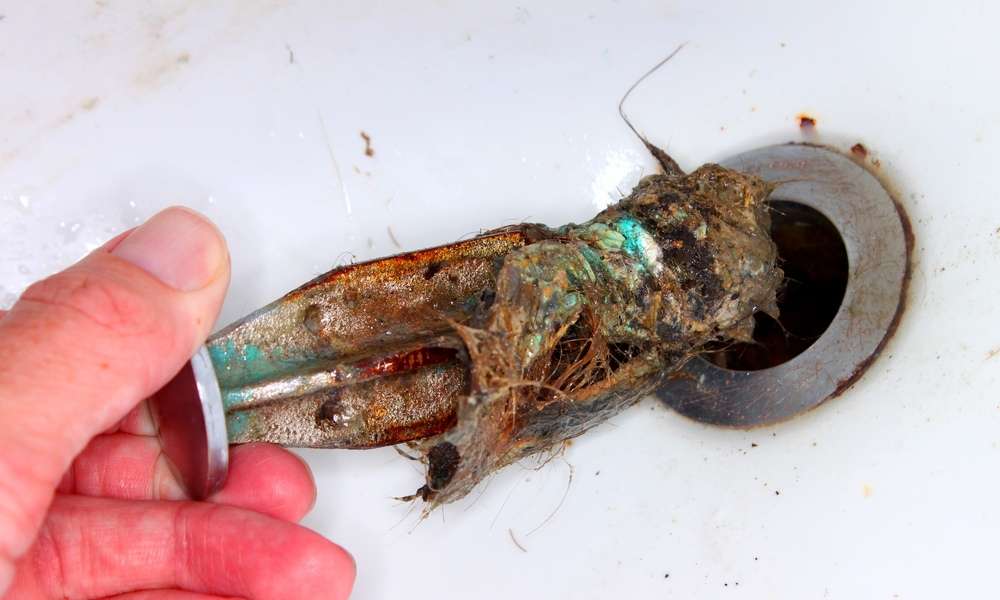
One of the most common problems with bathroom sink tailpieces is leaks. This can be caused by old or worn out slip nuts and washers. In some cases, the tailpiece itself may be cracked or rusted. To replace a leaking tailpiece, follow the steps outlined in the step-by-step guide above.Common Problems with Bathroom Sink Tailpieces and How to Replace Them


Common Problems with Bathroom Sink Tailpieces and How to Replace Them


:max_bytes(150000):strip_icc()/utility-sink-faucet-2718831-07-8bf8ce0db27142f0b9f3b5018e925043.jpg)
Having the right tools can make all the difference when replacing a bathroom sink tailpiece. Some essential tools include pliers, a basin wrench, a pipe wrench, and Teflon tape. It is also helpful to have a bucket or towel to catch any excess water.Best Tools for Replacing a Bathroom Sink Tailpiece

Best Tools for Replacing a Bathroom Sink Tailpiece
:max_bytes(150000):strip_icc()/8_IMG_3767-56a4a2753df78cf772835b72.JPG)

When choosing a replacement tailpiece for your bathroom sink, it is important to ensure that it is the correct size and material. You can measure the old tailpiece or consult a plumbing expert for assistance. It is also important to choose high-quality materials to ensure a long-lasting replacement.How to Choose the Right Replacement Tailpiece for Your Bathroom Sink

How to Choose the Right Replacement Tailpiece for Your Bathroom Sink


If you are unsure about replacing a bathroom sink tailpiece on your own, it is always best to seek expert advice. A professional plumber can guide you through the process and ensure that the replacement is done correctly. They can also offer tips and tricks to help make the process easier. In conclusion, replacing a bathroom sink tailpiece may seem like a daunting task, but with the right tools and knowledge, it can be done as a DIY project. Remember to always follow safety precautions and consult a professional if needed. With these top 10 tips, you can easily replace a bathroom sink tailpiece and have your sink functioning like new in no time.Expert Advice on Replacing a Bathroom Sink Tailpiece


Expert Advice on Replacing a Bathroom Sink Tailpiece
Why You Should Replace Your Tailpiece Bathroom Sink
A Functional and Aesthetic Upgrade
 Replacing your
tailpiece bathroom sink
may not be the first thing that comes to mind when thinking of house design, but it can make a significant impact on both the functionality and aesthetics of your bathroom. The tailpiece is the part that connects your sink to the drain and carries away the used water. It may seem like a small and insignificant component, but it plays a crucial role in keeping your bathroom running smoothly.
Over time, tailpieces can become worn or damaged, causing leaks and clogs that can lead to costly repairs.
They can also become discolored and rusty, which can make your bathroom look outdated and unappealing. By replacing your tailpiece, you not only improve the functionality of your sink but also give your bathroom a fresh and updated look.
Replacing your
tailpiece bathroom sink
may not be the first thing that comes to mind when thinking of house design, but it can make a significant impact on both the functionality and aesthetics of your bathroom. The tailpiece is the part that connects your sink to the drain and carries away the used water. It may seem like a small and insignificant component, but it plays a crucial role in keeping your bathroom running smoothly.
Over time, tailpieces can become worn or damaged, causing leaks and clogs that can lead to costly repairs.
They can also become discolored and rusty, which can make your bathroom look outdated and unappealing. By replacing your tailpiece, you not only improve the functionality of your sink but also give your bathroom a fresh and updated look.
Efficient Water Usage
 Replacing your tailpiece bathroom sink can also help you save on your water bill. Old and worn tailpieces can cause leaks, which can lead to wasted water and increased costs. By installing a new tailpiece, you ensure that your sink is functioning properly and efficiently, reducing the risk of leaks and water waste. This not only benefits your wallet but also the environment.
Easy DIY Project
 Replacing your tailpiece bathroom sink is a relatively simple and cost-effective DIY project that can be completed in just a few steps.
With the right tools and materials, you can easily remove the old tailpiece and install a new one yourself. This not only saves you money on hiring a professional but also gives you the satisfaction of completing a home improvement project on your own.
In conclusion, replacing your tailpiece bathroom sink is a smart and beneficial decision for any homeowner looking to improve their house design. Not only does it enhance the functionality and aesthetics of your bathroom, but it also promotes efficient water usage and can be done as a simple DIY project. Don't overlook the importance of this small but essential component in your bathroom and consider upgrading to a new, modern tailpiece today.
Replacing your tailpiece bathroom sink is a relatively simple and cost-effective DIY project that can be completed in just a few steps.
With the right tools and materials, you can easily remove the old tailpiece and install a new one yourself. This not only saves you money on hiring a professional but also gives you the satisfaction of completing a home improvement project on your own.
In conclusion, replacing your tailpiece bathroom sink is a smart and beneficial decision for any homeowner looking to improve their house design. Not only does it enhance the functionality and aesthetics of your bathroom, but it also promotes efficient water usage and can be done as a simple DIY project. Don't overlook the importance of this small but essential component in your bathroom and consider upgrading to a new, modern tailpiece today.