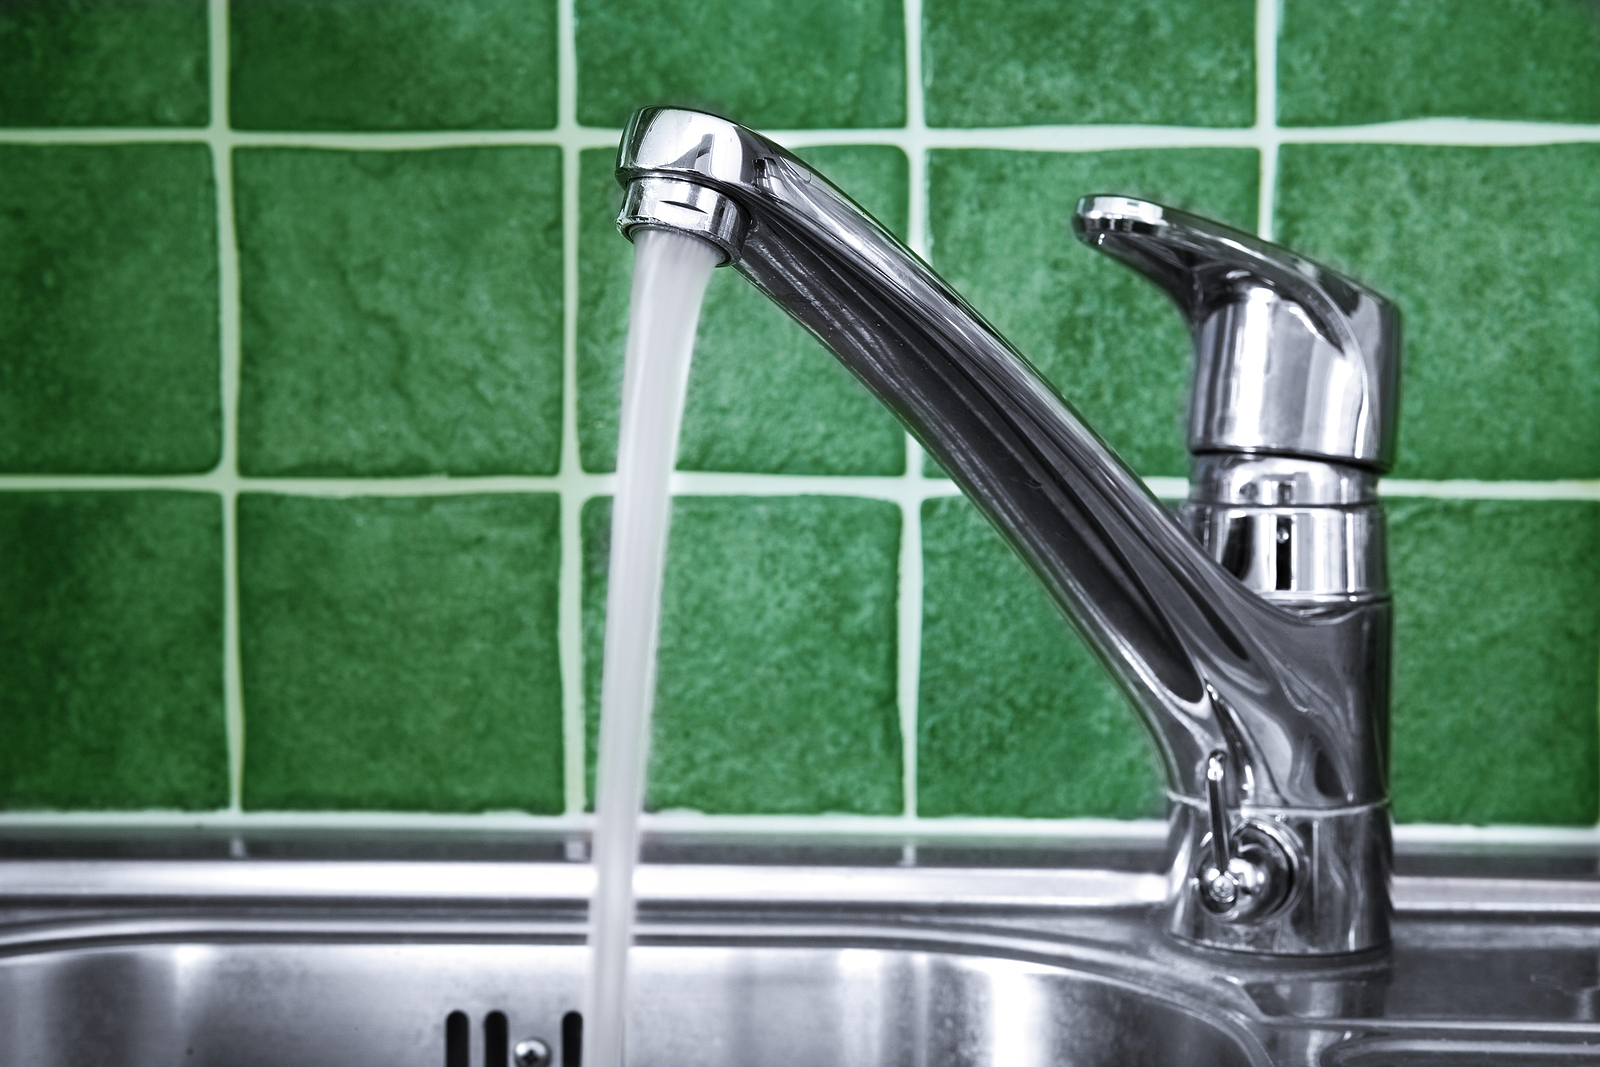
Is your kitchen sink faucet leaking? It may be time to replace the seals. Over time, the seals on your faucet can wear out, causing leaks and potentially damaging your sink and cabinets. Don't worry, replacing the seals is a simple DIY project that can save you time and money. In this guide, we'll show you how to replace kitchen sink faucet seals like a pro.How to Replace Kitchen Sink Faucet Seals


How to Replace Kitchen Sink Faucet Seals


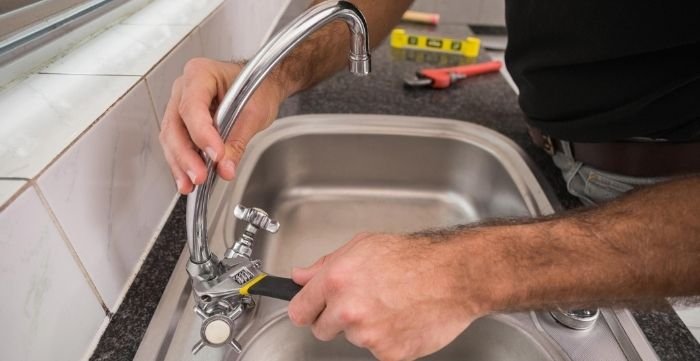
Before you get started, gather your tools and materials. You'll need a new set of seals, an adjustable wrench, a screwdriver, and plumber's tape. Once you have everything you need, follow these steps: Step 1: Shut off the water supply to your kitchen sink. You can usually do this by turning the shut-off valves located under the sink in a clockwise direction. Step 2: Next, remove the handle of your faucet by loosening the set screw and pulling it off. Step 3: Use your adjustable wrench to loosen and remove the mounting nuts that hold the faucet in place. You may need to use a basin wrench if the nuts are hard to reach. Step 4: Once the faucet is loose, lift it out of the sink and set it aside. Step 5: Now, you can access the seals located at the base of the faucet. Use your screwdriver to remove the old seals and replace them with the new ones. Step 6: Apply plumber's tape to the threads of the faucet and reattach it to the sink, securing it with the mounting nuts. Step 7: Finally, reattach the handle and turn the water supply back on. Check for any leaks and tighten any connections if necessary.Replacing Kitchen Sink Faucet Seals: A Step-by-Step Guide


Replacing Kitchen Sink Faucet Seals: A Step-by-Step Guide


Replacing your kitchen sink faucet seals is a simple DIY project that can be done in just a few steps. Not only will it save you money on a plumber, but it will also give you a sense of accomplishment knowing you fixed the problem yourself.DIY: Replacing Kitchen Sink Faucet Seals

DIY: Replacing Kitchen Sink Faucet Seals


Here are a few tips and tricks to keep in mind when replacing your kitchen sink faucet seals: Tip 1: Take a picture of the faucet before taking it apart. This will help you remember how everything goes back together. Tip 2: Clean the area under the faucet before reattaching it. This will prevent any debris from getting stuck in the seals. Tip 3: Use a small amount of plumber's grease on the seals for a better seal and to make them easier to remove in the future.Replacing Kitchen Sink Faucet Seals: Tips and Tricks


Replacing Kitchen Sink Faucet Seals: Tips and Tricks


:max_bytes(150000):strip_icc()/utility-sink-faucet-2718831-hero-85feab9ab9fc4c8498483e418fd8c82c.jpg)
For a quick and easy reference, here is a step-by-step guide to replacing your kitchen sink faucet seals: Step 1: Shut off the water supply. Step 2: Remove the handle of the faucet. Step 3: Loosen and remove the mounting nuts. Step 4: Lift the faucet out of the sink. Step 5: Replace the seals. Step 6: Reattach the faucet to the sink. Step 7: Turn the water supply back on and check for leaks.Step-by-Step Guide to Replacing Kitchen Sink Faucet Seals

Step-by-Step Guide to Replacing Kitchen Sink Faucet Seals


If you've never replaced kitchen sink faucet seals before, it can seem like a daunting task. However, with the right tools and a little bit of knowledge, it can be done in no time. Remember to shut off the water supply, take your time, and don't be afraid to ask for help if needed.Replacing Kitchen Sink Faucet Seals: What You Need to Know


Replacing Kitchen Sink Faucet Seals: What You Need to Know


When replacing your kitchen sink faucet seals, there are a few common mistakes to watch out for: Mistake 1: Not turning off the water supply. This can lead to a flooded kitchen and potential water damage. Mistake 2: Forgetting to use plumber's tape. This can cause leaks and create a weak seal. Mistake 3: Over-tightening the mounting nuts. This can cause damage to the faucet and the sink.Replacing Kitchen Sink Faucet Seals: Common Mistakes to Avoid


Replacing Kitchen Sink Faucet Seals: Common Mistakes to Avoid

With these tips and tricks, you now have the knowledge and skills to replace your kitchen sink faucet seals like a pro. Remember to take your time, follow the steps carefully, and don't be afraid to ask for help if needed.How to Replace Kitchen Sink Faucet Seals Like a Pro


How to Replace Kitchen Sink Faucet Seals Like a Pro


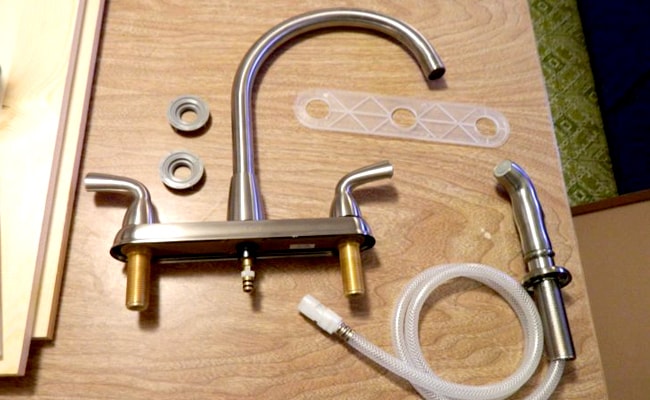
To successfully replace your kitchen sink faucet seals, you'll need the following tools and materials: Tools: adjustable wrench, screwdriver, basin wrench (if necessary). Materials: new seals, plumber's tape, plumber's grease (optional).Replacing Kitchen Sink Faucet Seals: Tools and Materials You'll Need
Replacing Kitchen Sink Faucet Seals: Tools and Materials You'll Need


If you encounter any issues while replacing your kitchen sink faucet seals, here are some troubleshooting tips: Issue 1: The faucet is still leaking after replacing the seals. Try tightening the connections or replacing the seals again. Issue 2: The faucet is difficult to remove. Use a basin wrench to reach the mounting nuts. Issue 3: The faucet won't turn on after reattaching it. Check to make sure the water supply is turned on and try again. Now that you know how to replace kitchen sink faucet seals, you can tackle this DIY project with confidence. Remember to take your time and follow the steps carefully for a successful and leak-free result. Happy fixing!Replacing Kitchen Sink Faucet Seals: Troubleshooting Common Issues

Replacing Kitchen Sink Faucet Seals: Troubleshooting Common Issues


Why Replacing Kitchen Sink Faucet Seals is Essential for a Functional and Beautiful Kitchen

The Importance of Maintaining Your Kitchen
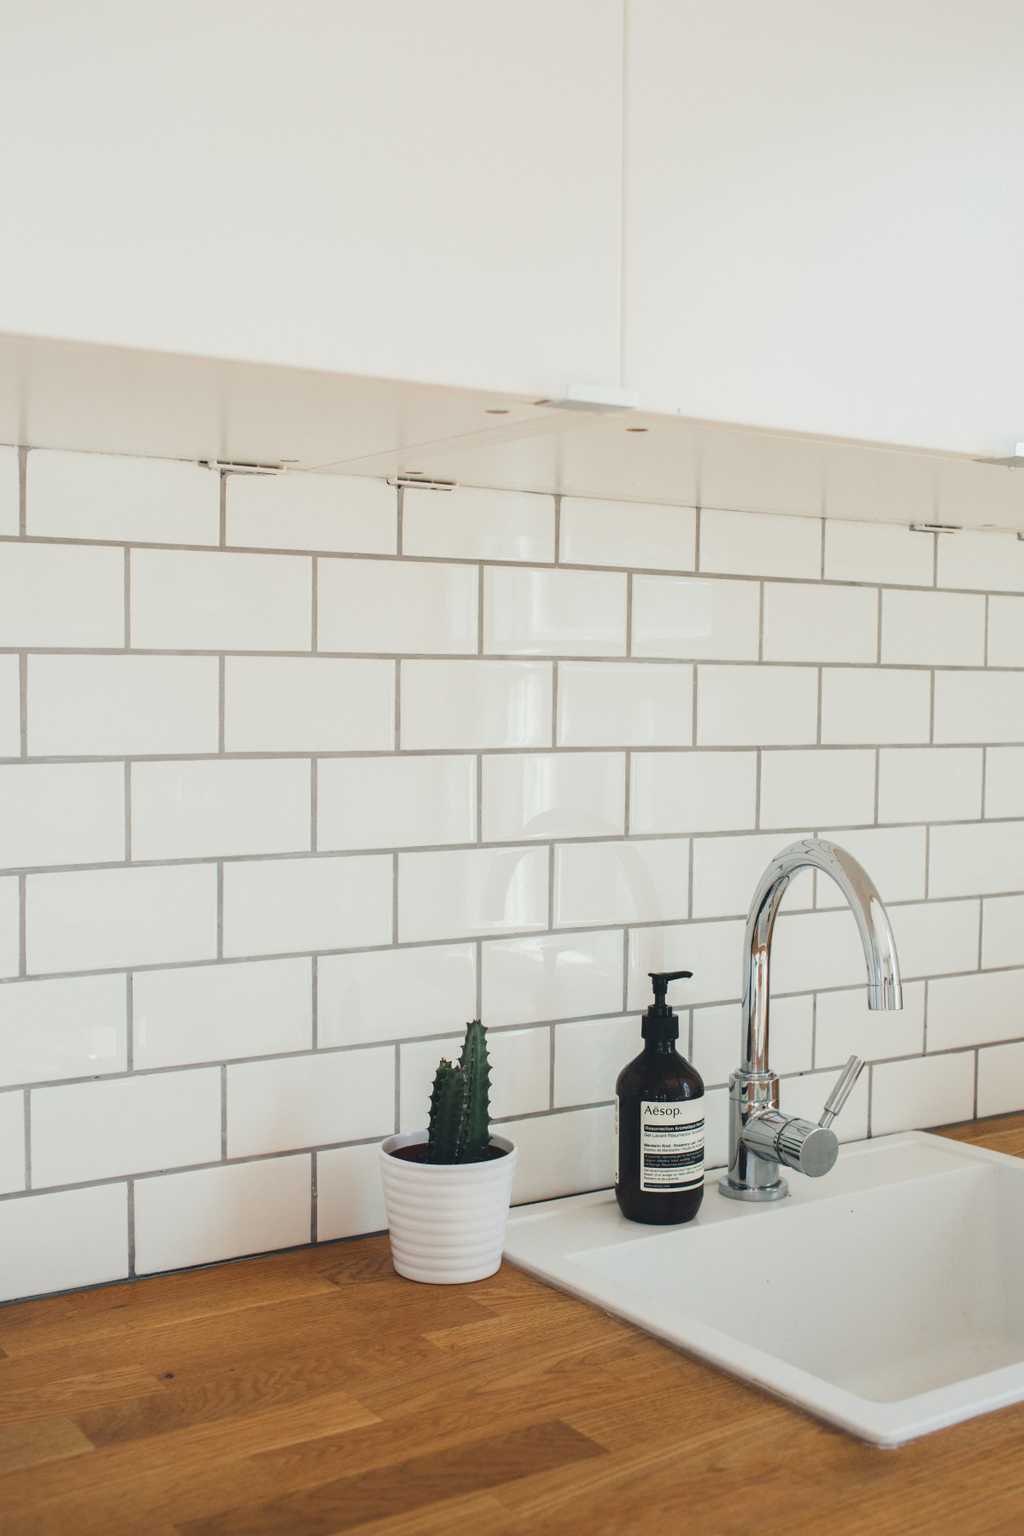
 The kitchen is often considered the heart of the home, and for good reason. It's where we gather to cook, eat, and spend time with family and friends. That's why it's important to keep this space functional, efficient, and aesthetically pleasing. One key component of a well-maintained kitchen is the sink faucet. Over time, the seals in your kitchen sink faucet can wear out, causing leaks and other issues. This not only leads to a messy and frustrating experience, but it can also damage your kitchen's overall design. That's why it's important to regularly check and replace the seals in your kitchen sink faucet.
The Role of Faucet Seals in Your Kitchen Sink
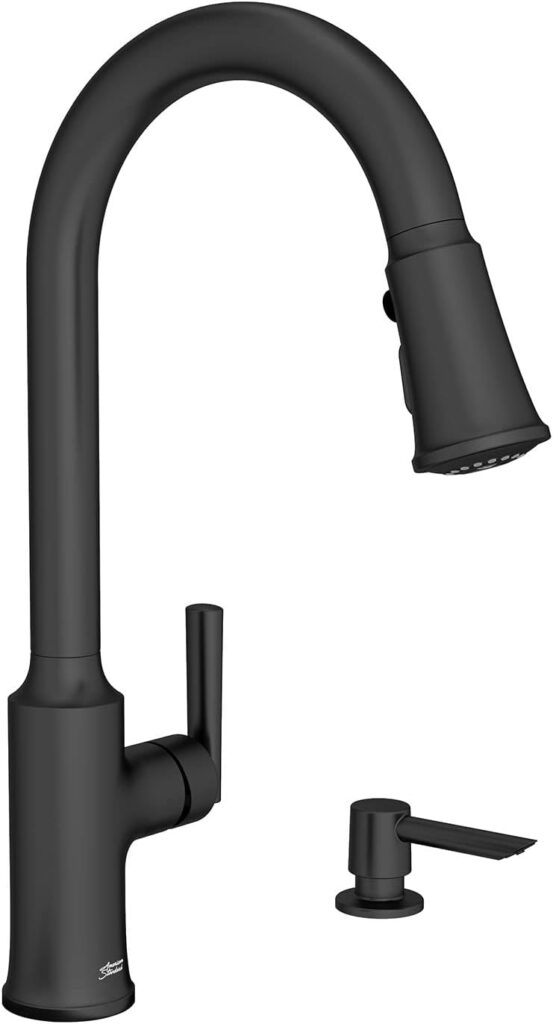
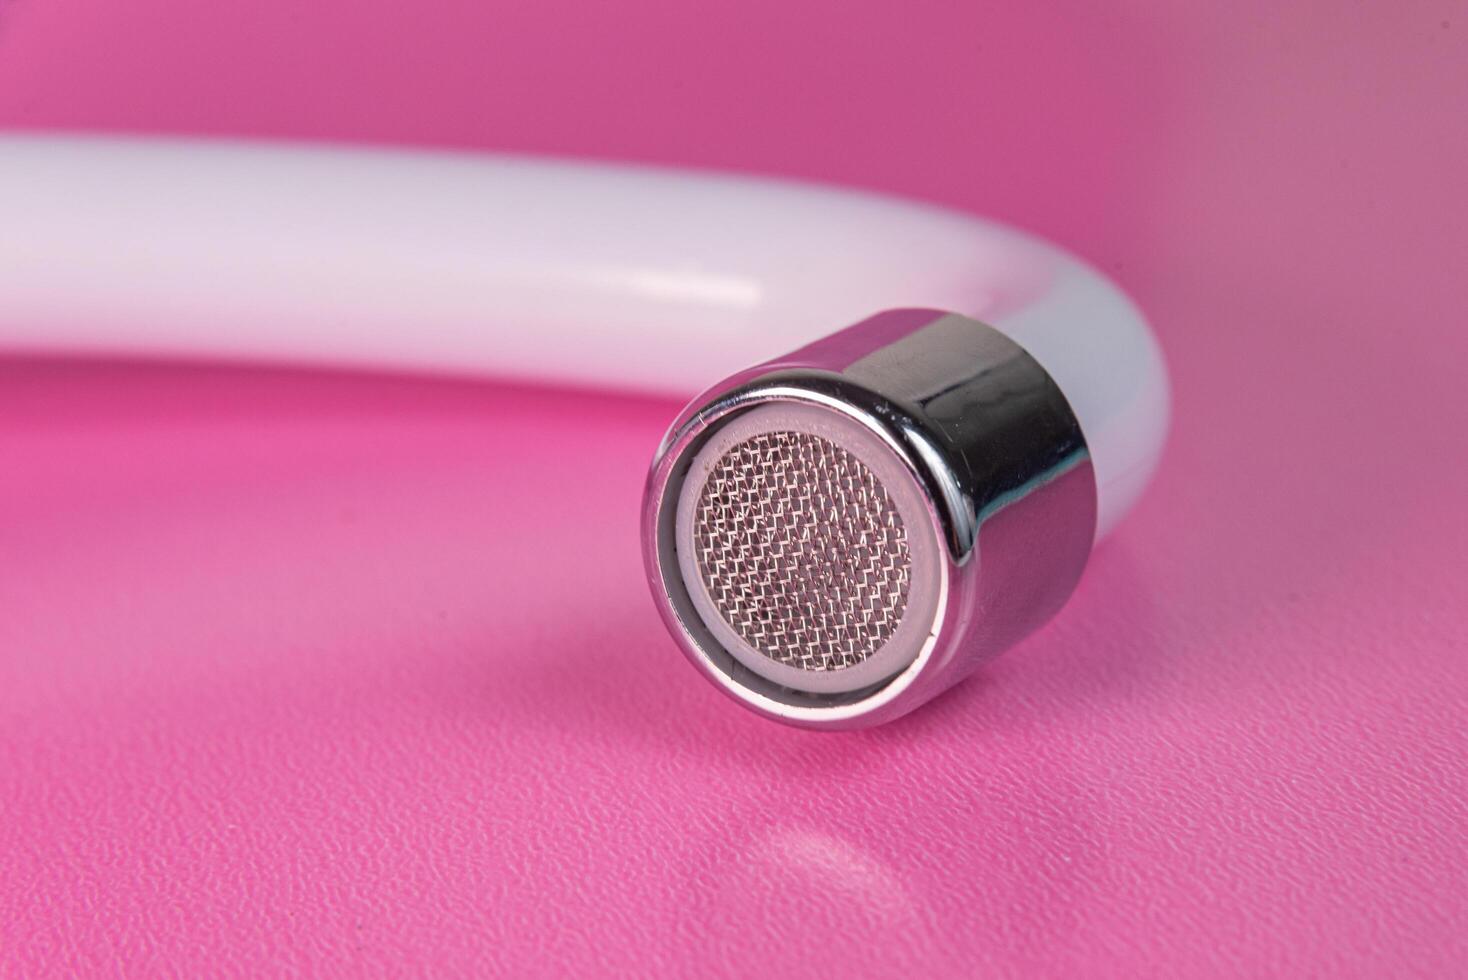
 Faucet seals are small but mighty parts that play a crucial role in the functionality of your kitchen sink. They are responsible for creating a watertight seal between the faucet and the sink, preventing water from leaking out. This not only keeps your sink area dry and clean, but it also helps to conserve water and save you money on your water bill. Additionally, faucet seals also help to regulate the water flow, ensuring that you have the perfect amount of water for your needs. Without properly functioning faucet seals, you may experience low water pressure or uneven water flow, making tasks like washing dishes and filling pots more difficult and time-consuming.
The Benefits of Replacing Kitchen Sink Faucet Seals
 Replacing your kitchen sink faucet seals may seem like a small and insignificant task, but it can have a big impact on the overall look and functionality of your kitchen. By regularly replacing the seals, you can avoid leaks and water damage, keeping your kitchen in pristine condition. This not only helps to maintain the aesthetic appeal of your kitchen, but it also ensures that your kitchen remains a safe and healthy space. Additionally, replacing old and worn out seals can improve the efficiency of your faucet, making everyday tasks in the kitchen much easier and more enjoyable.
How to Replace Kitchen Sink Faucet Seals
 If you notice any leaks or issues with your kitchen sink faucet, it's important to replace the seals as soon as possible. Luckily, this is a simple and relatively inexpensive task that can be done without the help of a professional. Begin by turning off the water supply to your sink. Then, remove the faucet handle and the old seals. Clean the area thoroughly before installing the new seals and reassembling the faucet. It's important to make sure the seals are properly aligned and tightened to ensure a watertight seal. If you're unsure how to replace the seals, consult the manufacturer's instructions or seek the help of a professional plumber.
In conclusion, regularly replacing the seals in your kitchen sink faucet is essential for maintaining a functional and beautiful kitchen. By doing so, you can avoid leaks, conserve water, and improve the overall efficiency of your faucet. So, don't wait until a small leak turns into a big problem. Take the time to replace your kitchen sink faucet seals and enjoy a well-maintained and aesthetically pleasing kitchen.
If you notice any leaks or issues with your kitchen sink faucet, it's important to replace the seals as soon as possible. Luckily, this is a simple and relatively inexpensive task that can be done without the help of a professional. Begin by turning off the water supply to your sink. Then, remove the faucet handle and the old seals. Clean the area thoroughly before installing the new seals and reassembling the faucet. It's important to make sure the seals are properly aligned and tightened to ensure a watertight seal. If you're unsure how to replace the seals, consult the manufacturer's instructions or seek the help of a professional plumber.
In conclusion, regularly replacing the seals in your kitchen sink faucet is essential for maintaining a functional and beautiful kitchen. By doing so, you can avoid leaks, conserve water, and improve the overall efficiency of your faucet. So, don't wait until a small leak turns into a big problem. Take the time to replace your kitchen sink faucet seals and enjoy a well-maintained and aesthetically pleasing kitchen.