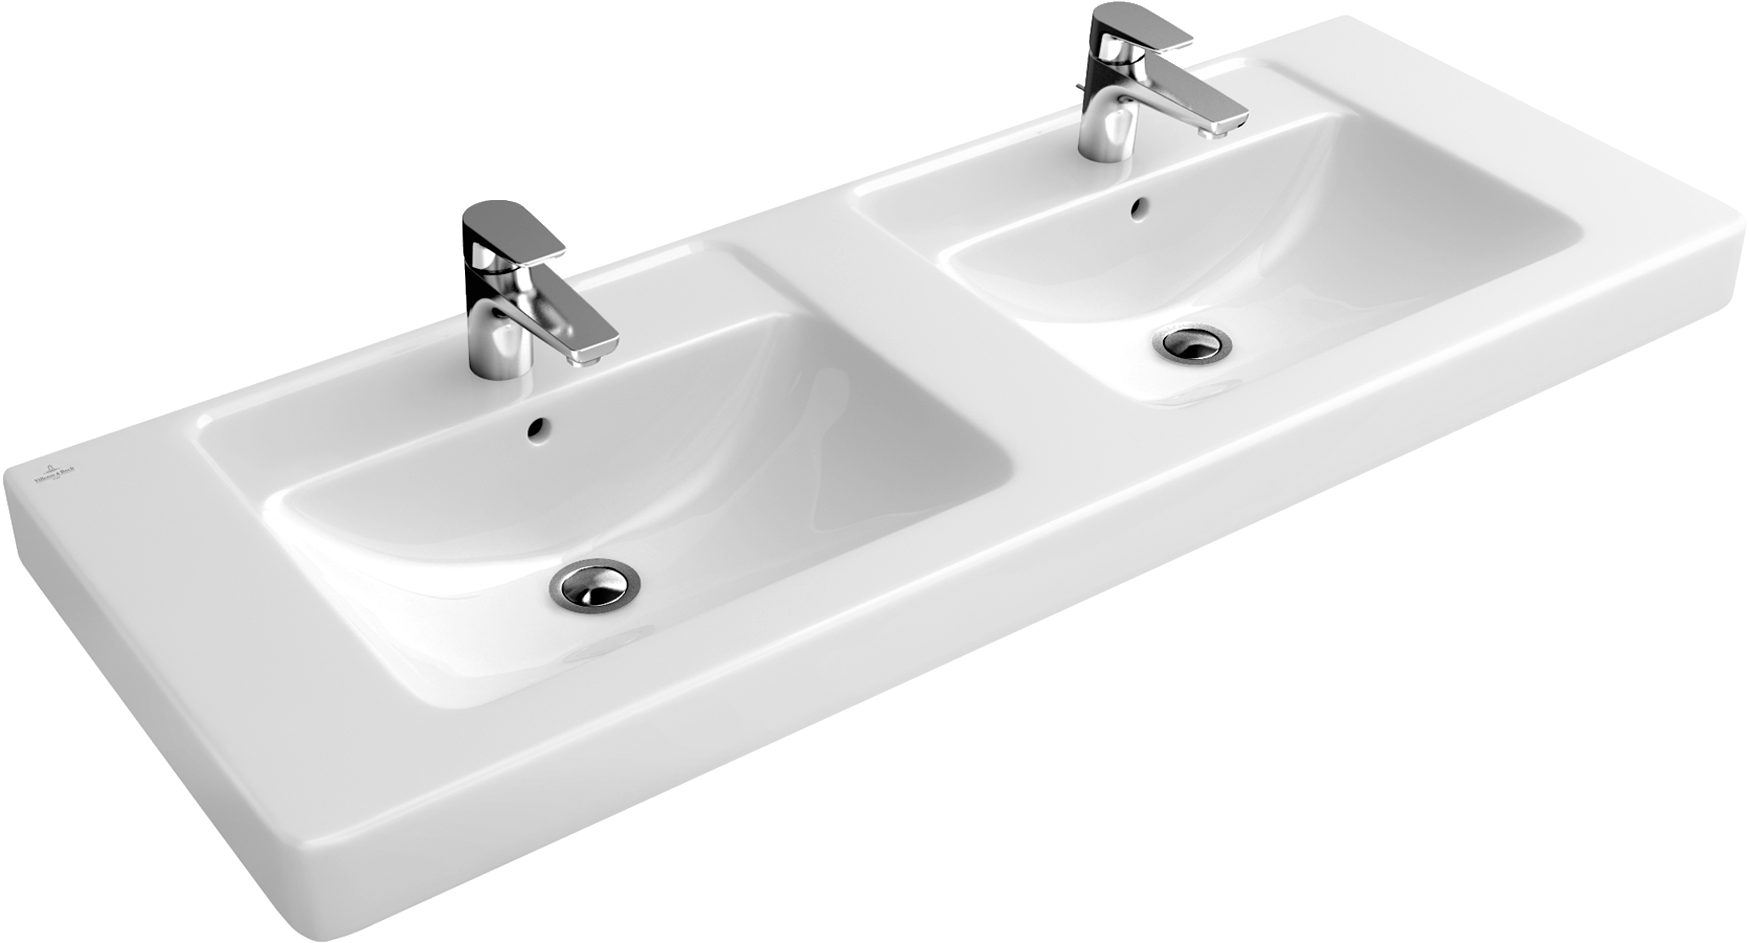
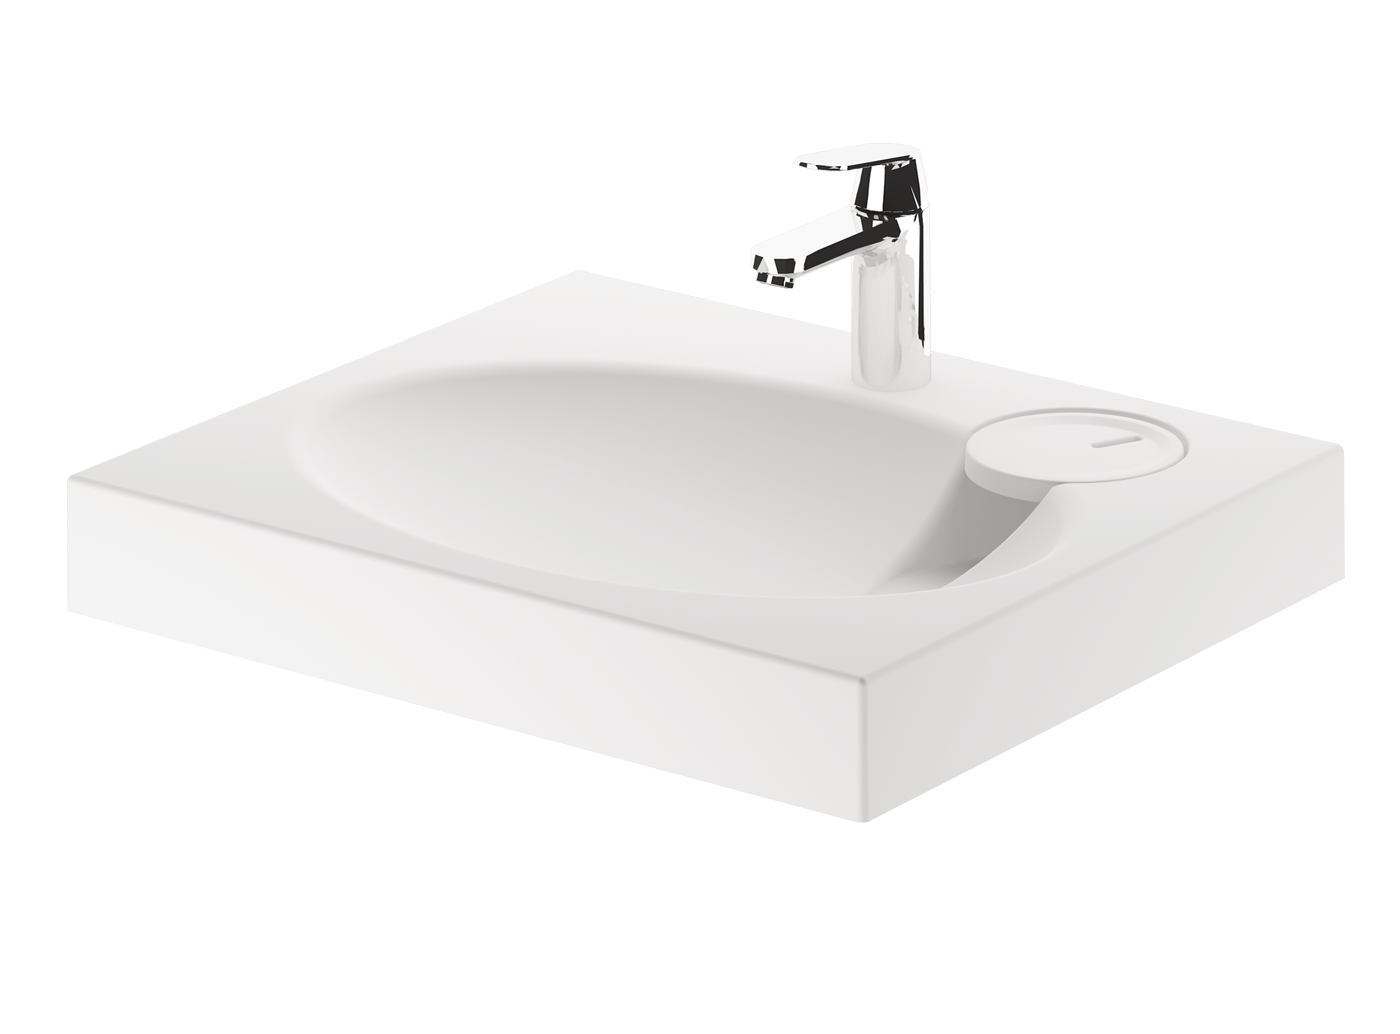
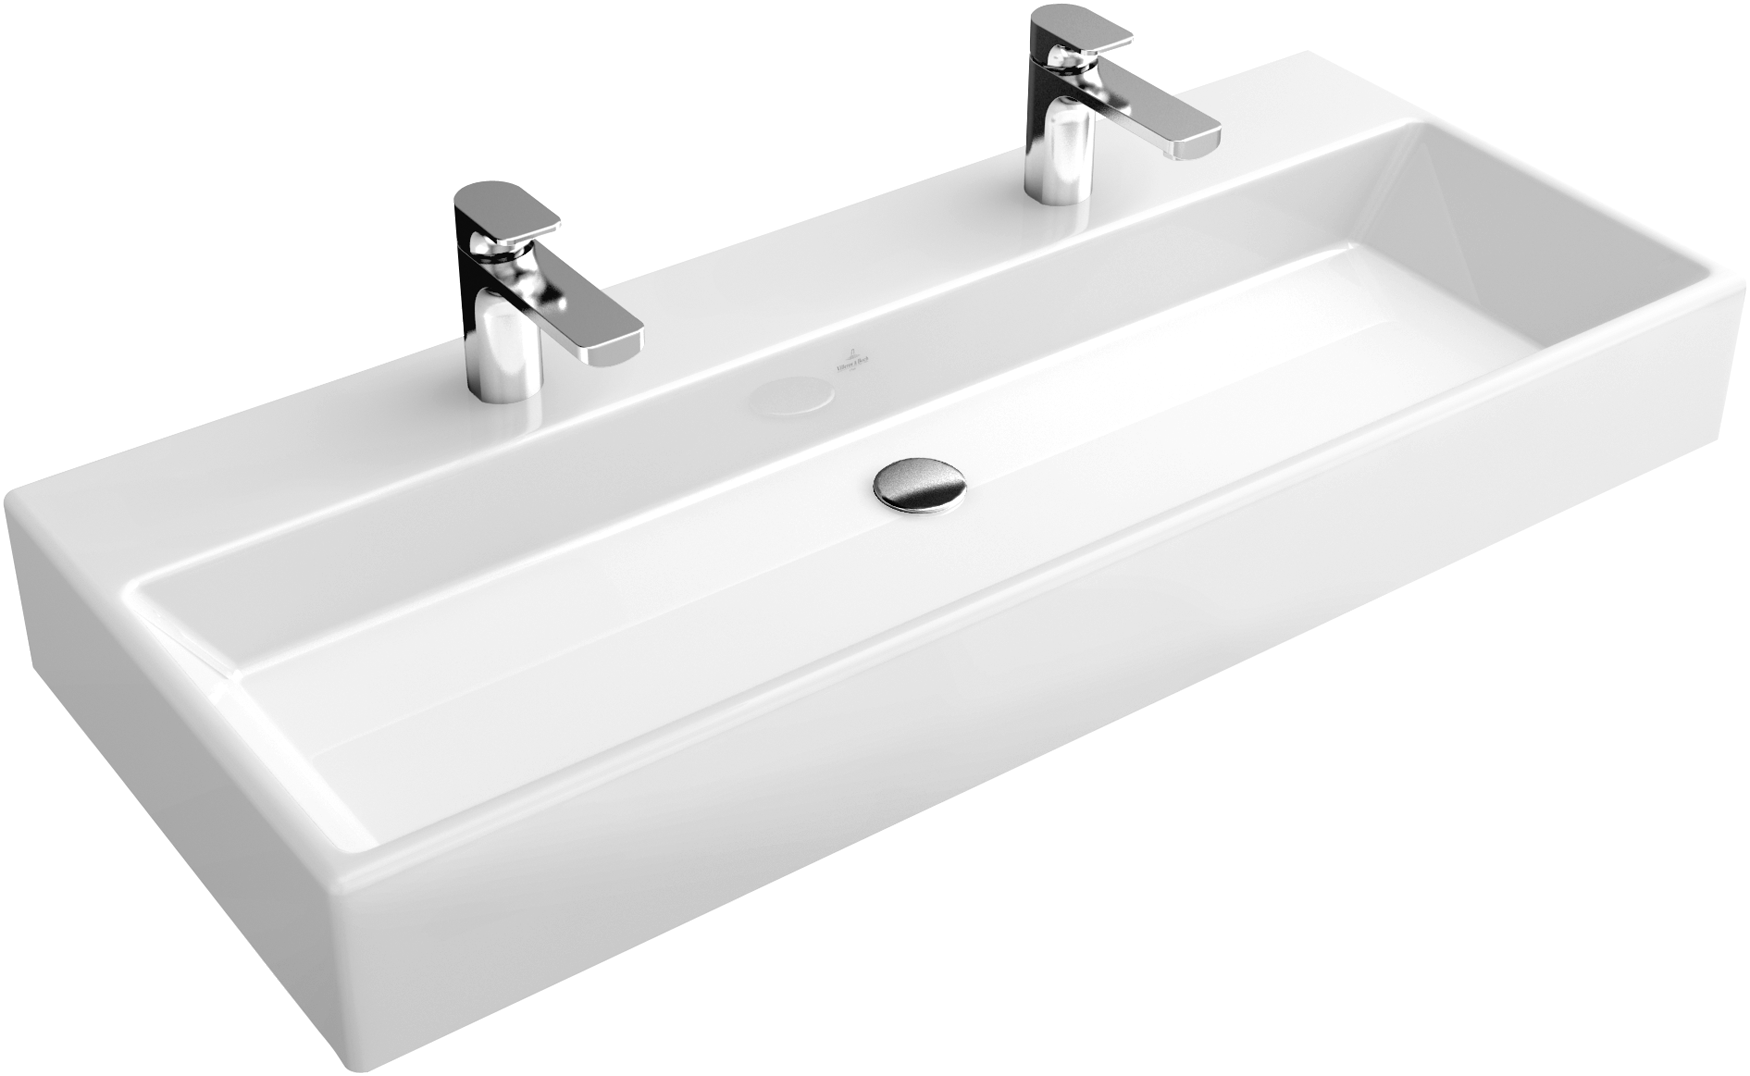
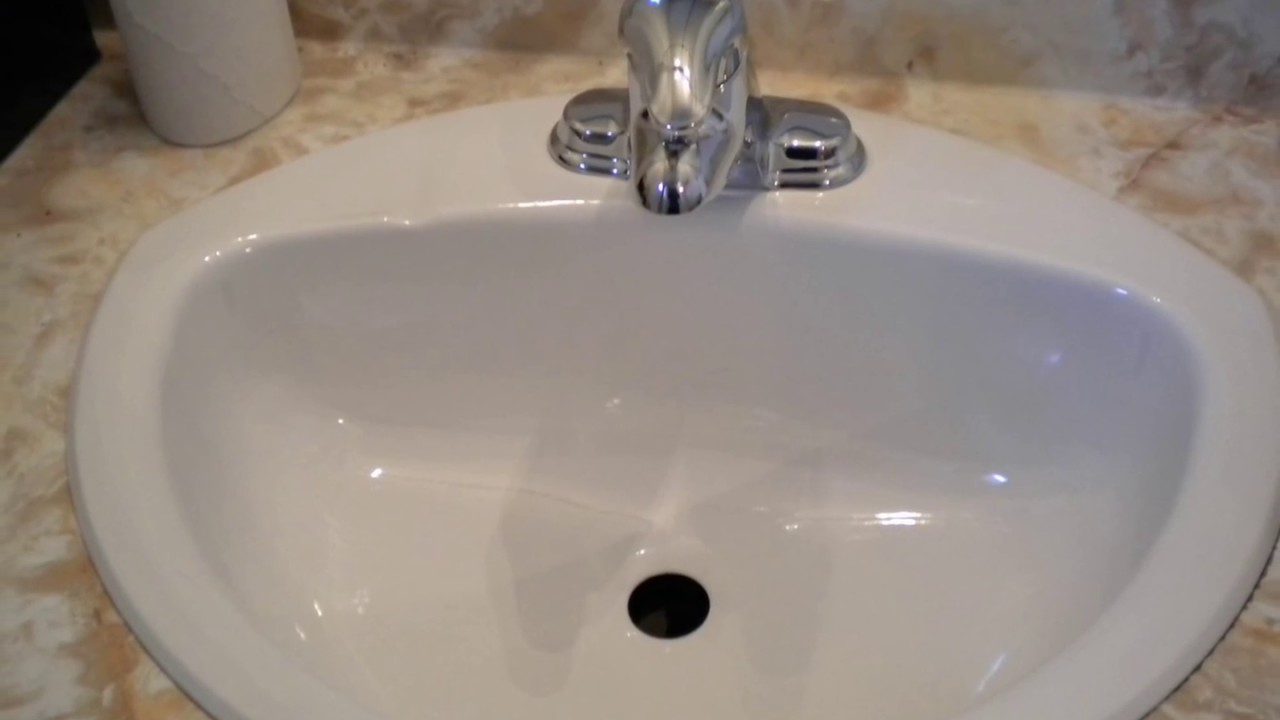
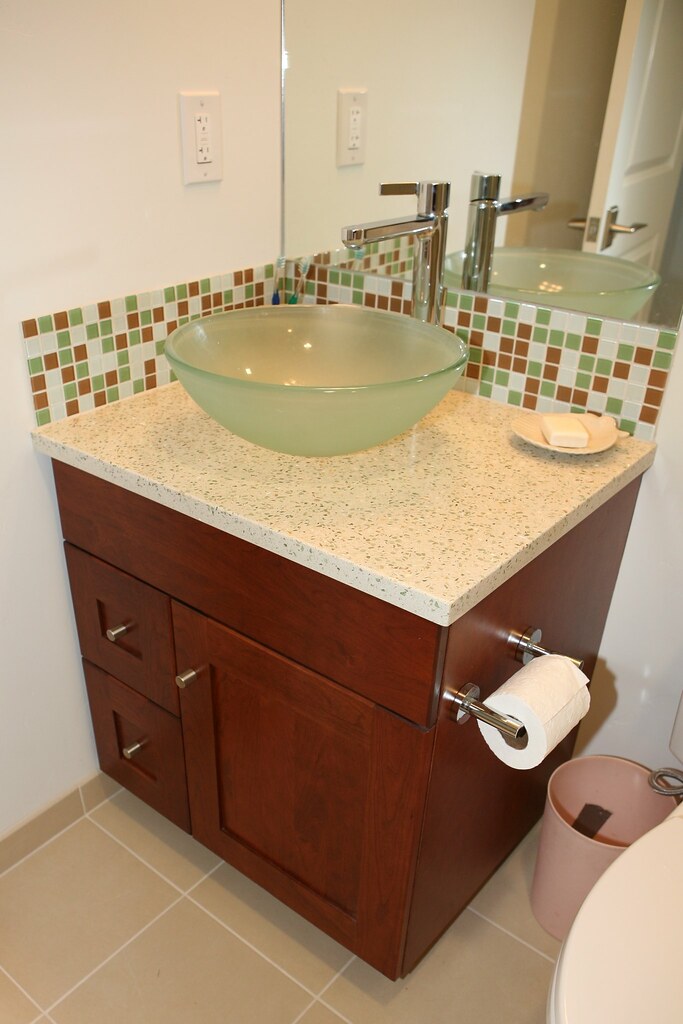
Is your bathroom sink hardware starting to show its age? Are you tired of the constant leaks and drips? It may be time to replace your bathroom sink hardware. Not only will this upgrade enhance the overall look of your bathroom, but it will also improve functionality and prevent any further plumbing issues. Here is a step-by-step guide on how to replace your bathroom sink hardware and give your bathroom a much-needed makeover. Replace bathroom sink hardware: A Step-by-Step Guide


Replace bathroom sink hardware


Before you begin, make sure you have all the necessary tools and materials. You will need a screwdriver, adjustable wrench, plumber's tape, silicone sealant, new bathroom sink hardware, and towels. It's always a good idea to have a bucket or container nearby to catch any excess water. Bathroom sink hardware replacement: Tools and Materials


Bathroom sink hardware replacement


The first step in any plumbing project is to shut off the water supply. Look for the shut-off valve under your bathroom sink and turn it clockwise to stop the water flow. If you can't find a shut-off valve, you may need to turn off the main water supply to your house. Once the water is shut off, turn on the faucet to drain any remaining water from the pipes. Sink hardware replacement: Step 1 - Shut Off the Water Supply


Sink hardware replacement


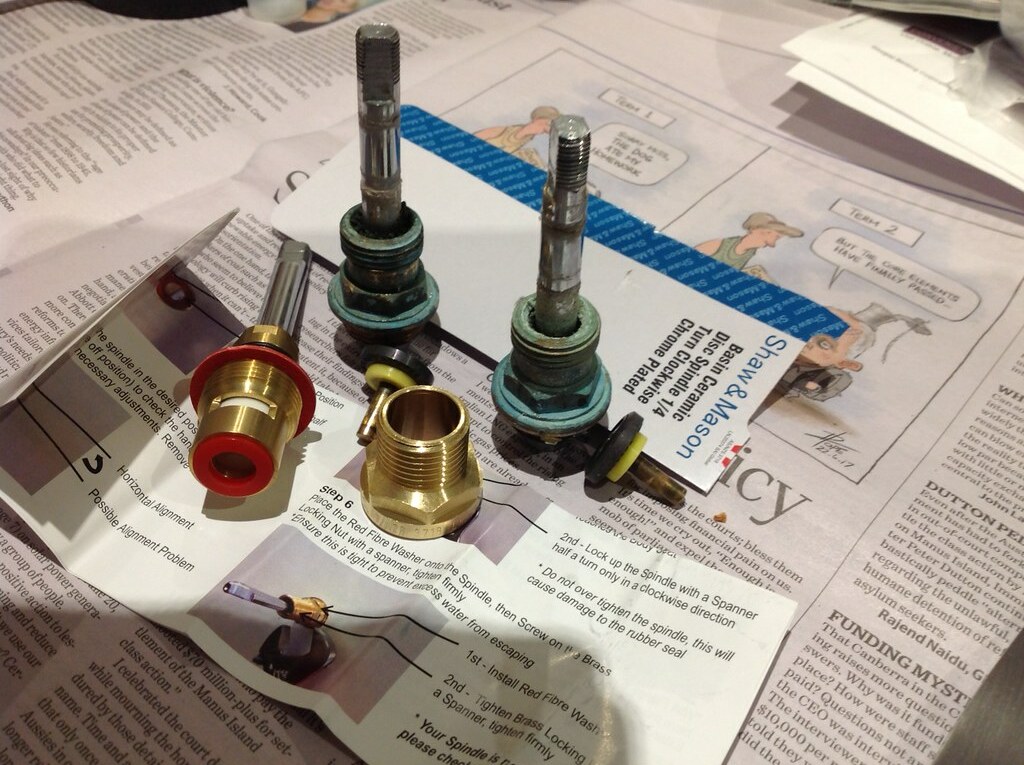
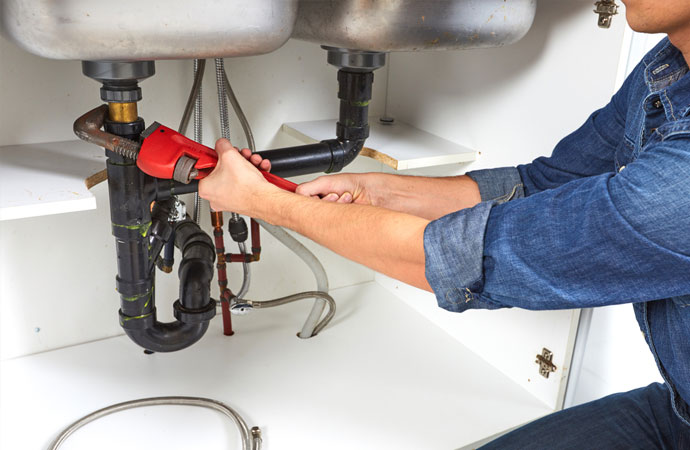
Using your screwdriver, remove the faucet handles and escutcheon plates (the decorative plates behind the handles). Next, loosen and remove the supply lines that connect the faucet to the shut-off valves. You may need to use an adjustable wrench for this step. Once the supply lines are removed, detach the drain assembly from the sink. Finally, unscrew and remove the old drain flange at the bottom of the sink. Bathroom sink replacement: Step 2 - Remove the Old Hardware


Bathroom sink replacement


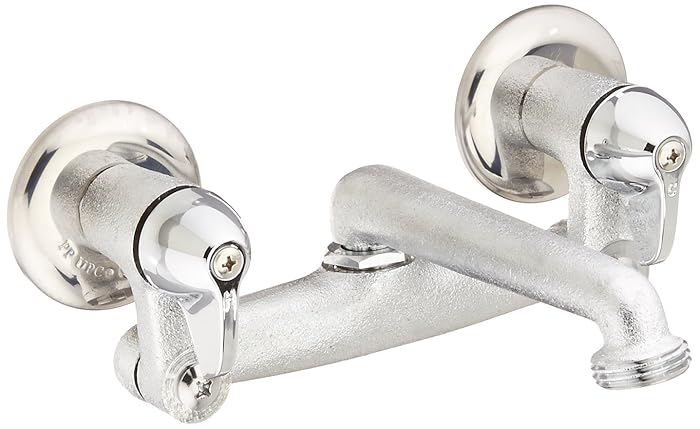
Now it's time to install your new bathroom sink hardware. Start by attaching the new drain flange to the bottom of the sink. Apply plumber's tape to the threads of the new supply lines and attach them to the shut-off valves. Next, attach the drain assembly to the sink. Make sure the rubber washer and gasket are in place to prevent any leaks. Finally, attach the new faucet handles and escutcheon plates to the sink. Sink hardware upgrade: Step 3 - Install the New Hardware


Sink hardware upgrade

Once all the new hardware is in place, it's time to reconnect the water supply. Turn the shut-off valves back on and check for any leaks. If you notice any, tighten the connections or add more plumber's tape. Let the water run for a few minutes to flush out any air or debris. Bathroom sink hardware upgrade: Step 4 - Reconnect the Water Supply


Bathroom sink hardware upgrade

:max_bytes(150000):strip_icc()/8_IMG_3767-56a4a2753df78cf772835b72.JPG)


To prevent any water from seeping under your sink, apply a line of silicone sealant around the edges of the sink where it meets the countertop. Use a damp cloth to smooth out the sealant and wipe away any excess. Let it dry for at least 24 hours before using the sink. Sink hardware renovation: Step 5 - Apply Silicone Sealant


Sink hardware renovation
:no_upscale()/cdn.vox-cdn.com/uploads/chorus_asset/file/19495086/drain_0.jpg)
/bathroom-sink-523598998-5797c0dc5f9b58461f3d5c23.jpg)

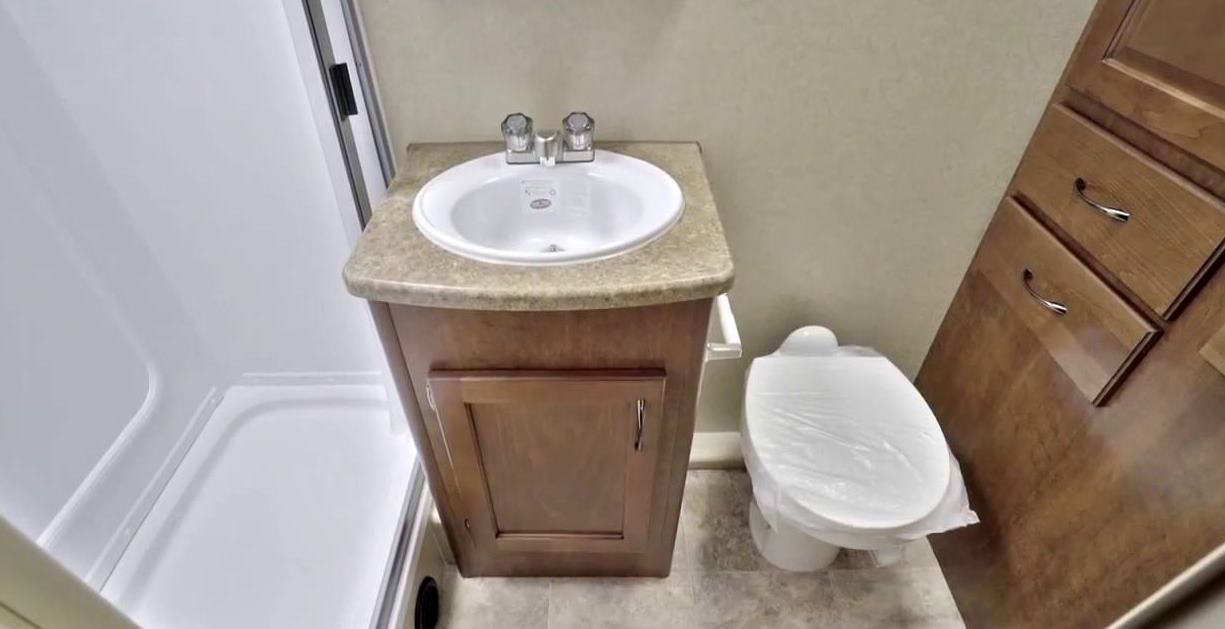
Congratulations, you have successfully replaced your bathroom sink hardware! Not only does your bathroom have a fresh new look, but you can also enjoy a leak-free sink. Remember to periodically check for any leaks and make any necessary adjustments. With proper maintenance, your new bathroom sink hardware should last for years to come. Bathroom sink renovation: Step 6 - Enjoy Your Upgraded Sink


Bathroom sink renovation
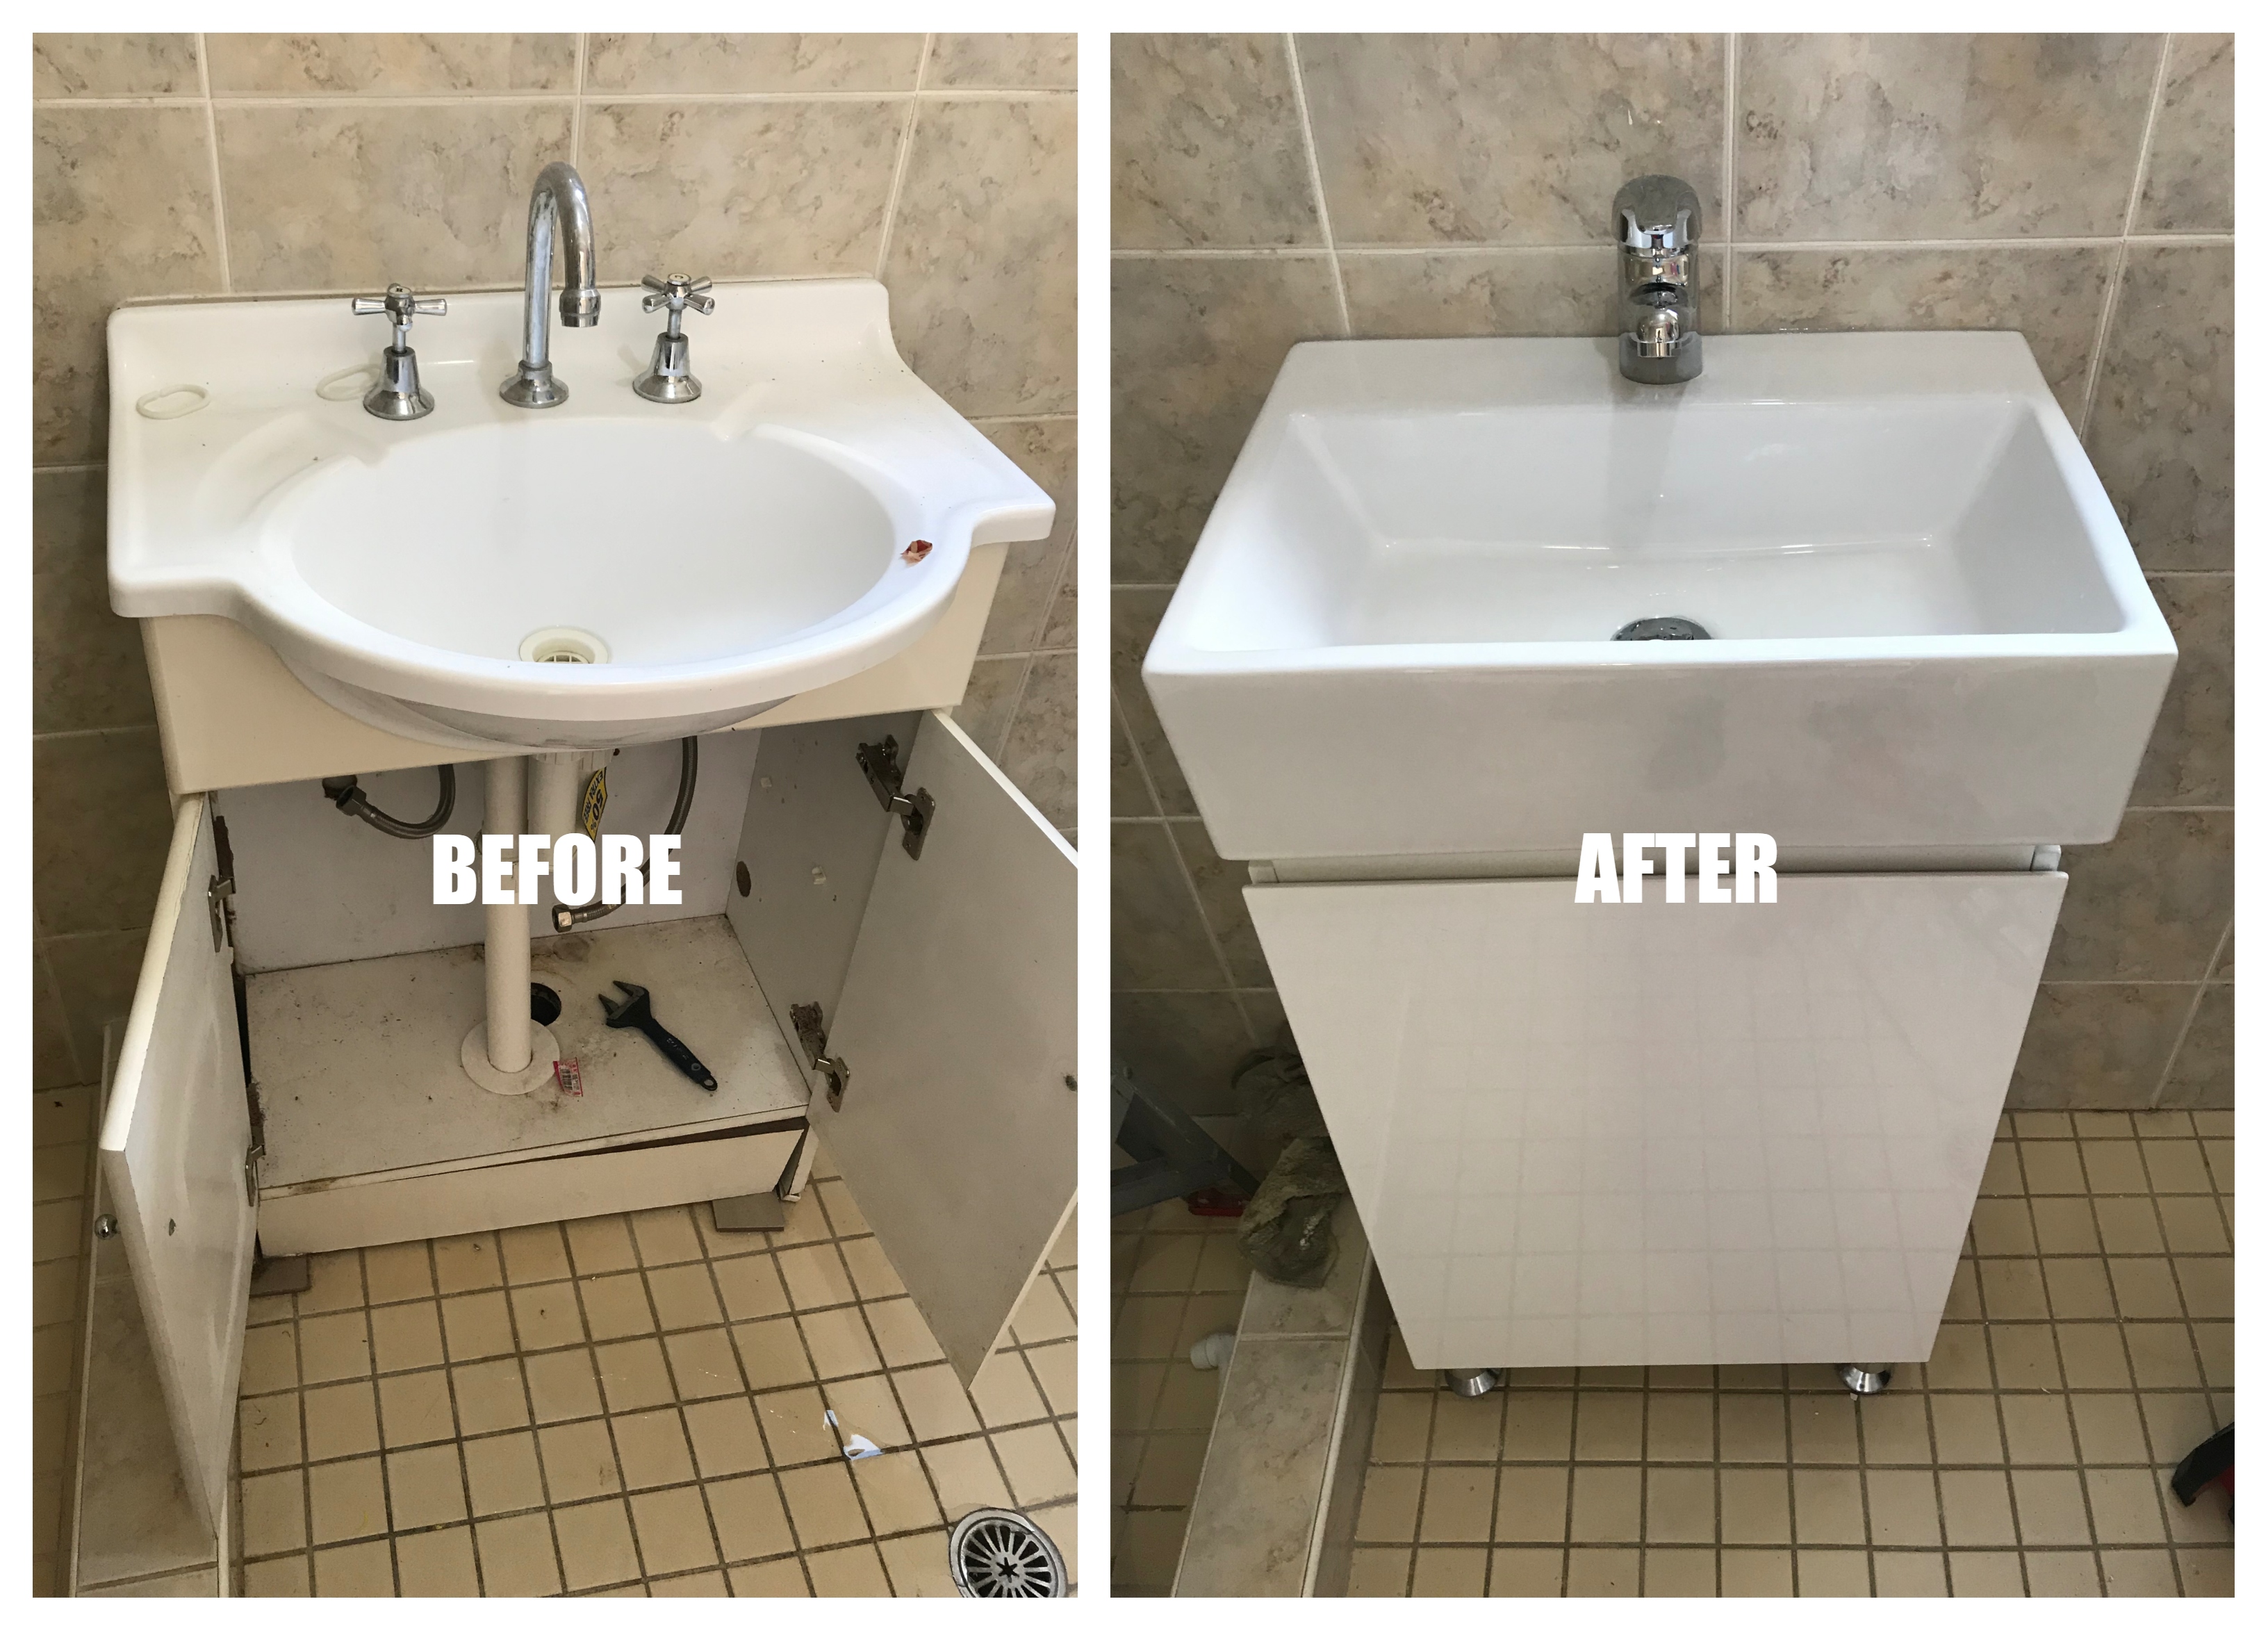


Replacing your bathroom sink hardware may seem like a daunting task, but with the right tools and a little bit of patience, it can easily be done in a day. Not only will you improve the functionality of your sink, but you will also enhance the overall look of your bathroom. So why wait? Follow this guide and give your bathroom the hardware upgrade it deserves. Sink hardware repair: Conclusion

Sink hardware repair


Why Upgrade Your Bathroom Sink Hardware?

Transform Your Bathroom with New Hardware
 If you're looking to give your bathroom a fresh new look, one of the easiest and most impactful changes you can make is by upgrading your
bathroom sink hardware
. This simple swap can make a big difference in the overall aesthetic of your bathroom. Not to mention, it can also improve the functionality and efficiency of your sink. So why should you consider replacing your bathroom sink hardware?
If you're looking to give your bathroom a fresh new look, one of the easiest and most impactful changes you can make is by upgrading your
bathroom sink hardware
. This simple swap can make a big difference in the overall aesthetic of your bathroom. Not to mention, it can also improve the functionality and efficiency of your sink. So why should you consider replacing your bathroom sink hardware?
Enhance the Style of Your Bathroom
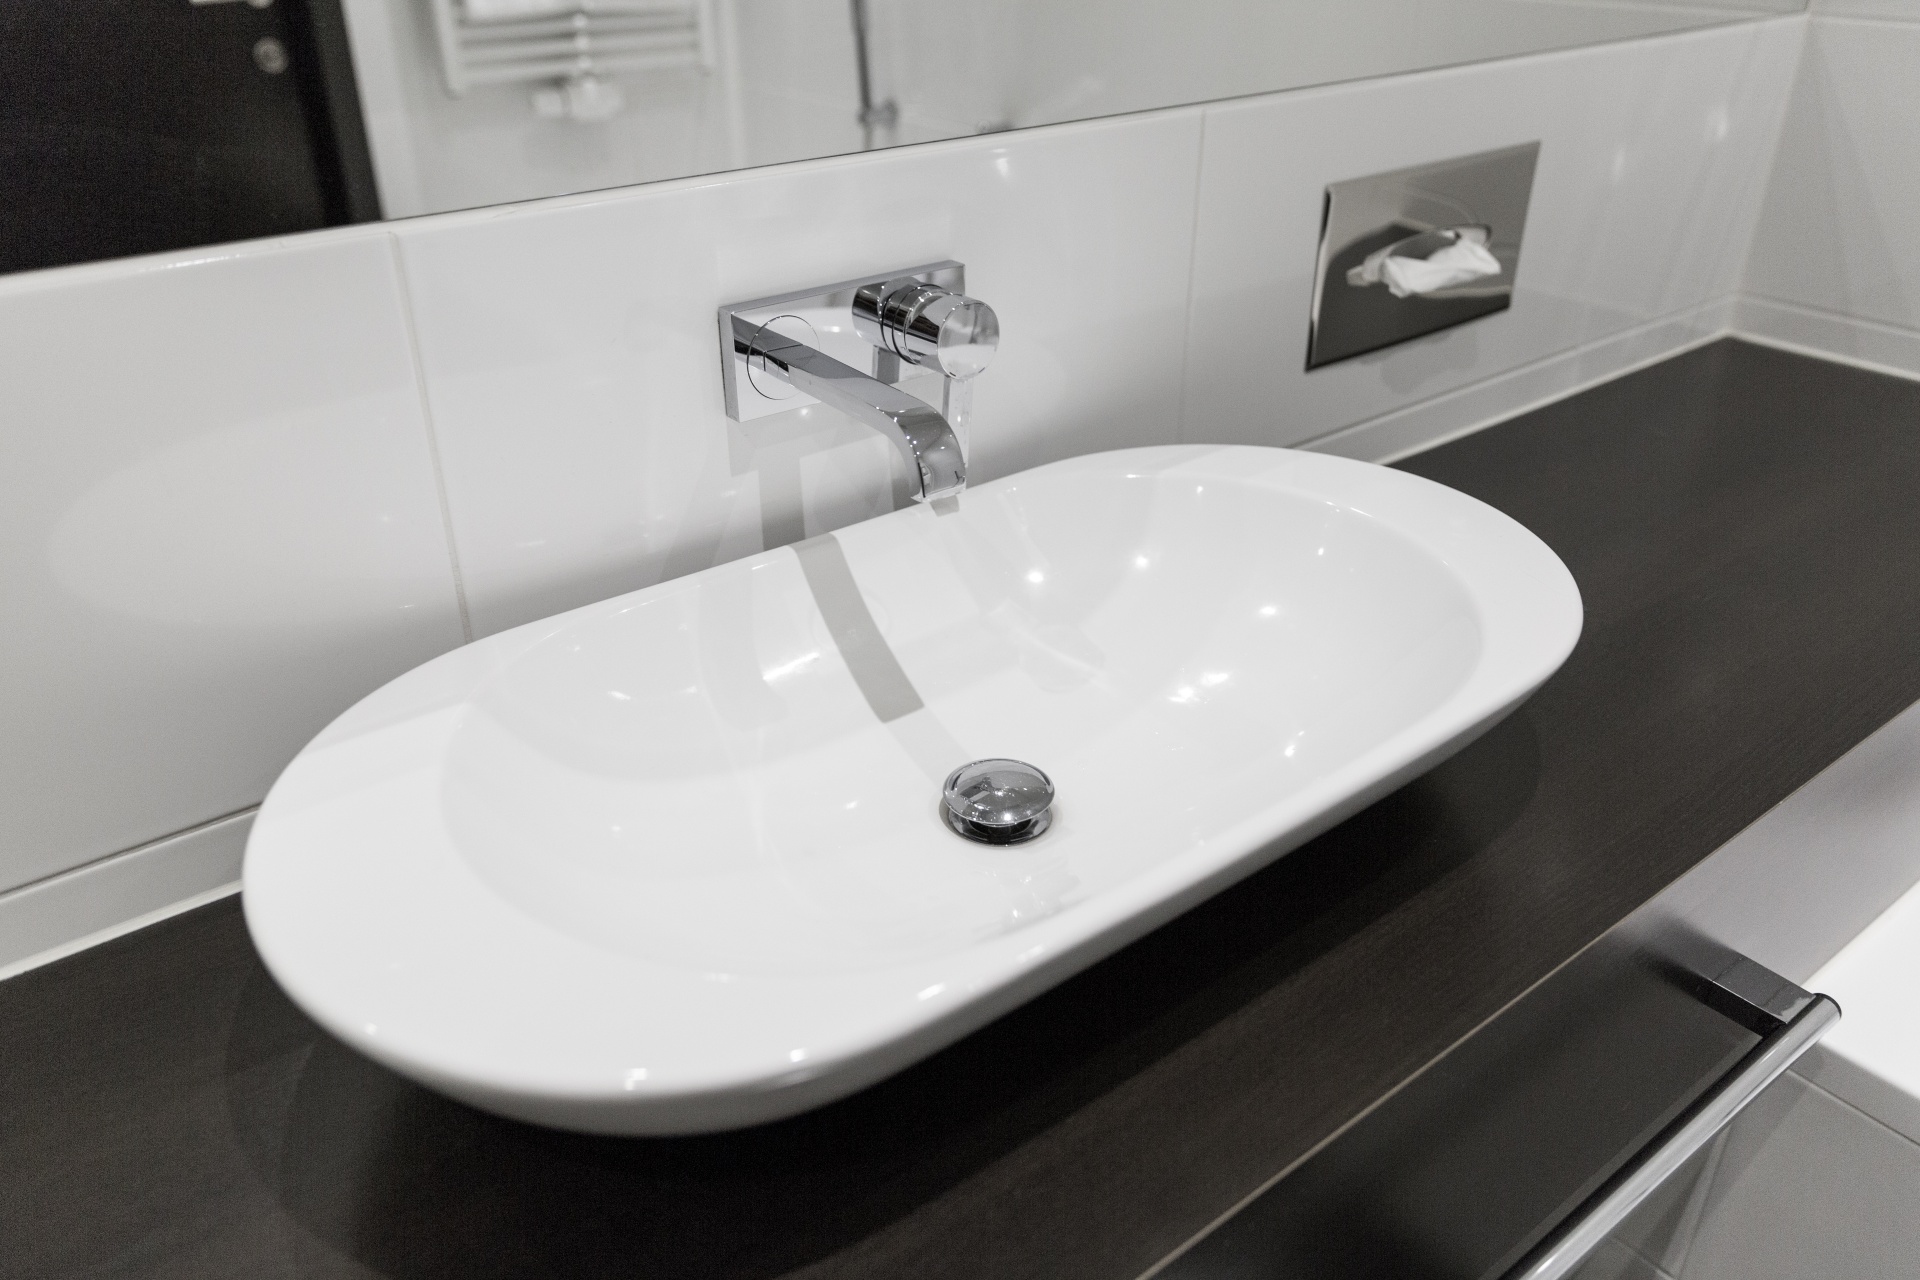
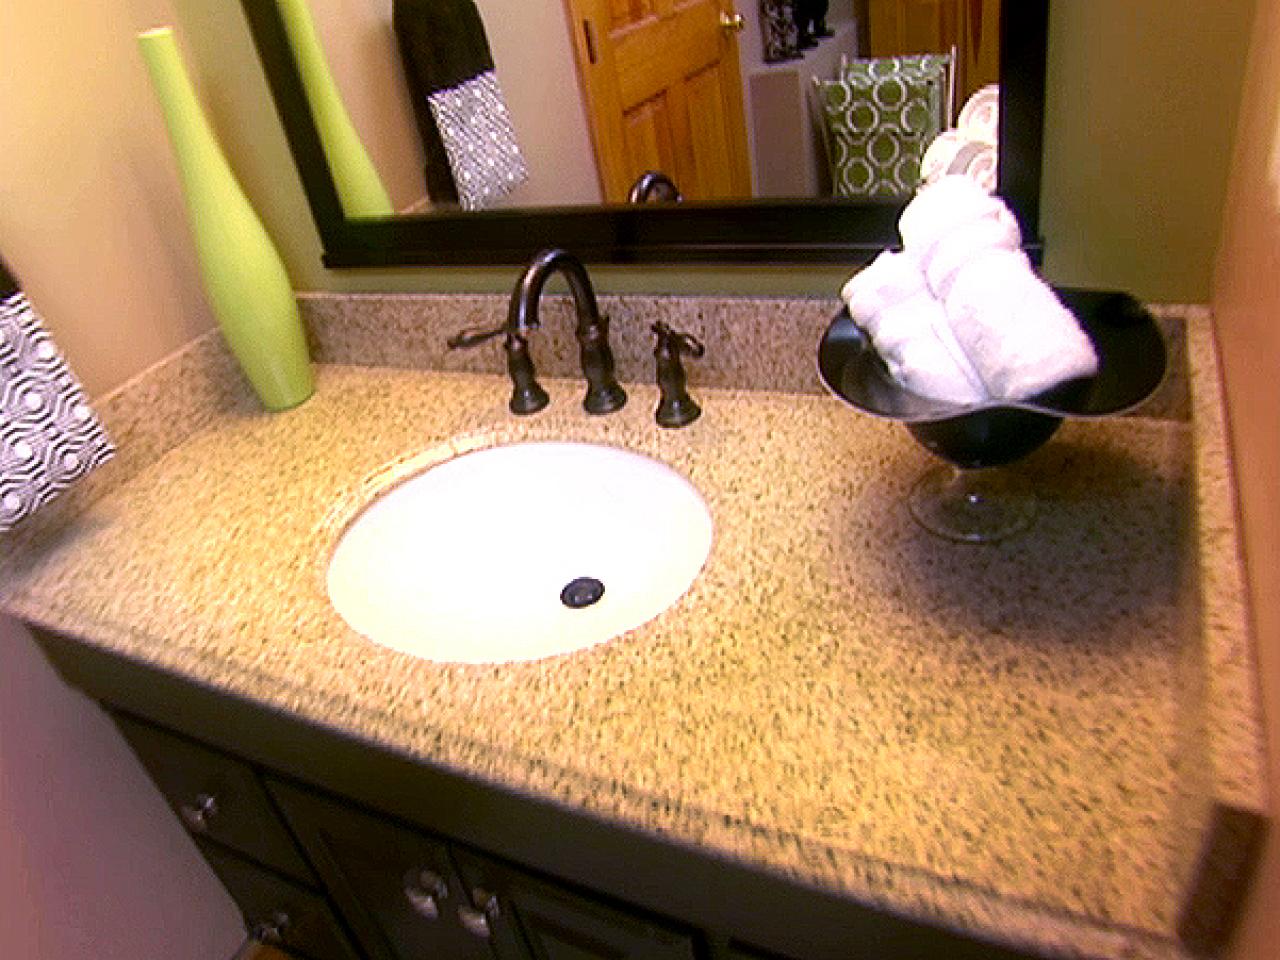 One of the main reasons to upgrade your bathroom sink hardware is to enhance the style of your bathroom. Over time, the hardware in your bathroom can become dull and outdated, making your entire bathroom look drab and uninviting. By replacing your hardware, you can instantly give your bathroom a modern and stylish upgrade. Choose from a variety of finishes such as chrome, brass, or brushed nickel to match your personal style and elevate the overall look of your bathroom.
Better Functionality and Efficiency
 Another benefit of upgrading your bathroom sink hardware is improved functionality and efficiency. Old and worn out hardware can often lead to leaks, drips, and other plumbing issues. Not only are these problems annoying, but they can also waste water and increase your utility bill. By installing new hardware, you can ensure that your sink is functioning properly and efficiently. Additionally, new hardware often comes with updated features such as water-saving aerators, making your bathroom more eco-friendly.
Increased Home Value
 If you're looking to sell your home in the future, upgrading your bathroom sink hardware can significantly increase its value. Potential buyers will be impressed by the modern and updated look of your bathroom, and it can make your home more desirable compared to other houses on the market. This relatively inexpensive upgrade can have a big impact on the value of your home and could potentially lead to a higher selling price.
Conclusion
 Upgrading your bathroom sink hardware is a simple and cost-effective way to transform your bathroom. Not only can it enhance the style and functionality of your bathroom, but it can also increase the value of your home. So if you're looking to give your bathroom a makeover, consider replacing your old and worn out hardware with new, stylish, and efficient options. Your bathroom will thank you.
/cloudfront-us-east-1.images.arcpublishing.com/dmn/ZDO7VMDFXRHK3CJEI5LVSVV6J4.JPG)