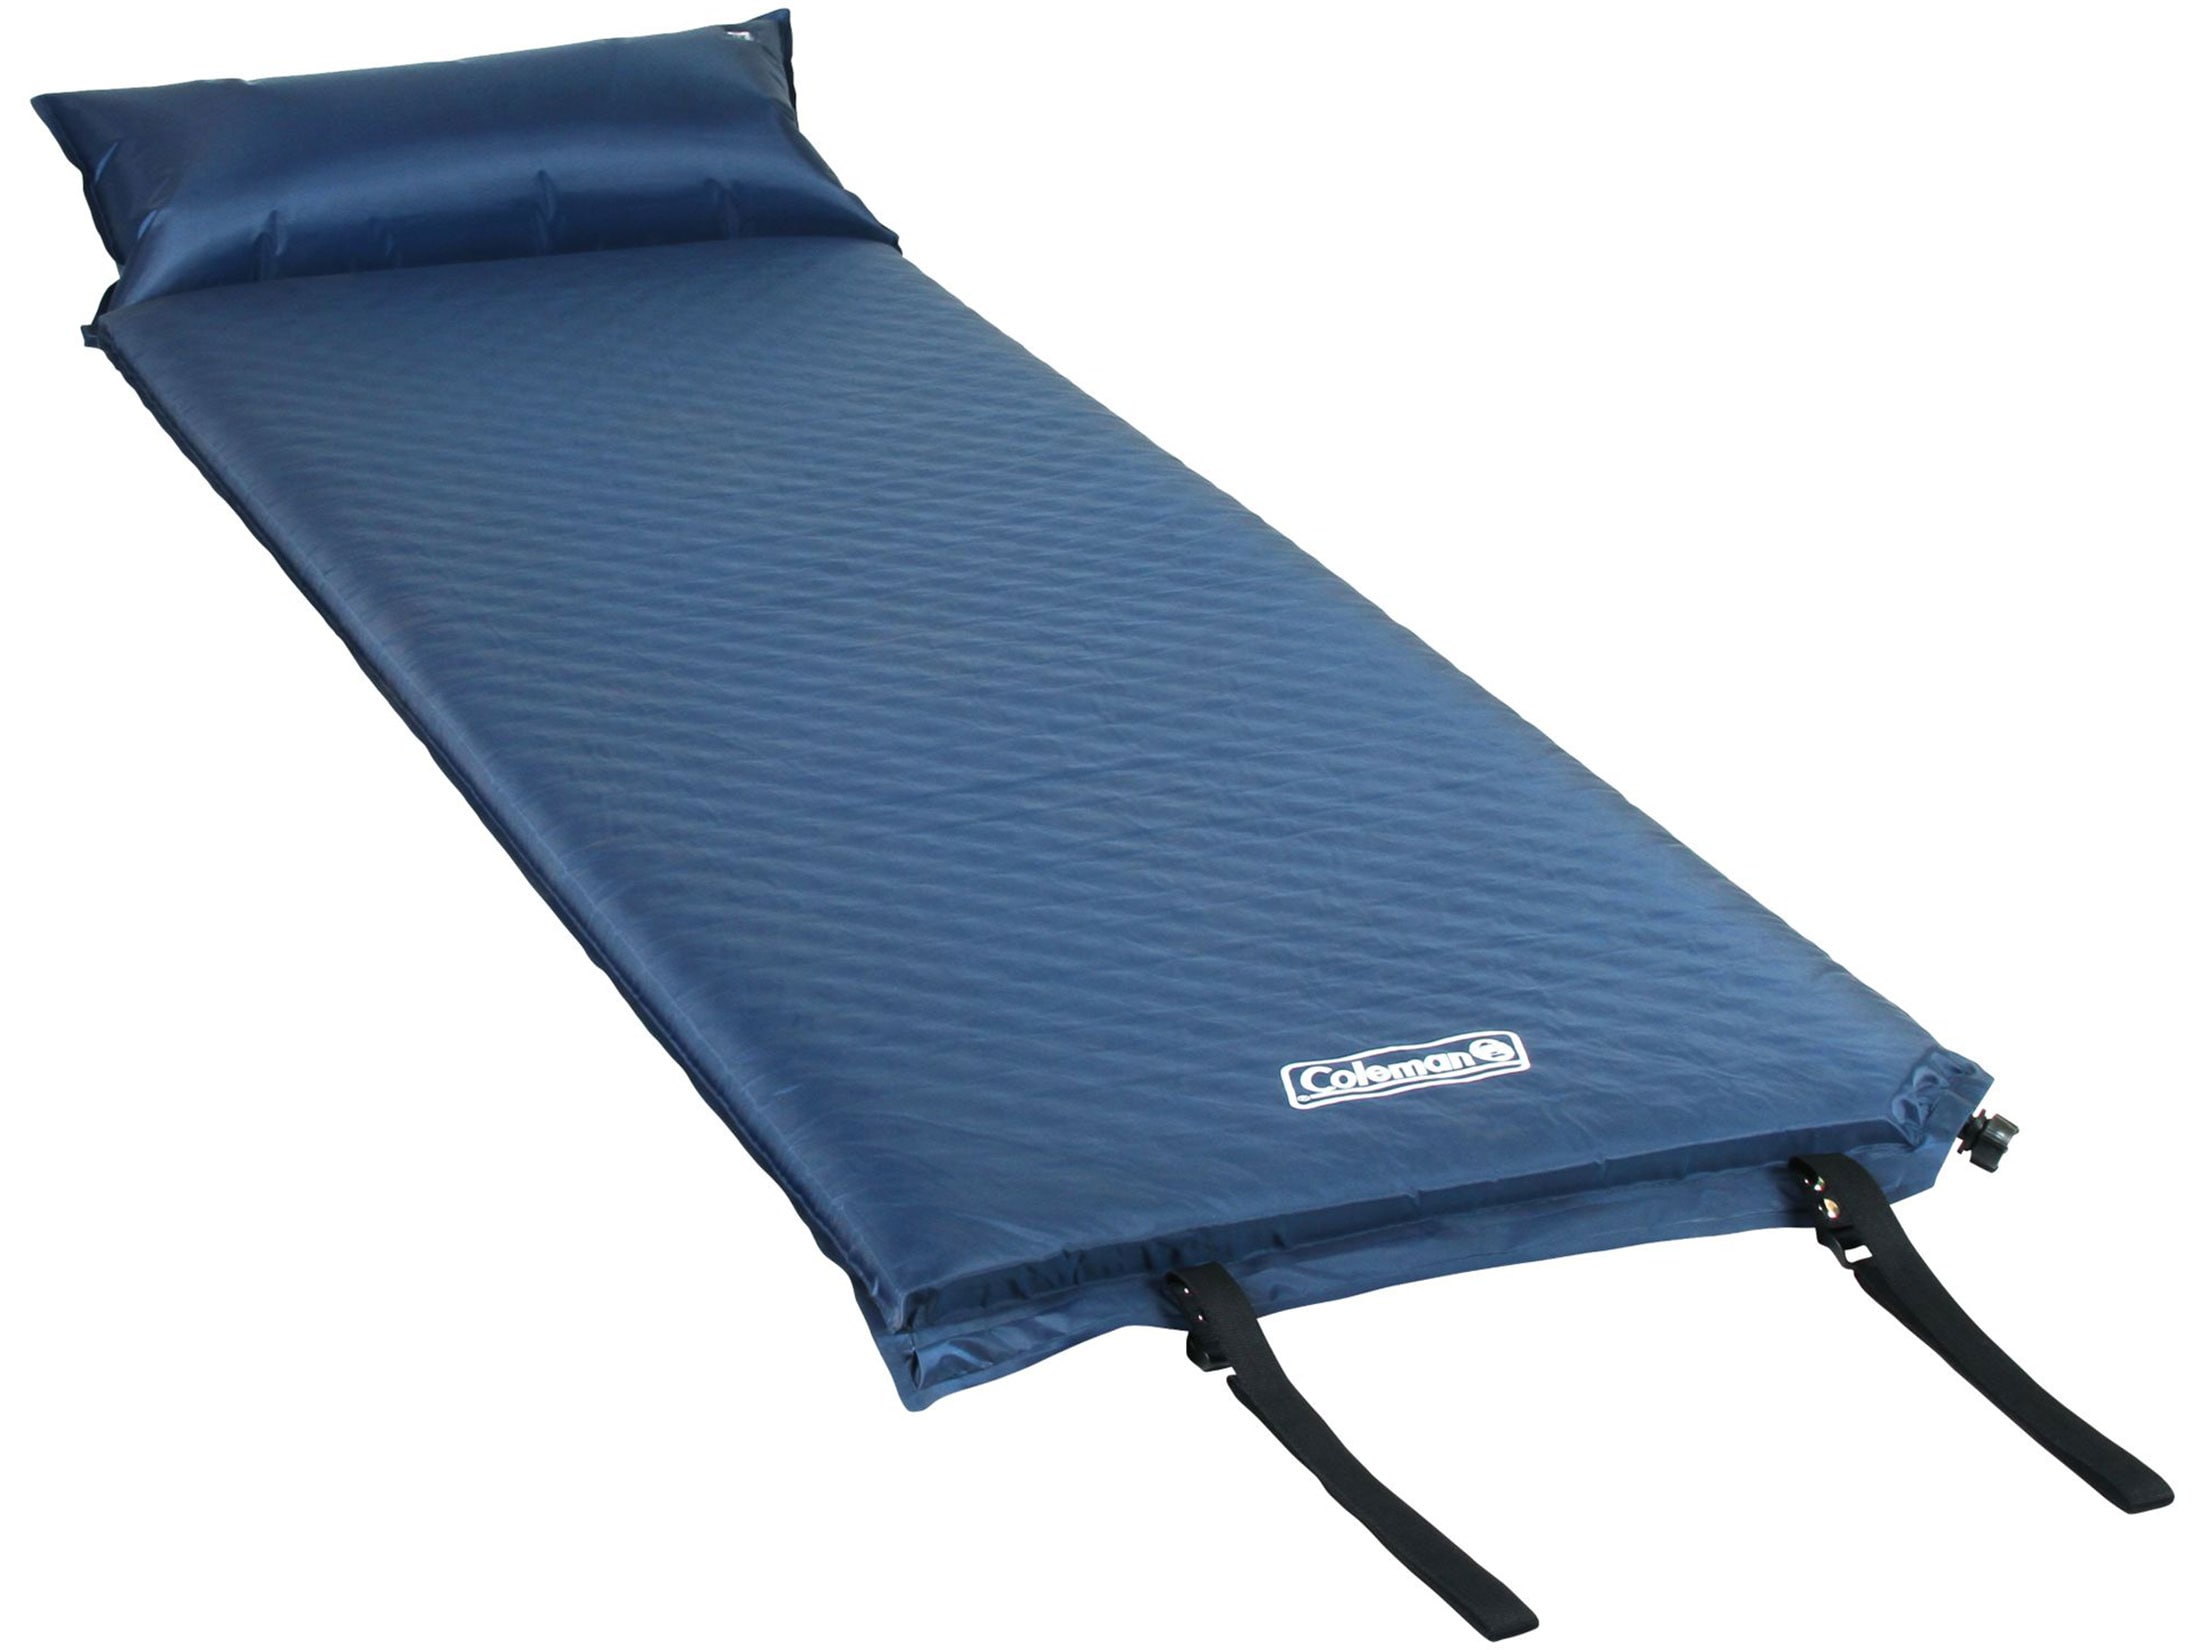
If you own a Slumberjack mattress, you know just how comfortable and supportive these air mattresses can be. However, like all things, the air valve on your Slumberjack mattress may eventually need to be replaced. Whether it has become damaged or worn out over time, or you simply want to upgrade to a newer, more durable valve, replacing the air valve on your Slumberjack mattress is a relatively simple DIY project. In this guide, we will walk you through the step-by-step process of replacing the air valve on your Slumberjack mattress, so you can continue to enjoy restful nights of sleep on your favorite air mattress.How to Replace the Air Valve on a Slumberjack Mattress


How to Replace the Air Valve on a Slumberjack Mattress


Before we dive into the specifics of how to replace the air valve on your Slumberjack mattress, it’s important to note that this guide is intended for Slumberjack mattresses specifically. While some of the general tips and guidelines may apply to other air mattresses, it’s always best to consult the manufacturer’s instructions for your specific brand and model before attempting any repairs or replacements.Slumberjack Mattress Air Valve Replacement Guide


Slumberjack Mattress Air Valve Replacement Guide


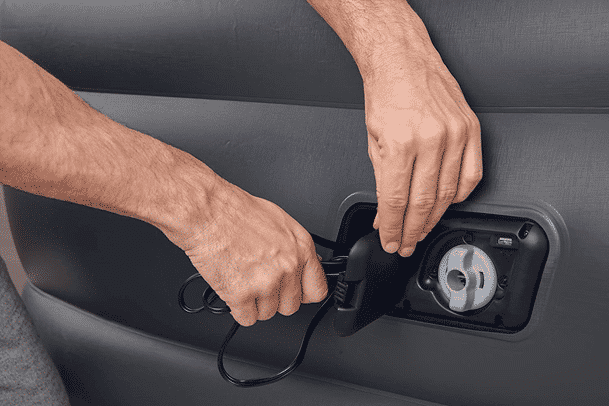


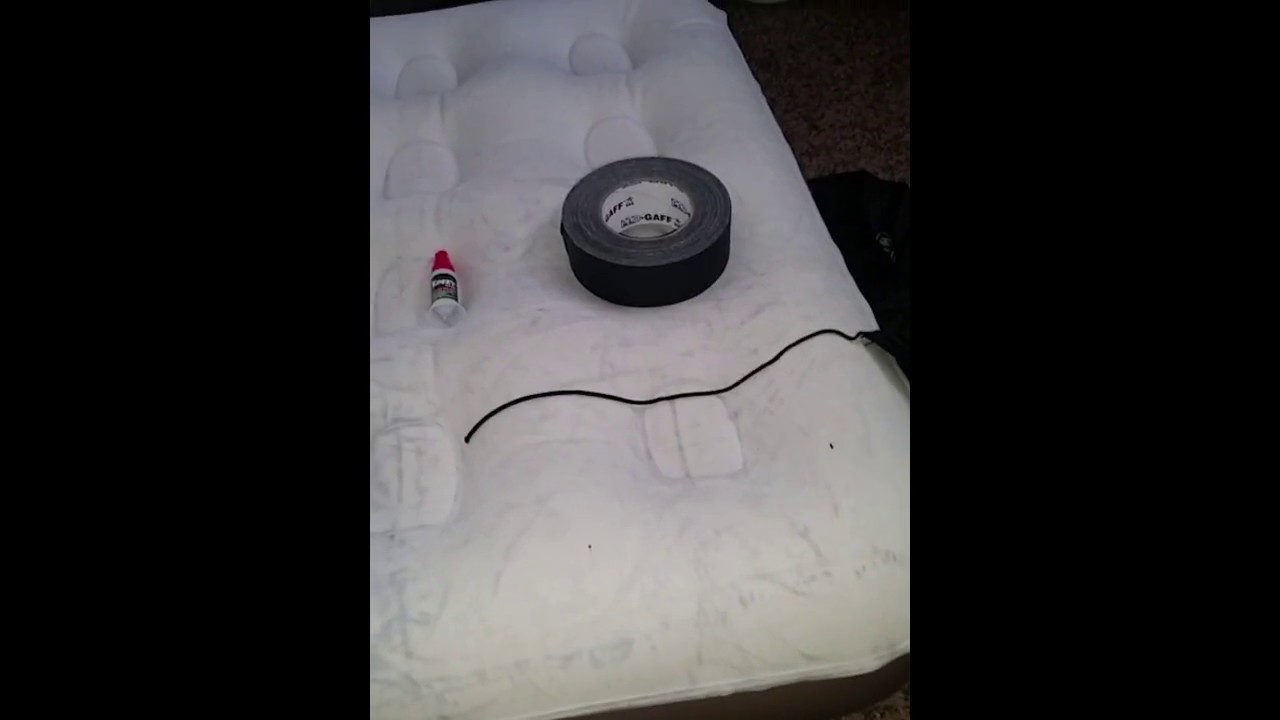
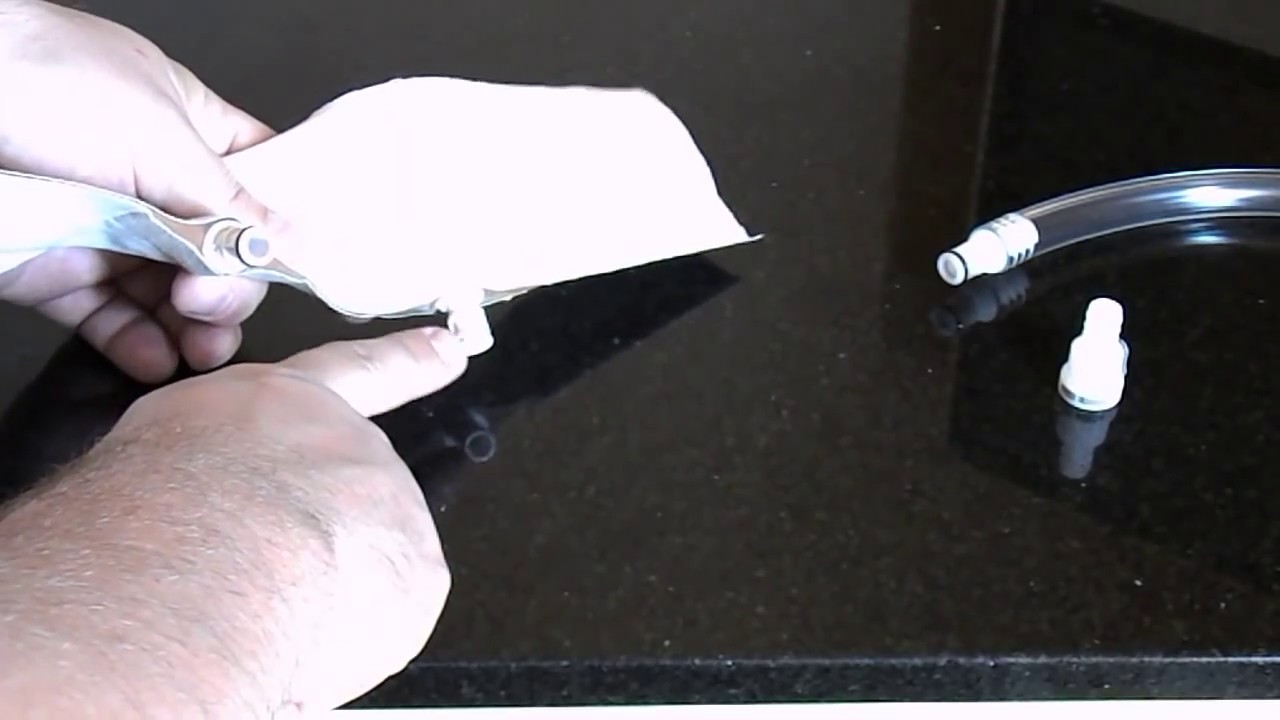
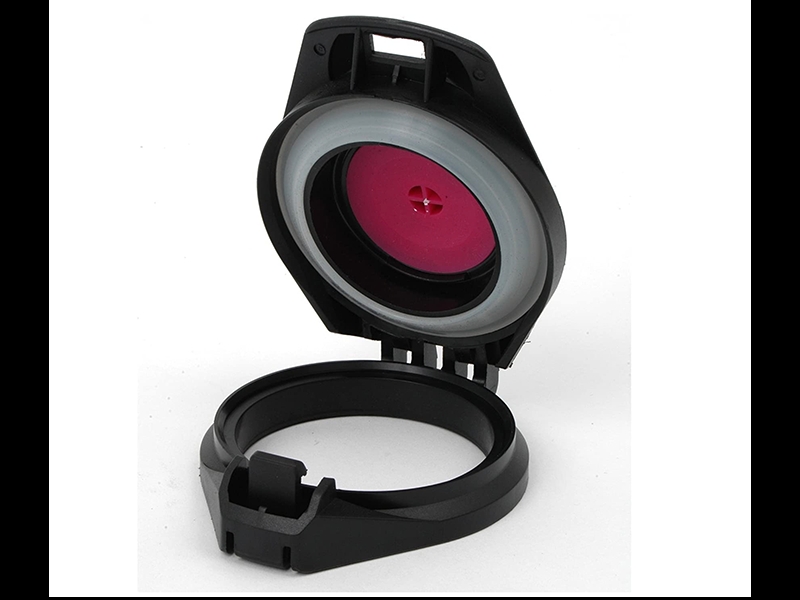
Step 1: Gather your materials. To replace the air valve on your Slumberjack mattress, you will need a few basic tools and supplies. These include a replacement air valve (more on this later), a pair of pliers, a screwdriver, and some rubbing alcohol. Step 2: Deflate your mattress. Before you can replace the air valve, you will need to deflate your mattress. Use the built-in valve or a separate air pump to completely remove all of the air from your mattress. Step 3: Remove the old valve. Using the pliers, carefully grip the base of the old valve and twist it counterclockwise to remove it from the mattress. Be sure to do this gently to avoid damaging the mattress or the valve itself. Step 4: Clean the area. Once the old valve has been removed, use some rubbing alcohol and a clean cloth to thoroughly clean the area where the valve was located. This will ensure a clean and secure seal for the new valve. Step 5: Install the new valve. Take your replacement air valve and insert it into the hole where the old valve was removed. Use the screwdriver to tighten the valve in place, making sure it is secure and properly aligned. Step 6: Test the new valve. Before inflating your mattress, it’s always a good idea to test the new valve to make sure it is working properly. Use the air pump to inflate the mattress and check for any leaks or issues with the new valve. Step 7: Inflate and enjoy! Once you are satisfied with the new valve, you can fully inflate your mattress and get ready for a comfortable night’s sleep.Step-by-Step Instructions for Replacing the Air Valve on a Slumberjack Mattress


Step-by-Step Instructions for Replacing the Air Valve on a Slumberjack Mattress


If you’re someone who enjoys DIY projects and fixing things on your own, replacing the air valve on your Slumberjack mattress may be a fun and rewarding task for you. Not only will you save money by not having to purchase a new mattress, but you will also feel a sense of accomplishment knowing you were able to fix your mattress yourself. Just make sure to follow the steps outlined above carefully and take your time to avoid any potential damage to your mattress or the new valve. And if you run into any issues or have any questions, don’t hesitate to reach out to Slumberjack’s customer service for guidance.DIY Guide for Replacing the Air Valve on a Slumberjack Mattress


DIY Guide for Replacing the Air Valve on a Slumberjack Mattress


While replacing the air valve on your Slumberjack mattress is generally a straightforward and simple process, there are a few common issues that may arise. Here are some troubleshooting tips to help you along the way: - If the new valve does not fit properly into the hole, you may need to clean the area more thoroughly or use a different type of replacement valve. - If you notice any leaks or damage to the new valve, contact Slumberjack for a replacement. - If you have trouble removing the old valve, try using a lubricant like WD-40 to help loosen it.Troubleshooting Tips for Replacing the Air Valve on a Slumberjack Mattress
Troubleshooting Tips for Replacing the Air Valve on a Slumberjack Mattress


When it comes to replacing the air valve on your Slumberjack mattress, there are a few best practices to keep in mind to ensure a successful and hassle-free process: - Always read the manufacturer’s instructions before attempting any repairs or replacements. - Take your time and be gentle when removing the old valve to avoid damaging the mattress or the valve itself. - Use rubbing alcohol and a clean cloth to thoroughly clean the area before installing the new valve.Best Practices for Replacing the Air Valve on a Slumberjack Mattress

Best Practices for Replacing the Air Valve on a Slumberjack Mattress


While replacing the air valve on your Slumberjack mattress is a relatively simple task, there are a few common mistakes that can easily be avoided with a little knowledge and caution: - Using the wrong type of replacement valve can lead to leaks or other issues. - Not properly cleaning the area before installing the new valve can result in a faulty seal. - Rushing the process can lead to damaging the mattress or the new valve.Common Mistakes to Avoid When Replacing the Air Valve on a Slumberjack Mattress


Common Mistakes to Avoid When Replacing the Air Valve on a Slumberjack Mattress


If you’re feeling overwhelmed or unsure about replacing the air valve on your Slumberjack mattress, here are a few expert tips to help you along the way: - Contact Slumberjack’s customer service for guidance or assistance if you run into any issues or have any questions. - Consider purchasing a backup replacement valve to have on hand in case you need to replace it again in the future. - Take your time and don’t rush the process to avoid any potential mistakes or damage.Expert Tips for Replacing the Air Valve on a Slumberjack Mattress


Expert Tips for Replacing the Air Valve on a Slumberjack Mattress


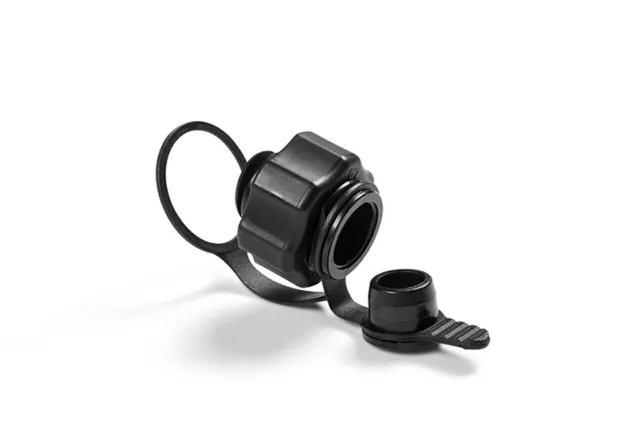
If you’re in need of a replacement air valve for your Slumberjack mattress, you have a few different options to choose from. Some popular replacement valves include: - Screw-in valves - Snap-in valves - Push-in valves - Twist-lock valves Be sure to check the manufacturer’s instructions for your specific mattress model to determine which type of replacement valve is compatible.Replacement Air Valve Options for Slumberjack Mattresses
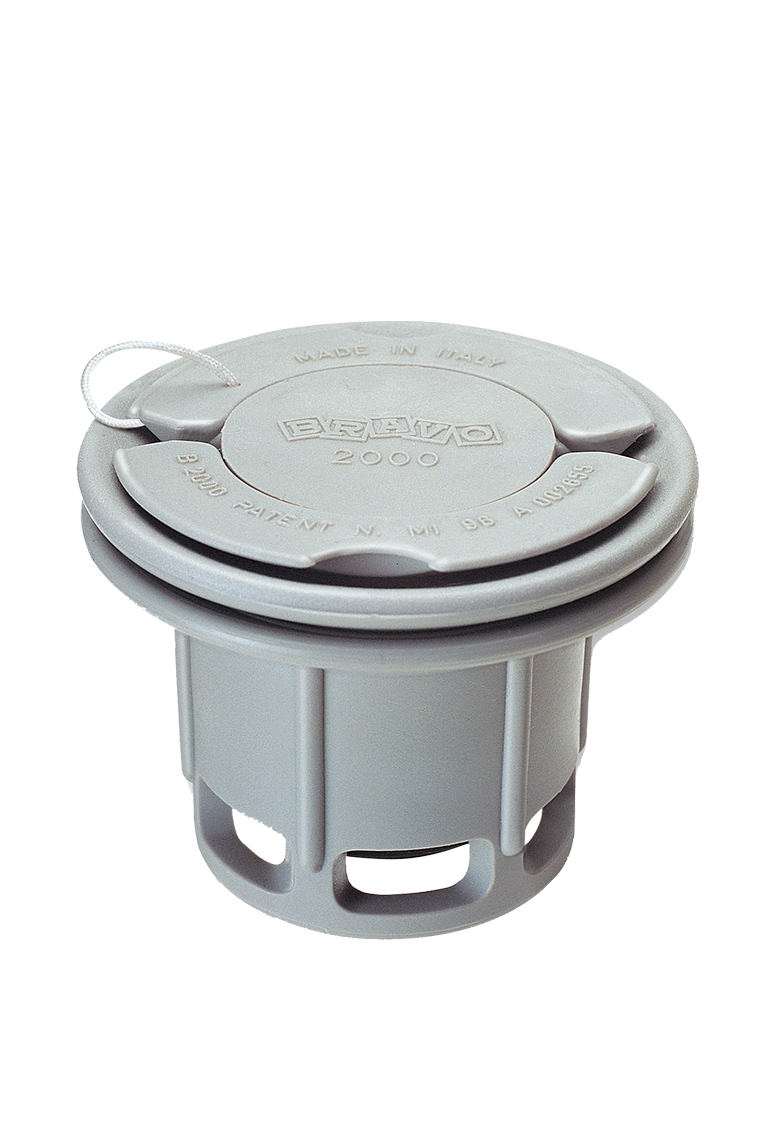


Replacement Air Valve Options for Slumberjack Mattresses


When it comes to purchasing a replacement air valve for your Slumberjack mattress, there are a few different options to consider: - Purchase directly from Slumberjack’s website or customer service. - Look for replacement valves at outdoor or camping supply stores. - Search online for retailers that carry Slumberjack replacement valves. Just be sure to double-check the compatibility of the replacement valve with your specific mattress model before making a purchase. Replacing the air valve on your Slumberjack mattress may seem like a daunting task, but with the right tools, knowledge, and guidance, it can be a simple and rewarding DIY project. By following the steps outlined in this guide and avoiding common mistakes, you can easily replace the air valve on your Slumberjack mattress and continue to enjoy restful nights of sleep on your favorite air mattress. Happy sleeping!Where to Buy Replacement Air Valves for Slumberjack Mattresses


Where to Buy Replacement Air Valves for Slumberjack Mattresses


Why Replacing the Air Valve on Your Slumberjack Mattress is Essential for Comfortable Sleep

Problems with a Faulty Air Valve on Your Slumberjack Mattress
 If you're experiencing restless nights and waking up feeling tired and achy, the culprit may be a faulty air valve on your Slumberjack mattress. While it may seem like a minor issue, a malfunctioning air valve can greatly impact the quality of your sleep and overall comfort. Air valves are crucial components of air mattresses as they control the amount of air inside, allowing you to adjust the firmness to your liking. Without a properly functioning valve, your mattress may not hold air, causing it to deflate throughout the night, leading to an uncomfortable and disrupted sleep.
The Benefits of Replacing Your Air Valve
 Replacing the air valve on your Slumberjack mattress may seem like a hassle, but the benefits far outweigh the inconvenience. First and foremost, a new air valve will ensure that your mattress stays inflated throughout the night, providing you with a comfortable and supportive sleep surface. You'll also have the ability to adjust the firmness of your mattress to your liking, allowing for a personalized sleeping experience. Additionally, a new air valve will prevent any potential leaks or tears in the valve, extending the lifespan of your mattress.
How to Replace Your Air Valve
 Replacing the air valve on your Slumberjack mattress is a simple and straightforward process. First, you'll need to purchase a replacement air valve specific to your mattress model. Next, you'll need to locate the original air valve on your mattress and remove it using a pair of pliers. Then, carefully insert the new air valve and secure it in place. Lastly, inflate your mattress and test the new valve to ensure it is functioning properly. If you're unsure of how to replace the air valve, contact the manufacturer for assistance or seek the help of a professional.
Don't Sacrifice Comfort for Convenience
 While it may be tempting to continue using your Slumberjack mattress with a faulty air valve, it's important to prioritize your comfort and overall sleep health. By replacing the air valve, you'll not only improve the quality of your sleep but also extend the lifespan of your mattress. Don't sacrifice comfort for convenience, take the time to replace your air valve and enjoy a comfortable and restful night's sleep.