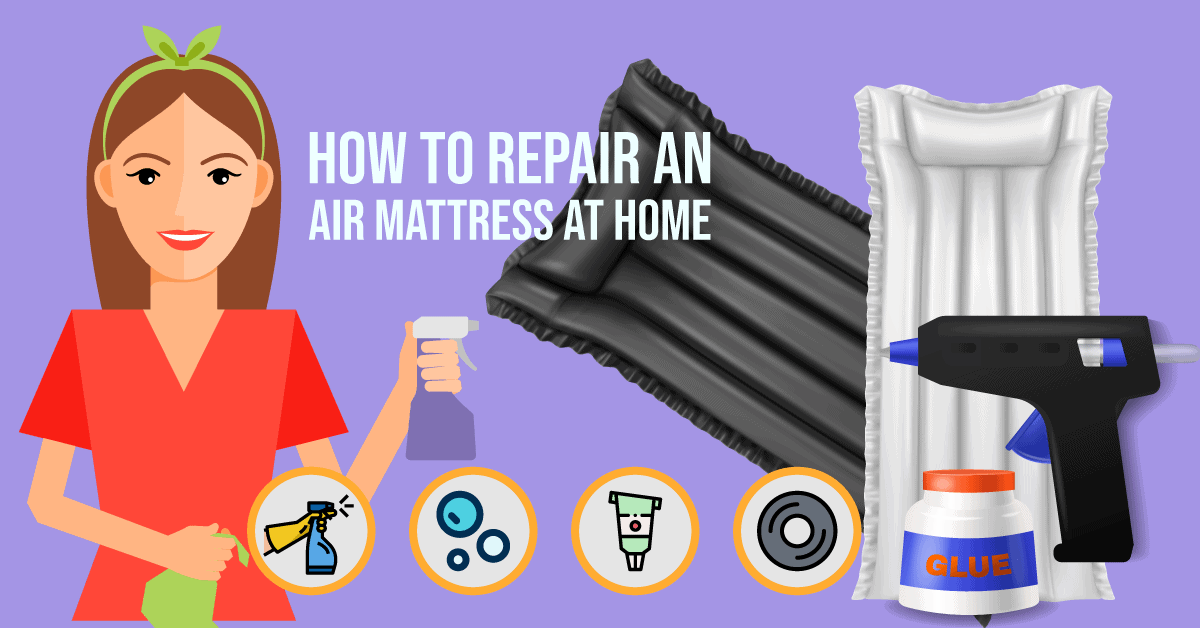
An air mattress can be a convenient and comfortable option for sleeping, but it's inevitable that it will experience wear and tear over time. Whether it's a small puncture or a larger tear, it's important to know how to repair your air mattress to keep it in good condition. Here are 10 easy steps to repair your air mattress and get it back in working order.How to Repair an Air Mattress


How to Repair an Air Mattress


If you're experiencing a leak in your air mattress, don't worry – you can easily fix it yourself with a few simple tools and materials. First, locate the leak by inflating the mattress and running your hand over the surface to feel for any escaping air. Once you've found the leak, follow these steps to fix it.DIY Air Mattress Repair Guide


DIY Air Mattress Repair Guide

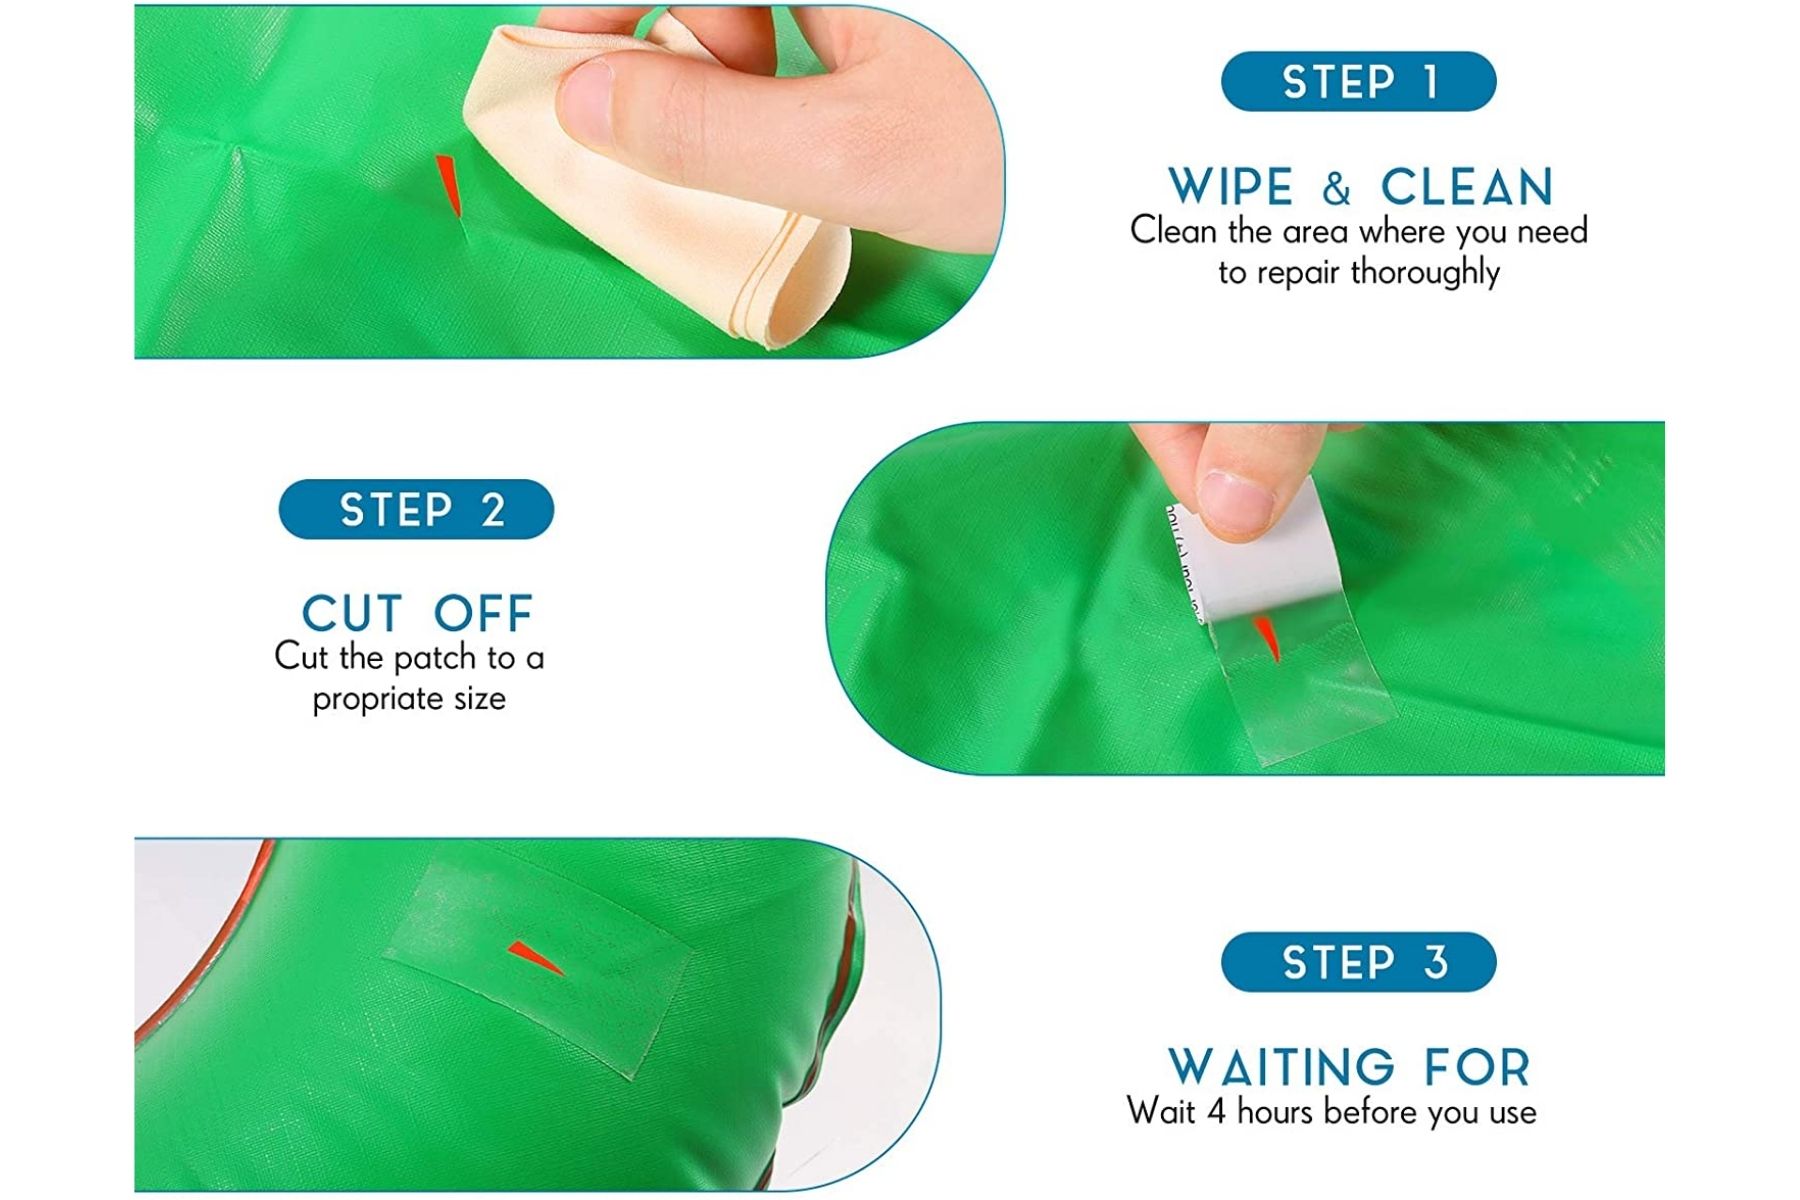
For a quick fix, you can use a patch kit specifically designed for air mattresses. These kits usually include a patch and adhesive, and can be found at most stores that sell air mattresses. Simply clean the area around the leak, apply the adhesive, and place the patch over the hole. Press down firmly and let it dry completely before using the mattress again.Quick and Easy Air Mattress Repair


Quick and Easy Air Mattress Repair

If you don't have a patch kit on hand, there are other household items you can use to fix a leaky air mattress. Duct tape, for example, can be effective in sealing small holes. Just make sure to clean the area and dry it completely before applying the tape. You can also use a hot glue gun for larger tears – just be careful not to burn yourself while applying the glue.Fixing a Leaky Air Mattress

Fixing a Leaky Air Mattress


If you want a more permanent solution, you can repair your air mattress using a vinyl adhesive and a piece of vinyl material. First, cut the vinyl material into a patch that is at least 1 inch larger than the hole on all sides. Then, clean the area around the leak and apply the adhesive to both the patch and the mattress. Place the patch over the hole and press down firmly. Let it dry completely before using the mattress.Step-by-Step Air Mattress Repair


Step-by-Step Air Mattress Repair


While patching and gluing are the most common methods for repairing air mattresses, there are other techniques you can try depending on the type and severity of the damage. For small punctures, you can use a drop of super glue to seal the hole. For larger tears, you can use a bicycle tire patch or even a piece of duct tape covered with a layer of clear nail polish to reinforce the patch.Common Air Mattress Repair Techniques


Common Air Mattress Repair Techniques

When it comes to repairing an air mattress, having the right products on hand can make the process much easier. Some of the best products for repairing an air mattress include patch kits, vinyl adhesive, super glue, and duct tape. These items are easy to find and relatively inexpensive, making them a must-have for any air mattress owner.Best Products for Repairing an Air Mattress


Best Products for Repairing an Air Mattress


If you're having trouble repairing your air mattress, it's always helpful to get some expert tips and advice. Some things to keep in mind when repairing an air mattress include ensuring the area is completely dry before applying any adhesive, using a generous amount of adhesive for a stronger bond, and allowing the mattress to dry completely before using it again.Expert Tips for Repairing an Air Mattress


Expert Tips for Repairing an Air Mattress


When patching an air mattress, it's important to follow the steps carefully to ensure a successful repair. First, clean the area around the leak with rubbing alcohol and let it dry completely. Then, apply a generous amount of vinyl adhesive to both the patch and the mattress and press firmly. Allow the patch to dry completely before using the mattress.How to Patch an Air Mattress

How to Patch an Air Mattress


If you're still having trouble with your air mattress even after attempting to repair it, there may be a more serious issue at hand. Some common problems with inflatable mattresses include faulty valves, leaks in the seams, and internal damage. In these cases, it may be best to contact the manufacturer for assistance or consider purchasing a new air mattress.Inflatable Mattress Repair: Troubleshooting and Solutions


Inflatable Mattress Repair: Troubleshooting and Solutions


How to Effectively Repair an Air Mattress

Introduction
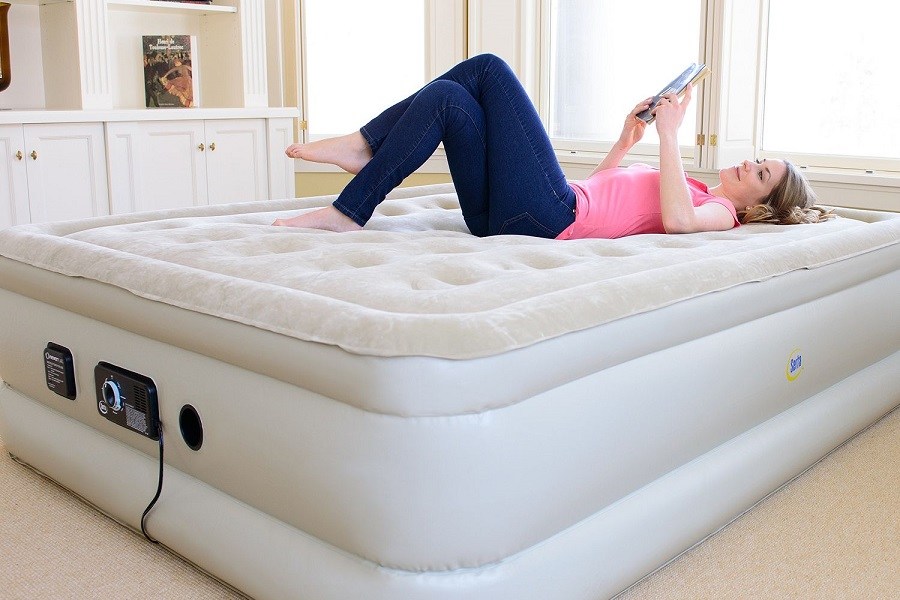
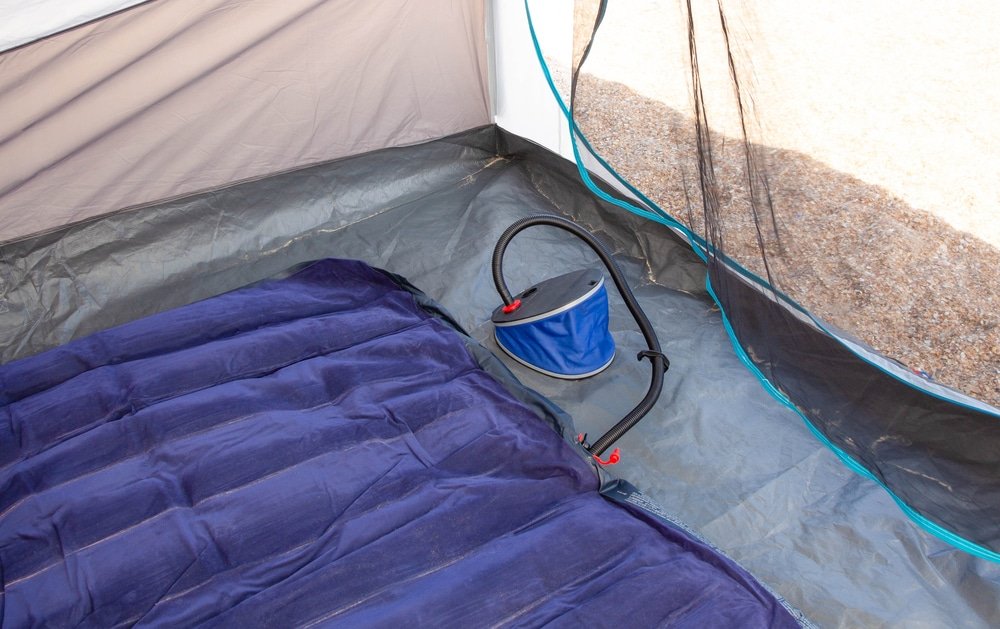
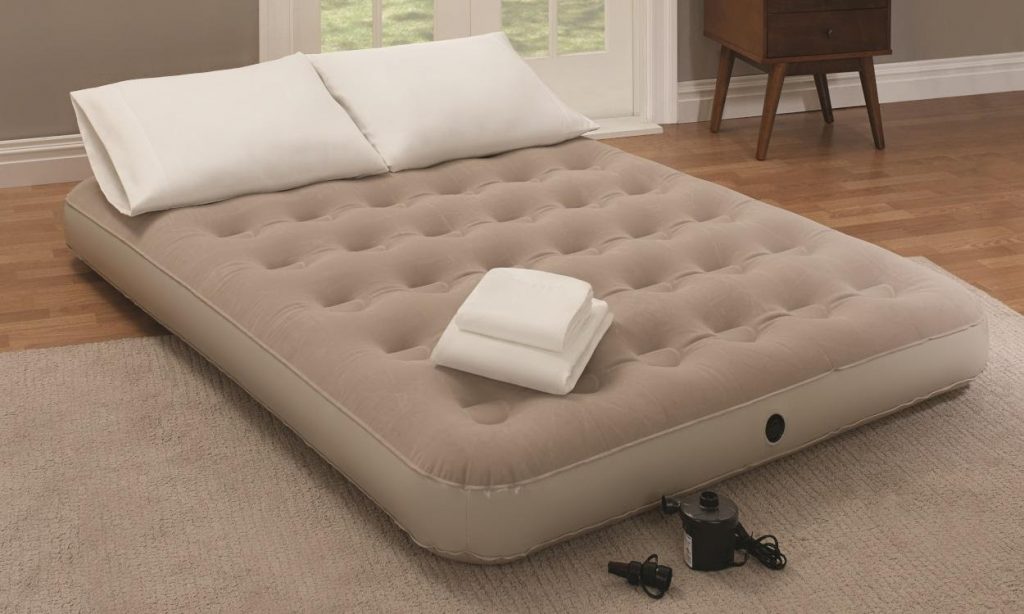
 Air mattresses are a convenient and portable bedding option, perfect for camping trips or accommodating guests. However, just like any other household item, they are prone to wear and tear. A punctured air mattress can quickly deflate and become unusable, but don't worry, it can be easily repaired. In this article, we will guide you through the process of repairing an air mattress, so you can enjoy a good night's sleep without any worries.
Identify the Leak
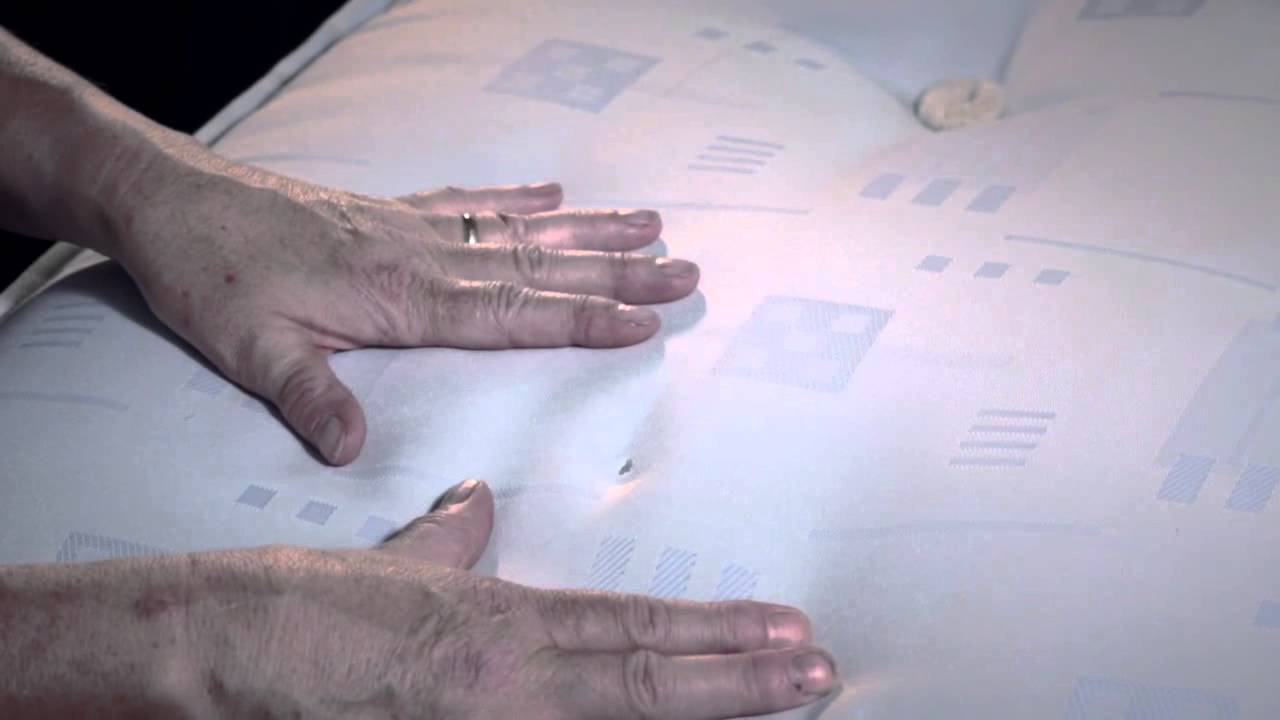
 The first step to repairing an air mattress is to identify the source of the leak. Inflate the mattress and listen for any hissing sounds, or run your hands over the surface to feel for any escaping air. Once you have located the leak, mark the area with a piece of tape or a marker.
Gather the Necessary Materials
 Before starting the repair process, make sure you have all the necessary materials. This includes a repair kit, which usually contains patches, adhesive, and a sealant. You will also need a clean cloth, rubbing alcohol, and scissors. If you don't have a repair kit, you can also use a patch of vinyl, rubber cement, and a bicycle tire patch kit.
Clean and Prepare the Area
 Clean the area around the leak with rubbing alcohol and a clean cloth. This will help the adhesive to stick better and ensure a stronger seal. Make sure the area is completely dry before proceeding with the repair.
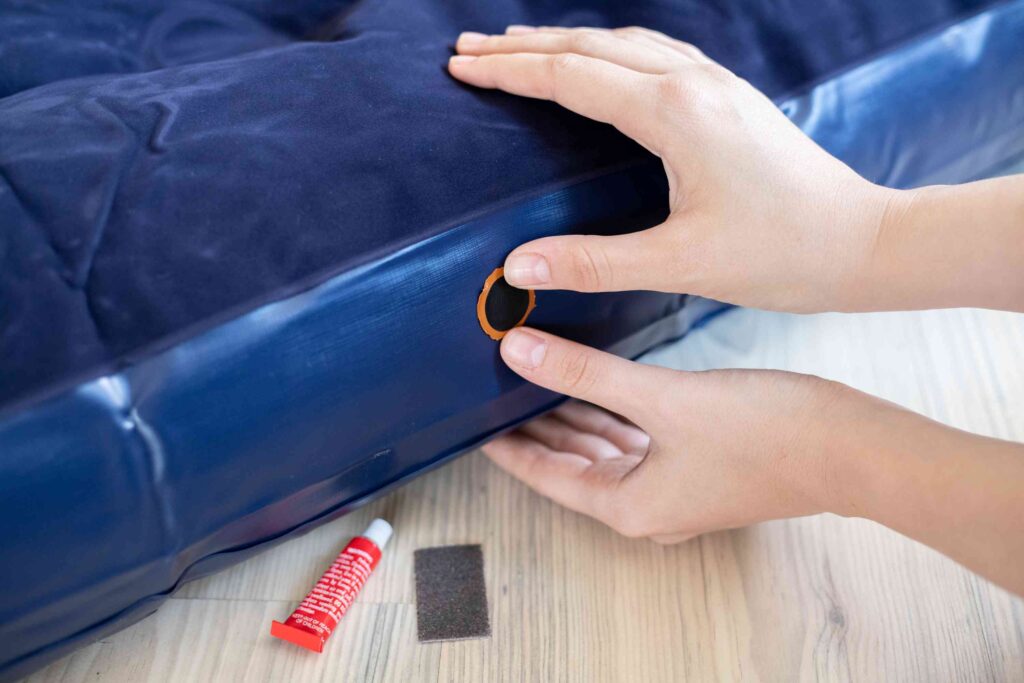
Apply the Patch
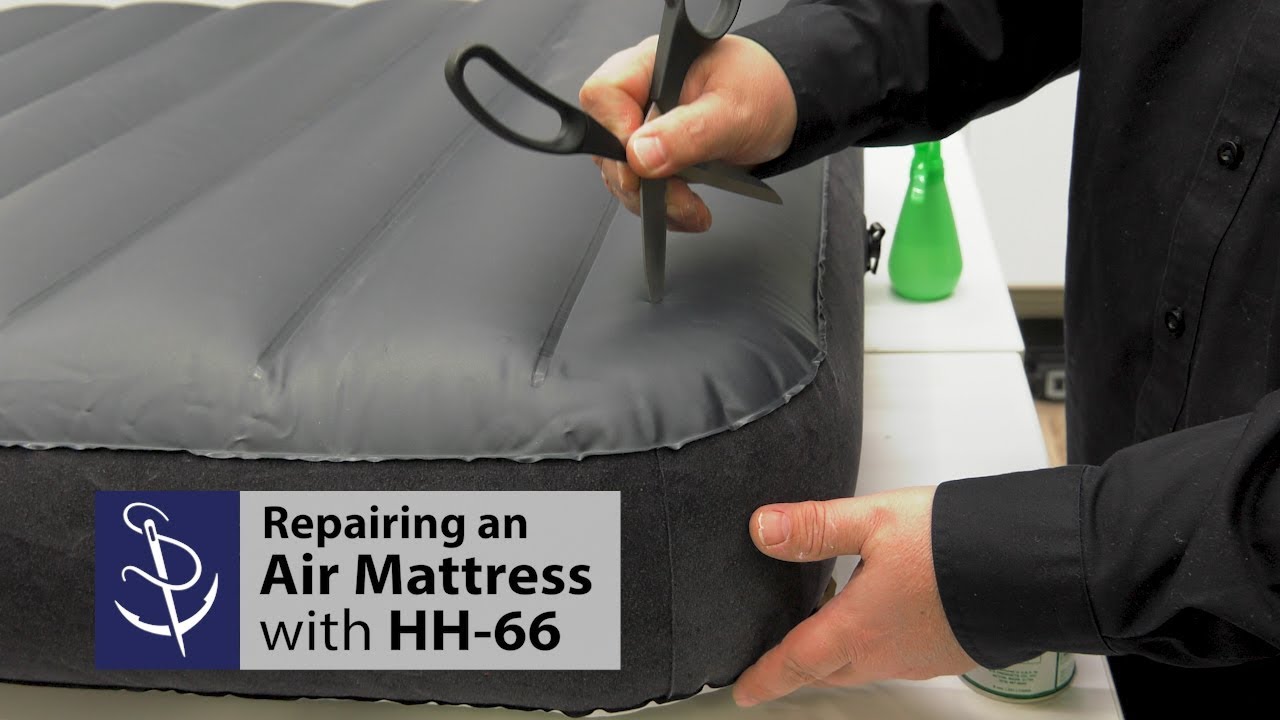 If you are using a repair kit, follow the instructions provided to apply the patch over the leak. If you are using alternative materials, cut a patch slightly larger than the leak and apply a layer of rubber cement to both the patch and the mattress. Press the patch firmly onto the leak and hold it in place for a few minutes. Allow the patch to dry completely before inflating the mattress again.
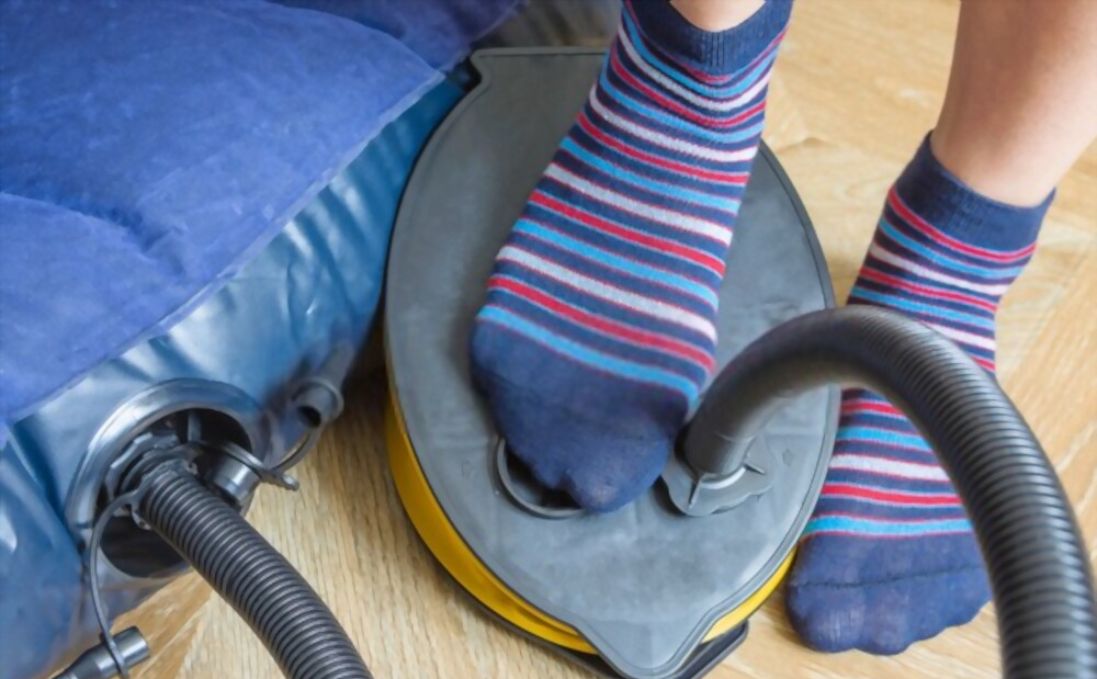
Test the Repair
 Once the patch is completely dry, inflate the mattress and check for any remaining leaks. If there are no more leaks, your repair was successful. If you notice any new leaks, repeat the process with a new patch or a larger patch.
Proper Storage and Maintenance
 To prevent future leaks and prolong the life of your air mattress, it is important to properly store and maintain it. Always make sure the surface is clean and free of sharp objects before inflating the mattress. When not in use, store the mattress in a dry and cool place, away from direct sunlight.
Conclusion
 Repairing an air mattress may seem like a daunting task, but with the right materials and techniques, it can be easily done at home. By following these steps, you can save money and extend the life of your air mattress. Remember to properly store and maintain your mattress to prevent future leaks and ensure a comfortable night's sleep.