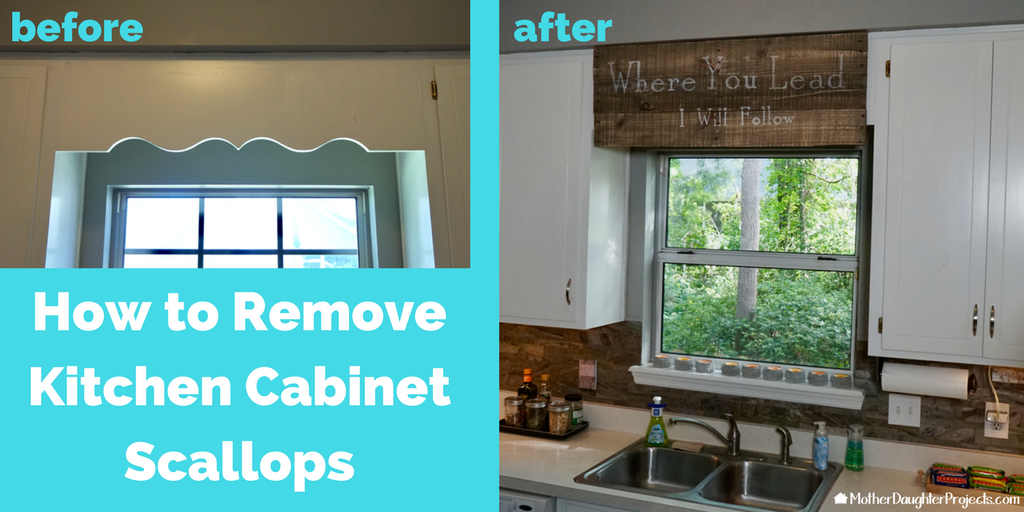
Are you tired of the outdated wood valance above your kitchen sink? Removing it may seem like a daunting task, but with the right tools and techniques, you can easily get rid of this eyesore and give your kitchen a fresh new look. Here's a step-by-step guide on how to remove a wood valance over a kitchen sink.How to Remove a Wood Valance Over a Kitchen Sink


How to Remove a Wood Valance Over a Kitchen Sink


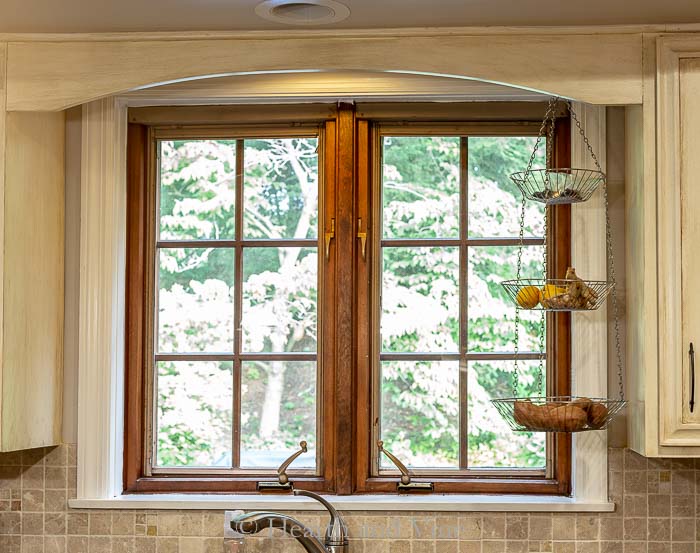
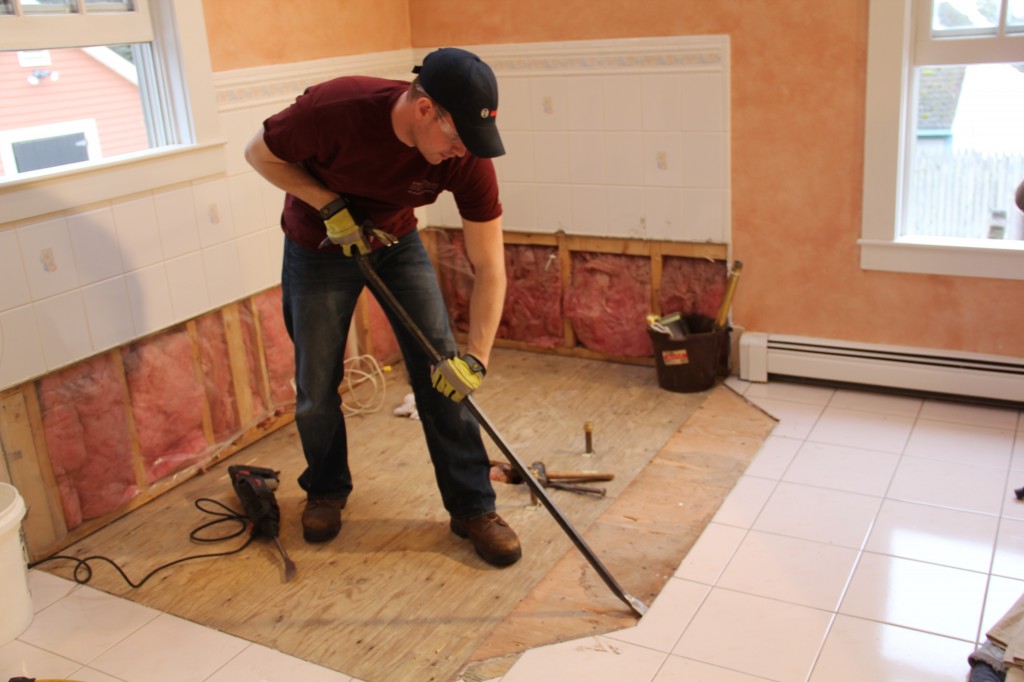
The first step in removing a wood valance over your kitchen sink is to gather the necessary tools. You will need a ladder, hammer, screwdriver, putty knife, and a pry bar. Once you have these, follow these steps: Step 1: Start by removing any curtains, blinds, or other window treatments that may be attached to the wood valance. Step 2: Using a ladder, carefully climb up to the valance and inspect how it is attached to the wall. Most wood valances are screwed into the wall or attached with brackets. Step 3: If the valance is screwed into the wall, use a screwdriver to remove the screws. If it is attached with brackets, use a pry bar to gently loosen and remove them. Step 4: Once the valance is no longer attached to the wall, use a hammer to tap it gently to loosen it from any adhesive or caulking that may be holding it in place. Step 5: Carefully remove the valance from the wall and set it aside.Removing a Wood Valance Above the Kitchen Sink


Removing a Wood Valance Above the Kitchen Sink


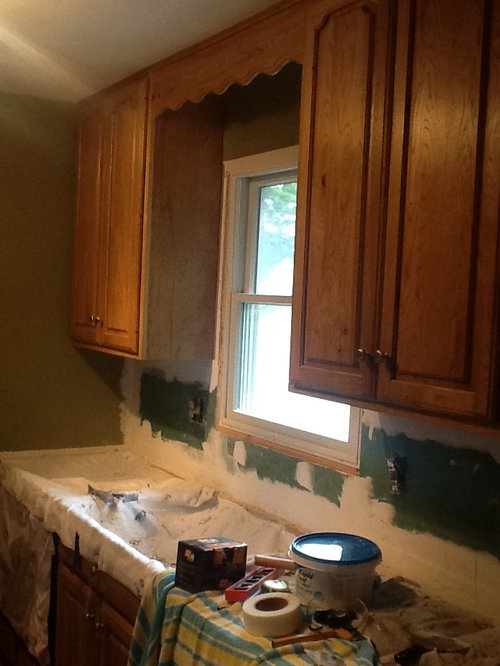
If you still have some leftover adhesive or caulking on the wall, use a putty knife to scrape it off. Be careful not to damage the wall while doing so. Once the wall is clean, you can either leave it as is or repaint it to cover any marks or discoloration left behind by the valance. And there you have it, a simple step-by-step guide for removing a wood valance over your kitchen sink. But before you get started, here are a few tips and tricks to make the process even smoother.Step-by-Step Guide for Removing a Wood Valance Over a Kitchen Sink


Step-by-Step Guide for Removing a Wood Valance Over a Kitchen Sink


Removing a wood valance over the kitchen sink is a great DIY project that can save you money and give your kitchen a new look. However, it is essential to follow proper safety precautions to avoid any accidents or injuries. Tip 1: Always use a ladder that is tall enough to reach the valance without overstretching or standing on the top rung. Tip 2: Wear protective gloves to avoid getting splinters from the wood valance. Tip 3: If the valance is glued to the wall, be careful not to damage the wall while trying to remove it.DIY: Removing a Wood Valance Over the Kitchen Sink


DIY: Removing a Wood Valance Over the Kitchen Sink


Removing a wood valance may seem like a simple task, but it can quickly become a nightmare if you make some common mistakes. Here are a few things to keep in mind to avoid any mishaps: Mistake 1: Not using the right tools. Using the wrong tools can damage the valance or the surrounding walls, making the process more complicated. Mistake 2: Not being careful enough. It is essential to take your time and be gentle when removing the valance to avoid any accidents or damage. Mistake 3: Not wearing protective gear. As mentioned earlier, wearing gloves can protect your hands from splinters, and safety goggles can protect your eyes from any debris that may fall while removing the valance.Removing a Wooden Valance Above the Kitchen Sink: Tips and Tricks


Removing a Wooden Valance Above the Kitchen Sink: Tips and Tricks

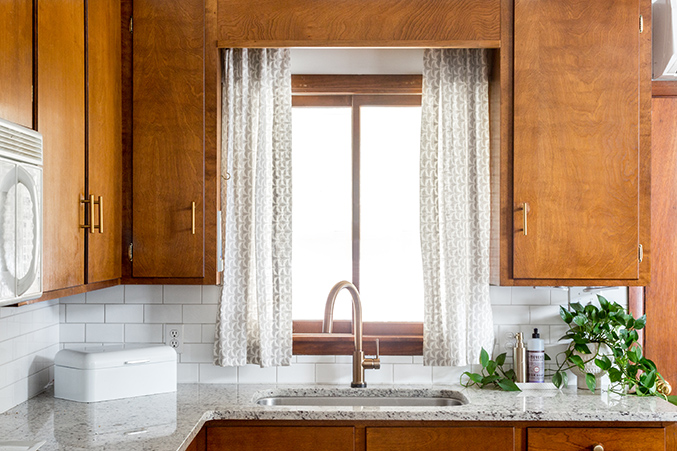
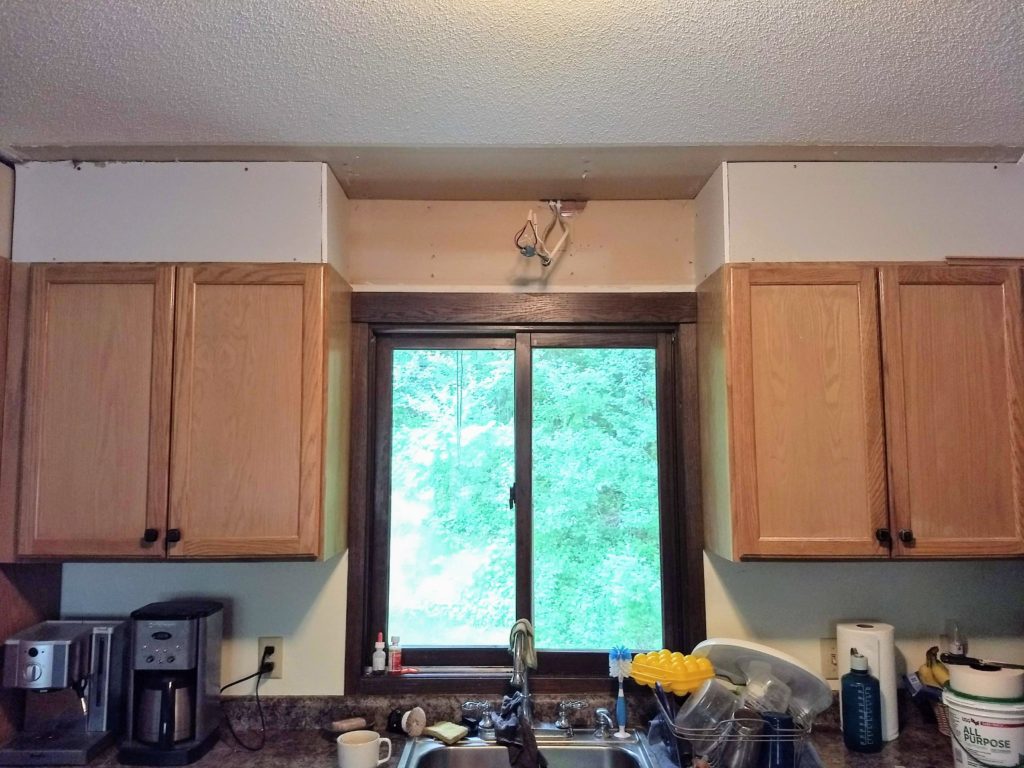
Now that you know how to remove a wood valance over a kitchen sink let's take a look at why you may want to get rid of it in the first place. Here are a few things to consider: 1. Outdated look: Wood valances may have been trendy in the past, but they can make your kitchen look dated and dull. 2. Blocking natural light: A wood valance can block natural light from entering your kitchen, making it look darker and smaller. 3. Difficult to clean: The crevices and corners of a wood valance can accumulate dust and grime, making it a hassle to clean. 4. Lack of functionality: Most wood valances are purely decorative and do not serve any practical purpose. Removing it can create more space and make your kitchen feel more open.Removing a Wood Valance Over the Kitchen Sink: What You Need to Know

Removing a Wood Valance Over the Kitchen Sink: What You Need to Know


When it comes to removing a wood valance over the kitchen sink, there are a few different methods you can use. The method described earlier in this article is the most common and straightforward way. However, if your valance is attached with heavy-duty adhesive, you may need to use a heat gun to soften the glue before attempting to remove it. Pro Tip: If you are unsure about how the valance is attached, it is always best to start with the gentlest method first to avoid causing any damage.The Best Methods for Removing a Wood Valance Over the Kitchen Sink


The Best Methods for Removing a Wood Valance Over the Kitchen Sink
If you are still unsure about removing the wood valance over your kitchen sink, here are a few expert tips to help you out: Expert Tip 1: If possible, have someone hold the ladder for you while you work on removing the valance. Expert Tip 2: Use a flashlight to inspect the area behind the valance before starting to remove it. This can help you determine how it is attached and how much effort will be required to remove it. Expert Tip 3: If the valance is attached with screws, use a drill with a screwdriver bit for faster and more efficient removal.Expert Tips for Removing a Wood Valance Over the Kitchen Sink
Removing a Wood Valance Over the Kitchen Sink: Common Mistakes to Avoid
Lastly, it is crucial to take the necessary safety precautions when removing a wood valance over your kitchen sink. Here are a few things to keep in mind: Safety Precaution 1: Always have someone nearby, in case of any accidents or emergencies. Safety Precaution 2: Use a sturdy ladder and make sure it is on a flat and level surface. Safety Precaution 3: Wear protective gear, including gloves and safety goggles, to avoid any injuries. Safety Precaution 4: If the valance is attached with screws, make sure to remove them all before attempting to take down the valance. Removing a wood valance over a kitchen sink may seem like a daunting task, but with the right tools and techniques, it can be a simple DIY project. Just remember to take your time, follow safety precautions, and be careful not to damage the wall or the valance. Once it's gone, you can enjoy a more modern and open kitchen space.Removing a Wood Valance Over the Kitchen Sink: Safety Precautions to Take
Expert Tips for Removing a Wood Valance Over the Kitchen Sink


Why Removing Wood Valance Over Kitchen Sink Can Enhance Your Kitchen Design

The Importance of Kitchen Design
 A kitchen is the heart of a home, where meals are prepared, memories are made, and families gather. It is also one of the most used rooms in a house, making its design a crucial aspect in creating a functional and welcoming space. From the countertops to the cabinets, every detail in a kitchen contributes to its overall design and should be carefully considered. One element that often goes unnoticed but can greatly impact the look and feel of a kitchen is the wood valance over the sink. Removing this seemingly small feature can have a big impact on the overall design of your kitchen.
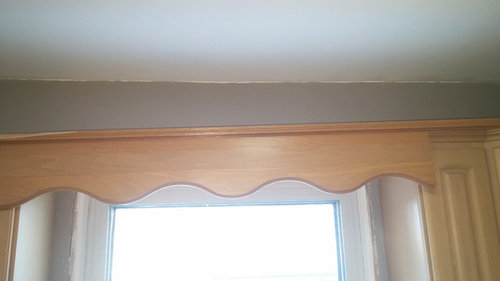
The Downfalls of Wood Valance Over the Sink
 The wood valance above the sink was once a popular design trend, but it has become outdated and impractical in modern kitchens. While it may add a touch of charm and traditional style, it also has several downsides. First, it can create a visual barrier, making the kitchen feel smaller and closed off. This is especially true in smaller kitchens where every inch of space counts. The wood valance can also collect dust and grime, making it difficult to clean and maintain. Not to mention, it can also block natural light from entering the kitchen, making it feel dark and dreary.
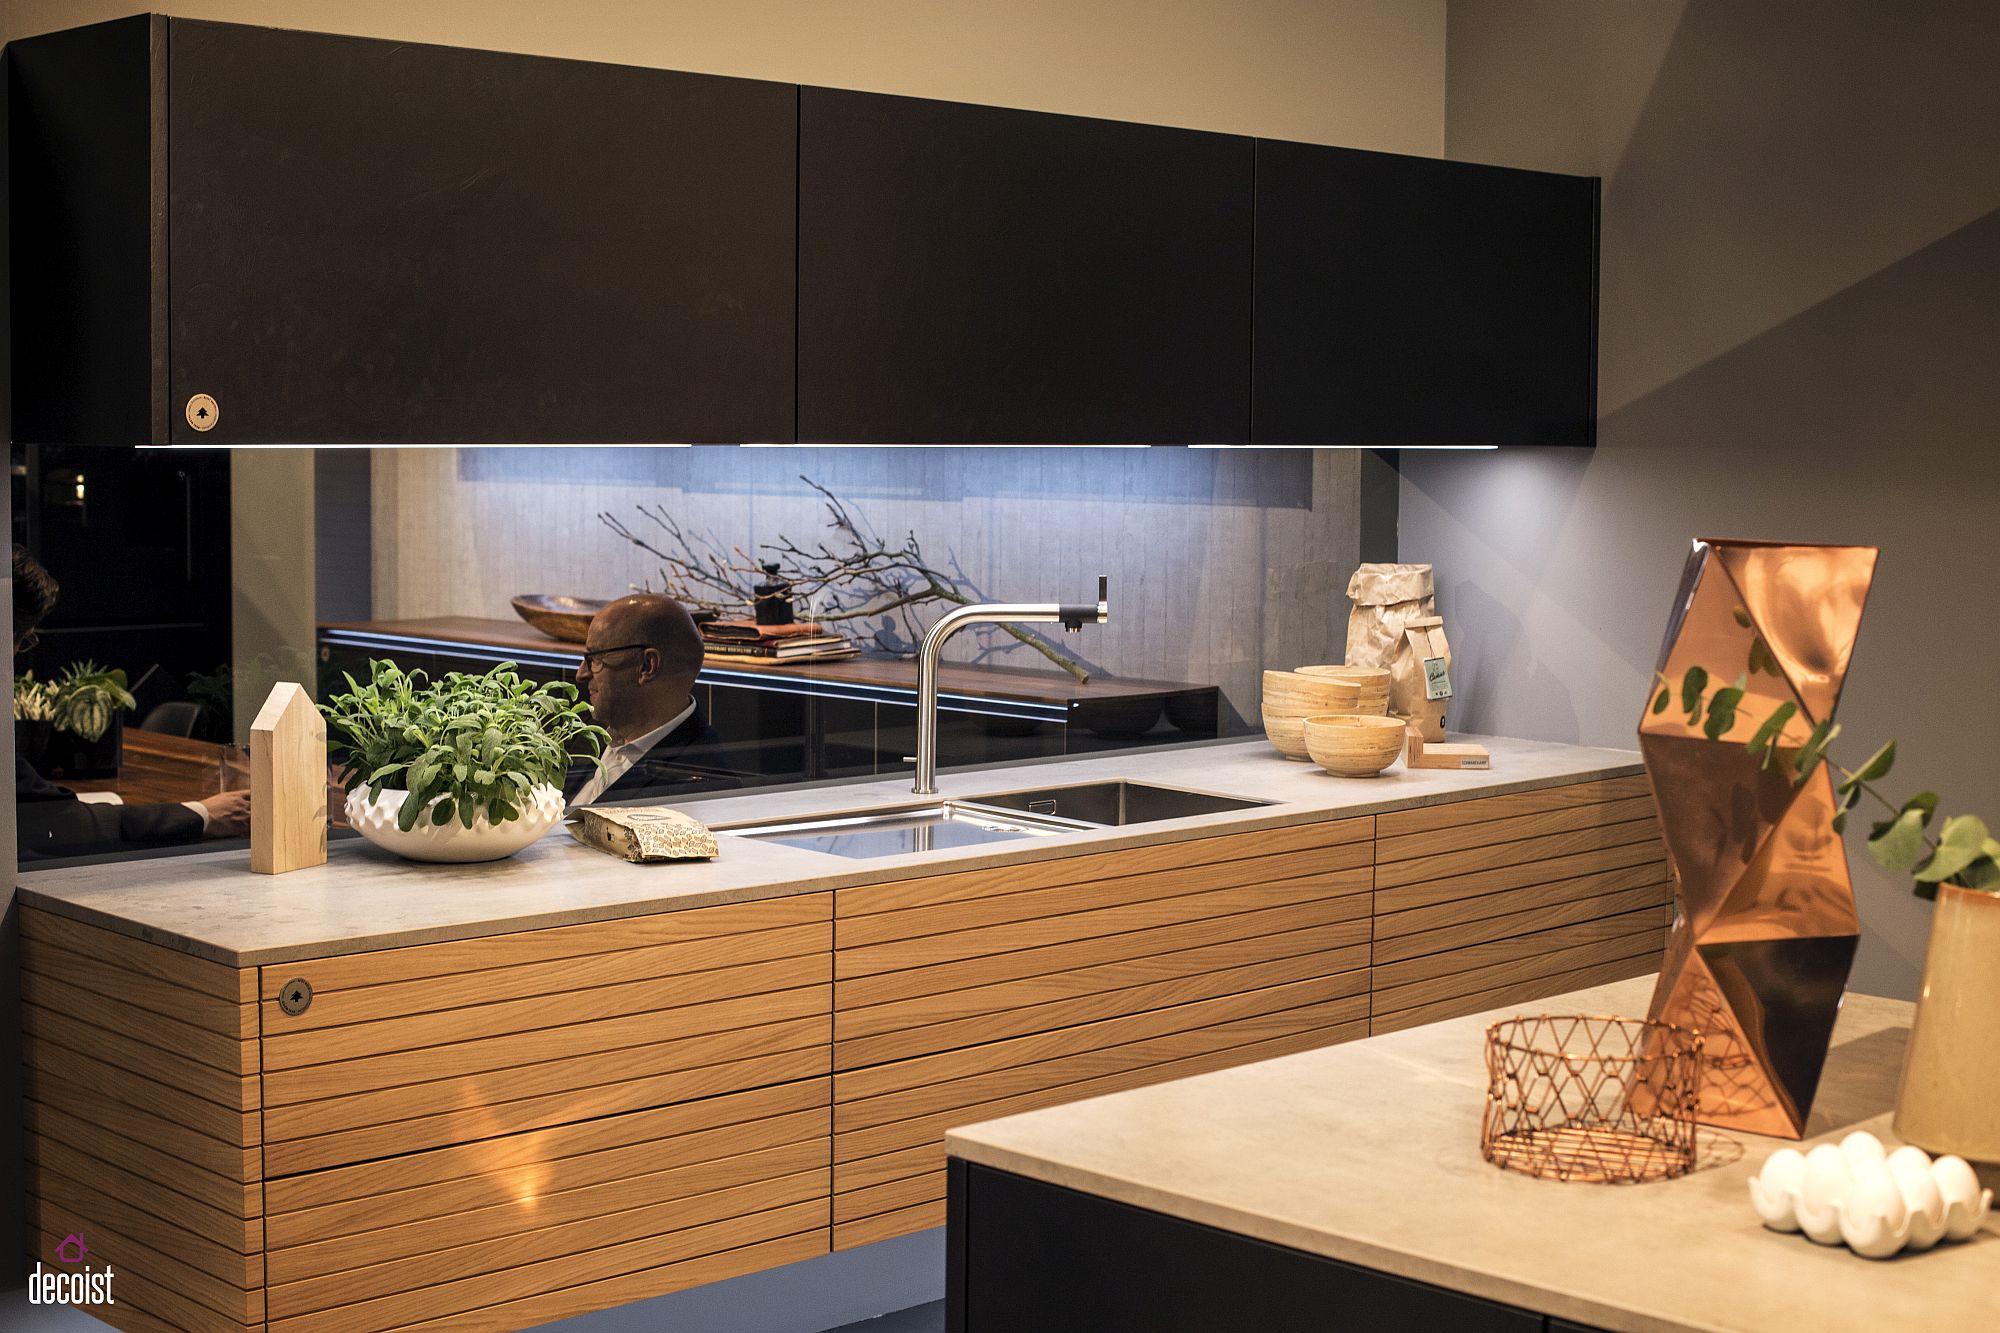
Enhancing Your Kitchen Design by Removing Wood Valance
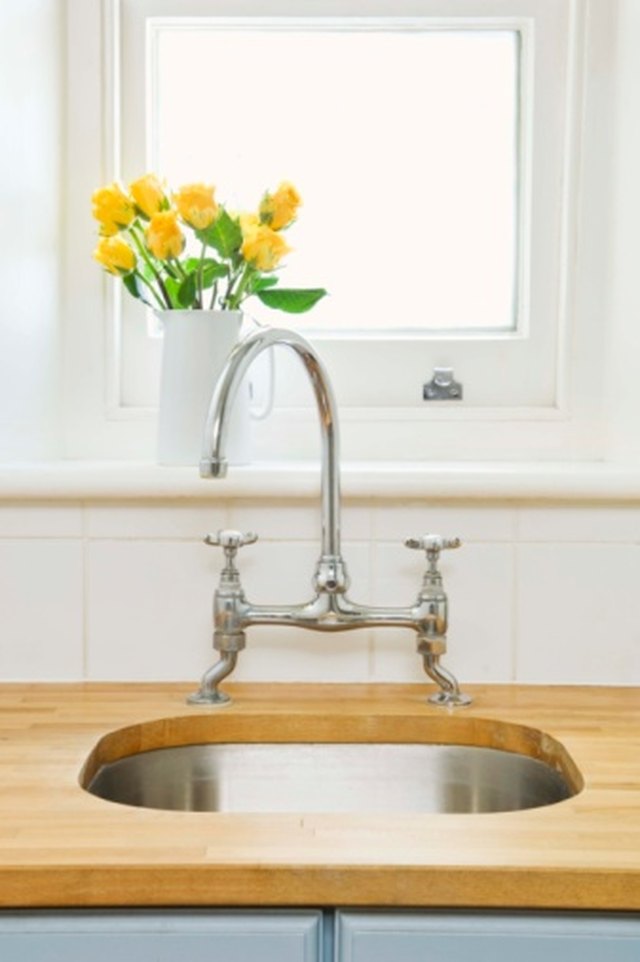
 By removing the wood valance over your kitchen sink, you can instantly open up the space and create a more modern and spacious feel. This is especially beneficial for smaller kitchens where every inch of space counts. Without the wood valance, natural light can flow freely into the kitchen, making it feel brighter and more inviting. It also eliminates a difficult-to-clean surface, making kitchen maintenance easier. Furthermore, removing the wood valance allows for more design flexibility, as you can now choose different window treatments or add decorative elements above the sink that better suit your personal style.
In Conclusion
When it comes to kitchen design, every detail counts. Removing the wood valance over the sink may seem like a small change, but it can have a big impact on the overall look and feel of your kitchen. By doing so, you can create a more modern and spacious design, allowing for more natural light and eliminating difficult-to-clean surfaces. So if you're looking to enhance your kitchen design, consider removing the wood valance over your sink and see the difference it can make.
By removing the wood valance over your kitchen sink, you can instantly open up the space and create a more modern and spacious feel. This is especially beneficial for smaller kitchens where every inch of space counts. Without the wood valance, natural light can flow freely into the kitchen, making it feel brighter and more inviting. It also eliminates a difficult-to-clean surface, making kitchen maintenance easier. Furthermore, removing the wood valance allows for more design flexibility, as you can now choose different window treatments or add decorative elements above the sink that better suit your personal style.
In Conclusion
When it comes to kitchen design, every detail counts. Removing the wood valance over the sink may seem like a small change, but it can have a big impact on the overall look and feel of your kitchen. By doing so, you can create a more modern and spacious design, allowing for more natural light and eliminating difficult-to-clean surfaces. So if you're looking to enhance your kitchen design, consider removing the wood valance over your sink and see the difference it can make.

/beautiful-boho-bedroom-decorating-ideas-4119470-hero-220ca2435fba43cbb3523e2c88132631.jpg)