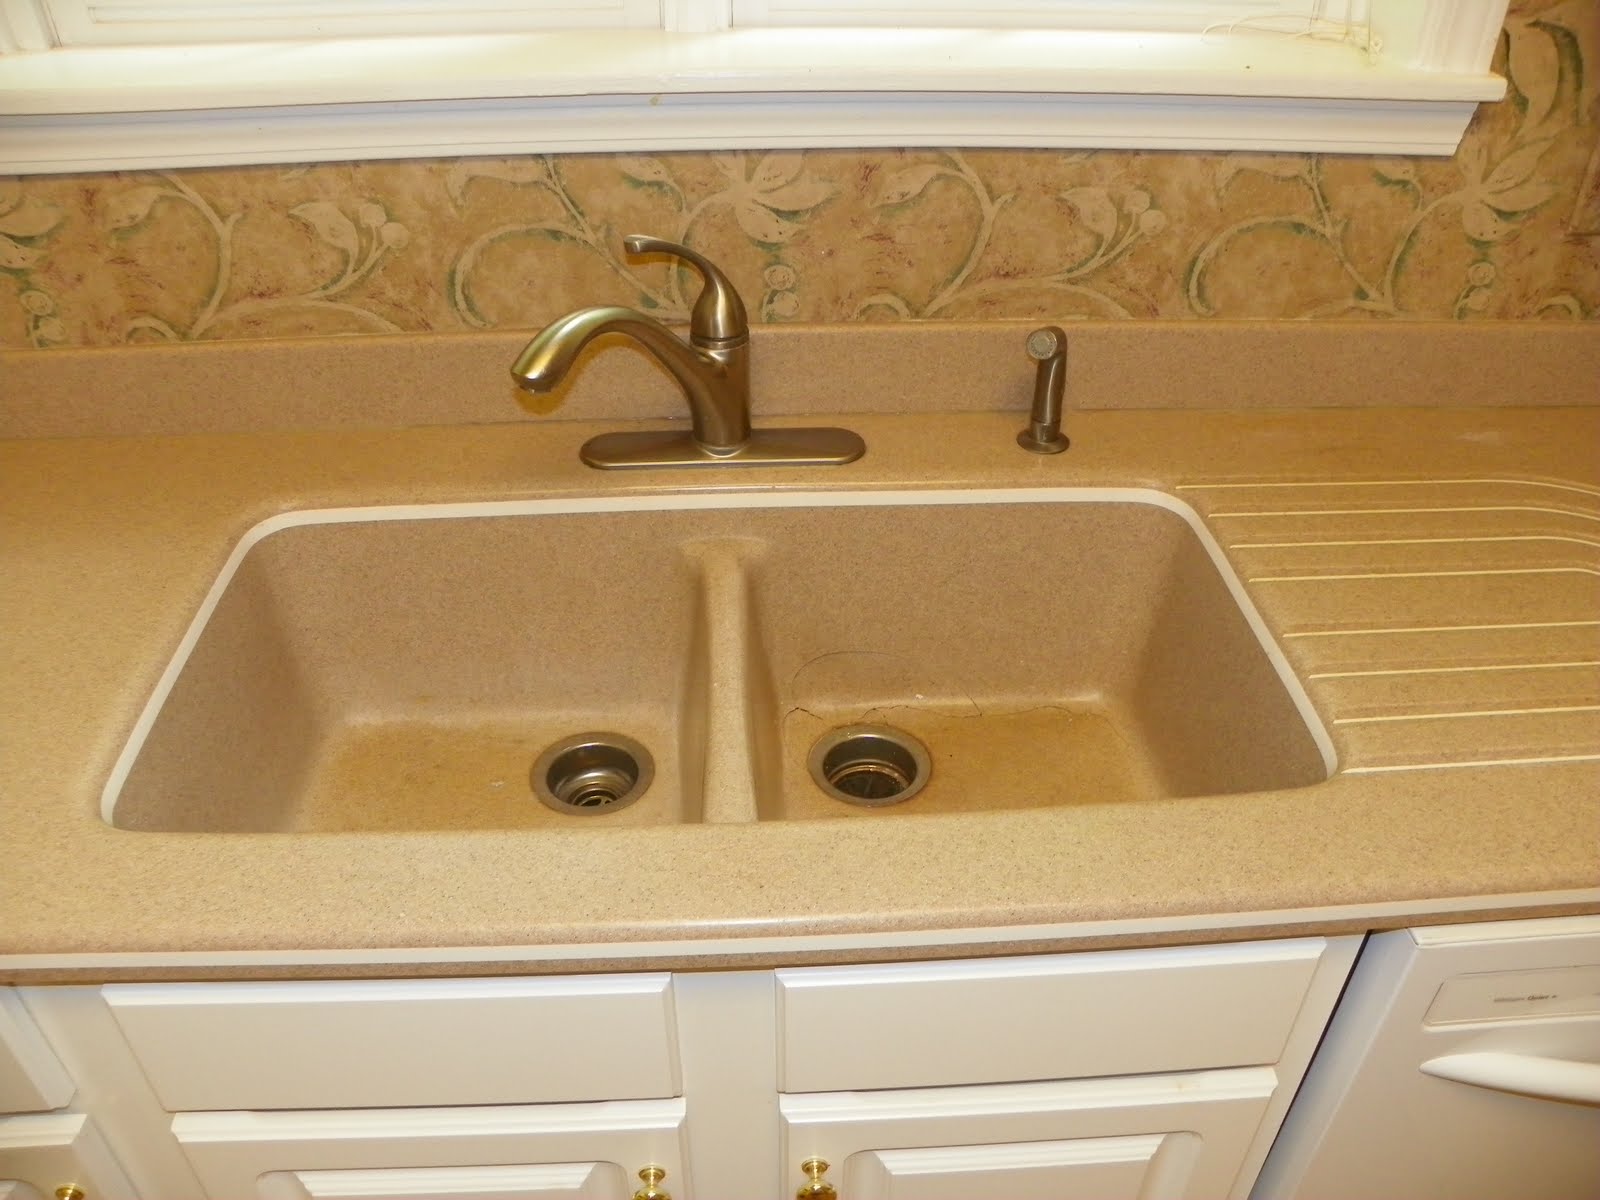
If you're tired of your old undermount kitchen sink and want to make a change, the first step is removing it. This may seem like a daunting task, but with the right tools and techniques, it can be done easily and safely. Follow these steps to remove your undermount kitchen sink and make way for a new drop in sink.1. Removing Undermount Kitchen Sink


Removing Undermount Kitchen Sink


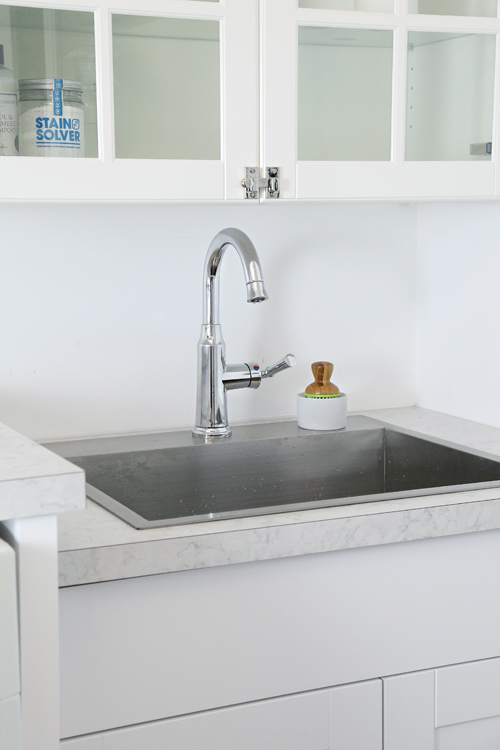
Before you start removing your undermount kitchen sink, you'll need to prepare for the installation of your new drop in sink. Make sure you have all the necessary tools and materials, including a wrench, screwdriver, and plumber's putty. Also, measure the dimensions of your new sink and make sure it will fit in the existing space.2. Preparing for Installation


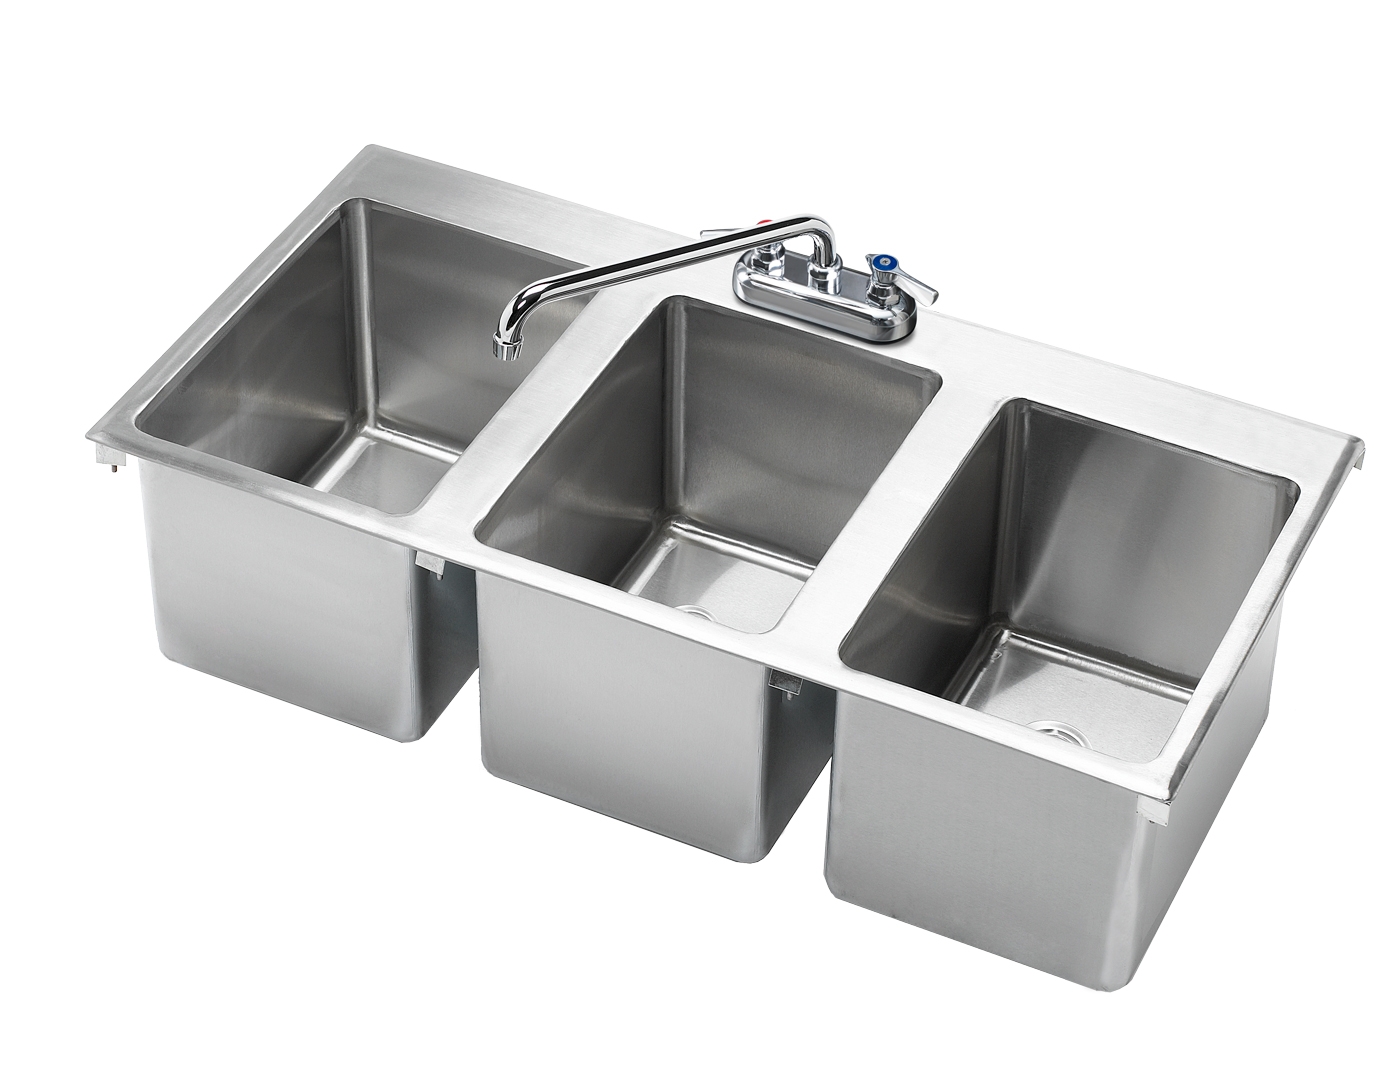
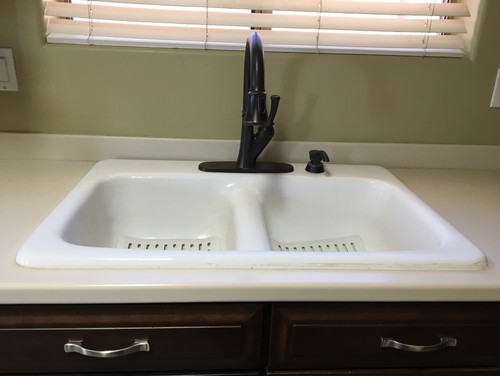
Installing Drop In Sink

:max_bytes(150000):strip_icc()/8_IMG_3767-56a4a2753df78cf772835b72.JPG)


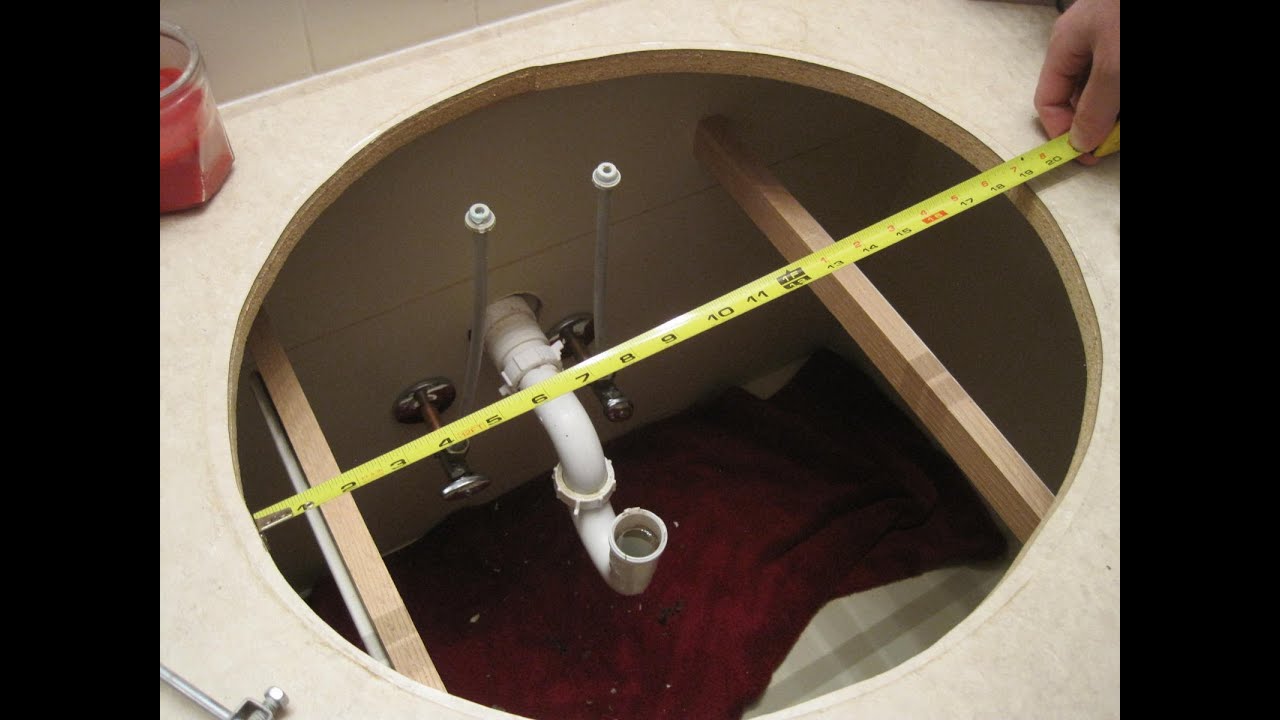


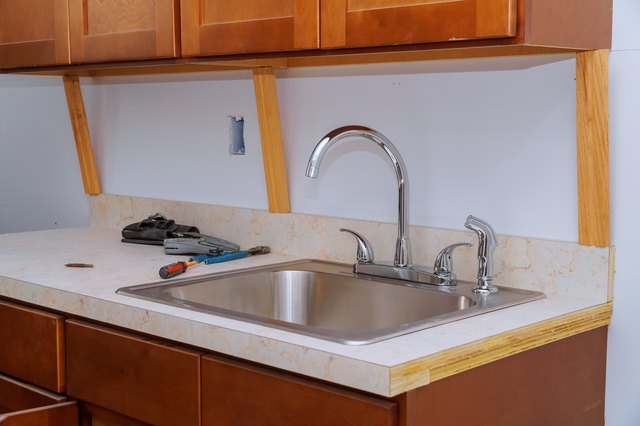
The first step in removing your undermount kitchen sink is to disconnect the plumbing. Turn off the water supply and disconnect the drain pipes and water lines from the sink. Once the plumbing is disconnected, use a wrench to loosen the clips that hold the sink in place. You may need to use a screwdriver to fully remove the clips.3. Undermount Kitchen Sink Removal


Undermount Kitchen Sink Removal


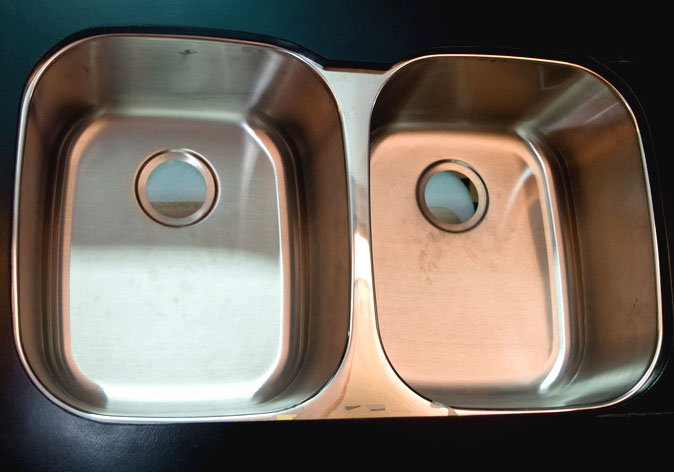


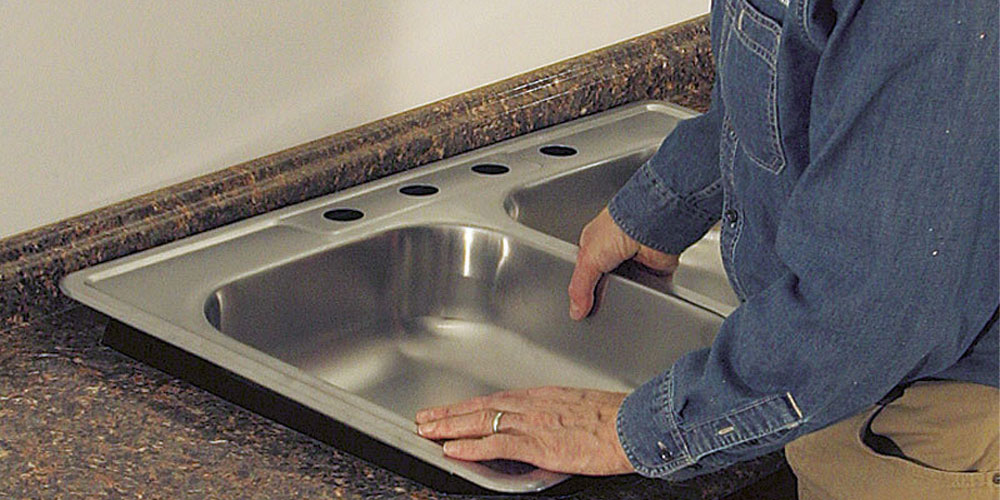
With the clips removed, you can now carefully lift the sink out of its place. It's important to be cautious during this step to avoid damaging your countertop. If your sink is caulked to the countertop, use a putty knife to gently loosen the caulk before lifting the sink out.4. Removing the Sink

Drop In Sink Installation


With the sink removed, you'll need to clean the area where the sink was installed. Use a scraper or putty knife to remove any leftover caulk or adhesive. You may also need to clean the surface with a mild cleaner to remove any dirt or grime.5. Cleaning the Area


How to Remove Undermount Kitchen Sink


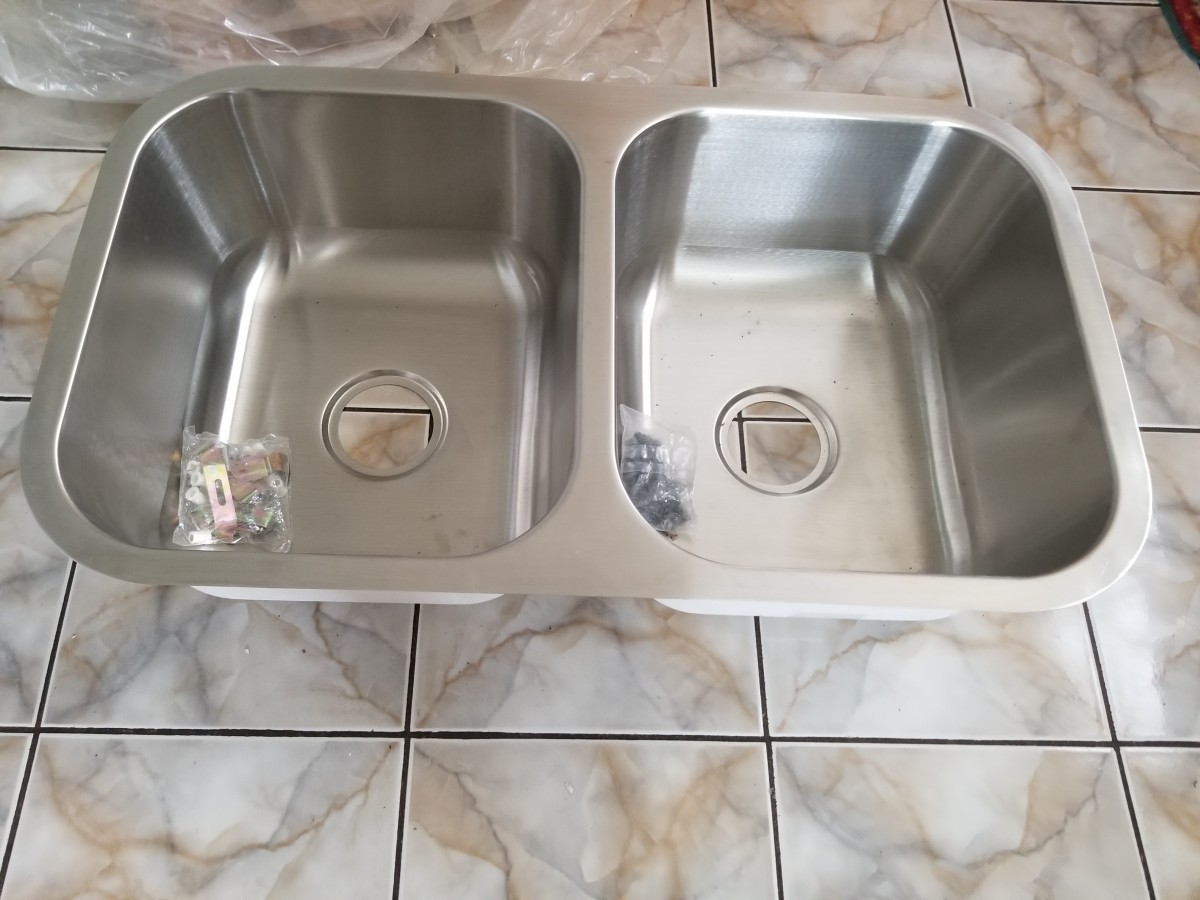
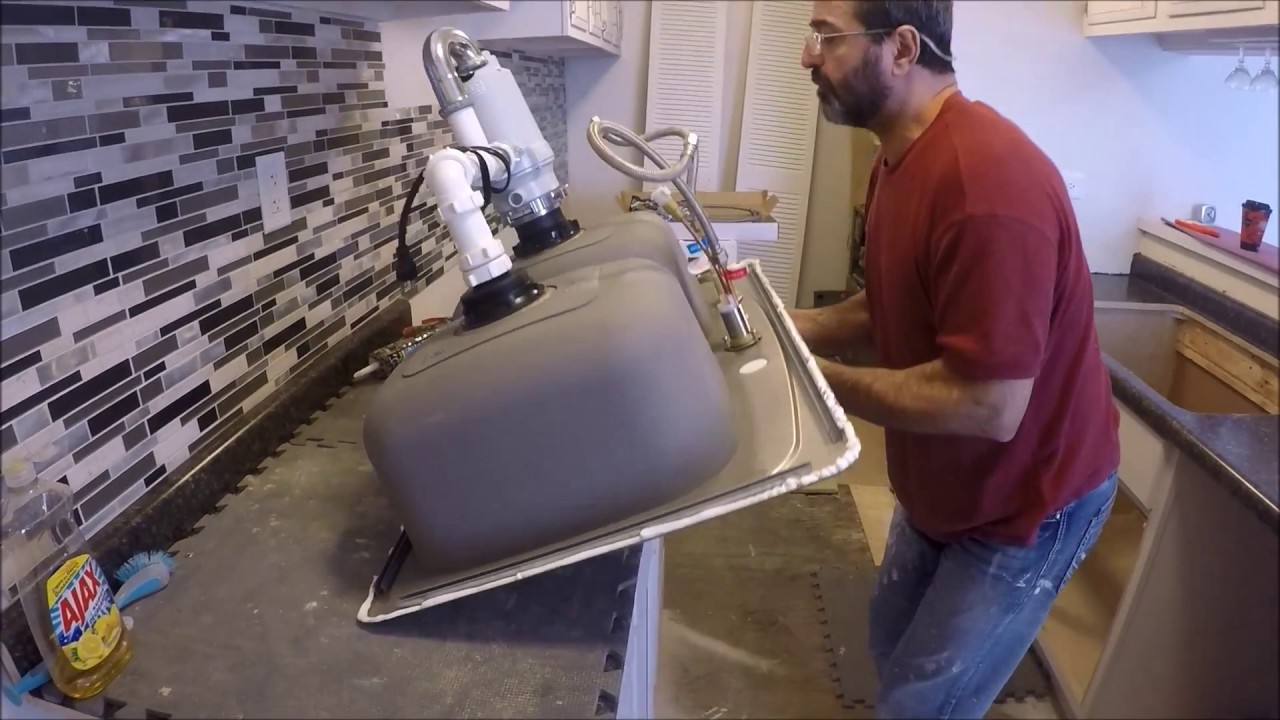
Now it's time to install your new drop in sink. Start by applying a thin layer of plumber's putty around the edges of the sink. Carefully place the sink in the designated area and press down to secure it in place. Next, connect the plumbing and water lines to the sink.6. Installing Drop In Sink


Steps for Installing Drop In Sink


Once the sink is in place, use the clips provided with the sink to secure it to the countertop. These clips will hold the sink in place and prevent it from shifting. Use a screwdriver to tighten the clips as needed.7. Securing the Sink


Undermount Kitchen Sink Removal Guide


To prevent any leaks, it's important to seal the edges of the sink with silicone caulk. Apply a bead of caulk around the edges of the sink, using your finger or a caulk tool to smooth it out. This will create a watertight seal and ensure your sink stays in place.8. Sealing the Sink


Drop In Sink Installation Tips

With your new drop in sink installed, there are just a few finishing touches to complete the project. Reconnect the water supply and turn on the water to test for any leaks. If everything looks good, you can reattach any additional fixtures, such as a faucet or garbage disposal.9. Finishing Touches


Removing and Installing Kitchen Sinks


Congratulations, you have successfully removed your old undermount kitchen sink and installed a new drop in sink. Take a step back and admire your handy work, and enjoy your new and improved kitchen sink. Removing an undermount kitchen sink and installing a drop in sink may seem like a daunting task, but with the right tools and techniques, it can be done easily and safely. Follow these steps and enjoy your new sink in no time.10. Enjoy Your New Sink


Replacing Undermount Sink with Drop In Sink


Why You Should Consider Switching to a Drop-In Sink

Efficiency and Functionality
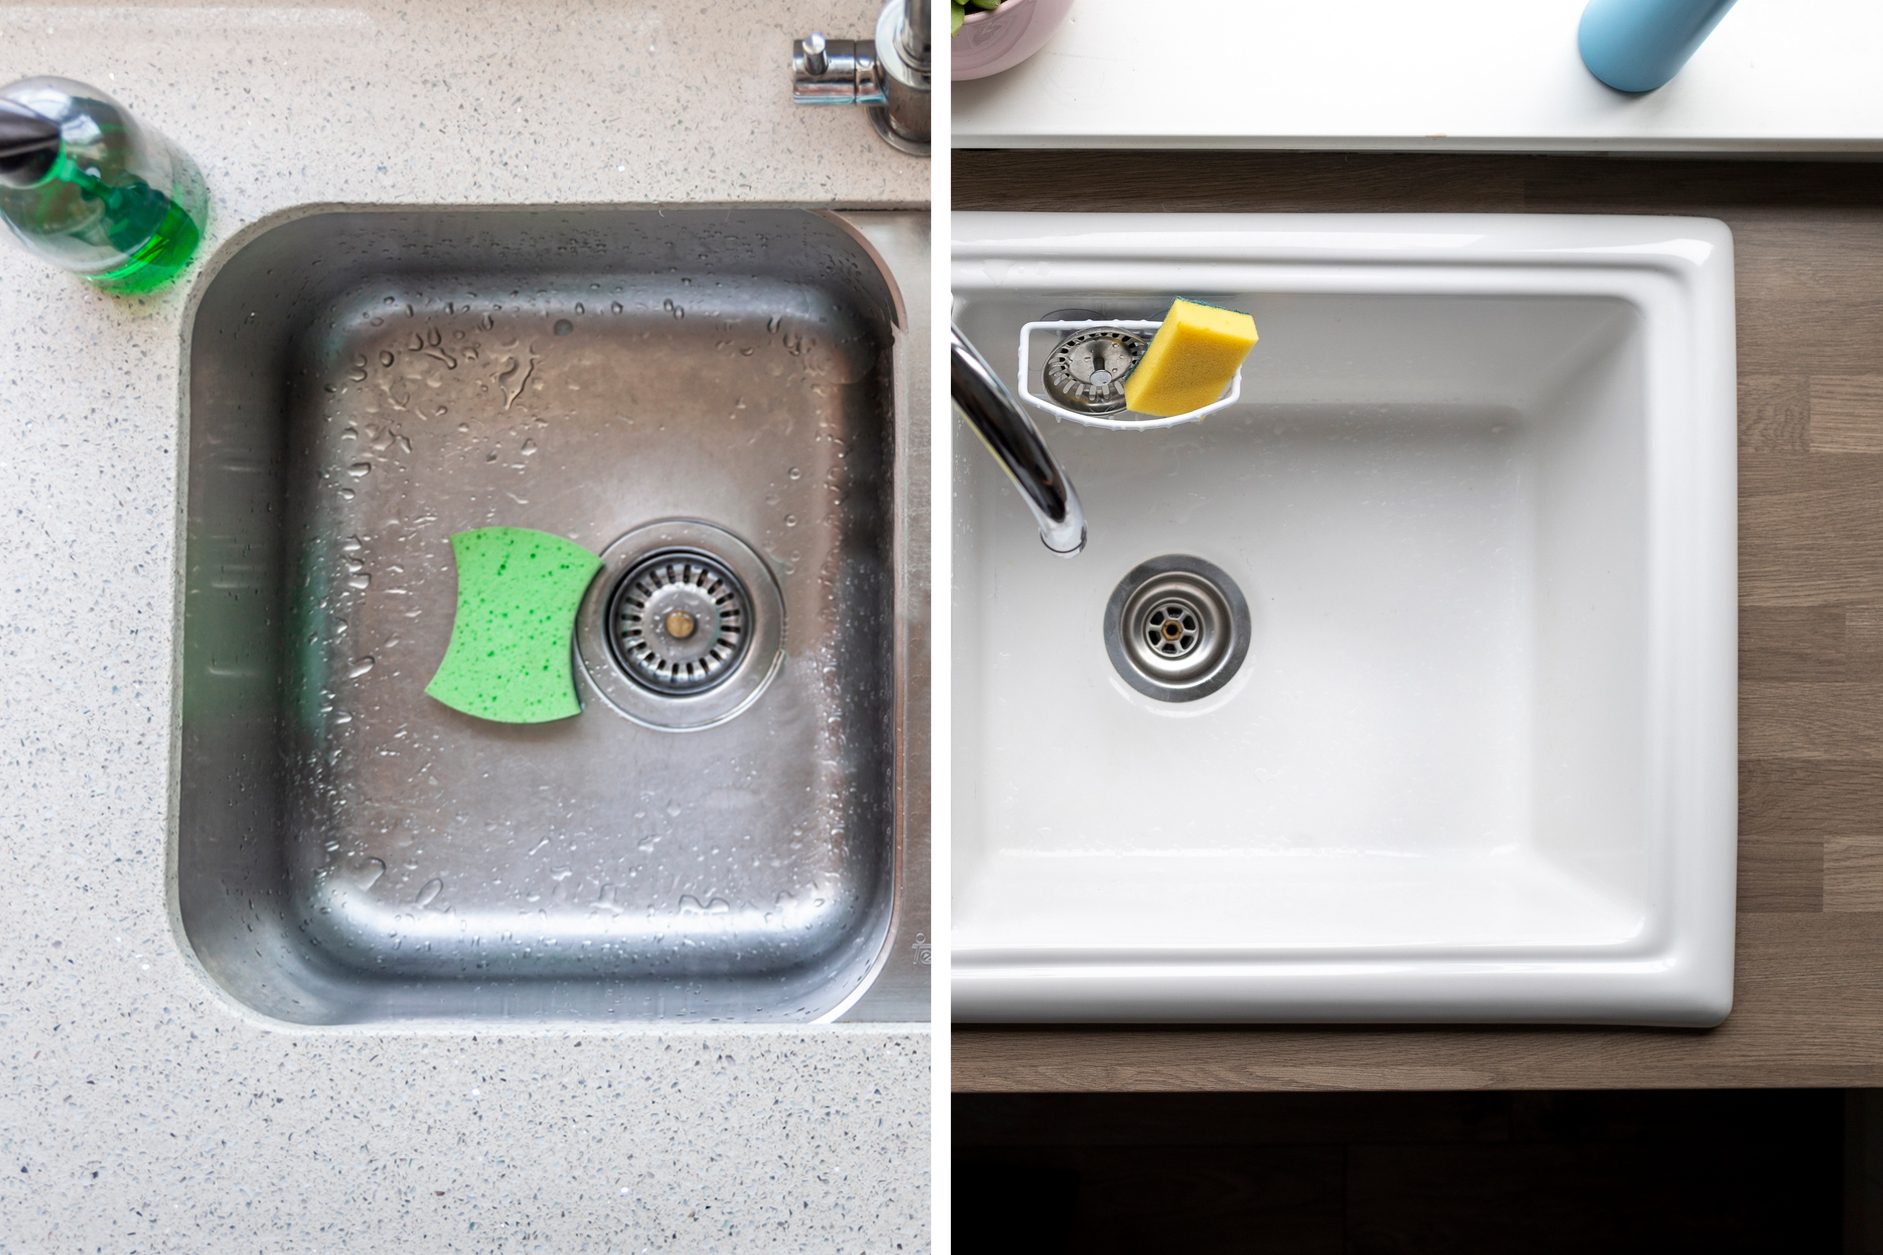
 When it comes to kitchen design, one of the most important elements is the sink. It is where we wash our dishes, prepare food, and even fill up pots for cooking. With this in mind, it's essential to have a sink that is both efficient and functional.
Switching from an undermount kitchen sink to a drop-in sink can greatly improve the efficiency and functionality of your kitchen.
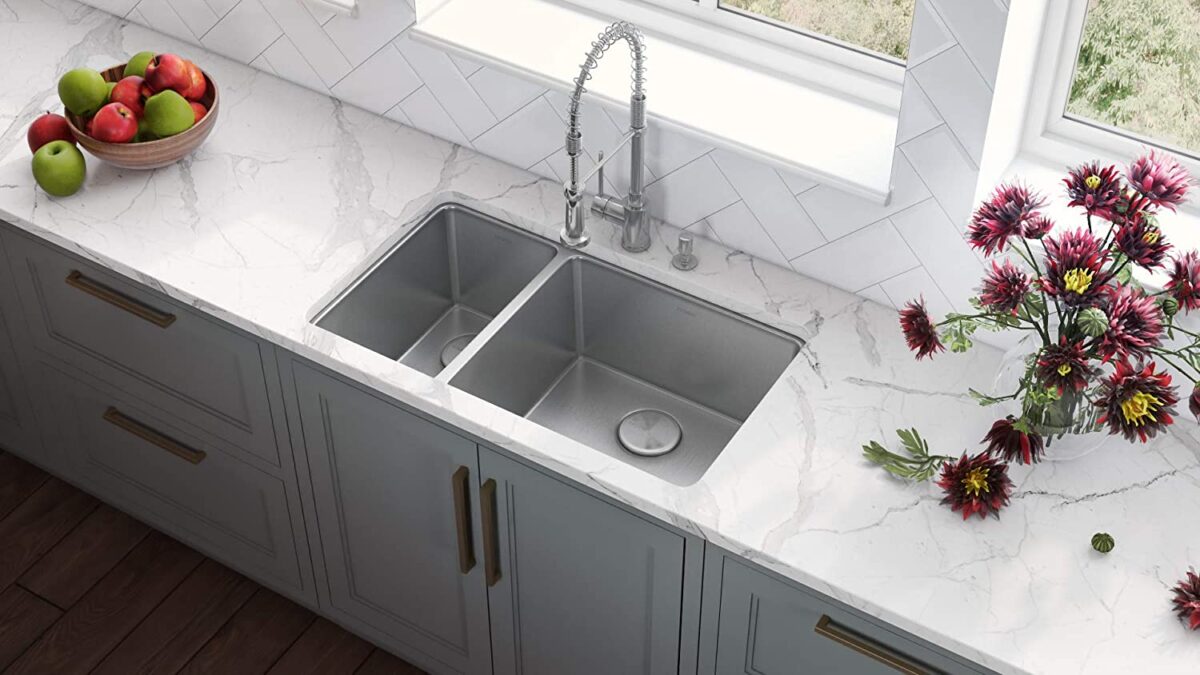
The design of a drop-in sink allows for more space on the countertop, making it easier to move around and work in the kitchen. This can be particularly beneficial for those who love to cook and need ample space for food preparation.
When it comes to kitchen design, one of the most important elements is the sink. It is where we wash our dishes, prepare food, and even fill up pots for cooking. With this in mind, it's essential to have a sink that is both efficient and functional.
Switching from an undermount kitchen sink to a drop-in sink can greatly improve the efficiency and functionality of your kitchen.
The design of a drop-in sink allows for more space on the countertop, making it easier to move around and work in the kitchen. This can be particularly beneficial for those who love to cook and need ample space for food preparation.
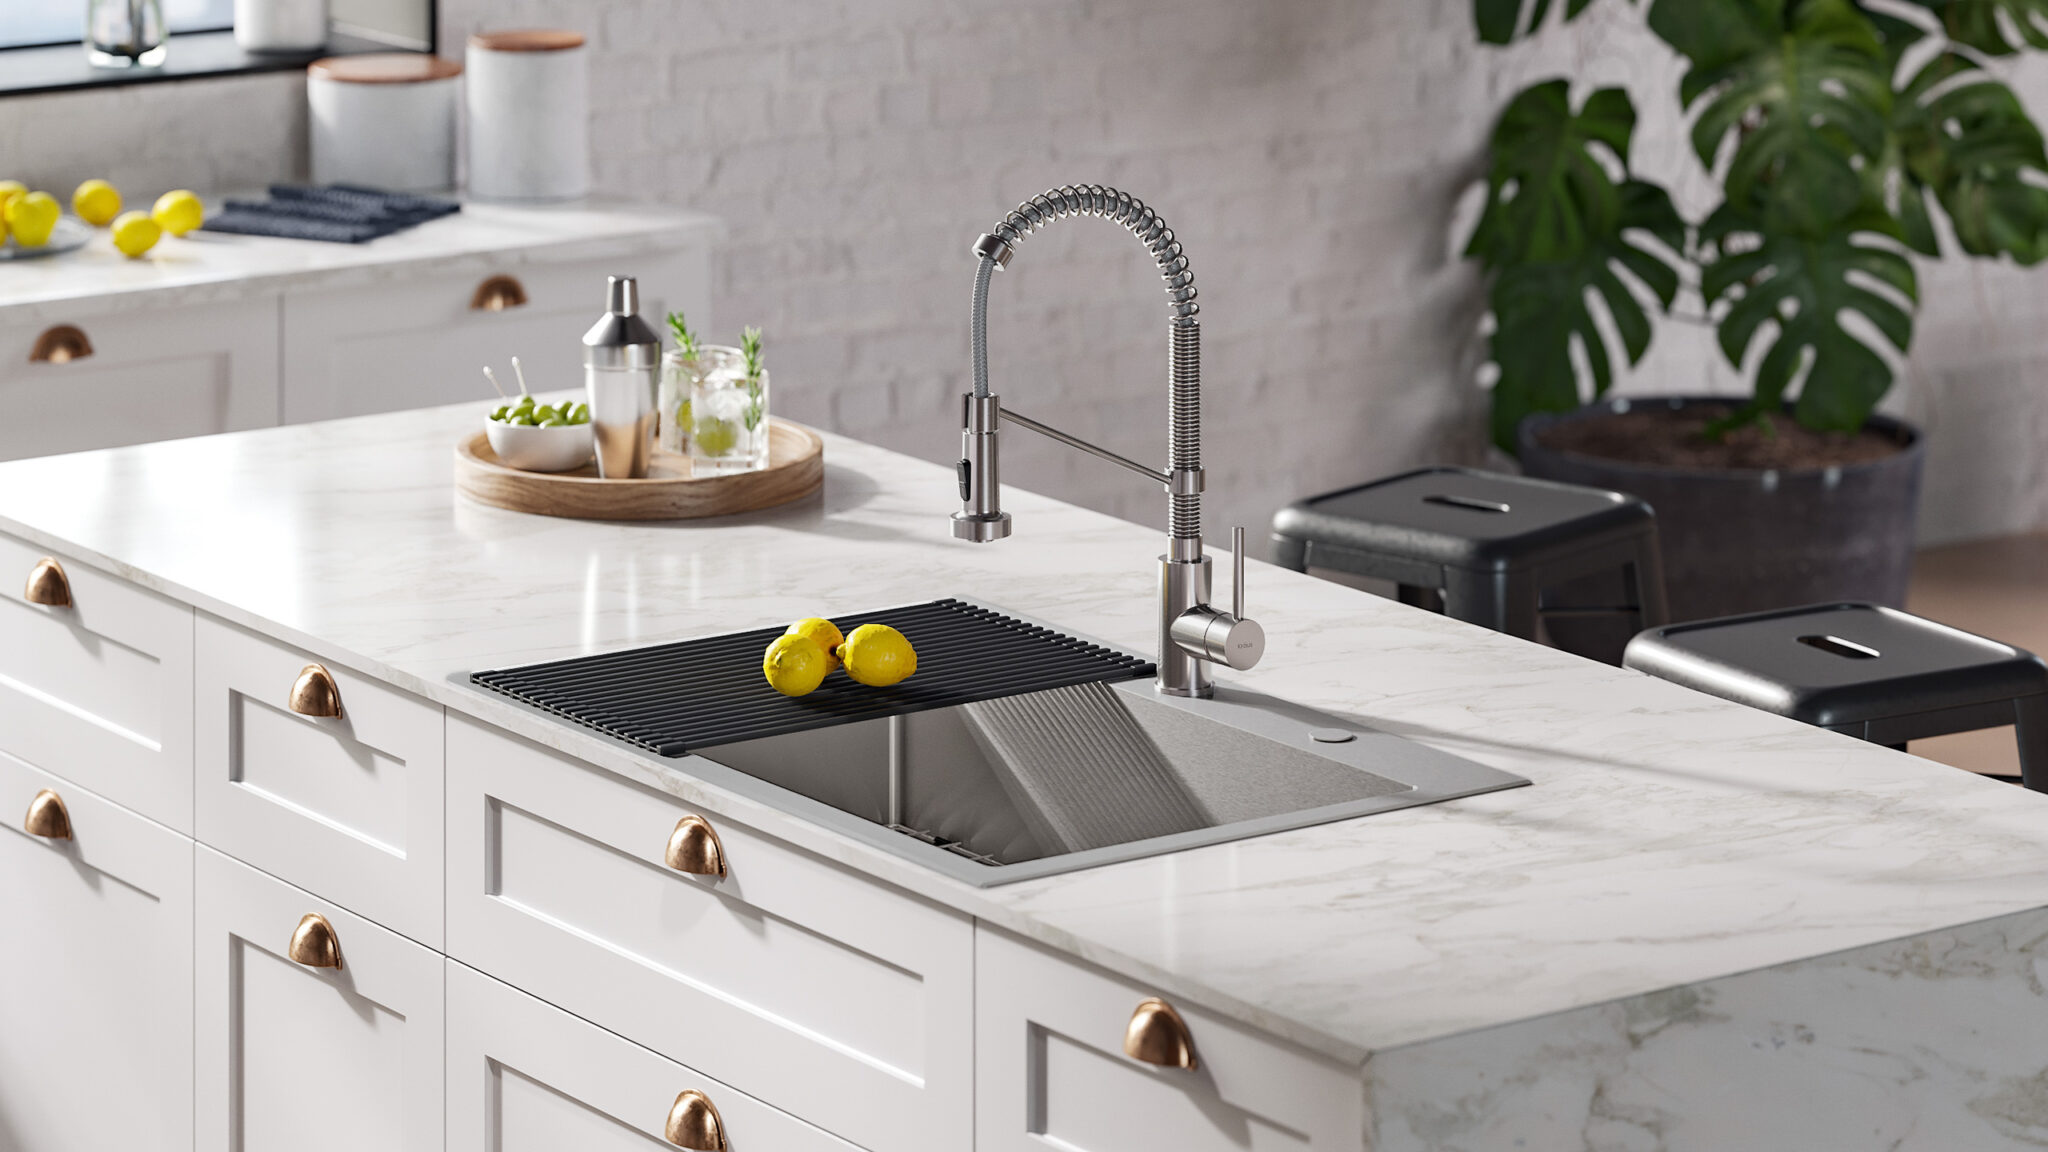
Aesthetic Appeal
 In addition to its functionality, a drop-in sink can also add to the overall aesthetic appeal of your kitchen.
With its prominent rim, a drop-in sink can serve as a statement piece in your kitchen.
It can also be a great way to tie together the look of your kitchen, especially if you have other elements with a similar design. With various materials and finishes available, you can choose a drop-in sink that complements your kitchen's style and adds a touch of elegance to the space.
In addition to its functionality, a drop-in sink can also add to the overall aesthetic appeal of your kitchen.
With its prominent rim, a drop-in sink can serve as a statement piece in your kitchen.
It can also be a great way to tie together the look of your kitchen, especially if you have other elements with a similar design. With various materials and finishes available, you can choose a drop-in sink that complements your kitchen's style and adds a touch of elegance to the space.
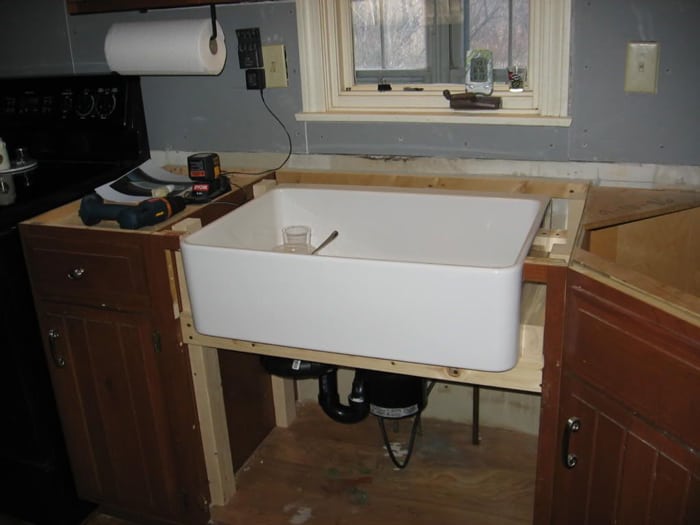
Easier Installation and Maintenance
 Compared to undermount sinks, drop-in sinks are much easier to install and maintain. The installation process involves simply dropping the sink into the designated cutout on your countertop and securing it in place.
This means that you won't have to worry about any complicated steps or potential damage to your countertop.
In terms of maintenance, the prominent rim of a drop-in sink makes it easier to clean and maintain. You won't have to worry about water seeping into the countertop, which can lead to mold and other problems.
Compared to undermount sinks, drop-in sinks are much easier to install and maintain. The installation process involves simply dropping the sink into the designated cutout on your countertop and securing it in place.
This means that you won't have to worry about any complicated steps or potential damage to your countertop.
In terms of maintenance, the prominent rim of a drop-in sink makes it easier to clean and maintain. You won't have to worry about water seeping into the countertop, which can lead to mold and other problems.
Budget-Friendly Option
 If you're looking to update your kitchen on a budget, switching to a drop-in sink is a great option.
Compared to undermount sinks, drop-in sinks tend to be more affordable.
This is because the installation process is simpler, and the materials used are often less expensive. Additionally, if you ever need to replace your sink in the future, a drop-in sink will be much easier and more cost-effective to replace.
In conclusion, upgrading from an undermount kitchen sink to a drop-in sink can greatly improve the efficiency, functionality, and aesthetic appeal of your kitchen. Its easier installation and maintenance, as well as budget-friendly options, make it a practical choice for any homeowner looking to enhance their kitchen design. So why not make the switch and see the transformation it can bring to your kitchen?
If you're looking to update your kitchen on a budget, switching to a drop-in sink is a great option.
Compared to undermount sinks, drop-in sinks tend to be more affordable.
This is because the installation process is simpler, and the materials used are often less expensive. Additionally, if you ever need to replace your sink in the future, a drop-in sink will be much easier and more cost-effective to replace.
In conclusion, upgrading from an undermount kitchen sink to a drop-in sink can greatly improve the efficiency, functionality, and aesthetic appeal of your kitchen. Its easier installation and maintenance, as well as budget-friendly options, make it a practical choice for any homeowner looking to enhance their kitchen design. So why not make the switch and see the transformation it can bring to your kitchen?