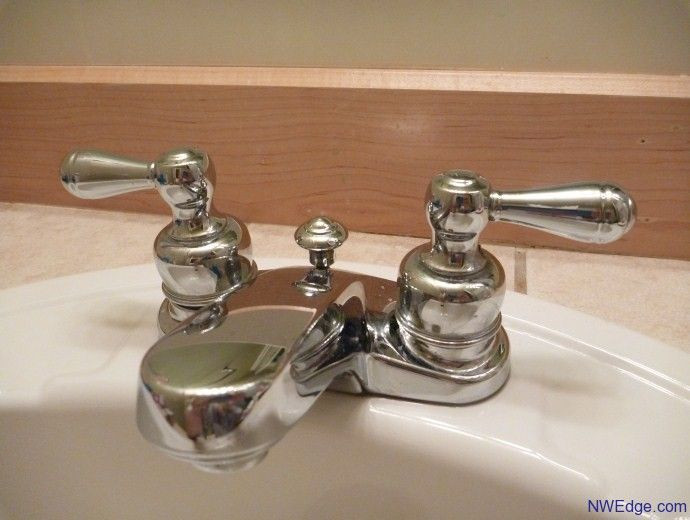
If you're looking to update your bathroom or simply need to replace a faulty faucet, removing a Delta bathroom sink faucet is a simple DIY project that can save you time and money. Whether you're a novice or an experienced DIYer, our step-by-step guide will walk you through the process from start to finish.How to Remove a Delta Bathroom Sink Faucet


How to Remove a Delta Bathroom Sink Faucet


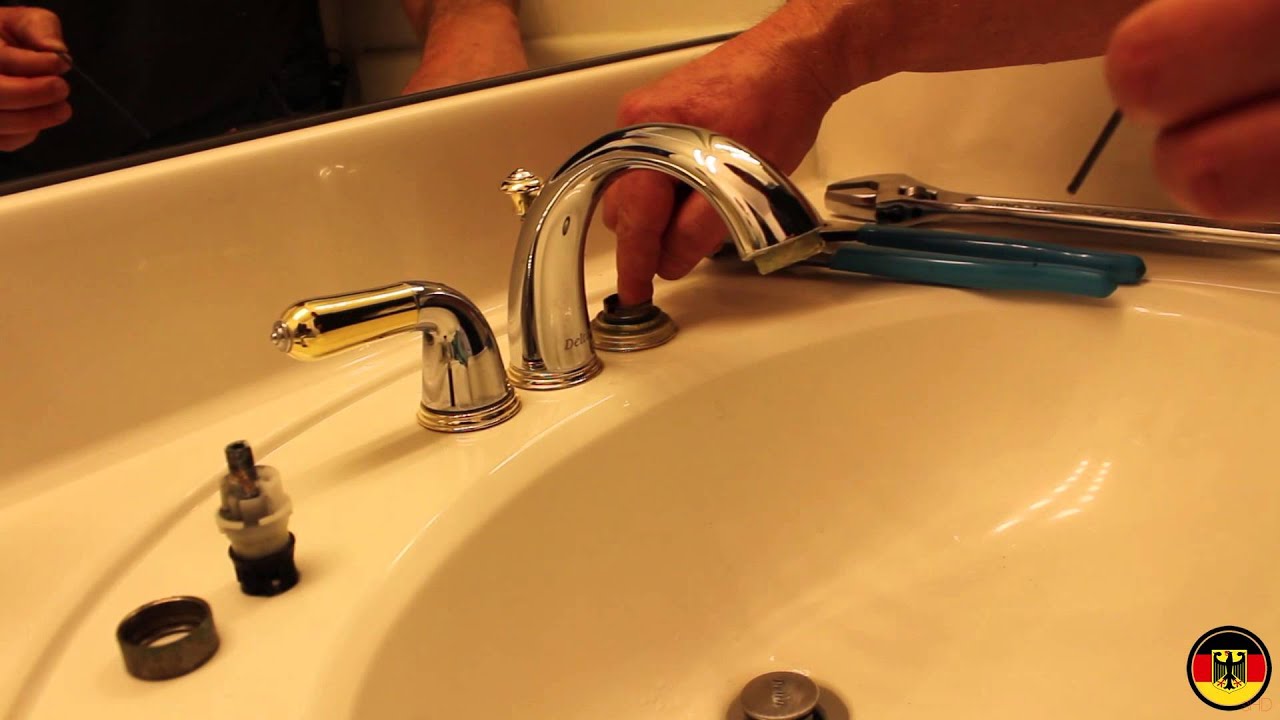
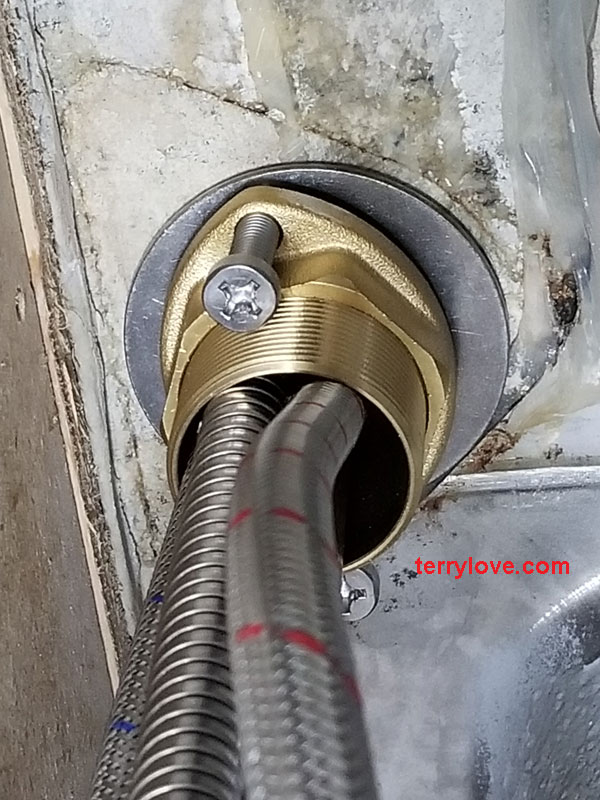
Before you begin, gather all the necessary tools and materials. This includes a basin wrench, adjustable wrench, plumber's putty, and a new faucet if you're replacing the old one. Turn off the water supply to the sink and close the drain stopper to prevent any parts from falling down the drain. Next, locate the mounting nuts underneath the sink and use the basin wrench to loosen them. Once they are loose, you can then use your hands to unscrew them completely. This will release the faucet from the sink. After removing the mounting nuts, you can now lift the old faucet out of the sink. Make sure to keep track of any small parts that may come loose, such as the aerator or O-rings. These will need to be replaced with the new faucet. Now, it's time to install the new faucet. Apply plumber's putty to the base of the faucet and press it firmly onto the sink. Make sure the faucet is properly aligned before tightening the mounting nuts with the basin wrench. Use an adjustable wrench to make sure they are securely fastened. Once the faucet is in place, turn the water supply back on and test for any leaks. If there are no leaks, you can then install the new aerator and O-rings. Finally, clean up any excess plumber's putty and you're done!Removing a Delta Bathroom Sink Faucet: Step-by-Step Guide


Removing a Delta Bathroom Sink Faucet: Step-by-Step Guide


When removing a Delta bathroom sink faucet, it's important to take your time and work carefully. Use a towel or cloth to protect the sink from scratches while using the basin wrench. If the mounting nuts are difficult to loosen, you can use a lubricant such as WD-40 to help loosen them. It's also a good idea to have a bucket or container nearby to catch any excess water that may come out when removing the faucet. This will prevent any water damage to your bathroom floor.Delta Bathroom Sink Faucet Removal: Tips and Tricks


Delta Bathroom Sink Faucet Removal: Tips and Tricks


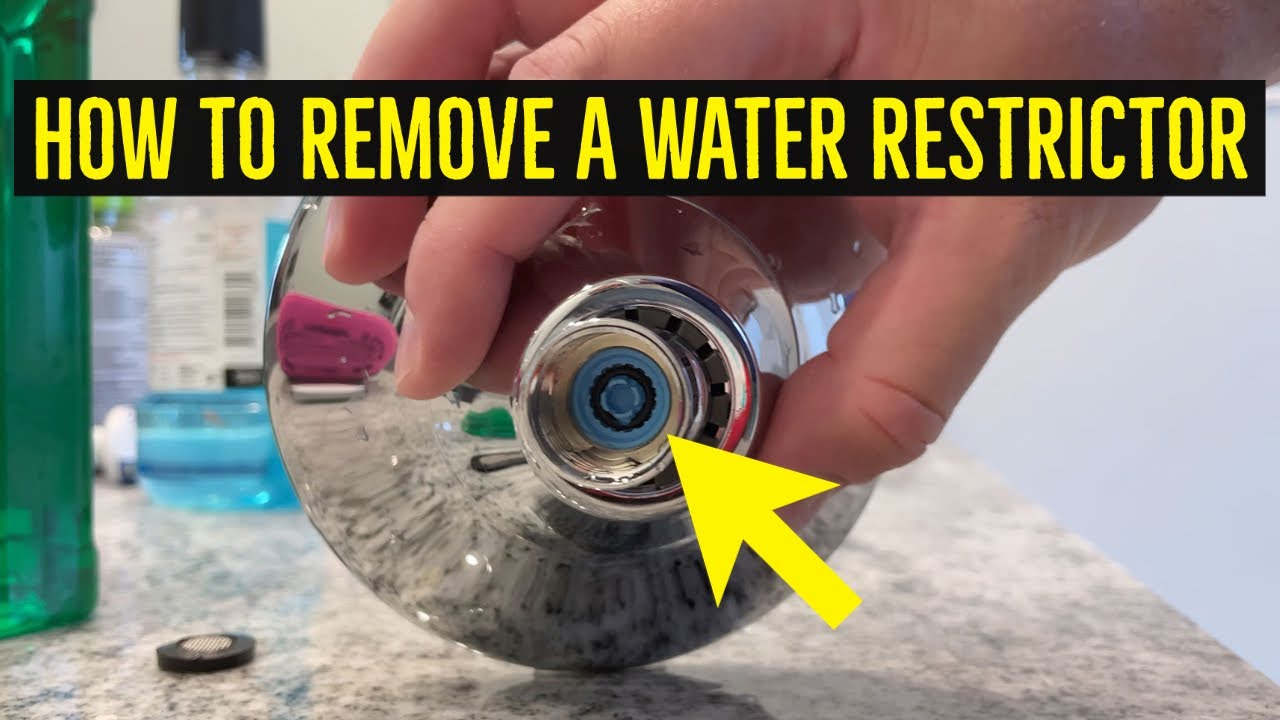
In addition to the tools mentioned earlier, you may also need a pair of pliers or a screwdriver to remove any small parts or screws that may be holding the faucet in place. It's always better to have a variety of tools on hand in case you encounter any unexpected difficulties during the removal process.Removing a Delta Bathroom Sink Faucet: Tools You'll Need


Removing a Delta Bathroom Sink Faucet: Tools You'll Need
One of the most common mistakes when removing a Delta bathroom sink faucet is forgetting to turn off the water supply. This can result in a messy and potentially damaging situation. Make sure to always turn off the water before starting any plumbing project. Another mistake is not properly aligning the new faucet before securing it with the mounting nuts. This can cause leaks and may result in having to redo the installation process. Take your time to ensure the faucet is properly aligned and secure before moving on to the next step.Removing a Delta Bathroom Sink Faucet: Common Mistakes to Avoid


Removing a Delta Bathroom Sink Faucet: Common Mistakes to Avoid


If you encounter any issues during the removal process, such as stubborn mounting nuts or a leaking faucet, refer to the troubleshooting guide provided by Delta. This will provide step-by-step instructions on how to solve common problems and ensure a successful removal and installation process.Delta Bathroom Sink Faucet Removal: Troubleshooting Guide


Delta Bathroom Sink Faucet Removal: Troubleshooting Guide


As with any DIY project, it's important to take safety precautions when removing a Delta bathroom sink faucet. Make sure to wear protective gear such as gloves and safety glasses. Also, be cautious when using any tools and always follow the manufacturer's instructions for safe usage.Removing a Delta Bathroom Sink Faucet: Safety Precautions


Removing a Delta Bathroom Sink Faucet: Safety Precautions
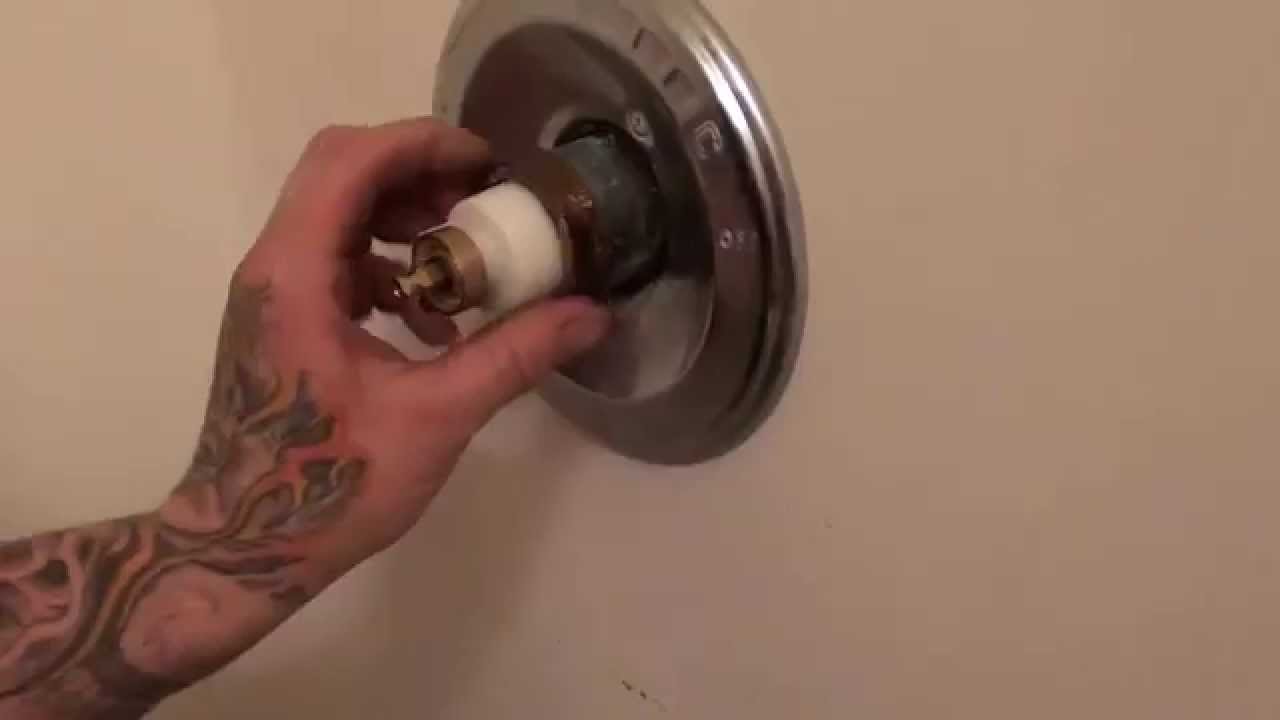
If you prefer visual instructions, there are many helpful video tutorials available online that can guide you through the process of removing a Delta bathroom sink faucet. Make sure to choose a reputable source and follow the steps carefully.Delta Bathroom Sink Faucet Removal: Video Tutorial

Delta Bathroom Sink Faucet Removal: Video Tutorial
If you're having trouble removing the faucet using the traditional method, there are alternative methods you can try. One option is to use a faucet puller, which is designed specifically for removing stubborn faucets. You can also try using a heat gun to loosen any stuck parts.Removing a Delta Bathroom Sink Faucet: Alternative Methods

Removing a Delta Bathroom Sink Faucet: Alternative Methods
After successfully removing the old faucet and installing the new one, it's important to clean up any debris and excess putty. Wipe down the sink and surrounding area with a damp cloth and dispose of any old parts or packaging. Finally, turn the water supply back on and enjoy your newly installed Delta bathroom sink faucet.Delta Bathroom Sink Faucet Removal: Final Steps and Clean-Up
Delta Bathroom Sink Faucet Removal: Final Steps and Clean-Up
Tools and Materials Needed for Removing a Delta Bathroom Sink Faucet

Removing a delta bathroom sink faucet requires a few tools and materials that are easily accessible and affordable. Here are some of the items you will need:

- Adjustable wrench - This tool is essential for loosening and tightening nuts and bolts that hold the faucet in place.
- Phillips head screwdriver - You will need this to remove any screws that hold the faucet together.
- Plumber's putty - This will help create a watertight seal when installing the new faucet.
- Towels - Keep some towels handy to wipe up any spills or water that may come out during the removal process.
- Bucket - This will come in handy to catch any excess water that may come out of the pipes.
- Old toothbrush - This may seem like an odd tool, but it can be useful for cleaning any buildup or debris around the faucet.
- Replacement faucet - Make sure to have your new delta bathroom sink faucet ready before removing the old one.
Once you have gathered all the necessary tools and materials, you are ready to start removing your delta bathroom sink faucet. Make sure to follow the steps carefully to avoid any damage to your sink or plumbing.