If you're looking to give your bathroom a fresh new look, one of the first things you may consider is removing the old, outdated backsplash behind your sink. This small but impactful change can make a big difference in the overall appearance of your bathroom. However, removing a bathroom sink backsplash may seem like a daunting task, especially if you have never done it before. But fear not, with the right tools and techniques, you can easily remove your bathroom sink backsplash and achieve the bathroom of your dreams.Removing Bathroom Sink Backsplash: A Step-by-Step Guide


Removing Bathroom Sink Backsplash: A Step-by-Step Guide


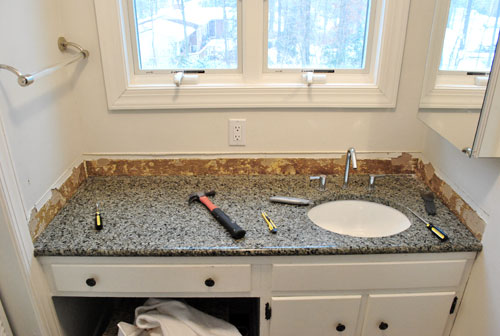
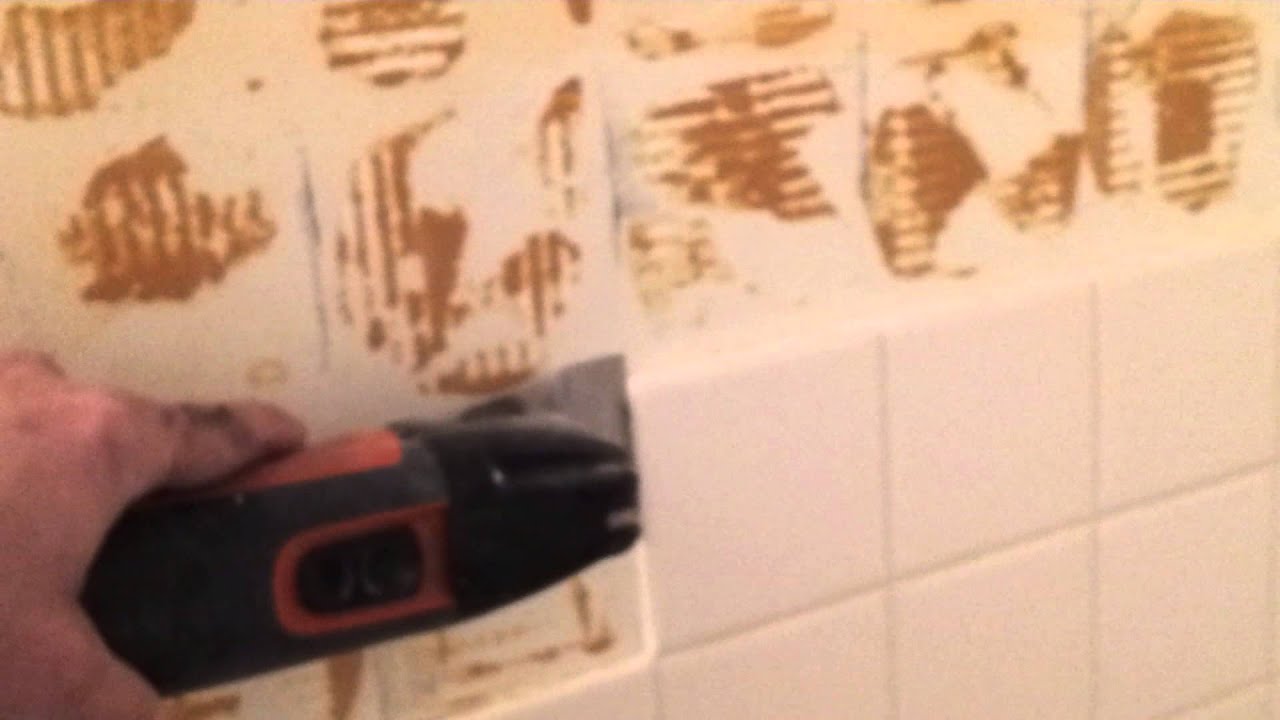
The process of removing a bathroom sink backsplash may vary depending on the type of backsplash you have. For example, a tile backsplash will require different steps compared to a laminate backsplash. Here is a general step-by-step guide that you can follow to remove a bathroom sink backsplash:How to Remove a Bathroom Sink Backsplash


How to Remove a Bathroom Sink Backsplash


Removing a bathroom sink backsplash is a task that you can easily do yourself. Not only will it save you money, but it can also be a fun and rewarding DIY project. Just make sure to follow proper safety precautions and take your time to avoid any potential damage.DIY: Removing a Bathroom Sink Backsplash


DIY: Removing a Bathroom Sink Backsplash


Here are a few tips and tricks to keep in mind when removing a bathroom sink backsplash:Removing a Bathroom Sink Backsplash: Tips and Tricks

Removing a Bathroom Sink Backsplash: Tips and Tricks


Having the right tools can make a big difference when it comes to removing a bathroom sink backsplash. Here are some essential tools that you may need:The Best Tools for Removing a Bathroom Sink Backsplash


The Best Tools for Removing a Bathroom Sink Backsplash


As with any DIY project, there are some common mistakes that you should try to avoid when removing a bathroom sink backsplash. These include:Removing Bathroom Sink Backsplash: Common Mistakes to Avoid


Removing Bathroom Sink Backsplash: Common Mistakes to Avoid

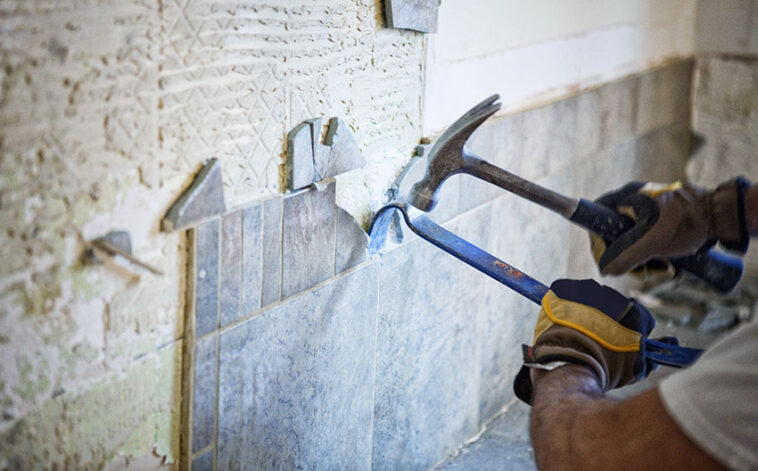


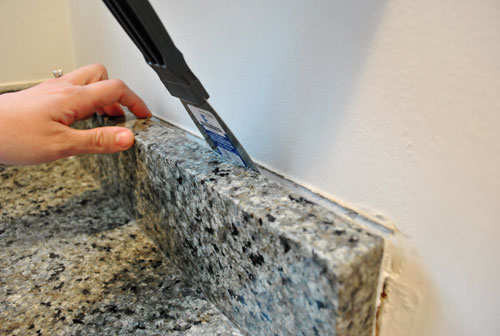
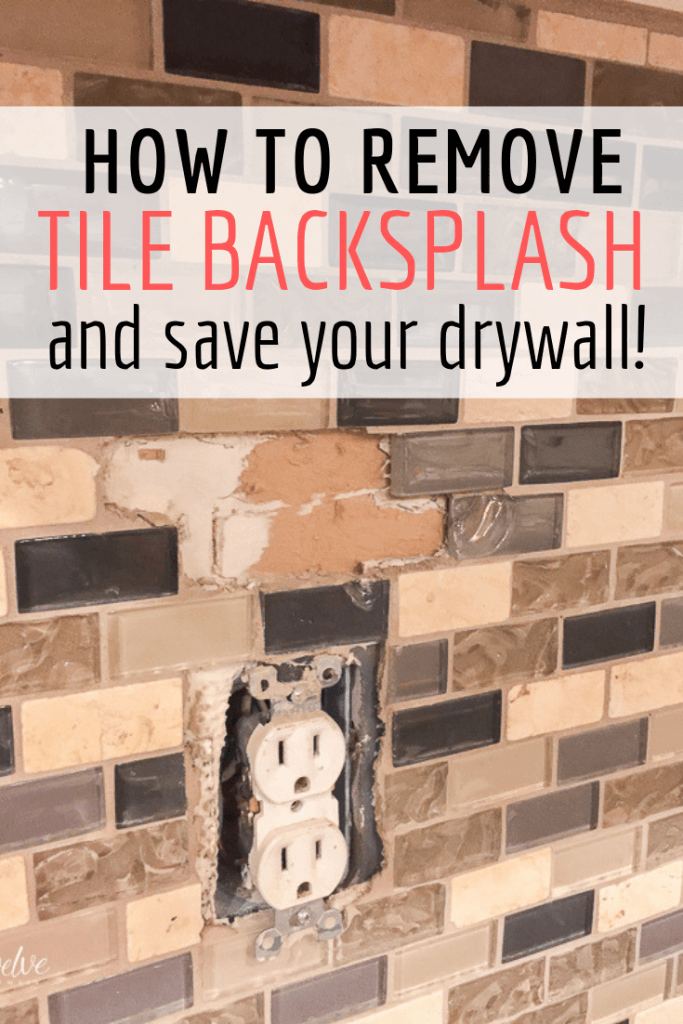
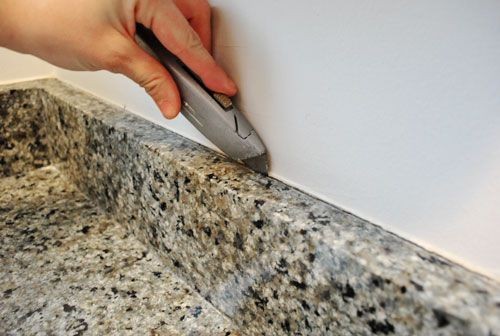
If your bathroom sink has a tile backsplash, the process for removing it may be slightly different compared to other types of backsplashes. Here are the additional steps you may need to take:How to Remove a Tile Backsplash from a Bathroom Sink


How to Remove a Tile Backsplash from a Bathroom Sink

:max_bytes(150000):strip_icc()/Bathroomtilebacksplash-GettyImages-491673958-fa2ce7b1fdba4b4cb4cc25fc0790795a.jpg)


If you have never removed a bathroom sink backsplash before, it's natural to feel a little intimidated. But with the right tools and techniques, it's a task that anyone can do. Just take your time, follow the steps carefully, and you'll have a beautiful new backsplash in no time.Removing a Bathroom Sink Backsplash: A Beginner's Guide


Removing a Bathroom Sink Backsplash: A Beginner's Guide
To recap, here is a step-by-step guide for removing a bathroom sink backsplash:Step-by-Step: Removing a Bathroom Sink Backsplash


Step-by-Step: Removing a Bathroom Sink Backsplash

Now that you know how to remove a bathroom sink backsplash, here are a few additional things to keep in mind:Removing a Bathroom Sink Backsplash: What You Need to Know
:strip_icc()/bathroom-backsplash-ideas-14-pure-salt-north-tustin-6b8411b4455b42c1b29540ec607cda56.jpeg)
Removing a Bathroom Sink Backsplash: What You Need to Know

The Benefits of Removing Bathroom Sink Backsplash
 Removing the backsplash from a bathroom sink may seem like a daunting task, but it can actually have many benefits. Not only can it enhance the overall appearance of your bathroom, but it can also improve functionality and ease of cleaning. Let's explore why removing bathroom sink backsplash can be a wise decision for your house design.
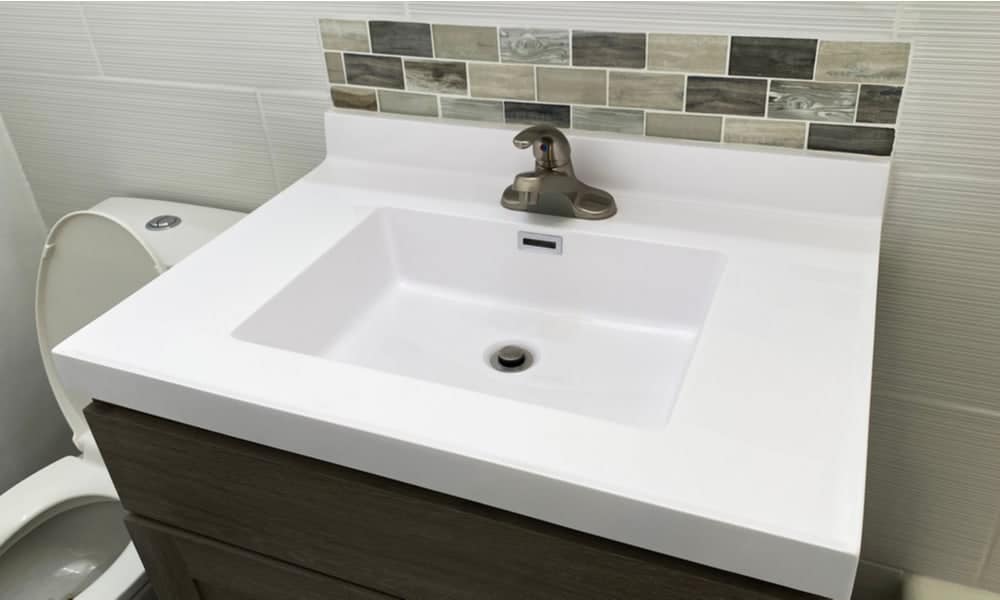
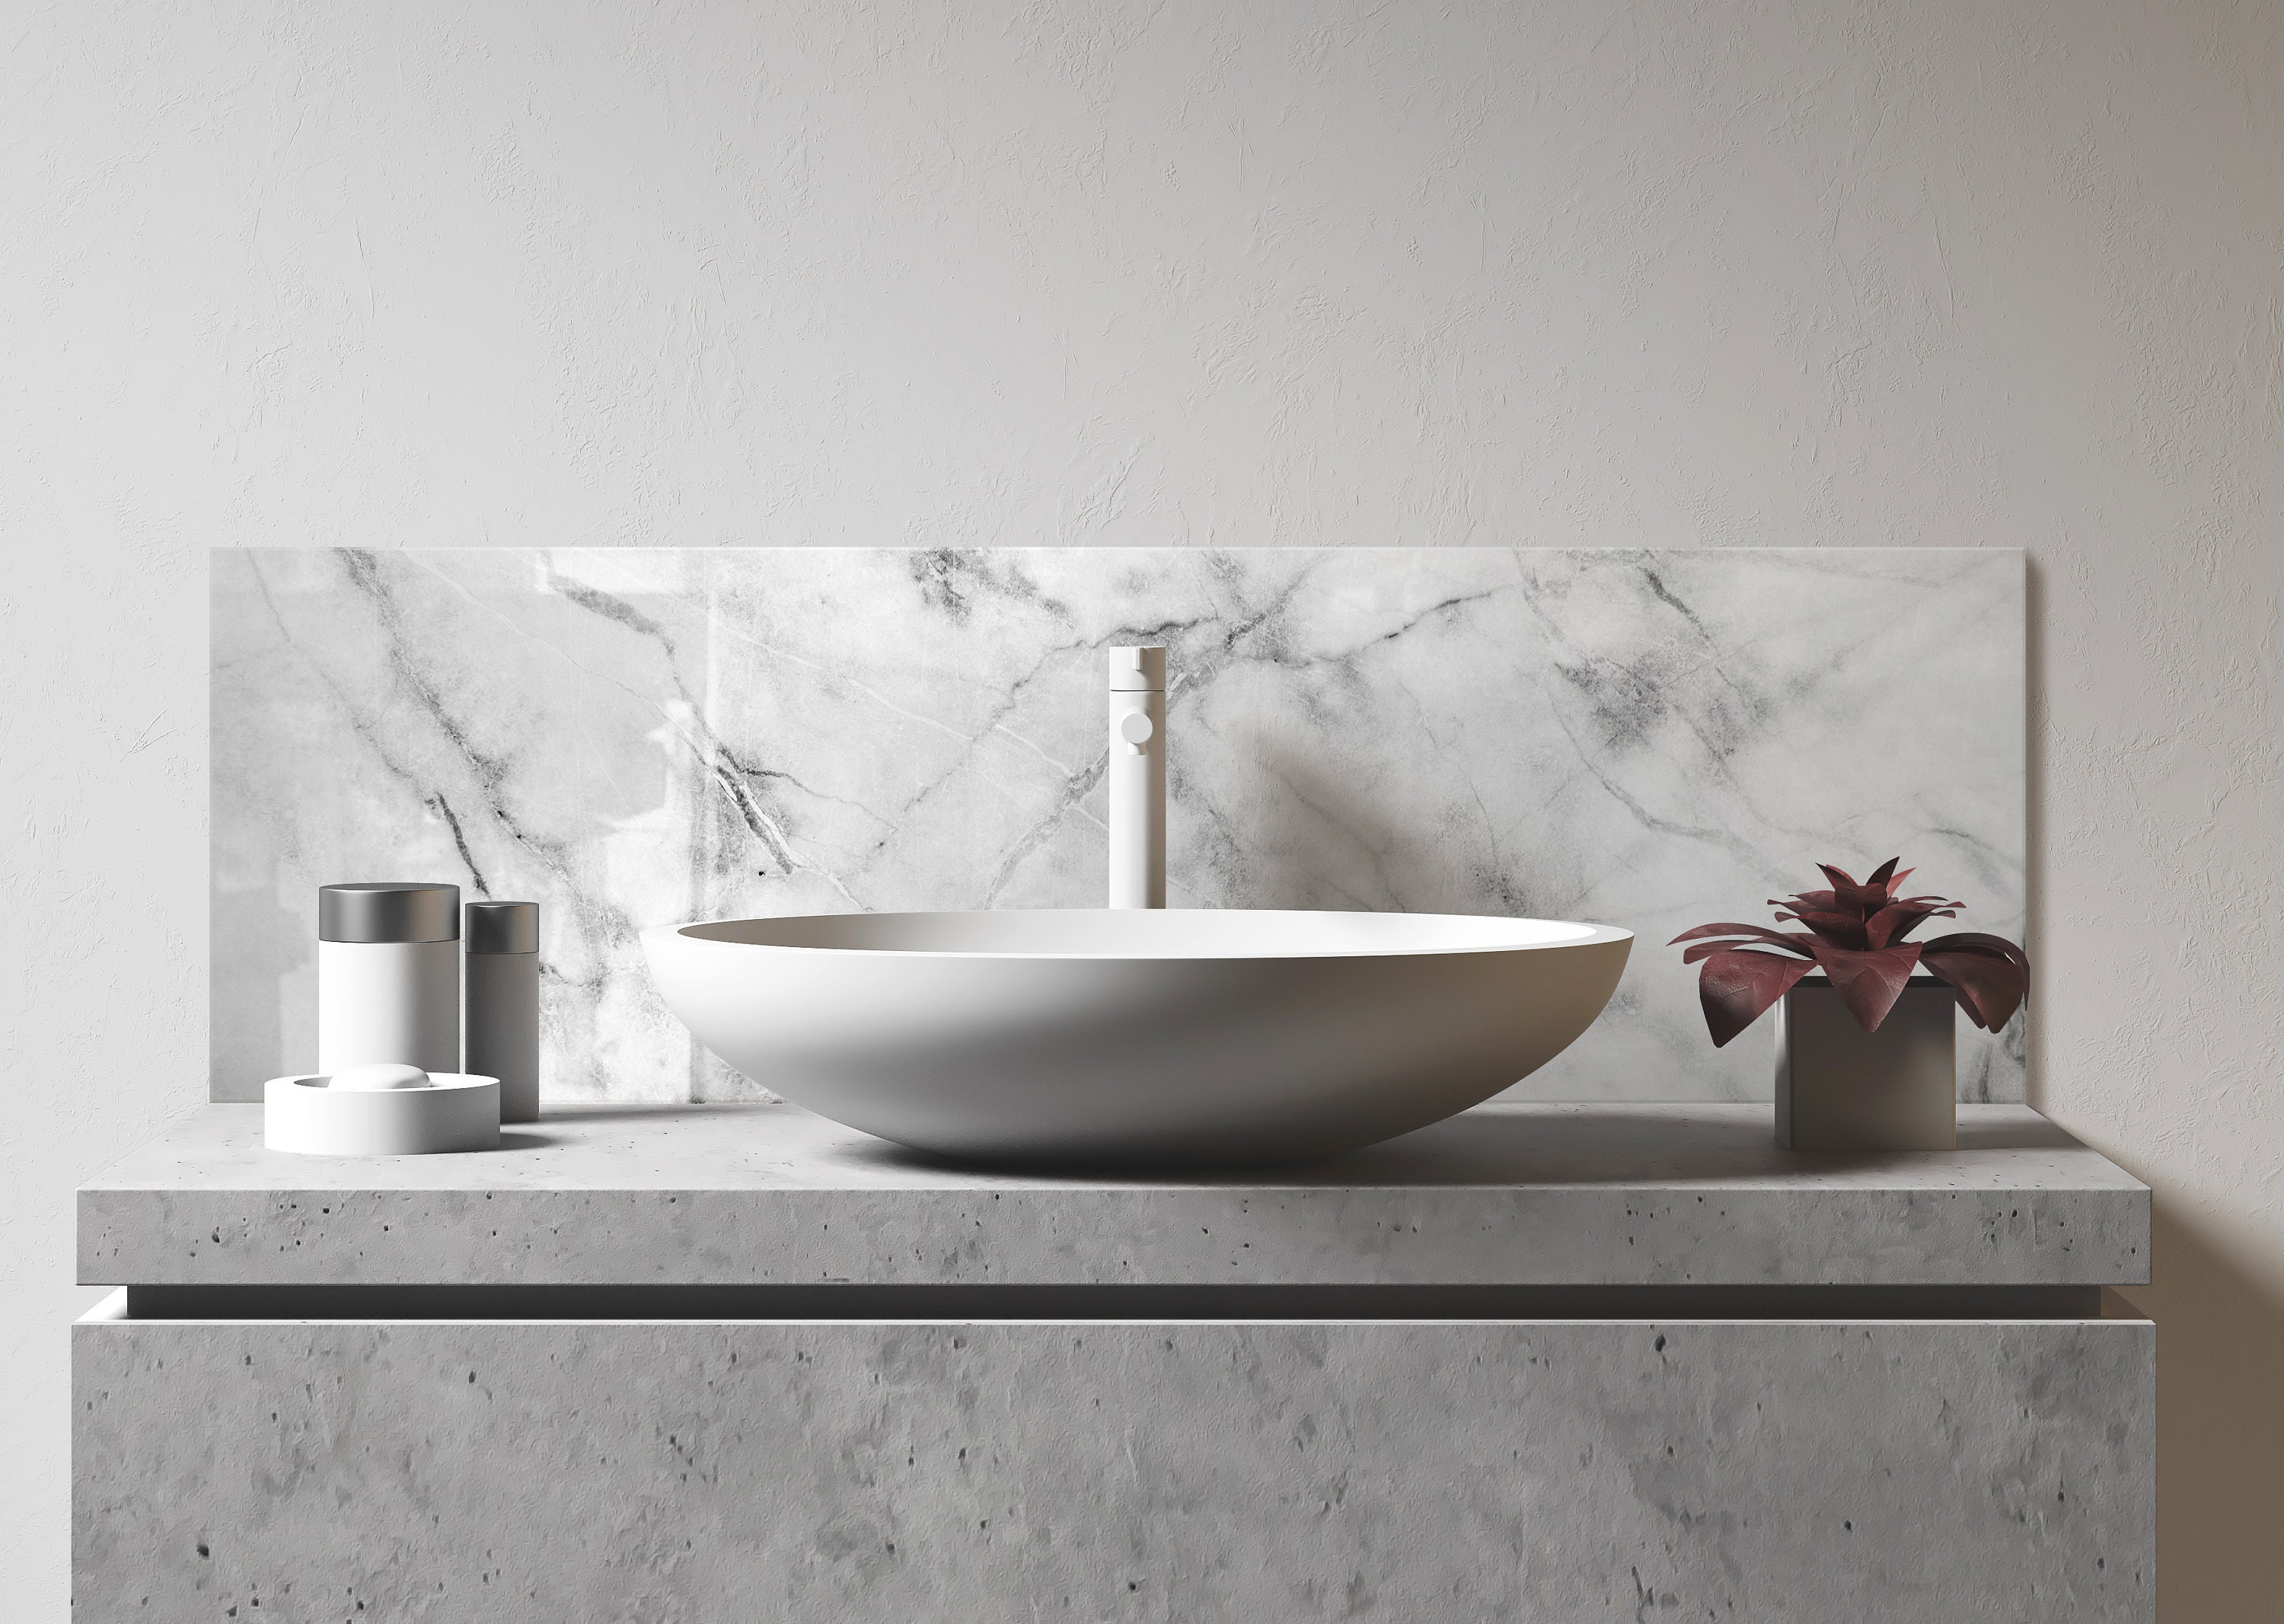
1. Creates a Sleeker Look
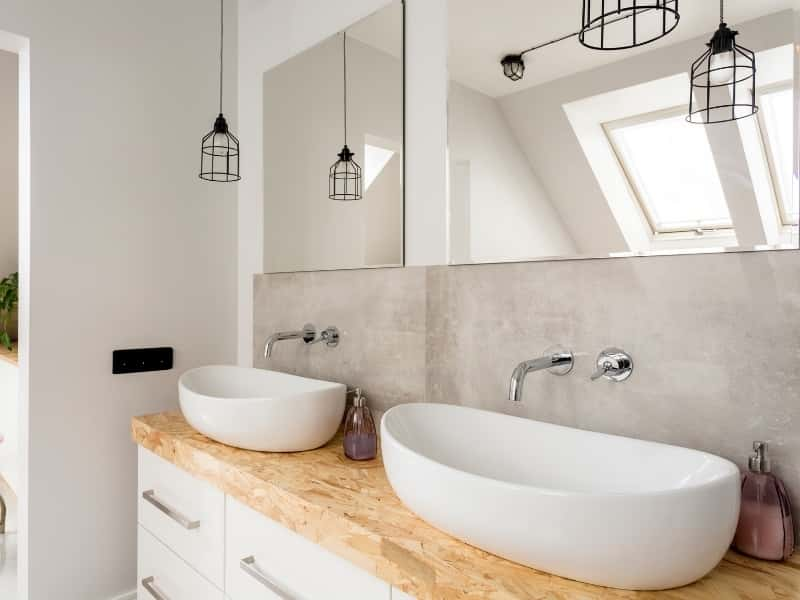
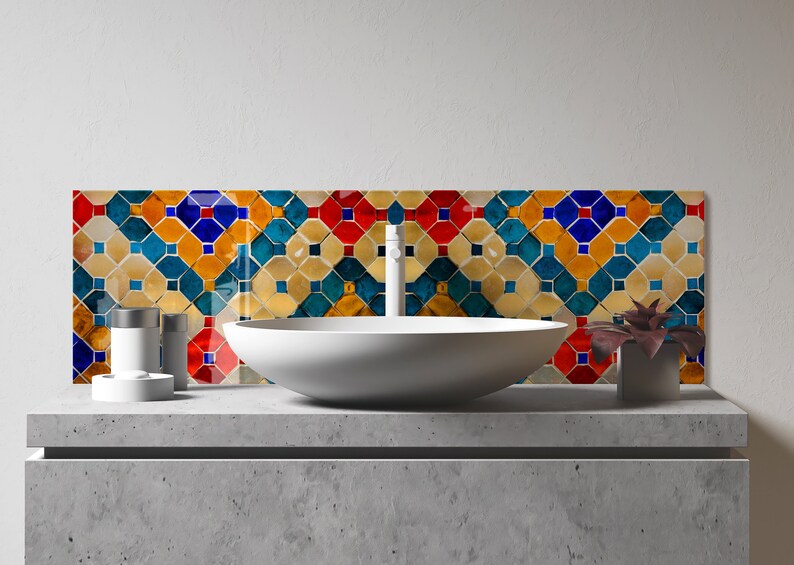
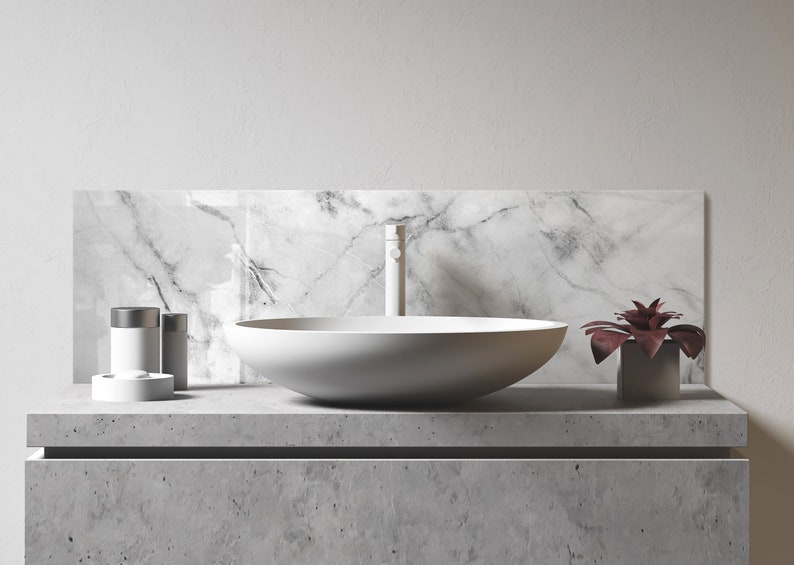
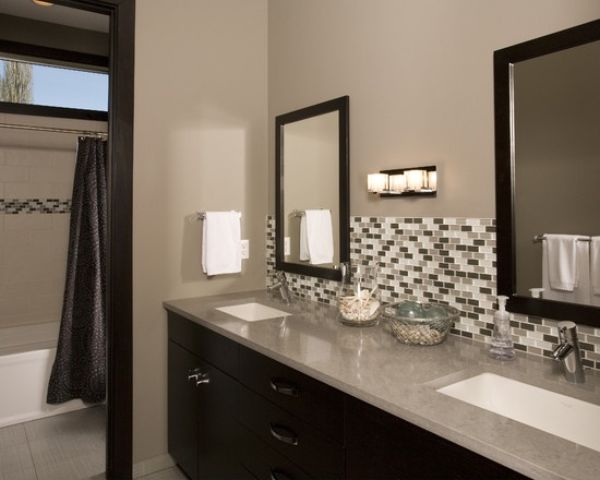
 The backsplash of a bathroom sink can often make the space feel cluttered and dated. By removing it, you can instantly create a sleeker and more modern look. This is especially beneficial if you have a small bathroom, as it can make the space appear larger and more open. Without the backsplash, your bathroom sink can also become a focal point, adding a touch of elegance and sophistication to the room.
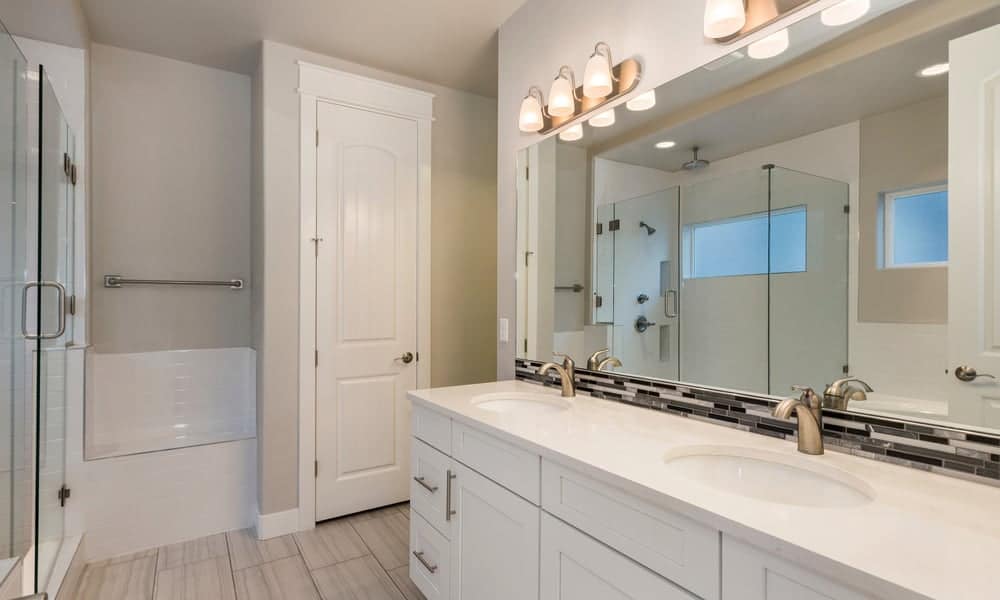
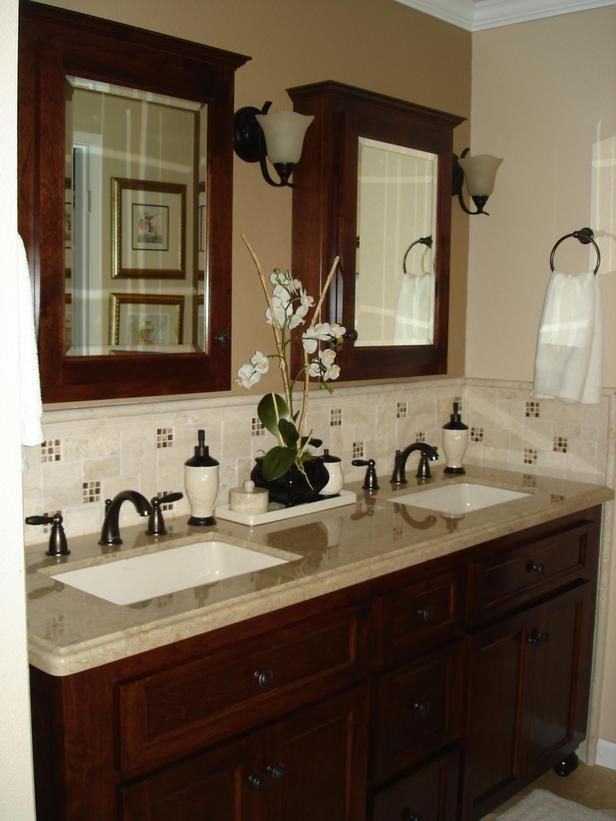
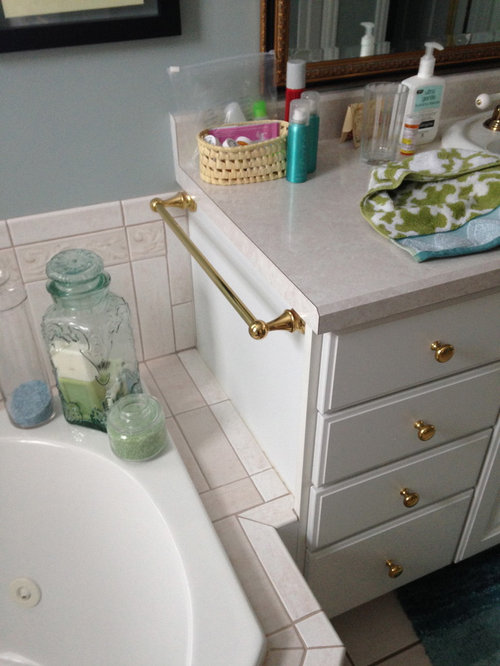
2. Increases Countertop Space
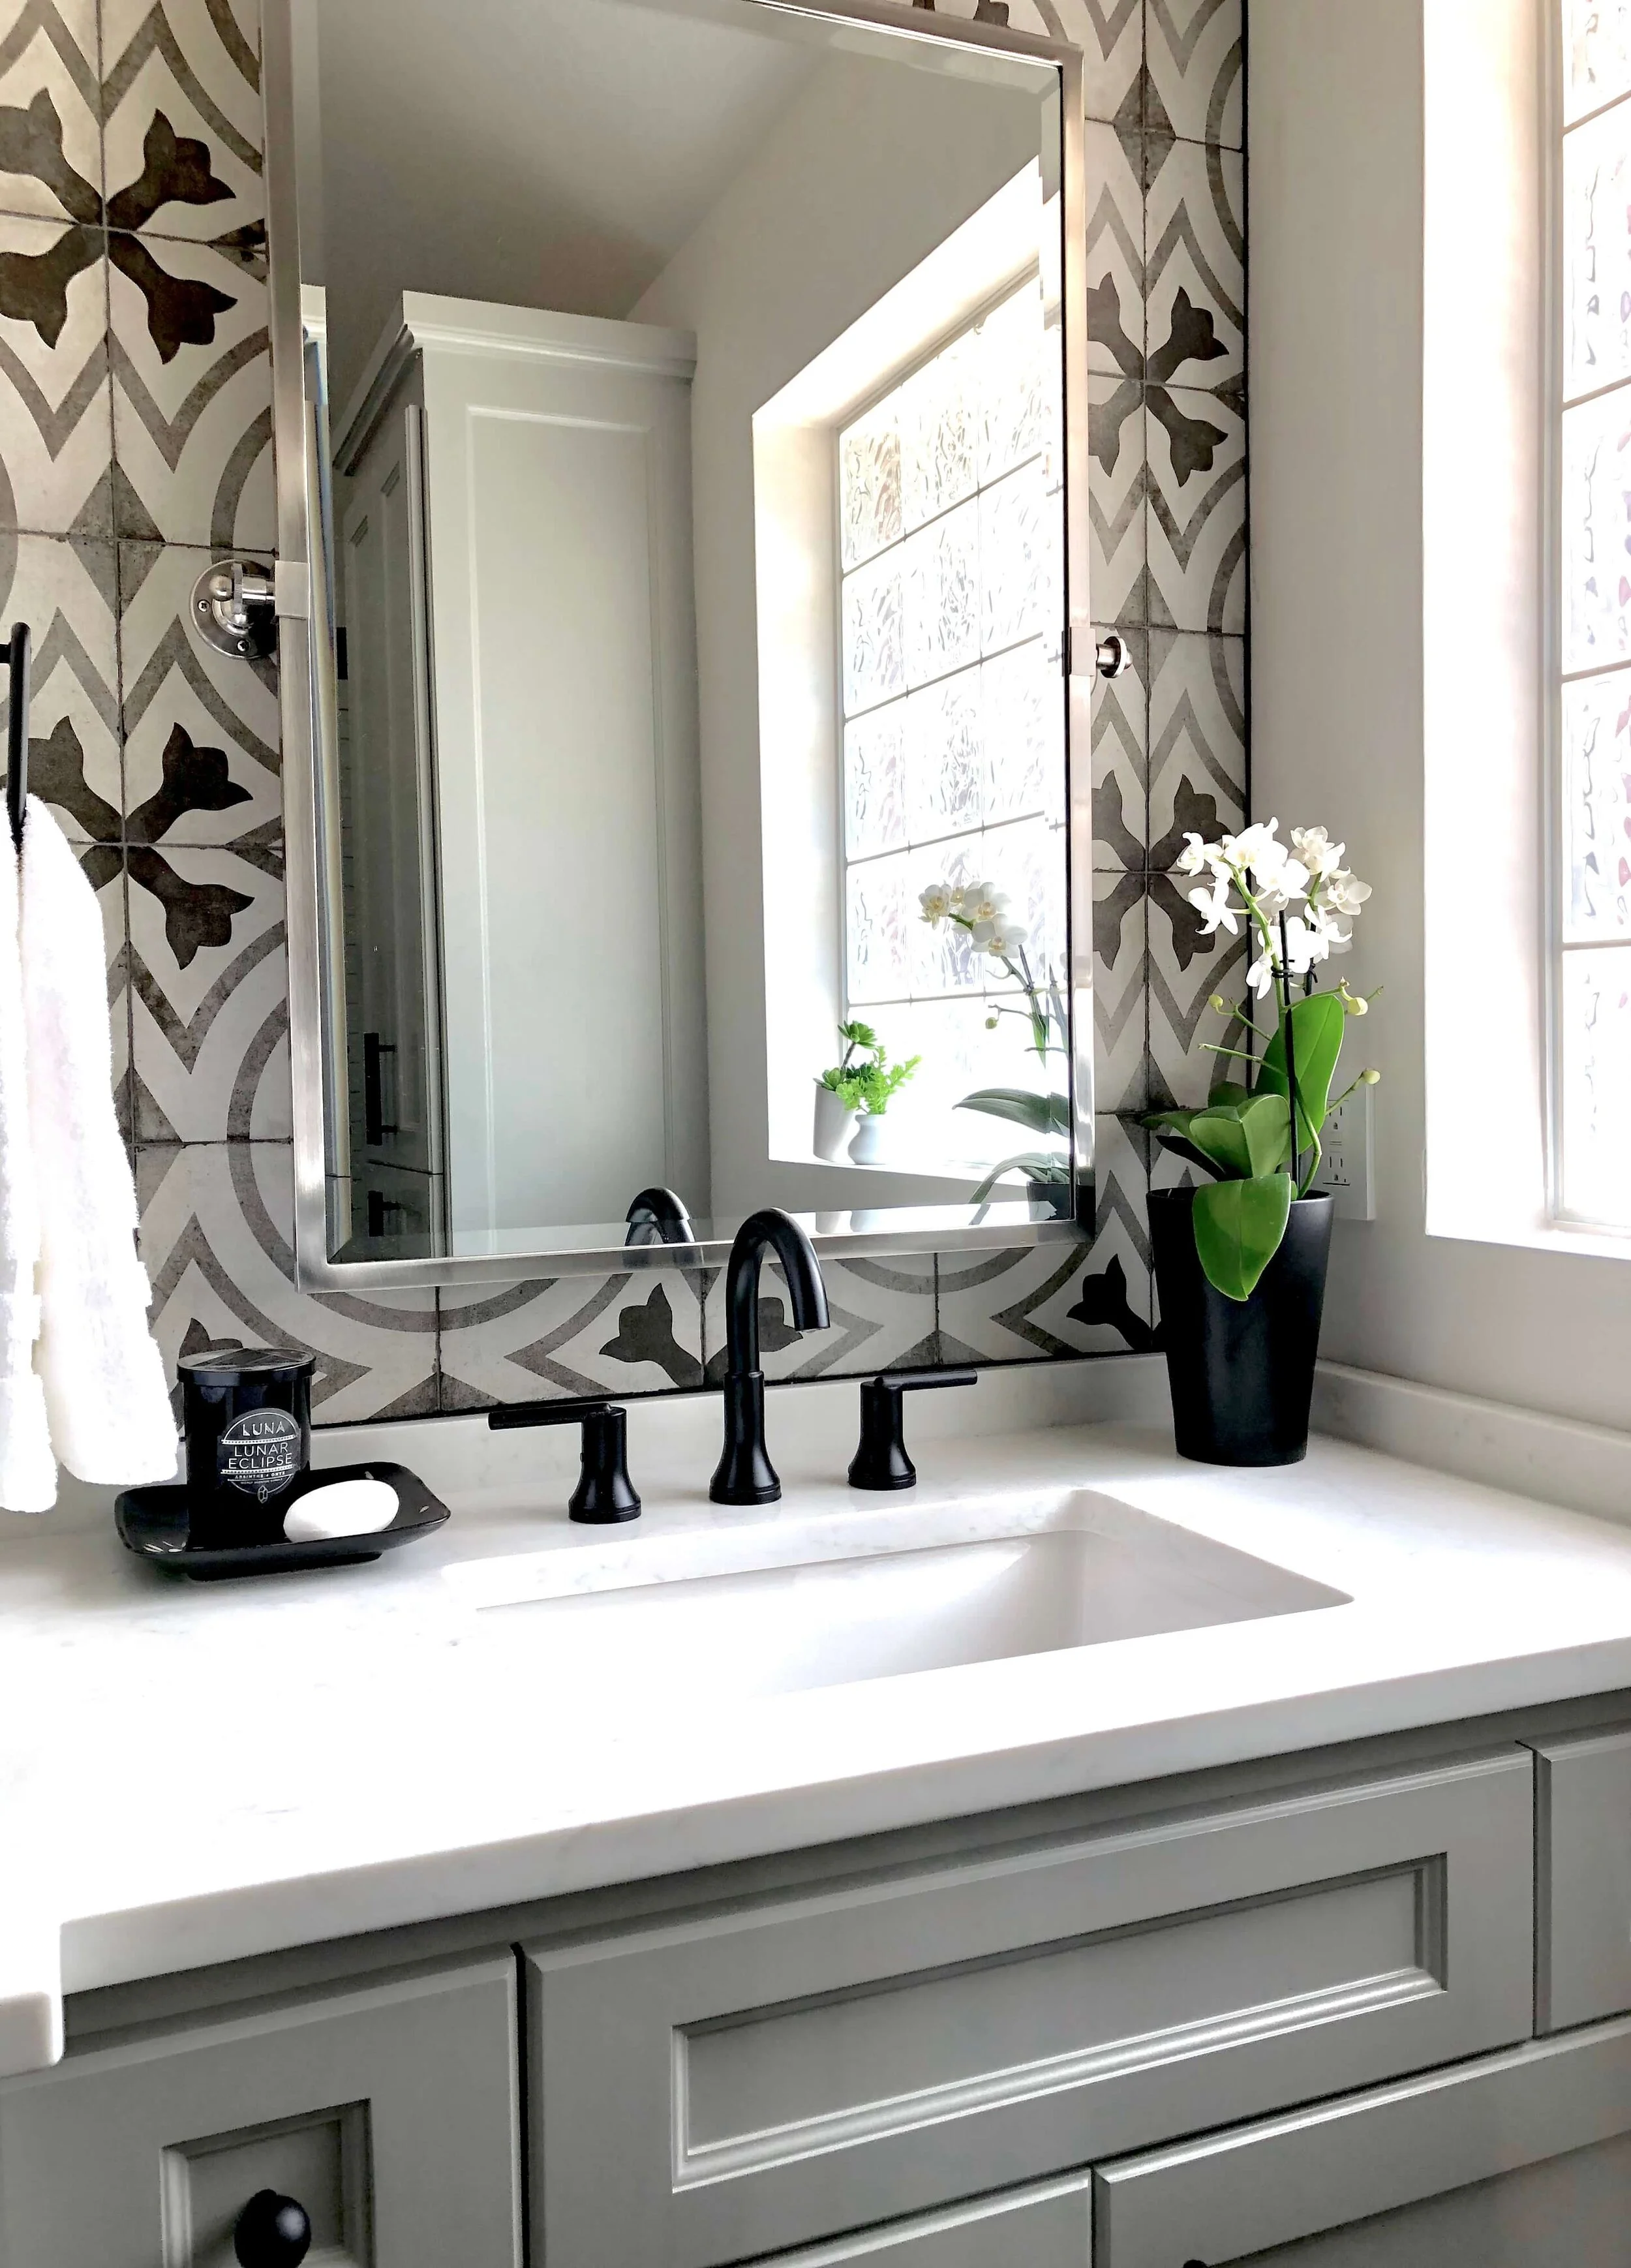
 Another advantage of removing the backsplash from your bathroom sink is the increased countertop space. This can be especially useful if you have a small bathroom or limited storage. Without the backsplash, you can utilize the entire surface of your sink for storing toiletries, towels, and other essentials. You can also add decorative items such as candles or plants, making your bathroom feel more personalized and inviting.
3. Makes Cleaning Easier
 Bathroom sink backsplashes can be a nightmare to clean, as they often collect grime and mold. By removing it, you eliminate a potential breeding ground for bacteria and make cleaning much easier. You can simply wipe down the surface of your sink without having to worry about scrubbing the grout and hard-to-reach areas of the backsplash. This not only saves time but also promotes better hygiene in your bathroom.
Removing bathroom sink backsplash
may seem like a major renovation project, but the benefits are well worth the effort. It can give your bathroom a fresh and modern look, increase countertop space, and simplify cleaning. So if you're looking to upgrade your house design, consider taking on this simple yet effective project. Your bathroom will thank you for it.
Bathroom sink backsplashes can be a nightmare to clean, as they often collect grime and mold. By removing it, you eliminate a potential breeding ground for bacteria and make cleaning much easier. You can simply wipe down the surface of your sink without having to worry about scrubbing the grout and hard-to-reach areas of the backsplash. This not only saves time but also promotes better hygiene in your bathroom.
Removing bathroom sink backsplash
may seem like a major renovation project, but the benefits are well worth the effort. It can give your bathroom a fresh and modern look, increase countertop space, and simplify cleaning. So if you're looking to upgrade your house design, consider taking on this simple yet effective project. Your bathroom will thank you for it.