If you're looking to update your bathroom or fix a leaky faucet, one of the first things you may need to do is remove the sink spout. While this may seem like a daunting task, especially if you're not experienced with plumbing, removing a Moen bathroom sink spout is actually a fairly simple process. With the right tools and a little bit of know-how, you can have your old spout removed in no time. Follow this step-by-step guide for removing a Moen bathroom sink spout and make your bathroom renovation a breeze.Removing a Moen Bathroom Sink Spout


Removing a Moen Bathroom Sink Spout


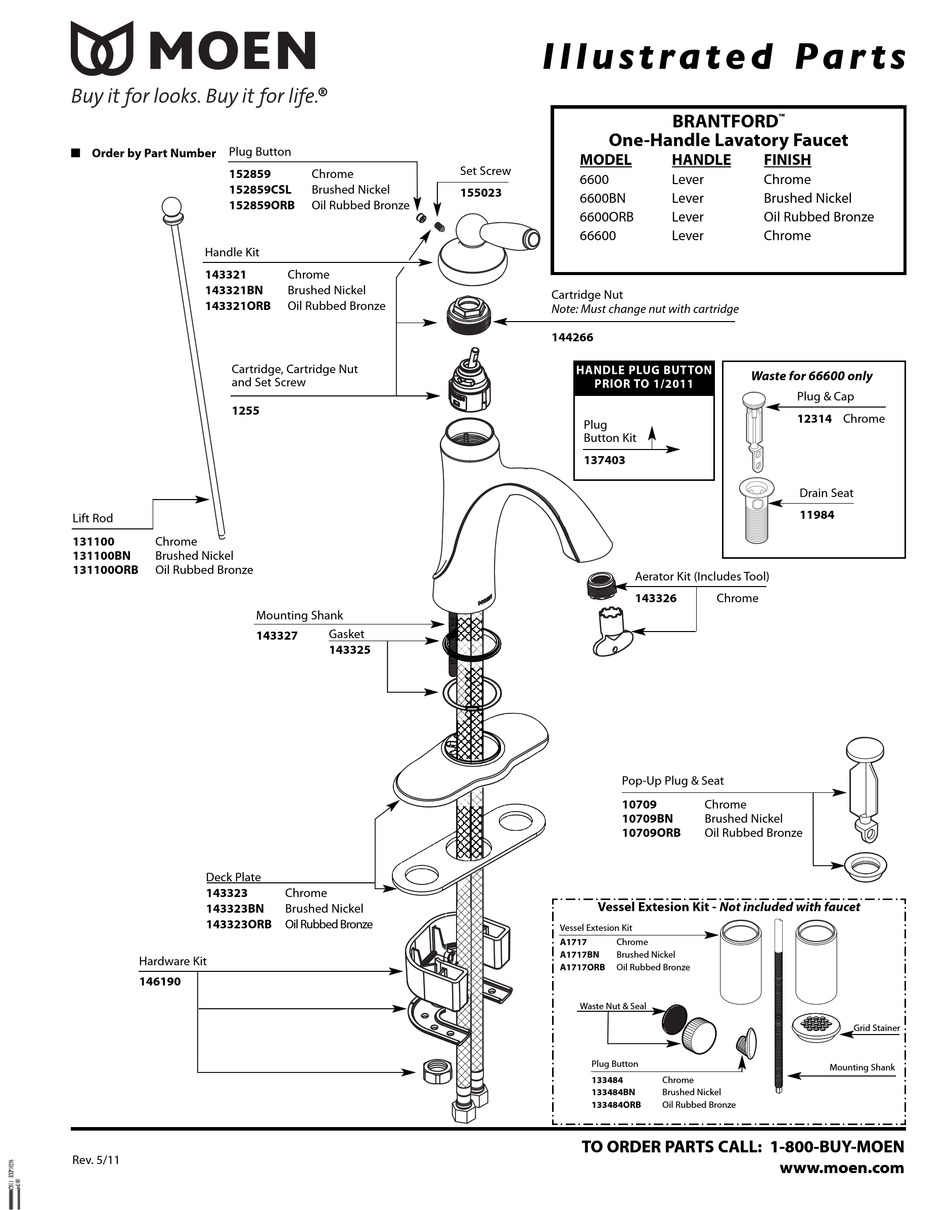
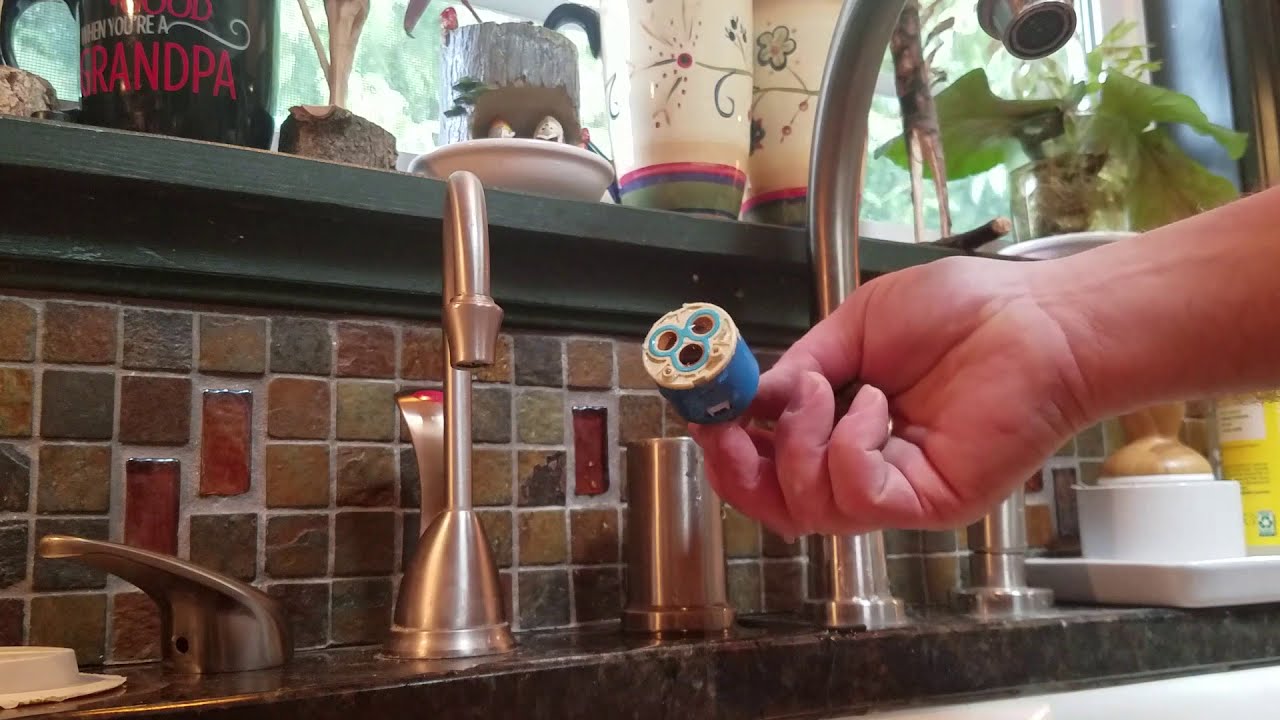
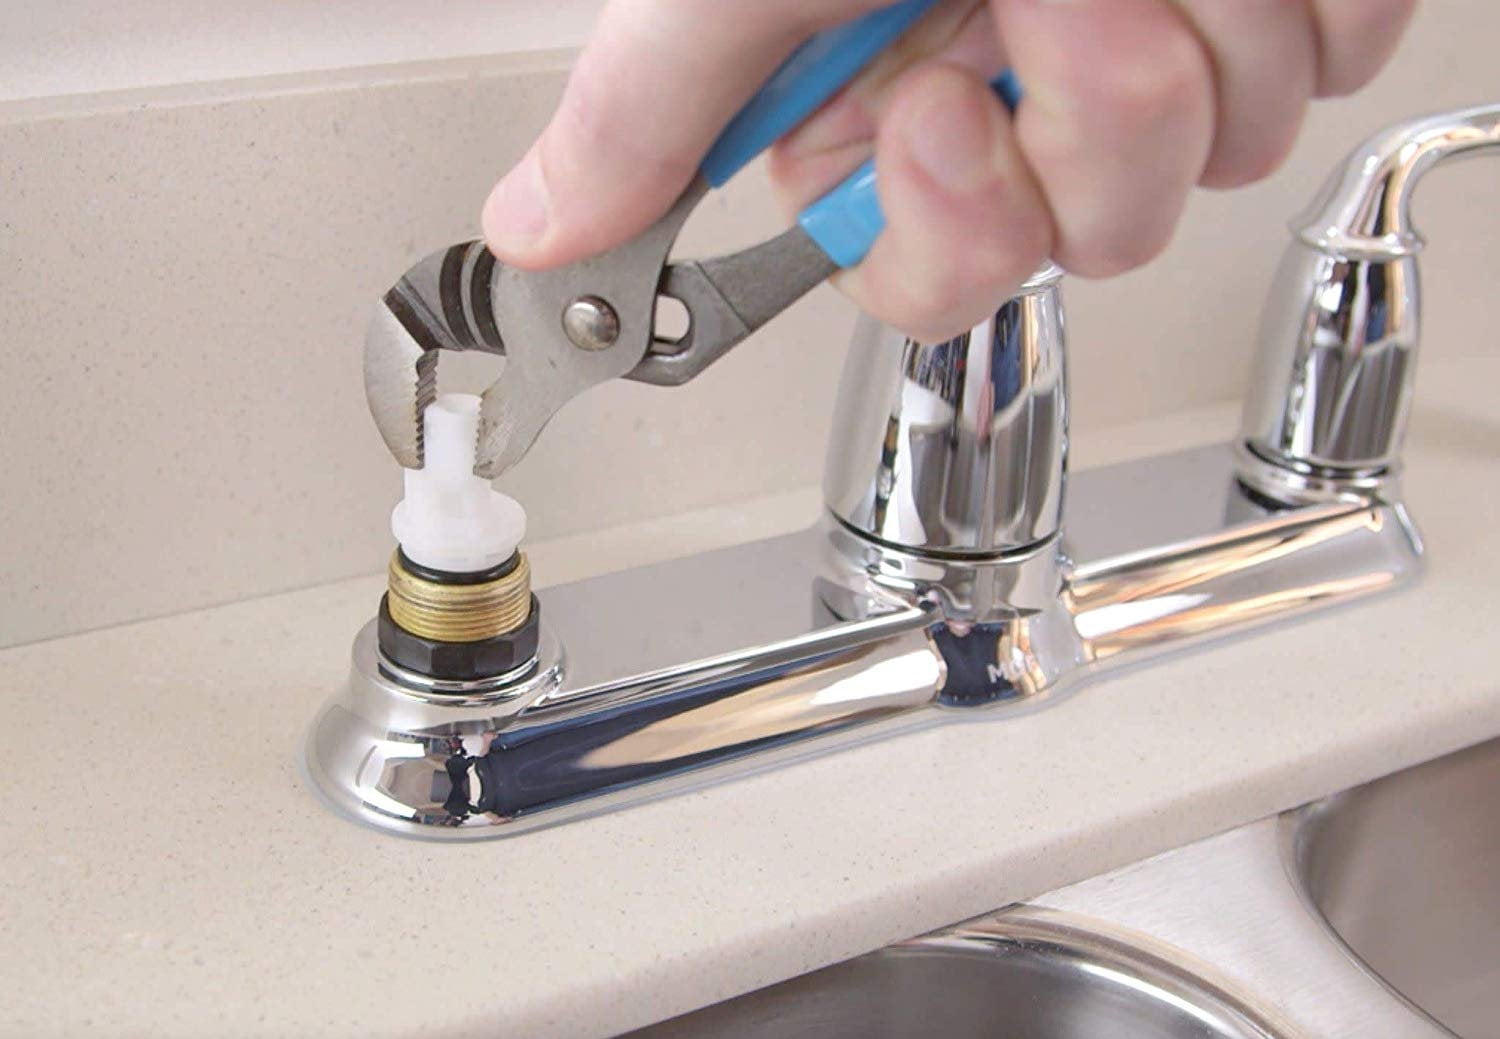
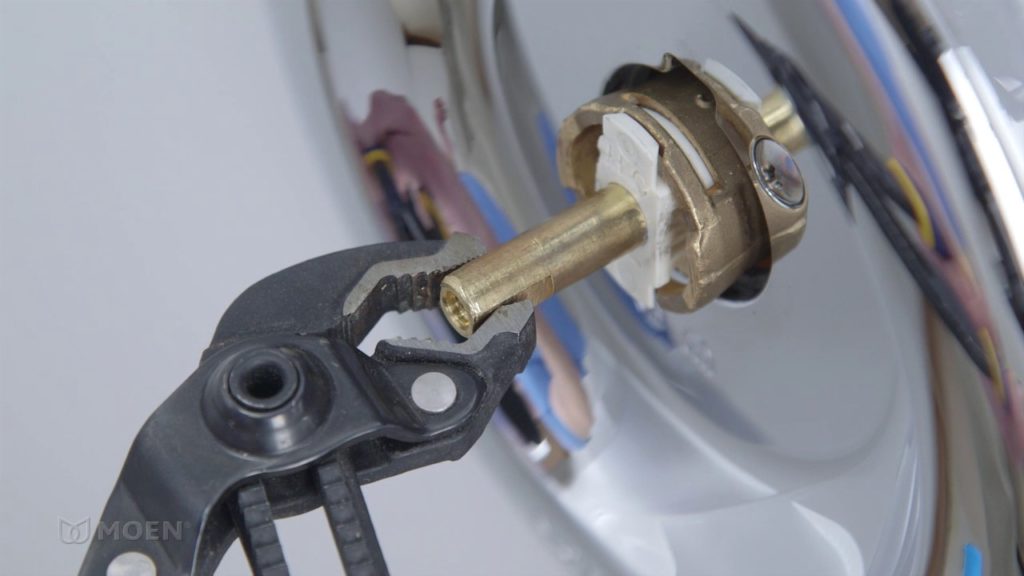
Before you begin, it's important to note that the process for removing a Moen bathroom sink spout may vary depending on the specific model you have. However, the general steps outlined below should work for most Moen sink spouts. Step 1: Turn off the water supply to your sink. This can usually be done by turning off the shut-off valves under the sink or by shutting off the main water supply to your home. Step 2: Use a small flathead screwdriver to remove the cap on the top of the spout. This cap may be labeled with the Moen logo or simply be a small, round piece that covers the screw underneath. Step 3: Use a Phillips head screwdriver to remove the screw underneath the cap. This screw secures the spout to the faucet body. Step 4: Gently wiggle the spout back and forth to loosen it from the faucet body. If it feels stuck, you may need to use a pair of pliers to carefully twist and pull the spout until it comes off. Step 5: Once the spout is removed, you may need to use a pair of pliers to unscrew the aerator from the spout. This is the small piece at the end of the spout that controls the flow of water.How to Remove a Moen Bathroom Sink Spout


How to Remove a Moen Bathroom Sink Spout


If you're more of a visual learner, here is a more detailed step-by-step guide for removing a Moen bathroom sink spout. Step 1: Gather your tools. You will need a small flathead screwdriver, a Phillips head screwdriver, and possibly a pair of pliers. Step 2: Turn off the water supply to your sink. Step 3: Locate the cap on the top of the spout. This may be labeled with the Moen logo or be a small, round piece that covers the screw underneath. Step 4: Use the small flathead screwdriver to carefully pry off the cap. Step 5: Use the Phillips head screwdriver to remove the screw underneath the cap. Step 6: Gently wiggle the spout back and forth to loosen it from the faucet body. Step 7: If the spout feels stuck, use a pair of pliers to carefully twist and pull it until it comes off. Step 8: Once the spout is removed, use a pair of pliers to unscrew the aerator from the spout.Step-by-Step Guide for Removing a Moen Bathroom Sink Spout


Step-by-Step Guide for Removing a Moen Bathroom Sink Spout


Here are a few tips and tricks to keep in mind when removing a Moen bathroom sink spout: - If the spout is stuck and won't come off, try using a lubricant such as WD-40 to help loosen it. - Always turn off the water supply before attempting to remove the spout. - If you have trouble removing the aerator, try using a rubber grip or a cloth to get a better grip on it. - Keep all screws and small pieces in a safe place while removing the spout to avoid losing them.Removing a Moen Bathroom Sink Spout: Tips and Tricks

Removing a Moen Bathroom Sink Spout: Tips and Tricks


Removing a Moen bathroom sink spout is a fairly simple DIY project that can save you time and money. With the right tools and a little bit of patience, you can easily remove and replace your sink spout without having to call a plumber.DIY: Removing a Moen Bathroom Sink Spout


DIY: Removing a Moen Bathroom Sink Spout


While removing a Moen bathroom sink spout may seem like a straightforward task, there are a few common mistakes that can lead to frustration or even cause damage to your faucet. Here are some mistakes to avoid: - Forgetting to turn off the water supply before attempting to remove the spout. - Using too much force when trying to remove the spout, which can damage the faucet or cause injury. - Not keeping track of small pieces such as screws or the aerator, which can easily get lost.Removing a Moen Bathroom Sink Spout: Common Mistakes to Avoid
Removing a Moen Bathroom Sink Spout: Common Mistakes to Avoid


Here are the tools you will need to successfully remove a Moen bathroom sink spout: - Small flathead screwdriver - Phillips head screwdriver - Pliers (optional)Tools You'll Need for Removing a Moen Bathroom Sink Spout


Tools You'll Need for Removing a Moen Bathroom Sink Spout


If you encounter any issues while removing your Moen bathroom sink spout, here are a few troubleshooting tips: - If the spout is stuck and won't come off, try using a lubricant such as WD-40 to help loosen it. - If the aerator is stuck and won't unscrew, try using a rubber grip or a cloth to get a better grip on it. - If you notice any damage to the faucet body or spout, it may be best to call a professional plumber for assistance.Removing a Moen Bathroom Sink Spout: Troubleshooting Guide


Removing a Moen Bathroom Sink Spout: Troubleshooting Guide


When removing a Moen bathroom sink spout, it's important to take safety precautions to avoid injury or damage to your faucet. Here are a few safety tips to keep in mind: - Always turn off the water supply before attempting to remove the spout. - Use caution when using tools such as pliers to avoid damaging the faucet or injuring yourself. - Keep track of small pieces such as screws and the aerator to avoid losing them.Removing a Moen Bathroom Sink Spout: Safety Precautions

Removing a Moen Bathroom Sink Spout: Safety Precautions
While removing a Moen bathroom sink spout can be a simple DIY project, there are some situations where it may be best to call a professional plumber. If you encounter any issues while attempting to remove the spout, or if you notice any damage to the faucet or spout, it may be best to seek professional assistance to avoid causing further damage or injury. Removing a Moen bathroom sink spout may seem like a daunting task, but with the right tools and a little bit of knowledge, it can be a quick and easy process. Follow this guide and you'll have your old spout removed in no time, ready for your next bathroom renovation or repair project.Removing a Moen Bathroom Sink Spout: Professional vs. DIY

Removing a Moen Bathroom Sink Spout: Professional vs. DIY
How to Easily Remove a Moen Bathroom Sink Spout
/cleaning-the-aerator-from-deposits--the-girl-hand-washes-a-dirty-limestone-aerator-with-water-1126244919-72868100964f42d5aa564a928371fea5.jpg)
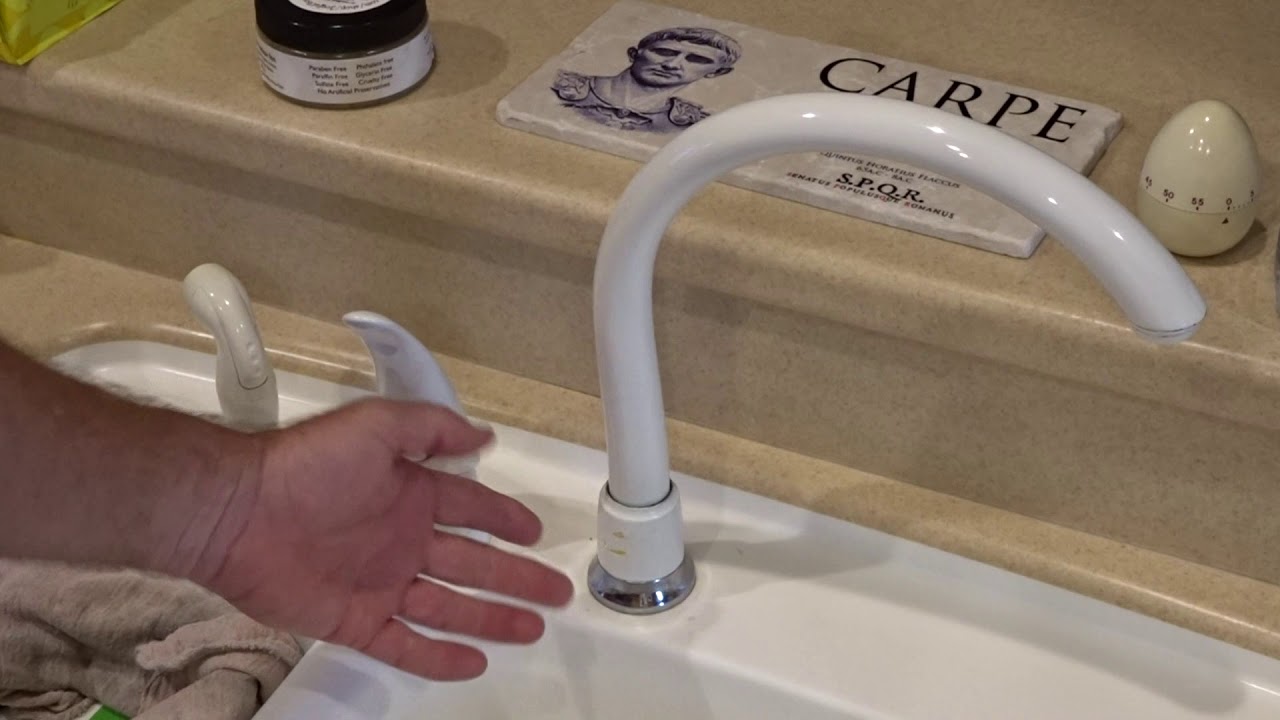
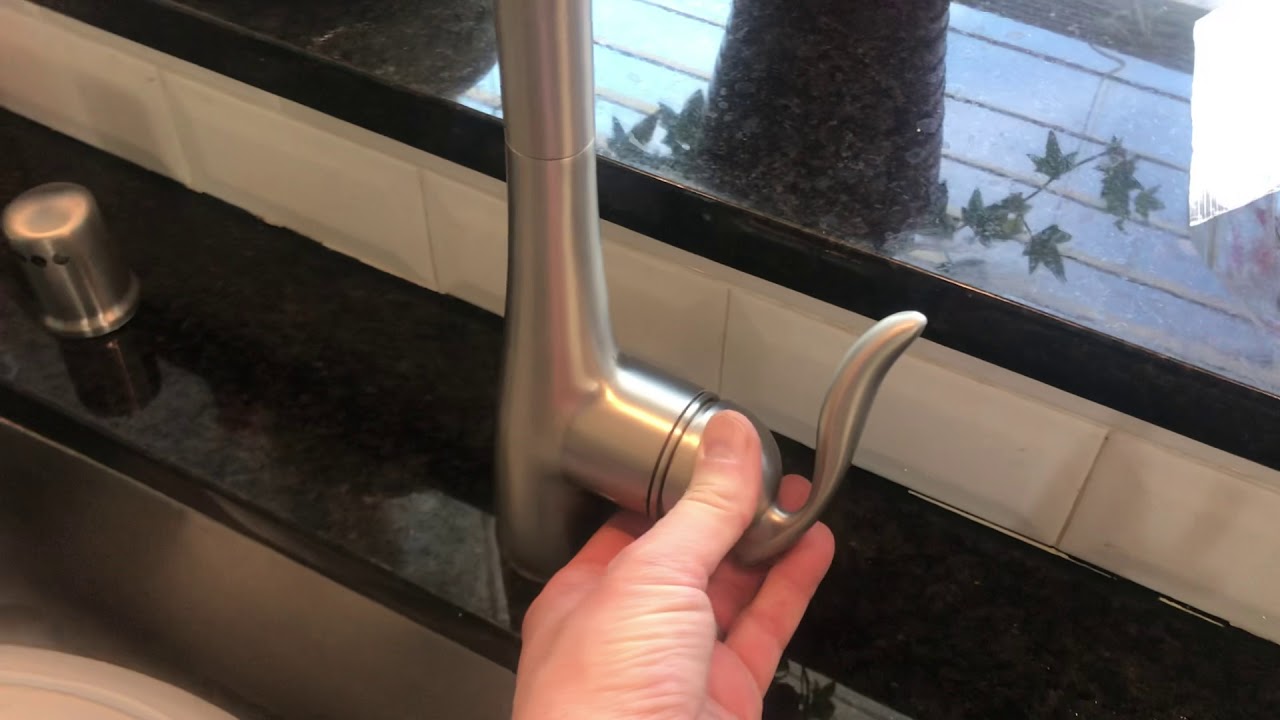
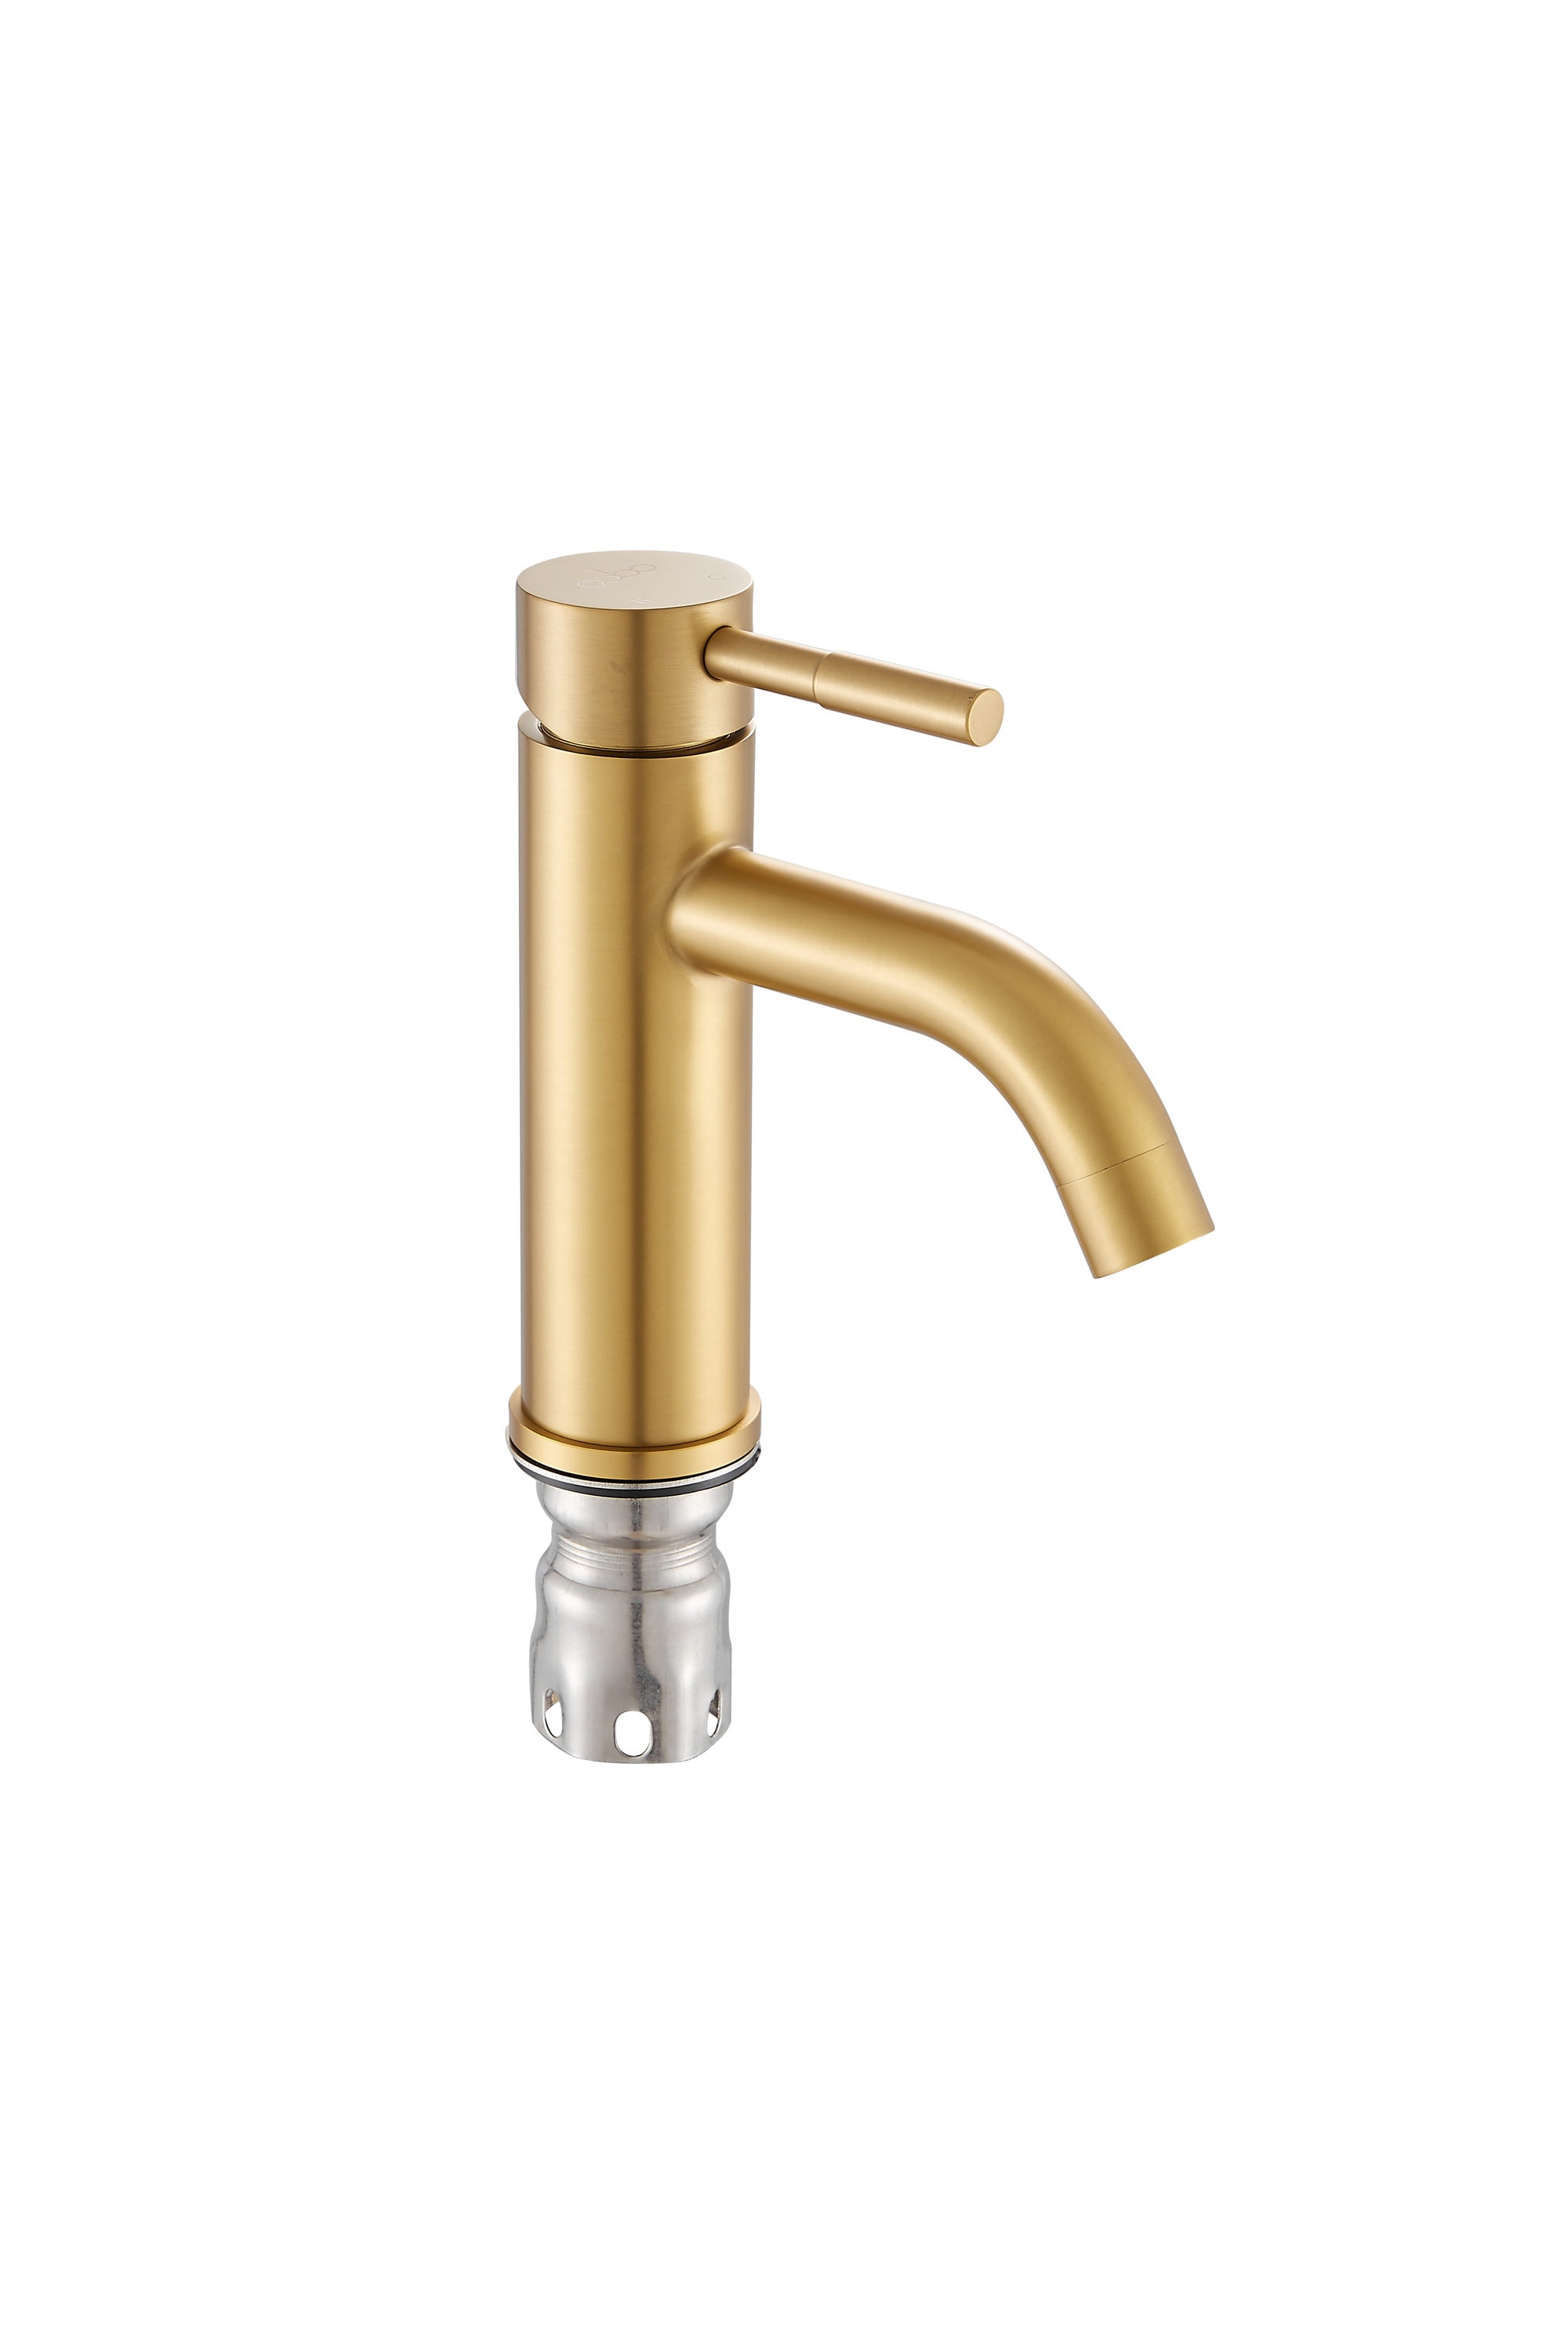
Step 3: Remove the Spout
 Now that you have successfully detached the spout from the sink basin, you can now easily remove it from the faucet body. Simply pull the spout straight up and off of the body. Be careful not to twist or turn the spout, as it may damage the internal components. If you encounter any resistance, use a pair of pliers to gently twist and loosen the spout before pulling it off.
Step 4: Clean and Replace
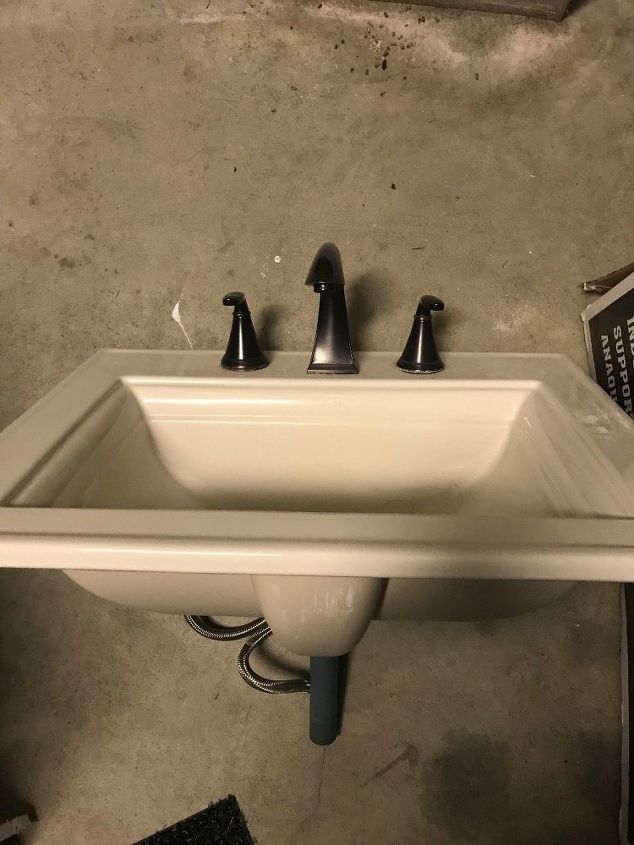
 Once the spout is removed, take the opportunity to clean any buildup or debris from the spout and faucet body. This will help ensure a smooth installation of the new spout. If your old spout was damaged or worn, it is recommended to replace it with a new one. Moen offers a variety of replacement spouts to choose from, so you can find one that fits your bathroom design and personal style.
Step 5: Install the New Spout
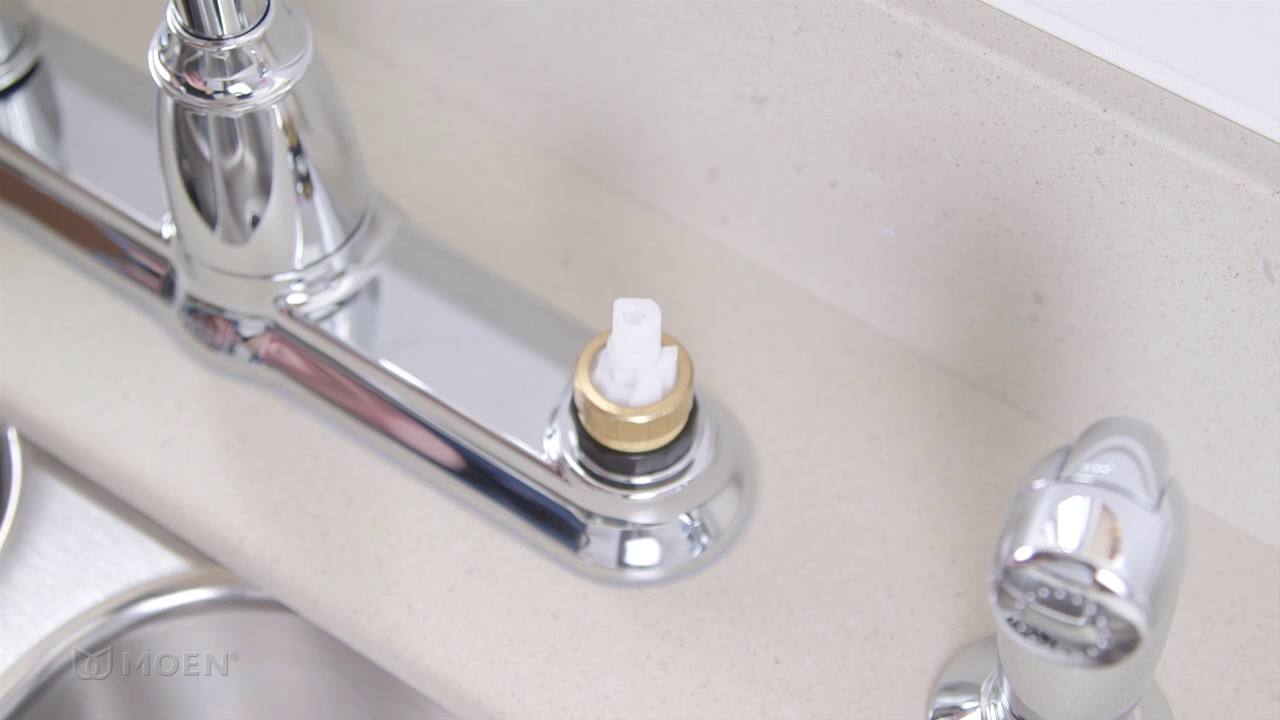 To install the new spout, simply reverse the steps you took to remove the old one. Slide the new spout onto the faucet body, making sure it is securely in place. Then, reattach the spout set screw and tighten it with the Allen wrench. Finally, reattach the spout to the sink basin by tightening the mounting nut.
Removing a Moen bathroom sink spout may seem like a daunting task, but with the right tools and techniques, it can be easily accomplished. By following these simple steps, you can quickly and efficiently remove and replace your Moen bathroom sink spout, giving your bathroom a fresh and updated look. Remember to always use caution and consult a professional if you encounter any difficulties during the process.
To install the new spout, simply reverse the steps you took to remove the old one. Slide the new spout onto the faucet body, making sure it is securely in place. Then, reattach the spout set screw and tighten it with the Allen wrench. Finally, reattach the spout to the sink basin by tightening the mounting nut.
Removing a Moen bathroom sink spout may seem like a daunting task, but with the right tools and techniques, it can be easily accomplished. By following these simple steps, you can quickly and efficiently remove and replace your Moen bathroom sink spout, giving your bathroom a fresh and updated look. Remember to always use caution and consult a professional if you encounter any difficulties during the process.