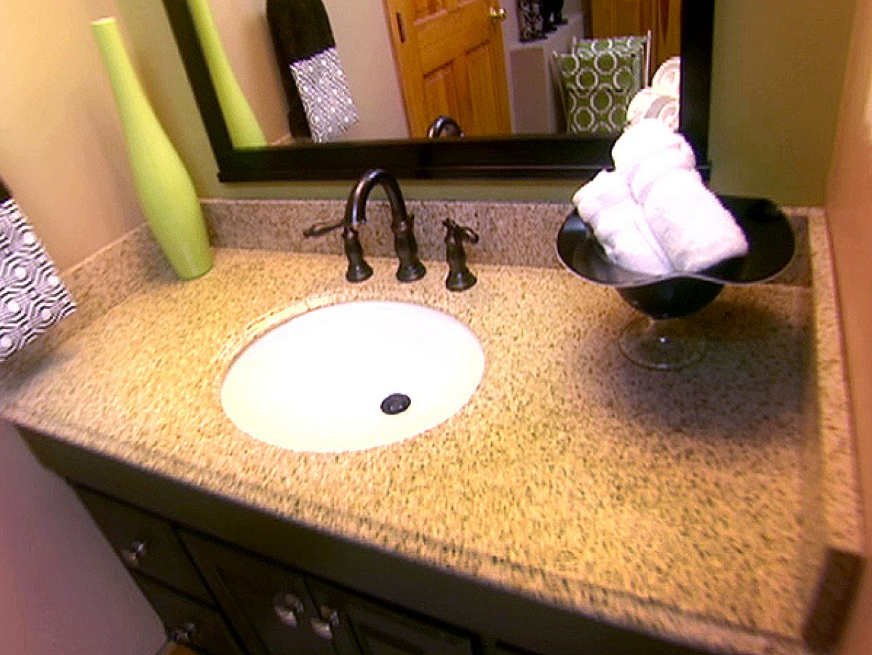
Are you tired of your old, outdated bathroom vanity and ready for a change? Removing a bathroom vanity may seem like a daunting task, but with the right tools and knowledge, it can be a simple and straightforward process. In this guide, we will take you through the step-by-step process of removing a bathroom vanity and give you some expert tips to ensure a successful and stress-free project.Removing A Bathroom Vanity: A Step-by-Step Guide


Removing A Bathroom Vanity: A Step-by-Step Guide


Before you begin, make sure you have all the necessary tools and materials. You will need a wrench, screwdriver, utility knife, and a pry bar. It's also a good idea to have a bucket or container to catch any water from the plumbing. Let's get started!How to Remove a Bathroom Vanity in 7 Simple Steps


How to Remove a Bathroom Vanity in 7 Simple Steps
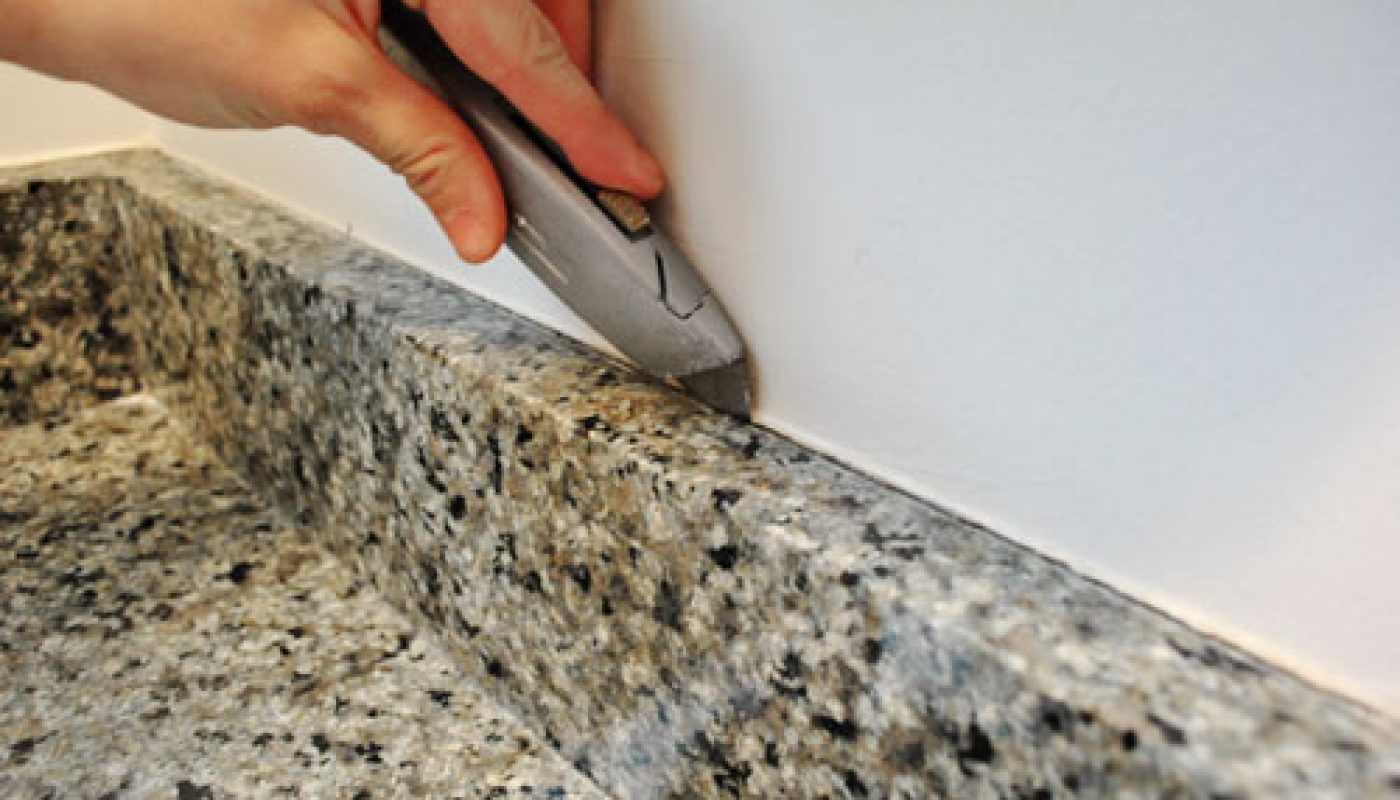
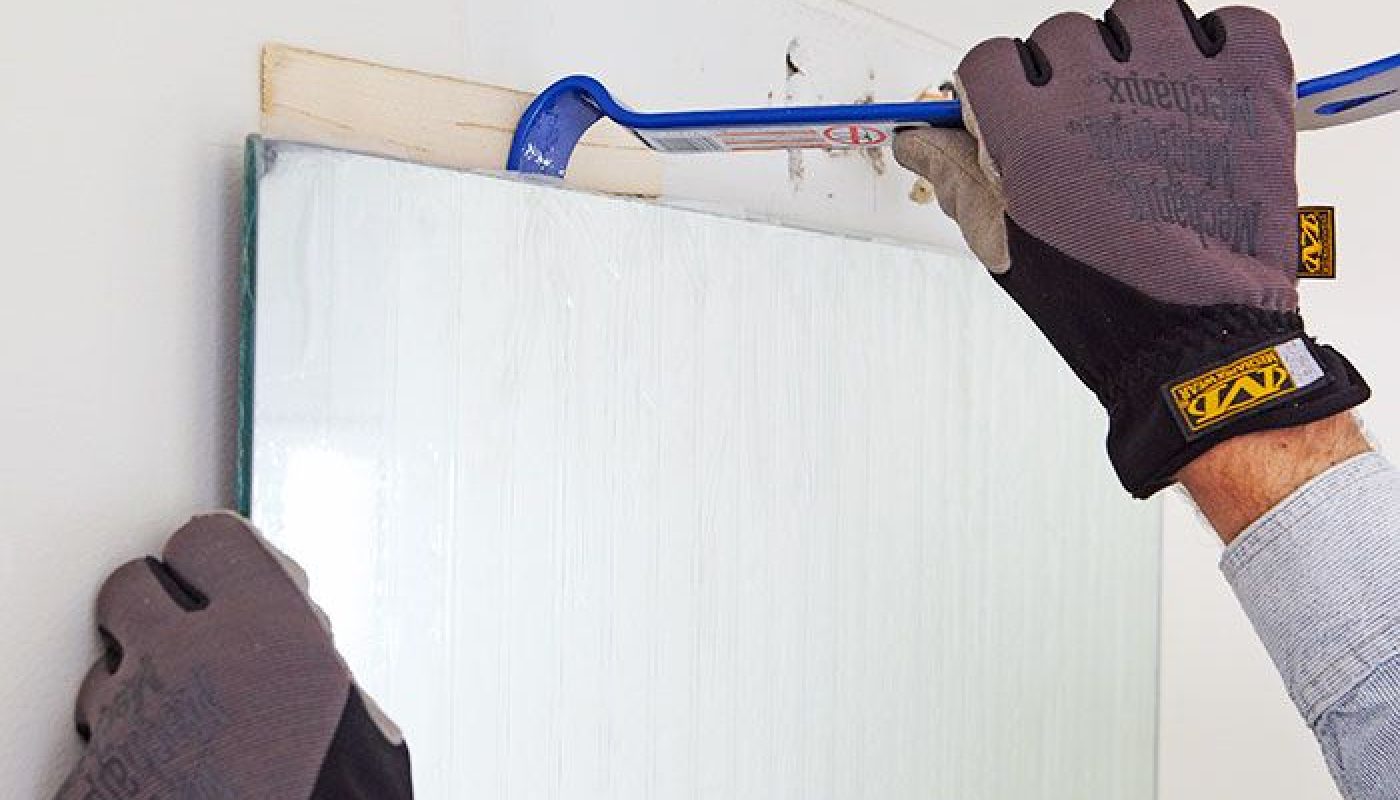
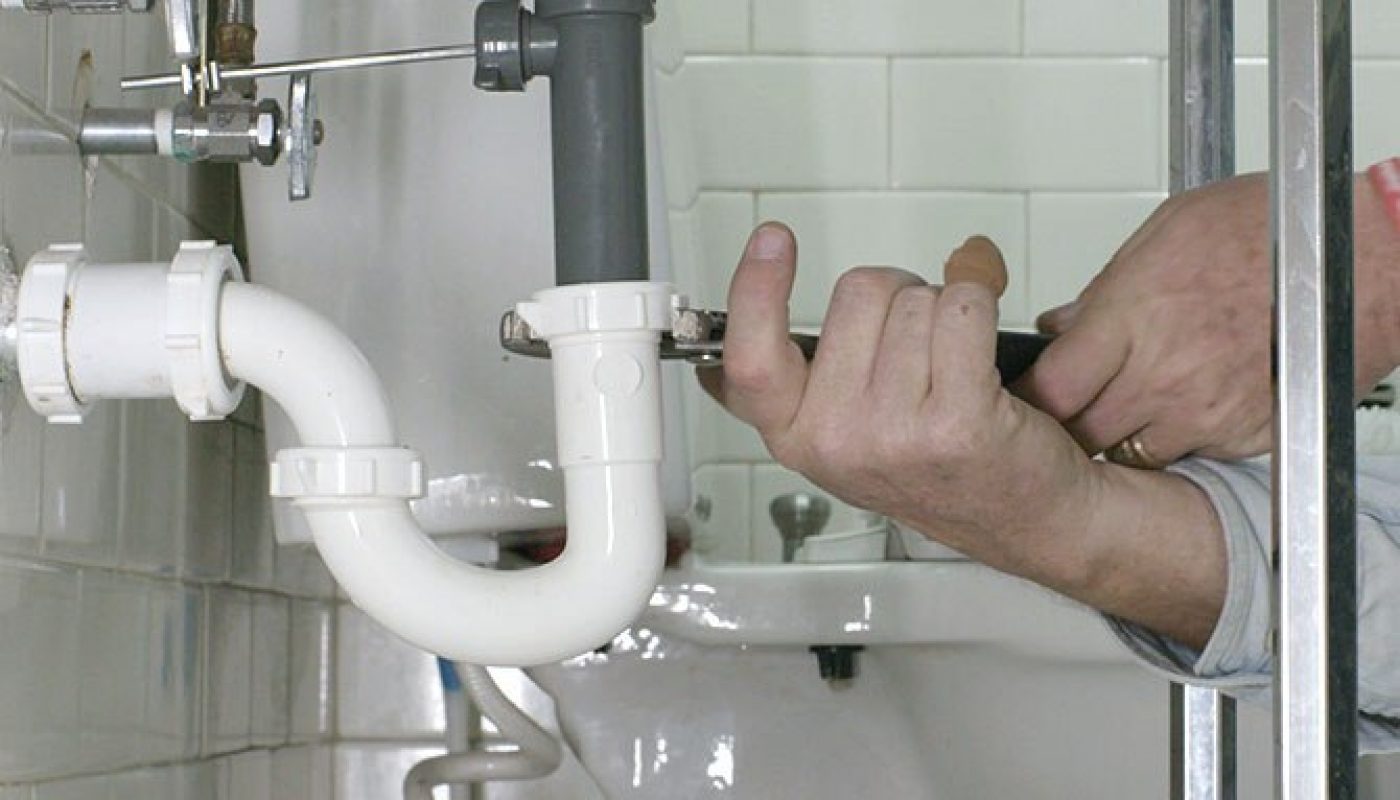
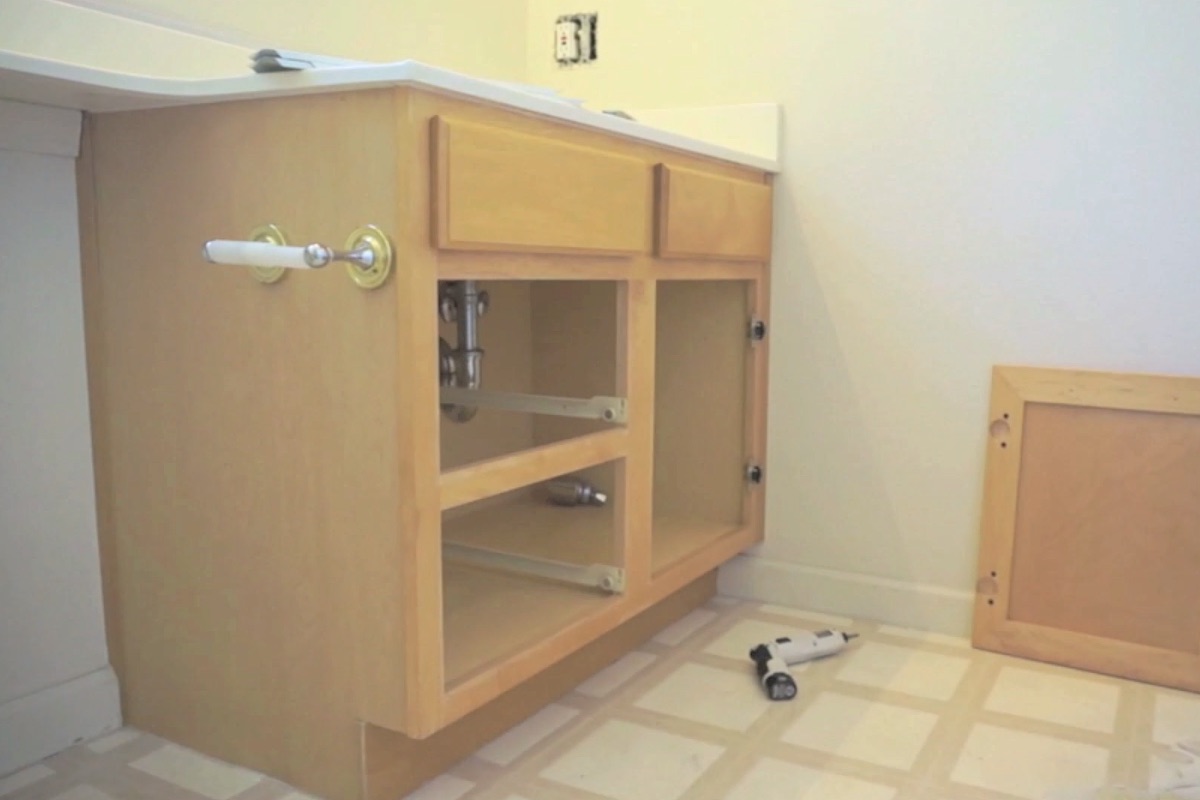
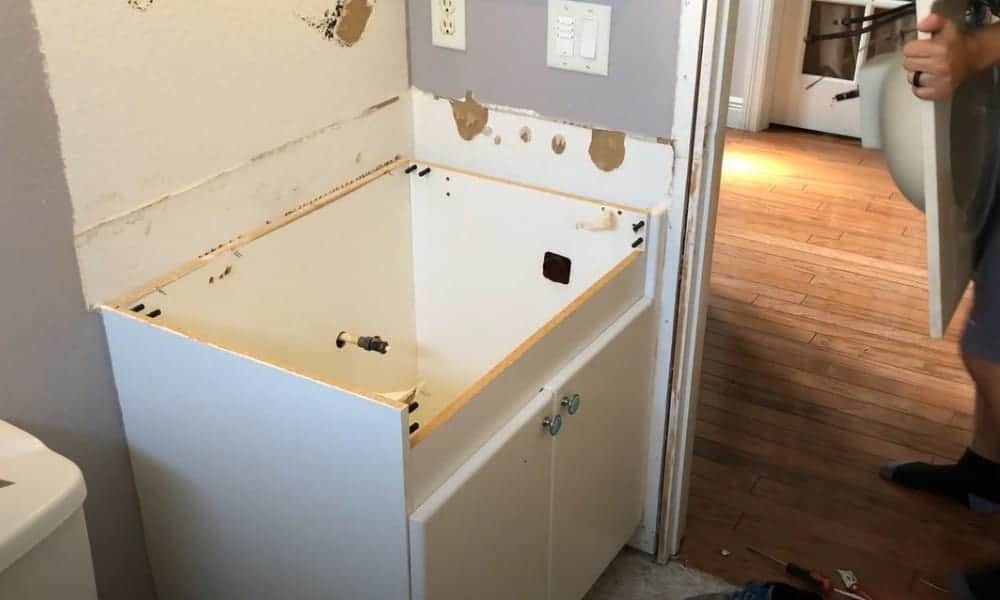
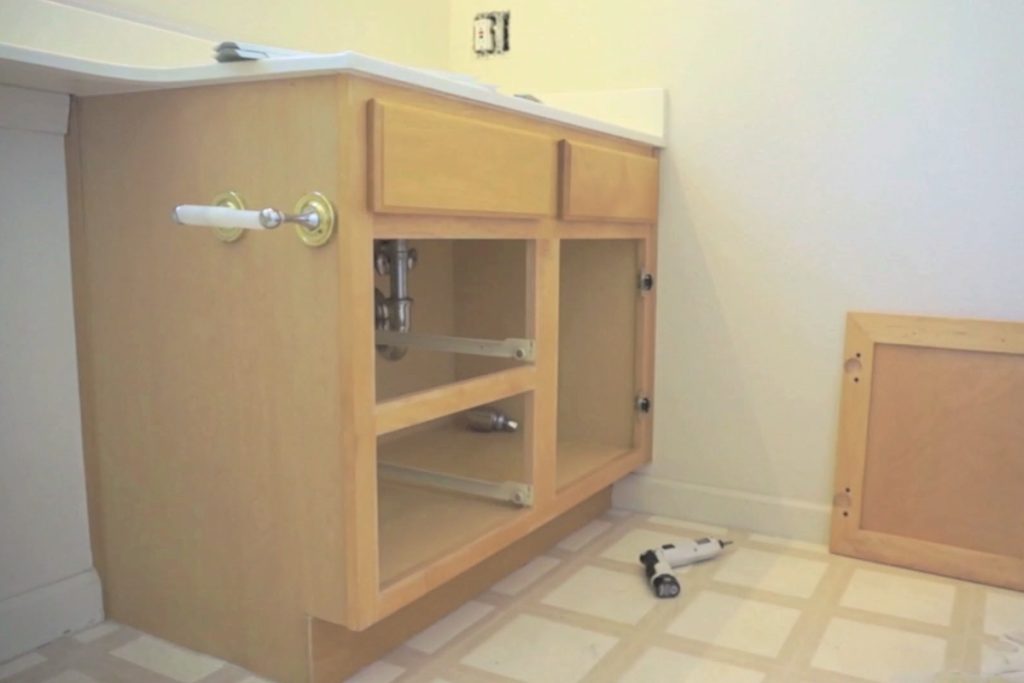
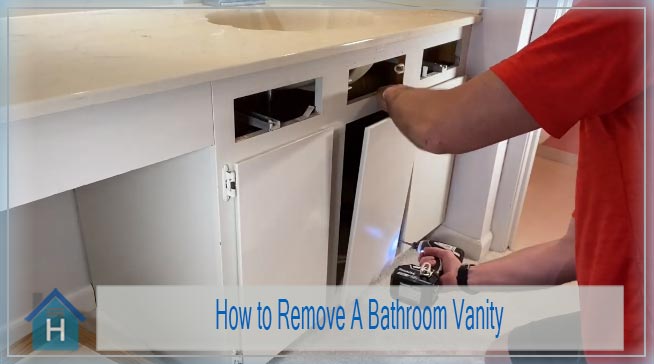
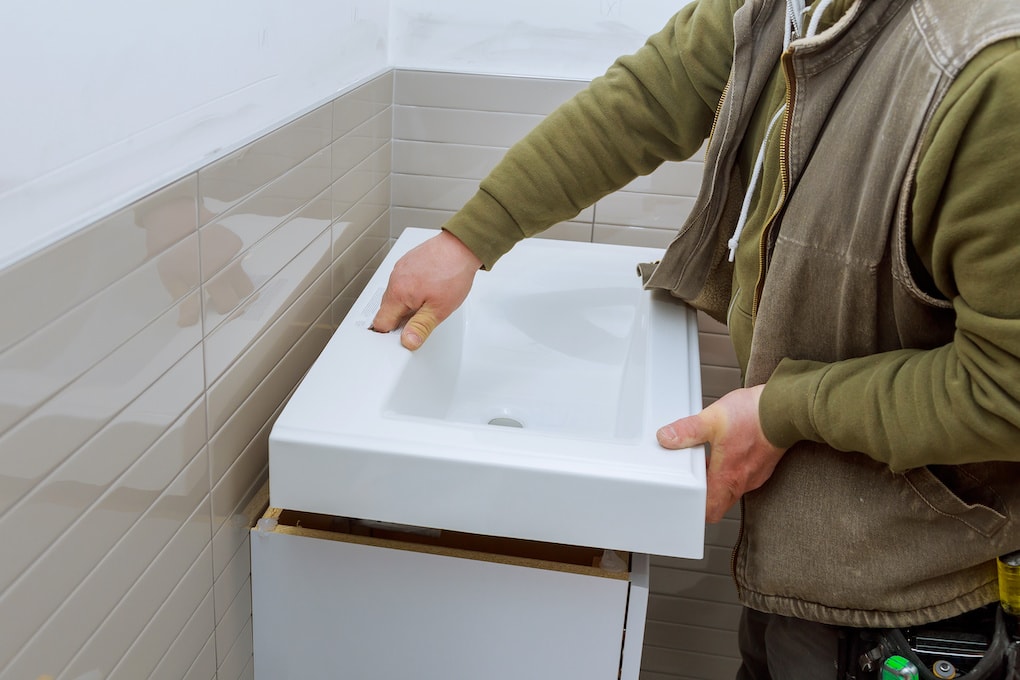
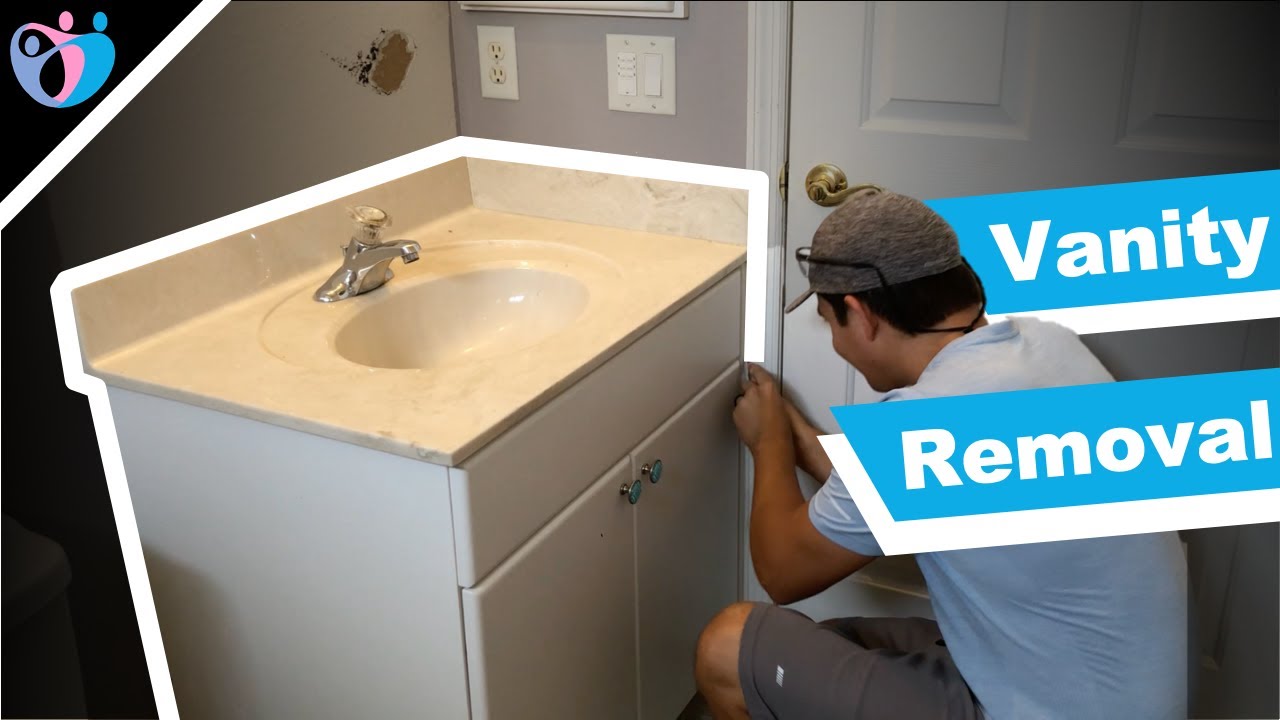
If you're a DIY enthusiast, removing a bathroom vanity can be a fun and rewarding project. Here are some tips to make the process easier and more efficient: 1. Turn off the water supply. Before you begin, turn off the water supply to the sink. This can usually be done by turning off the valves under the sink or shutting off the main water supply to your home. This will prevent any water from leaking out during the removal process. 2. Disconnect the plumbing. Use a wrench to disconnect the water supply lines and the drain pipe from the sink. Have a bucket or container ready to catch any remaining water. 3. Remove the sink. If your vanity has a sink attached, you will need to remove it before moving on to the vanity itself. This can usually be done by unscrewing the sink from the vanity or cutting through any caulking with a utility knife. 4. Remove the countertop. If your vanity has a countertop, you will need to remove it next. This can usually be done by unscrewing it from the vanity or cutting through any caulking with a utility knife. 5. Unscrew the vanity from the wall. Using a screwdriver, unscrew the vanity from the wall. Depending on the size and weight of the vanity, you may need some assistance to lift it off the wall. 6. Remove any remaining screws or nails. Once the vanity is off the wall, check for any remaining screws or nails that may be holding it in place. Use a pry bar to carefully remove them. 7. Clean up and dispose of the vanity. Now that the vanity is removed, you can clean up any remaining debris and dispose of the old vanity. Congratulations, you have successfully removed a bathroom vanity!DIY Bathroom Vanity Removal: Tips and Tricks


DIY Bathroom Vanity Removal: Tips and Tricks


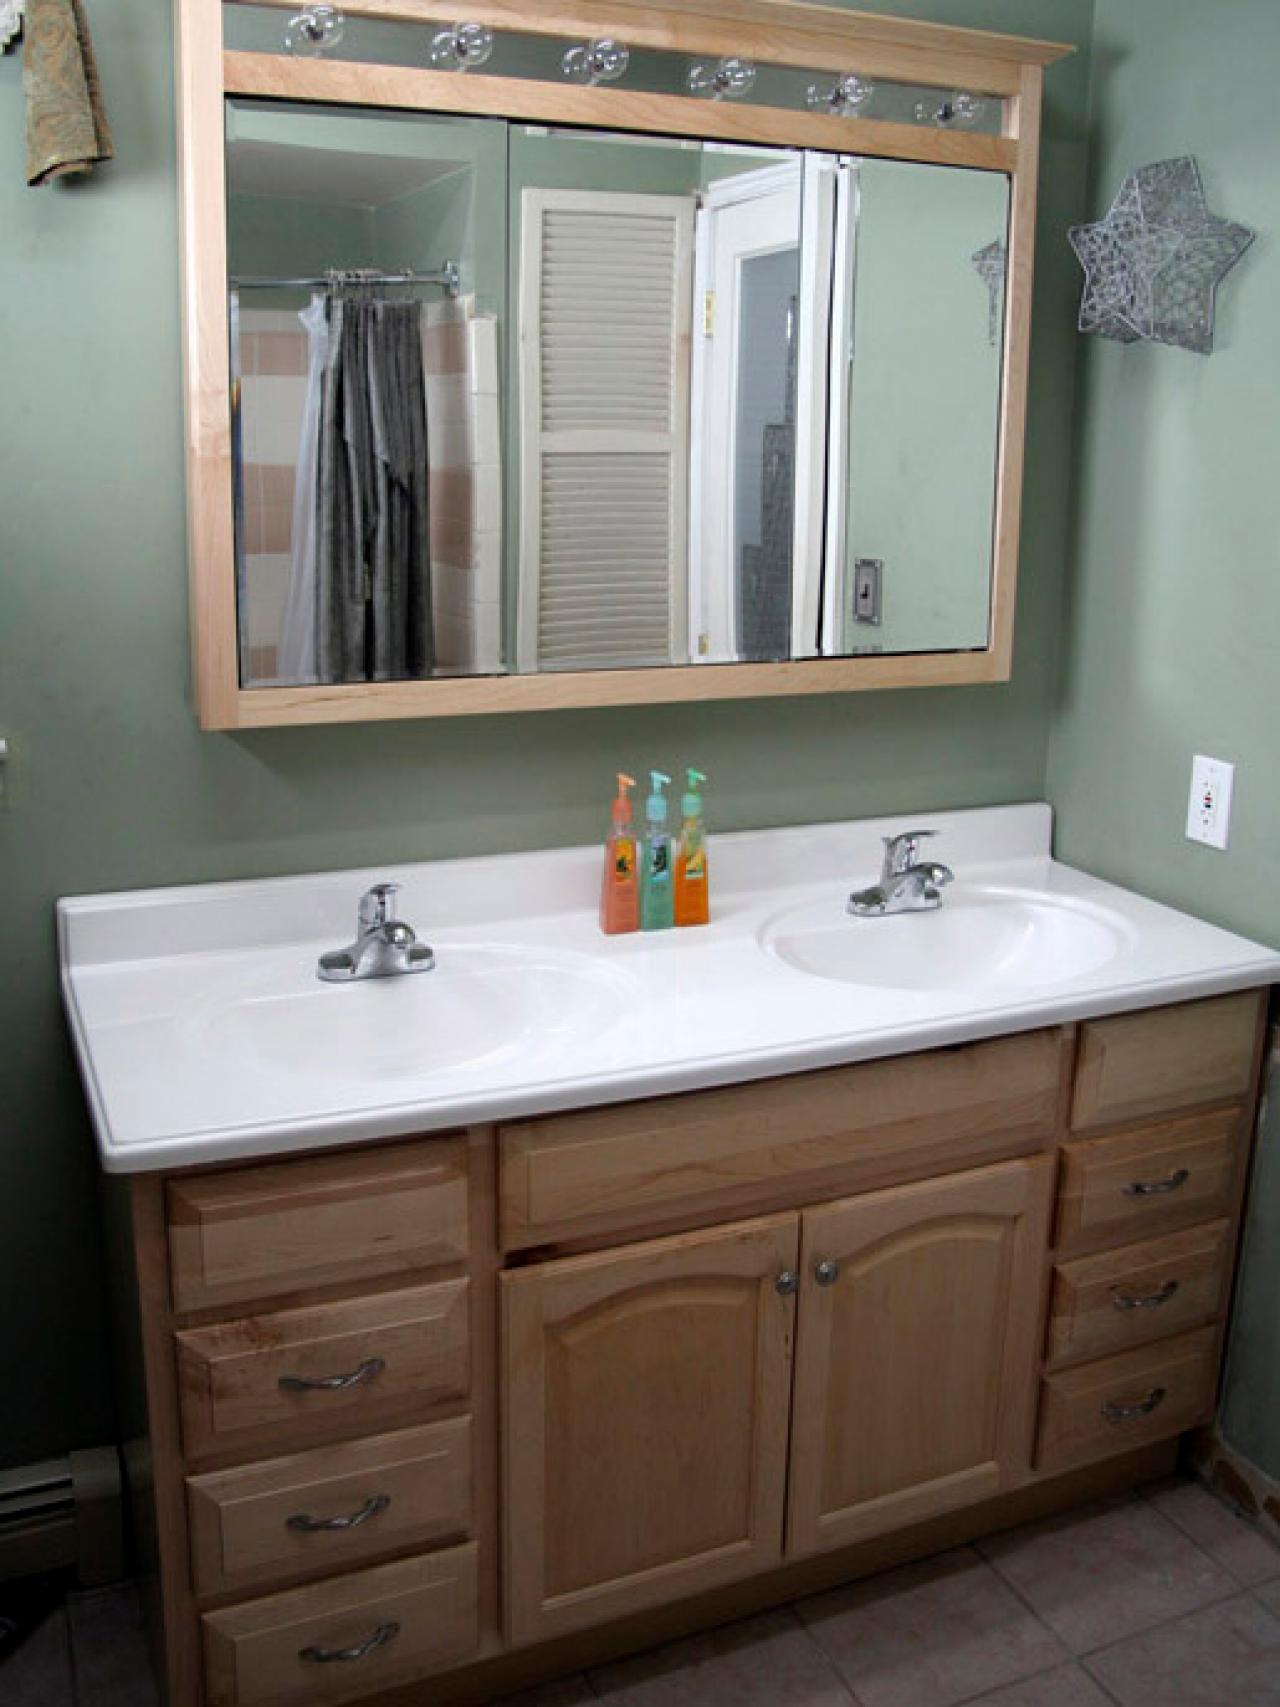
/cherry-diy-bathroom-vanity-594414da5f9b58d58a099a36.jpg)
:max_bytes(150000):strip_icc()/build-something-diy-vanity-594402125f9b58d58ae21158.jpg)

To successfully remove a bathroom vanity, make sure you have the following tools and materials on hand: 1. Wrench - for disconnecting plumbing Screwdriver - for unscrewing the vanity from the wall Utility knife - for cutting through caulking Pry bar - for removing screws and nails Bucket or container - for catching water from plumbing Gloves and goggles - for safetyRemoving a Bathroom Vanity: Tools and Materials You'll Need


Removing a Bathroom Vanity: Tools and Materials You'll Need

When removing a bathroom vanity, there are some important dos and don'ts to keep in mind: Do:The Dos and Don'ts of Removing a Bathroom Vanity


The Dos and Don'ts of Removing a Bathroom Vanity


Even with the best intentions, mistakes can happen during a DIY project. Here are some common mistakes to avoid when removing a bathroom vanity: 1. Forgetting to turn off the water supply. This can lead to water damage and a bigger mess to clean up. 2. Not having the right tools. Using the wrong tools can make the process more difficult and increase the risk of damaging the vanity or your walls. 3. Rushing through the project. Take your time and be patient. Rushing can lead to mistakes and accidents. 4. Not protecting yourself. Always wear gloves and goggles to protect yourself from any potential injuries.Removing a Bathroom Vanity: Common Mistakes to Avoid


Removing a Bathroom Vanity: Common Mistakes to Avoid

If you're more of a visual learner, check out this step-by-step video tutorial on removing a bathroom vanity: Insert video hereStep-by-Step Video Tutorial: Removing a Bathroom Vanity


Step-by-Step Video Tutorial: Removing a Bathroom Vanity


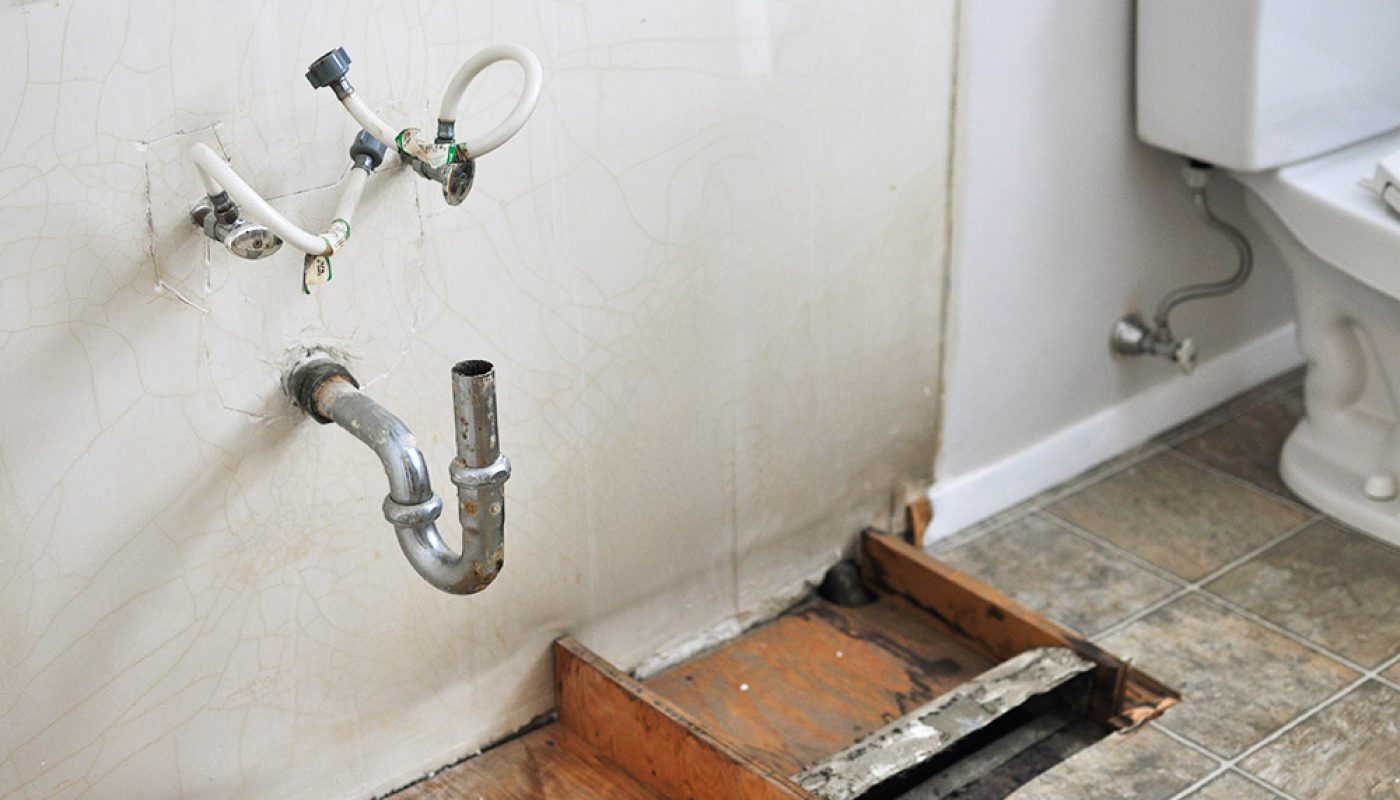
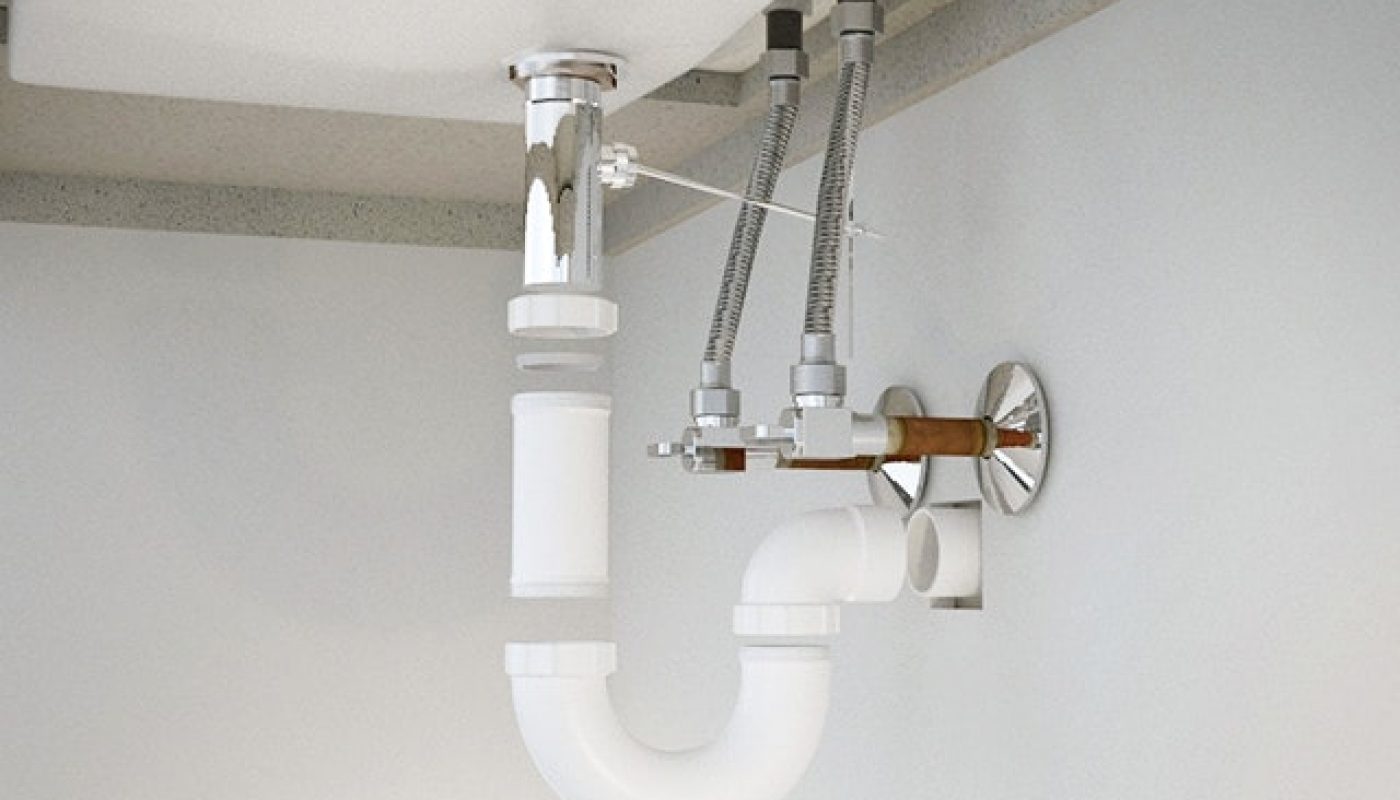
After removing the vanity, you will need to address the plumbing. Here are some options for what to do with the plumbing: 1. Cap off the water supply lines. If you are not planning on installing a new vanity right away, you can cap off the water supply lines to prevent any leaks. 2. Disconnect the plumbing completely. If you are planning on installing a new vanity, you can disconnect the plumbing completely and reconnect it to the new vanity. 3. Call a professional. If you are not comfortable working with plumbing, it's best to call a professional to ensure it is done correctly.Removing a Bathroom Vanity: What to Do with the Plumbing


Removing a Bathroom Vanity: What to Do with the Plumbing


Now that you have all the information and tips, let's recap the process of removing a bathroom vanity from start to finish: Step 1: Gather all necessary tools and materials. Step 2: Turn off the water supply. Step 3: Disconnect the plumbing. Step 4: Remove the sink. Step 5: Remove the countertop. Step 6: Unscrew the vanity from the wall. Step 7: Remove any remaining screws or nails. Step 8: Clean up and dispose of the vanity. Step 9: Address the plumbing as needed. Step 10: Enjoy your new, updated bathroom space!From Start to Finish: The Process of Removing a Bathroom Vanity


From Start to Finish: The Process of Removing a Bathroom Vanity


Removing a bathroom vanity can be tricky, especially when it comes to protecting your walls. Here are some expert tips to ensure your walls stay damage-free: 1. Use a pry bar carefully. When using a pry bar to remove the vanity, be sure to use it gently and avoid putting too much pressure on your walls. 2. Use a utility knife to cut through caulking. This will make it easier to remove the countertop and reduce the risk of damaging your walls. 3. Have a helper for heavier vanities. This will make it easier and safer to lift the vanity off the wall without causing any damage. 4. Patch any holes or damage. If you do end up with any holes or damage to your walls, be sure to patch and repair them before installing a new vanity. With these tips and instructions, removing a bathroom vanity can be a stress-free and rewarding project. Remember to take your time, use the proper tools, and protect yourself to ensure a successful and safe removal process. Good luck!Expert Tips for Removing a Bathroom Vanity Without Damaging Your Walls


Expert Tips for Removing a Bathroom Vanity Without Damaging Your Walls


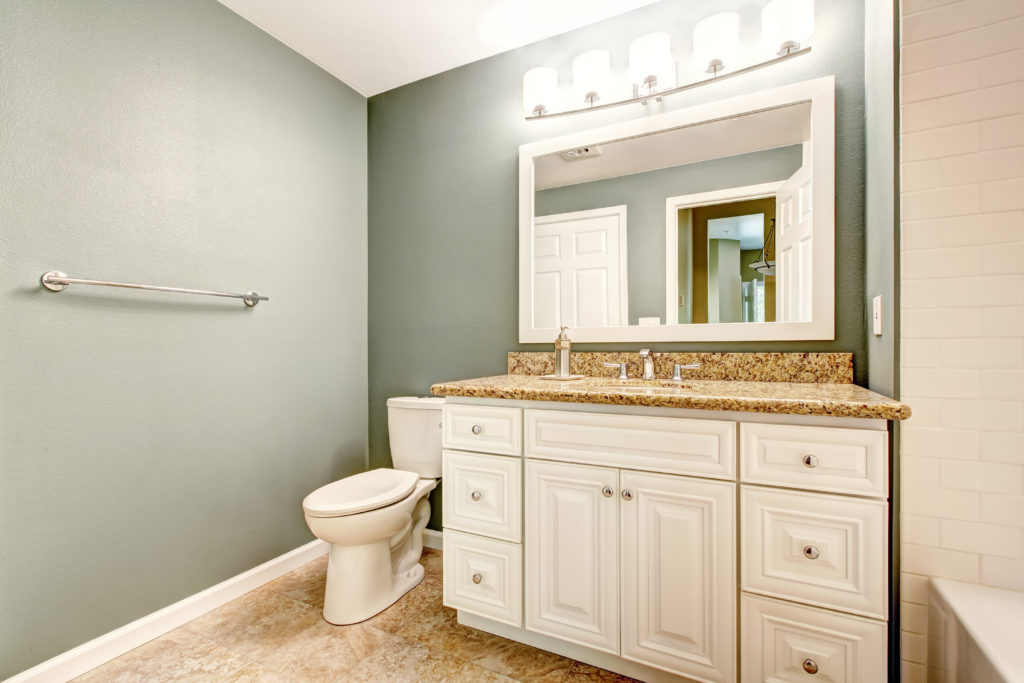
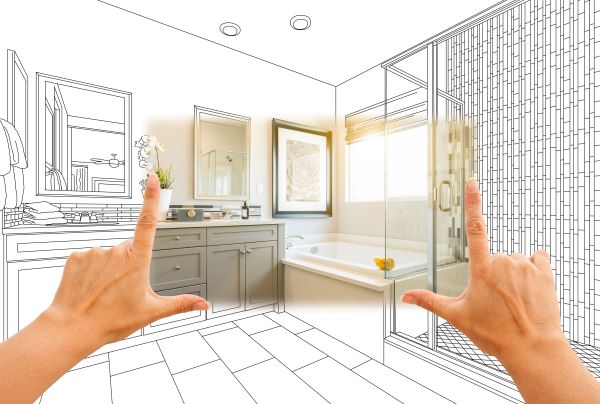
Why Should You Consider Removing Your Bathroom Vanity?
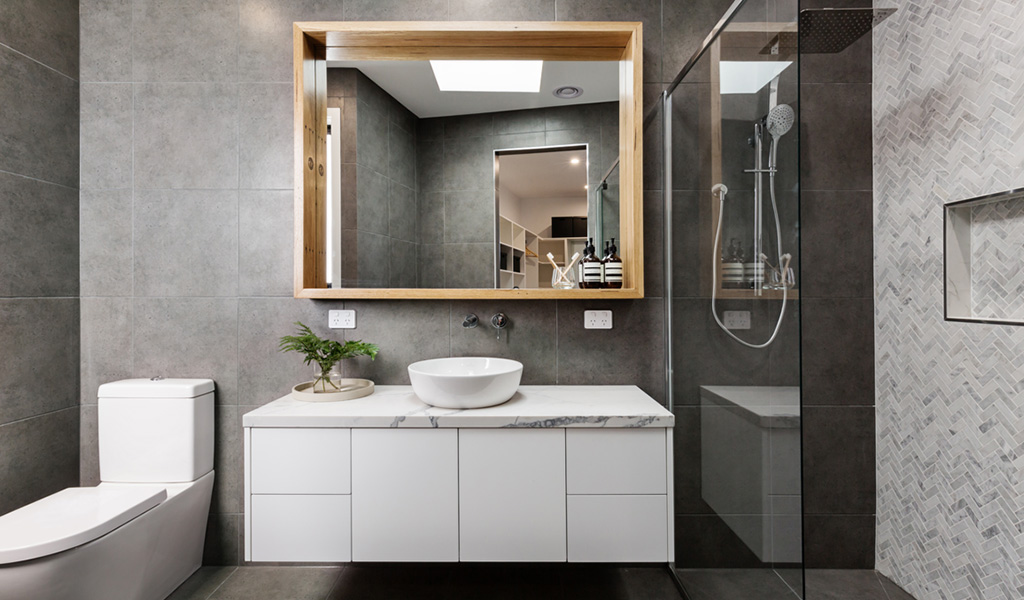
The Importance of a Well-Designed Bathroom
 A bathroom is not just a functional space in a house, it is also a place for relaxation and rejuvenation. A well-designed bathroom can greatly enhance the overall aesthetic and value of a home. This is why many homeowners invest in bathroom renovations to create a more modern and stylish look. However, one aspect that is often overlooked is the bathroom vanity.
While it may seem like a small component, the vanity can actually make a big impact on the overall design and functionality of a bathroom.
That is why it is important to carefully consider whether removing your bathroom vanity is the right choice for your home.
A bathroom is not just a functional space in a house, it is also a place for relaxation and rejuvenation. A well-designed bathroom can greatly enhance the overall aesthetic and value of a home. This is why many homeowners invest in bathroom renovations to create a more modern and stylish look. However, one aspect that is often overlooked is the bathroom vanity.
While it may seem like a small component, the vanity can actually make a big impact on the overall design and functionality of a bathroom.
That is why it is important to carefully consider whether removing your bathroom vanity is the right choice for your home.
The Benefits of Removing Your Bathroom Vanity
 There are several reasons why you may want to consider removing your bathroom vanity. One of the main benefits is creating more space in your bathroom.
With smaller bathrooms becoming more common in modern homes, removing the vanity can free up valuable floor space and make the room feel more spacious.
This is especially beneficial for those who have a small bathroom or are looking to create a more open and airy feel.
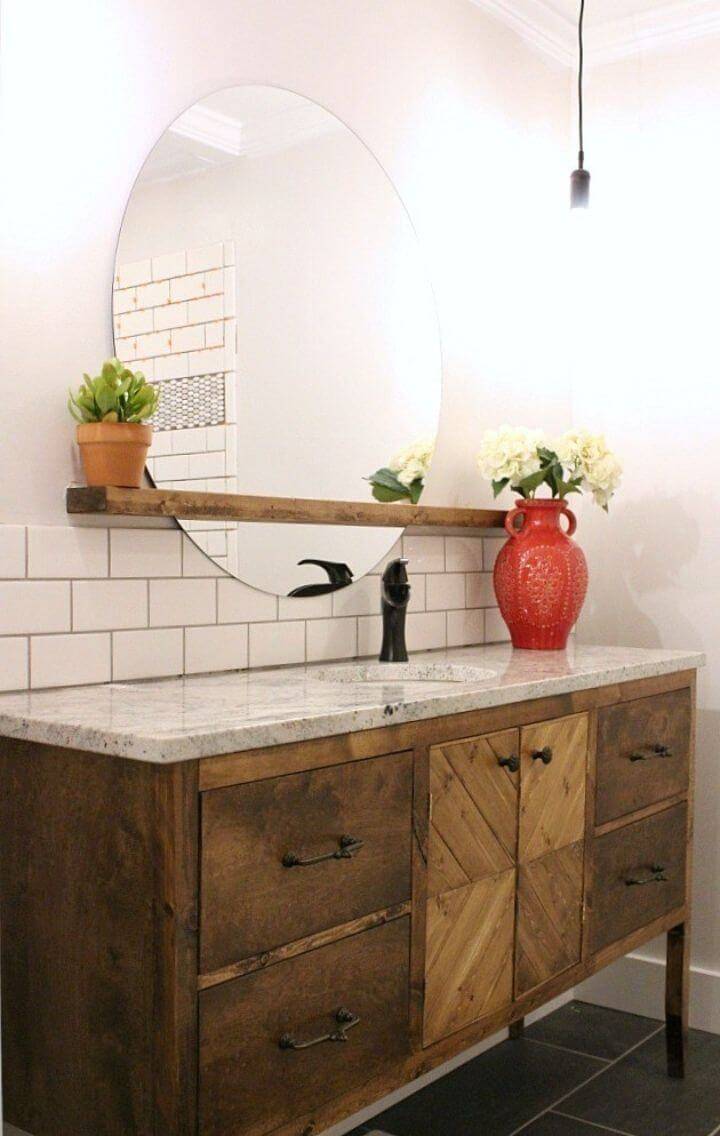
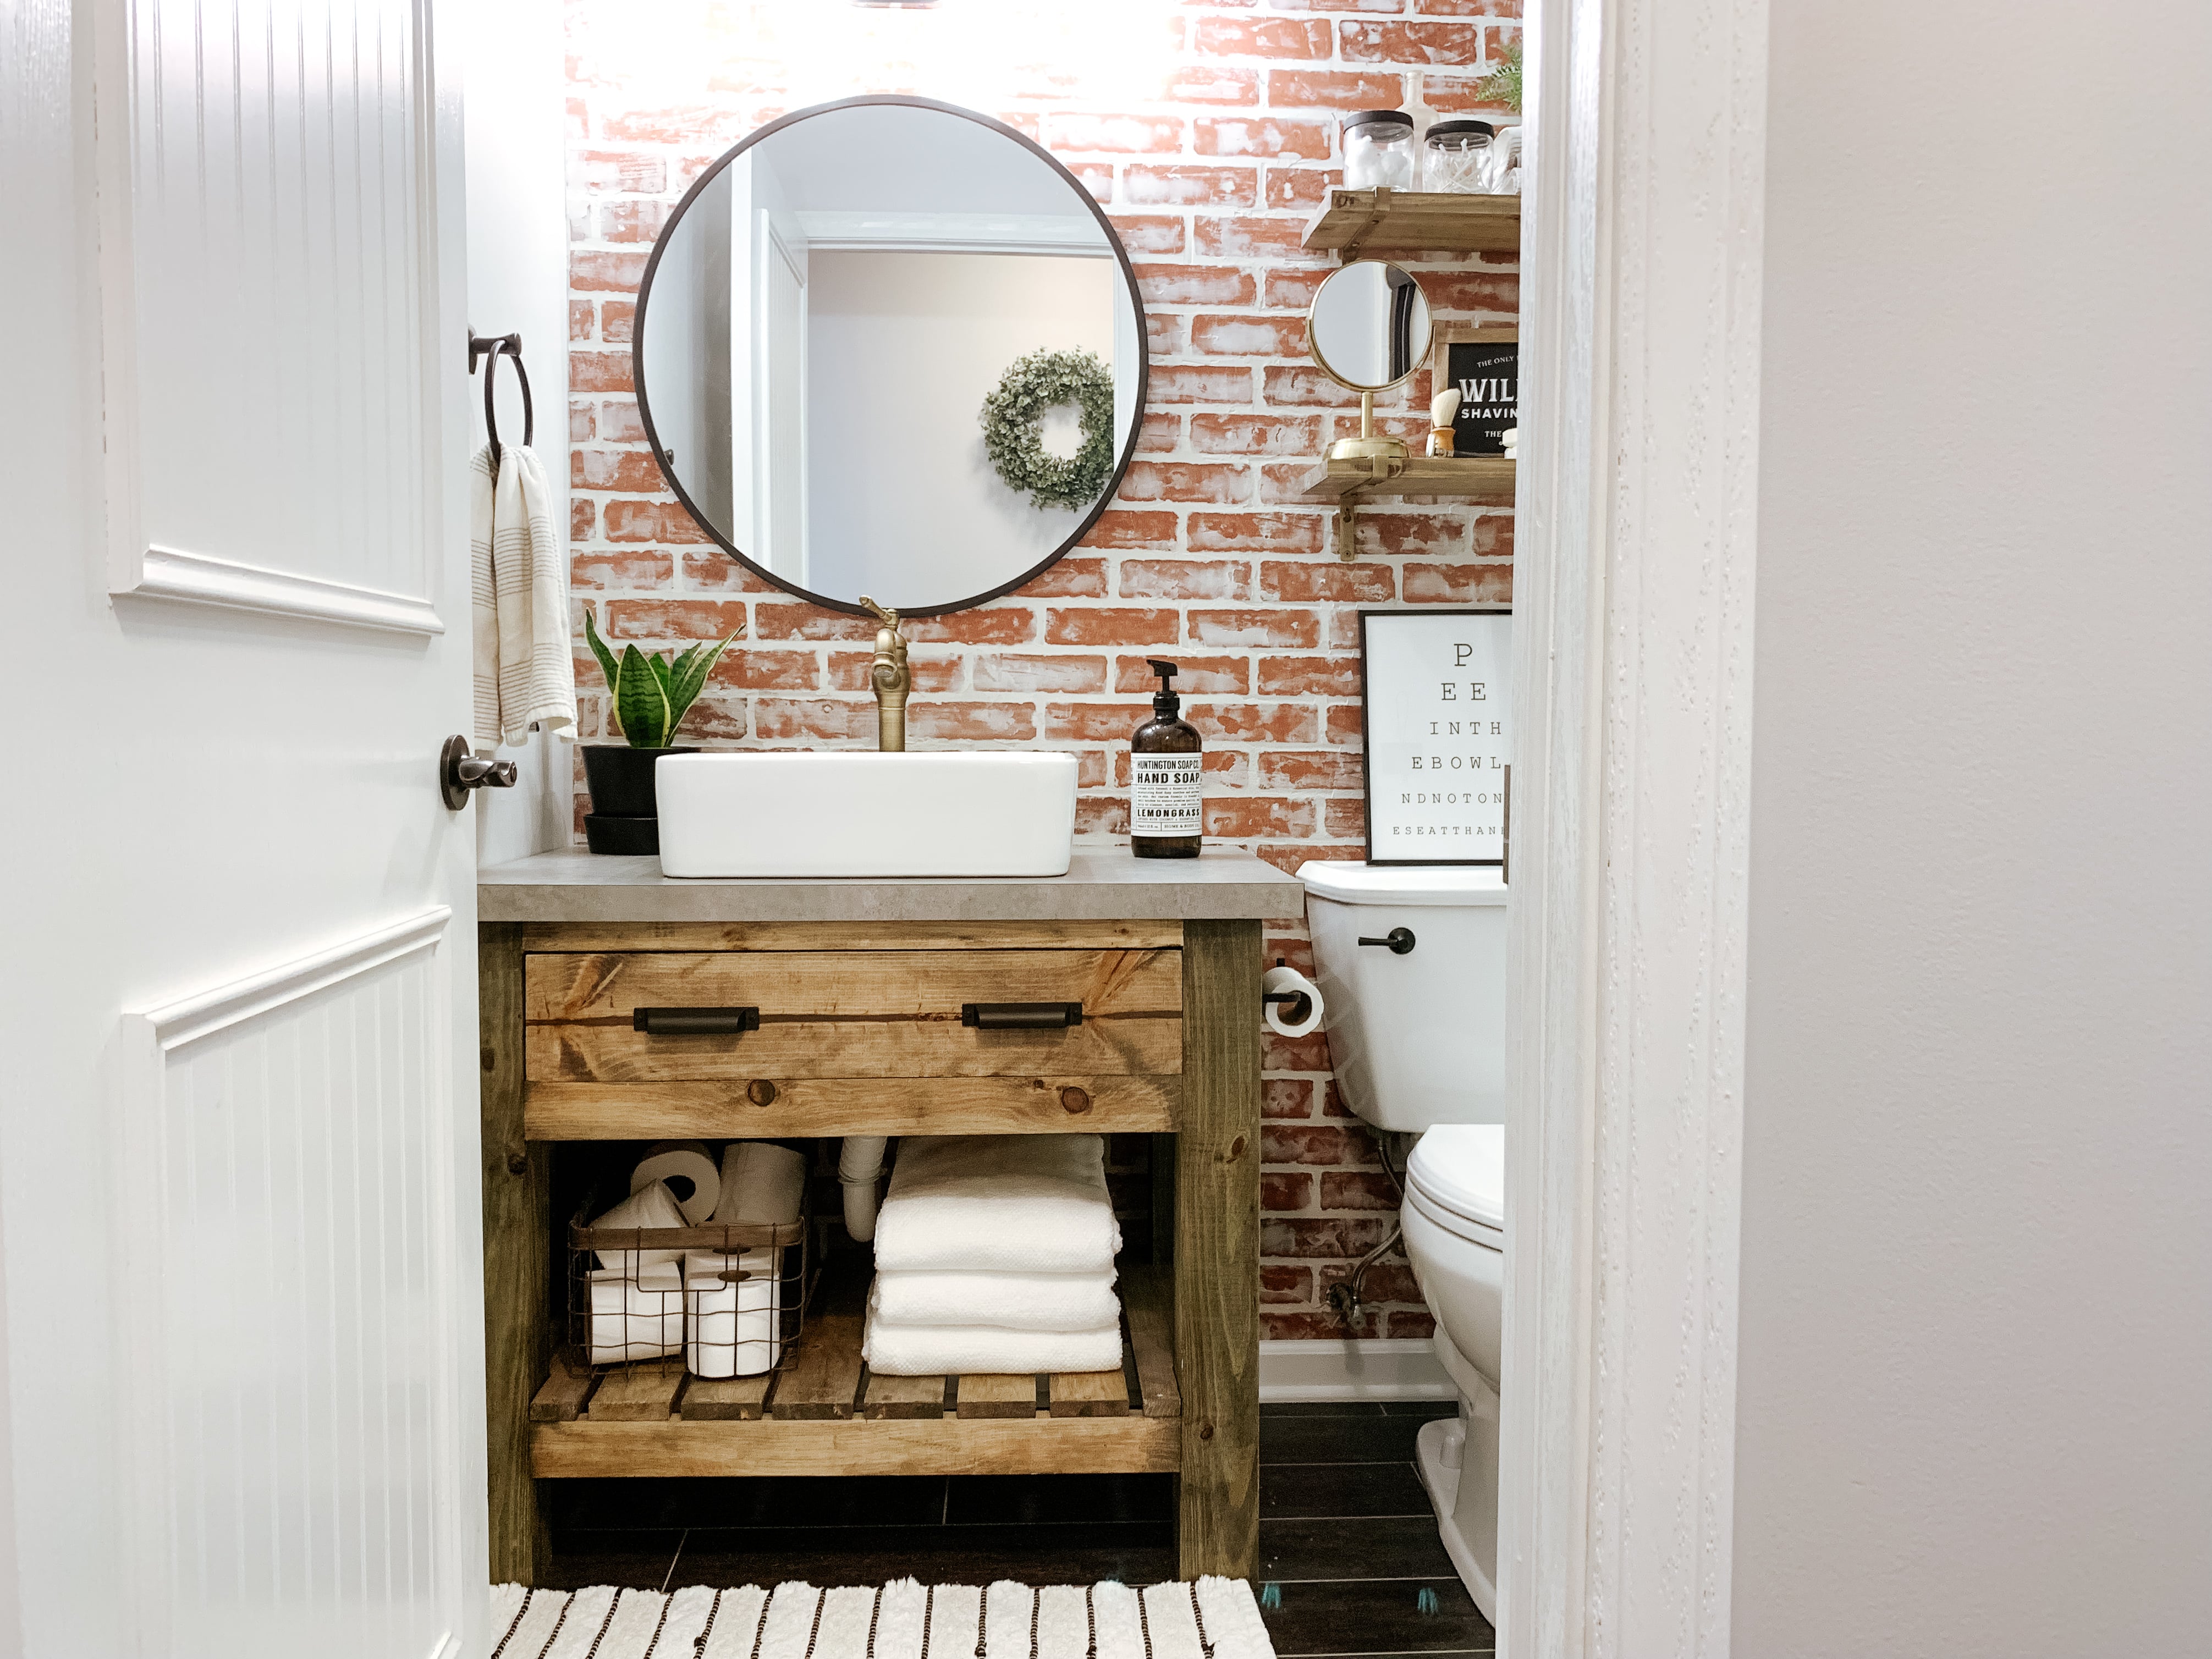
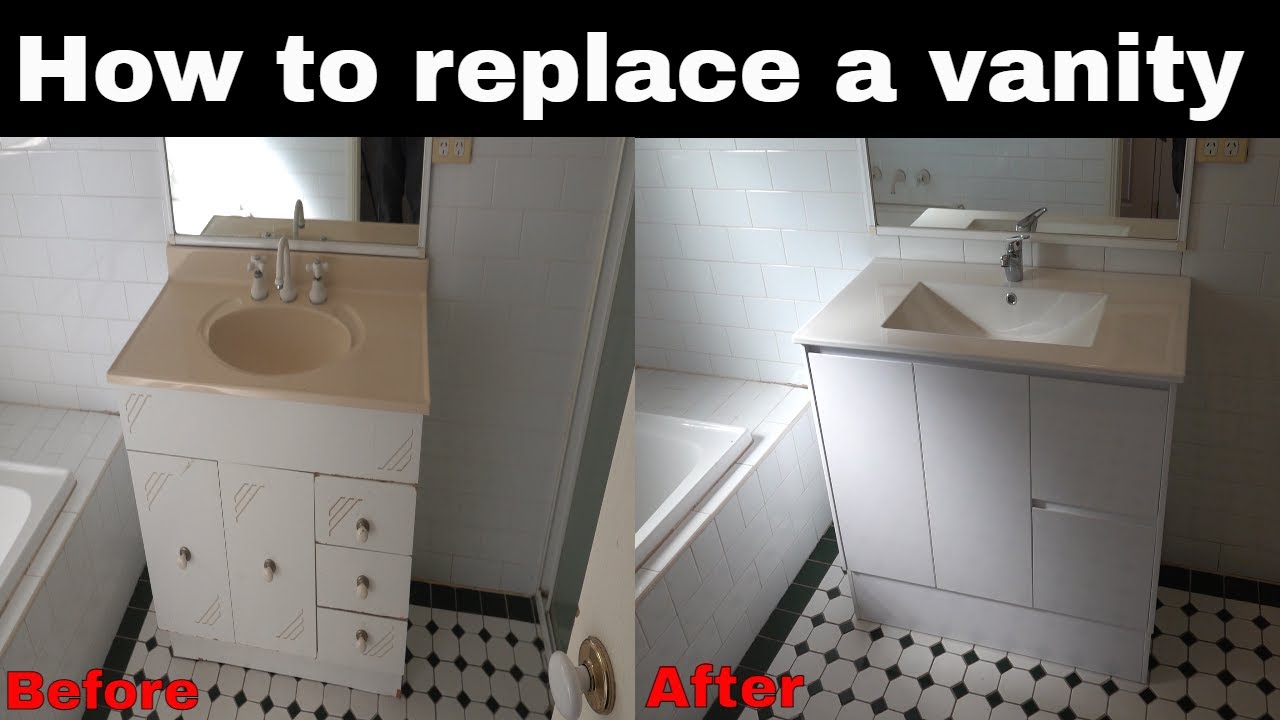
Another benefit of removing your bathroom vanity is the opportunity to upgrade to a more functional and stylish option. Old vanities can become outdated and worn out, making them not only an eyesore but also less practical. By removing the vanity, you can choose a new one that better suits your needs and personal style.
Whether it's a sleek and modern floating vanity or a rustic farmhouse-style piece, the options are endless.
There are several reasons why you may want to consider removing your bathroom vanity. One of the main benefits is creating more space in your bathroom.
With smaller bathrooms becoming more common in modern homes, removing the vanity can free up valuable floor space and make the room feel more spacious.
This is especially beneficial for those who have a small bathroom or are looking to create a more open and airy feel.
Another benefit of removing your bathroom vanity is the opportunity to upgrade to a more functional and stylish option. Old vanities can become outdated and worn out, making them not only an eyesore but also less practical. By removing the vanity, you can choose a new one that better suits your needs and personal style.
Whether it's a sleek and modern floating vanity or a rustic farmhouse-style piece, the options are endless.
What to Consider Before Removing Your Bathroom Vanity
 Before taking on the task of removing your bathroom vanity, there are a few things you should consider. First, it is important to
hire a professional
if you are not confident in your DIY skills. Removing a vanity involves disconnecting plumbing and handling heavy materials, which can be dangerous and complicated.
Another aspect to consider is the potential impact on your home's plumbing system.
If your vanity is connected to the plumbing, removing it will require rerouting the pipes and drains, which can be a costly and time-consuming process.
It is important to consult with a plumber to determine the best course of action for your specific situation.
Before taking on the task of removing your bathroom vanity, there are a few things you should consider. First, it is important to
hire a professional
if you are not confident in your DIY skills. Removing a vanity involves disconnecting plumbing and handling heavy materials, which can be dangerous and complicated.
Another aspect to consider is the potential impact on your home's plumbing system.
If your vanity is connected to the plumbing, removing it will require rerouting the pipes and drains, which can be a costly and time-consuming process.
It is important to consult with a plumber to determine the best course of action for your specific situation.
In Conclusion
 In conclusion, removing a bathroom vanity can have many benefits, such as creating more space and upgrading to a more functional and stylish option. However, it is important to carefully consider your options and consult with a professional before taking on this task. With proper planning and execution, removing your bathroom vanity can greatly enhance the overall design and functionality of your bathroom.