If you've noticed your kitchen sink draining slowly or not at all, it may be time to remove the drain assembly and give it a good cleaning. Over time, food debris, grease, and soap scum can build up in your drain, causing clogs and unpleasant odors. Removing the drain assembly may seem like a daunting task, but with the right tools and some helpful tips, you can easily tackle this DIY project. Follow our step-by-step guide to learn how to remove a kitchen sink drain assembly and keep your sink running smoothly.How to Remove a Kitchen Sink Drain Assembly


How to Remove a Kitchen Sink Drain Assembly


Before you begin, make sure to gather all the necessary tools and materials. You will need a pair of pliers, a screwdriver, a bucket, and a rag. It's also a good idea to have some gloves and safety glasses on hand to protect yourself from any debris or chemicals. Once you have everything ready, follow these steps to remove the drain assembly:Removing a Kitchen Sink Drain Assembly


Removing a Kitchen Sink Drain Assembly

/how-to-install-a-sink-drain-2718789-hero-24e898006ed94c9593a2a268b57989a3.jpg)


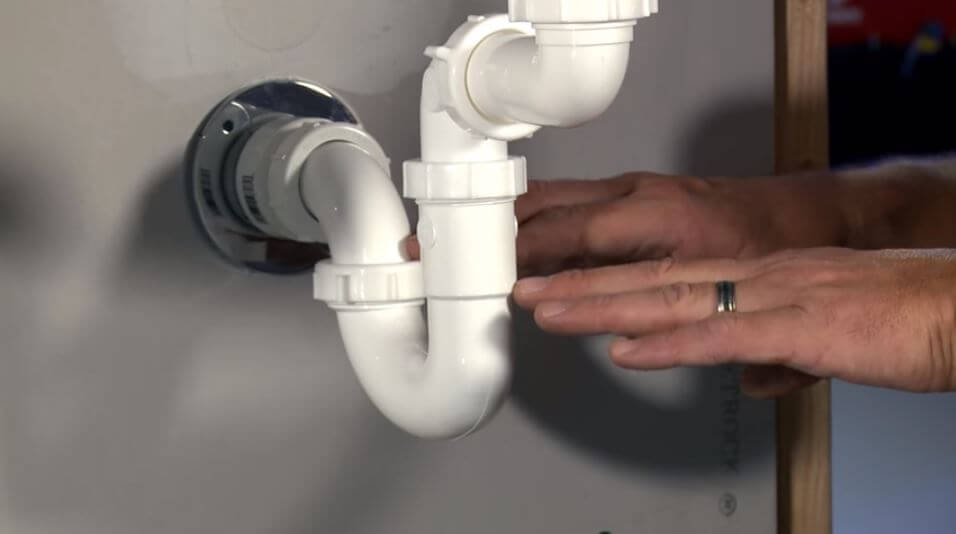

To make it even easier for you, here's a step-by-step guide with images to help you navigate the process of removing a kitchen sink drain assembly: Step 1: Turn off the water supply and place a bucket under the sink. Step 2: Remove the P-trap with pliers. Step 3: Loosen and remove the nut connecting the drain assembly to the sink. Step 4: Pull out the drain assembly from the sink. Step 5: Unscrew the screws holding the drain assembly in place. Step 6: Remove any debris or buildup from the drain assembly. Step 7: Inspect the drain assembly for damage and replace any necessary parts. Step 8: Reattach the drain assembly to the sink.Step-by-Step Guide to Removing a Kitchen Sink Drain Assembly


Step-by-Step Guide to Removing a Kitchen Sink Drain Assembly

:max_bytes(150000):strip_icc()/how-to-install-a-sink-drain-2718789-hero-24e898006ed94c9593a2a268b57989a3.jpg)


Now that you know how to remove a kitchen sink drain assembly, you can save yourself some money and do it yourself instead of calling a plumber. With a little bit of effort and the right tools, you can easily take care of this common household issue. Just remember to always follow safety precautions and wear protective gear when working with plumbing.DIY: Removing a Kitchen Sink Drain Assembly


DIY: Removing a Kitchen Sink Drain Assembly

Here are some additional tips and tricks to make the process of removing a kitchen sink drain assembly even easier:Removing a Kitchen Sink Drain Assembly: Tips and Tricks


Removing a Kitchen Sink Drain Assembly: Tips and Tricks


There is no one right way to remove a kitchen sink drain assembly as it may vary depending on the type of sink and assembly you have. However, following the steps outlined in this article should work for most standard kitchen sinks. If you encounter any difficulties, it's always best to consult a professional plumber.The Best Way to Remove a Kitchen Sink Drain Assembly

The Best Way to Remove a Kitchen Sink Drain Assembly


When removing a kitchen sink drain assembly, there are a few common mistakes that you should avoid:Removing a Kitchen Sink Drain Assembly: Common Mistakes to Avoid


Removing a Kitchen Sink Drain Assembly: Common Mistakes to Avoid


To successfully remove a kitchen sink drain assembly, you will need the following tools:Tools You'll Need to Remove a Kitchen Sink Drain Assembly


Tools You'll Need to Remove a Kitchen Sink Drain Assembly


If you encounter any issues or complications while removing a kitchen sink drain assembly, here are some troubleshooting tips:Removing a Kitchen Sink Drain Assembly: Troubleshooting Common Issues
Removing a Kitchen Sink Drain Assembly: Troubleshooting Common Issues
If you prefer visual instructions, check out this helpful video tutorial on how to remove a kitchen sink drain assembly:Step-by-Step Video Tutorial: How to Remove a Kitchen Sink Drain Assembly
Step-by-Step Video Tutorial: How to Remove a Kitchen Sink Drain Assembly

Why Removing Kitchen Sink Drain Assembly is Important for Your House Design

Ensuring Proper Functionality
 When it comes to the design and functionality of your kitchen, the
kitchen sink drain assembly
plays a crucial role. This component is responsible for draining out dirty water and debris, keeping your sink clean and hygienic. Over time, this assembly can become clogged with food particles, grease, and other debris, which can lead to unpleasant odors and slow draining. Removing the drain assembly is an essential step in maintaining the proper functionality of your kitchen sink.
When it comes to the design and functionality of your kitchen, the
kitchen sink drain assembly
plays a crucial role. This component is responsible for draining out dirty water and debris, keeping your sink clean and hygienic. Over time, this assembly can become clogged with food particles, grease, and other debris, which can lead to unpleasant odors and slow draining. Removing the drain assembly is an essential step in maintaining the proper functionality of your kitchen sink.
Allowing for Easy Cleaning and Maintenance
 Another reason why it is important to
remove the kitchen sink drain assembly
is for cleaning and maintenance purposes. As mentioned, over time, this component can become clogged with various substances, making it challenging to clean and maintain. Removing the drain assembly allows for a thorough cleaning of all its components, ensuring that there is no buildup of debris that can cause blockages. This will not only improve the appearance of your kitchen sink but also prevent any potential plumbing issues in the future.
Another reason why it is important to
remove the kitchen sink drain assembly
is for cleaning and maintenance purposes. As mentioned, over time, this component can become clogged with various substances, making it challenging to clean and maintain. Removing the drain assembly allows for a thorough cleaning of all its components, ensuring that there is no buildup of debris that can cause blockages. This will not only improve the appearance of your kitchen sink but also prevent any potential plumbing issues in the future.
Updating Your Kitchen Design
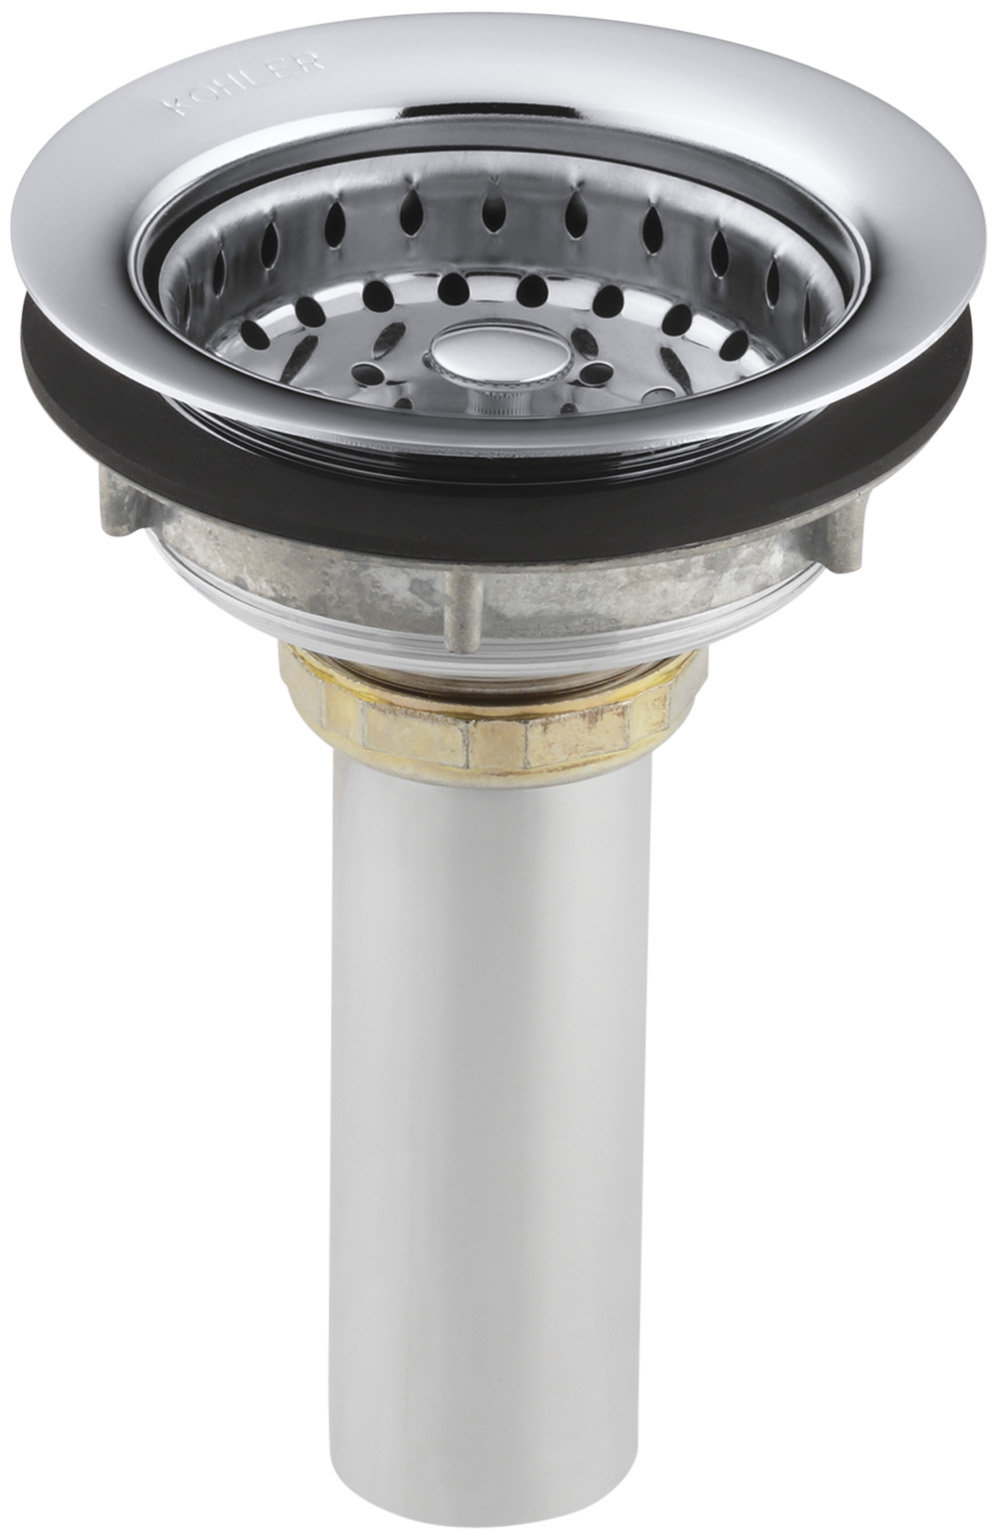
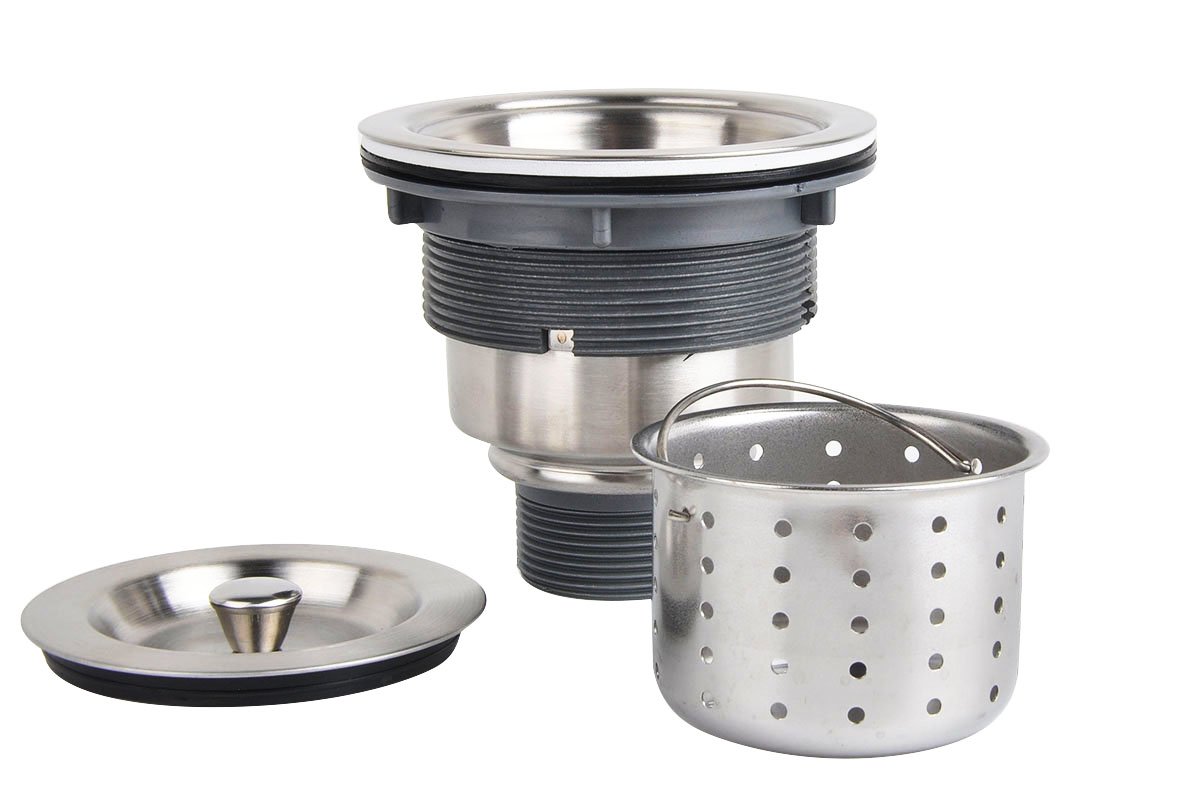
 Removing the kitchen sink drain assembly can also be beneficial if you are looking to update the design of your kitchen. With various styles and designs available in the market, you can choose a new drain assembly that complements the overall aesthetic of your kitchen. Whether you prefer a sleek and modern design or a more traditional look, there is a drain assembly that will suit your taste and elevate the design of your kitchen.
Ensuring Proper Installation of New Components
 Lastly, removing the kitchen sink drain assembly is crucial when replacing old or damaged components. This will allow for a proper inspection of the existing plumbing system and ensure that any new components are installed correctly. Improper installation can lead to leaks and other plumbing issues, which can be costly and time-consuming to fix. By removing the drain assembly and inspecting the plumbing, you can avoid these potential problems and ensure that your new components are installed correctly.
In conclusion, removing the kitchen sink drain assembly is a crucial step in maintaining the functionality and design of your kitchen. It allows for proper cleaning and maintenance, updating the design, and ensuring proper installation of new components. By following the steps to remove the drain assembly and replacing it with a new one, you can ensure that your kitchen sink remains in top condition for years to come.
Lastly, removing the kitchen sink drain assembly is crucial when replacing old or damaged components. This will allow for a proper inspection of the existing plumbing system and ensure that any new components are installed correctly. Improper installation can lead to leaks and other plumbing issues, which can be costly and time-consuming to fix. By removing the drain assembly and inspecting the plumbing, you can avoid these potential problems and ensure that your new components are installed correctly.
In conclusion, removing the kitchen sink drain assembly is a crucial step in maintaining the functionality and design of your kitchen. It allows for proper cleaning and maintenance, updating the design, and ensuring proper installation of new components. By following the steps to remove the drain assembly and replacing it with a new one, you can ensure that your kitchen sink remains in top condition for years to come.