Removing a stainless steel kitchen sink may seem like a daunting task, especially if you have never done it before. However, with the right tools and knowledge, it can be a simple and straightforward process. In this article, we will guide you through the steps of removing a stainless steel kitchen sink with clips.Removing a Stainless Steel Kitchen Sink with Clips


Removing a Stainless Steel Kitchen Sink with Clips


The first step in removing a stainless steel kitchen sink is to turn off the water supply. You can do this by locating the shut-off valves under the sink and turning them clockwise. Once the water supply is turned off, you can proceed with the following steps:How to Remove a Stainless Steel Kitchen Sink with Clips


How to Remove a Stainless Steel Kitchen Sink with Clips


Step 1: Disconnect the supply lines from the faucet by using a wrench to loosen the nuts. Make sure to have a bucket or towel handy to catch any water that may come out. Step 2: Remove the drain pipes by loosening the nuts with a wrench and pulling them off. Again, have a bucket or towel ready to catch any water. Step 3: Use a utility knife to cut through the caulk around the edges of the sink. This will help loosen the sink from the countertop. Step 4: Locate the mounting clips that hold the sink in place. These are usually located under the sink and can be unscrewed with a screwdriver. Step 5: Once the clips are removed, gently lift the sink up and out of the countertop. You may need an extra set of hands for this step, as stainless steel sinks can be heavy. Step 6: Clean any remaining caulk or debris from the countertop and sink area.Step-by-Step Guide for Removing a Stainless Steel Kitchen Sink with Clips


Step-by-Step Guide for Removing a Stainless Steel Kitchen Sink with Clips


If you are a DIY enthusiast, removing a stainless steel kitchen sink with clips is a task you can easily take on. All you need is some basic tools and the steps outlined above. However, it is important to note that if you are not confident in your abilities, it is best to seek professional help to avoid any damage to your sink or countertop.DIY: Removing a Stainless Steel Kitchen Sink with Clips


DIY: Removing a Stainless Steel Kitchen Sink with Clips


Wrench: You will need a wrench to disconnect the supply lines and drain pipes. Screwdriver: This will be needed to unscrew the mounting clips. Utility Knife: A utility knife will come in handy for cutting through the caulk. Bucket or Towel: Have a bucket or towel ready to catch any water that may come out when disconnecting the supply lines and drain pipes.Tools Needed for Removing a Stainless Steel Kitchen Sink with Clips


Tools Needed for Removing a Stainless Steel Kitchen Sink with Clips

:max_bytes(150000):strip_icc()/replacing-existing-surface-mounted-sink-1824896-06-d8eb6b67fe4f451b90c415551f75ad0f.jpg)

Tip 1: Before starting the removal process, make sure to turn off the water supply to avoid any accidents. Tip 2: It is always a good idea to have an extra set of hands to help lift the sink out. Tip 3: Use a putty knife to help loosen the sink from the caulk before attempting to lift it out. Tip 4: If your sink has garbage disposal attached, make sure to disconnect it before removing the sink.Tips for Removing a Stainless Steel Kitchen Sink with Clips


Tips for Removing a Stainless Steel Kitchen Sink with Clips
Precaution 1: Always wear gloves to protect your hands from any sharp edges. Precaution 2: Make sure to turn off the water supply before starting the removal process. Precaution 3: If you are unsure about any steps or do not feel confident in your abilities, seek professional help.Precautions to Take When Removing a Stainless Steel Kitchen Sink with Clips


Precautions to Take When Removing a Stainless Steel Kitchen Sink with Clips


Mistake 1: Not turning off the water supply before starting the removal process. Mistake 2: Forgetting to disconnect the supply lines and drain pipes before attempting to remove the sink. Mistake 3: Using too much force when unscrewing the mounting clips, which can cause damage to the sink or countertop.Common Mistakes to Avoid When Removing a Stainless Steel Kitchen Sink with Clips


Common Mistakes to Avoid When Removing a Stainless Steel Kitchen Sink with Clips


If you prefer visual instructions, there are plenty of helpful video tutorials available online that can guide you through the process of removing a stainless steel kitchen sink with clips. Make sure to follow a reliable and trusted source for accurate information.Video Tutorial: How to Remove a Stainless Steel Kitchen Sink with Clips


Video Tutorial: How to Remove a Stainless Steel Kitchen Sink with Clips
If you are not confident in your abilities or simply do not have the time to remove the sink yourself, there are professional services available that can handle the task for you. This option may be more expensive, but it ensures that the sink is removed properly without any damage to your countertop. Removing a stainless steel kitchen sink with clips may seem like a daunting task, but with the right tools and knowledge, it can be a simple and straightforward process. Make sure to follow the steps outlined in this article and take necessary precautions to avoid any accidents. Whether you choose to tackle the task yourself or hire professional help, removing a stainless steel kitchen sink can be done efficiently and effectively. Professional Services for Removing a Stainless Steel Kitchen Sink with Clips

Professional Services for Removing a Stainless Steel Kitchen Sink with Clips

How to Efficiently Remove a Stainless Steel Kitchen Sink with Clips
A Necessity in House Design
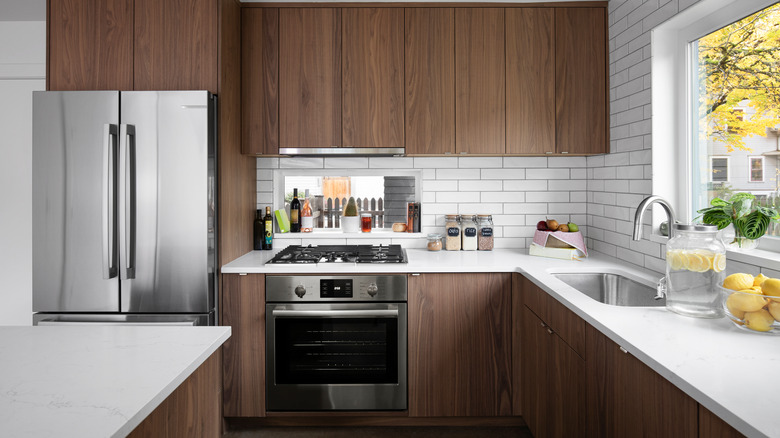
 When it comes to designing a house, the kitchen is often considered the heart of the home. It is a space where families gather, meals are prepared, and memories are made. Therefore, it is important to have a functional and aesthetically pleasing kitchen. One essential element in a kitchen is the sink, which not only serves as a functional tool, but also adds to the overall design of the space. Stainless steel kitchen sinks are a popular choice for their durability and sleek look. However, over time, they may need to be replaced due to wear and tear. In this article, we will guide you on how to efficiently remove a stainless steel kitchen sink with clips, ensuring a smooth and hassle-free process.
The Importance of Proper Removal
 Before diving into the steps, it is crucial to understand why proper removal of a stainless steel kitchen sink with clips is important. First and foremost, it prevents any damage to the countertop or cabinets surrounding the sink. It also ensures that the new sink can be installed properly, without any complications. Moreover, if the sink is being replaced due to damage, improper removal can worsen the issue and lead to additional expenses. Therefore, taking the time to properly remove the sink is crucial for a successful kitchen renovation.
Step 1: Prepare the Workspace
The first step is to prepare the workspace by clearing out any items from under the sink and placing a towel or drop cloth on the floor to catch any water that may spill during the process. It is also important to turn off the water supply to the sink and disconnect the drain pipes.
Step 2: Loosen the Clips
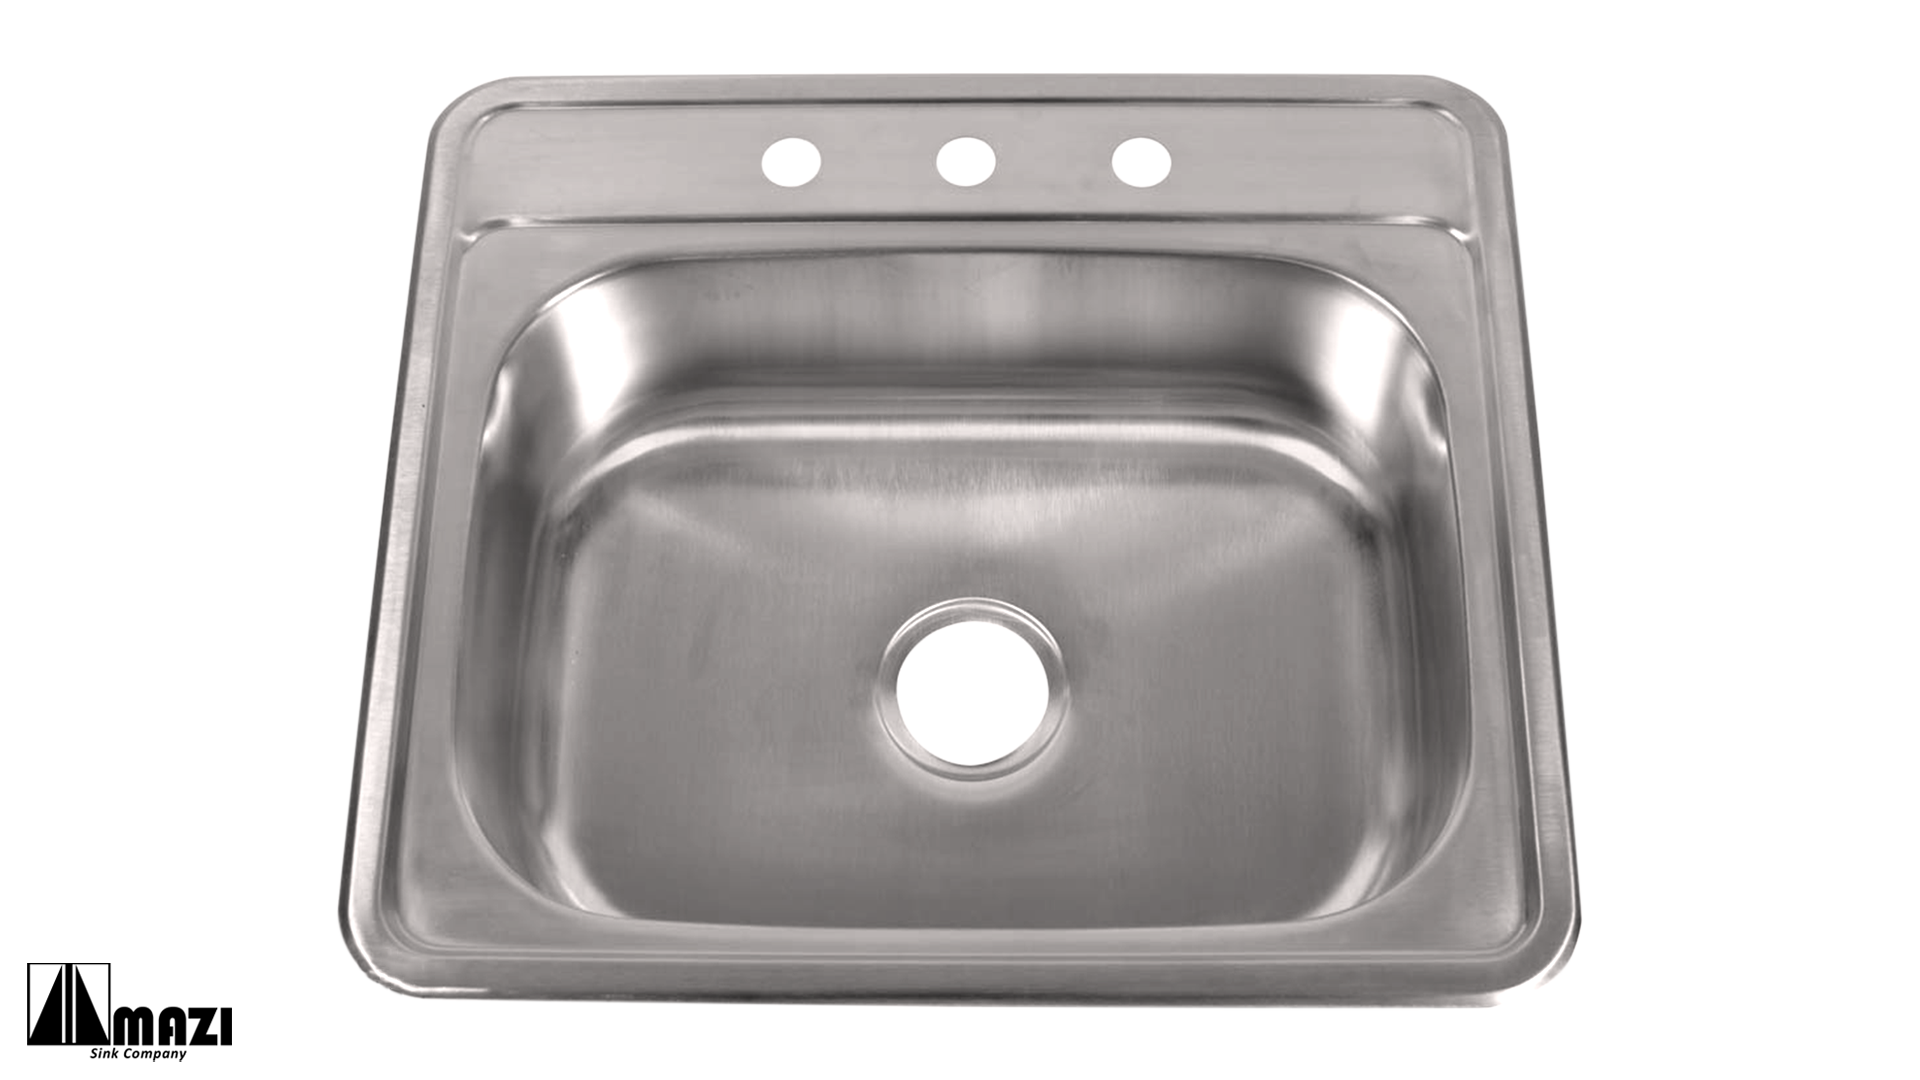
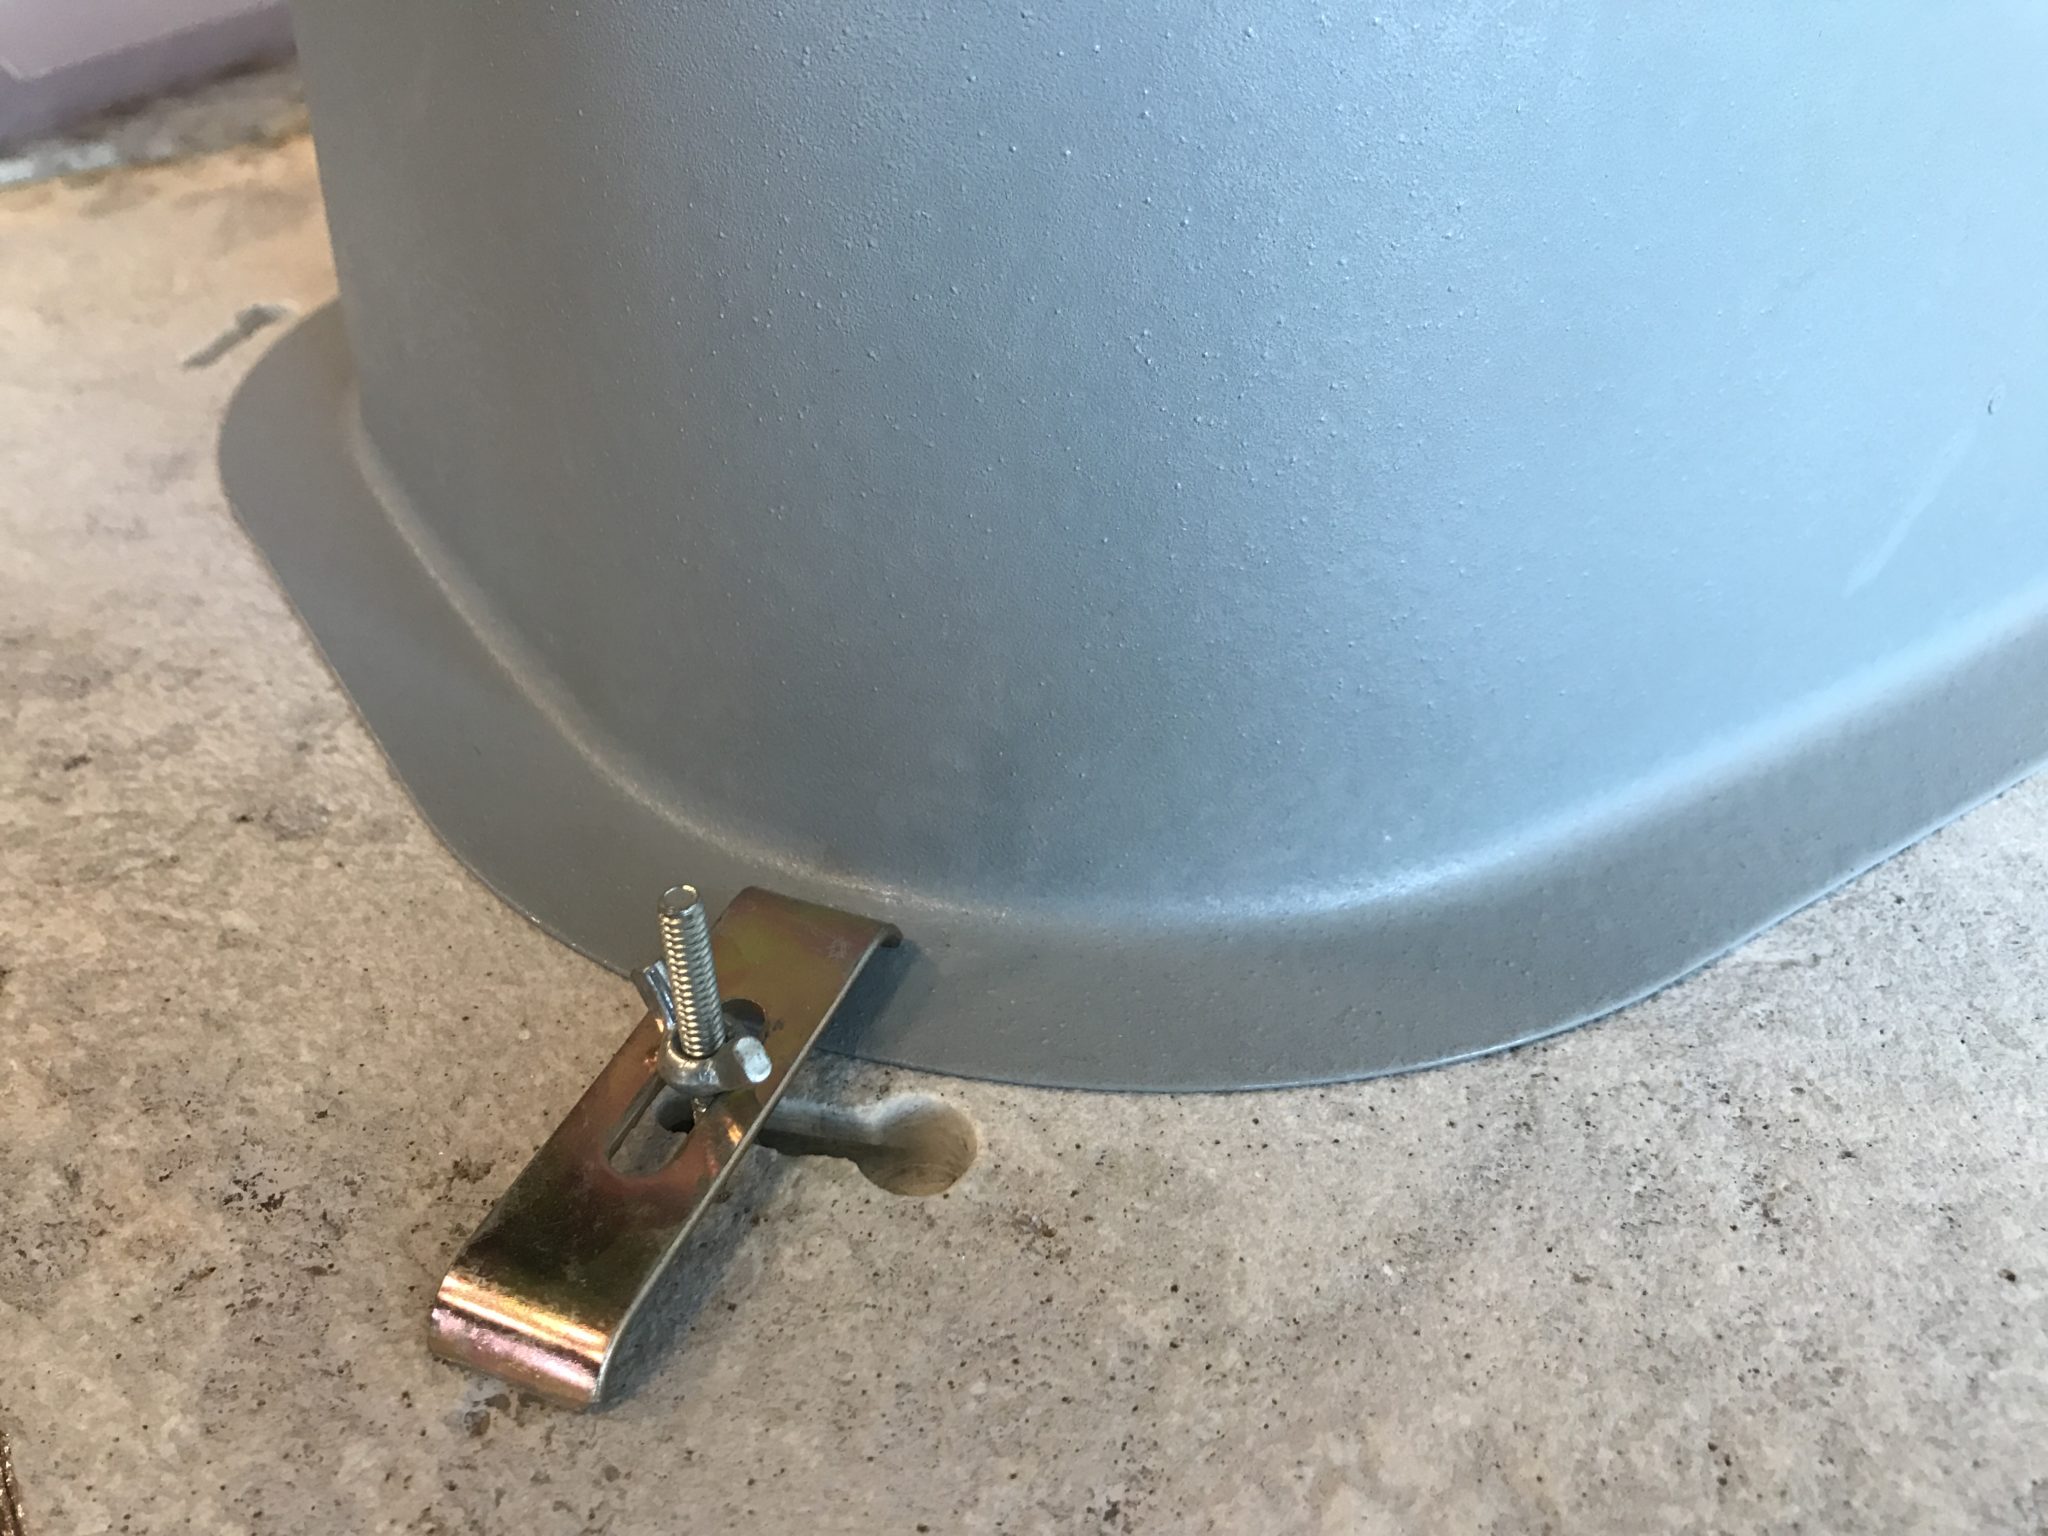
Using a screwdriver, loosen the clips that are holding the sink in place. These can usually be found underneath the sink, along the perimeter of the sink. Carefully remove the clips and set them aside.
Step 3: Cut the Caulking
Next, you will need to cut through the caulking that is sealing the sink to the countertop. This can be done using a putty knife or a caulk cutter. Once the caulking is cut, gently lift the sink and set it aside.
Step 4: Clean the Area
With the sink removed, you will have access to the area underneath. Take this opportunity to clean the area and remove any debris or old caulk.
Step 5: Remove the Clips and Install the New Sink
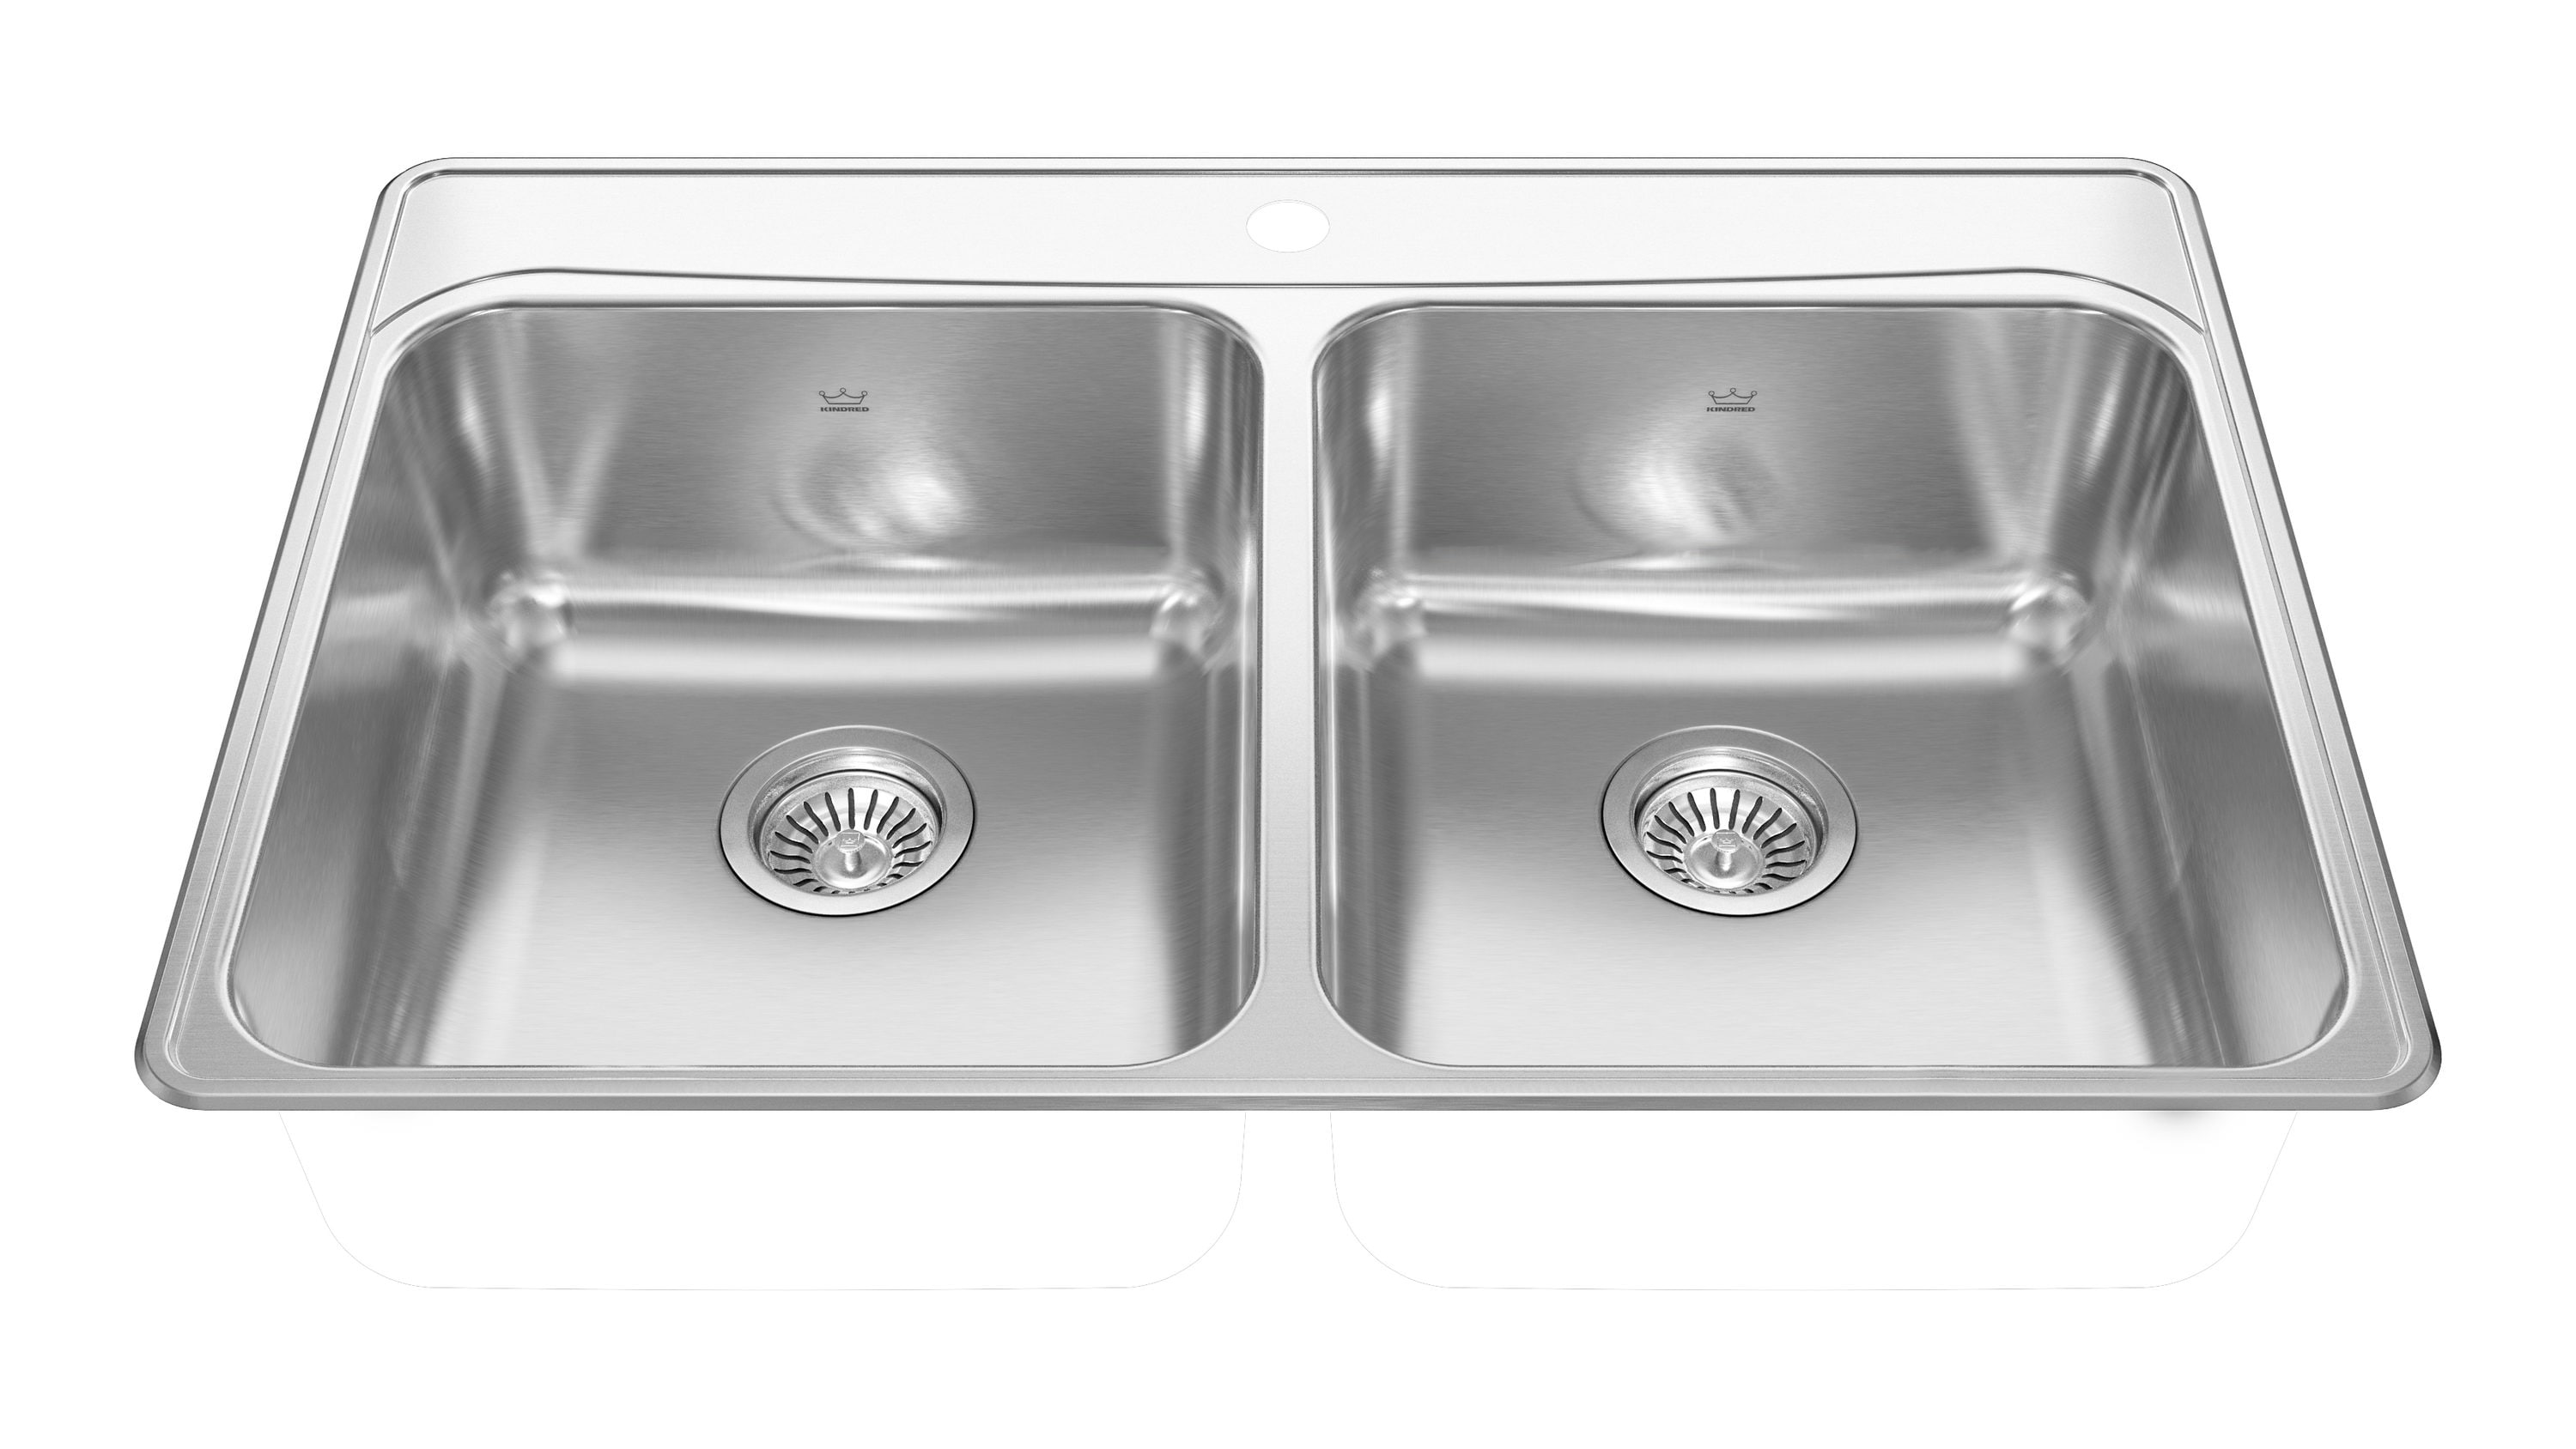
Finally, remove the clips from the sink and install the new sink by following the manufacturer's instructions. After the sink is installed, reattach the drain pipes, turn on the water supply, and check for any leaks.
Before diving into the steps, it is crucial to understand why proper removal of a stainless steel kitchen sink with clips is important. First and foremost, it prevents any damage to the countertop or cabinets surrounding the sink. It also ensures that the new sink can be installed properly, without any complications. Moreover, if the sink is being replaced due to damage, improper removal can worsen the issue and lead to additional expenses. Therefore, taking the time to properly remove the sink is crucial for a successful kitchen renovation.
Step 1: Prepare the Workspace
The first step is to prepare the workspace by clearing out any items from under the sink and placing a towel or drop cloth on the floor to catch any water that may spill during the process. It is also important to turn off the water supply to the sink and disconnect the drain pipes.
Step 2: Loosen the Clips
Using a screwdriver, loosen the clips that are holding the sink in place. These can usually be found underneath the sink, along the perimeter of the sink. Carefully remove the clips and set them aside.
Step 3: Cut the Caulking
Next, you will need to cut through the caulking that is sealing the sink to the countertop. This can be done using a putty knife or a caulk cutter. Once the caulking is cut, gently lift the sink and set it aside.
Step 4: Clean the Area
With the sink removed, you will have access to the area underneath. Take this opportunity to clean the area and remove any debris or old caulk.
Step 5: Remove the Clips and Install the New Sink
Finally, remove the clips from the sink and install the new sink by following the manufacturer's instructions. After the sink is installed, reattach the drain pipes, turn on the water supply, and check for any leaks.
Conclusion
 Properly removing a stainless steel kitchen sink with clips is essential for a successful kitchen renovation. By following the steps mentioned in this article, you can efficiently remove the sink without causing any damage and ensure a smooth installation of the new sink. Remember to take your time and be careful during the process. Happy renovating!