If you're noticing water leaking around your bathroom sink, it may be time to consider caulking it. Caulking is a simple and cost-effective solution to prevent water damage and keep your sink looking clean and well-maintained. Here's a step-by-step guide on how to caulk a bathroom sink like a pro.How to Caulk a Bathroom Sink


How to Caulk a Bathroom Sink


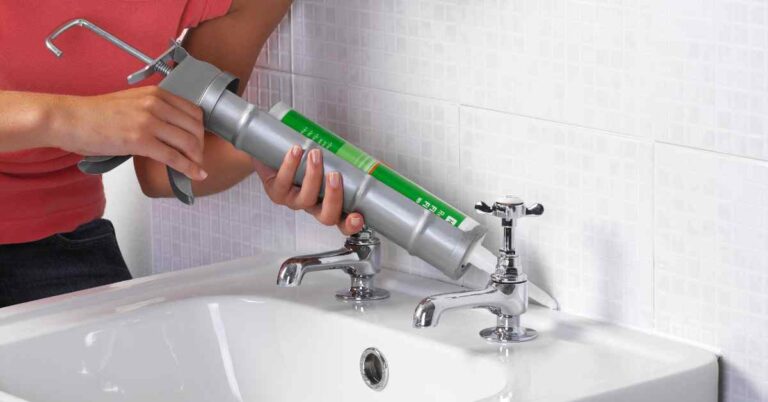
Before starting, gather all the necessary materials: caulk, caulk gun, utility knife, and painter's tape. Make sure the area around the sink is clean and dry before beginning. Start by cutting the tip of the caulk tube at a 45-degree angle. Then, insert it into the caulk gun, and cut the tip again at a smaller angle to match the width of the gap you'll be filling. Next, use the painter's tape to create straight edges on either side of the gap. This will ensure a clean and straight line of caulk. How to Apply Caulk Around a Bathroom Sink


How to Apply Caulk Around a Bathroom Sink


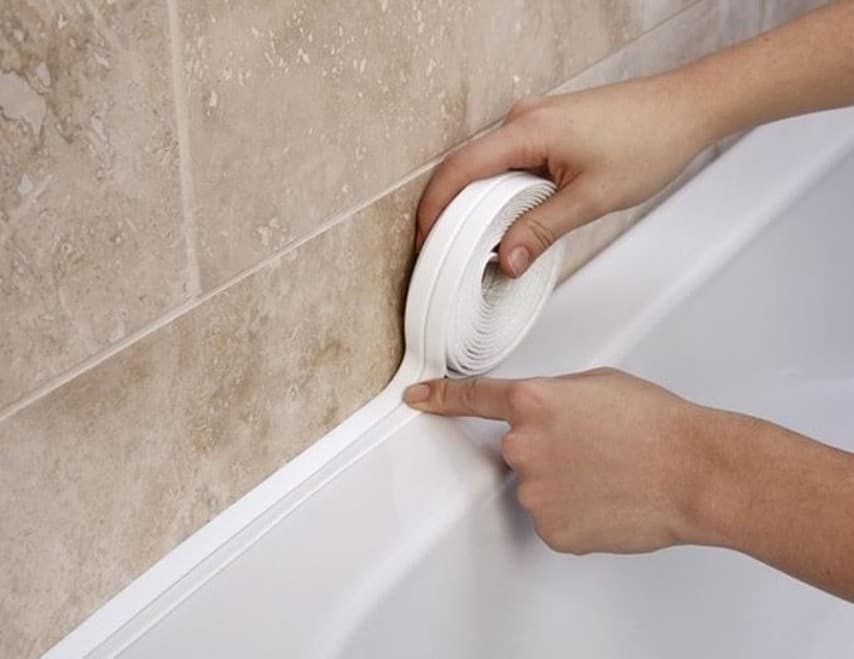
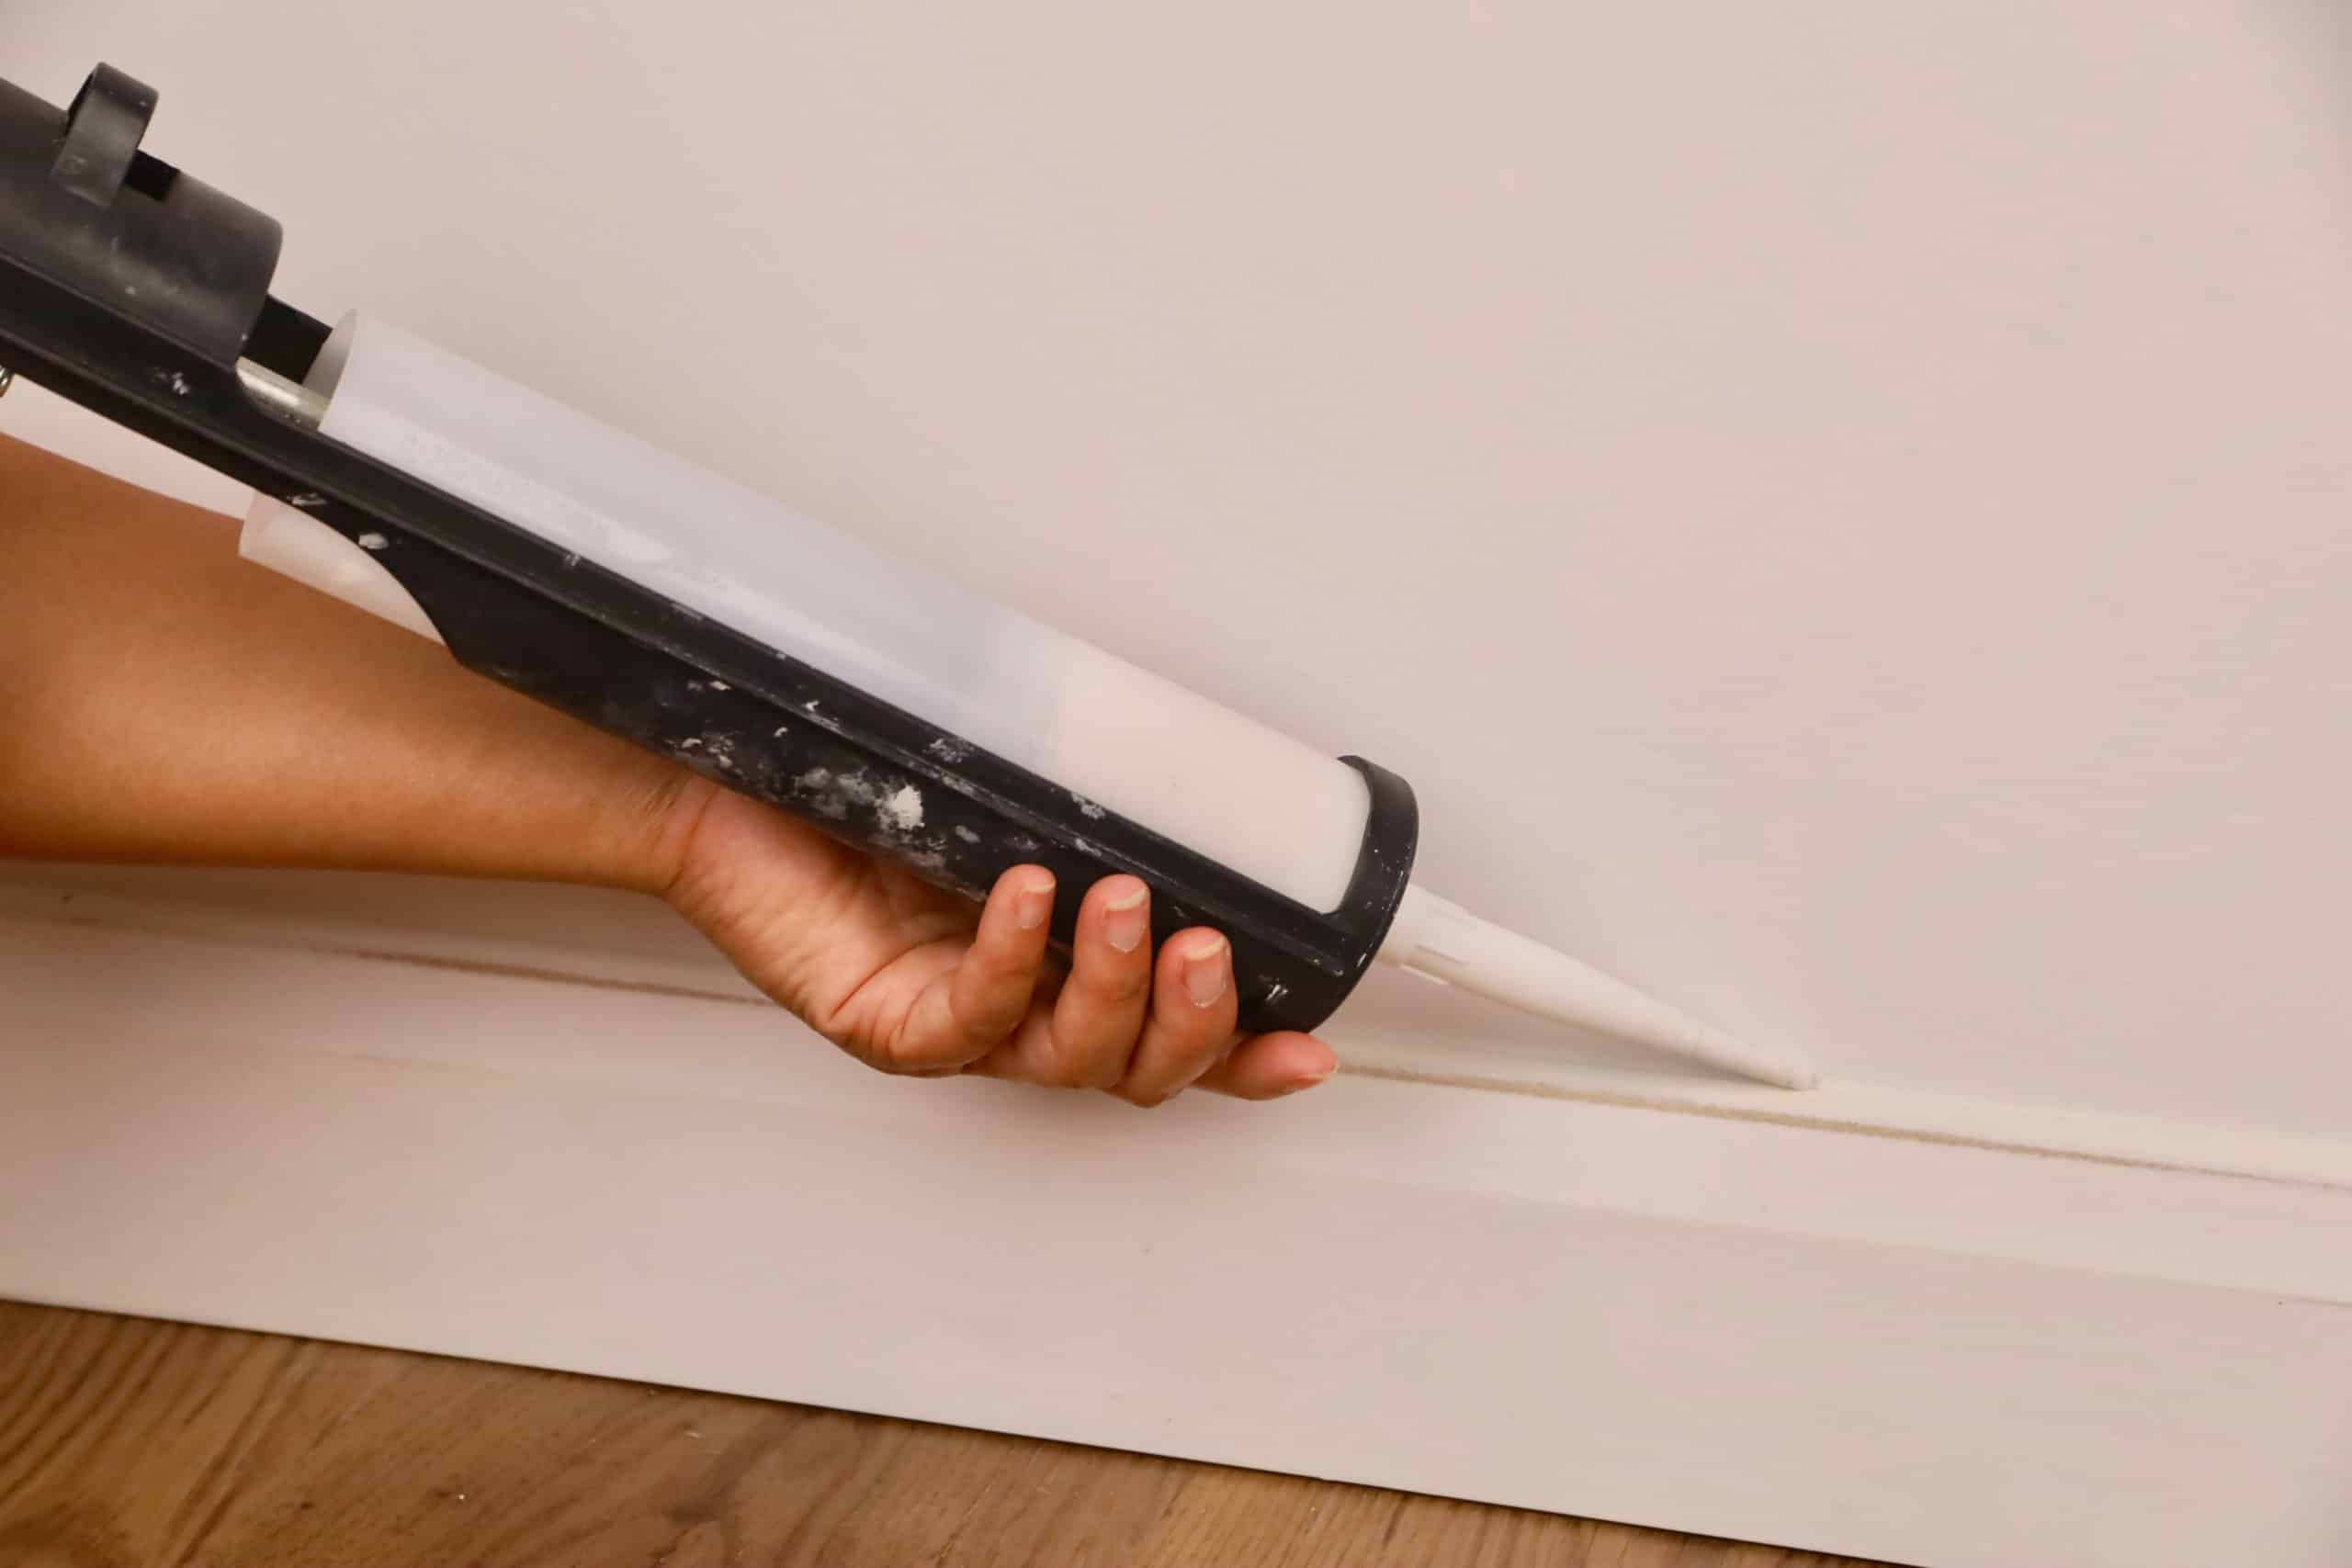
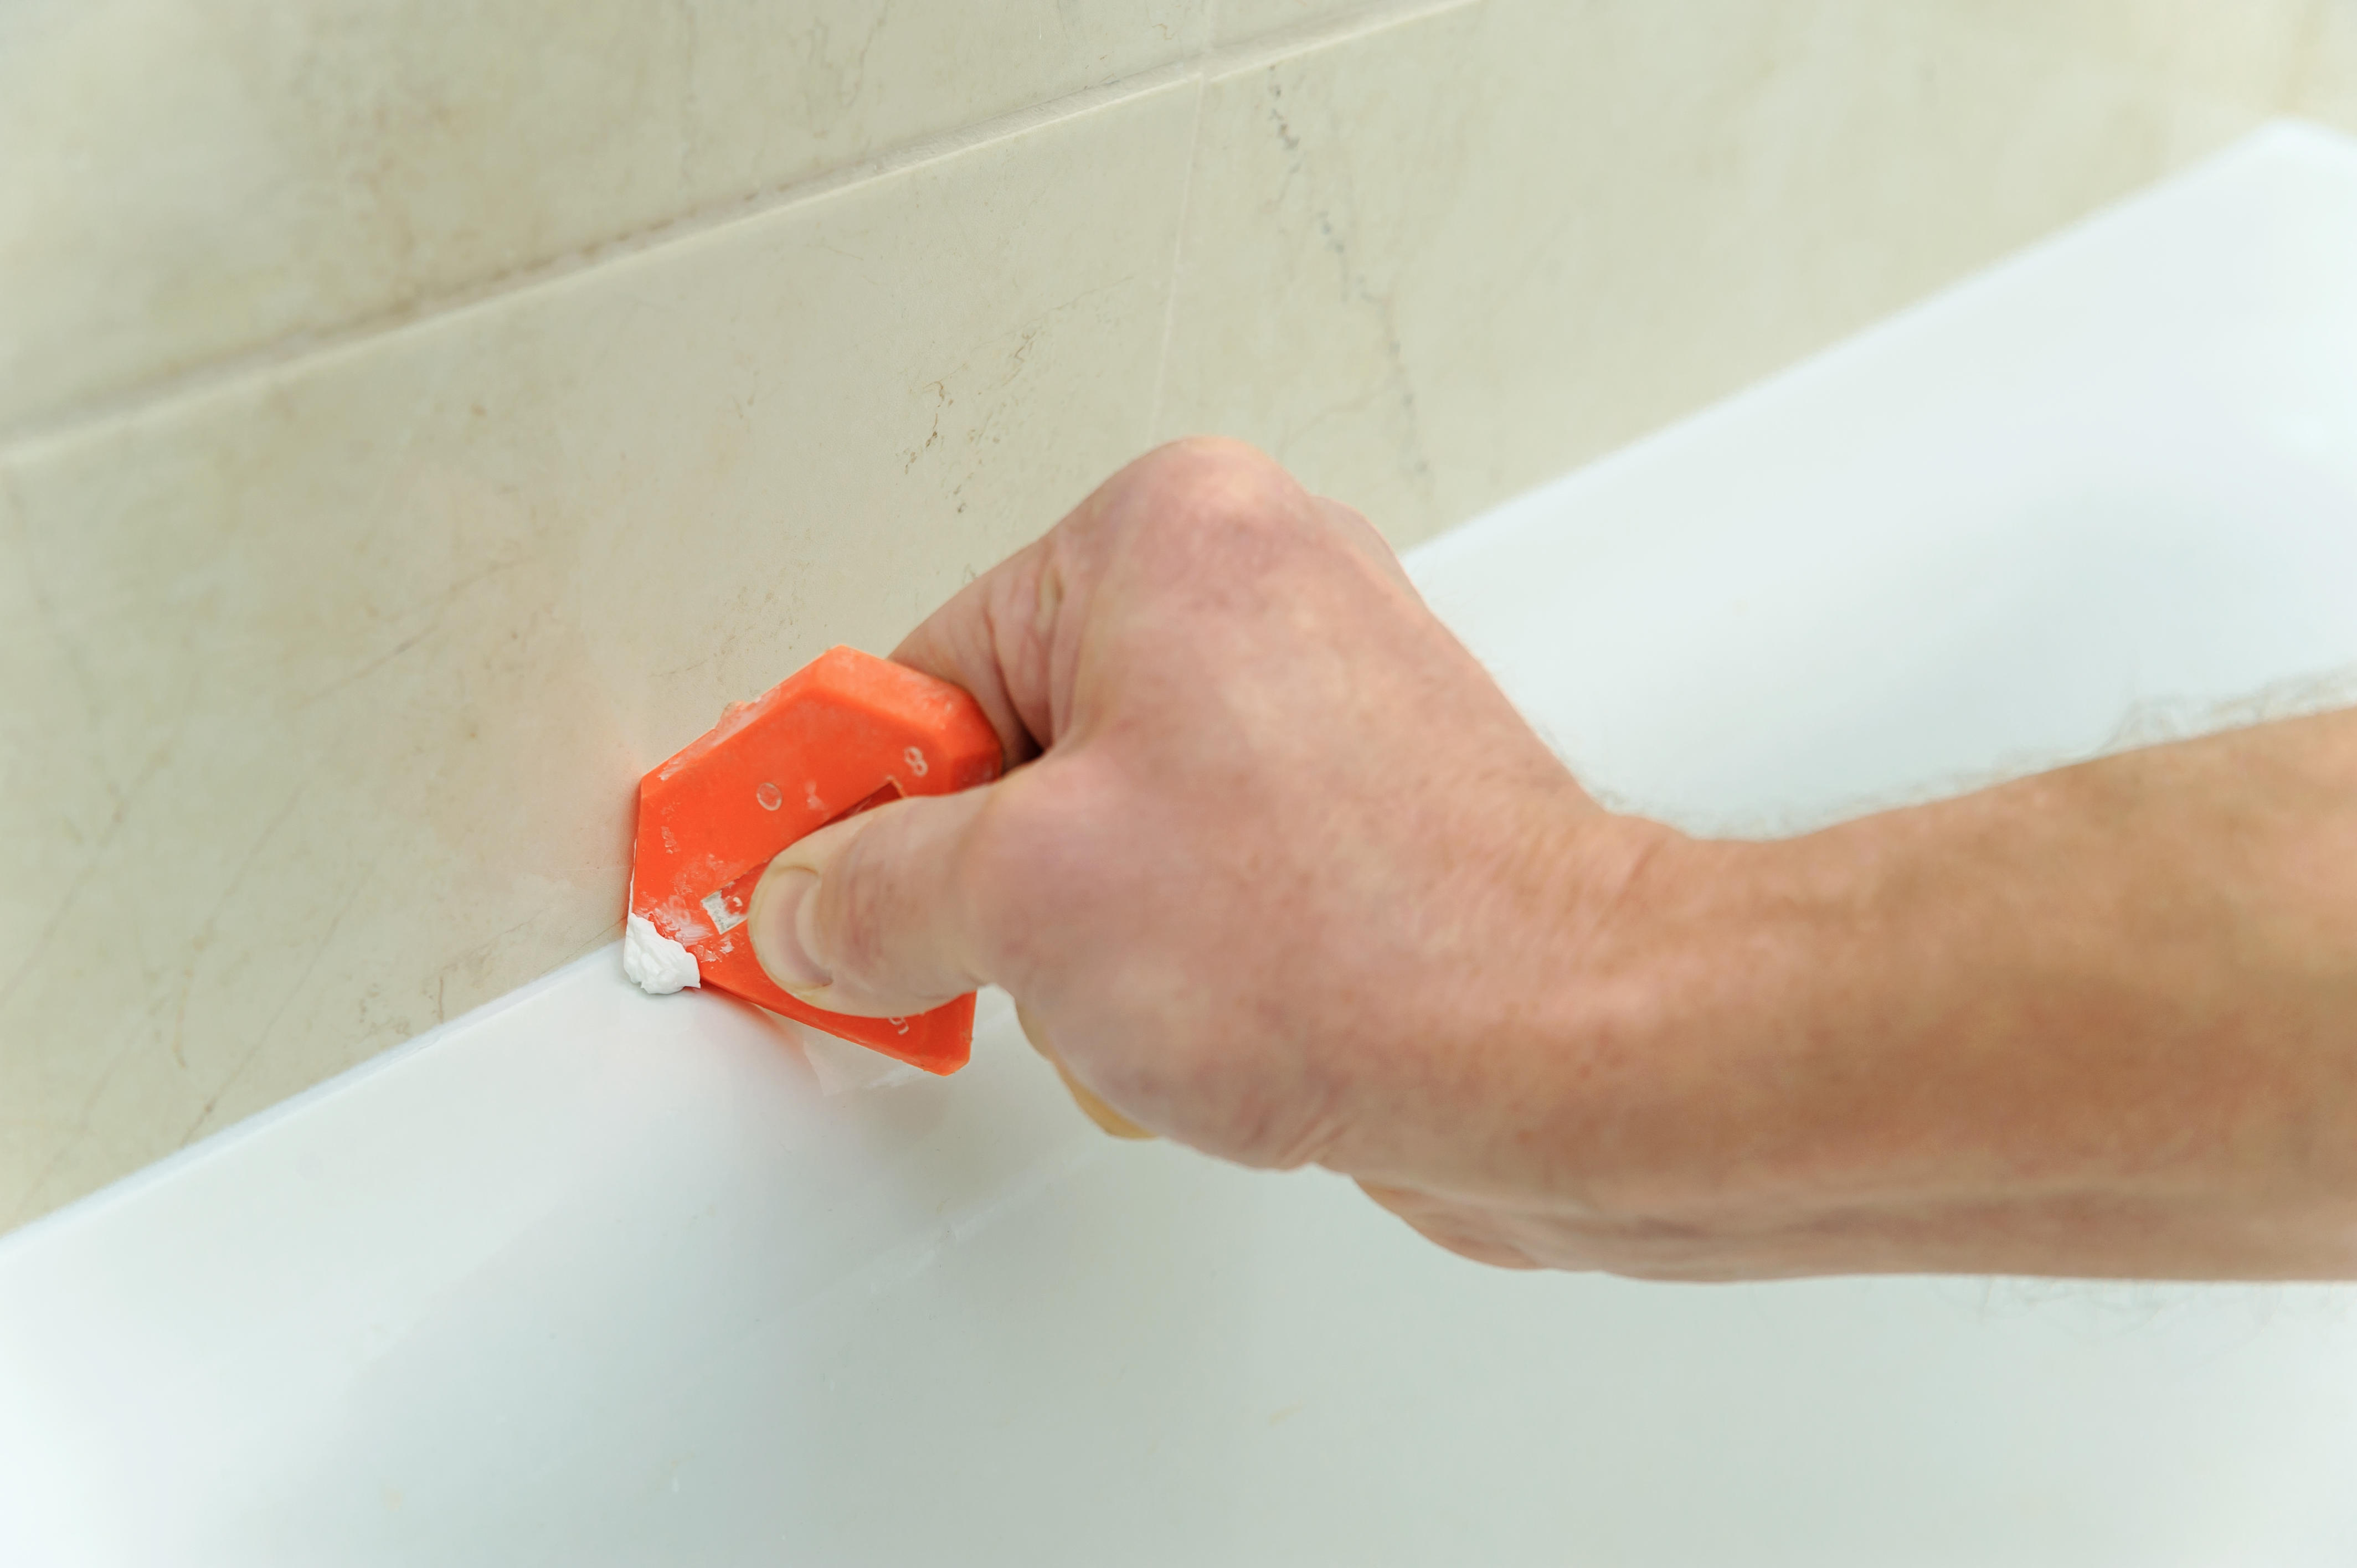
Now, it's time to apply the caulk. Hold the caulk gun at a 45-degree angle and slowly squeeze the trigger while moving along the gap. Make sure to keep a steady pressure and move the gun at a consistent speed to avoid any gaps or bubbles. Once you have filled in the gap, use your finger or a caulk smoothing tool to smooth out the caulk and remove any excess. Remove the painter's tape immediately after smoothing out the caulk to avoid it drying and sticking to the tape. DIY Bathroom Sink Caulking


DIY Bathroom Sink Caulking


If you're new to caulking, here is a detailed step-by-step guide to ensure you get a perfect finish: Step 1: Clean and dry the area around the bathroom sink Step 2: Cut the caulk tube at a 45-degree angle and insert it into the caulk gun Step 3: Cut the tip at a smaller angle to match the gap width Step 4: Create straight edges with painter's tape Step 5: Apply caulk along the gap, using a steady pressure and consistent speed Step 6: Smooth out the caulk with a finger or caulk smoothing tool Step 7: Remove painter's tape immediately after smoothing out the caulkStep-by-Step Guide for Caulking a Bathroom Sink


Step-by-Step Guide for Caulking a Bathroom Sink


Choosing the right caulk for your bathroom sink is crucial to ensure a long-lasting seal. Look for a caulk that is specifically designed for use in bathrooms and is waterproof and mold-resistant. Silicone caulk is a popular choice for bathroom sinks as it is flexible and durable. Make sure to use a caulk that is compatible with your sink material, such as acrylic, porcelain, or stone. Best Caulk for Bathroom Sink


Best Caulk for Bathroom Sink


Here are a few tips to keep in mind for a professional-looking caulk job: Tip 1: Remove any old caulk before applying new caulk Tip 2: Practice on a scrap piece of cardboard before applying caulk on the sink Tip 3: Use a damp cloth to clean up any excess caulk before it dries Tip 4: Apply caulk in small sections to avoid it drying before you can smooth it outTips for Perfectly Caulking a Bathroom Sink


Tips for Perfectly Caulking a Bathroom Sink


Sealing your bathroom sink with caulk not only prevents water damage but also keeps dirt and grime from accumulating in the gap. This will make it easier to clean and maintain your sink. Make sure to completely seal all gaps and cracks around the sink to ensure maximum protection.Sealing a Bathroom Sink with Caulk

Sealing a Bathroom Sink with Caulk


While caulking a bathroom sink may seem like a simple task, there are a few common mistakes that can lead to a messy or ineffective caulk job. These include: Mistake 1: Using the wrong type of caulk Mistake 2: Not properly preparing the area before applying caulk Mistake 3: Applying too much or too little caulk Mistake 4: Not smoothing out the caulk properly Mistake 5: Removing the painter's tape after the caulk has driedCaulking Around a Bathroom Sink: Common Mistakes to Avoid


Caulking Around a Bathroom Sink: Common Mistakes to Avoid


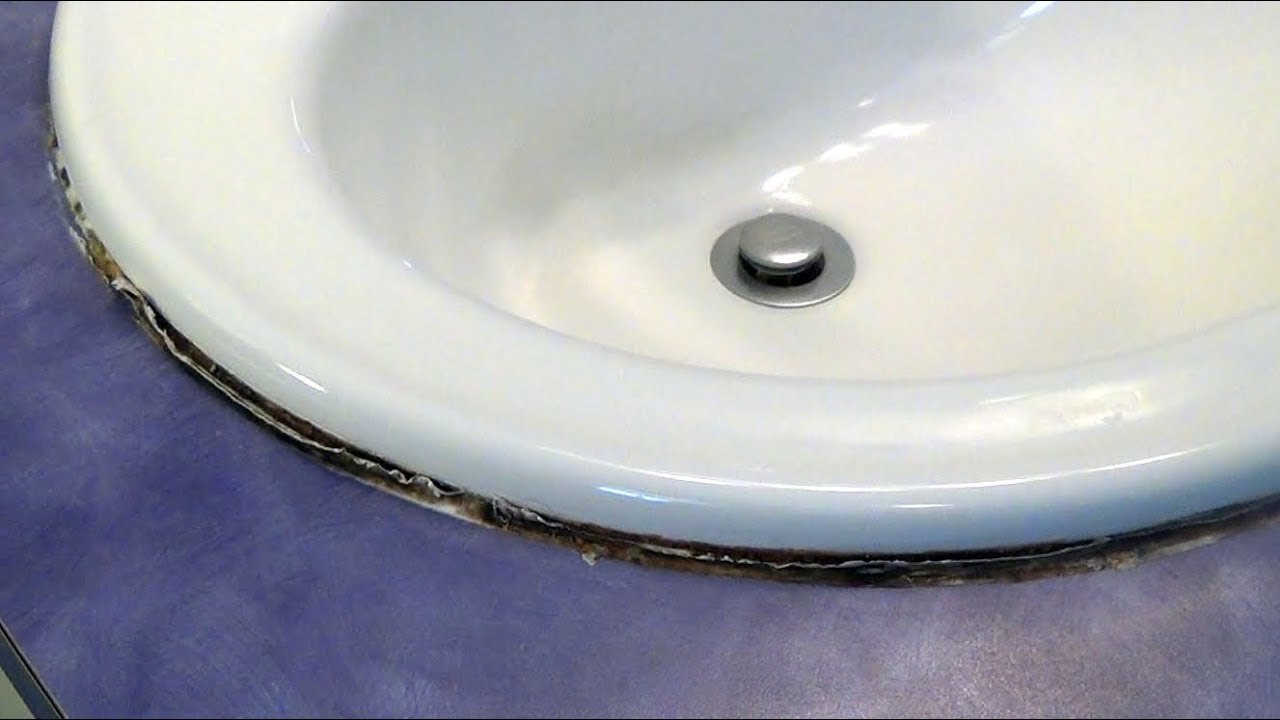
It is recommended to re-caulk your bathroom sink every 1-2 years, or as needed. Over time, caulk can shrink, crack, or become discolored, which can lead to water leaks and damage. Keep an eye out for any signs of wear and tear, such as mold or mildew growth, and re-caulk as necessary.How Often Should You Re-Caulk a Bathroom Sink?


How Often Should You Re-Caulk a Bathroom Sink?

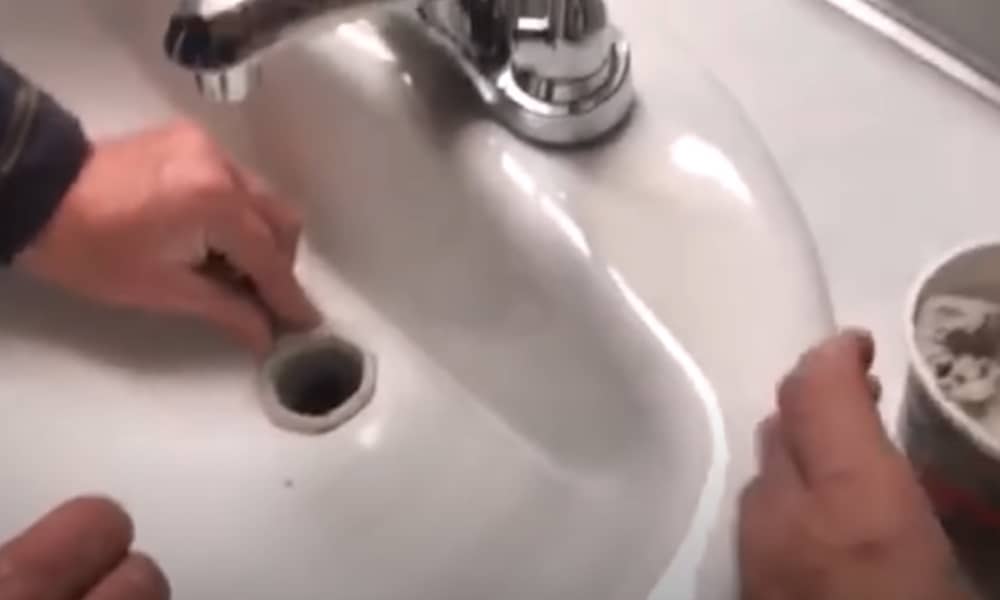
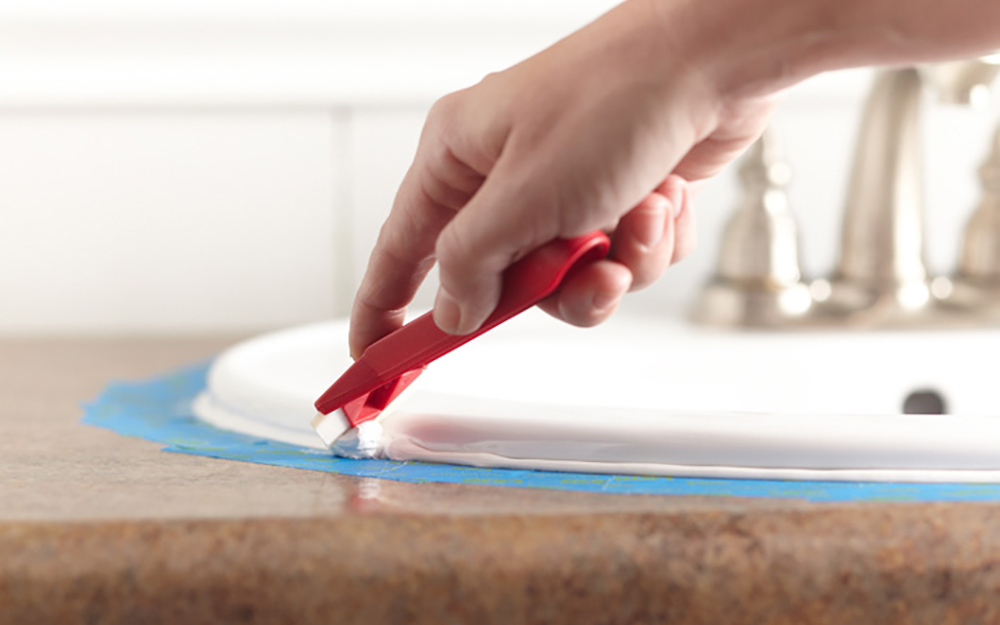
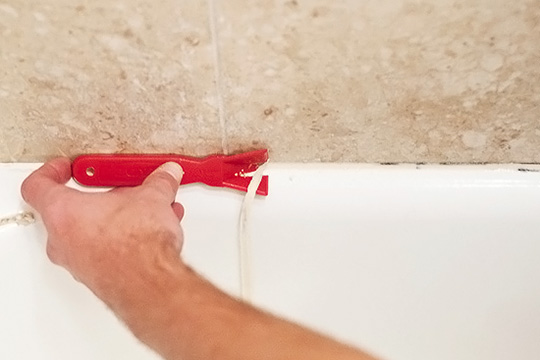
If you want to re-caulk your bathroom sink, the first step is to remove the old caulk. This can be done with a caulk removal tool or a utility knife. Make sure to completely remove all old caulk before applying new caulk to ensure a proper seal. In conclusion, caulk is an essential part of maintaining your bathroom sink and preventing water damage. With the right materials and techniques, you can easily caulk your sink like a pro and keep it looking clean and well-maintained for years to come.Removing Old Caulk from a Bathroom Sink


Removing Old Caulk from a Bathroom Sink
:max_bytes(150000):strip_icc()/how-to-remove-old-caulk-1824827-01-3d0370c59e124dbbaa6560c68bab111c.jpg)
:max_bytes(150000):strip_icc()/caulk-removal-tool-56ec7f1b3df78ce5f83535fe.jpg)


Why Caulking is Crucial for Your Bathroom Sink

The Importance of Caulking
 When it comes to bathroom design, every detail matters. From the color of the tiles to the type of fixtures, each element plays a role in creating a cohesive and functional space. One important aspect that often goes overlooked is
caulking around the bathroom sink
. This simple yet crucial step not only adds a finishing touch to your sink but also helps prevent water damage and mold growth. In this article, we will discuss the importance of caulking and how to properly do it to ensure a well-designed and long-lasting bathroom.
When it comes to bathroom design, every detail matters. From the color of the tiles to the type of fixtures, each element plays a role in creating a cohesive and functional space. One important aspect that often goes overlooked is
caulking around the bathroom sink
. This simple yet crucial step not only adds a finishing touch to your sink but also helps prevent water damage and mold growth. In this article, we will discuss the importance of caulking and how to properly do it to ensure a well-designed and long-lasting bathroom.
Preventing Water Damage
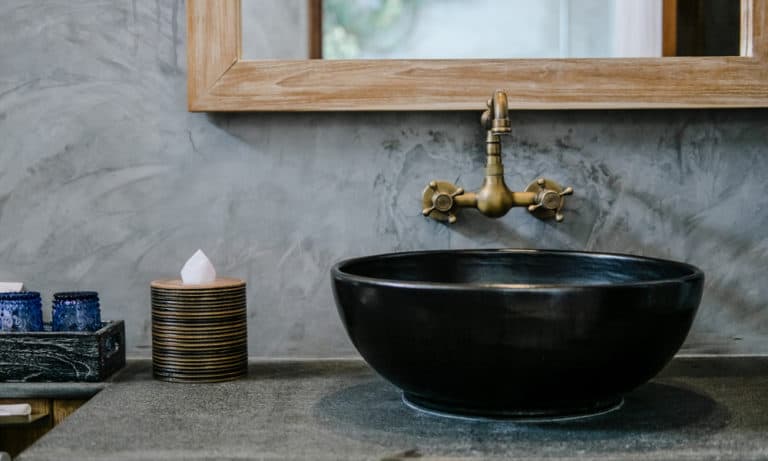
 Water is the number one enemy of any bathroom. With constant exposure to water, it's no surprise that bathrooms are prone to water damage. When it comes to your bathroom sink, the area where the sink meets the wall and counter is particularly vulnerable. Without proper
caulking
, water can seep through these gaps and cause damage to the walls and cabinets. This can not only lead to costly repairs but also compromise the structural integrity of your bathroom. By properly caulking around your sink, you can create a watertight seal and protect your bathroom from potential water damage.
Water is the number one enemy of any bathroom. With constant exposure to water, it's no surprise that bathrooms are prone to water damage. When it comes to your bathroom sink, the area where the sink meets the wall and counter is particularly vulnerable. Without proper
caulking
, water can seep through these gaps and cause damage to the walls and cabinets. This can not only lead to costly repairs but also compromise the structural integrity of your bathroom. By properly caulking around your sink, you can create a watertight seal and protect your bathroom from potential water damage.
Preventing Mold Growth
 Mold is not only unsightly, but it can also pose a health hazard. Bathrooms are the perfect breeding ground for mold as they provide the ideal conditions for its growth - moisture, warmth, and lack of ventilation. Without proper caulking, water can seep into small crevices and create a damp environment for mold to thrive. Not only does this ruin the appearance of your bathroom, but it can also cause health issues for you and your family. By regularly checking and maintaining the caulking around your sink, you can prevent mold growth and ensure a clean and healthy bathroom.
Properly Caulking Your Bathroom Sink
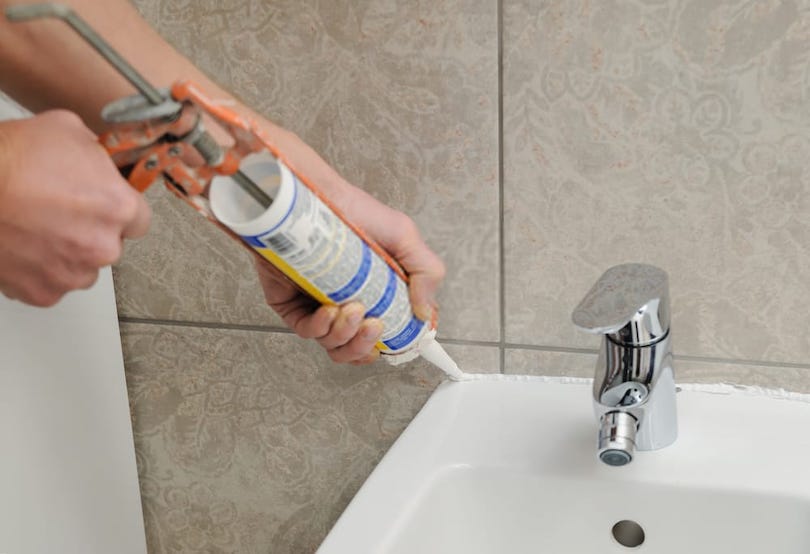
 Now that we understand the importance of caulking, let's discuss how to properly do it. The first step is to clean the area around your sink thoroughly. Remove any old caulking and make sure the surface is dry. Next, apply a thin and even layer of
caulk
along the edges of your sink where it meets the wall and counter. Use a caulk gun for a precise application and smooth out any excess caulk with a wet finger or a caulk smoothing tool. Allow the caulk to dry completely before using your sink or exposing it to water. With proper maintenance, you should check and replace the caulking every 1-2 years to ensure its effectiveness.
Now that we understand the importance of caulking, let's discuss how to properly do it. The first step is to clean the area around your sink thoroughly. Remove any old caulking and make sure the surface is dry. Next, apply a thin and even layer of
caulk
along the edges of your sink where it meets the wall and counter. Use a caulk gun for a precise application and smooth out any excess caulk with a wet finger or a caulk smoothing tool. Allow the caulk to dry completely before using your sink or exposing it to water. With proper maintenance, you should check and replace the caulking every 1-2 years to ensure its effectiveness.
In Conclusion
 In conclusion, caulking around your bathroom sink is a simple yet crucial step in creating a well-designed and functional bathroom. Not only does it prevent water damage and mold growth, but it also adds a finishing touch to your sink. By understanding the importance of caulking and properly maintaining it, you can ensure a long-lasting and beautiful bathroom for years to come. So don't overlook this small but significant detail and make sure to regularly check and maintain the caulking around your bathroom sink.