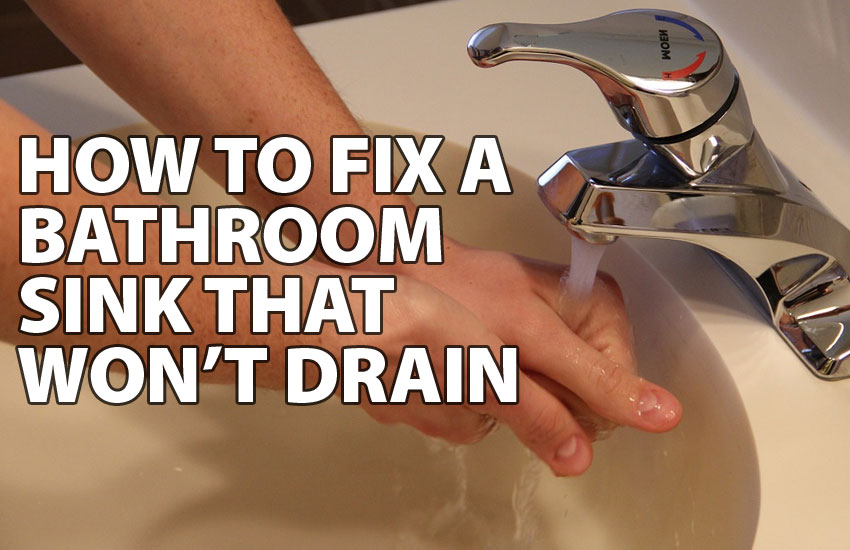
Putting a bathroom sink drain back together may seem like a daunting task, but with the right tools and a little know-how, you can easily reassemble it on your own. Whether you're looking to replace a broken drain or simply need to clean out a clog, this step-by-step guide will walk you through the process of putting a bathroom sink drain back together.How to Put a Bathroom Sink Drain Back Together


How to Put a Bathroom Sink Drain Back Together


If you've taken apart your bathroom sink drain for cleaning or repairs, you'll need to put it back together properly in order for it to function correctly. Here's a simple guide to help you reassemble your bathroom sink drain:How to Reassemble a Bathroom Sink Drain


How to Reassemble a Bathroom Sink Drain


:max_bytes(150000):strip_icc()/bathroom-sink-drain-installation-2718843-02-61e5ecbee1e949be8d8f45ac4f5a6797.jpg)


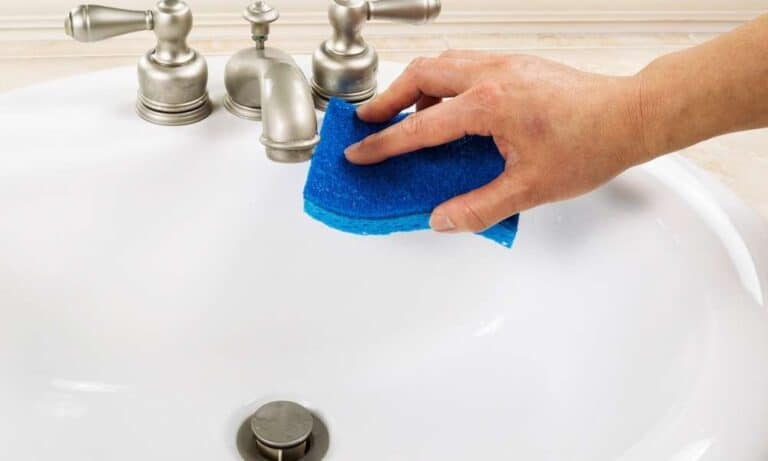
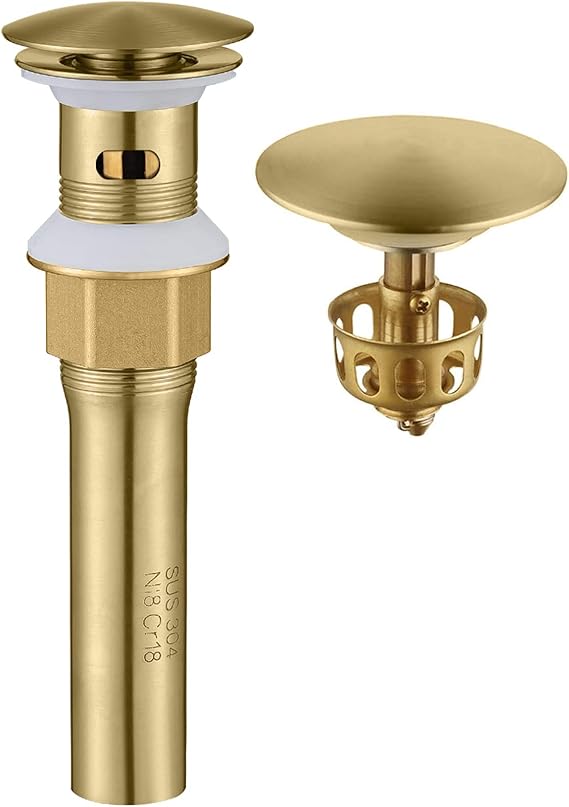
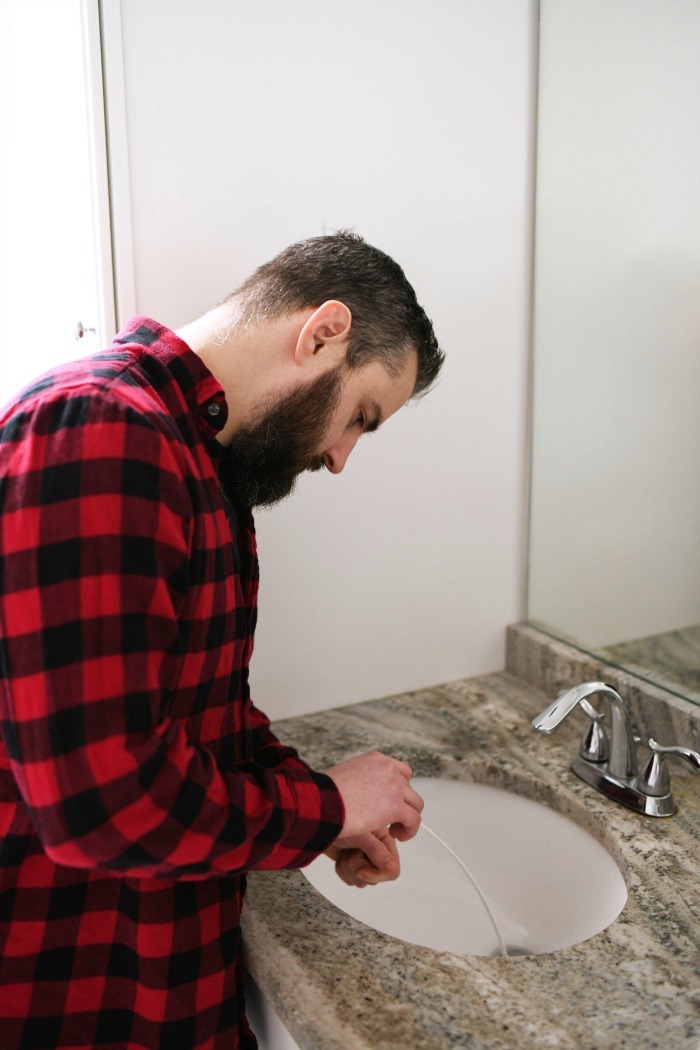
Step 1: Start by cleaning all parts of the drain, including the flange, stopper, and tailpiece. Use a mild cleaning solution and a brush to remove any debris or buildup. Step 2: Apply a thin layer of plumber's putty around the top of the drain flange. This will create a watertight seal when the drain is reassembled. Step 3: Insert the flange into the drain opening from above the sink. Make sure it is centered and press down firmly to secure it in place. Step 4: From underneath the sink, screw the lower mounting ring onto the flange. Use pliers to tighten it securely. Step 5: Slide the gasket onto the tailpiece and insert it into the drain opening from below the sink. Use pliers to tighten the nut onto the tailpiece, securing it in place. Step 6: Test the stopper by pulling it up and down. It should move easily and create a seal when closed. Step 7: If you have a pop-up drain, attach the pivot rod to the stopper and insert it into the tailpiece. Adjust the stopper as needed to ensure a tight seal. Step 8: Turn on the water and check for any leaks. If you notice any, tighten the appropriate nuts or fittings until the leak stops.Step-by-Step Guide for Putting a Bathroom Sink Drain Back Together


Step-by-Step Guide for Putting a Bathroom Sink Drain Back Together


Reassembling a bathroom sink drain can be a quick and easy task with these helpful tips: Tip 1: Use a hair dryer to loosen any old plumber's putty that may be stuck on the flange or tailpiece. Tip 2: If your stopper doesn't create a tight seal, try adjusting the nut on the tailpiece or the pivot rod for a better fit. Tip 3: If you're replacing an old drain, make sure to clean out any old caulk or putty before starting the reassembly process.Easy Tips for Reattaching a Bathroom Sink Drain


Easy Tips for Reattaching a Bathroom Sink Drain


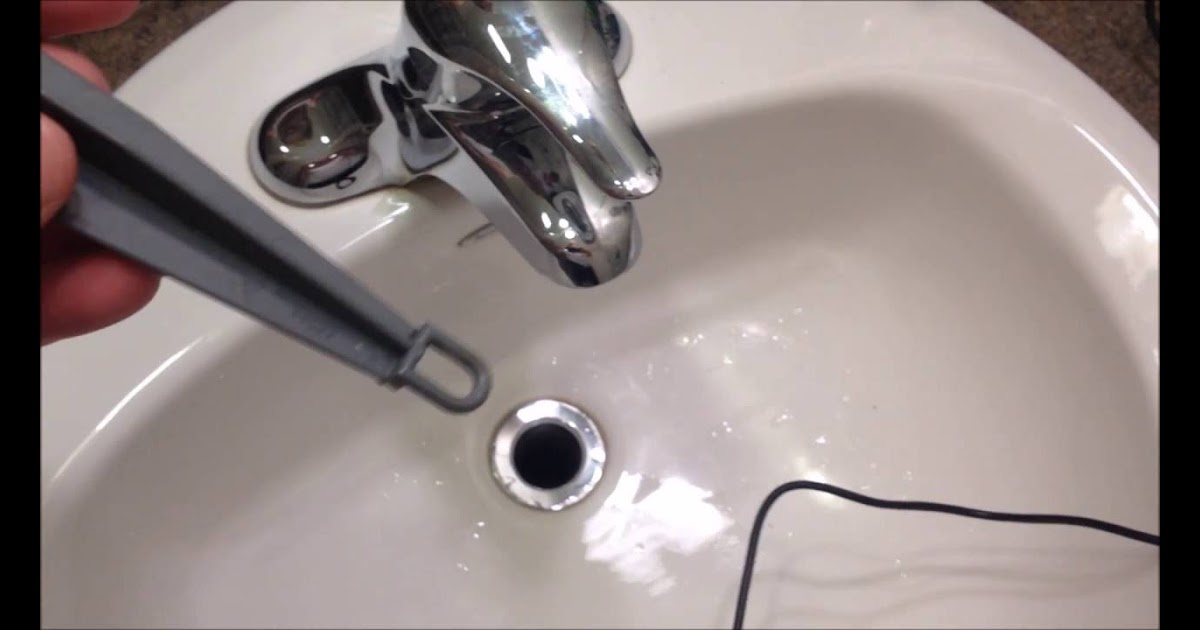
For visual learners, here's a great DIY tutorial video that walks you through the process of putting a bathroom sink drain back together:DIY Tutorial: Putting a Bathroom Sink Drain Back Together

DIY Tutorial: Putting a Bathroom Sink Drain Back Together


While reassembling a bathroom sink drain may seem straightforward, there are a few common mistakes that can cause issues. Here are some things to avoid when putting a bathroom sink drain back together: Mistake 1: Not cleaning all parts of the drain before reassembly. This can lead to buildup and future clogs. Mistake 2: Forgetting to apply plumber's putty. This can result in leaks and a faulty seal. Mistake 3: Not tightening all nuts and fittings securely. This can lead to leaks and a loose drain.Common Mistakes When Putting a Bathroom Sink Drain Back Together


Common Mistakes When Putting a Bathroom Sink Drain Back Together

Before starting the reassembly process, make sure you have the following tools on hand: Tools: Plumber's putty, pliers, screwdriver, wrench, and a hair dryer (optional).Tools You'll Need for Reassembling a Bathroom Sink Drain

Tools You'll Need for Reassembling a Bathroom Sink Drain


To make the process even easier, here are some expert tips for putting a bathroom sink drain back together: Tip 1: Use a putty knife to remove any old putty or caulk from the flange or tailpiece. Tip 2: For a tight and secure seal, make sure to use a generous amount of plumber's putty. Tip 3: If you're having trouble getting the stopper to move smoothly, try lubricating it with a small amount of petroleum jelly.Expert Tips for Putting a Bathroom Sink Drain Back Together


Expert Tips for Putting a Bathroom Sink Drain Back Together


If you're having trouble reassembling your bathroom sink drain, here are some troubleshooting tips to help you get it back together: Troubleshooting Tip 1: If the stopper won't move or creates a weak seal, try adjusting the nut on the tailpiece or the pivot rod. Troubleshooting Tip 2: If you notice a leak, check to make sure all nuts and fittings are tightened securely. If the leak persists, you may need to replace a worn or damaged part. Troubleshooting Tip 3: If you're having trouble removing old plumber's putty, try using a hair dryer to loosen it before scraping it off.Troubleshooting: What to Do If Your Bathroom Sink Drain Won't Go Back Together

Troubleshooting: What to Do If Your Bathroom Sink Drain Won't Go Back Together


For a more in-depth tutorial, check out this helpful video that breaks down the process of putting a bathroom sink drain back together: With these tips and tutorials, you can easily put a bathroom sink drain back together on your own. Just remember to take your time, clean all parts thoroughly, and use the right tools for a successful reassembly. Say goodbye to leaks and clogs and hello to a properly functioning bathroom sink! Video Tutorial: How to Put a Bathroom Sink Drain Back Together


Video Tutorial: How to Put a Bathroom Sink Drain Back Together

How to Properly Reassemble Your Bathroom Sink Drain
Understanding the Importance of a Functional Bathroom Sink Drain
 The bathroom sink is an essential part of any house design, and its drain plays a crucial role in keeping it functional. A clogged or malfunctioning sink drain can cause inconvenience and even damage to your bathroom. Therefore, it is essential to know how to properly put your bathroom sink drain back together if you ever encounter any issues.
Step-by-Step Guide to Reassembling Your Bathroom Sink Drain
Conclusion
 Reassembling your bathroom sink drain may seem like a daunting task, but with the right tools and knowledge, it can be a simple and straightforward process. Regularly cleaning and maintaining your drain can prevent any issues and ensure your bathroom sink remains functional and in good condition. Remember to follow these steps carefully, and your bathroom sink drain will be back to its optimal state in no time.