Product photography is an essential part of any business, allowing customers to see and visualize products before making a purchase. And what better place to capture product photos than in the comfort of your own living room? With the right setup and some creativity, you can achieve stunning product photography from your living room. Here are the top 10 main_product photography ideas to help you showcase your products in the best possible light.Living Room Product Photography: Capturing the Perfect Shot


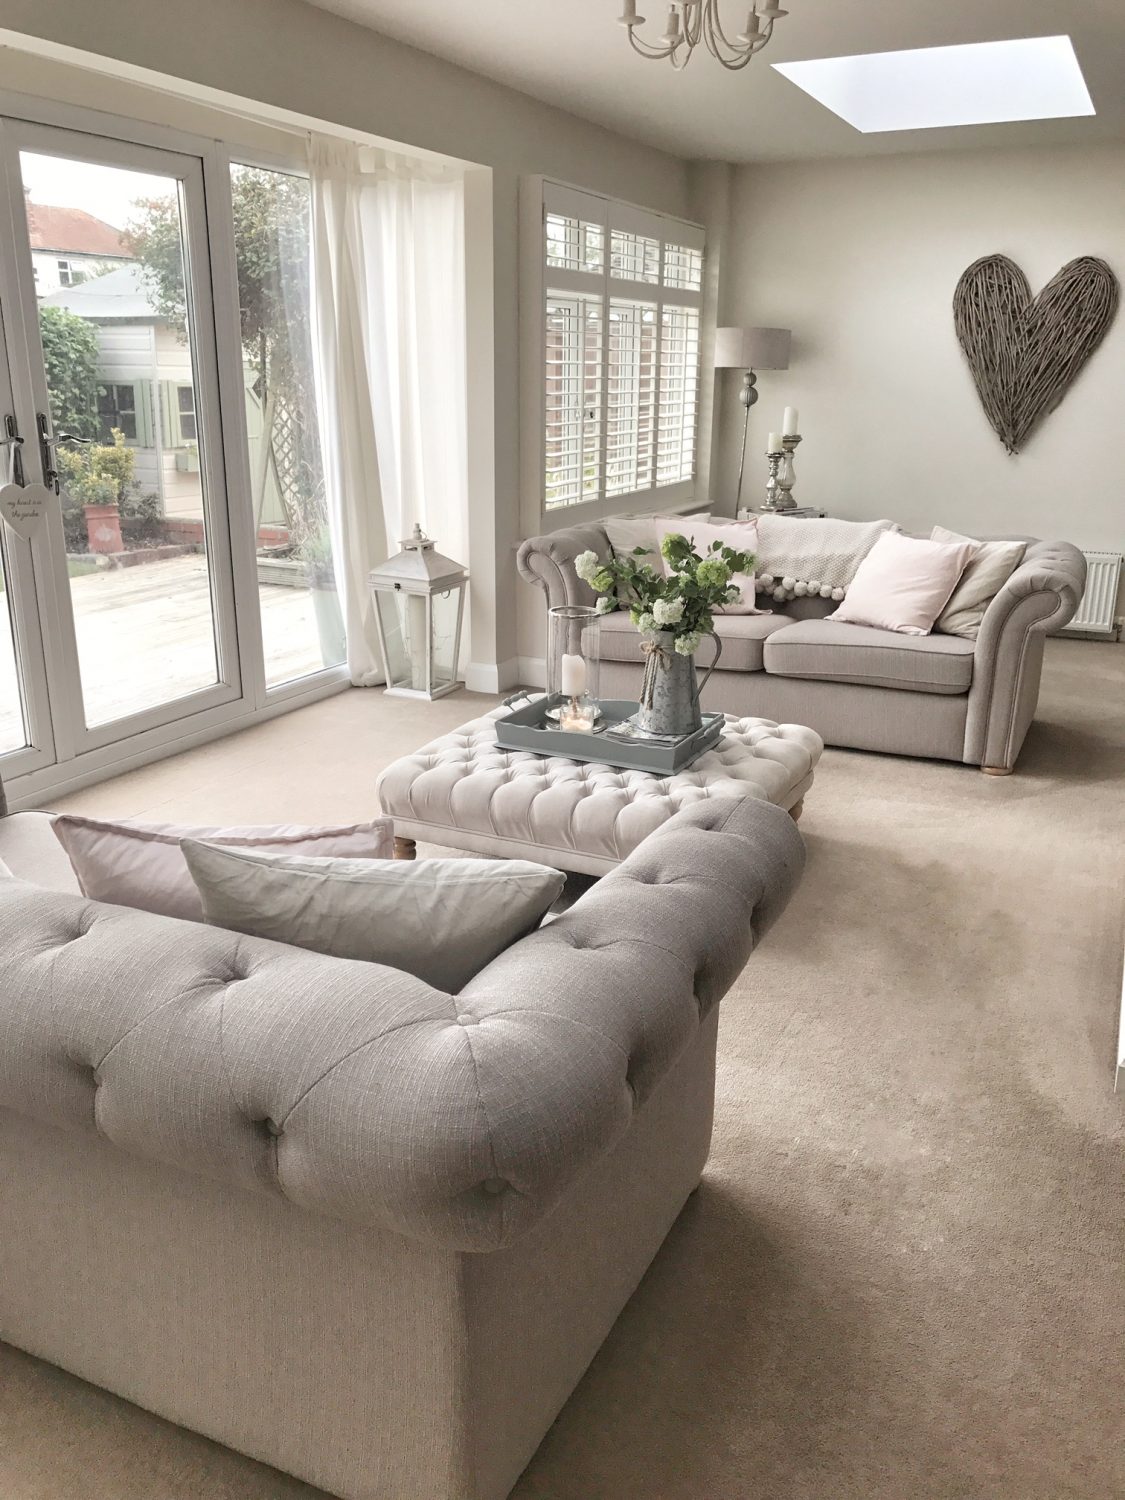
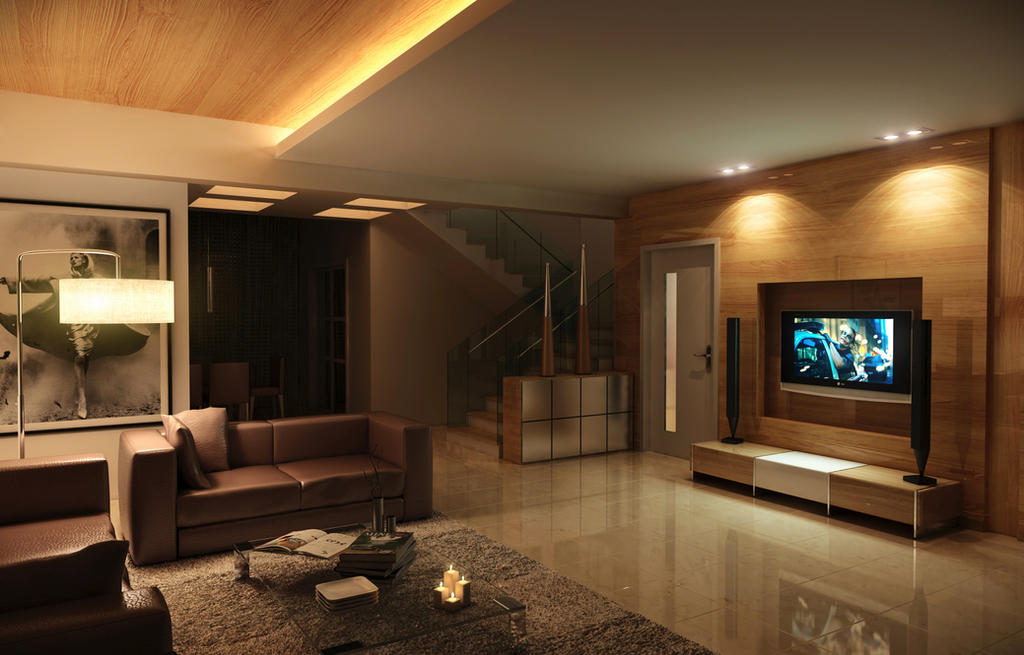
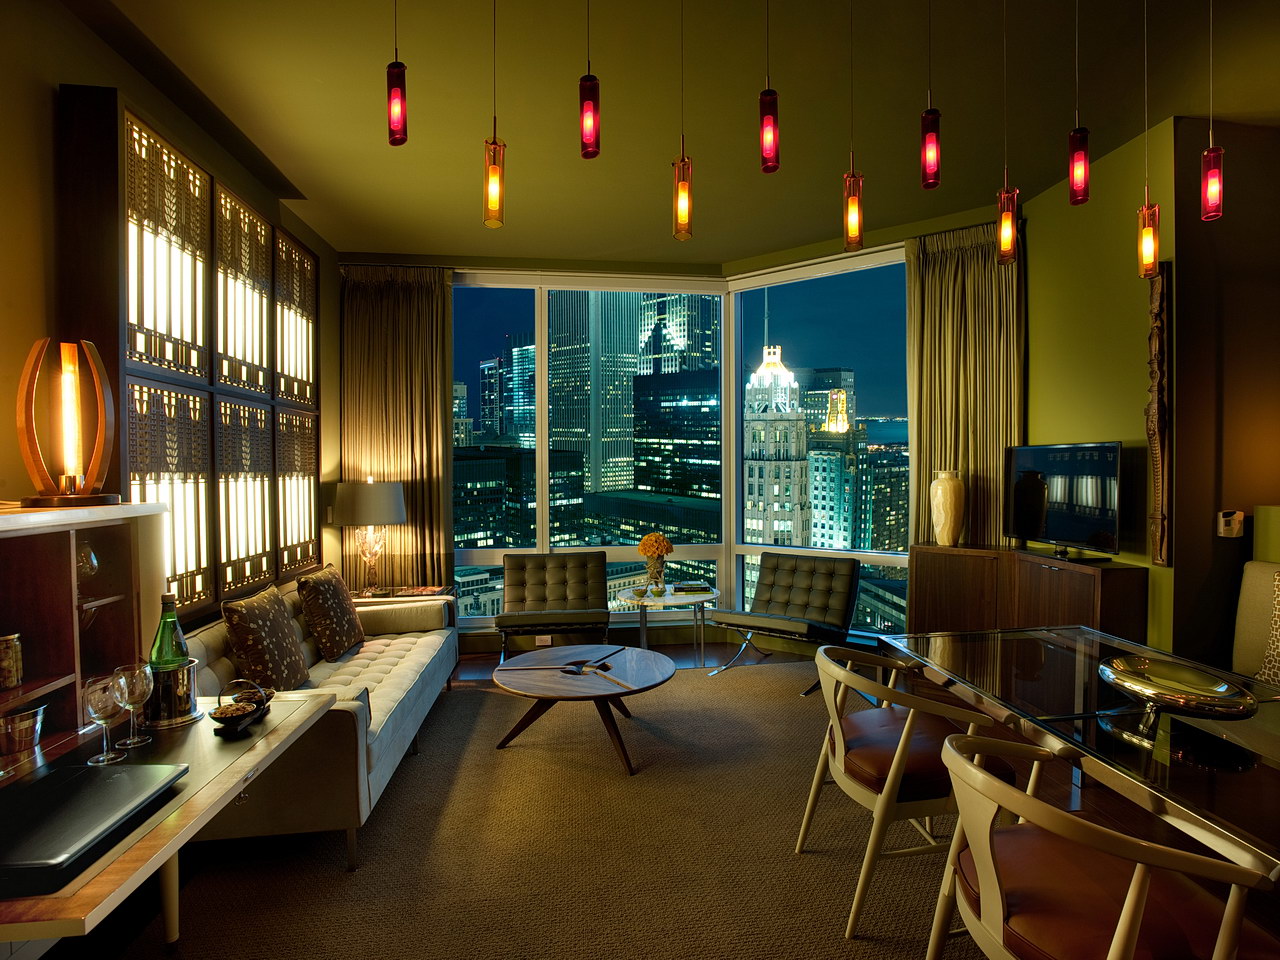
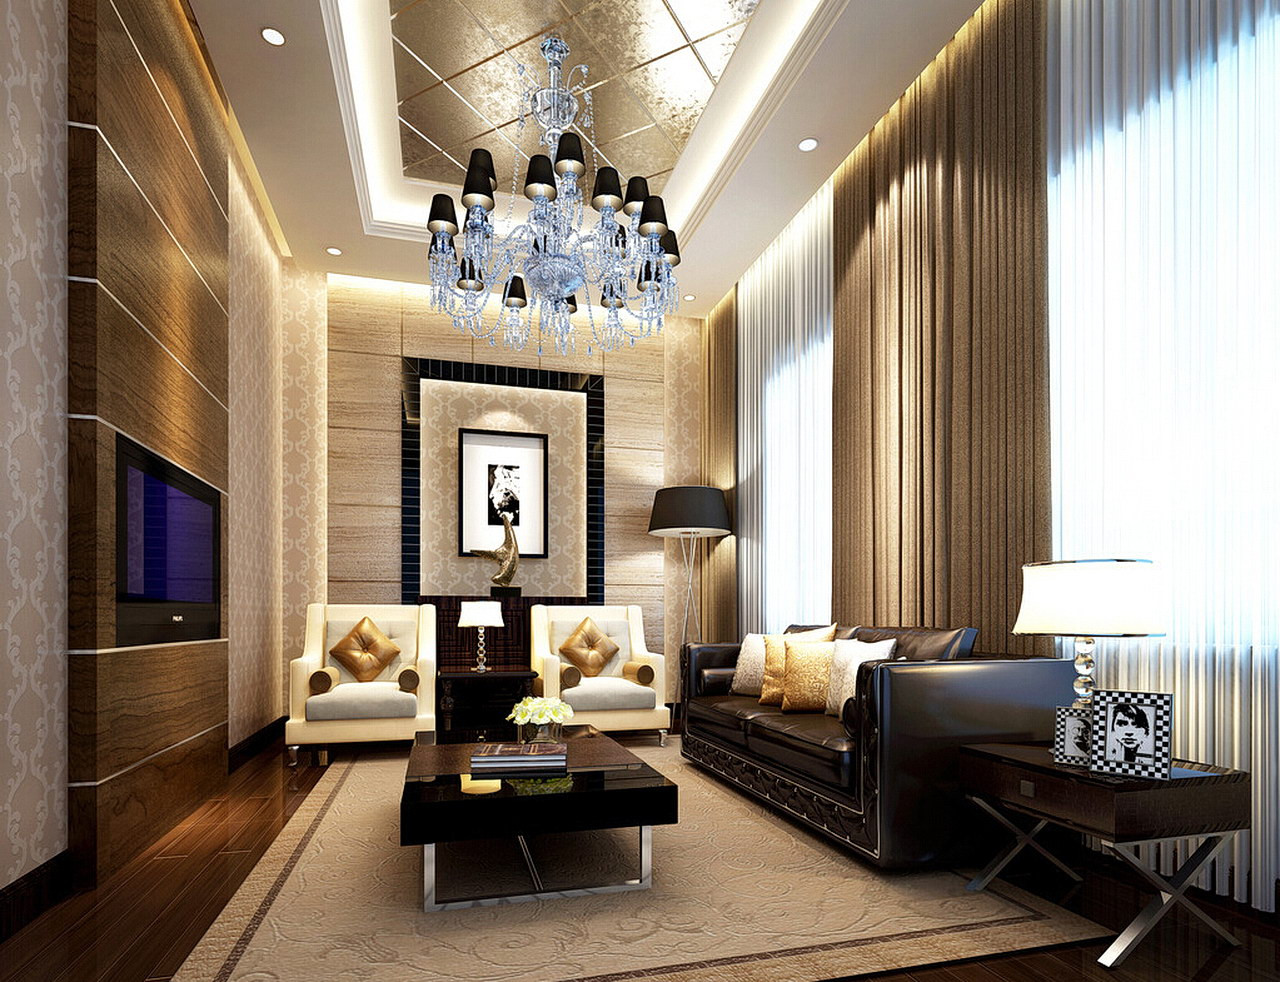
Living Room Product Photography
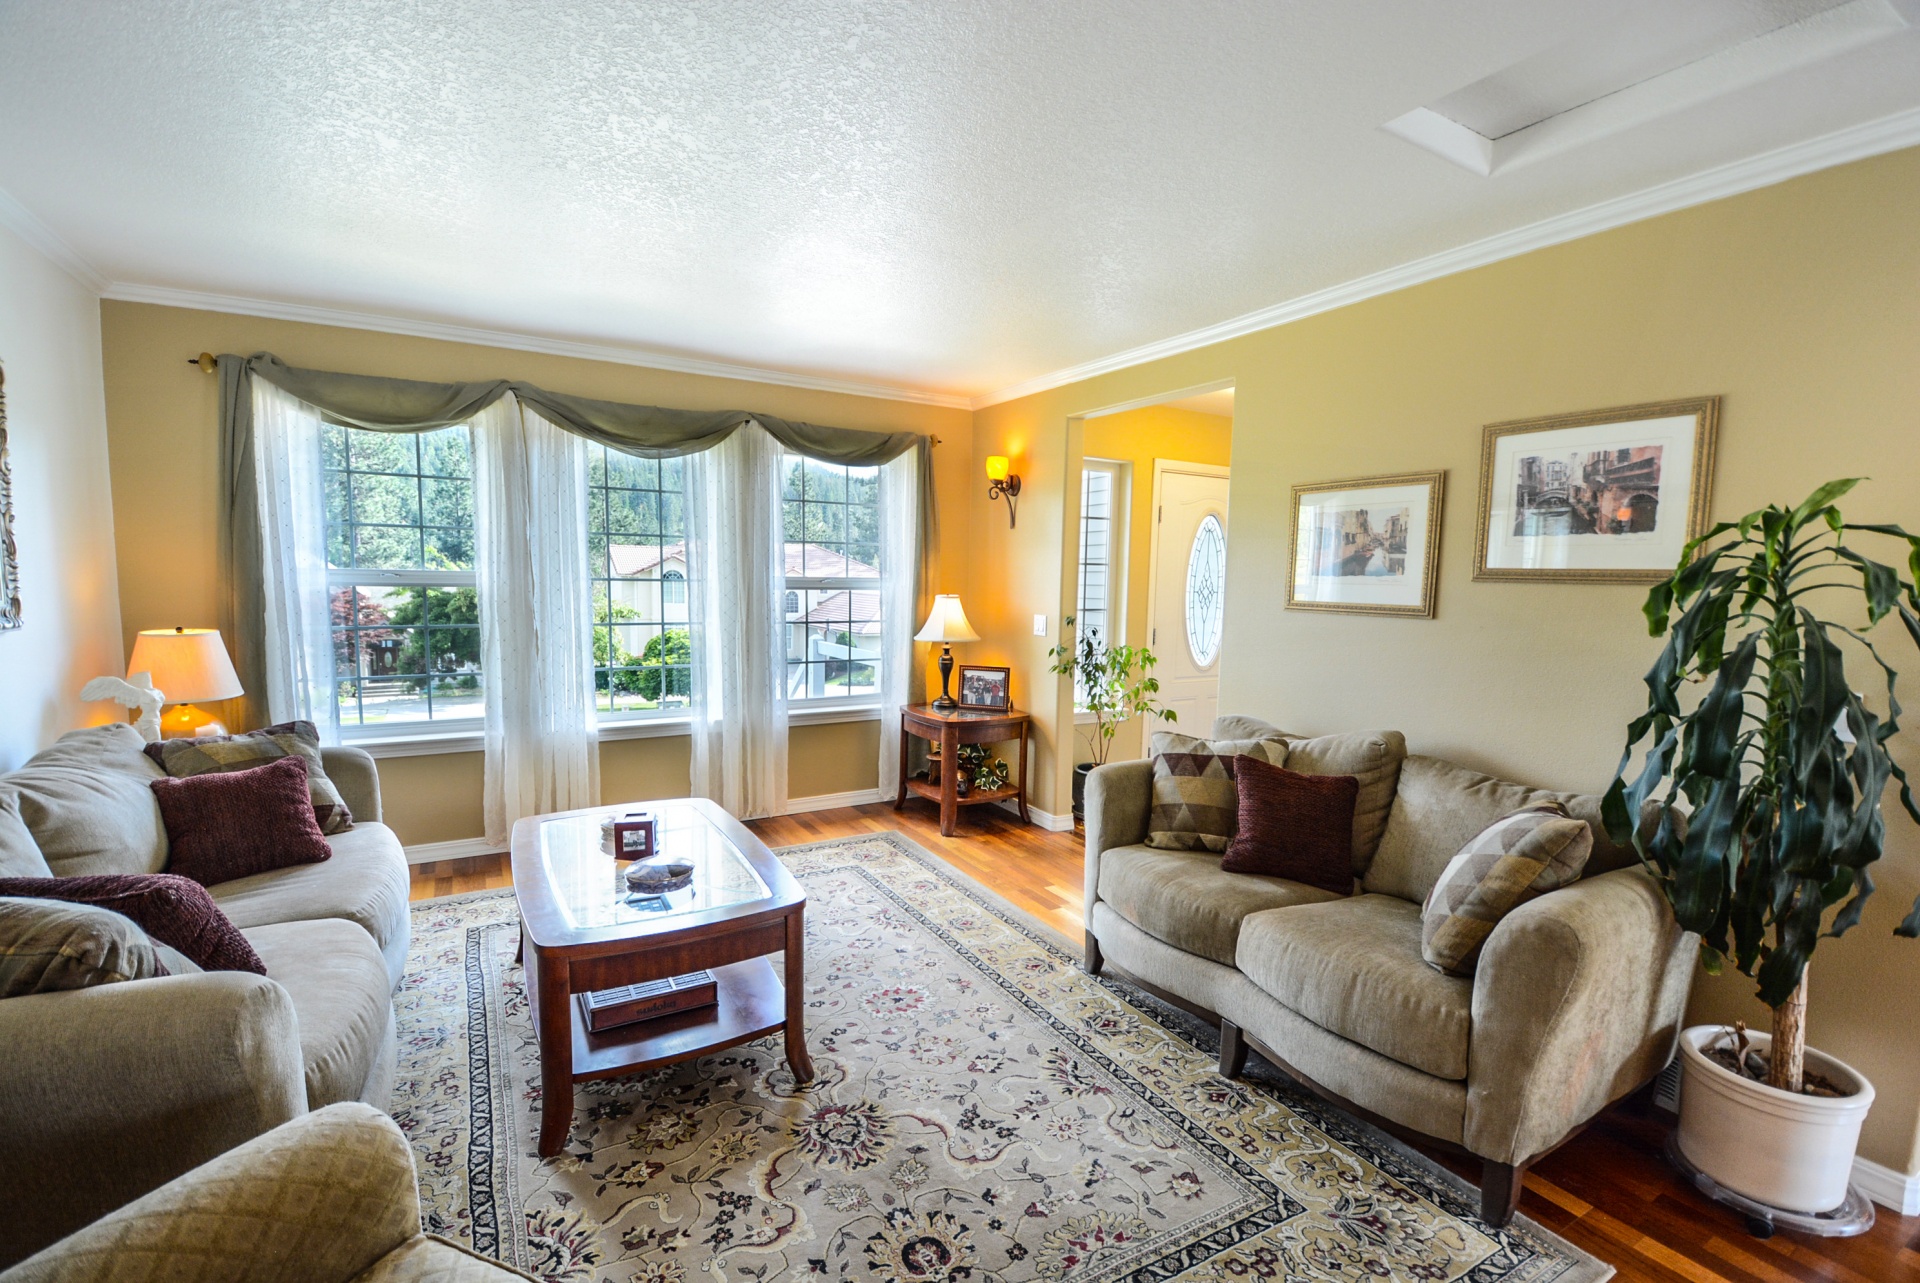

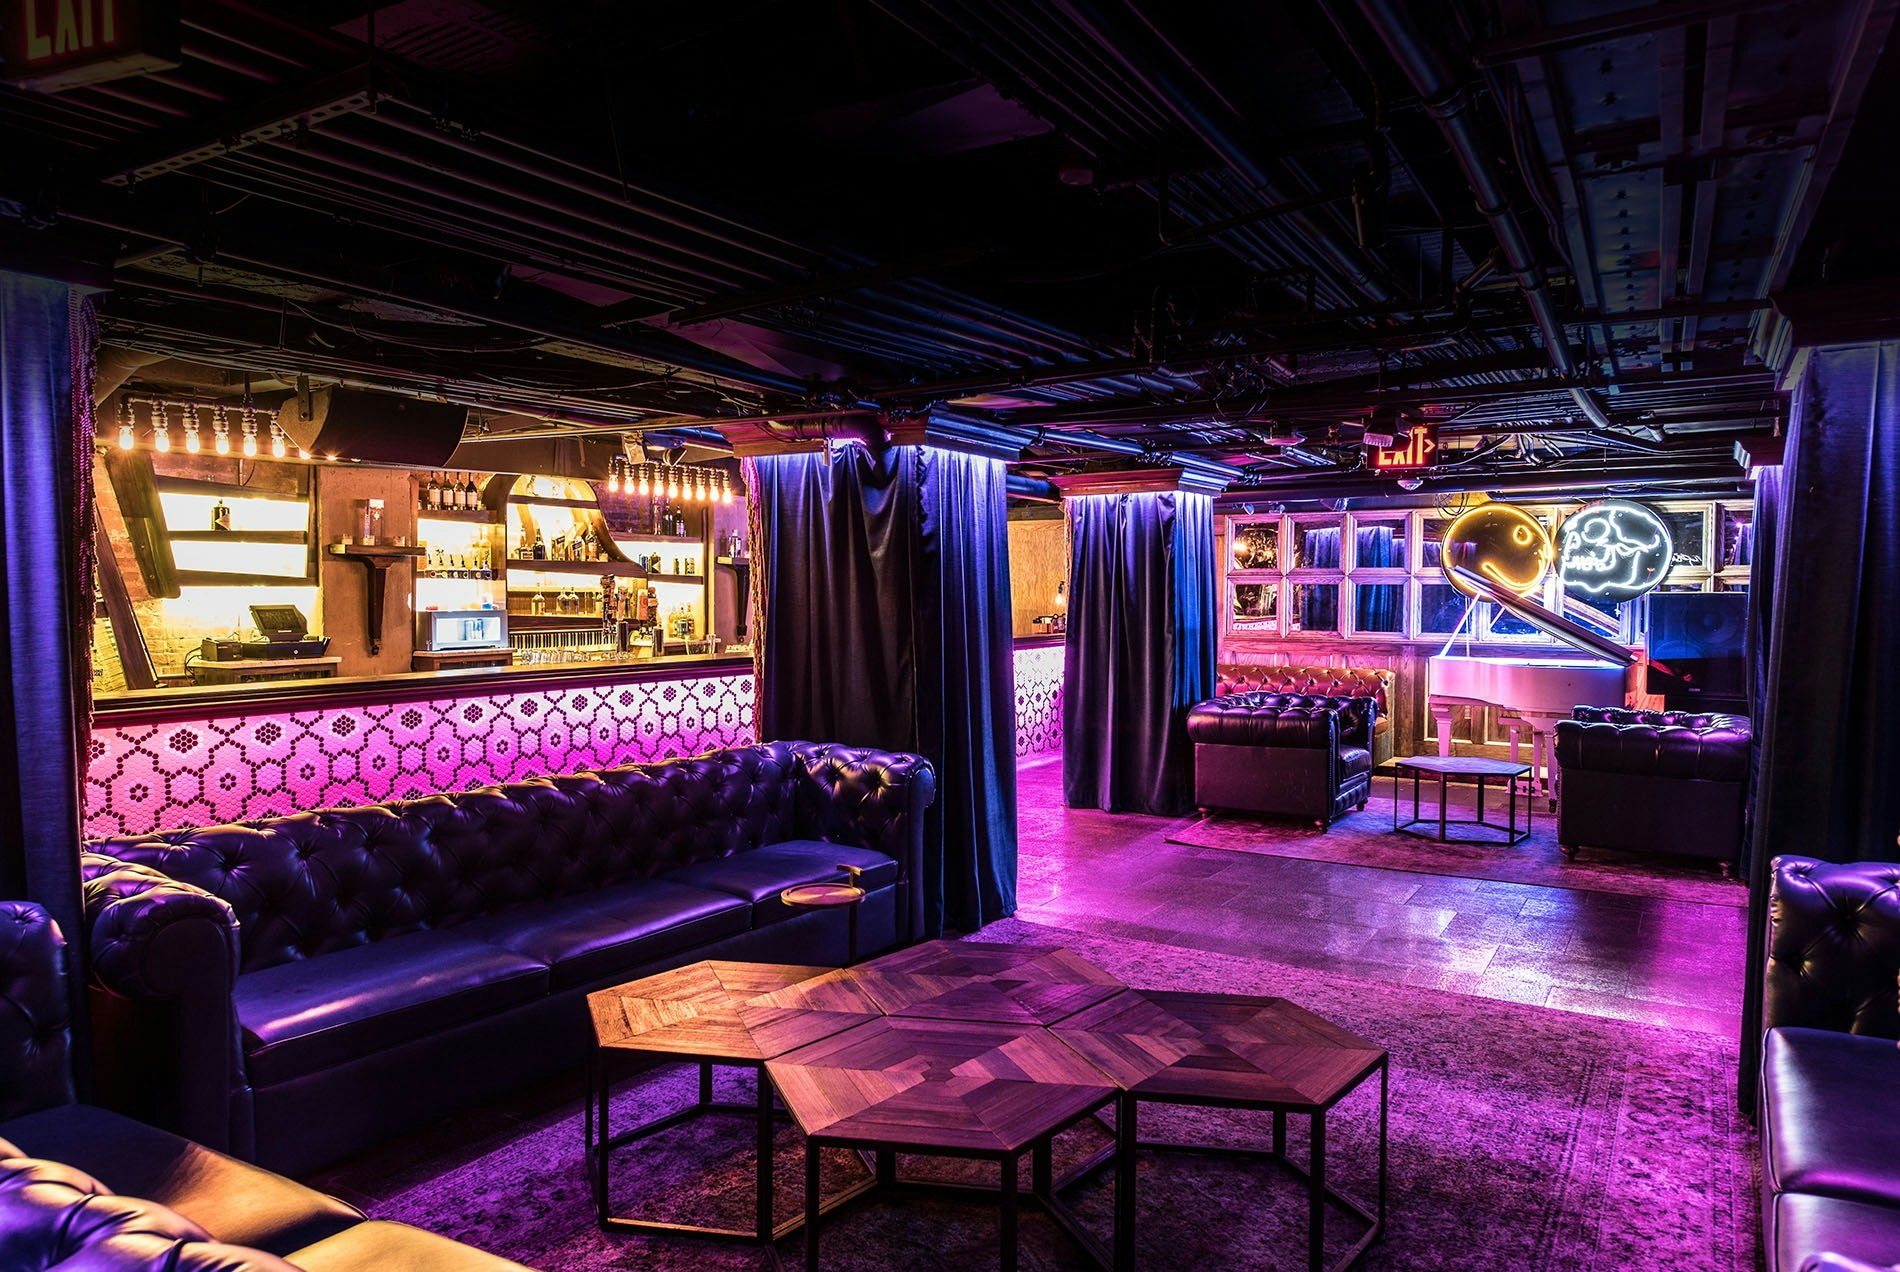

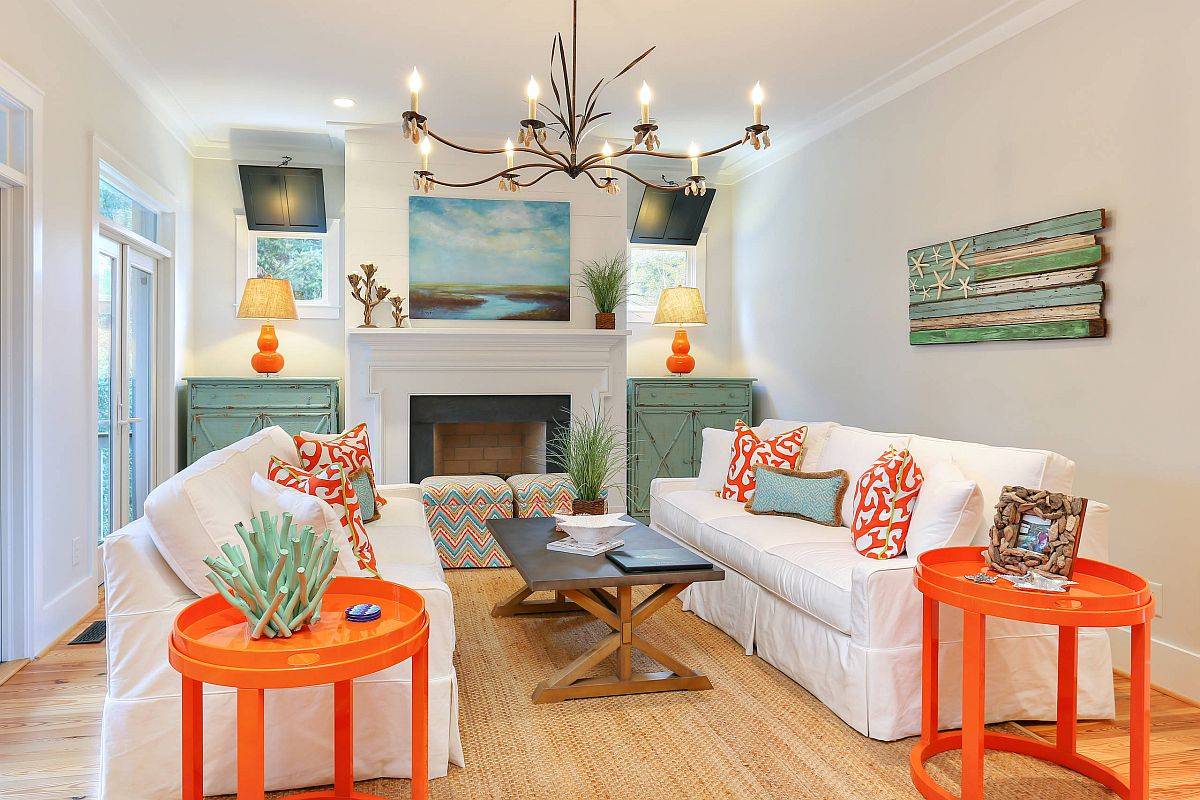
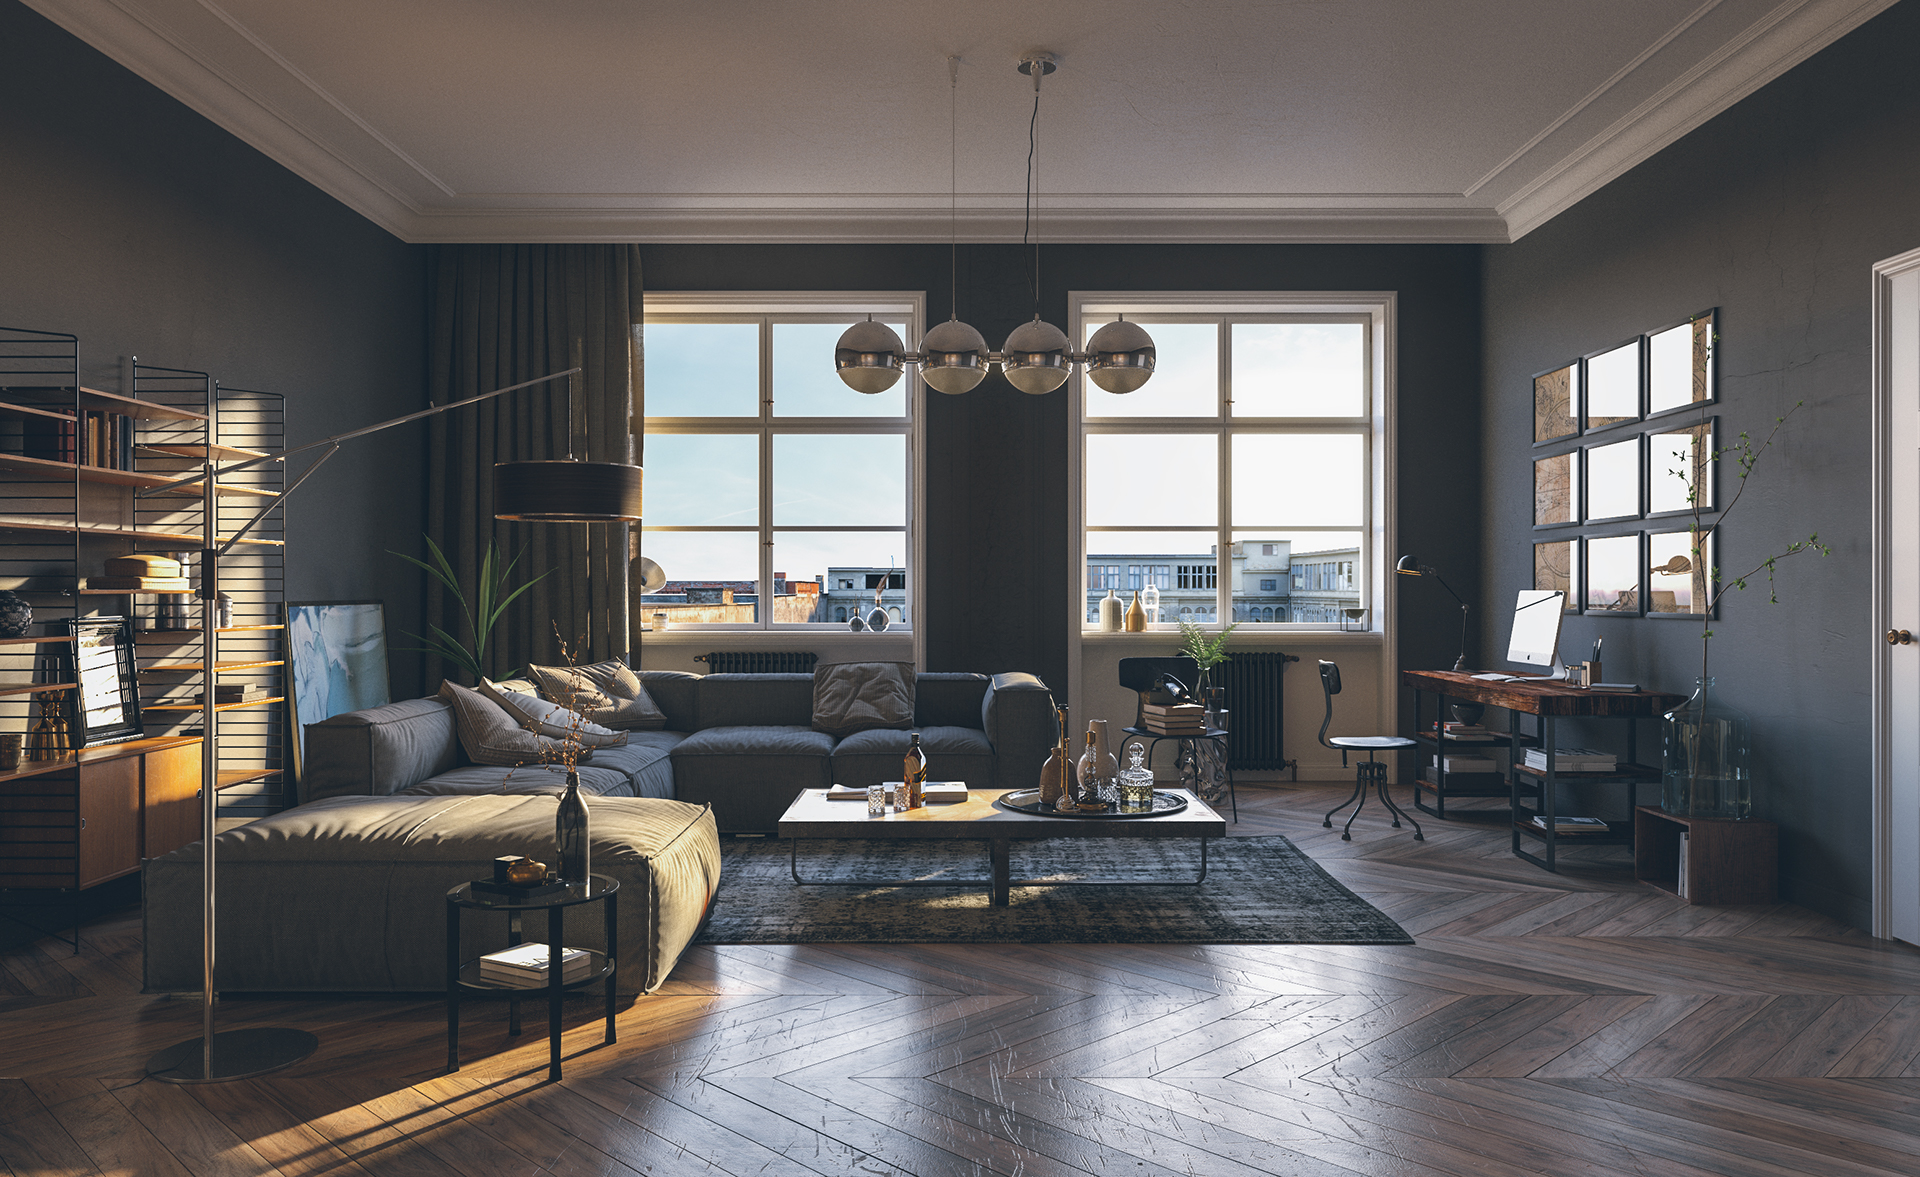
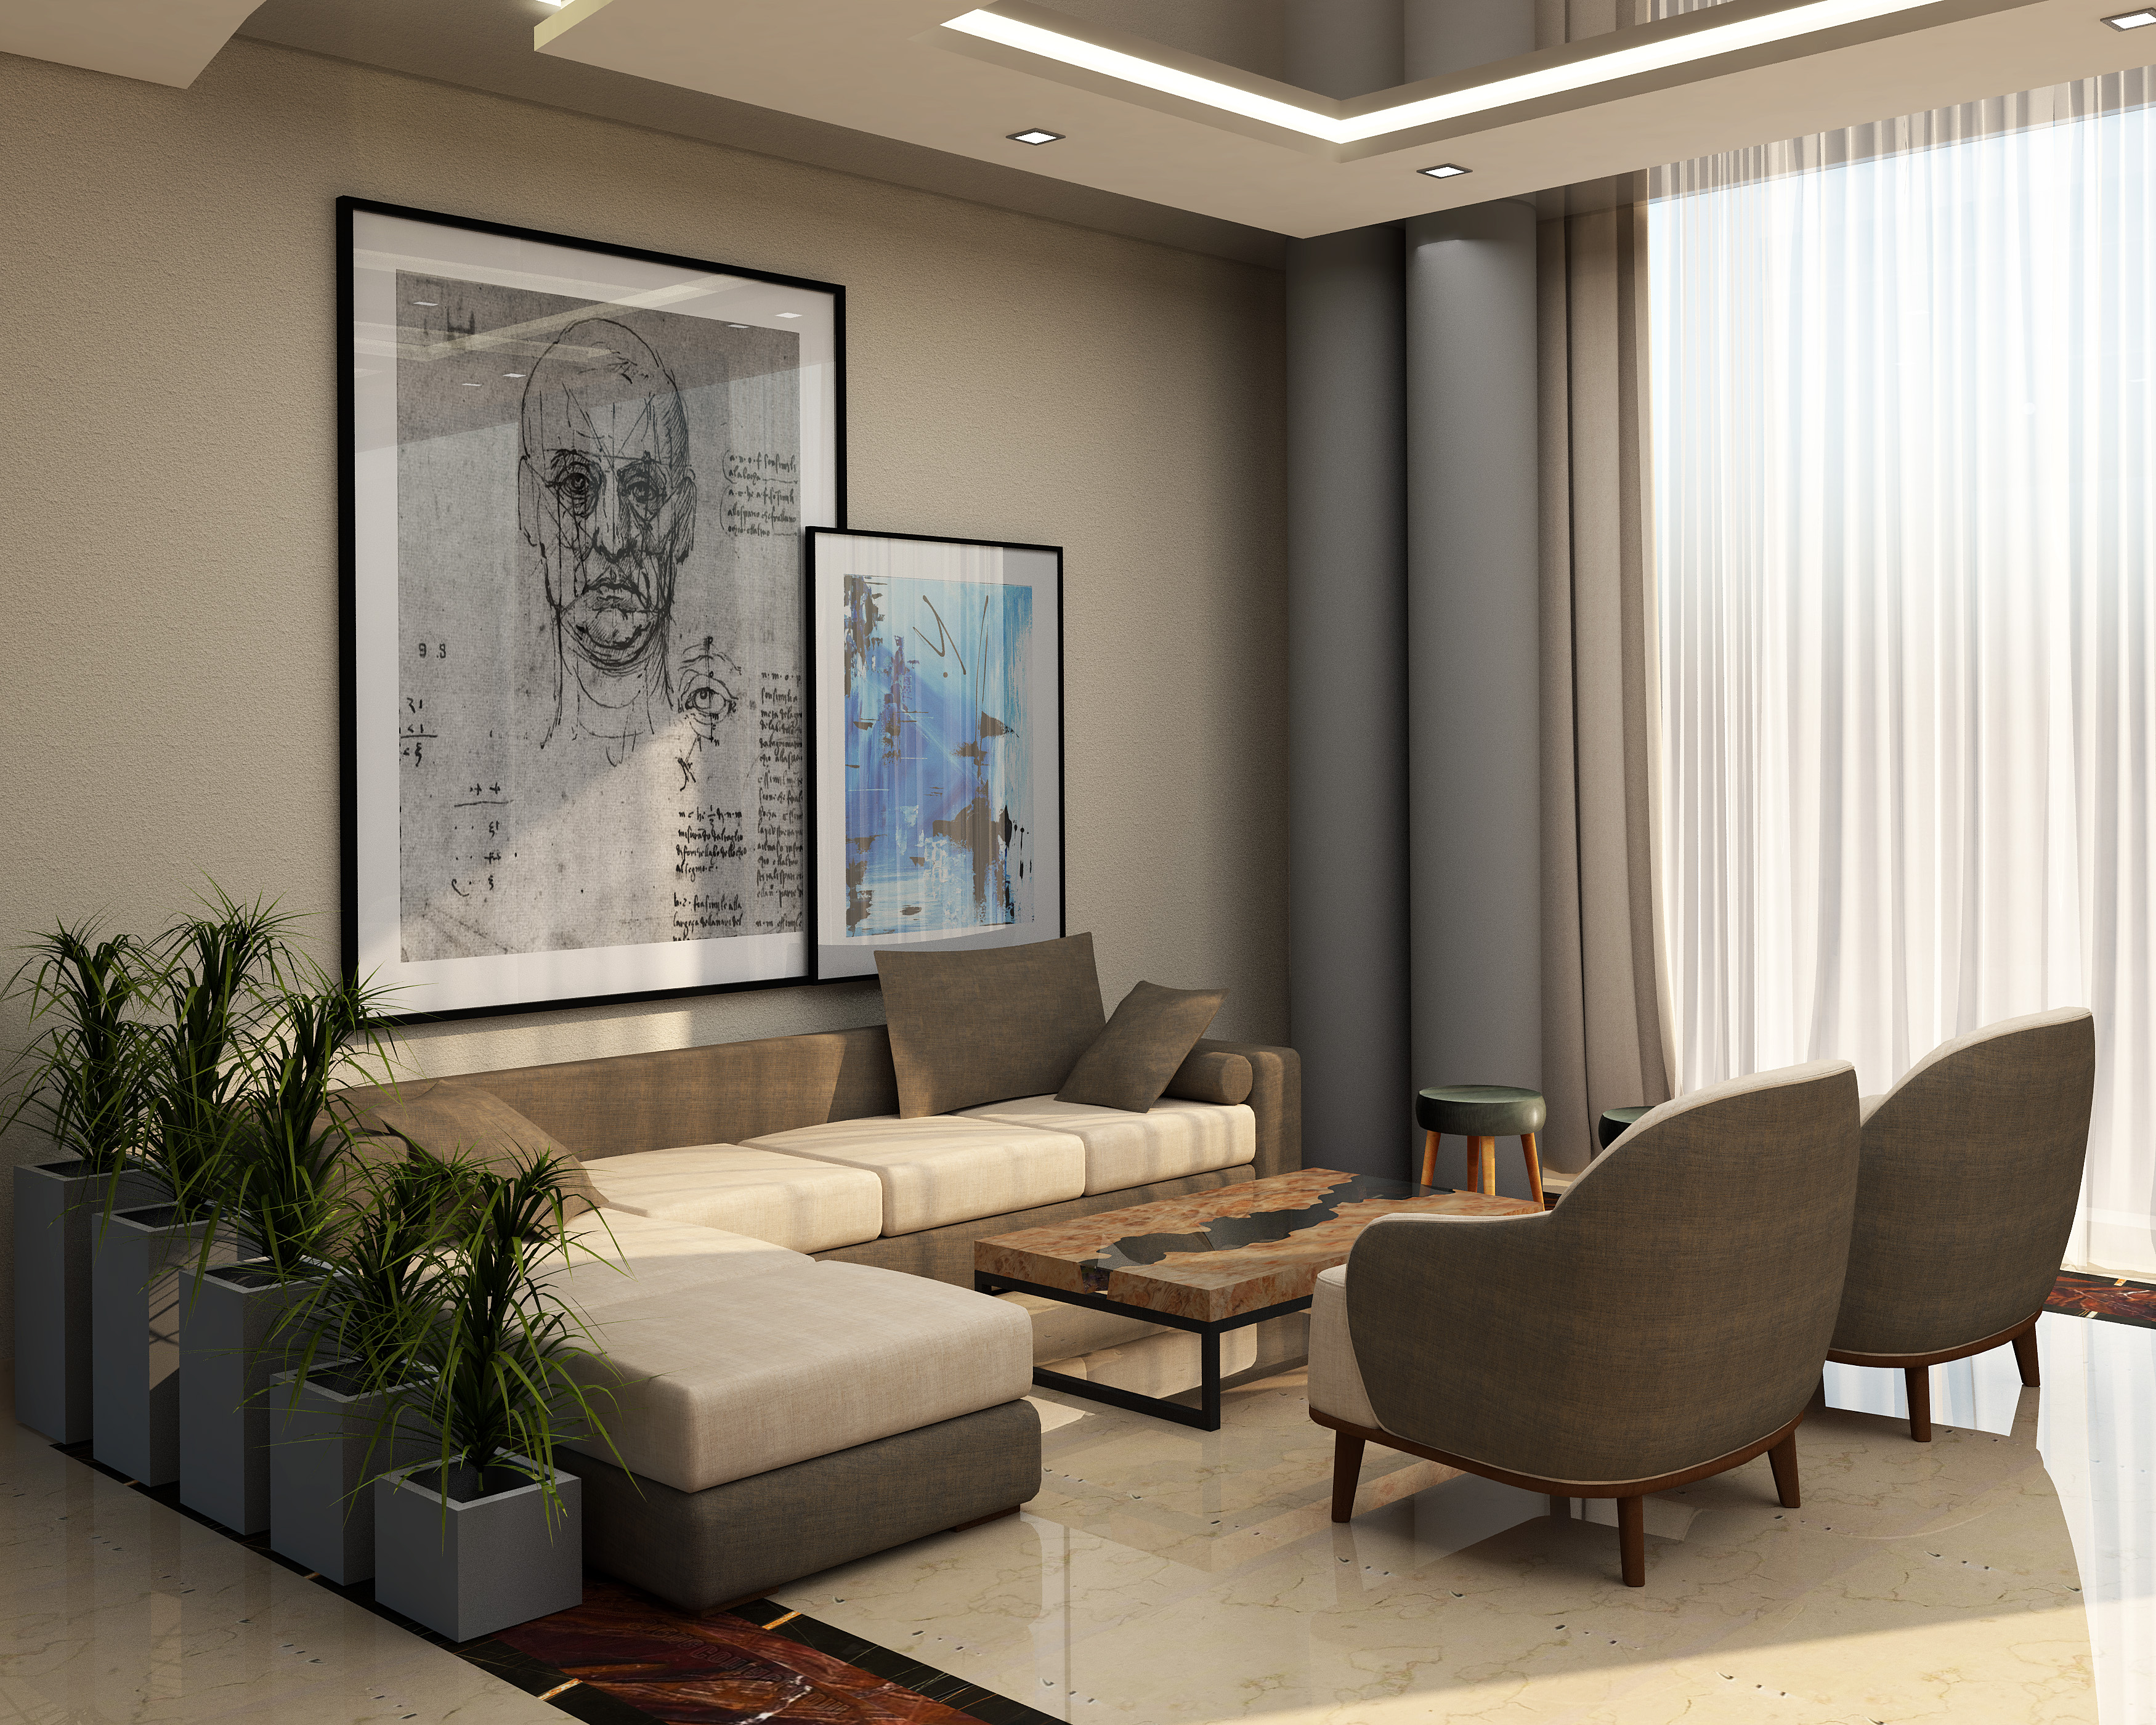
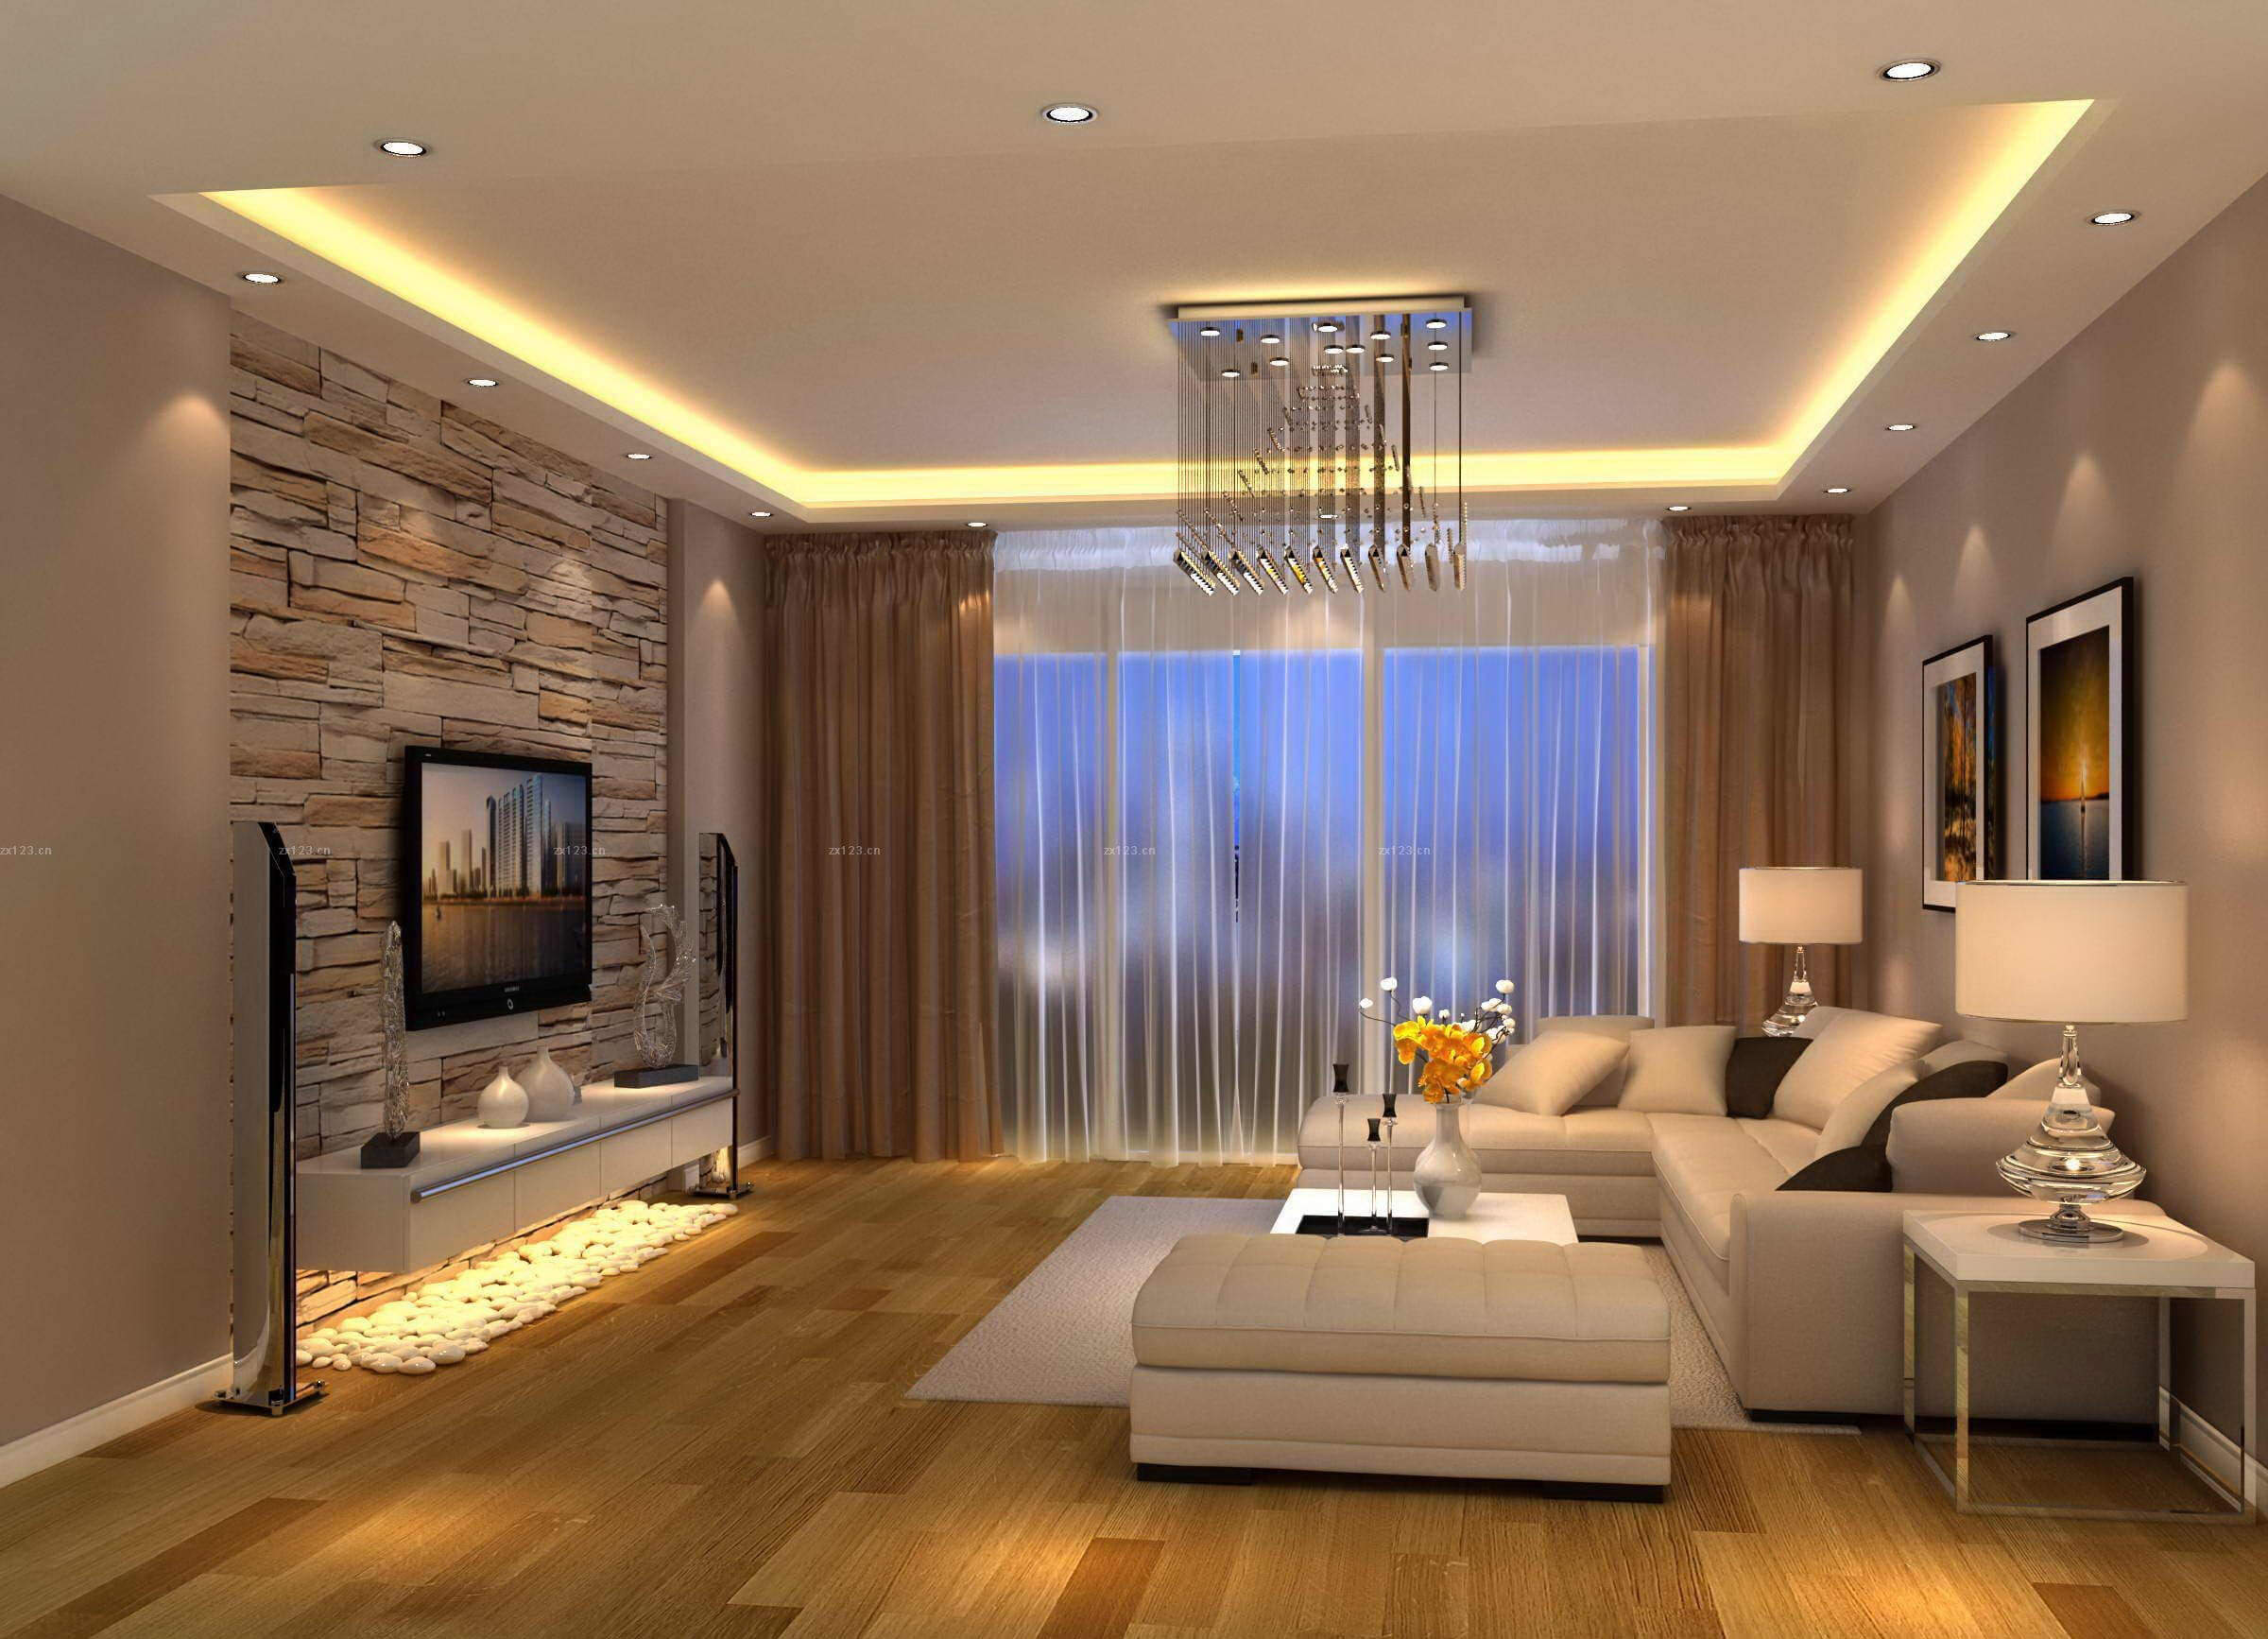
The living room is usually filled with natural light, making it the perfect location for product photography. Utilize this natural light to your advantage by setting up your product near a window or in a well-lit area. This will create a soft and natural lighting effect, highlighting the features of your product without any harsh shadows.1. Utilize Natural Light


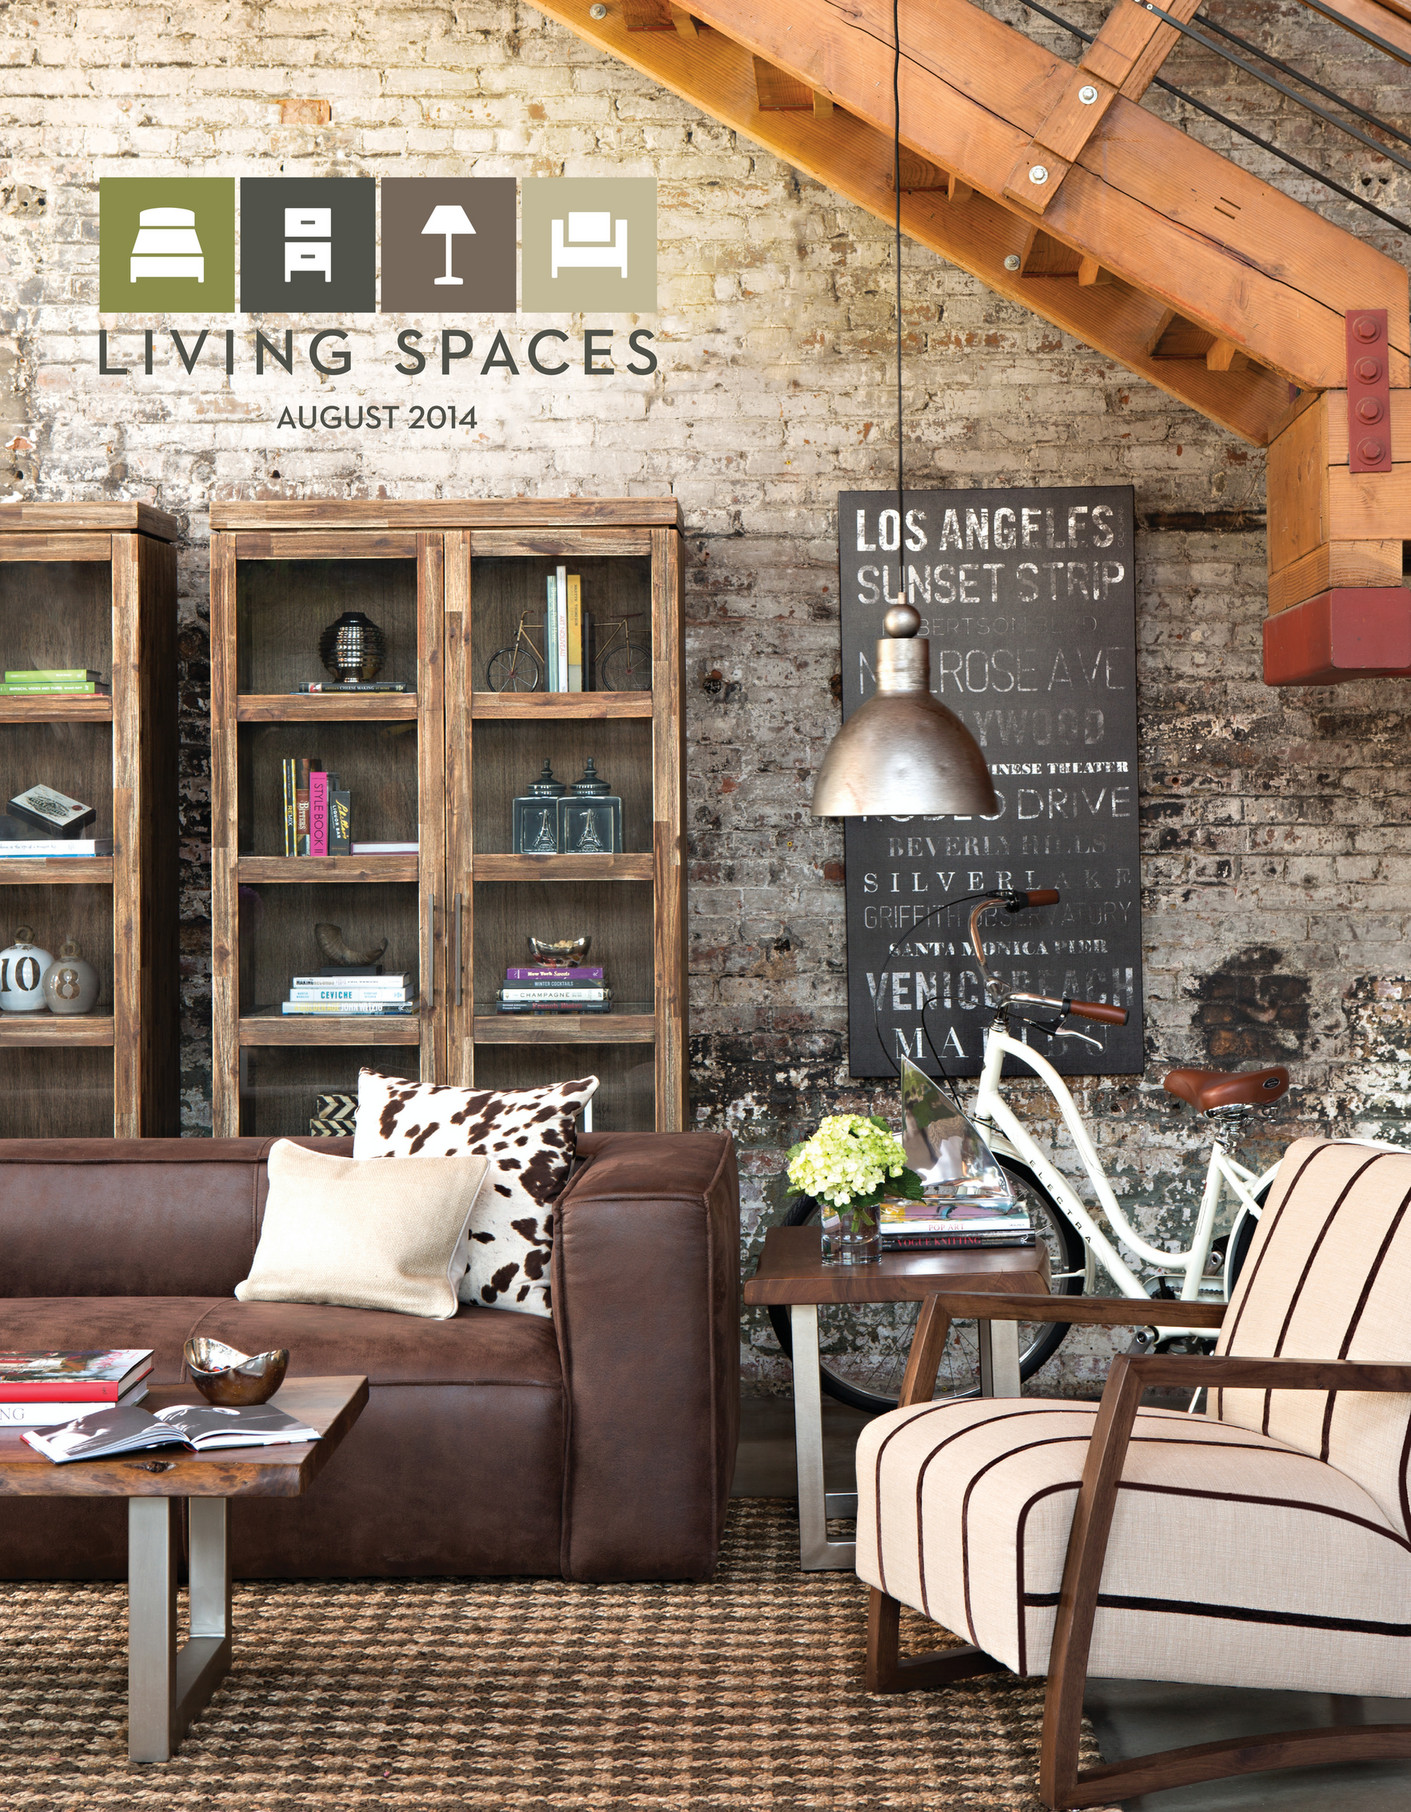
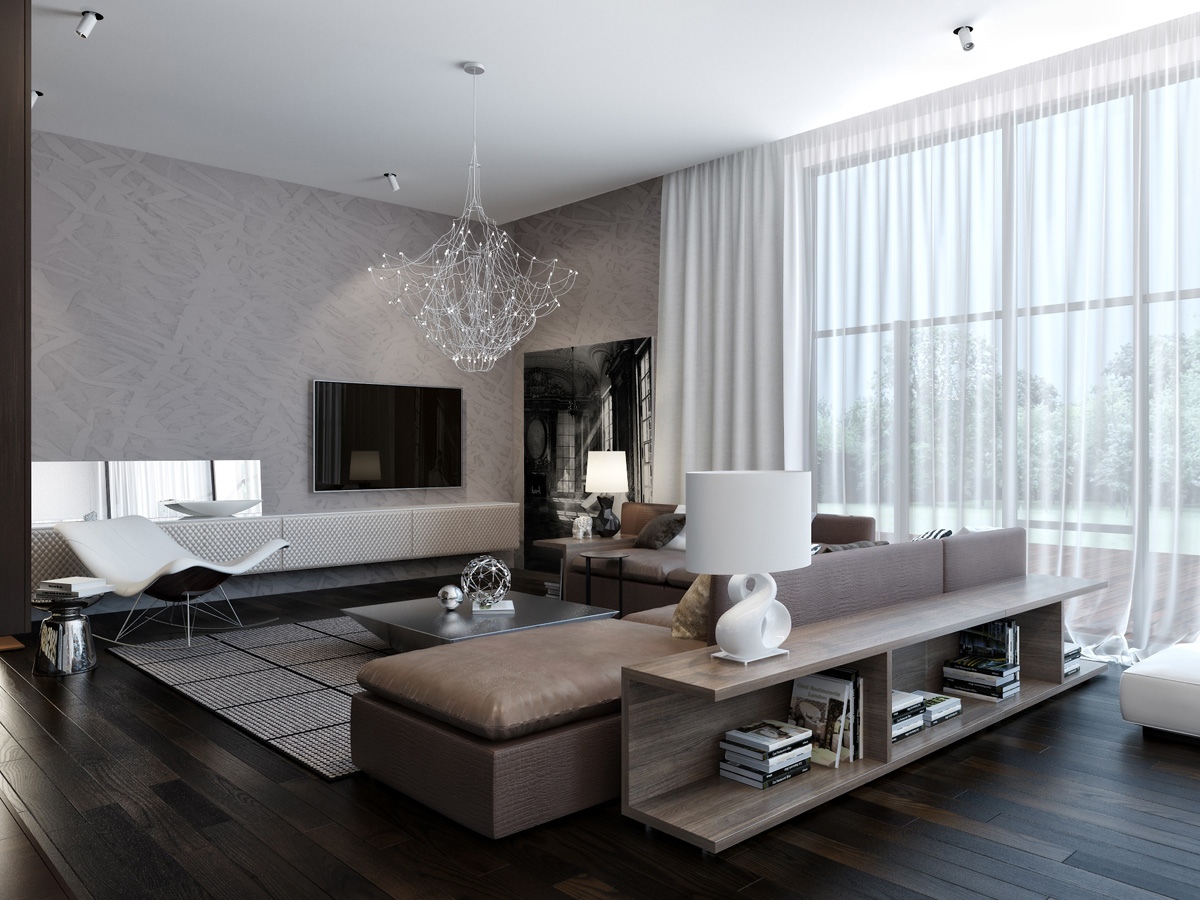
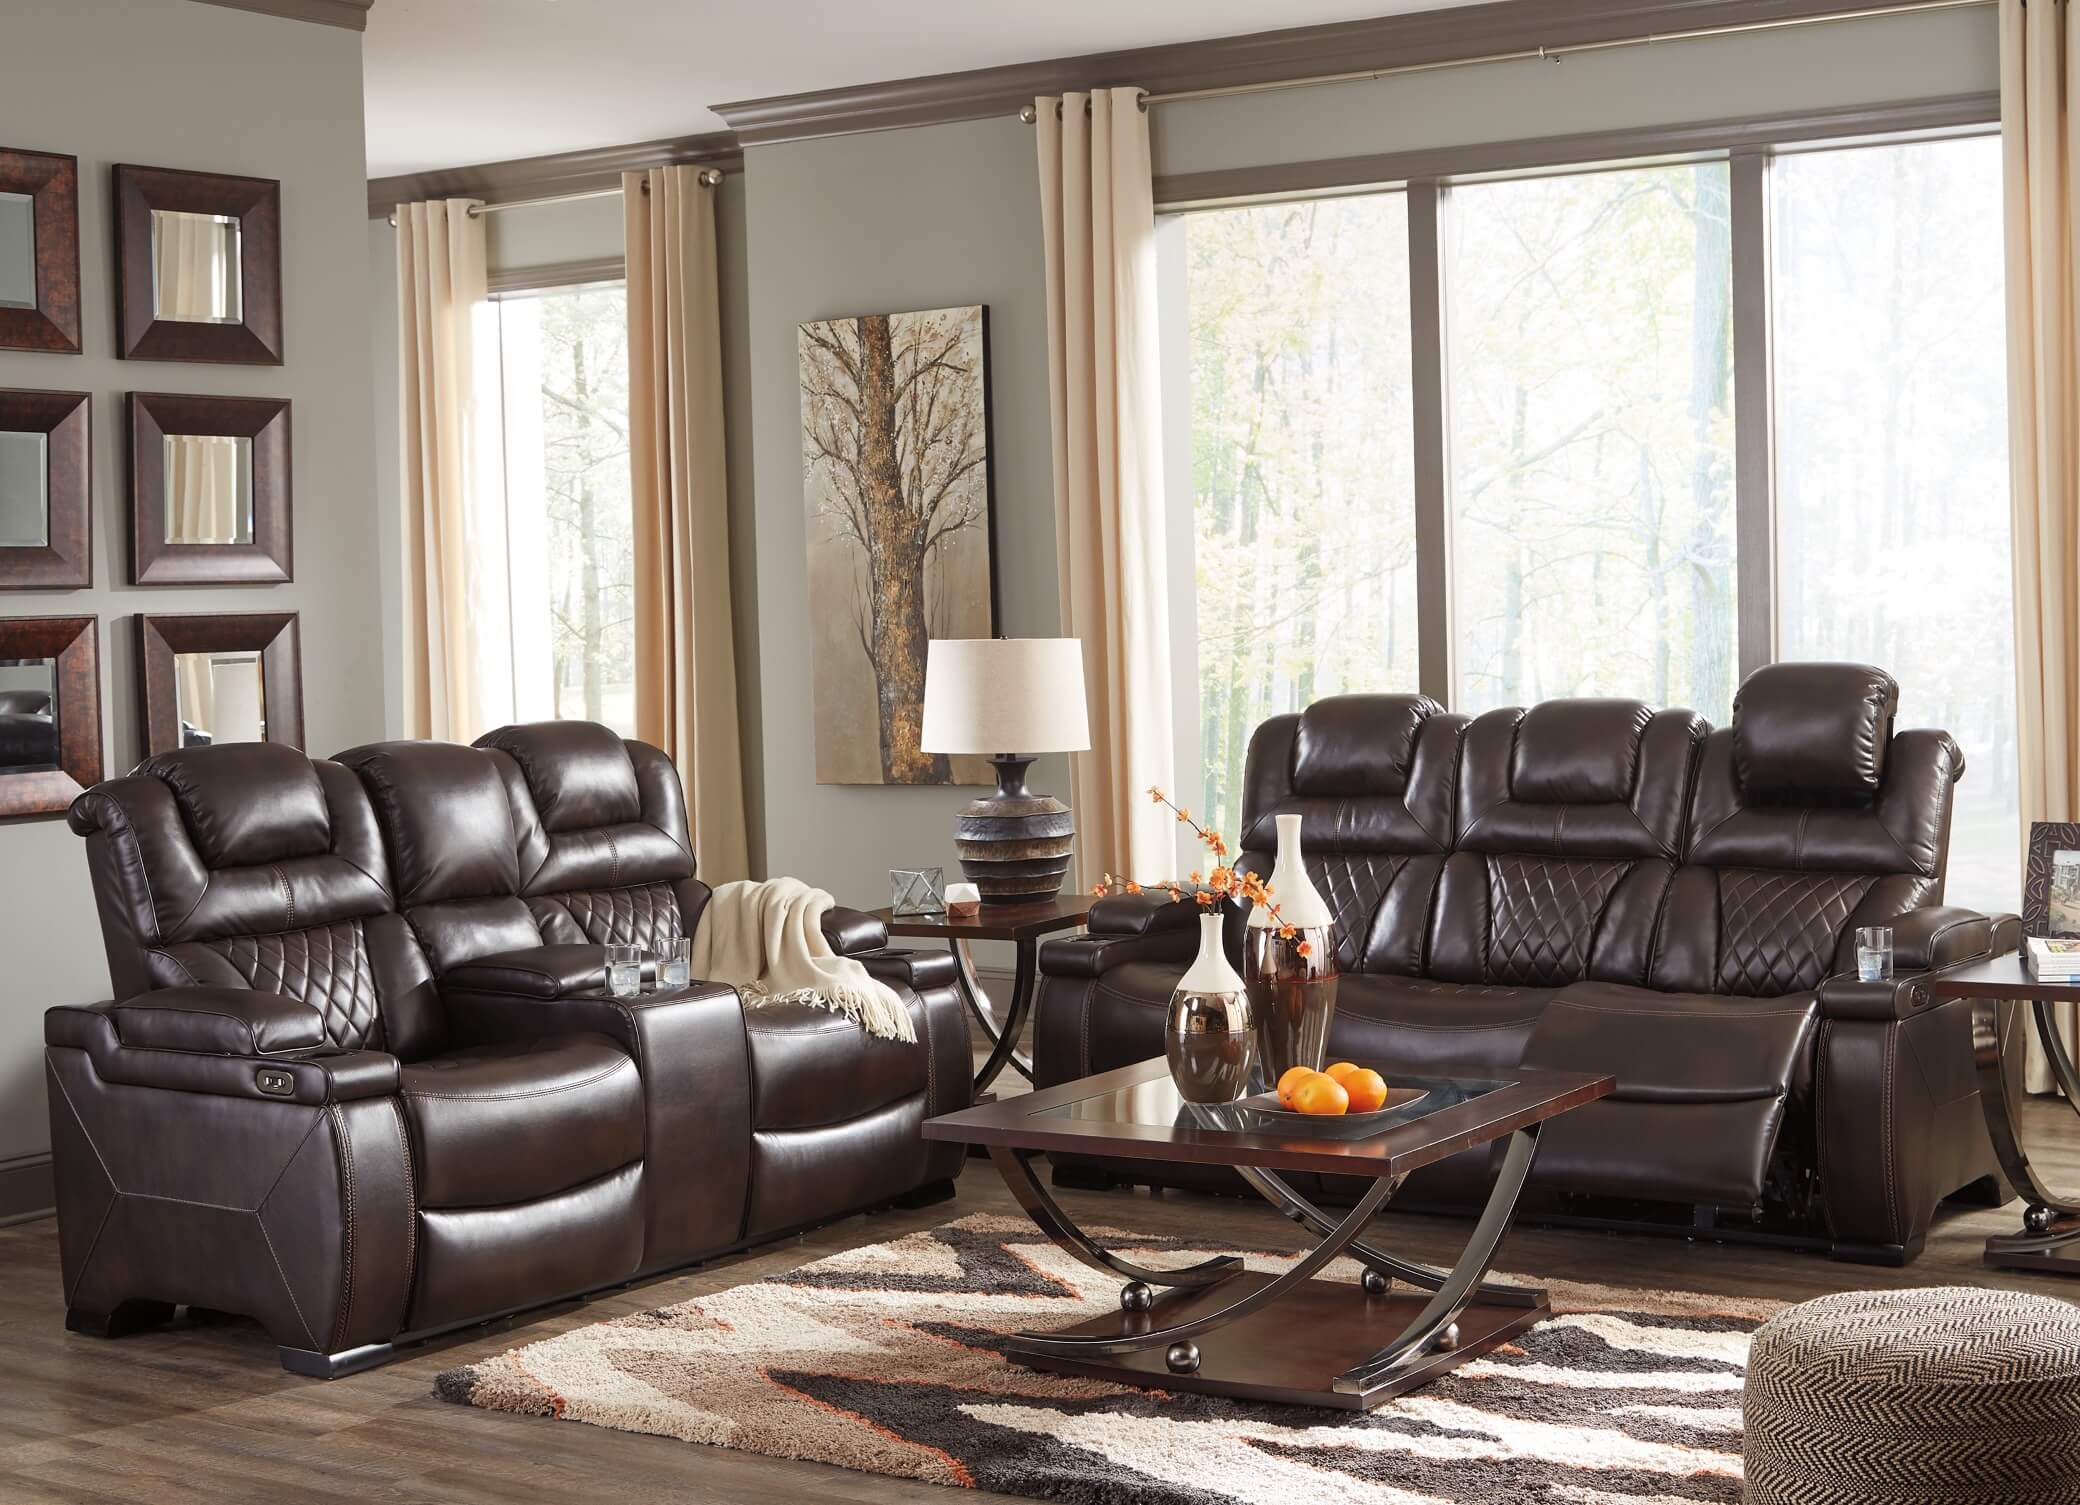
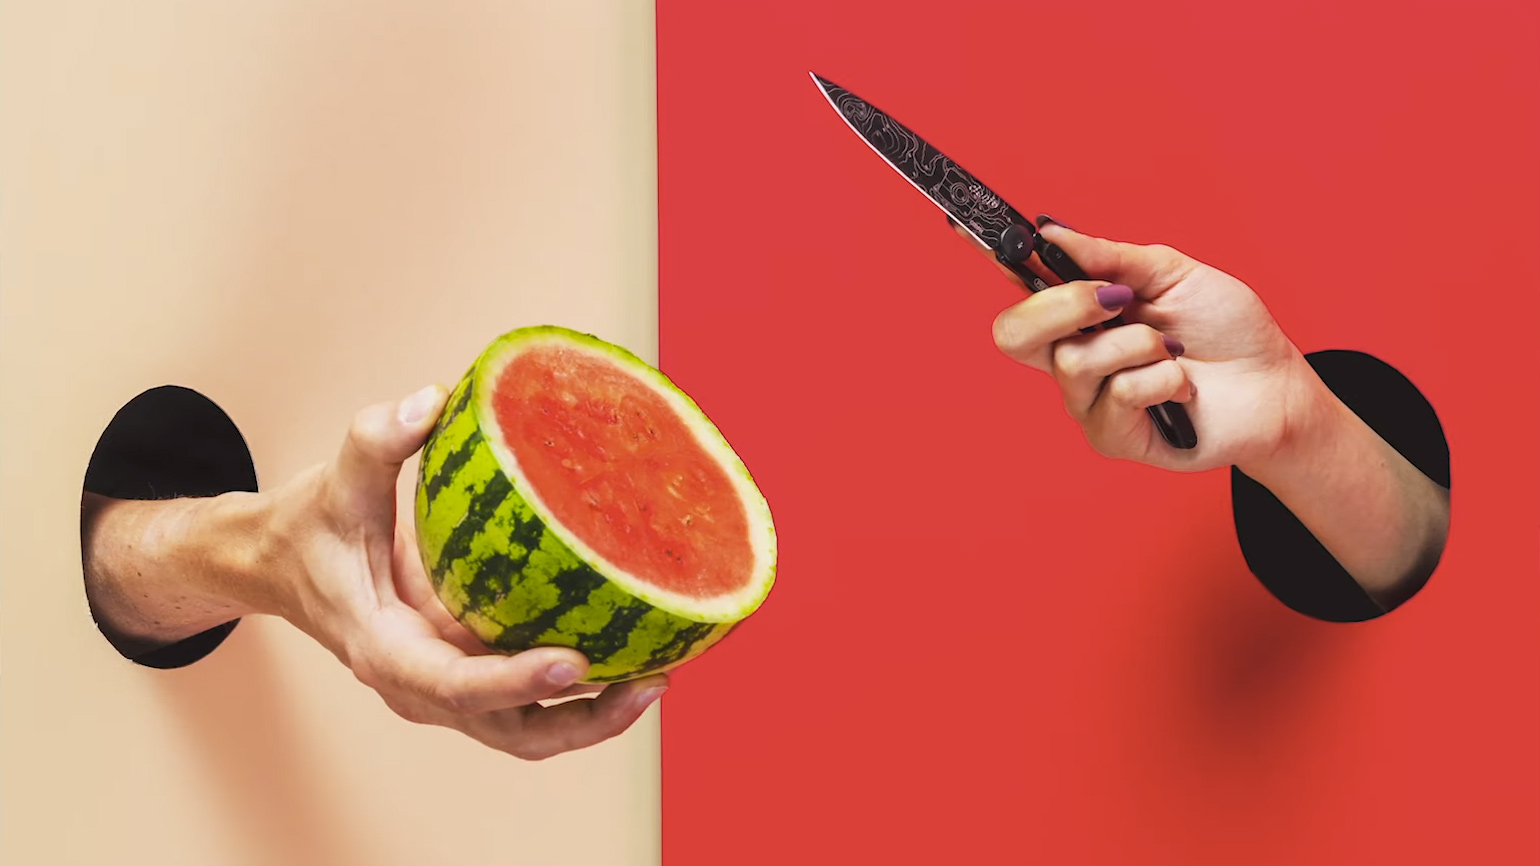
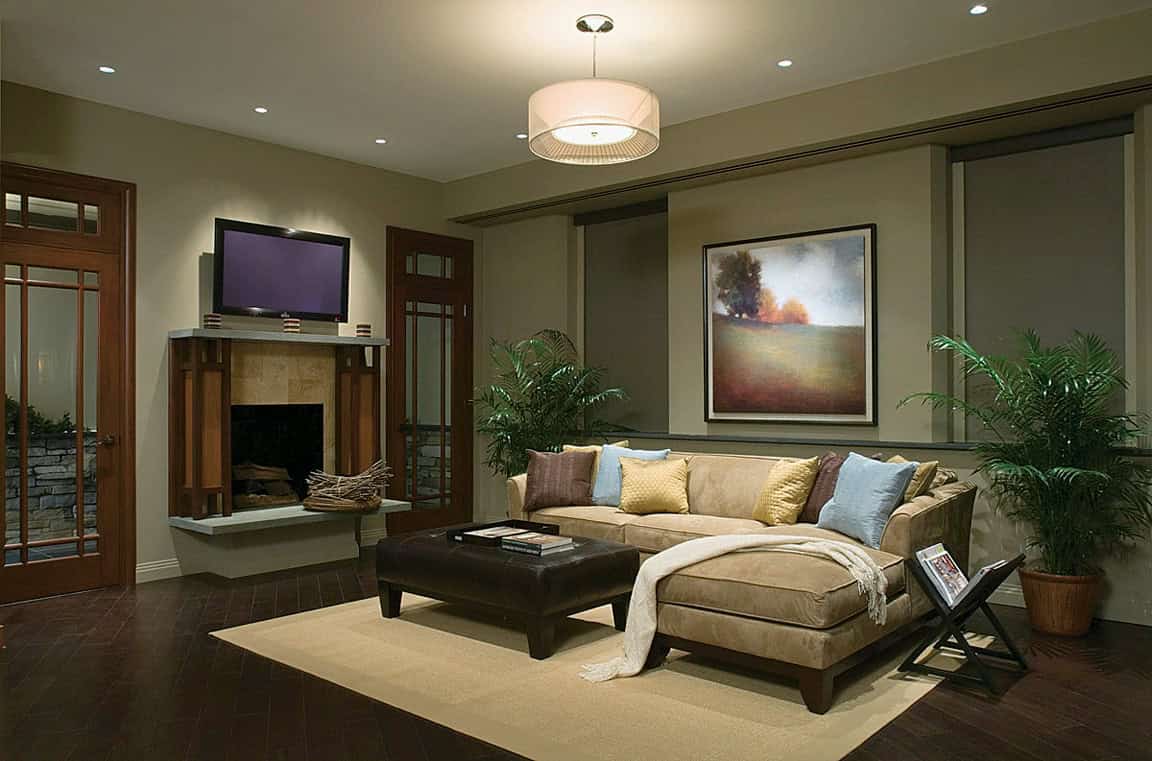
Product Photography in Living Room


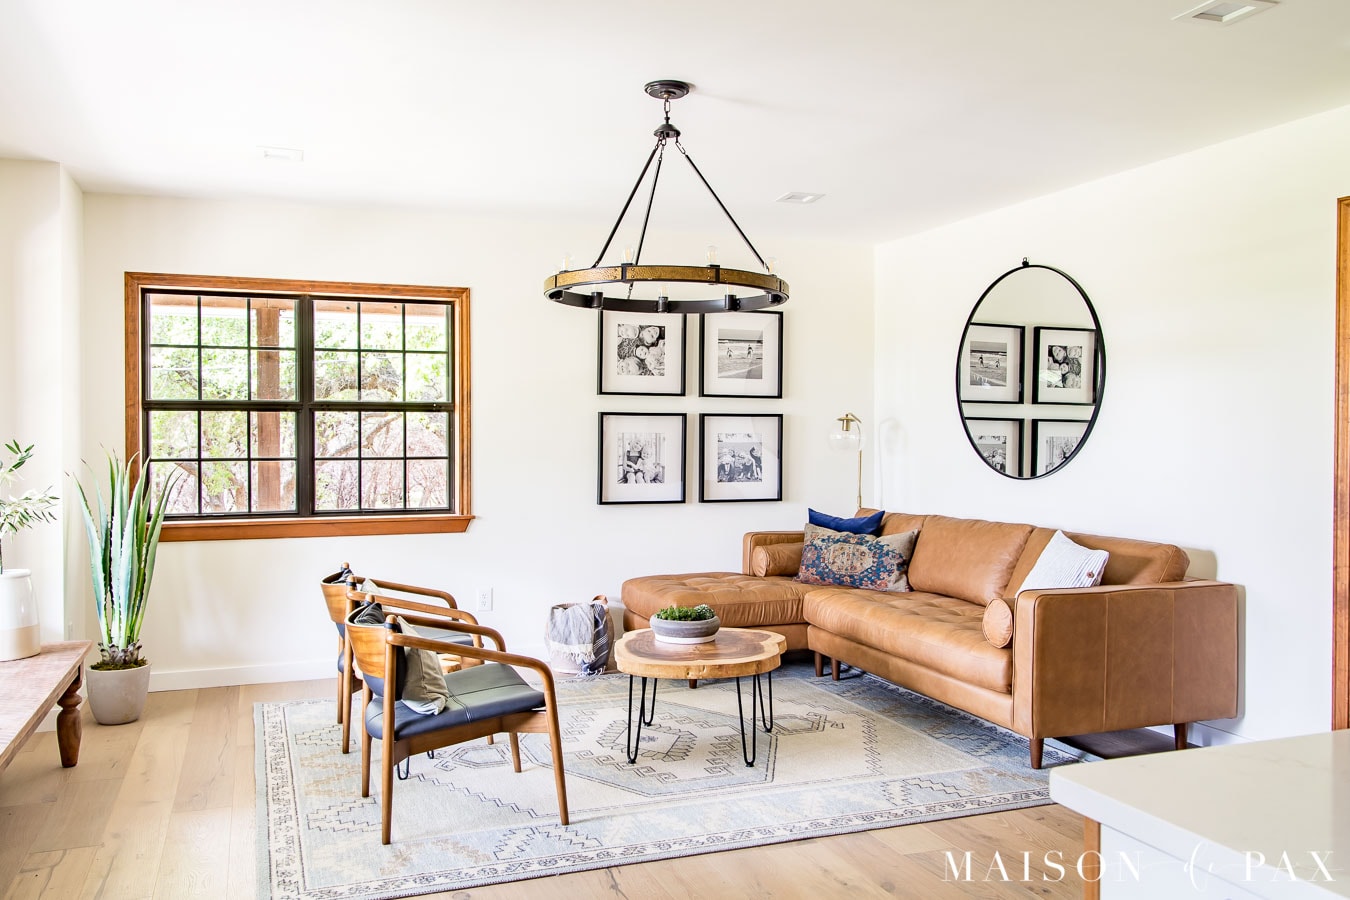
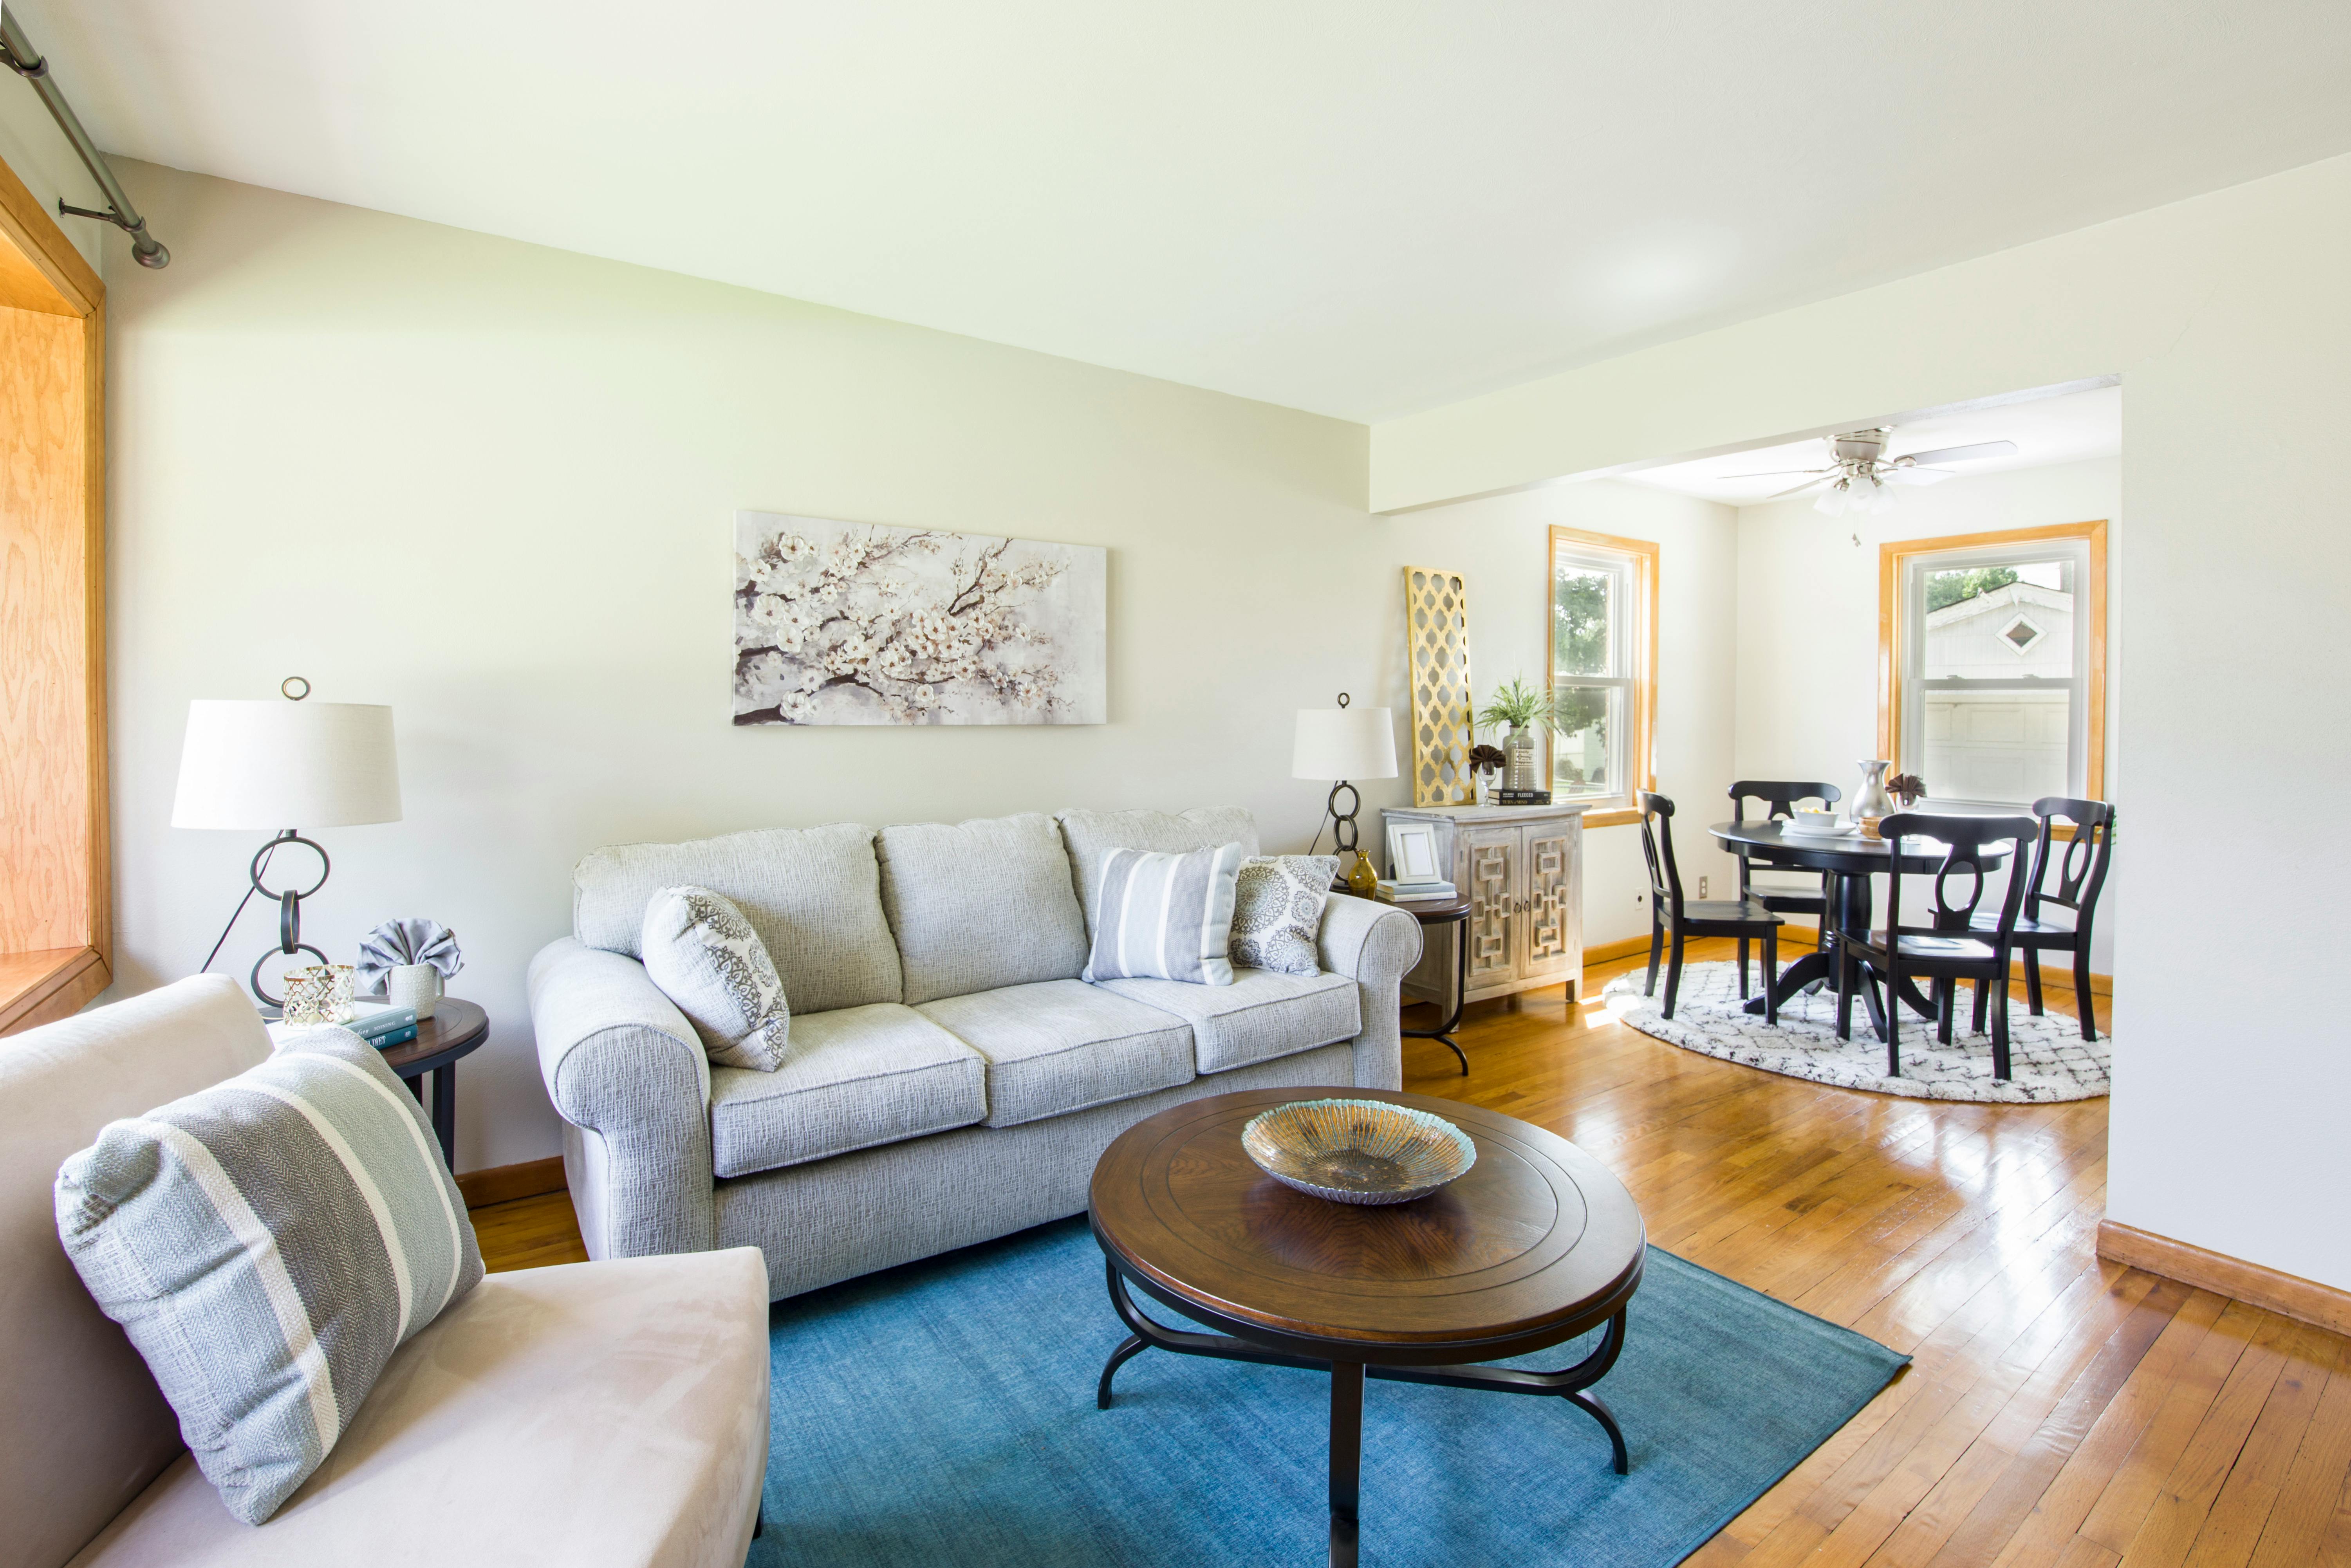
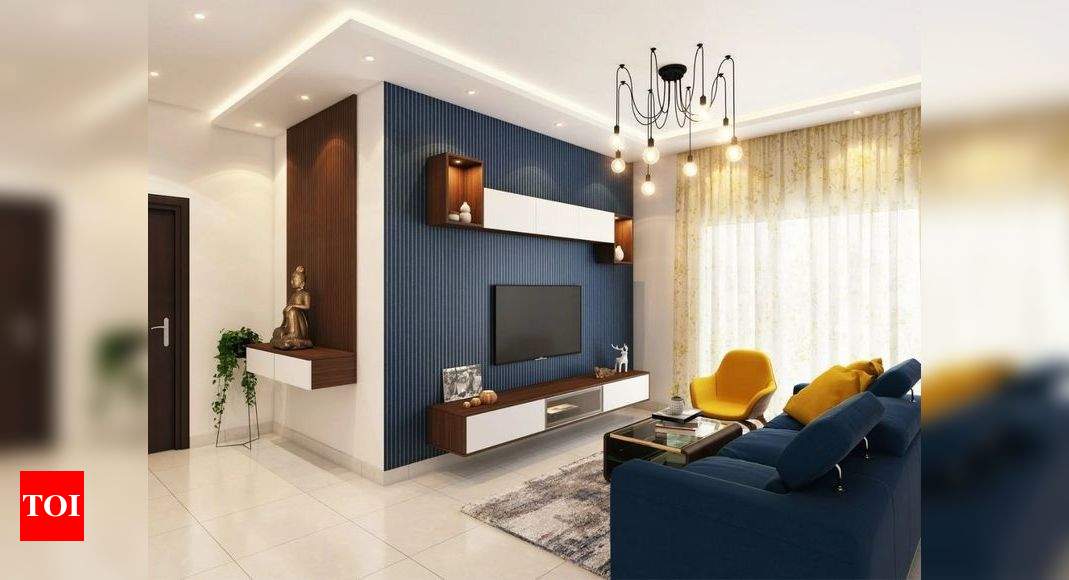
The background plays a crucial role in product photography, as it can make or break the overall look of your photos. When shooting in your living room, pick a background that complements your product and helps it stand out. A clean and simple background, such as a white wall or a neutral-colored curtain, can make your product pop and give it a professional look.2. Choose the Right Background


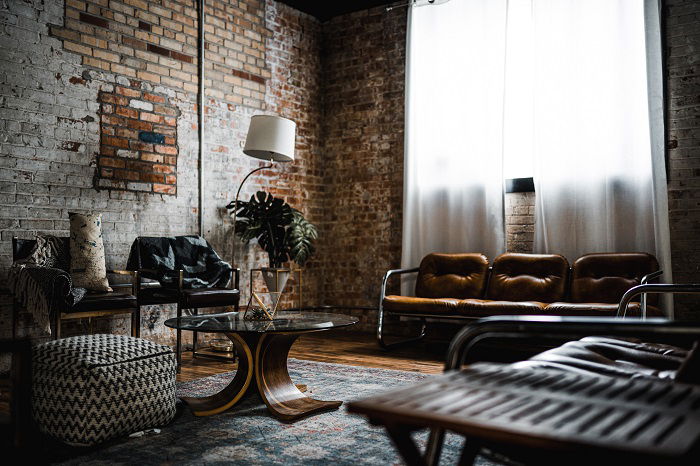
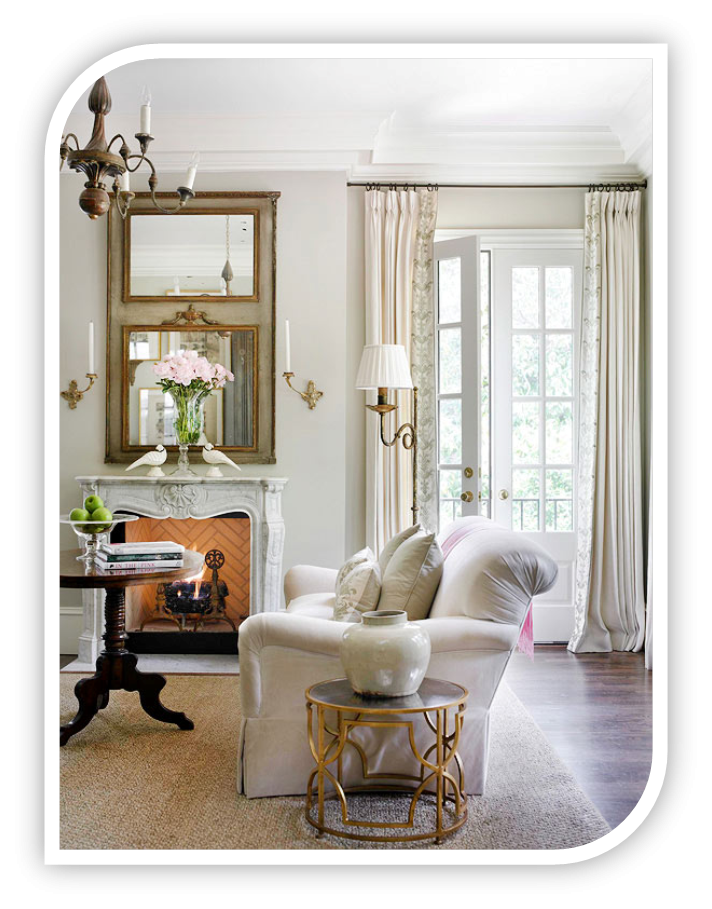
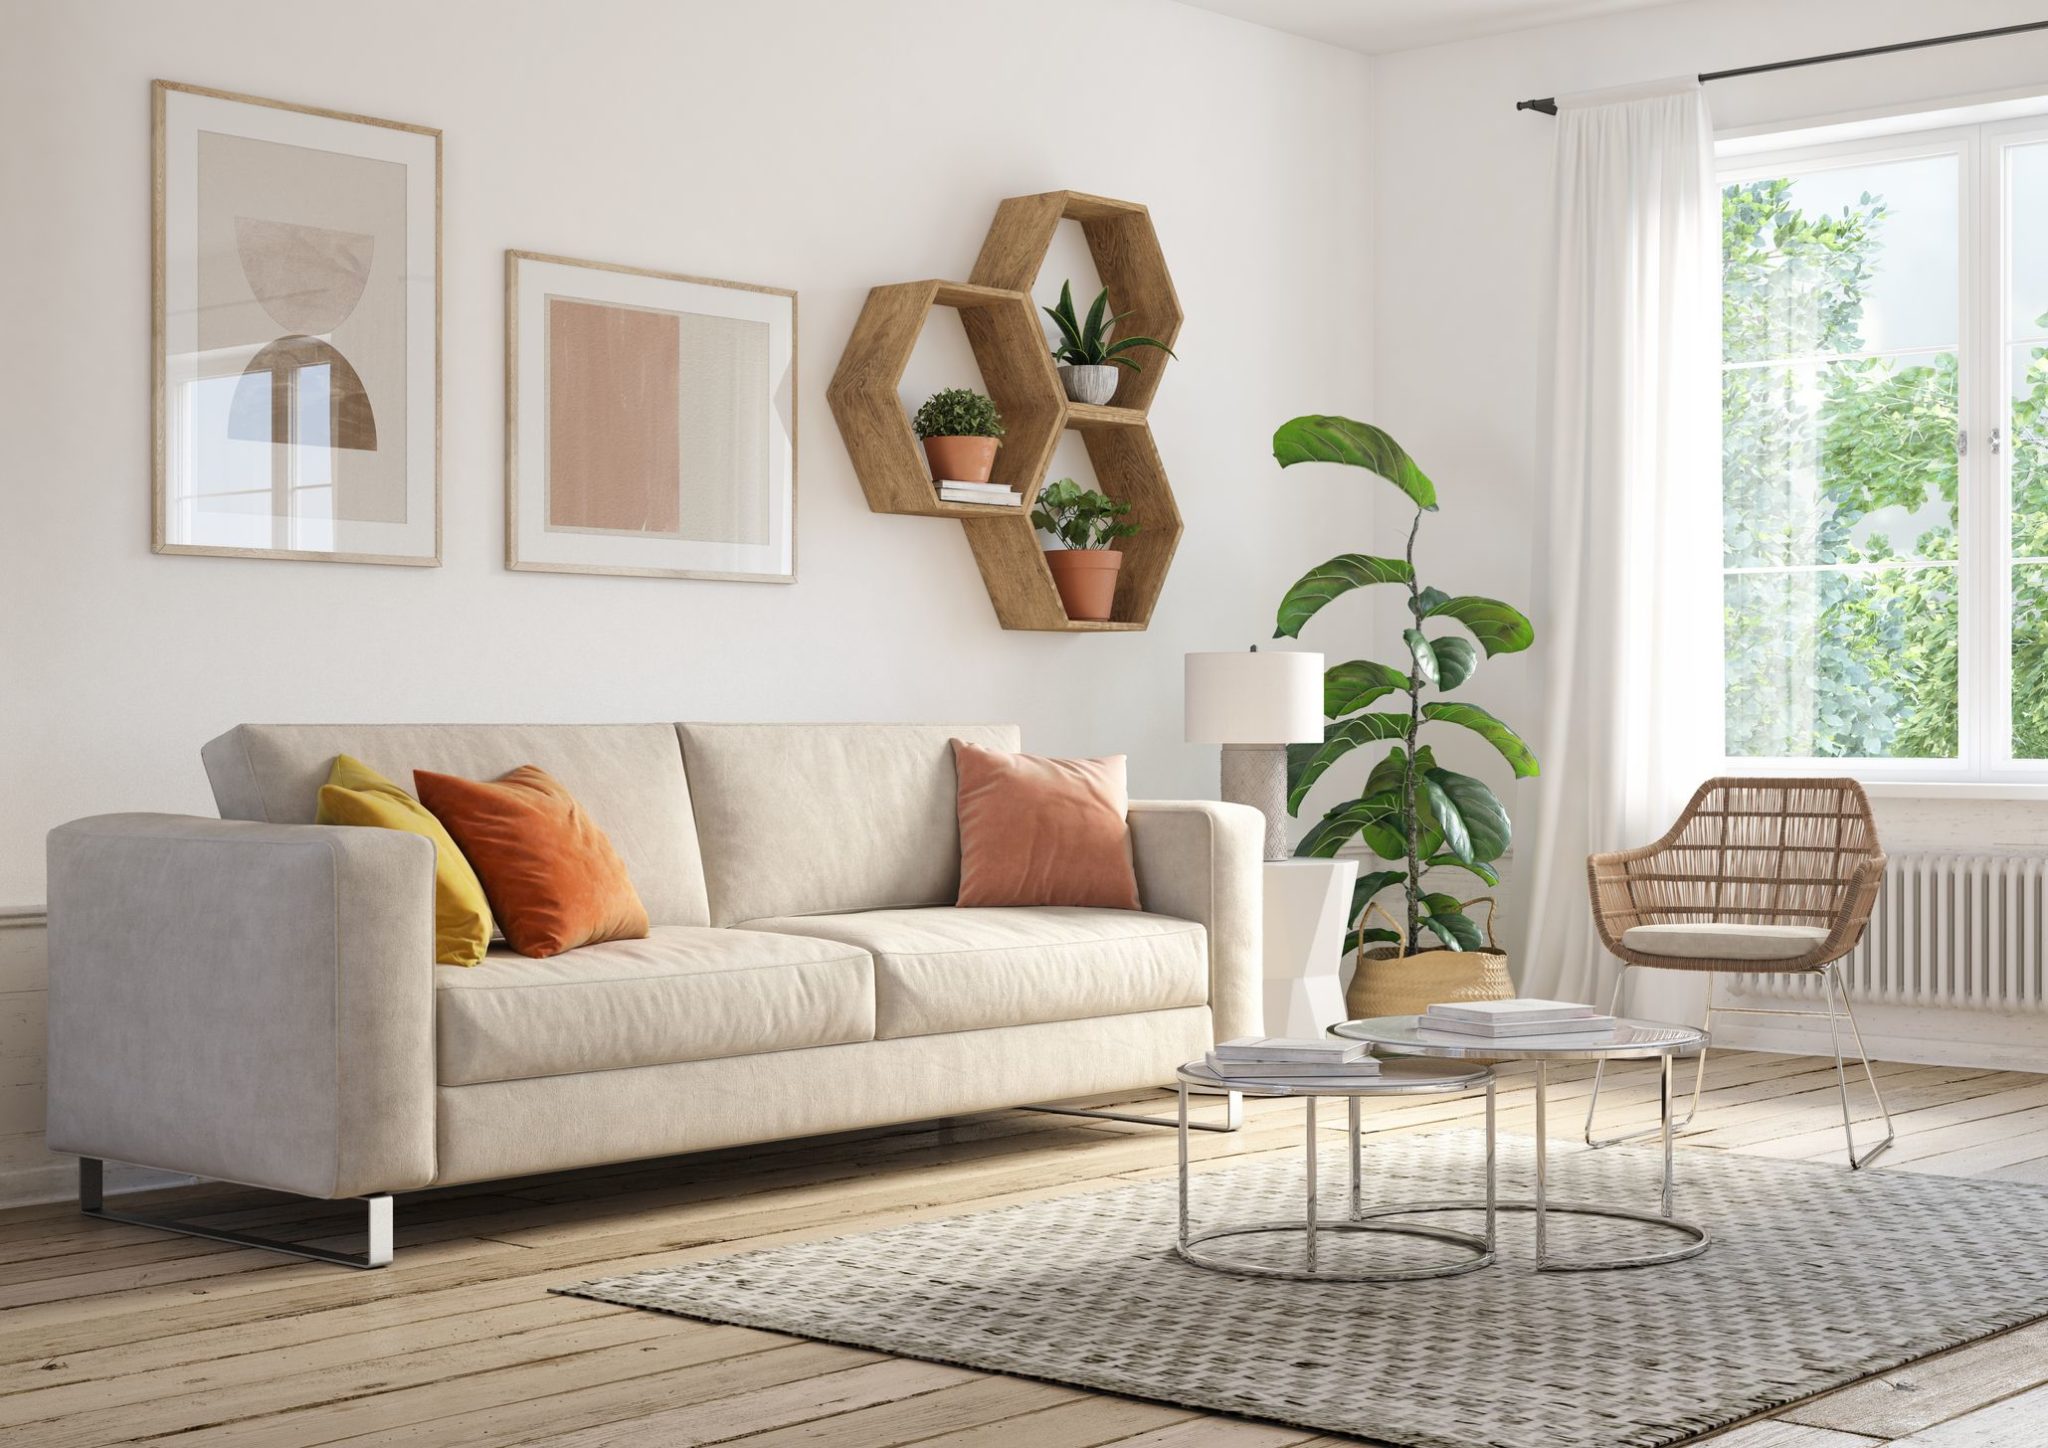
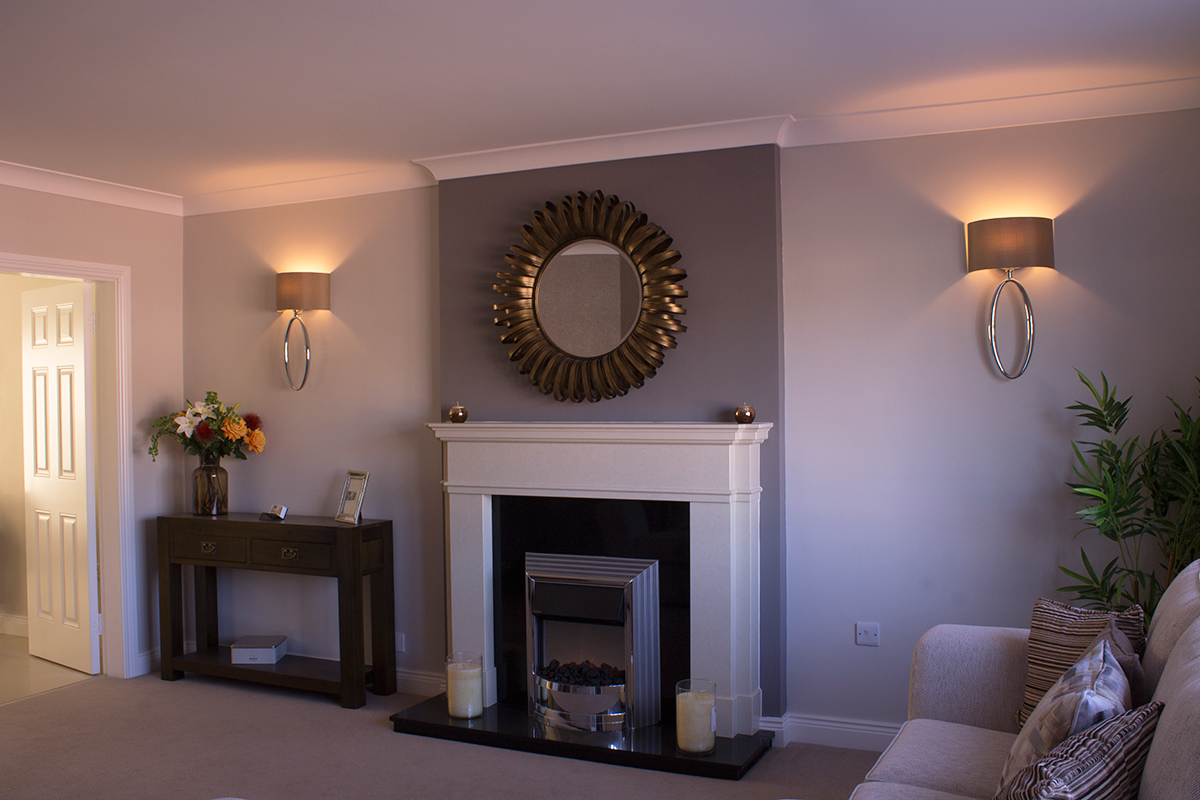
Living Room Product Photos


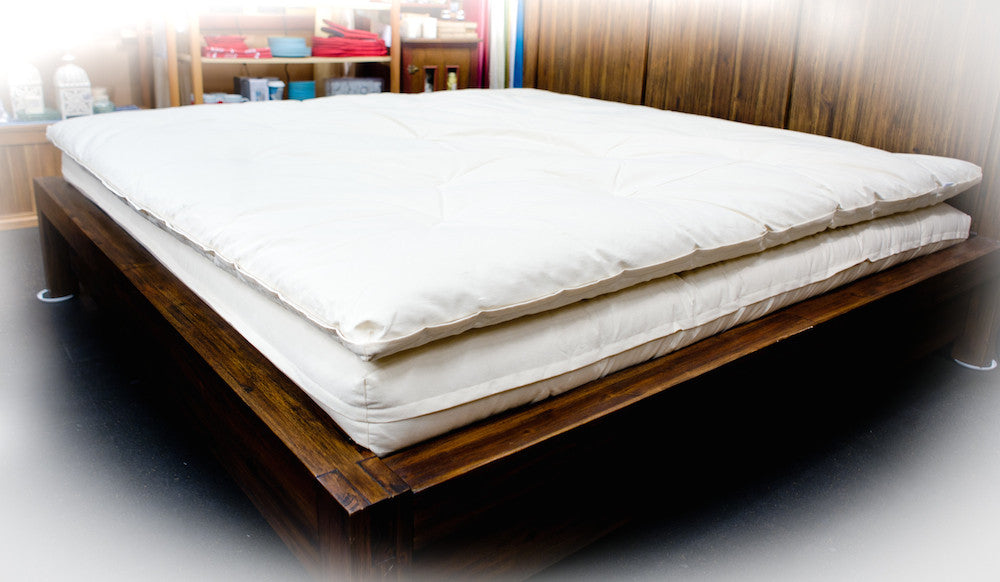
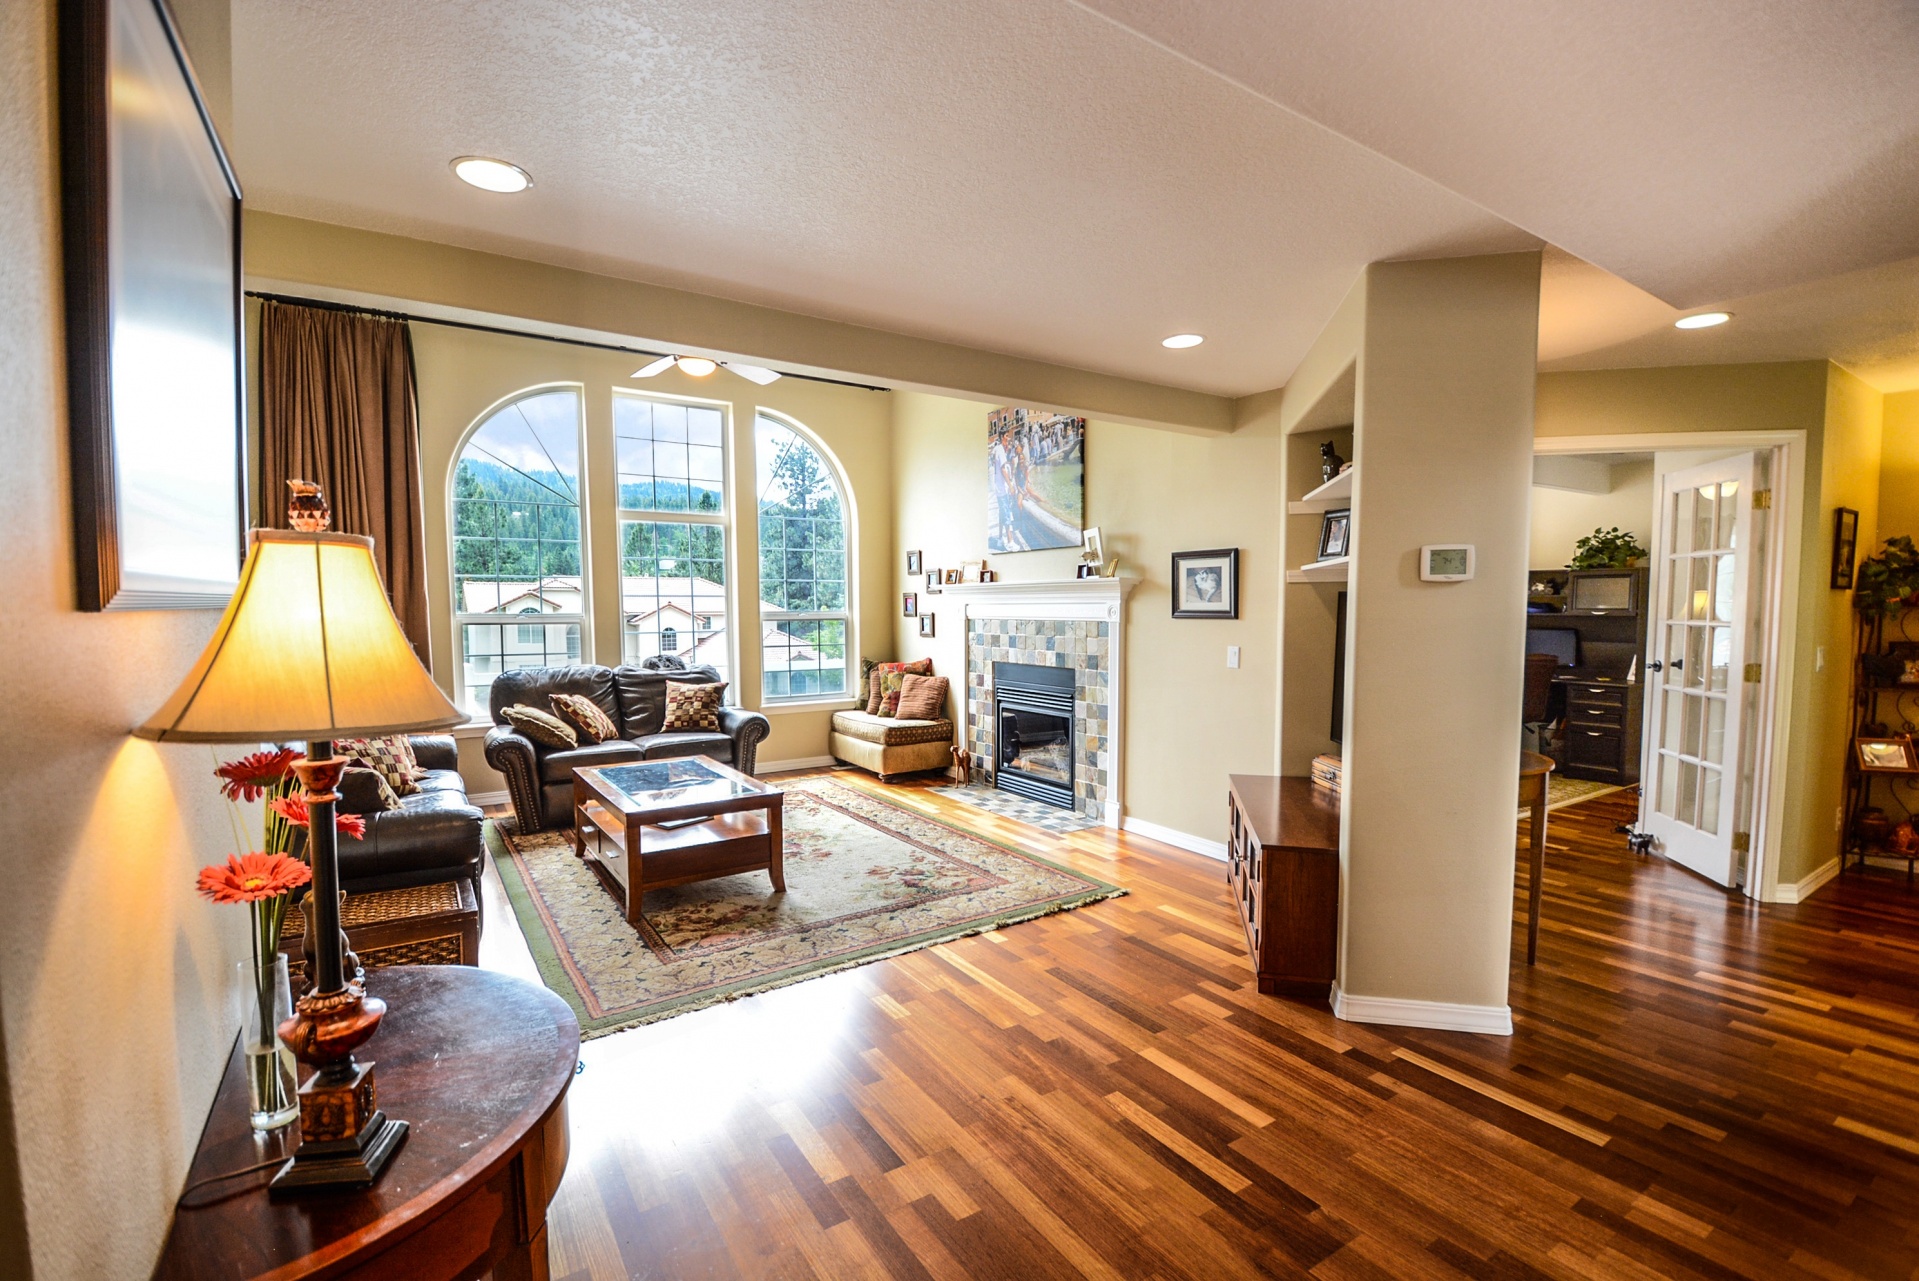
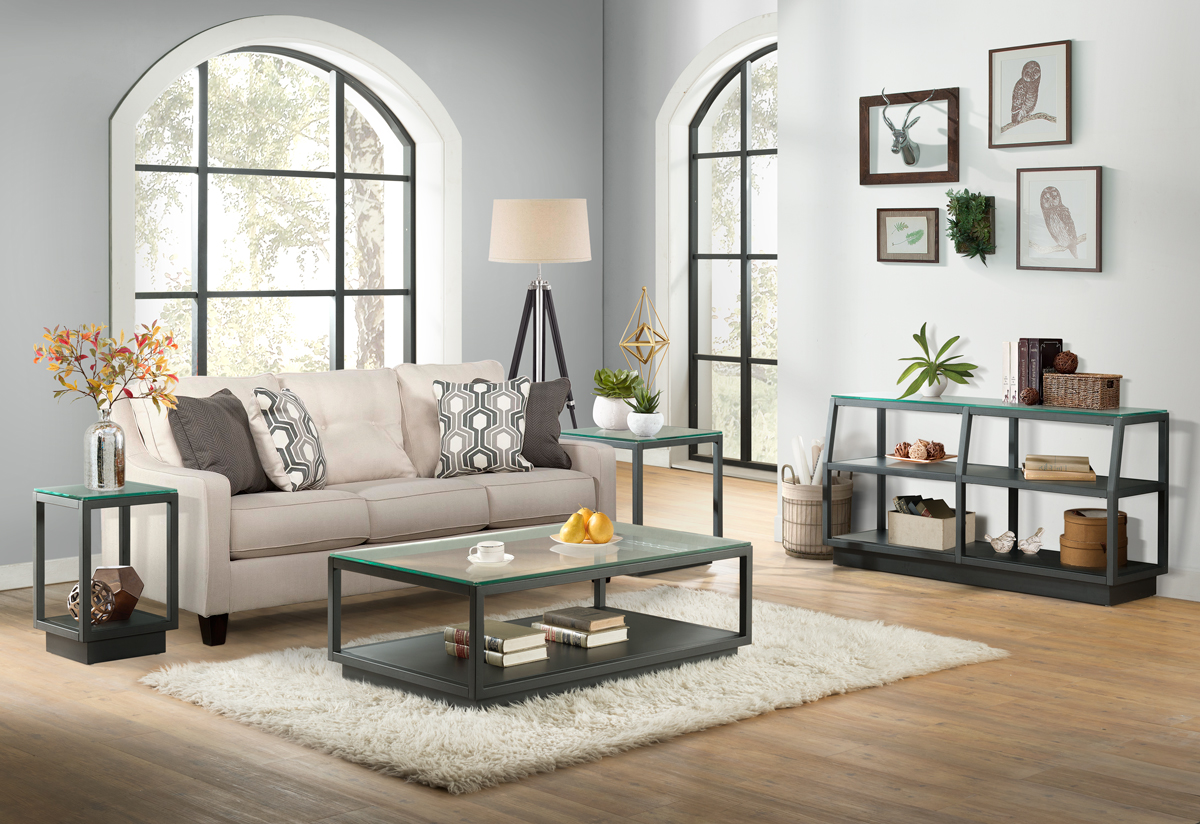
When photographing your product, it's important to showcase it from different angles. This will give potential customers a better understanding of the product and its features. Experiment with different angles and take multiple shots to find the best one that showcases your product in the most appealing way.3. Showcase Different Angles


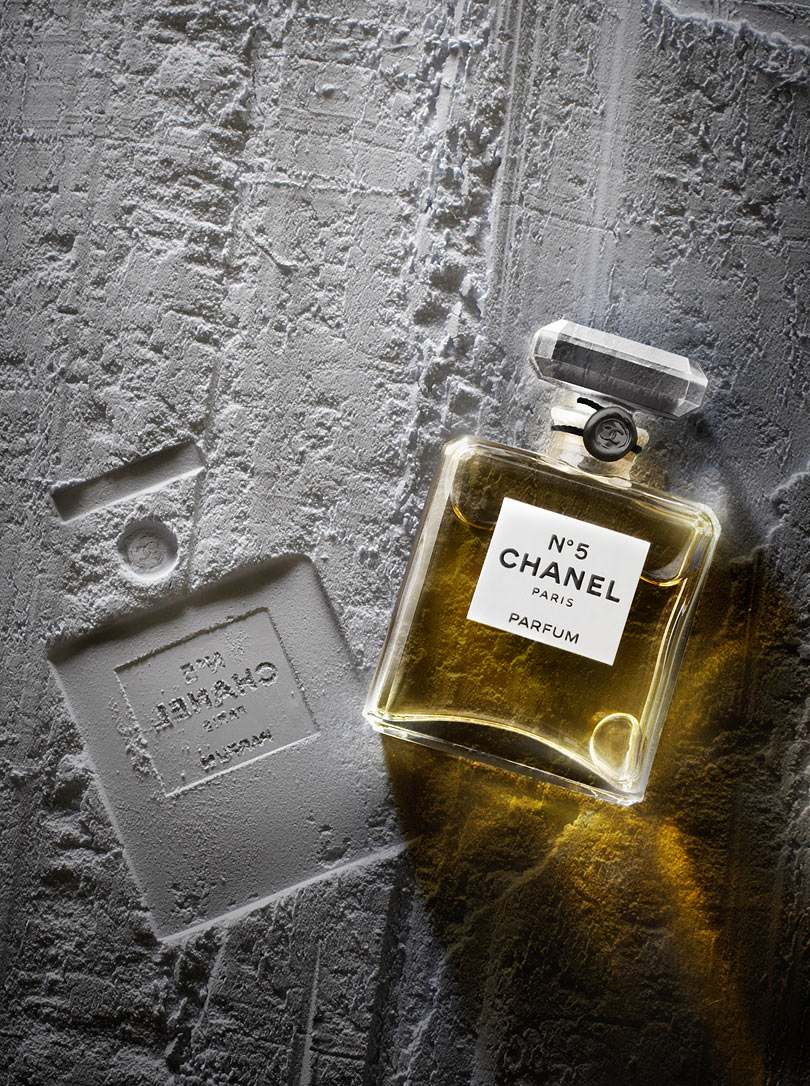
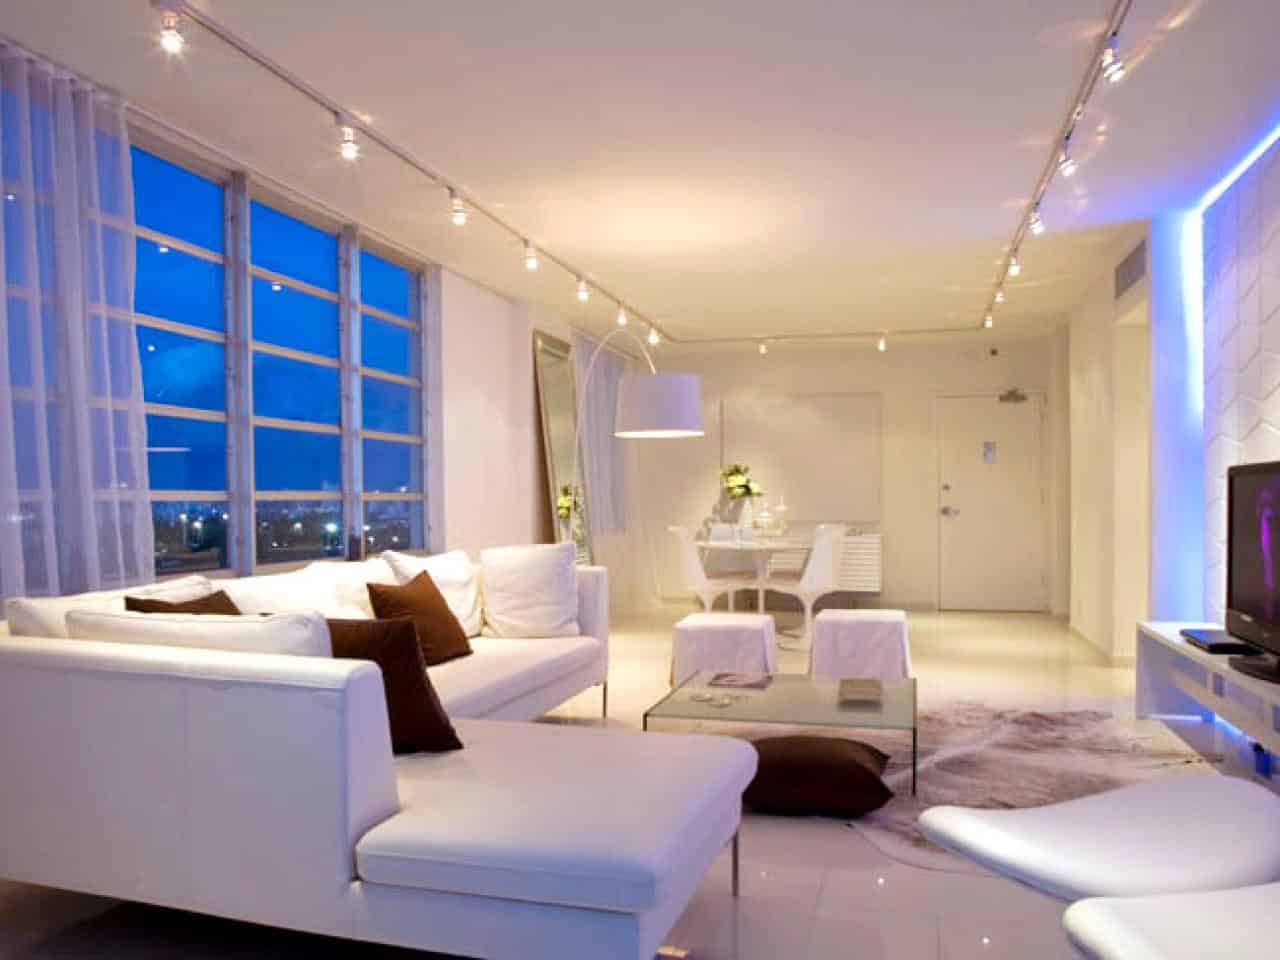
Living Room Product Shots
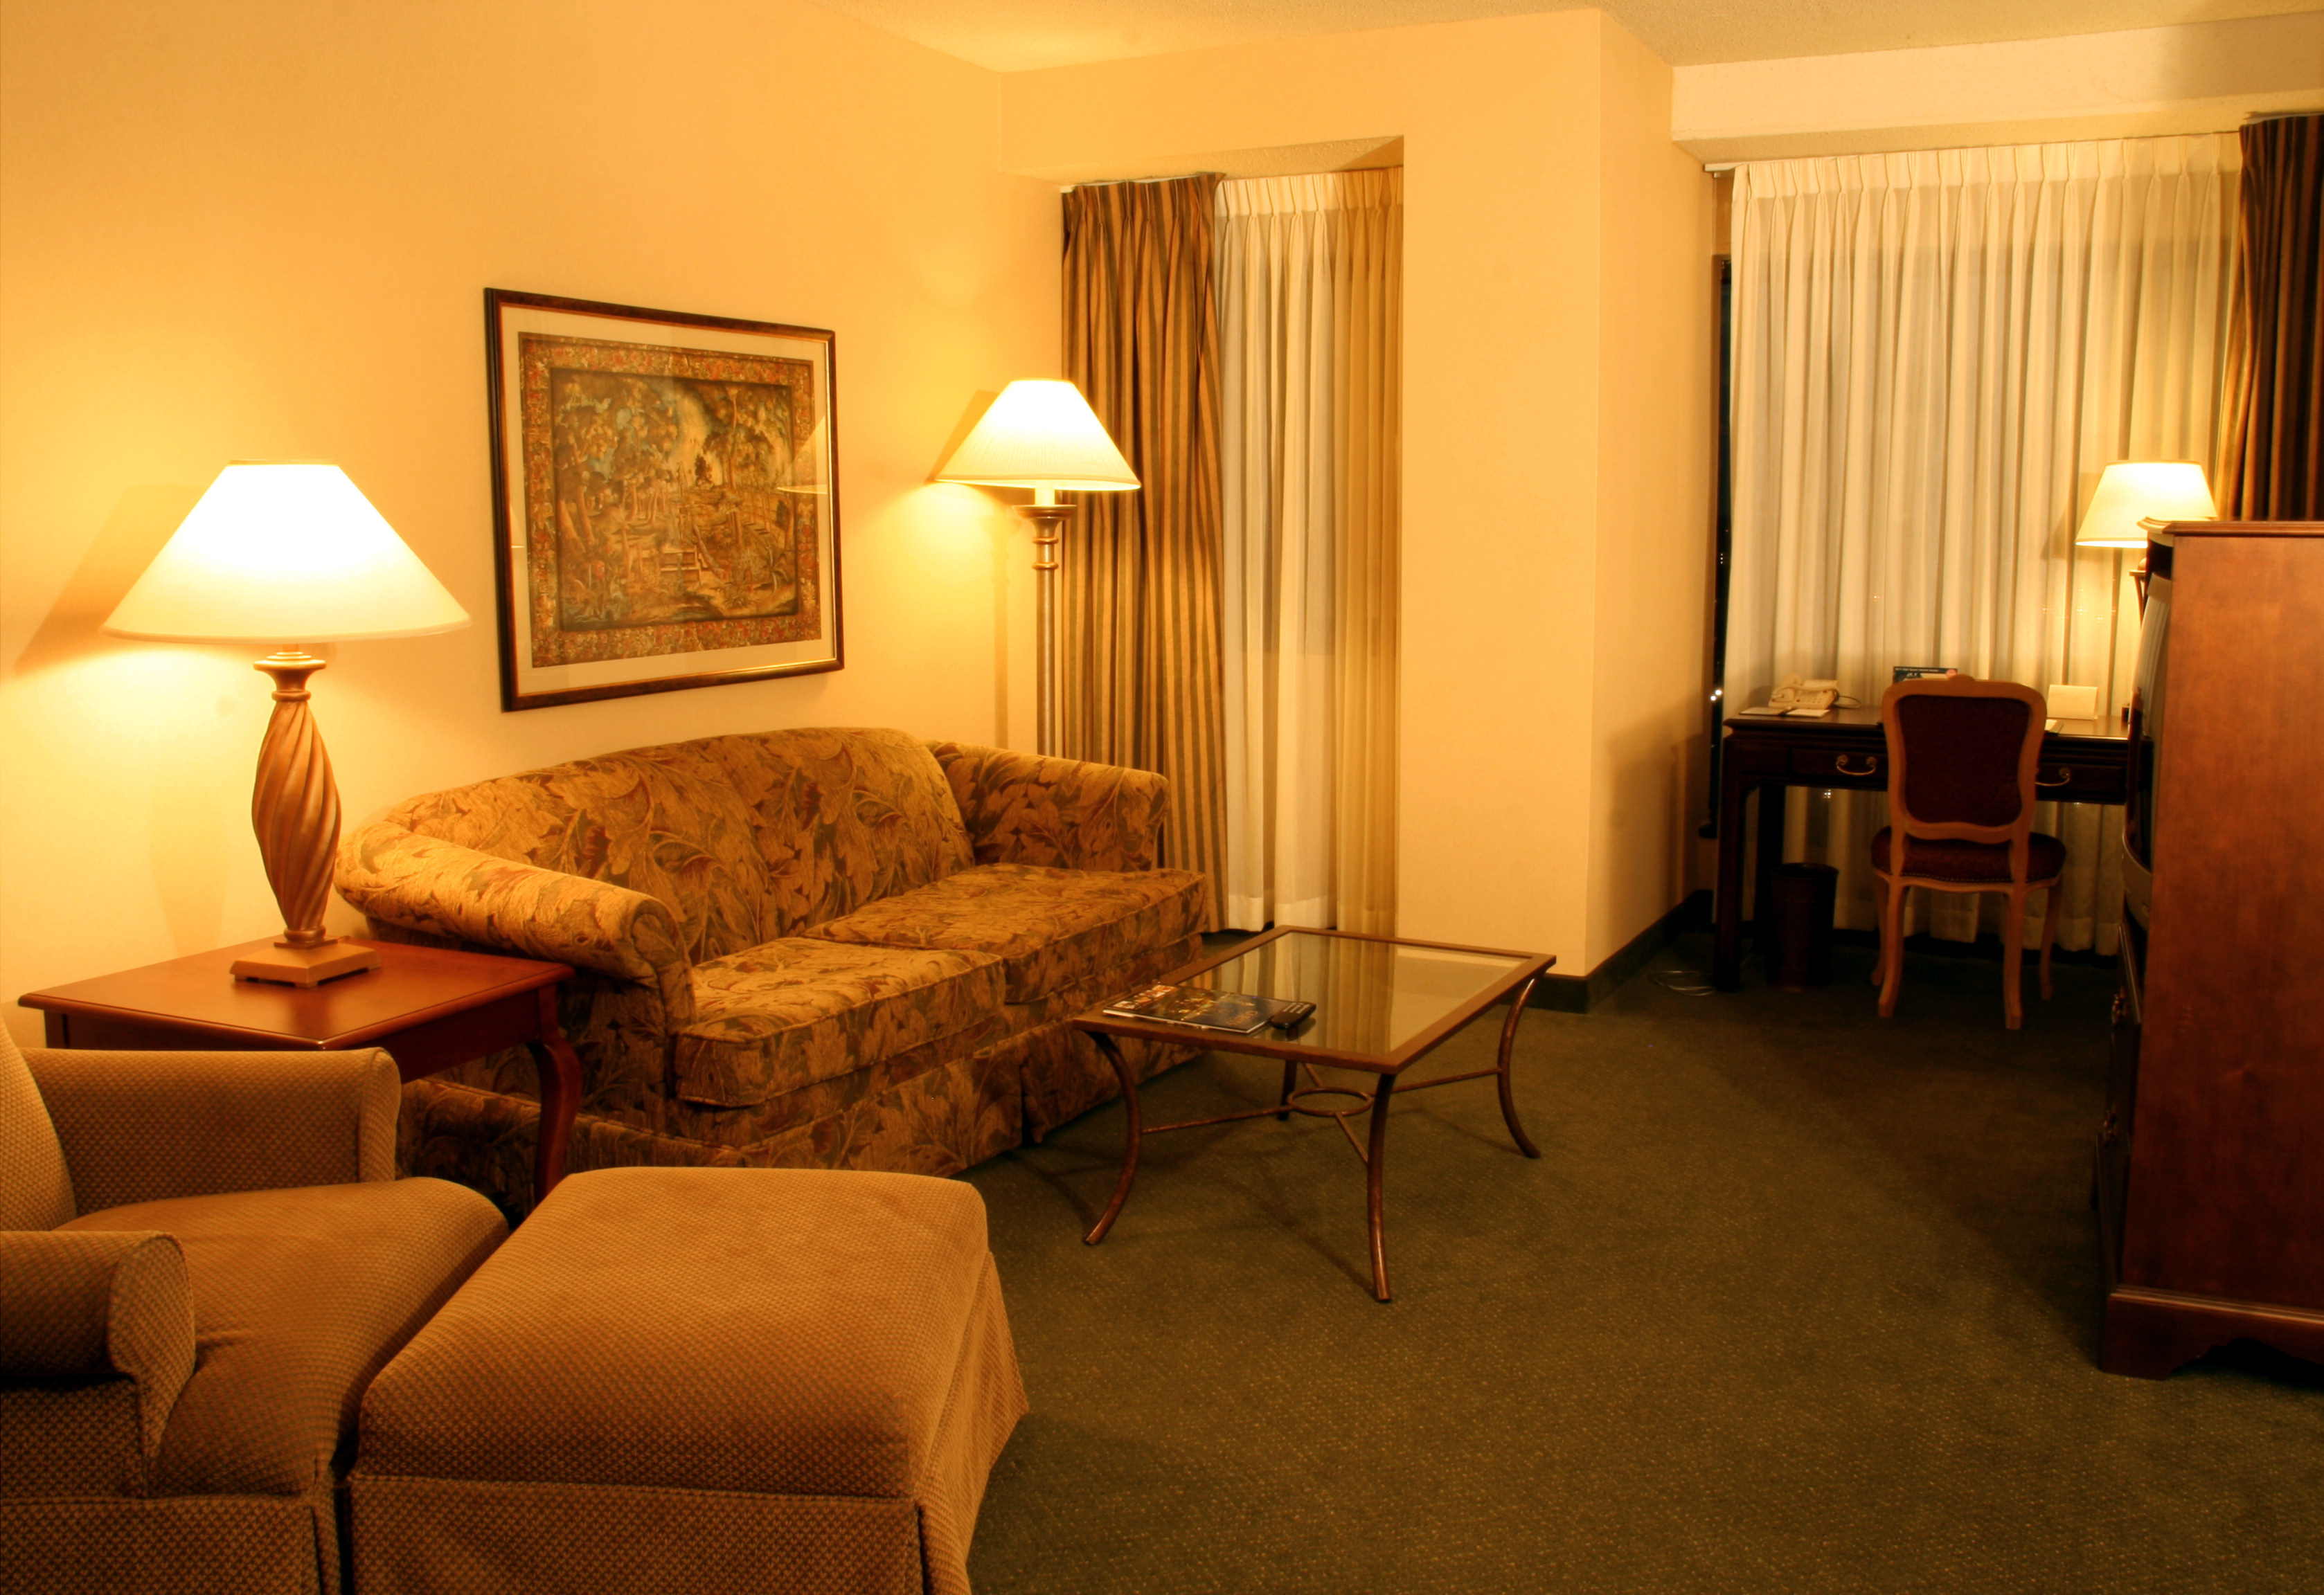

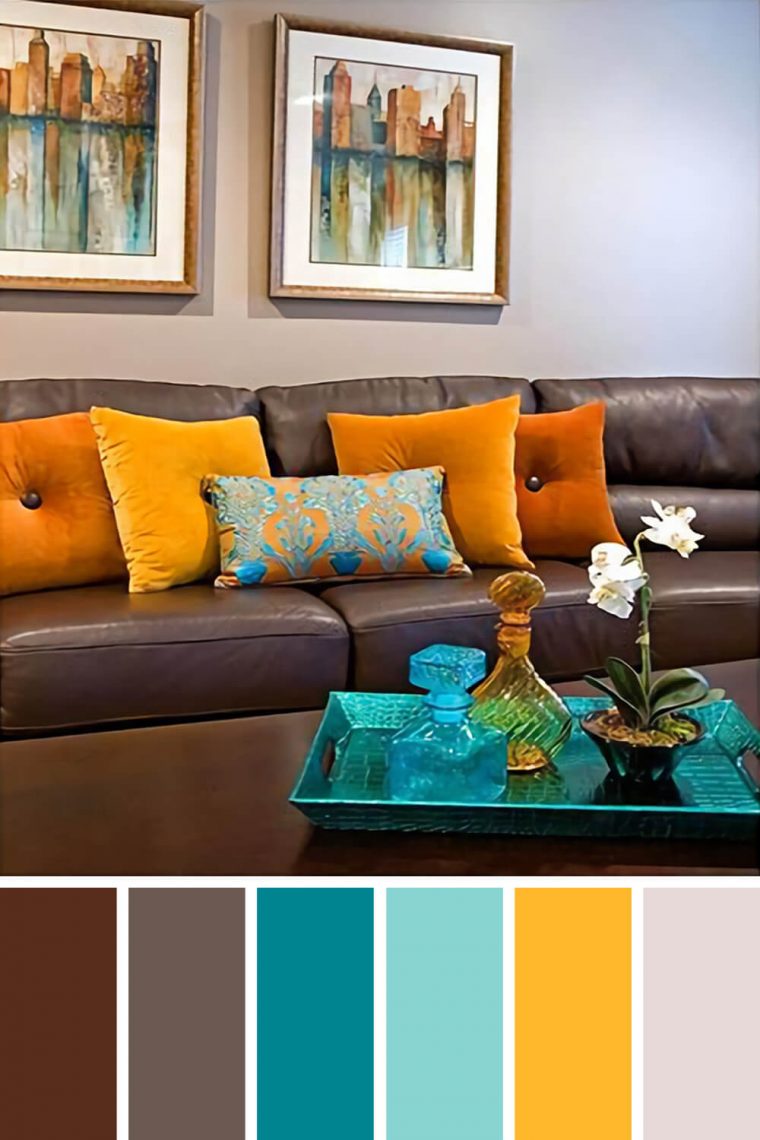
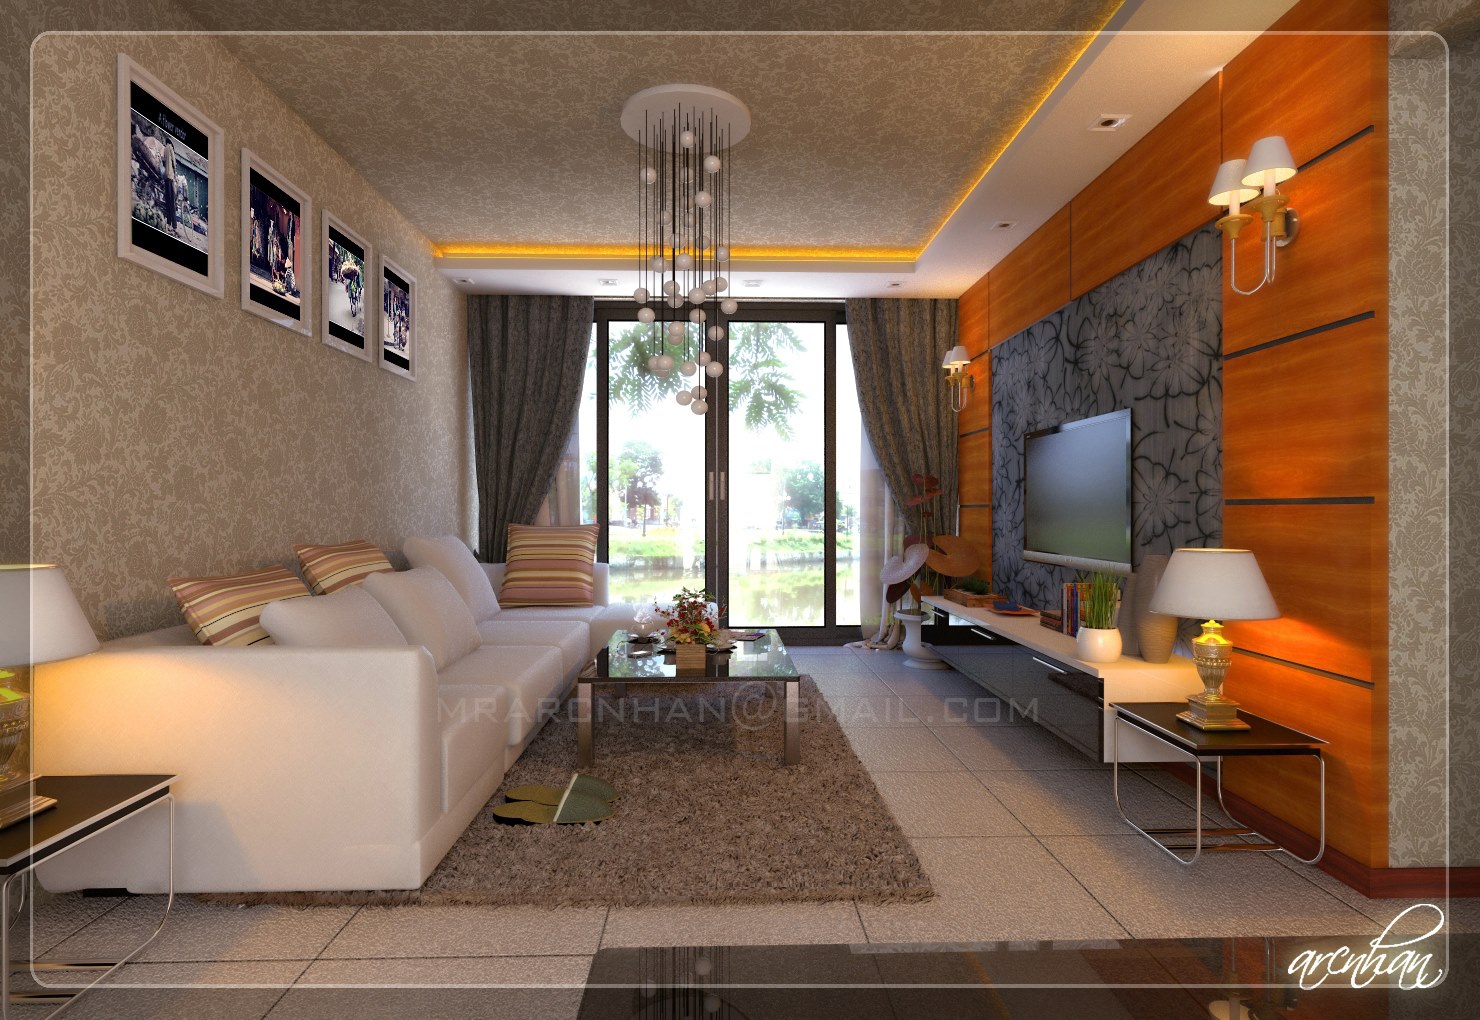
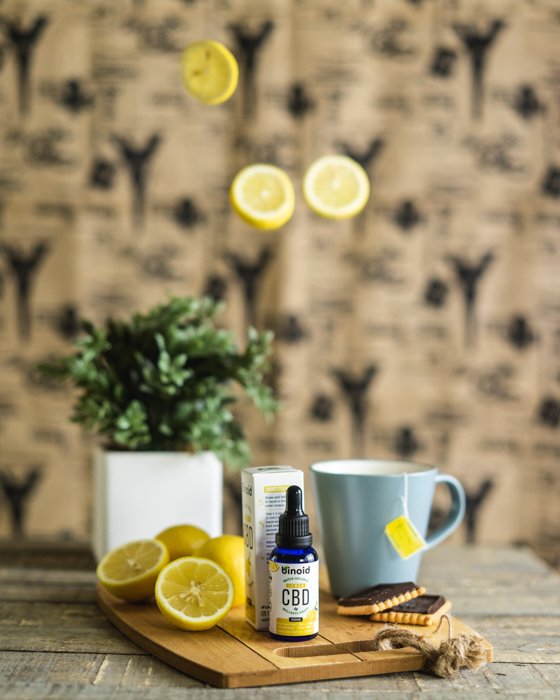
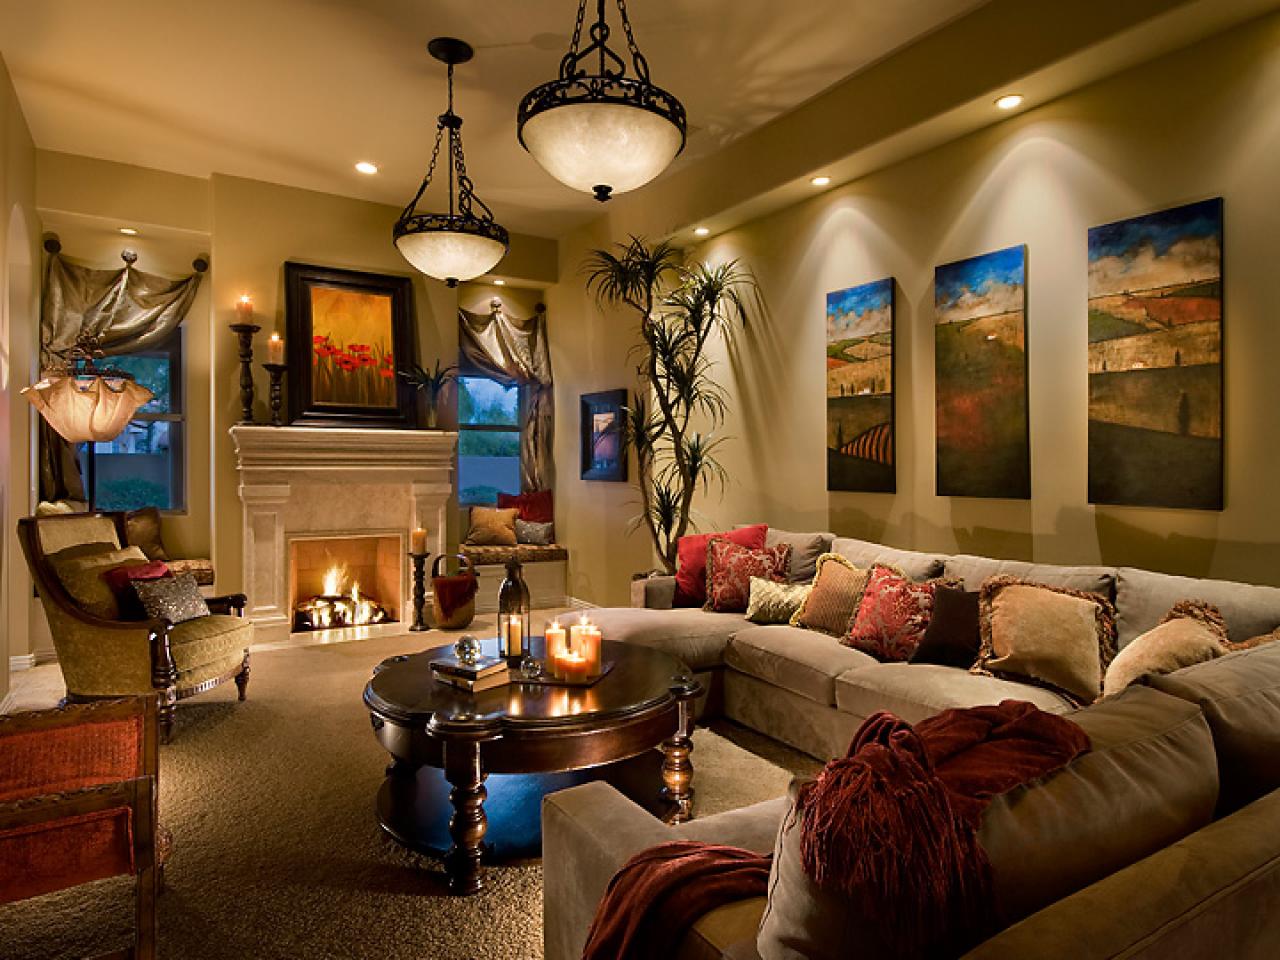
Adding props and decor to your product photography can add depth and interest to your photos. For example, if you're selling candles, you can place them on a coffee table with some books and a vase of flowers in the background to create a cozy and inviting atmosphere. Just make sure the props and decor don't overshadow your product and remain as supporting elements.4. Add Props and Decor


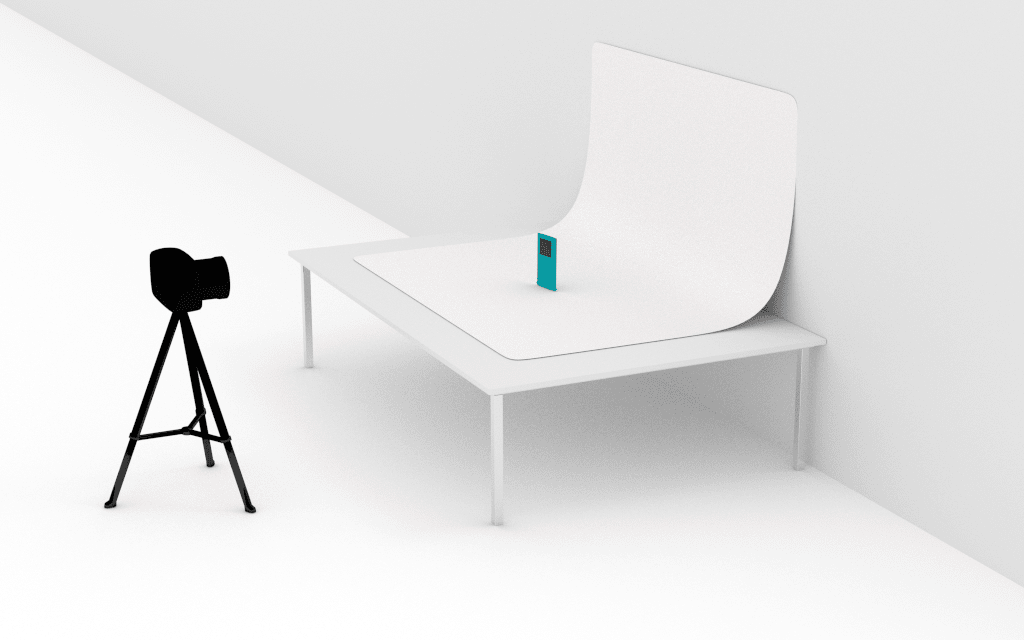
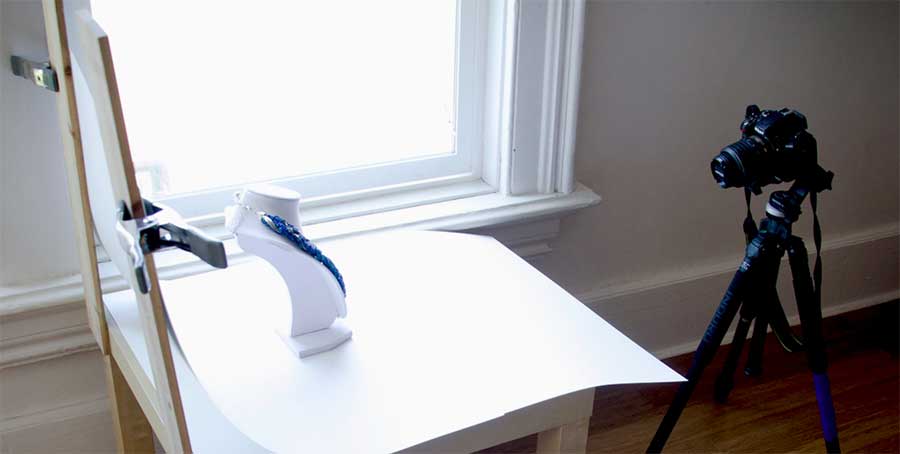
Living Room Product Images

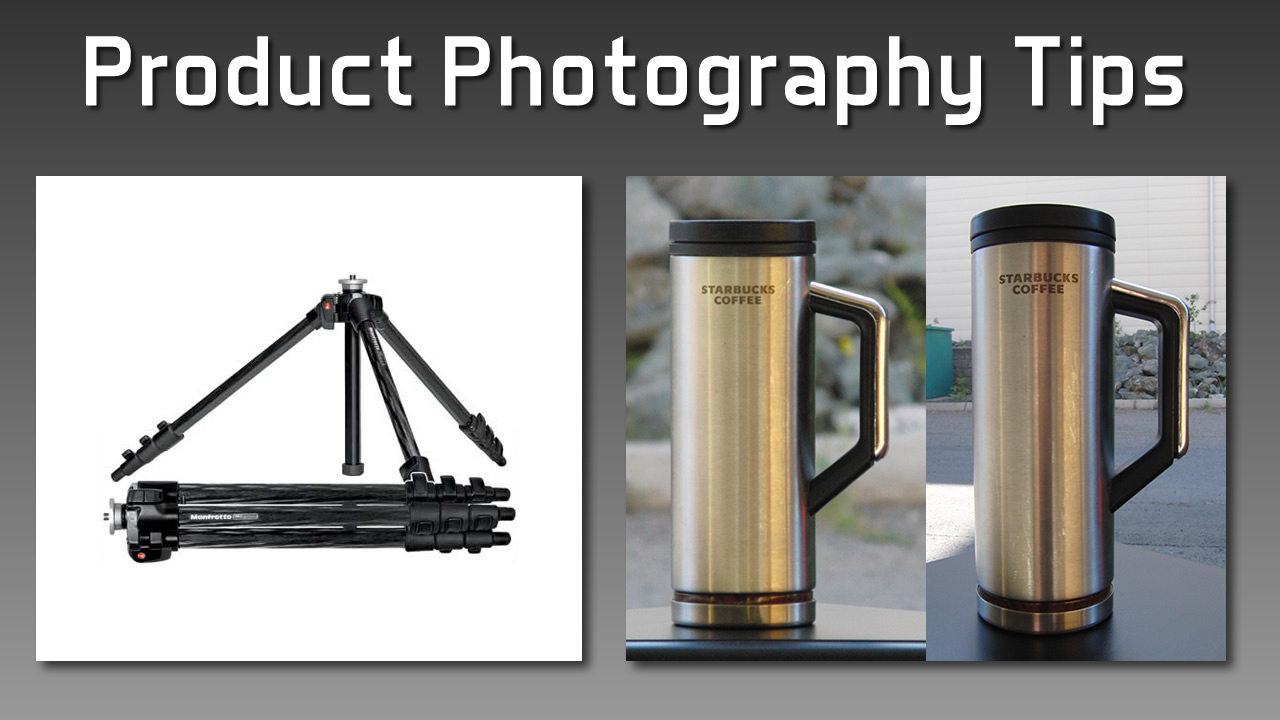
A tripod is an essential tool for product photography, as it helps keep your camera steady and ensures sharp and clear images. It also allows you to experiment with different compositions and angles without having to constantly hold the camera. Invest in a good quality tripod to achieve professional-looking product photos.5. Use a Tripod
Living Room Product Pictures

Adding lifestyle elements to your product photography can help customers envision how the product would fit into their lives. For example, if you're selling a throw blanket, you can photograph it on a couch with a cup of coffee and a book next to it, creating a cozy and inviting scene. This will give potential customers a better idea of how the product can be used in their daily lives.6. Add Lifestyle Elements


Living Room Product Photography Ideas

Editing your photos is an important step in product photography, as it can enhance the overall look of your images. You can use free editing software, such as Canva or Pixlr, to make basic edits like adjusting brightness and contrast, or invest in professional editing software for more advanced edits. Just make sure not to over-edit your photos and keep them looking natural.7. Edit Your Photos


Living Room Product Photography Tips


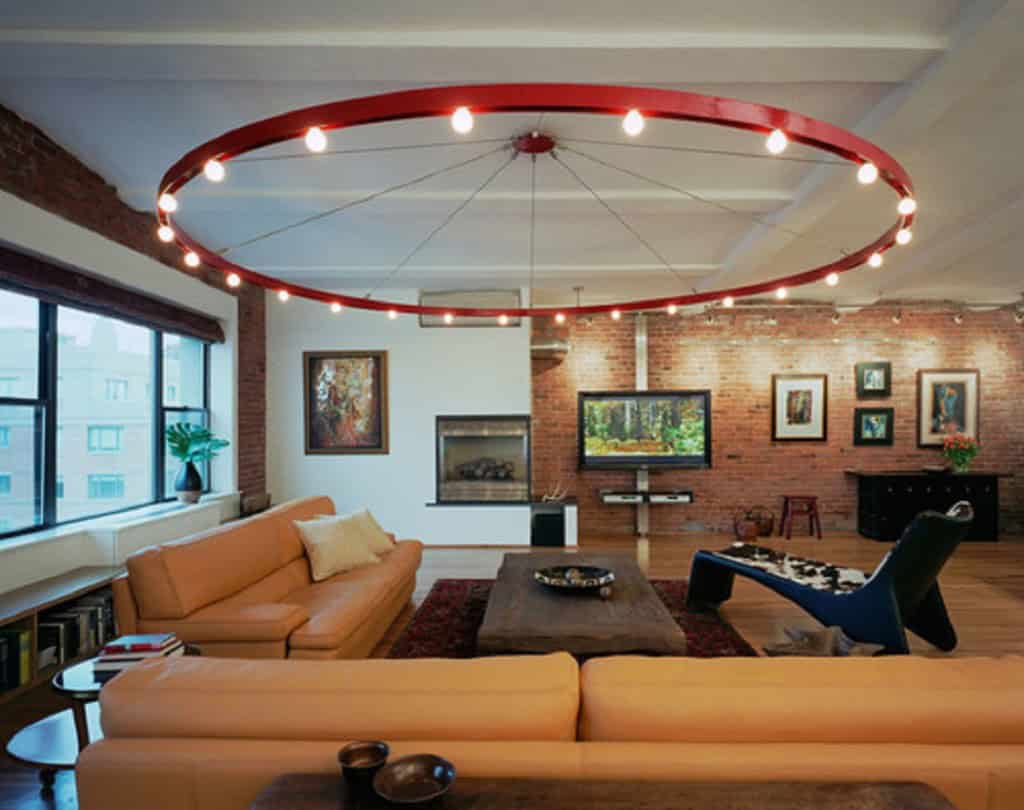
While natural light is great for product photography, don't be afraid to experiment with different lighting setups to achieve different effects. You can use artificial lights, such as lamps or studio lights, to create a dramatic and moody look, or use a ring light for a soft and even lighting effect. Just make sure to keep the lighting consistent throughout your photoshoot.8. Experiment with Different Lighting


Living Room Product Photography Setup


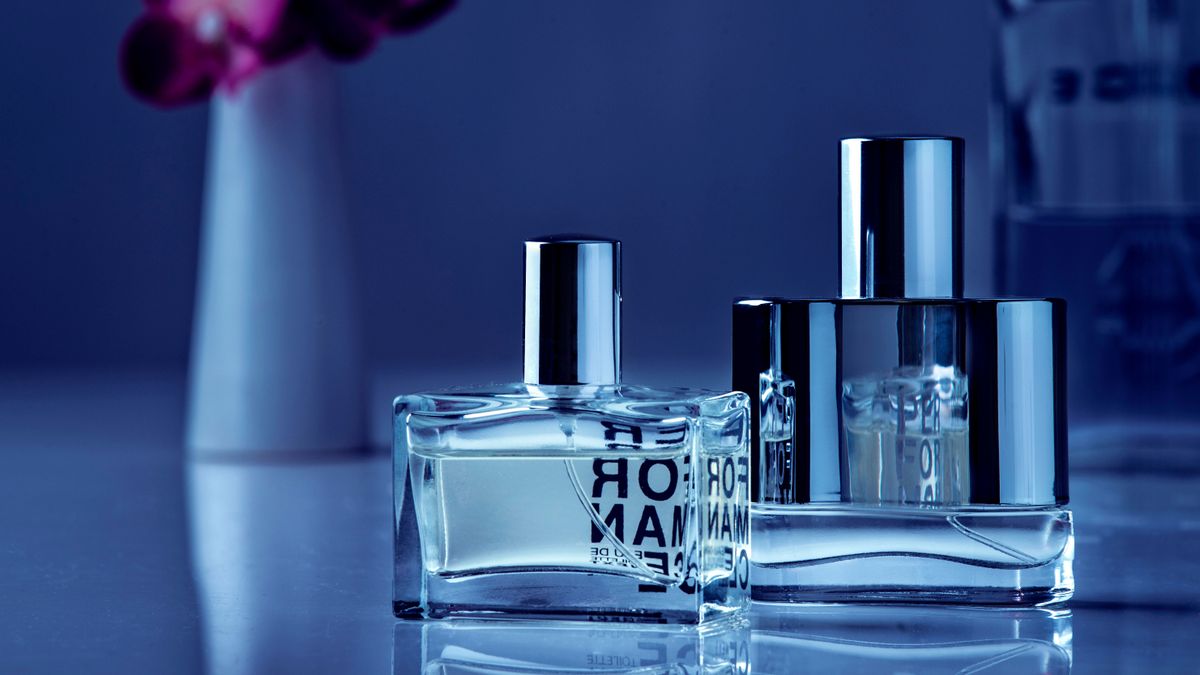
Using a reflective surface, such as a mirror or a piece of glass, can add a unique and interesting element to your product photography. You can place your product on top of the reflective surface to create a reflection and add depth to your photos. Just make sure to clean the surface beforehand to avoid any unwanted smudges or reflections.9. Use a Reflective Surface


Living Room Product Photography Lighting


Transform Your Living Room into a Professional Product Photography Studio
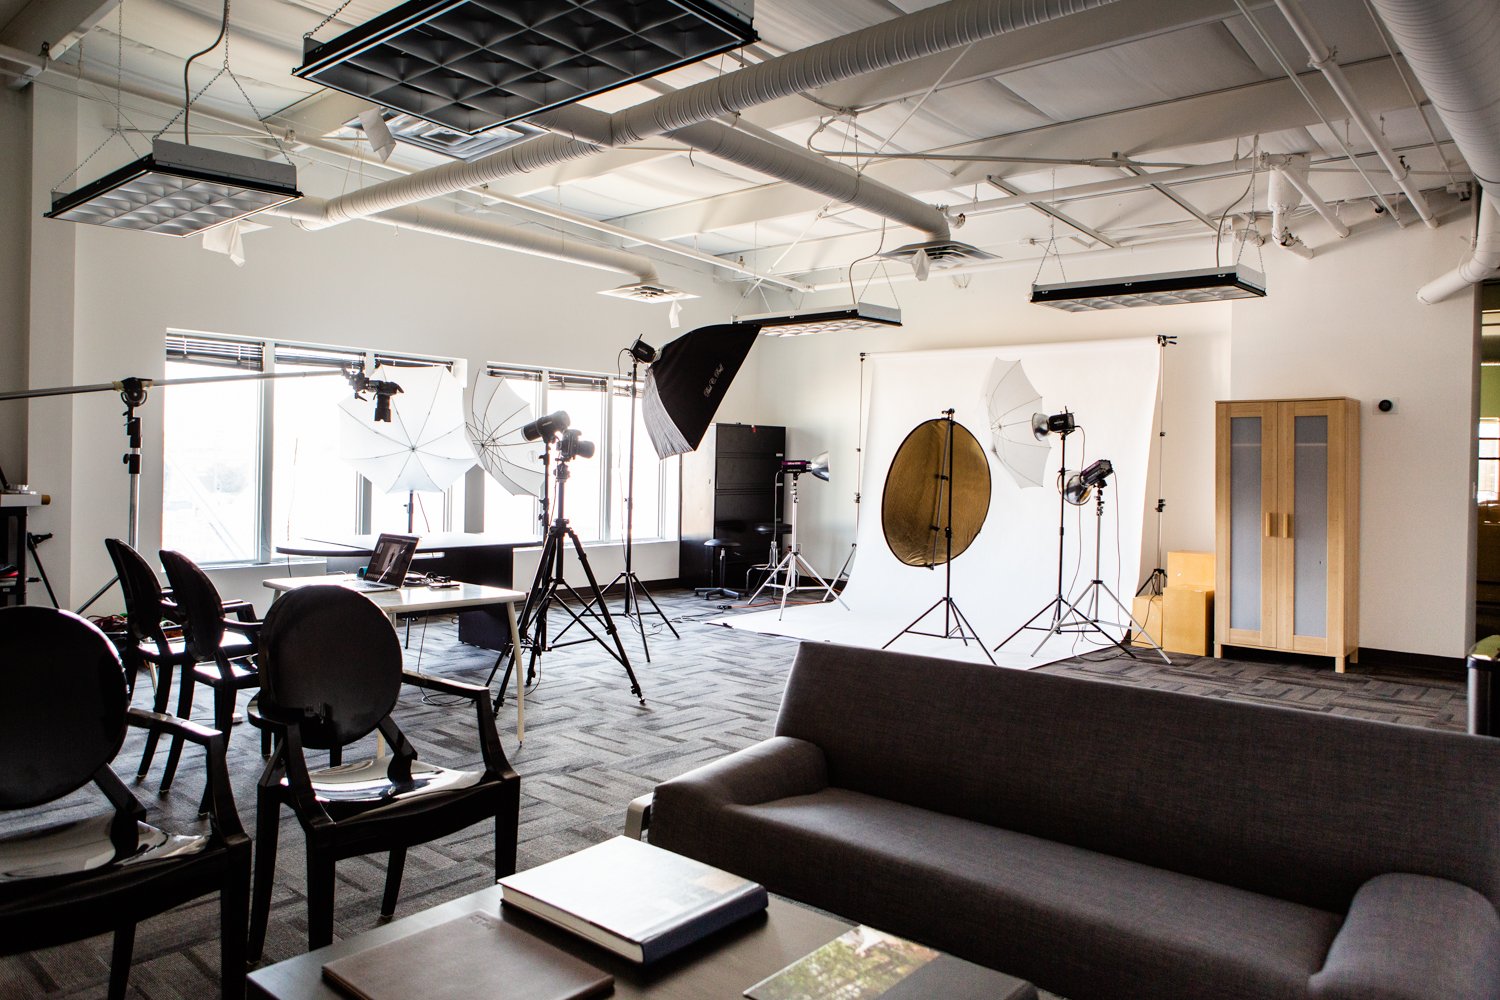
Creating a Unique and Functional Space
 If you're a small business owner or a creative entrepreneur, you know the importance of having high-quality product photography. It can make or break your online presence and ultimately, your sales. However, not everyone has the luxury of a dedicated photography studio or the budget to rent one. But fear not, as your living room can be transformed into a professional product photography studio with a few simple steps.
Living Room Layout
The first step is to rearrange your living room to create a functional and clutter-free space. Start by clearing out any unnecessary furniture or decor items that may distract from the focus of your photos. You want to have enough space to move around freely and set up your equipment without any obstacles. Consider using a neutral background such as a solid colored wall or a clean white sheet to give your product the spotlight it deserves.
Lighting is Key
One of the most crucial elements of product photography is lighting. Natural light is always the best option, so try setting up your photo shoot near a large window or sliding glass door. Make sure the light is diffused by using sheer curtains or a light diffuser to avoid harsh shadows. If natural light is not an option, invest in some softbox lights to mimic the effect of natural light.
Pro tip:
use a reflector to bounce light onto your product and eliminate any unwanted shadows.
Equipment and Props
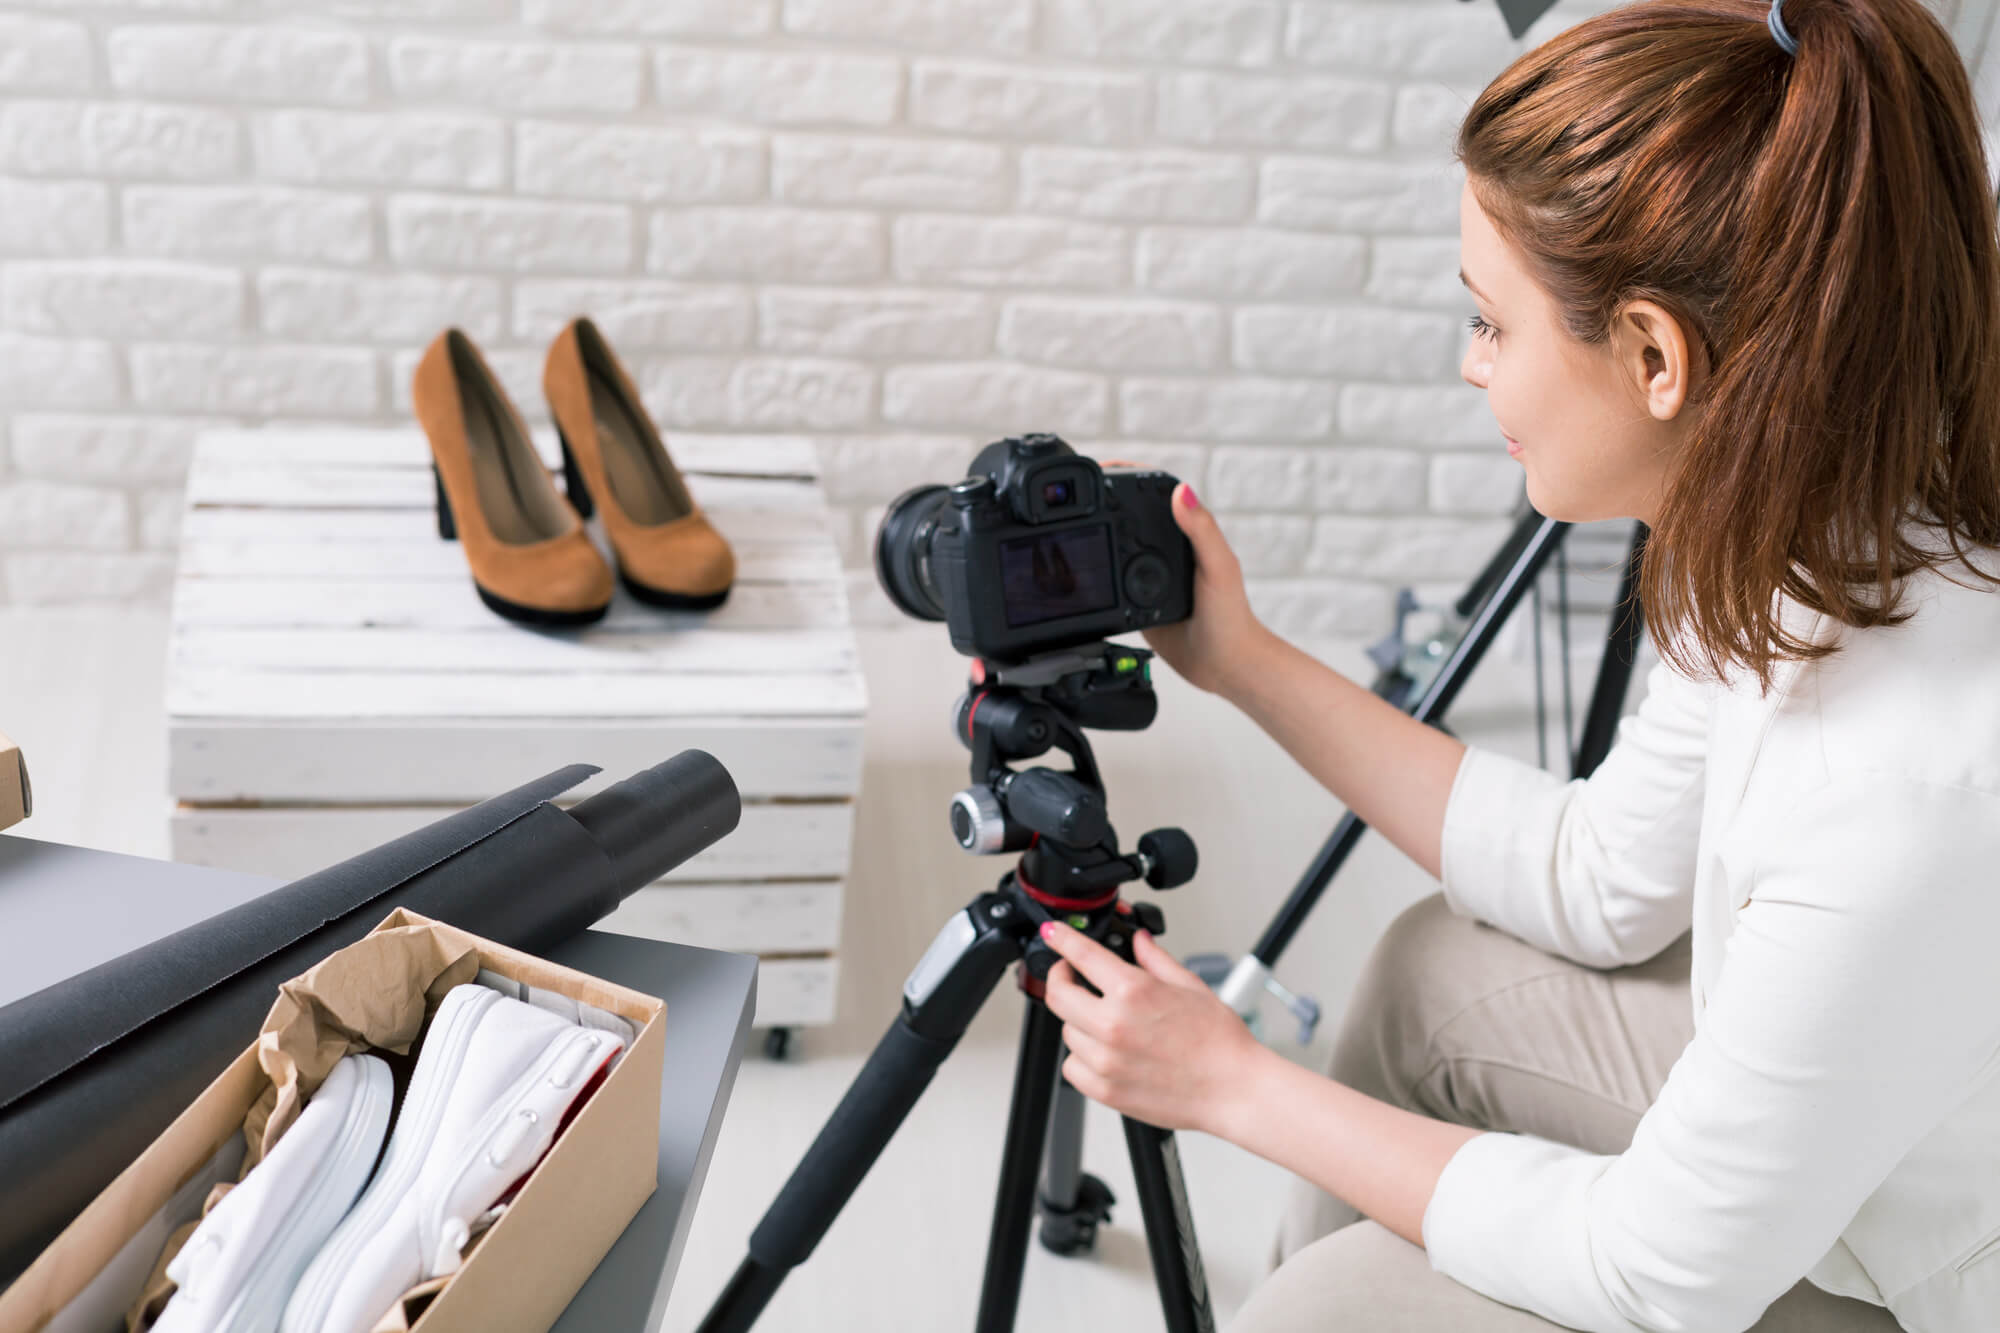
You don't need to break the bank to have a professional product photography setup. A DSLR camera or even a high-quality smartphone camera can do the trick. Make sure to have a tripod to keep your camera steady and a remote shutter release to avoid any camera shake. As for props, keep it simple and use items that complement your product. For example, if you're selling handmade candles, use a cozy throw blanket and some twigs to create a warm and inviting scene.
Editing and Post-Processing
Once you've taken your photos, it's time to edit and enhance them. There are plenty of free and user-friendly editing software options available, such as Canva or Pixlr.
Remember to keep your brand's aesthetic in mind when editing.
Use consistent filters and adjust the lighting, contrast, and colors to make your product stand out. Don't go overboard with editing, as you want your photos to look natural and authentic.
In conclusion, with a little creativity and some basic equipment, you can transform your living room into a professional product photography studio. Remember to keep your space clutter-free, utilize natural lighting, and use props that enhance your product. With these tips, your product photos will look professional and polished, giving your business a competitive edge in the online market.
If you're a small business owner or a creative entrepreneur, you know the importance of having high-quality product photography. It can make or break your online presence and ultimately, your sales. However, not everyone has the luxury of a dedicated photography studio or the budget to rent one. But fear not, as your living room can be transformed into a professional product photography studio with a few simple steps.
Living Room Layout
The first step is to rearrange your living room to create a functional and clutter-free space. Start by clearing out any unnecessary furniture or decor items that may distract from the focus of your photos. You want to have enough space to move around freely and set up your equipment without any obstacles. Consider using a neutral background such as a solid colored wall or a clean white sheet to give your product the spotlight it deserves.
Lighting is Key
One of the most crucial elements of product photography is lighting. Natural light is always the best option, so try setting up your photo shoot near a large window or sliding glass door. Make sure the light is diffused by using sheer curtains or a light diffuser to avoid harsh shadows. If natural light is not an option, invest in some softbox lights to mimic the effect of natural light.
Pro tip:
use a reflector to bounce light onto your product and eliminate any unwanted shadows.
Equipment and Props
You don't need to break the bank to have a professional product photography setup. A DSLR camera or even a high-quality smartphone camera can do the trick. Make sure to have a tripod to keep your camera steady and a remote shutter release to avoid any camera shake. As for props, keep it simple and use items that complement your product. For example, if you're selling handmade candles, use a cozy throw blanket and some twigs to create a warm and inviting scene.
Editing and Post-Processing
Once you've taken your photos, it's time to edit and enhance them. There are plenty of free and user-friendly editing software options available, such as Canva or Pixlr.
Remember to keep your brand's aesthetic in mind when editing.
Use consistent filters and adjust the lighting, contrast, and colors to make your product stand out. Don't go overboard with editing, as you want your photos to look natural and authentic.
In conclusion, with a little creativity and some basic equipment, you can transform your living room into a professional product photography studio. Remember to keep your space clutter-free, utilize natural lighting, and use props that enhance your product. With these tips, your product photos will look professional and polished, giving your business a competitive edge in the online market.