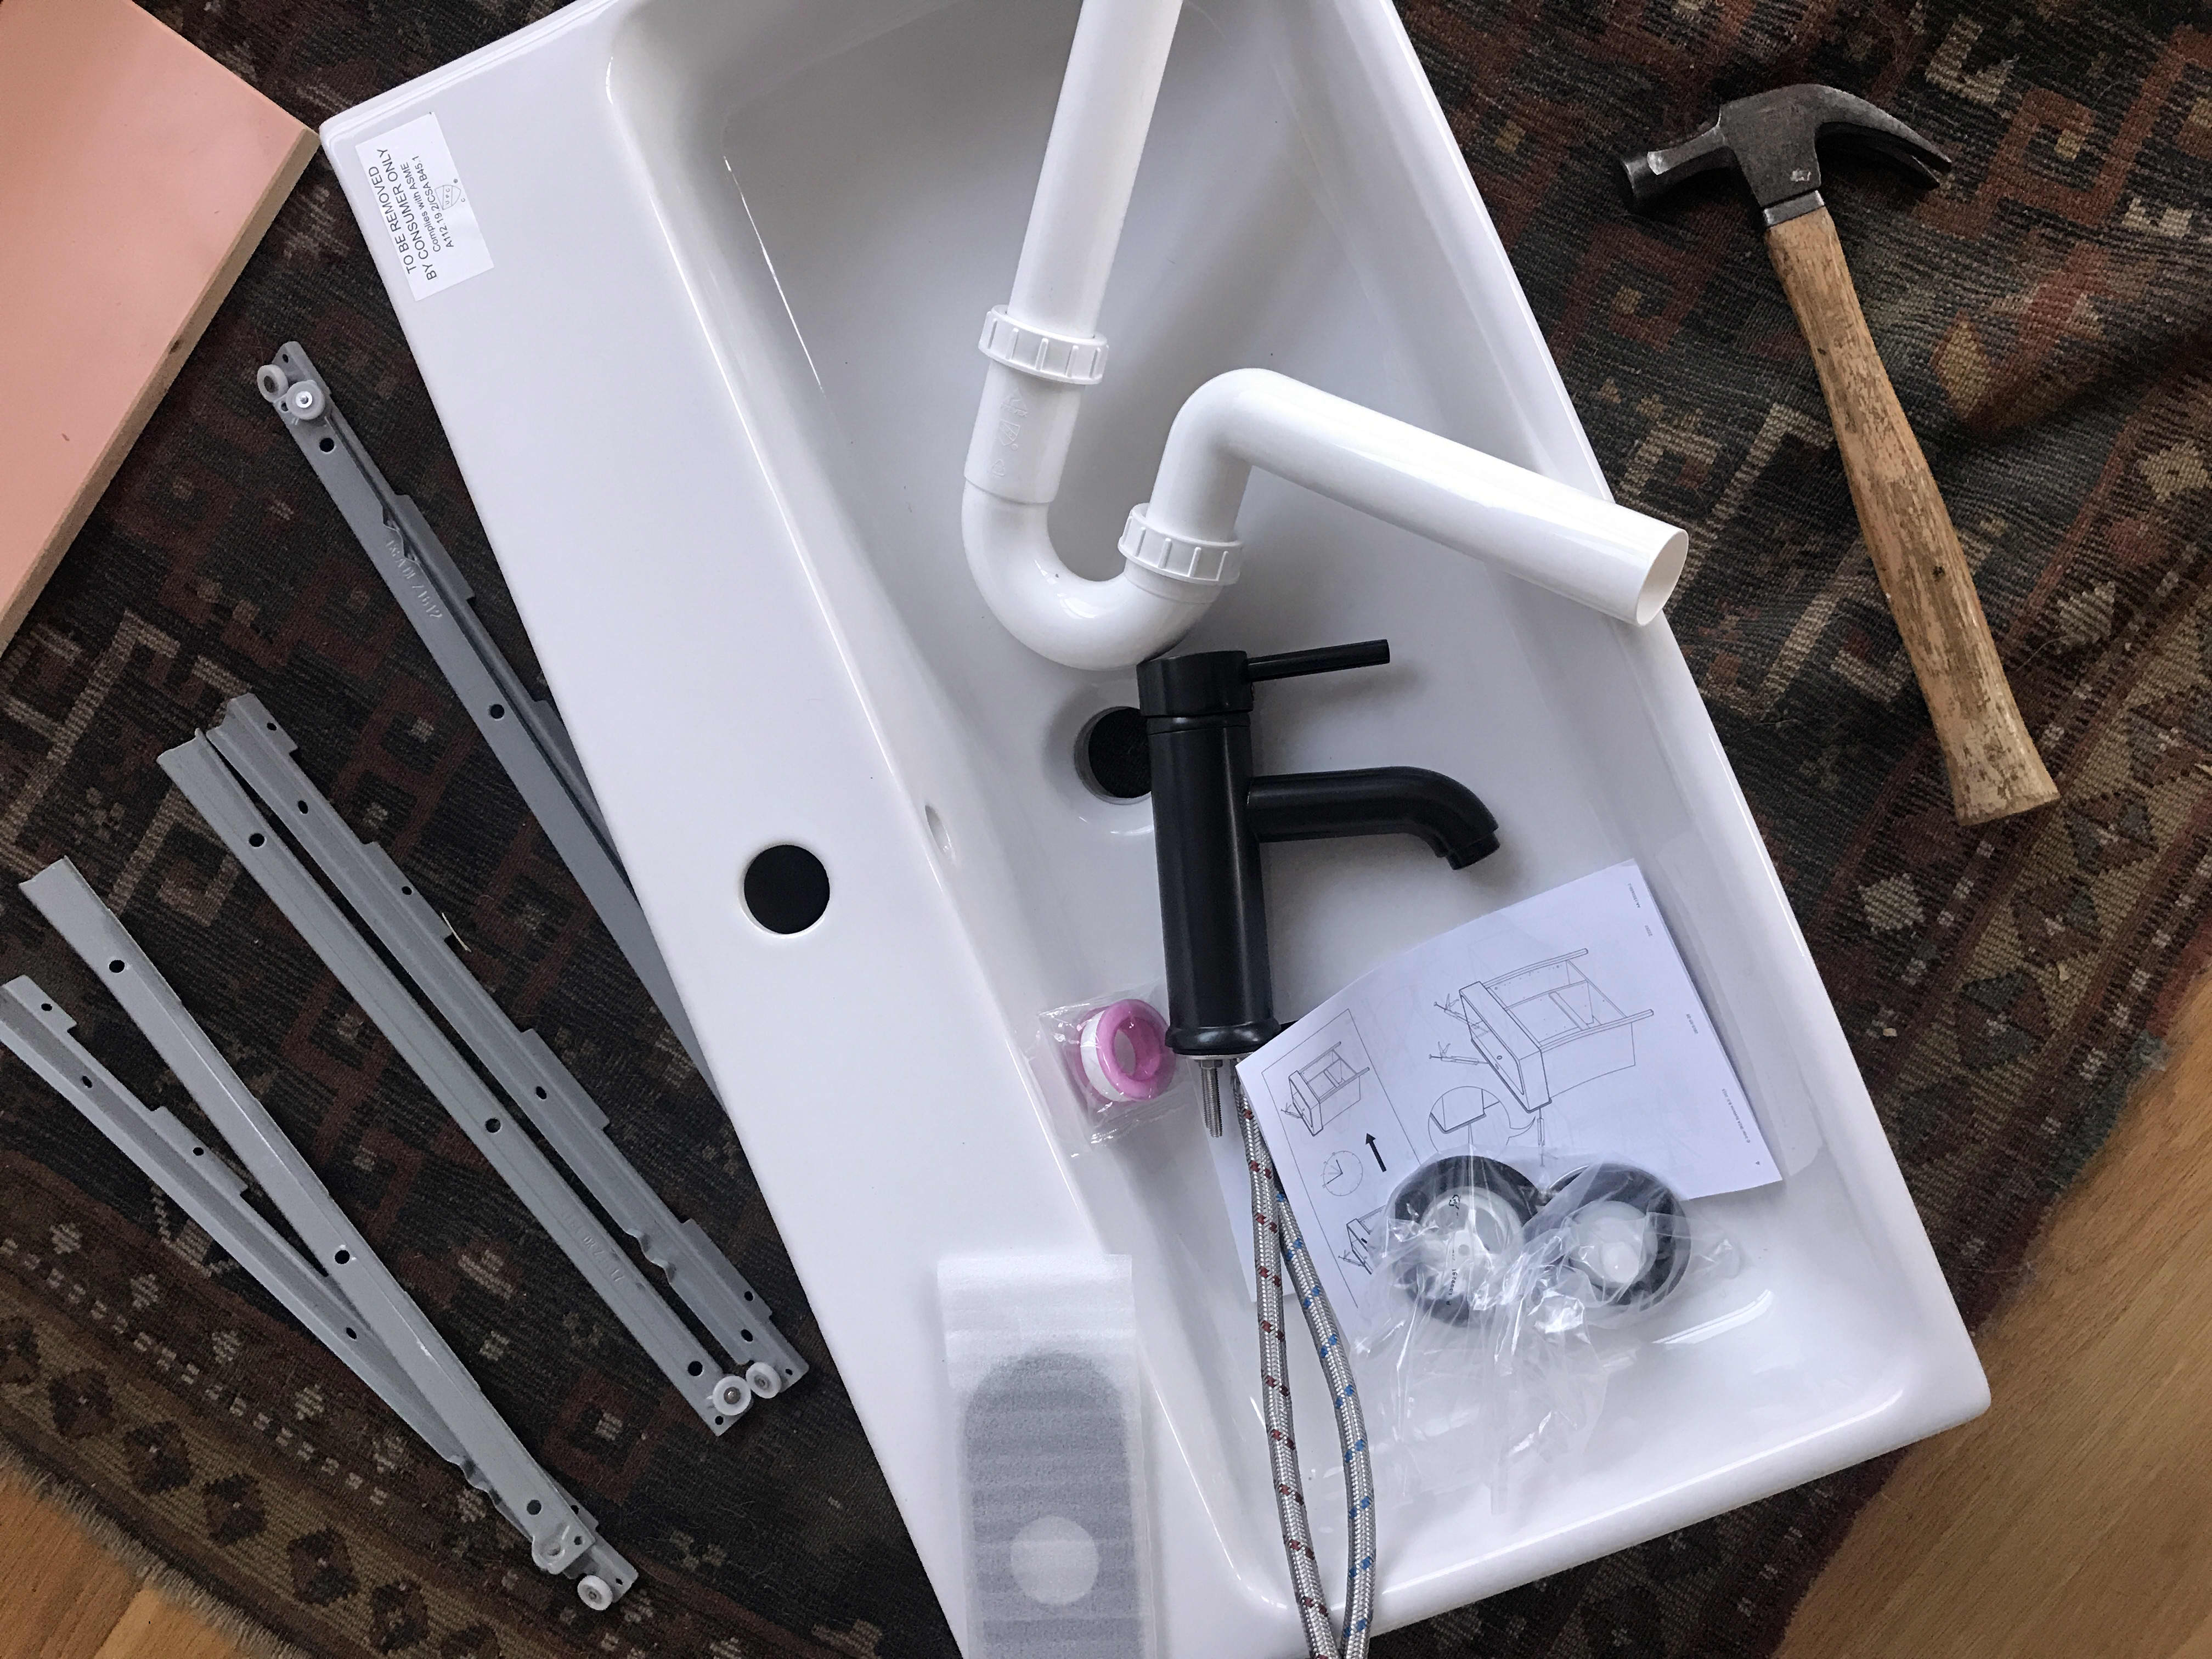
Installing an IKEA kitchen sink may seem like a daunting task, but with the right tools and preparation, it can be a straightforward process. First, make sure you have all the necessary parts and tools, including the sink, faucet, drain, and plumbing supplies. It's also essential to have a clear understanding of the sink's dimensions and placement in your kitchen before beginning the installation. Next, follow the instructions provided by IKEA for your specific sink model. Typically, the installation process involves attaching the faucet and drain to the sink, connecting the water supply and drain pipes, and securing the sink to the countertop. It's crucial to follow these instructions carefully to ensure a proper and secure installation. Once the sink is in place, test the water supply and drain for any leaks. If everything looks good, you're all set to start using your new IKEA kitchen sink!1. How to Install an IKEA Kitchen Sink


1. How to Install an IKEA Kitchen Sink


Plumbing an IKEA kitchen sink may seem complicated, but with the right steps, it can be a manageable task. Here's a step-by-step guide to help you through the process: Step 1: Gather all the necessary tools and supplies, including the sink, faucet, drain, and plumbing supplies. Step 2: Measure the sink's dimensions and placement in your kitchen to ensure the proper fit and placement. Step 3: Follow the instructions provided by IKEA for your specific sink model. Typically, this involves attaching the faucet and drain to the sink, connecting the water supply and drain pipes, and securing the sink to the countertop. Step 4: Test the water supply and drain for any leaks. If there are any issues, troubleshoot and make any necessary adjustments. Step 5: Once everything looks good and is functioning correctly, you're ready to start using your new IKEA kitchen sink!2. Plumbing an IKEA Kitchen Sink: Step-by-Step Guide


2. Plumbing an IKEA Kitchen Sink: Step-by-Step Guide


While installing an IKEA kitchen sink may seem straightforward, there are some common mistakes that people make that can lead to issues down the line. Here are some mistakes to avoid: Not following instructions: It's essential to carefully follow the instructions provided by IKEA for your specific sink model. This will ensure a proper and secure installation. Not measuring properly: Before starting the installation, make sure to measure the sink's dimensions and placement in your kitchen to ensure a proper fit. Not testing for leaks: It's crucial to test the water supply and drain for any leaks before using the sink regularly. This will help avoid any potential issues down the line. Not securing the sink properly: Make sure to secure the sink to the countertop correctly to avoid any movement or potential damage to the sink or surrounding area.3. Common Plumbing Mistakes to Avoid When Installing an IKEA Kitchen Sink


3. Common Plumbing Mistakes to Avoid When Installing an IKEA Kitchen Sink


Plumbing an IKEA kitchen sink can be a challenging task, but with these tips, you can ensure a successful and hassle-free installation: Tip 1: Organize all your tools and supplies before starting the installation to make the process more efficient. Tip 2: Have a clear understanding of the sink's dimensions and placement in your kitchen before beginning the installation. Tip 3: Follow the instructions provided by IKEA for your specific sink model carefully. Tip 4: Test for leaks after the installation and make any necessary adjustments before regular use. Tip 5: If you're unsure or uncomfortable with any step of the installation, seek professional help to ensure a proper and secure installation.4. Tips for Successfully Plumbing an IKEA Kitchen Sink


4. Tips for Successfully Plumbing an IKEA Kitchen Sink


To successfully install an IKEA kitchen sink, you'll need the following tools and supplies: Wrench - for tightening nuts and bolts Screwdriver - for attaching the faucet and drain to the sink Plumber's tape - for securing and sealing pipes Silicone caulk - for sealing the sink to the countertop Hacksaw - for cutting pipes to the correct length Pipe wrench - for tightening and loosening pipes Tape measure - for accurate measurements5. Tools You'll Need for Plumbing an IKEA Kitchen Sink


5. Tools You'll Need for Plumbing an IKEA Kitchen Sink


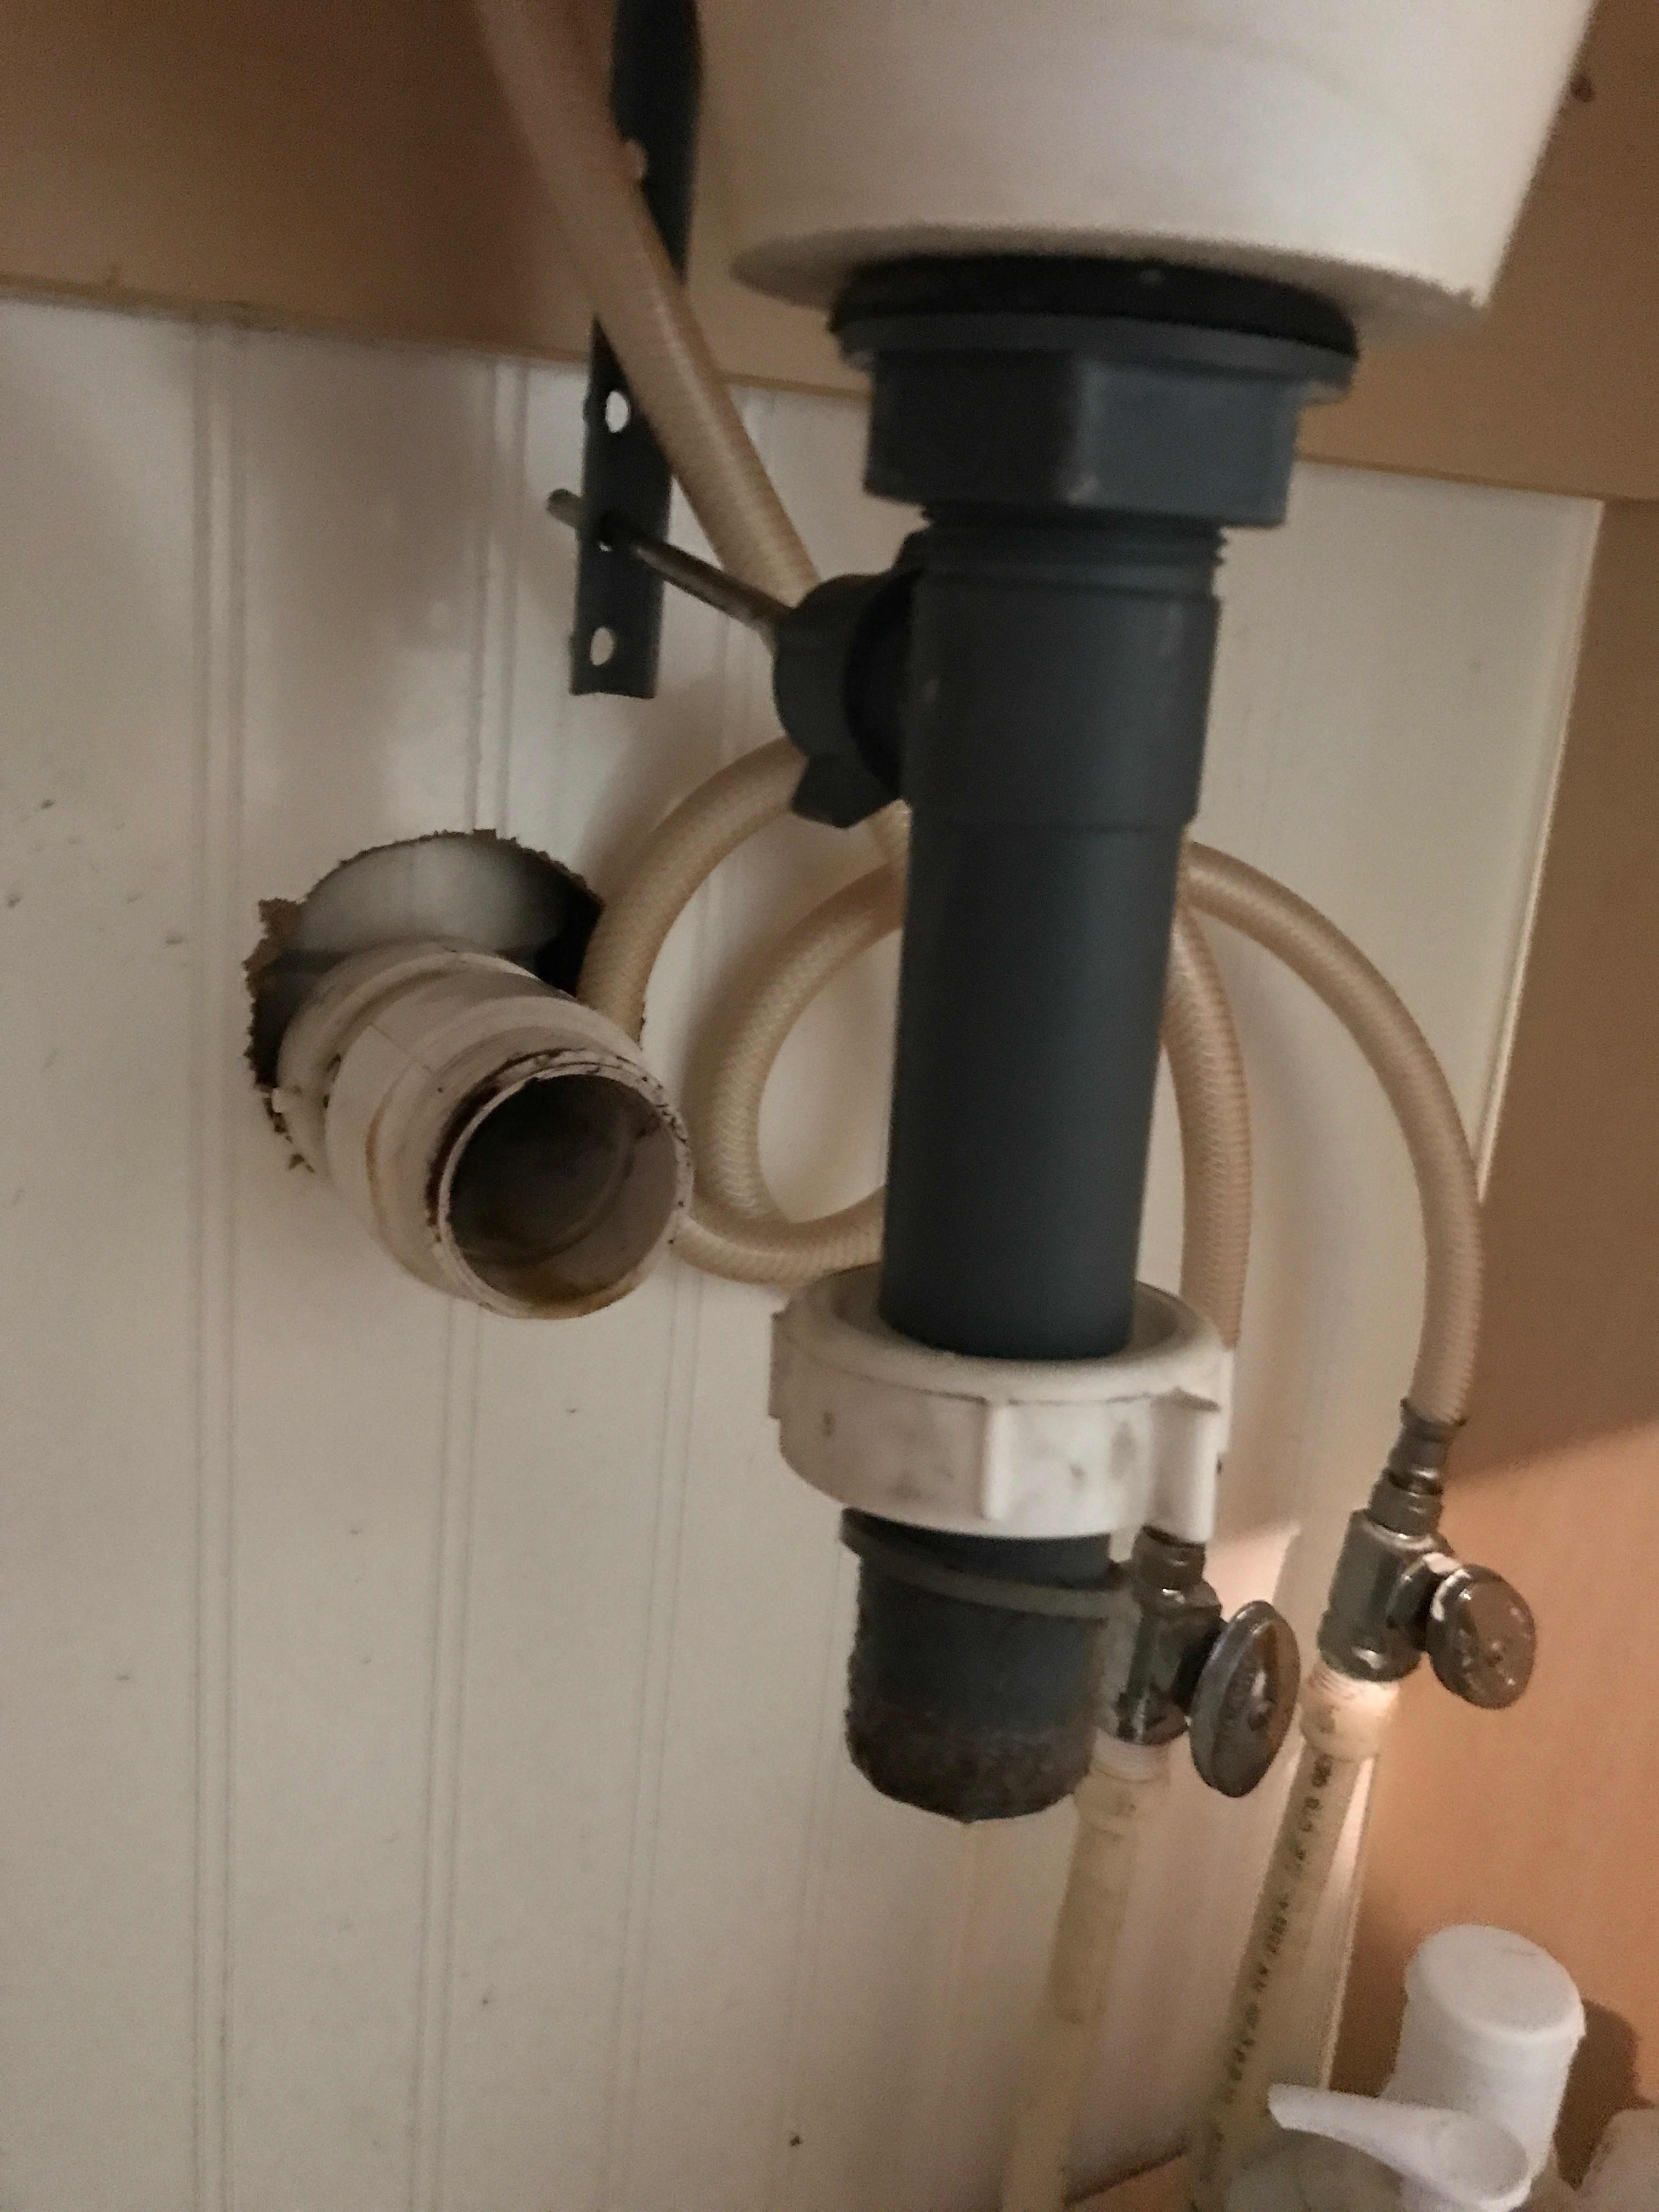
Even with careful planning and following the instructions, issues can arise when plumbing an IKEA kitchen sink. Here are some common issues and how to troubleshoot them: Leaky faucet: This can be caused by a loose connection or a damaged faucet. Tighten any loose connections and consider replacing the faucet if it's damaged. Leaky drain: This can be caused by a loose connection or a damaged drain. Tighten any loose connections and consider replacing the drain if it's damaged. Water pressure issues: This can be caused by an incorrectly installed faucet or clogged pipes. Check the faucet installation and clean out any clogged pipes. Drainage issues: This can be caused by clogged pipes or an incorrectly installed drain. Clean out any clogs and double-check the drain installation.6. Troubleshooting Common Issues When Plumbing an IKEA Kitchen Sink


6. Troubleshooting Common Issues When Plumbing an IKEA Kitchen Sink


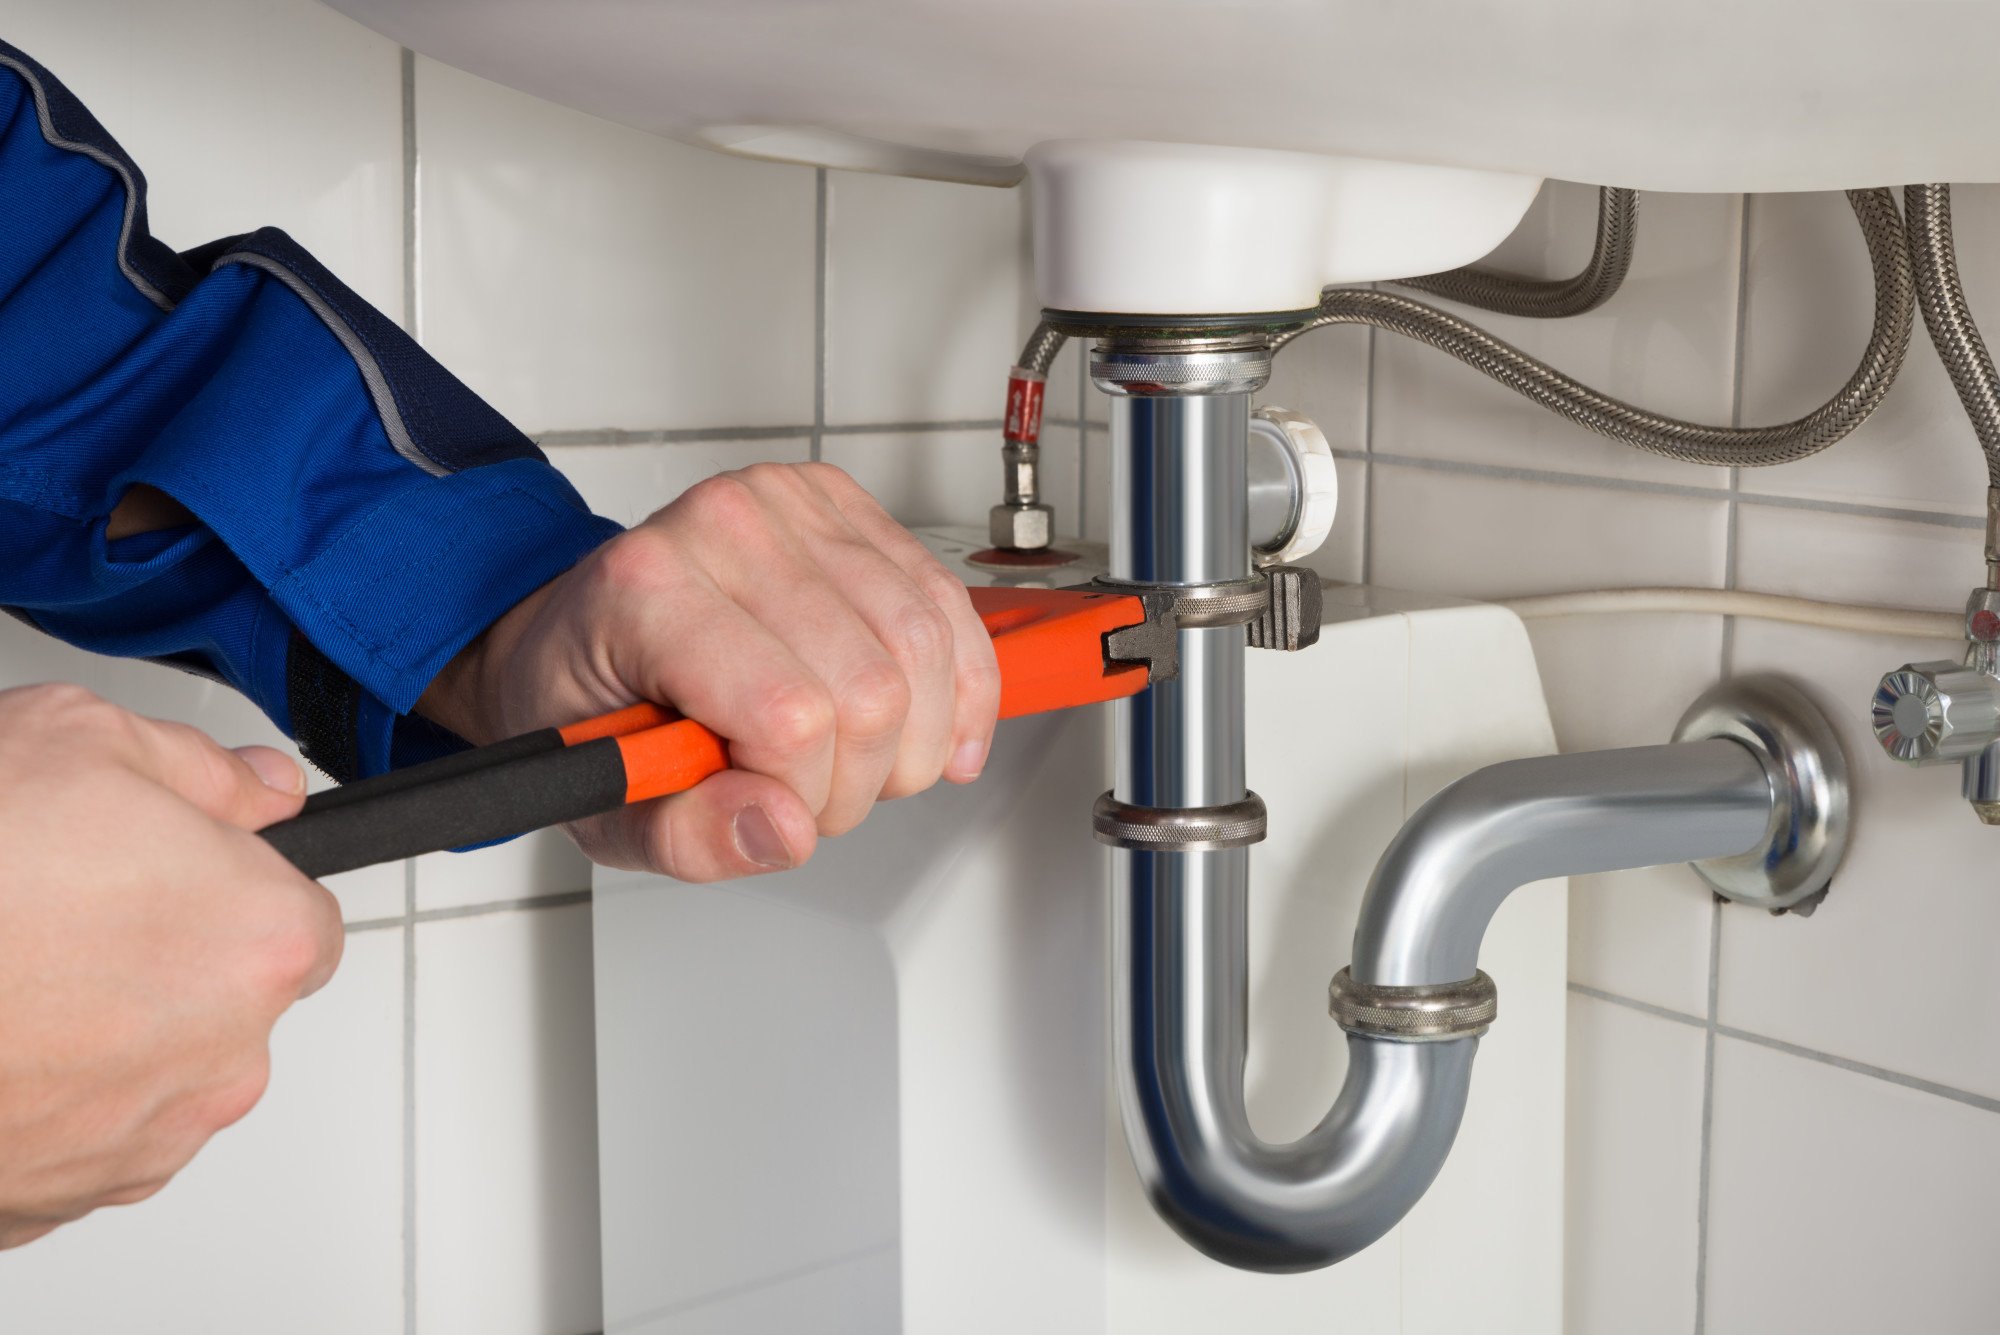
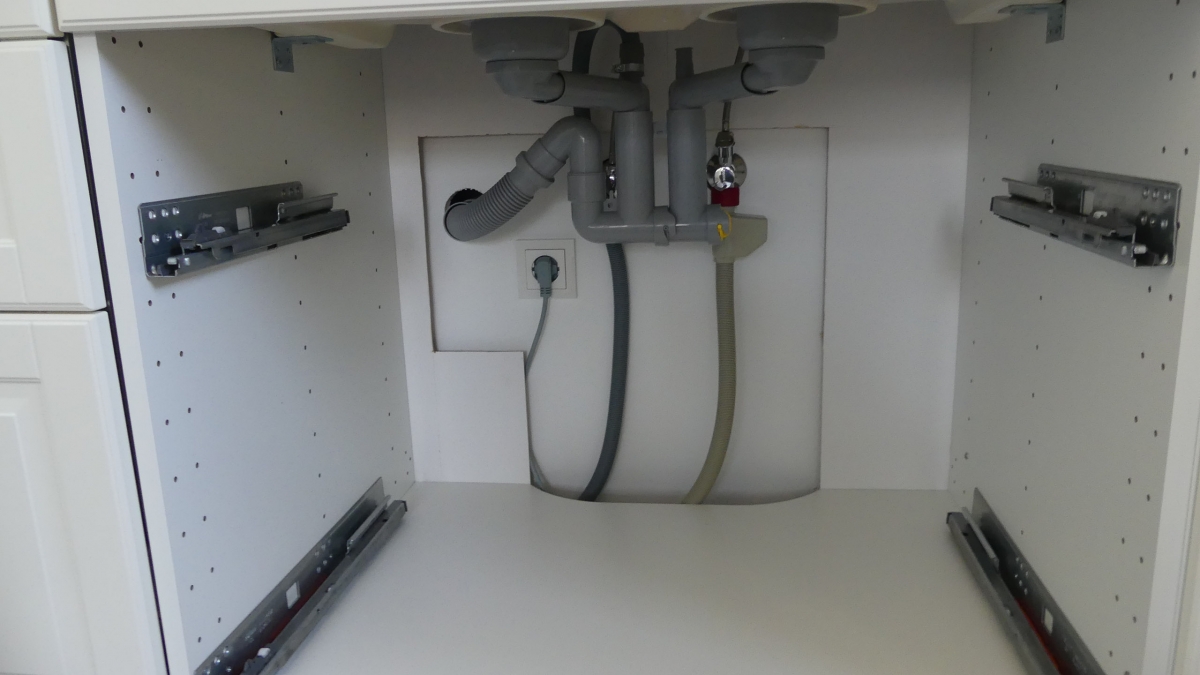
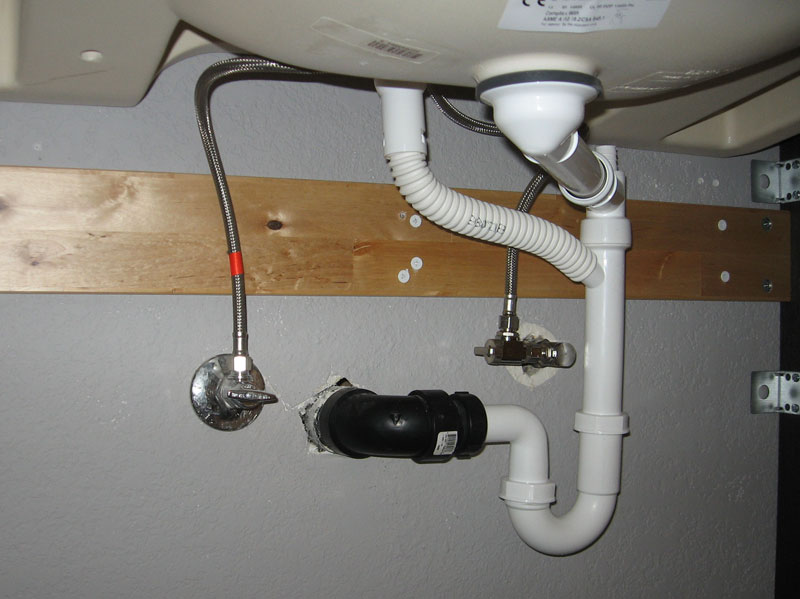
Connecting the plumbing for an IKEA kitchen sink may seem complicated, but with the right steps, it can be a straightforward process. Here's how to do it: Step 1: Using the appropriate tools, attach the faucet and drain to the sink according to the instructions provided by IKEA. Step 2: Connect the water supply and drain pipes to the appropriate connections on the sink. Step 3: Use plumber's tape to secure and seal all connections. Step 4: Test for leaks and make any necessary adjustments. Step 5: Once everything looks good and is functioning correctly, you're ready to start using your new IKEA kitchen sink!7. How to Connect Plumbing for an IKEA Kitchen Sink

7. How to Connect Plumbing for an IKEA Kitchen Sink

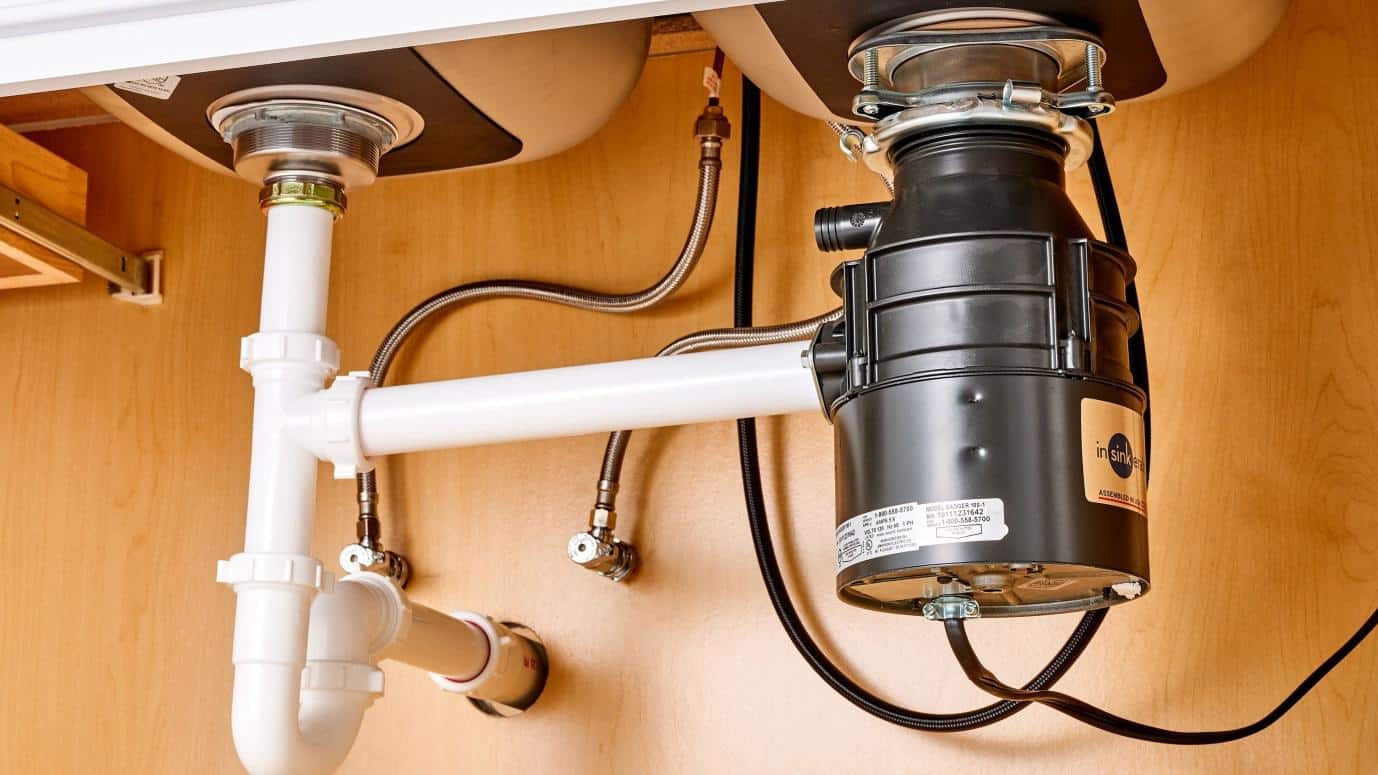

If you're looking to install a garbage disposal with your IKEA kitchen sink, here's how to do it: Step 1: Clear out any items from under the sink to create space for the garbage disposal installation. Step 2: Install the garbage disposal according to the manufacturer's instructions and secure it to the sink. Step 3: Connect the garbage disposal to the drain and water supply pipes. Step 4: Test for leaks and make any necessary adjustments. Step 5: Once everything looks good and is functioning correctly, you're ready to start using your new IKEA kitchen sink with a garbage disposal!8. Installing a Garbage Disposal with an IKEA Kitchen Sink


8. Installing a Garbage Disposal with an IKEA Kitchen Sink

/how-to-install-a-sink-drain-2718789-hero-24e898006ed94c9593a2a268b57989a3.jpg)


Sealing an IKEA kitchen sink is an essential step to prevent any water leakage and damage. Here's how to do it: Step 1: Clean the area around the sink and countertop where they will be sealed together. Step 2: Apply a thin layer of silicone caulk around the edges of the sink where it will be in contact with the countertop. Step 3: Place the sink into the countertop, pressing down firmly to secure it in place. Step 4: Wipe away any excess caulk with a damp cloth. Step 5: Let the caulk dry completely before using the sink.9. How to Seal an IKEA Kitchen Sink


9. How to Seal an IKEA Kitchen Sink


To ensure a smooth and successful installation of your IKEA kitchen sink, here are some best practices to keep in mind: Plan ahead: Have a clear understanding of the sink's dimensions and placement in your kitchen before beginning the installation. Follow instructions: Carefully follow the instructions provided by IKEA for your specific sink model. Test for leaks: After the installation, test the water supply and drain for any leaks and make any necessary adjustments. Seek professional help if needed: If you're unsure or uncomfortable with any step of the installation, it's best to seek professional help to ensure a proper and secure installation. With these tips and instructions, plumbing an IKEA kitchen sink can be a manageable task. Remember to plan ahead, follow instructions carefully, and test for leaks to ensure a successful installation. Now, let's get started on your new IKEA kitchen sink!10. Best Practices for Plumbing an IKEA Kitchen Sink


10. Best Practices for Plumbing an IKEA Kitchen Sink

The Importance of Proper Plumbing in an IKEA Kitchen Sink

Understanding the Basics
 When it comes to designing your dream kitchen, every detail matters. From the color of the cabinets to the type of flooring, every decision contributes to the overall look and functionality of your space. One crucial element that is often overlooked is the plumbing in your kitchen sink. While it may not be the most glamorous aspect of kitchen design, proper plumbing is essential for a functional and efficient kitchen.
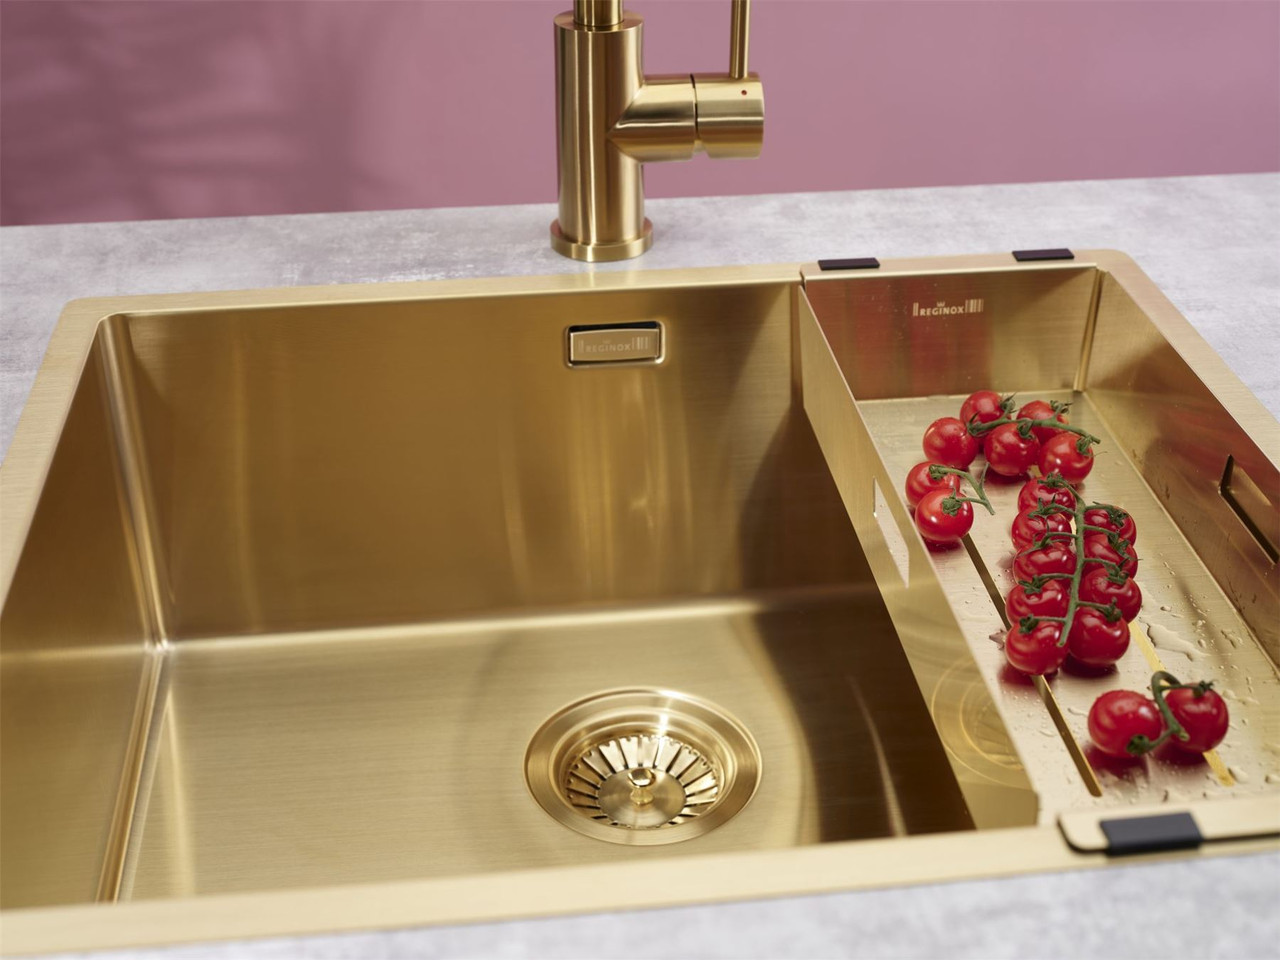
Introducing IKEA Kitchen Sinks
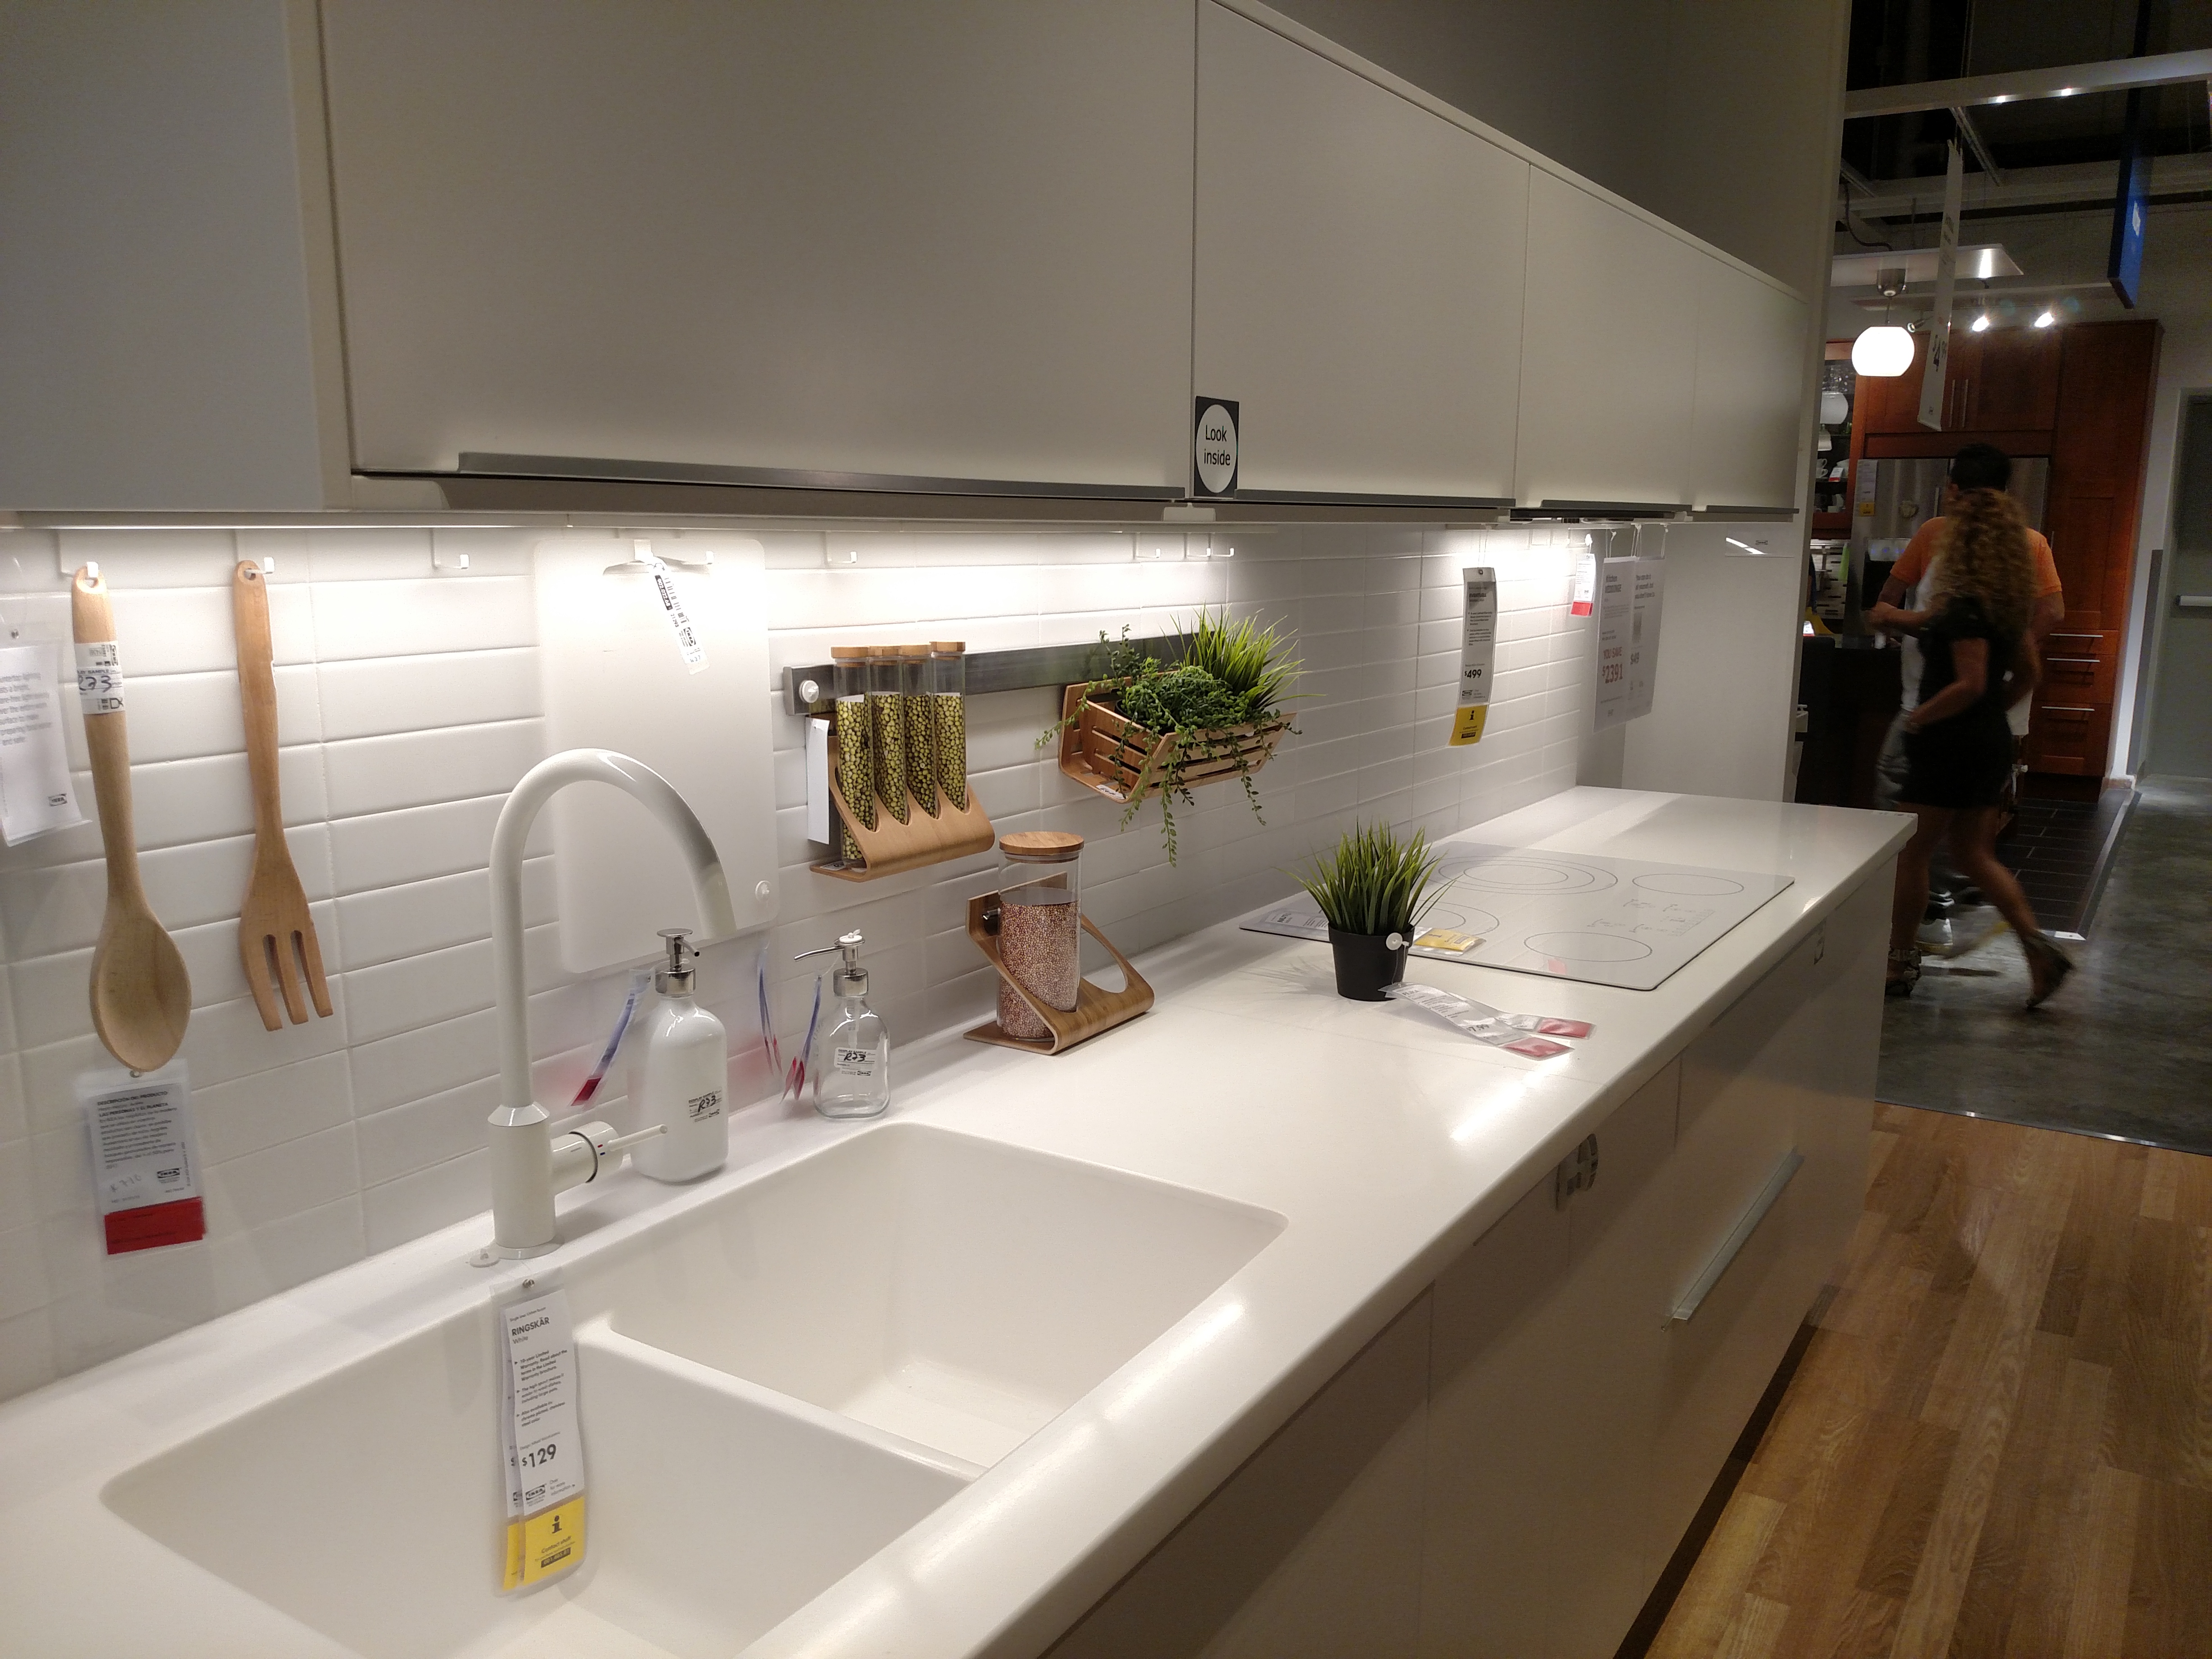
 IKEA is a well-known brand for furniture and home decor, but they also offer a wide range of kitchen products, including sinks. Their sinks are known for their sleek and modern design, making them a popular choice among homeowners. However, to fully enjoy the benefits of an IKEA kitchen sink, proper plumbing is necessary.
Why Proper Plumbing Matters
 Proper plumbing ensures that your sink functions correctly and prevents any potential issues, such as leaks or clogs. A well-installed plumbing system will also save you time and money in the long run by avoiding costly repairs. Additionally, efficient plumbing will improve the overall functionality of your kitchen, making daily tasks such as washing dishes or filling up a pot with water much more manageable.
Expert Installation
 While some homeowners may be tempted to install their IKEA kitchen sink themselves, it is always best to leave it to the professionals. Proper installation requires knowledge and experience, as well as the right tools and materials. A professional plumber will ensure that the sink is installed correctly, guaranteeing its durability and longevity.
Featured Keyword: IKEA Kitchen Sink
While some homeowners may be tempted to install their IKEA kitchen sink themselves, it is always best to leave it to the professionals. Proper installation requires knowledge and experience, as well as the right tools and materials. A professional plumber will ensure that the sink is installed correctly, guaranteeing its durability and longevity.
Featured Keyword: IKEA Kitchen Sink
Conclusion
 In conclusion, proper plumbing is crucial when installing an IKEA kitchen sink. It not only ensures the sink's functionality but also contributes to the overall design and efficiency of your kitchen. By hiring a professional plumber, you can rest assured that your IKEA kitchen sink will be installed correctly and provide you with years of enjoyment. Don't overlook the importance of plumbing in your kitchen design and make sure to invest in quality installation for your IKEA sink.