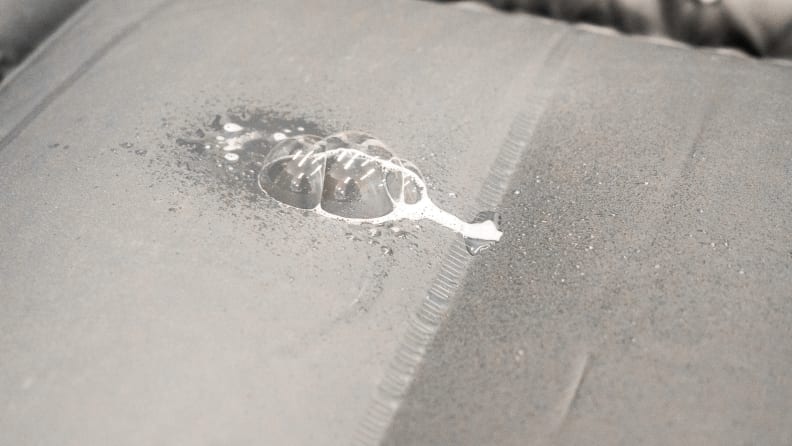
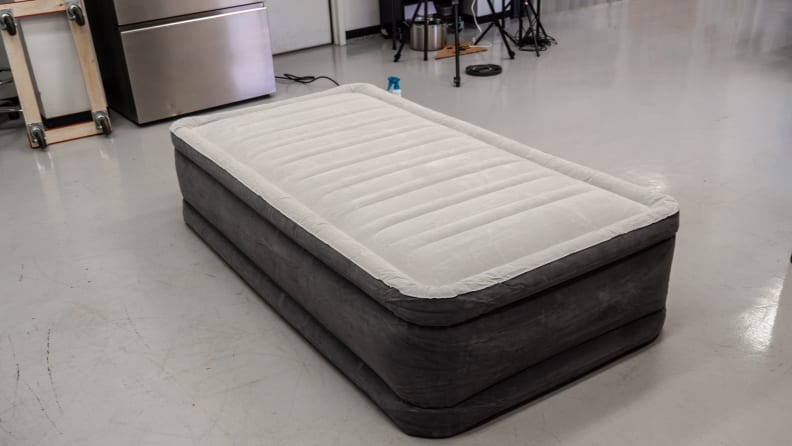
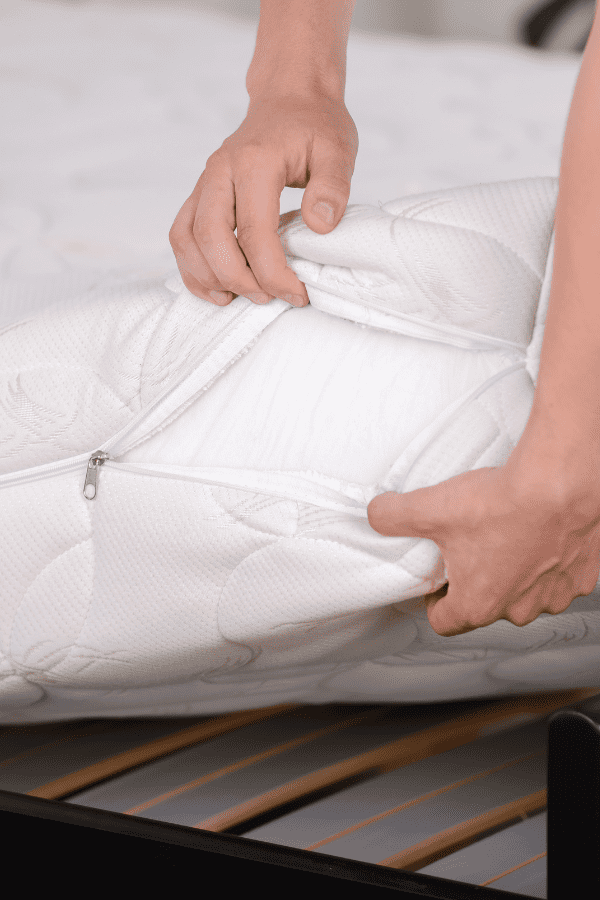
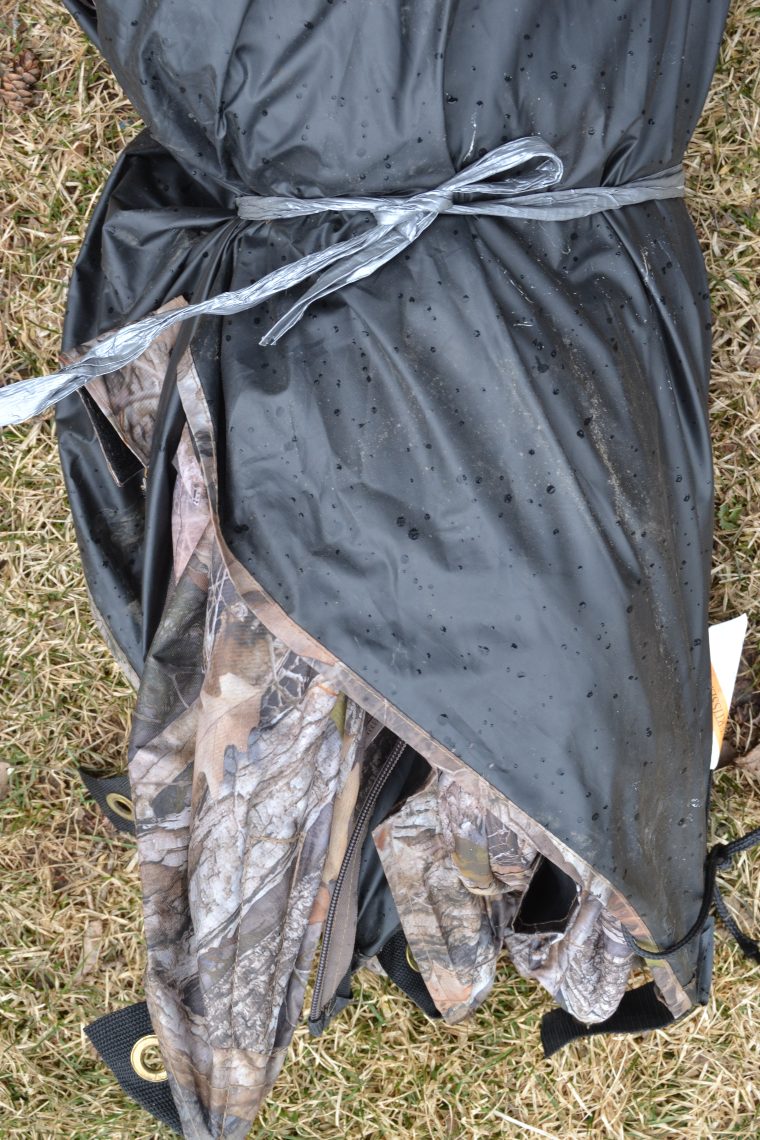
Do you have an air mattress with a pesky hole that just won't stay inflated? Don't worry, you don't have to throw it away and buy a new one. With the right materials and a little know-how, you can easily patch up the hole using duct tape. Here's a step-by-step guide on how to do it: First, identify the location of the hole on your air mattress. Make sure the area is clean and dry before proceeding. Next, cut a piece of duct tape that is slightly larger than the hole. This will ensure that the hole is completely covered and sealed. Before applying the duct tape, use a rubbing alcohol to clean the area around the hole. This will help the tape adhere better and create a stronger seal. Place the duct tape over the hole, pressing firmly to ensure it sticks well. Smooth out any wrinkles or air bubbles to create a flat, even surface. If you want extra reinforcement, you can cut a second piece of duct tape and place it over the first one in a perpendicular direction. This will create a stronger seal and prevent the hole from reopening. Allow the duct tape to fully adhere for at least 30 minutes before using the air mattress again. This will give it enough time to create a secure seal. And that's it! Your air mattress is now ready to use again. Just make sure to regularly check the patch and reapply duct tape if necessary.1. How to Patch an Air Mattress with Duct Tape


1. How to Patch an Air Mattress with Duct Tape


If you're looking for a cost-effective and easy way to fix a hole in your air mattress, using duct tape is the way to go. Not only is it a quick solution, but it's also a DIY project that anyone can do. Here's how: Start by identifying the location of the hole on your air mattress. Make sure it is thoroughly dry before proceeding. Measure the size of the hole and cut a piece of duct tape that is slightly larger than it. This will ensure that the hole is fully covered and sealed. Before applying the duct tape, use a clean cloth and a mild detergent to clean the area around the hole. This will help the duct tape adhere better and create a stronger seal. Place the duct tape over the hole, pressing down firmly to ensure it sticks well. Smooth out any wrinkles or air bubbles for a flat surface. If you want to add extra reinforcement, you can cut a second piece of duct tape and place it over the first one in a perpendicular direction. Allow the duct tape to fully adhere for at least 30 minutes before using the air mattress again. This will give it enough time to create a secure seal. And there you have it! Your air mattress is now good as new and ready to use. Just remember to check the patch regularly and reapply duct tape if needed.2. DIY Air Mattress Repair with Duct Tape


2. DIY Air Mattress Repair with Duct Tape


Don't let a hole in your air mattress ruin your good night's sleep. With the right materials and a little bit of effort, you can easily fix the hole using duct tape. Here's how: Start by locating the hole on your air mattress and making sure the area is clean and dry. Next, prepare a piece of duct tape that is slightly larger than the hole. Clean the area around the hole using a mild soap and warm water. This will help the duct tape adhere better and create a stronger seal. Place the duct tape over the hole, pressing down firmly to ensure it sticks well. Smooth out any wrinkles or air bubbles for a flat surface. If you want added reinforcement, you can cut a second piece of duct tape and place it over the first one in a perpendicular direction. Allow the duct tape to fully adhere for at least 30 minutes before using the air mattress again. This will give it enough time to create a secure seal. And that's it! Your air mattress is now ready to use again. Just be sure to regularly check the patch and reapply duct tape if necessary.3. Fixing a Hole in an Air Mattress with Duct Tape


3. Fixing a Hole in an Air Mattress with Duct Tape


Leaky air mattresses can be a nuisance, but luckily, they can be easily fixed with the help of duct tape. This budget-friendly and simple solution will have your air mattress as good as new in no time. Here's how: Start by locating the leak on your air mattress and cleaning the area thoroughly. Measure the size of the leak and cut a piece of duct tape that is slightly larger than it. Before applying the duct tape, use a clean cloth and mild detergent to clean the area around the leak. This will help the duct tape adhere better and create a stronger seal. Place the duct tape over the leak, pressing down firmly to ensure it sticks well. Smooth out any wrinkles or air bubbles for a flat surface. If you want to add extra reinforcement, you can cut a second piece of duct tape and place it over the first one in a perpendicular direction. Allow the duct tape to fully adhere for at least 30 minutes before using the air mattress again. This will give it enough time to create a secure seal. And there you have it! Your air mattress is now fixed and ready to use. Just make sure to regularly check the patch and reapply duct tape if necessary.4. Using Duct Tape to Repair an Air Mattress Leak


4. Using Duct Tape to Repair an Air Mattress Leak


Got a hole in your air mattress and need a quick fix? Look no further than duct tape! This all-purpose adhesive is perfect for patching up air mattress holes in a pinch. Here's how to do it: Start by locating the hole on your air mattress and making sure the area is clean and dry. Cut a piece of duct tape that is slightly larger than the hole. Before applying the duct tape, use a rubbing alcohol to clean the area around the hole. This will help the tape adhere better and create a stronger seal. Place the duct tape over the hole, pressing down firmly to ensure it sticks well. Smooth out any wrinkles or air bubbles for a flat surface. If you want added reinforcement, you can cut a second piece of duct tape and place it over the first one in a perpendicular direction. Allow the duct tape to fully adhere for at least 30 minutes before using the air mattress again. This will give it enough time to create a secure seal. And that's it! Your air mattress is now good as new and ready to use. Just remember to check the patch regularly and reapply duct tape if needed.5. Quick and Easy Air Mattress Patch with Duct Tape


5. Quick and Easy Air Mattress Patch with Duct Tape


Duct tape is known for its versatility and can be used for a variety of household repairs, including fixing air mattresses. Here are a few hacks to keep in mind when using duct tape to patch up your air mattress: - Use a hairdryer to warm up the duct tape before applying it. This will help it adhere better and create a stronger seal. - If you don't have duct tape on hand, you can also use electrical tape or packing tape as alternative options. - For larger holes or tears, you can use a piece of fabric as a base before applying the duct tape. This will create a stronger and more durable patch. - If the hole is located on a seam, you can use a strip of duct tape to reinforce the seam and prevent the hole from getting bigger. With these hacks, you can quickly and easily fix any air mattress using duct tape, even if you don't have any prior experience with DIY repairs.6. Duct Tape Hacks for Fixing an Air Mattress


6. Duct Tape Hacks for Fixing an Air Mattress


Accidentally tore your air mattress and worried it's beyond repair? Don't fret, duct tape can come to the rescue once again. Here's how to fix a tear in an air mattress using duct tape: Start by cleaning the area around the tear with a clean cloth and mild detergent. Measure the length of the tear and cut a piece of duct tape that is slightly longer than it. Before applying the duct tape, use a rubbing alcohol to clean the area around the tear. This will help the tape adhere better and create a stronger seal. Place the duct tape over the tear, pressing down firmly to ensure it sticks well. Smooth out any wrinkles or air bubbles for a flat surface. For added reinforcement, you can use a second piece of duct tape and place it over the first one in a perpendicular direction. Allow the duct tape to fully adhere for at least 30 minutes before using the air mattress again. This will give it enough time to create a secure seal. And that's it! Your air mattress is now repaired and ready to use. Just remember to regularly check the patch and reapply duct tape if necessary.7. How to Repair a Tear in an Air Mattress with Duct Tape


7. How to Repair a Tear in an Air Mattress with Duct Tape


If you want to create an even stronger and more durable patch on your air mattress, you can combine duct tape with glue. Here's how: Start by locating the hole on your air mattress and cleaning the area thoroughly. Cut a piece of duct tape that is slightly larger than the hole. Before applying the duct tape, use a clean cloth and mild detergent to clean the area around the hole. Apply a thin layer of rubber cement or vinyl adhesive to the hole and surrounding area, and then place the duct tape over it. Press down firmly to ensure the duct tape sticks well and smooth out any wrinkles or air bubbles. If you want added reinforcement, you can use a second piece of duct tape and place it over the first one in a perpendicular direction. Allow the duct tape and glue to fully dry and adhere for at least 30 minutes before using the air mattress again. This will create a strong and secure patch.8. Patching a Hole in an Air Mattress with Duct Tape and Glue


8. Patching a Hole in an Air Mattress with Duct Tape and Glue


Fixing an air mattress leak can be a bit tricky, but with the help of duct tape, it can be a quick and easy solution. Here are some tricks to keep in mind when using duct tape to fix a leak: - Make sure the area around the leak is completely dry before applying the duct tape. Any moisture can prevent the tape from adhering properly. - If the leak is located on the underside of the air mattress, you can use a larger piece of duct tape to cover the entire area for added reinforcement. - For a less noticeable patch, you can use white duct tape or paint over the patch with acrylic paint once it's fully adhered and dry. With these tricks, you can easily fix any air mattress leak using duct tape, no matter how big or small it may be.9. Duct Tape Tricks for Fixing an Air Mattress Leak


9. Duct Tape Tricks for Fixing an Air Mattress Leak


If you're new to using duct tape to fix an air mattress, here's a simple step-by-step guide to help you through the process: Step 1: Locate the hole or leak on your air mattress and make sure the area is clean and dry. Step 2: Measure the size of the hole and cut a piece of duct tape that is slightly larger than it. Step 3: Use a clean cloth and mild detergent to clean the area around the hole or leak. Step 4: Apply the duct tape over the hole, pressing down firmly to ensure it sticks well. Step 5: Smooth out any wrinkles or air bubbles for a flat surface. Step 6: For added reinforcement, you can use a second piece of duct tape and place it over the first one in a perpendicular direction. Step 7: Allow the duct tape to fully adhere for at least 30 minutes before using the air mattress again. And there you have it! Your air mattress is now patched up and ready to use. Just remember to regularly check the patch and reapply duct tape if necessary.10. Step-by-Step Guide to Patching an Air Mattress with Duct Tape


10. Step-by-Step Guide to Patching an Air Mattress with Duct Tape
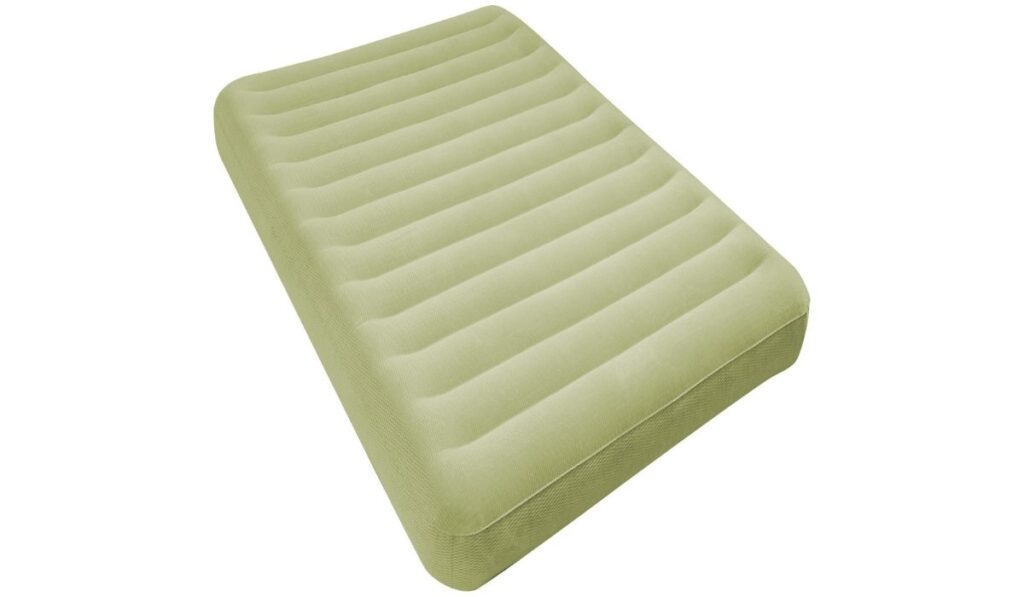
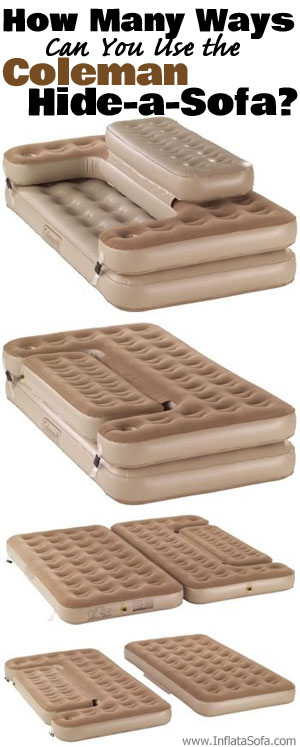
:max_bytes(150000):strip_icc()/81QHm8NXr2L._AC_SL1500_1-17bafdc326cf4922b0d8acca4d9b5639.jpg)


Patching an Air Mattress Hole with Duct Tape: A Quick and Easy Solution

Don't Let a Small Hole Ruin Your Comfortable Night's Sleep
 If you have ever experienced the frustration of waking up in the middle of the night to a deflated air mattress, you know how important it is to have a reliable solution on hand. While there are many methods for patching a hole in an air mattress, using duct tape is a quick and easy solution that can save you time and money. In this article, we will guide you through the steps of patching an air mattress hole with duct tape, so you can get back to enjoying a comfortable night's sleep.
Gather Your Materials
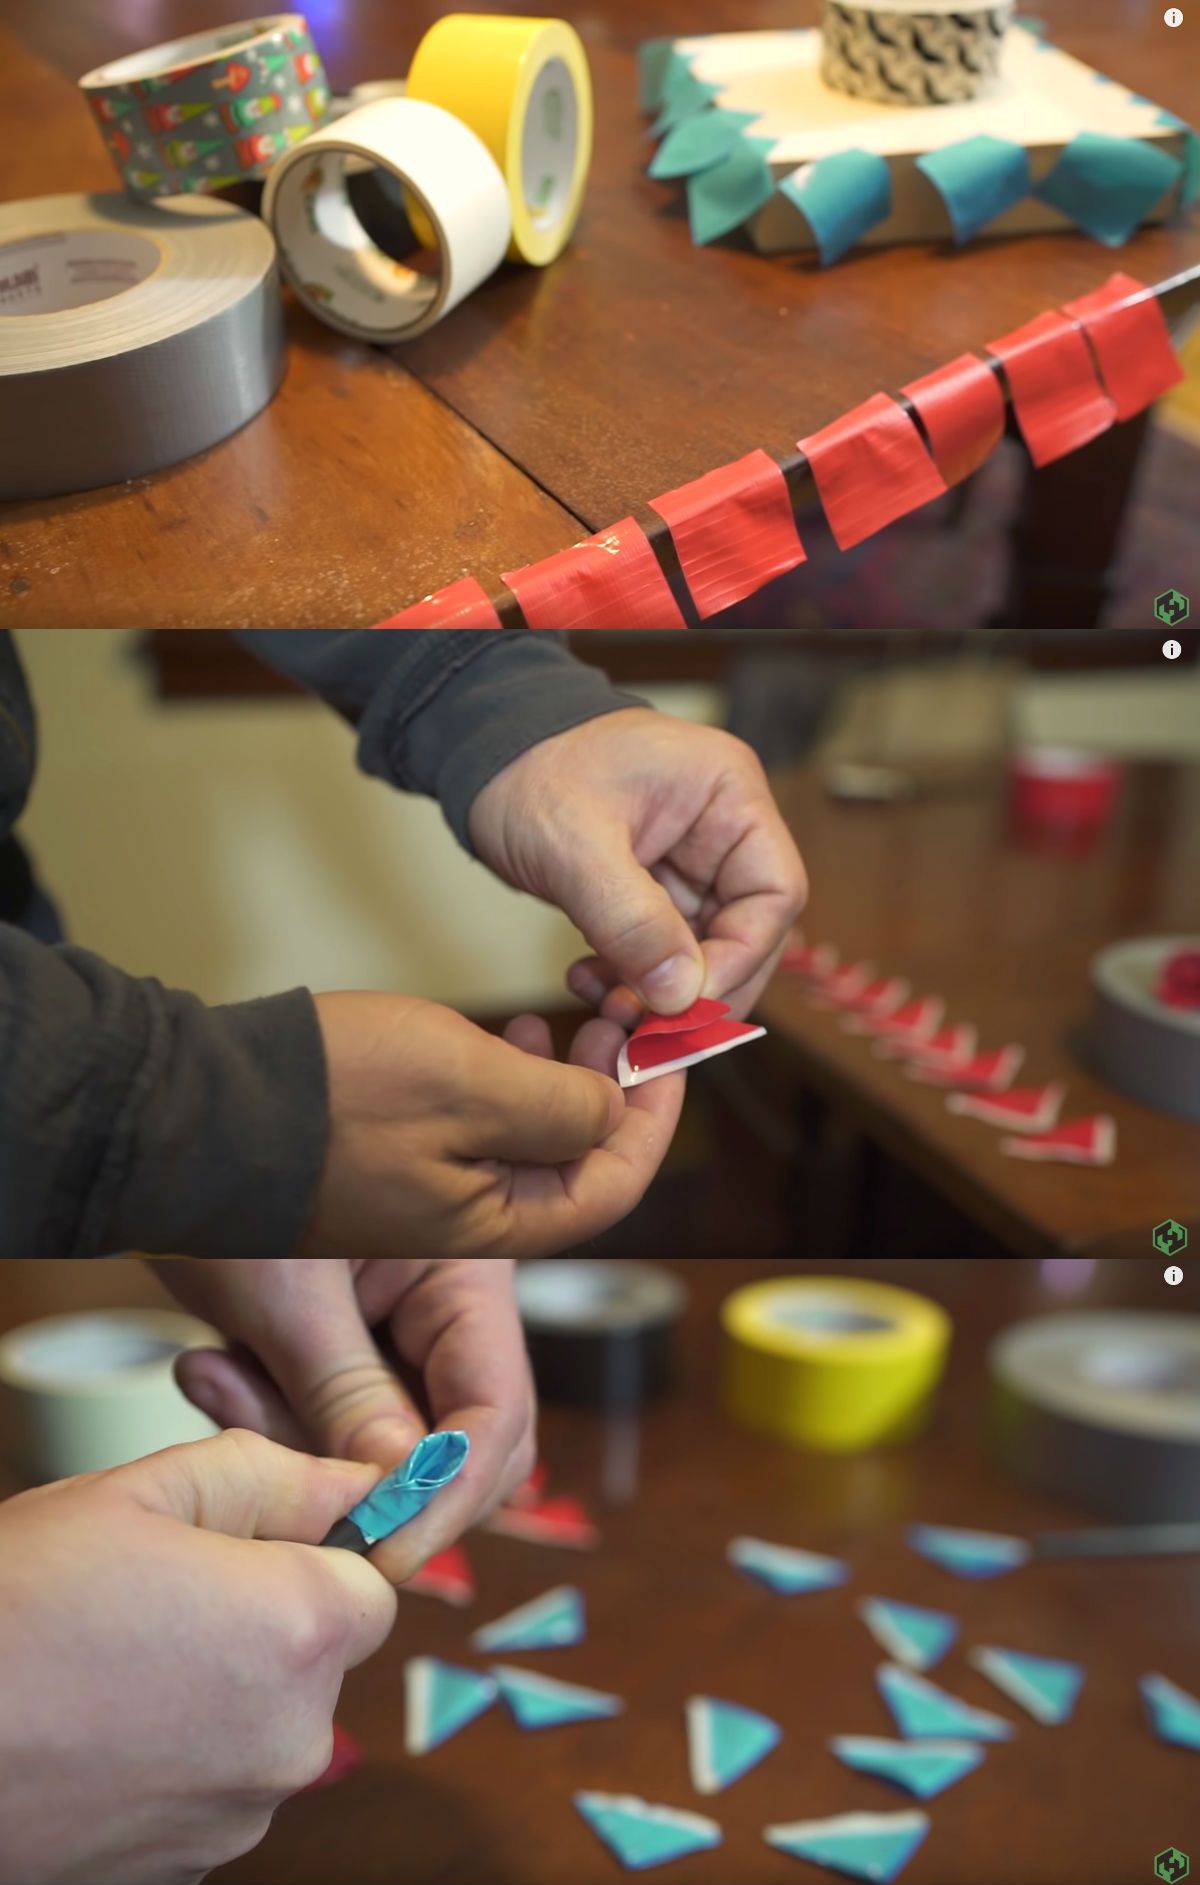
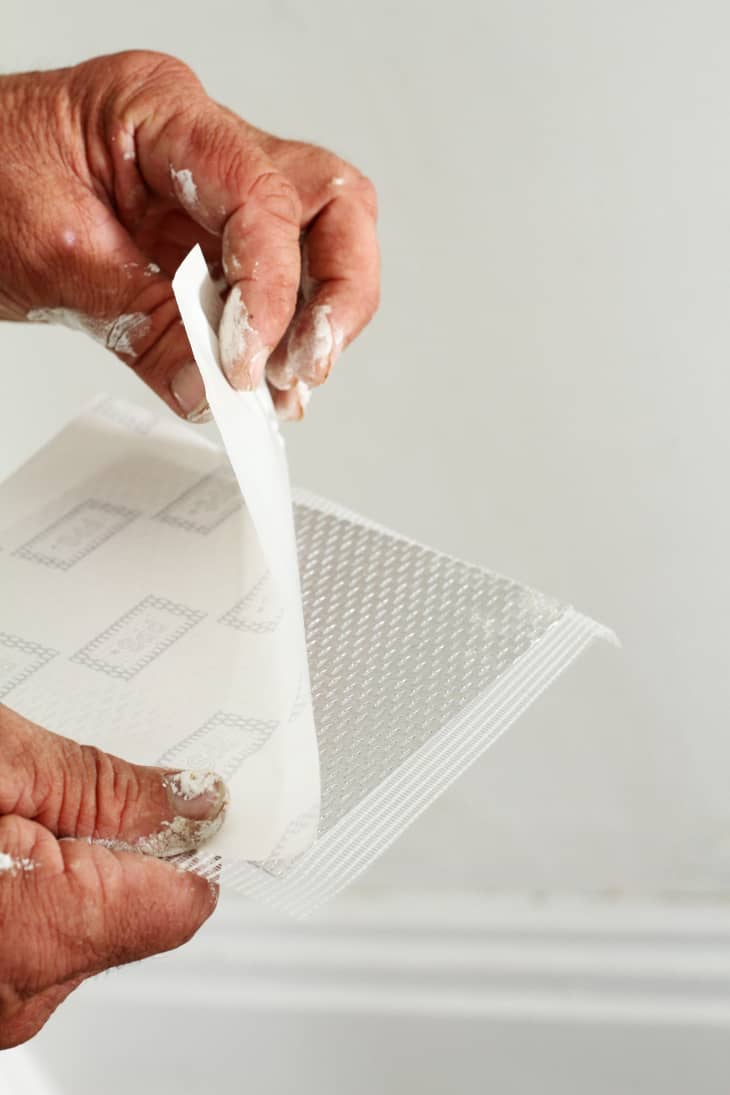
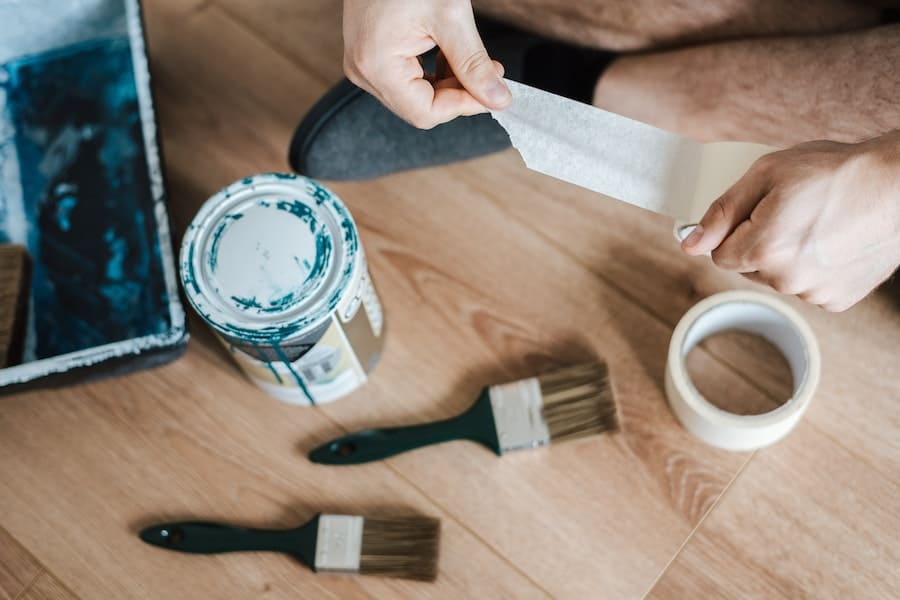
 Before you begin, make sure you have all the necessary materials. You will need a piece of
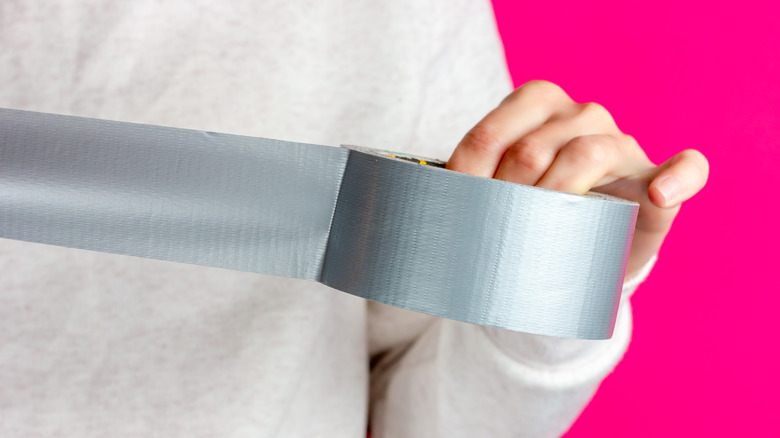
duct tape
that is at least two inches longer than the hole,
scissors
, and a clean cloth. It is important to use a high-quality duct tape that is strong and durable. You may also want to have a
patch kit
on hand in case the hole is too big for duct tape alone.
Before you begin, make sure you have all the necessary materials. You will need a piece of
duct tape
that is at least two inches longer than the hole,
scissors
, and a clean cloth. It is important to use a high-quality duct tape that is strong and durable. You may also want to have a
patch kit
on hand in case the hole is too big for duct tape alone.
Prepare the Area
 To ensure the best adhesion, clean the area around the hole with a damp cloth and let it dry completely. It is important to remove any dirt, dust, or oils that may prevent the duct tape from sticking properly. If the hole is on the bottom of the air mattress, make sure to flip it over before cleaning.
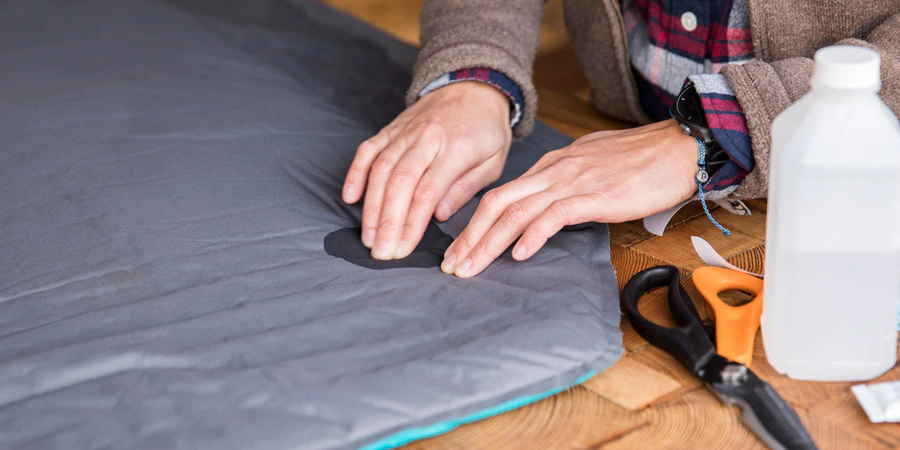
Apply the Duct Tape
 Once the area is clean and dry, cut a piece of duct tape that is two inches longer than the hole. Place the duct tape over the hole, making sure to center it and smooth out any wrinkles or air bubbles. If the hole is larger than the duct tape, you can use multiple pieces to cover the entire area. Make sure to overlap the pieces by at least one inch to ensure a strong seal.
Seal the Edges
 To further secure the duct tape and prevent it from peeling off, use your fingers to press down along the edges of the tape. You can also use a flat object, such as a credit card, to smooth out the edges and ensure a tight seal.
Let it Set
 After applying the duct tape, let it set for at least 30 minutes before inflating the air mattress. This will give the adhesive enough time to bond with the surface and create a strong seal. If you notice any air leaks after inflating the mattress, repeat the process with additional layers of duct tape until the hole is completely sealed.
Enjoy a Good Night's Rest
 With your air mattress hole patched up, you can now enjoy a comfortable and uninterrupted night's sleep. Just make sure to check the duct tape periodically for any signs of wear and tear, and replace it if necessary. Using duct tape to patch an air mattress hole is not a permanent solution, but it can provide a quick fix in a pinch.
Conclusion
 Patching an air mattress hole with duct tape is a simple and effective solution that can save you time and money. By following these easy steps and using high-quality duct tape, you can quickly repair your air mattress and get back to enjoying a comfortable night's sleep. Remember to always keep a roll of duct tape handy for any unexpected air mattress mishaps.