Installing a new bathroom vanity top can give your bathroom a fresh and updated look. However, the process of mounting a vanity top may seem daunting for those who have never done it before. With the right tools and knowledge, you can easily mount a bathroom vanity top on your own. In this article, we will provide a step-by-step guide on how to properly mount a bathroom vanity top. Mounting Bathroom Vanity Top

Mounting Bathroom Vanity Top

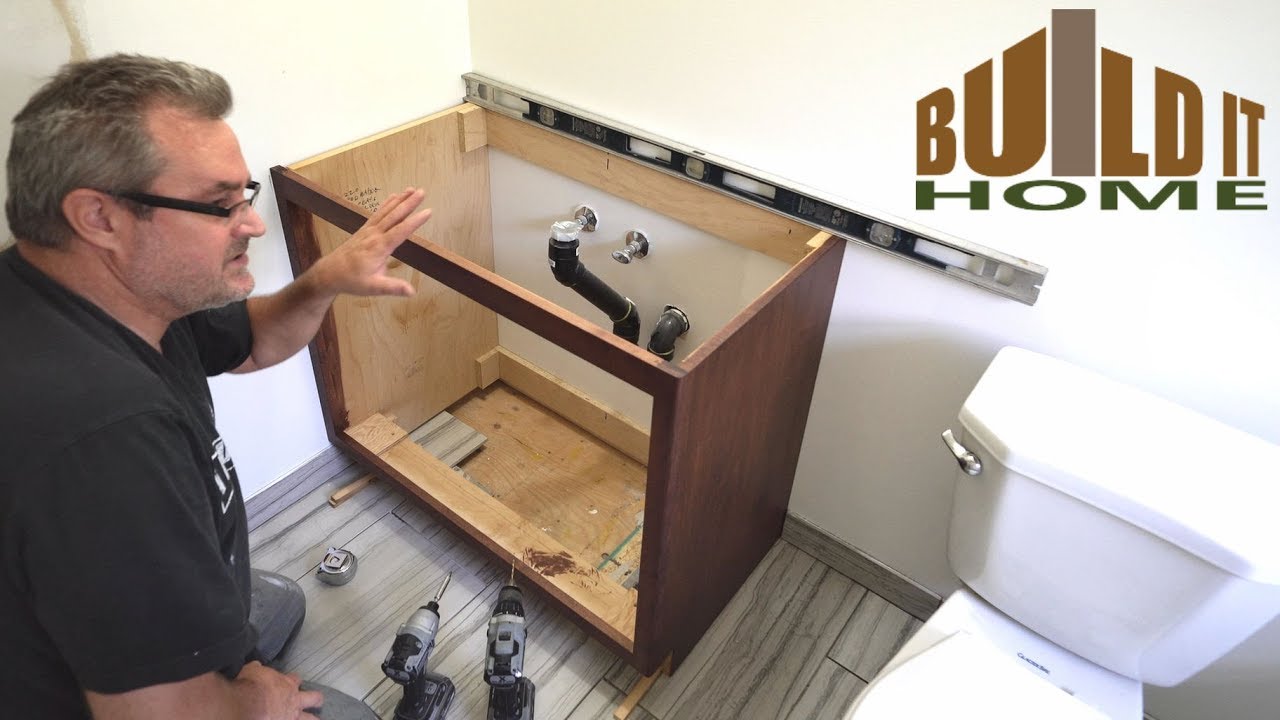
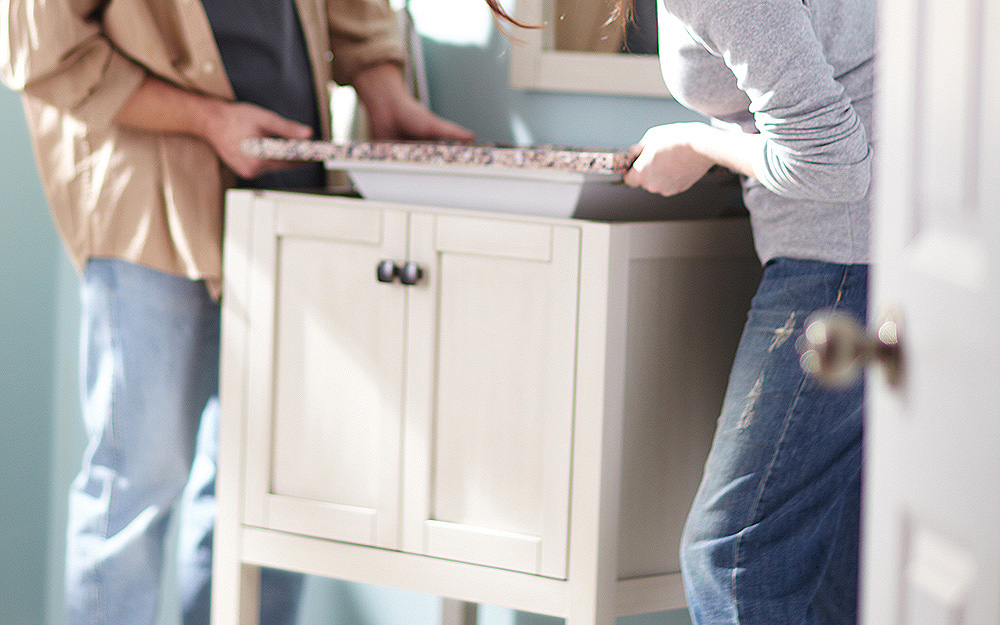
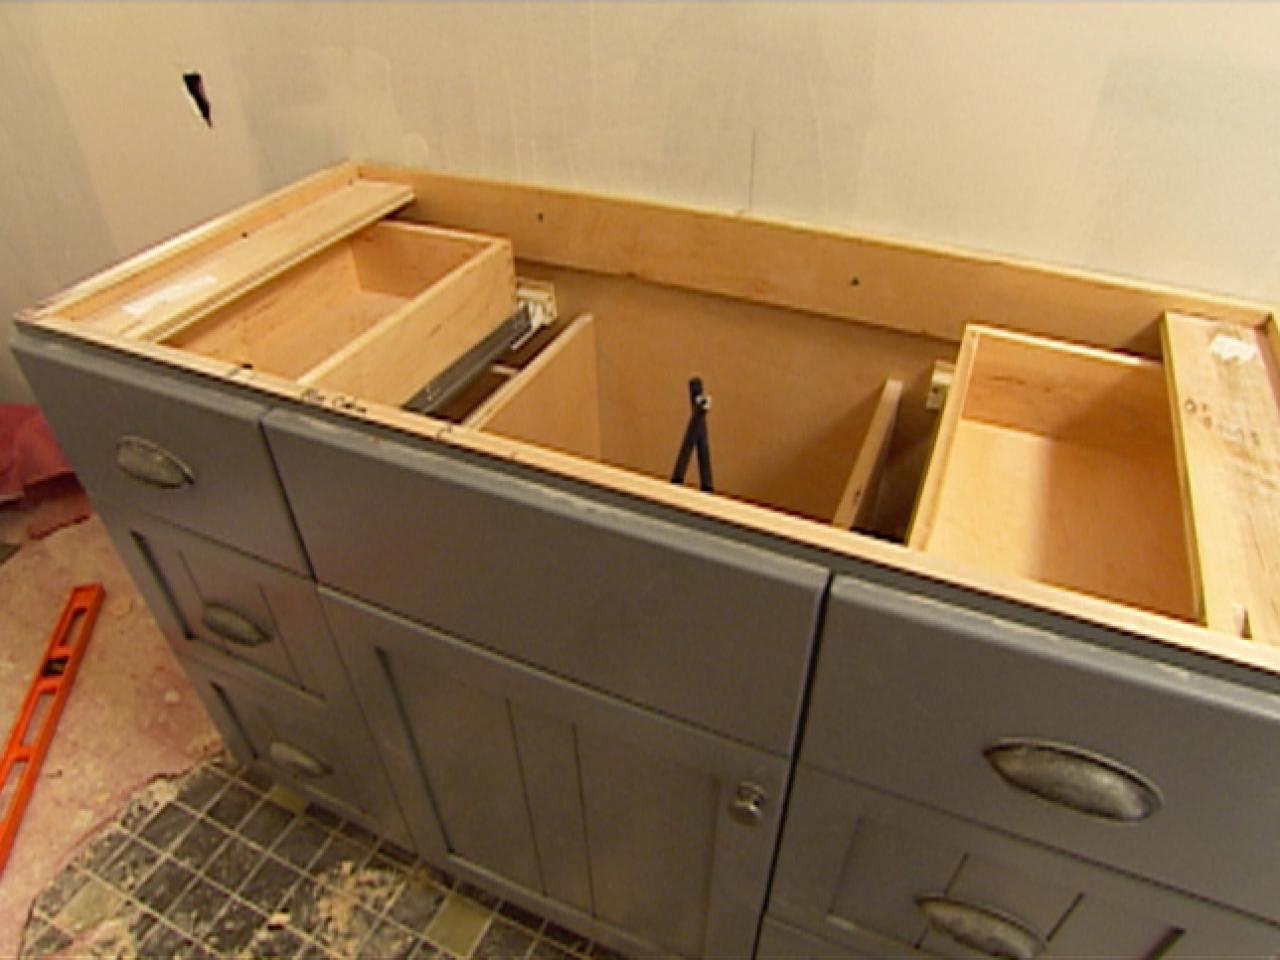
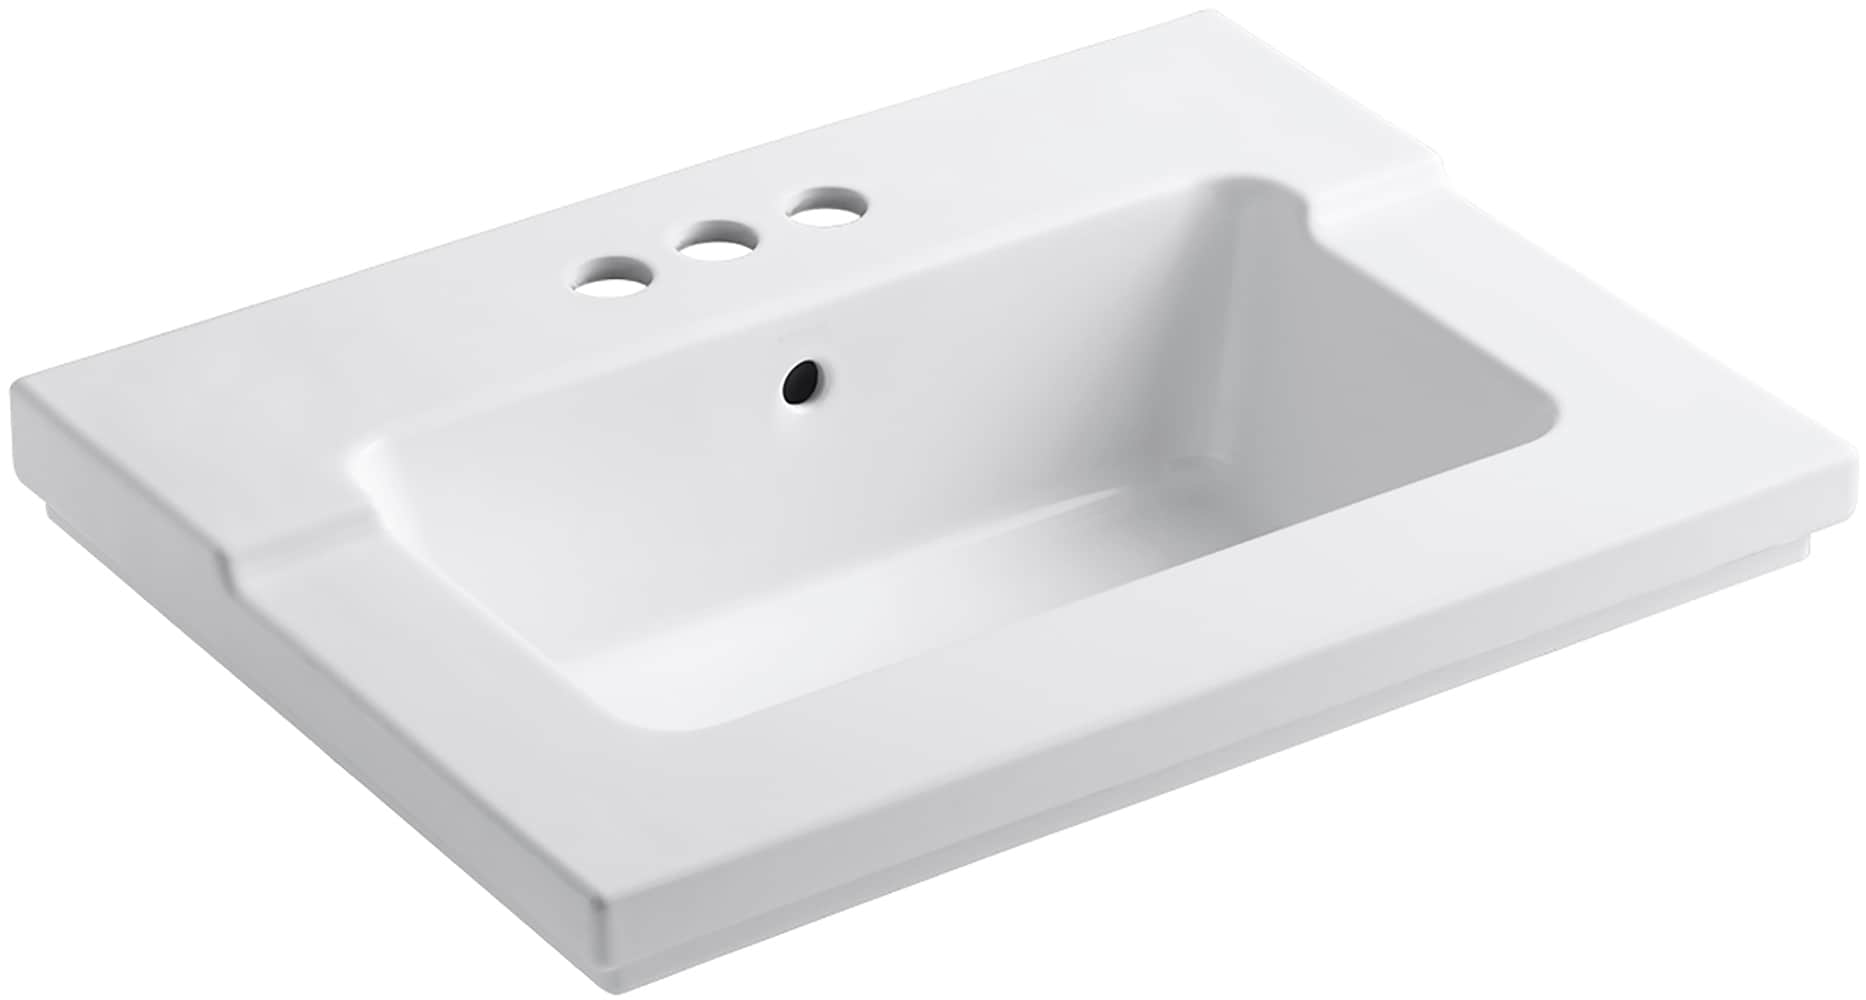
Before starting the installation process, it is important to choose the right vanity top for your bathroom. Measure the dimensions of your vanity cabinet and make sure to purchase a vanity top that fits perfectly. Once you have the right vanity top, follow these steps for installation: Step 1: Prepare the Surface Step 2: Test Fit the Vanity Top Step 3: Apply Adhesive Step 4: Place the Vanity Top Step 5: Secure the Vanity TopHow to Install a Bathroom Vanity Top
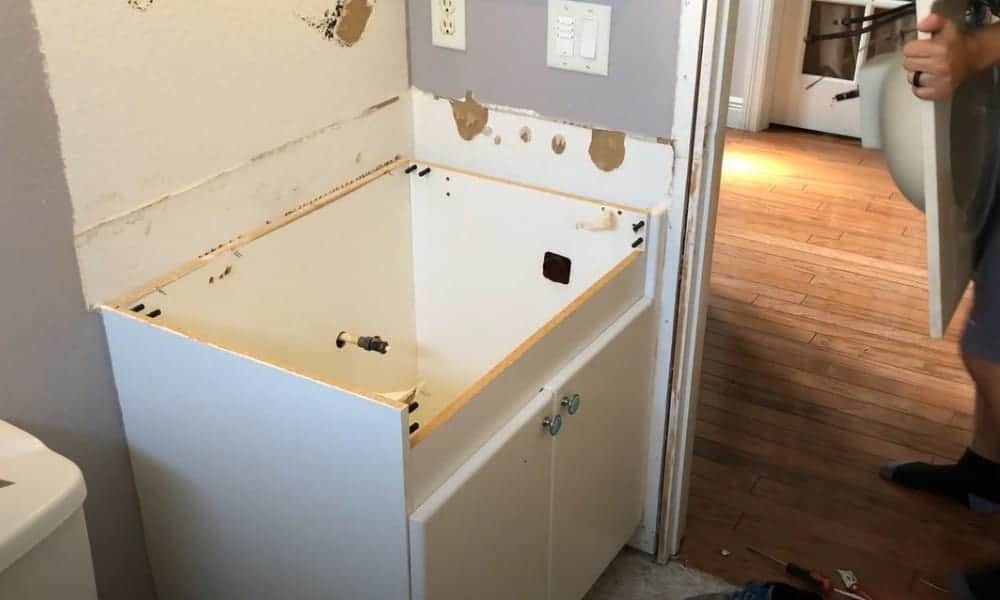
Make sure the surface where you will be mounting the vanity top is clean and level. Remove any debris or old caulk from the top of the cabinet to ensure a smooth surface.
Place the vanity top on the cabinet to test the fit. If needed, use a jigsaw or circular saw to trim the vanity top to fit perfectly on the cabinet.
Using a caulk gun, apply a thin layer of adhesive along the top of the cabinet. Make sure to leave a small gap around the edges for caulking later.
Carefully place the vanity top onto the cabinet, pressing it firmly onto the adhesive. Use a level to ensure that the vanity top is even on all sides.
Use screws or clips to secure the vanity top onto the cabinet. Make sure to follow the manufacturer's instructions for proper placement and tightening of the screws.


How to Install a Bathroom Vanity Top
:max_bytes(150000):strip_icc()/8_IMG_3767-56a4a2753df78cf772835b72.JPG)


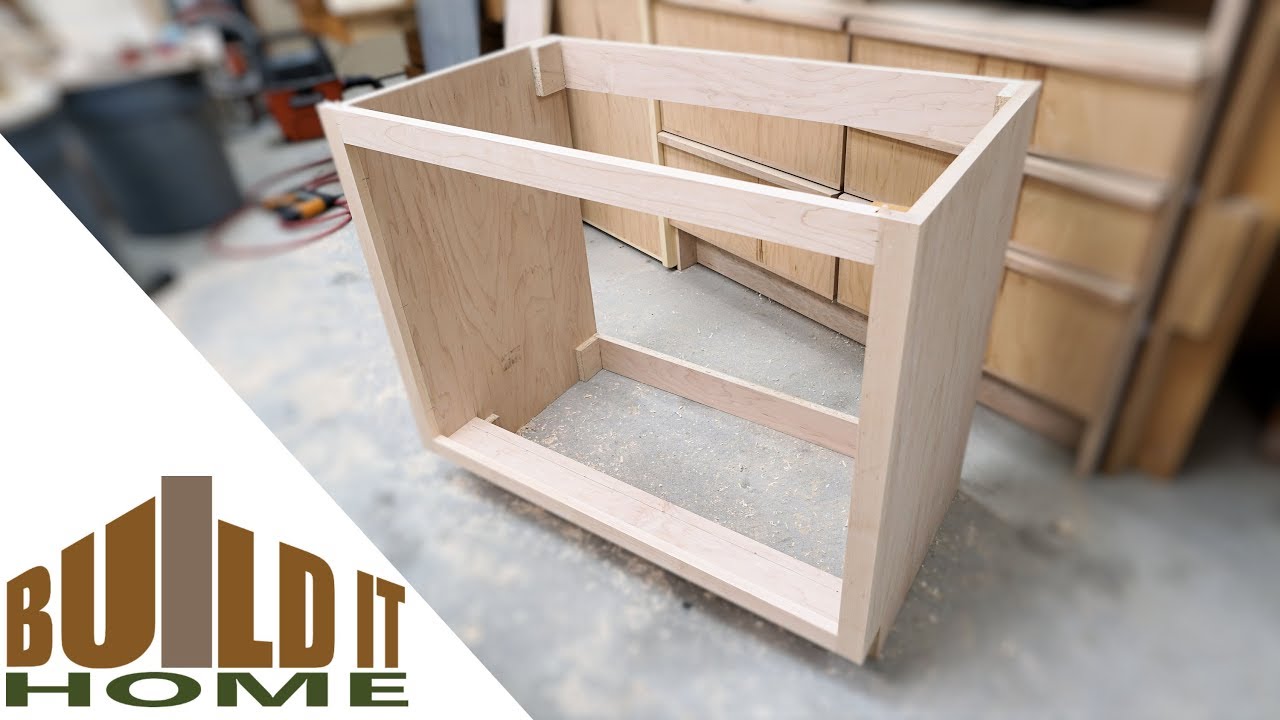
Installing a bathroom vanity top on your own can save you money and give you a sense of accomplishment. However, it is important to have the right tools and knowledge before attempting a DIY installation. Here are some tips to help you with your DIY bathroom vanity top installation: Tip 1: Use a Caulking Gun Tip 2: Have a Helper Tip 3: Double Check MeasurementsDIY Bathroom Vanity Top Installation
A caulking gun makes it easier to apply a thin, even layer of adhesive onto the cabinet. It also allows for more precise application, preventing any excess adhesive from oozing out.
Having someone to assist you with lifting and placing the vanity top can make the installation process smoother and safer.
Before cutting the vanity top to fit, make sure to double check your measurements to avoid any mistakes.


DIY Bathroom Vanity Top Installation


:max_bytes(150000):strip_icc()/build-something-diy-vanity-594402125f9b58d58ae21158.jpg)
:max_bytes(150000):strip_icc()/cherry-diy-bathroom-vanity-594414da5f9b58d58a099a36.jpg)
The most common way to mount a bathroom vanity top is by using adhesive and screws or clips. However, there are other methods to consider: Method 1: Floating Vanity Top Method 2: Wall-Mounted Vanity TopMounting a Vanity Top on a Cabinet
A floating vanity top can give your bathroom a modern and sleek look. This method involves attaching the vanity top to a wall-mounted support system instead of a cabinet.
Similar to a floating vanity top, a wall-mounted vanity top is attached to the wall instead of a cabinet. This method is best for smaller bathrooms where space is limited.


Mounting a Vanity Top on a Cabinet


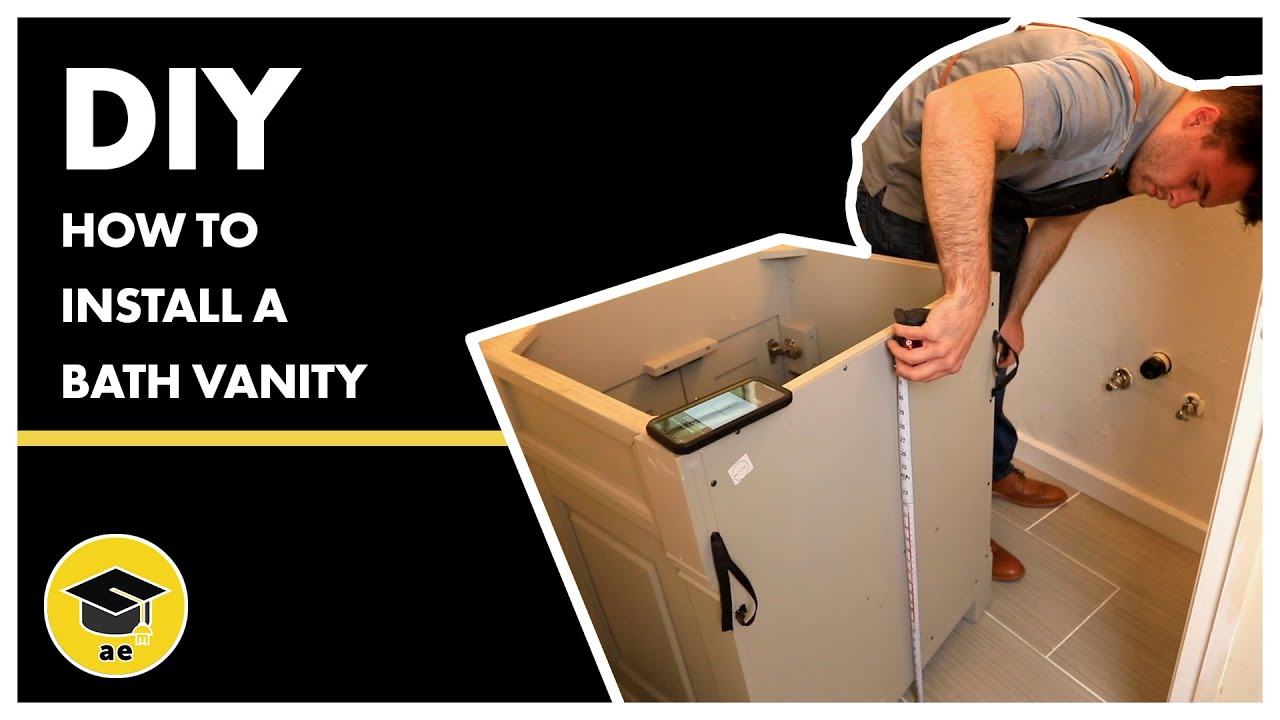
Follow these steps for a successful bathroom vanity top installation: Step 1: Gather Tools Step 2: Prepare the Surface Step 3: Test Fit the Vanity Top Step 4: Apply Adhesive Step 5: Place the Vanity Top Step 6: Secure the Vanity Top Step 7: Caulk the EdgesStep-by-Step Guide for Mounting a Bathroom Vanity Top
Make sure you have all the necessary tools for the installation, such as a caulk gun, level, screwdriver, and jigsaw.
Clean and level the surface where you will be mounting the vanity top.
Place the vanity top on the cabinet to test the fit. Make any necessary adjustments to ensure a perfect fit.
Using a caulk gun, apply a thin layer of adhesive on the top of the cabinet.
Carefully place the vanity top onto the cabinet, pressing it firmly onto the adhesive. Use a level to ensure it is even.
Secure the vanity top using screws or clips. Make sure to follow the manufacturer's instructions for proper placement and tightening of the screws.
Use caulk to seal the gap between the vanity top and the cabinet. This will prevent any water from seeping in and causing damage.


Step-by-Step Guide for Mounting a Bathroom Vanity Top


To successfully mount a bathroom vanity top, you will need the following tools: Caulk Gun Level Screwdriver Jigsaw or Circular SawTools Needed for Mounting a Bathroom Vanity Top
A caulk gun is essential for applying adhesive and caulk in a controlled and precise manner.
A level is necessary to ensure that the vanity top is even on all sides.
You will need a screwdriver to secure the vanity top onto the cabinet or support system.
If you need to trim the vanity top to fit, a jigsaw or circular saw will come in handy.


Tools Needed for Mounting a Bathroom Vanity Top

:max_bytes(150000):strip_icc()/bathroom-space-design-1821325_final-08ffd0dca30b4e038cf7f1d7ebe0745f.png)
Here are some tips to keep in mind for a successful bathroom vanity top installation: Tip 1: Choose the Right Vanity Top Tip 2: Test Fit Before Installing Tip 3: Use the Right AdhesiveTips for Properly Mounting a Bathroom Vanity Top
Make sure to purchase a vanity top that fits perfectly on your cabinet or support system.
Always test fit the vanity top before applying adhesive and securing it in place.
Choose a high-quality adhesive that is specifically designed for bathroom use.


Tips for Properly Mounting a Bathroom Vanity Top


These are some common mistakes to avoid when mounting a bathroom vanity top: Mistake 1: Not Preparing the Surface Mistake 2: Not Measuring Correctly Mistake 3: Using the Wrong AdhesiveCommon Mistakes to Avoid When Mounting a Bathroom Vanity Top
A clean and level surface is crucial for a successful installation. Make sure to remove any debris or old caulk before starting.
Double check your measurements before cutting the vanity top to fit. This will prevent any mistakes and save you time and money.
Make sure to use an adhesive that is specifically designed for bathroom use. Using the wrong adhesive can weaken the bond and cause the vanity top to become loose over time.


Common Mistakes to Avoid When Mounting a Bathroom Vanity Top


When it comes to securing your vanity top, there are a few different options to consider: Screws Clips AdhesiveChoosing the Right Mounting Hardware for Your Bathroom Vanity Top
Screws are the most common way to secure a vanity top. Make sure to use screws that are appropriate for bathroom use and follow the manufacturer's instructions for proper placement.
Some vanity tops come with clips that are designed to secure the top onto the cabinet. Make sure to use the appropriate number of clips and follow the manufacturer's instructions for proper placement.
In addition to screws or clips, an adhesive can be used to further secure the vanity top onto the cabinet. Make sure to use a high-quality adhesive that is specifically designed for bathroom use.


Choosing the Right Mounting Hardware for Your Bathroom Vanity Top


While DIY bathroom vanity top installation can save you money, hiring a professional may be a better option for some. Here are the pros and cons of each: DIY Pros: DIY Cons: Professional Pros: Professional Cons: Ultimately, the decision to mount a bathroom vanity top yourself or hire a professional will depend on your budget, time, and skill level. Whichever route you choose, make sure to follow the proper steps and use the right tools and materials for a successful installation.Professional vs. DIY: Pros and Cons of Mounting a Bathroom Vanity Top
- Saves money
- Sense of accomplishment
- Can choose specific materials and designs
- Requires time and effort
- May not have proper tools or knowledge
- Risk of mistakes and needing to redo the installation
- Expertise and knowledge
- Saves time and effort
- Guarantees a professional finish
- Costlier than DIY
- Less control over specific materials and designs


Professional vs. DIY: Pros and Cons of Mounting a Bathroom Vanity Top


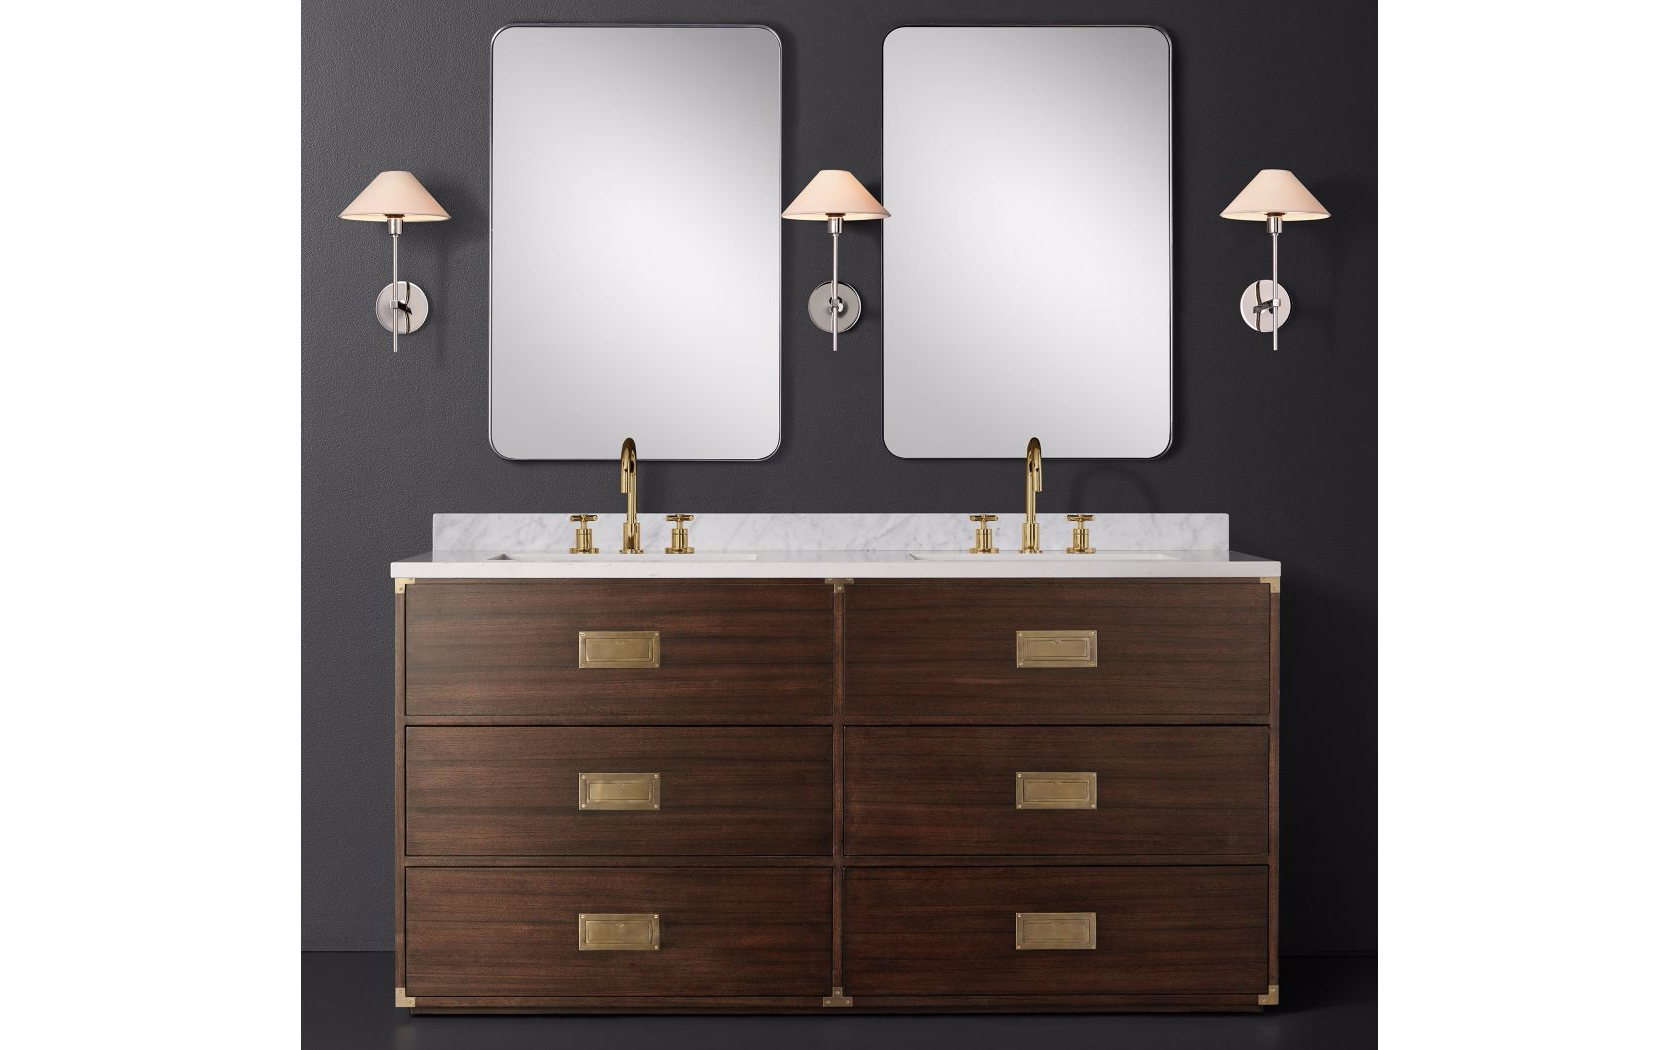
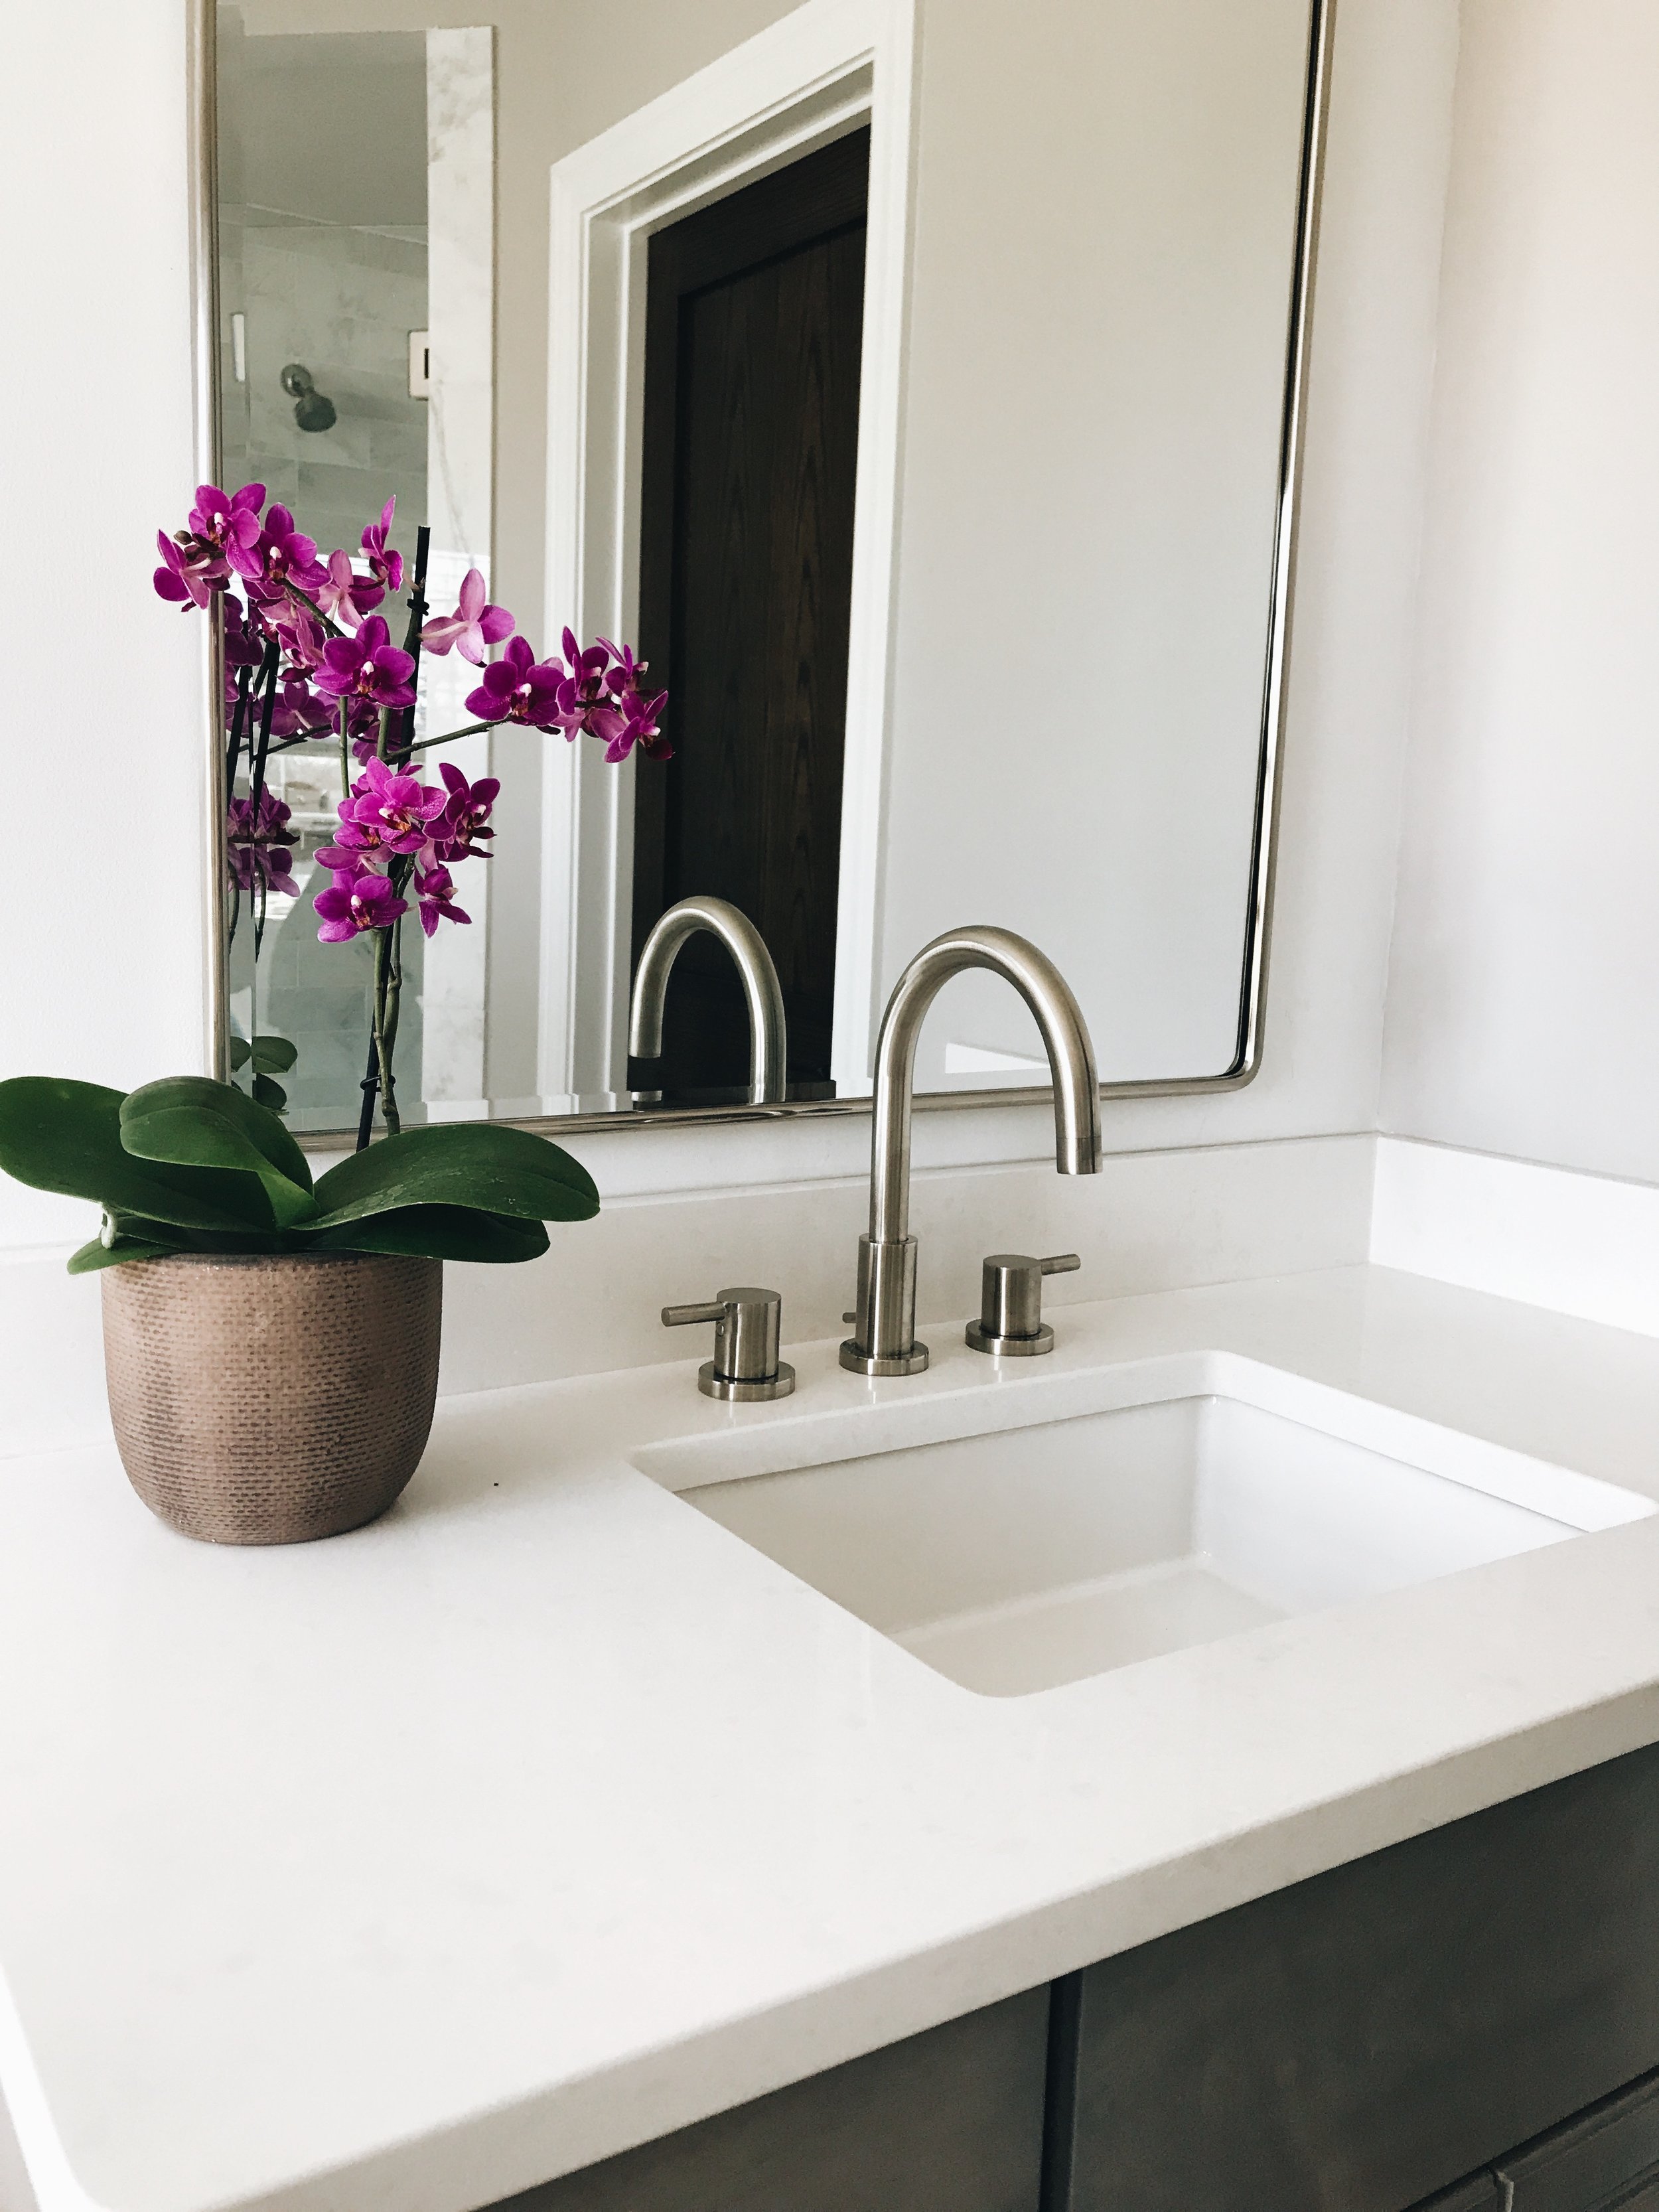
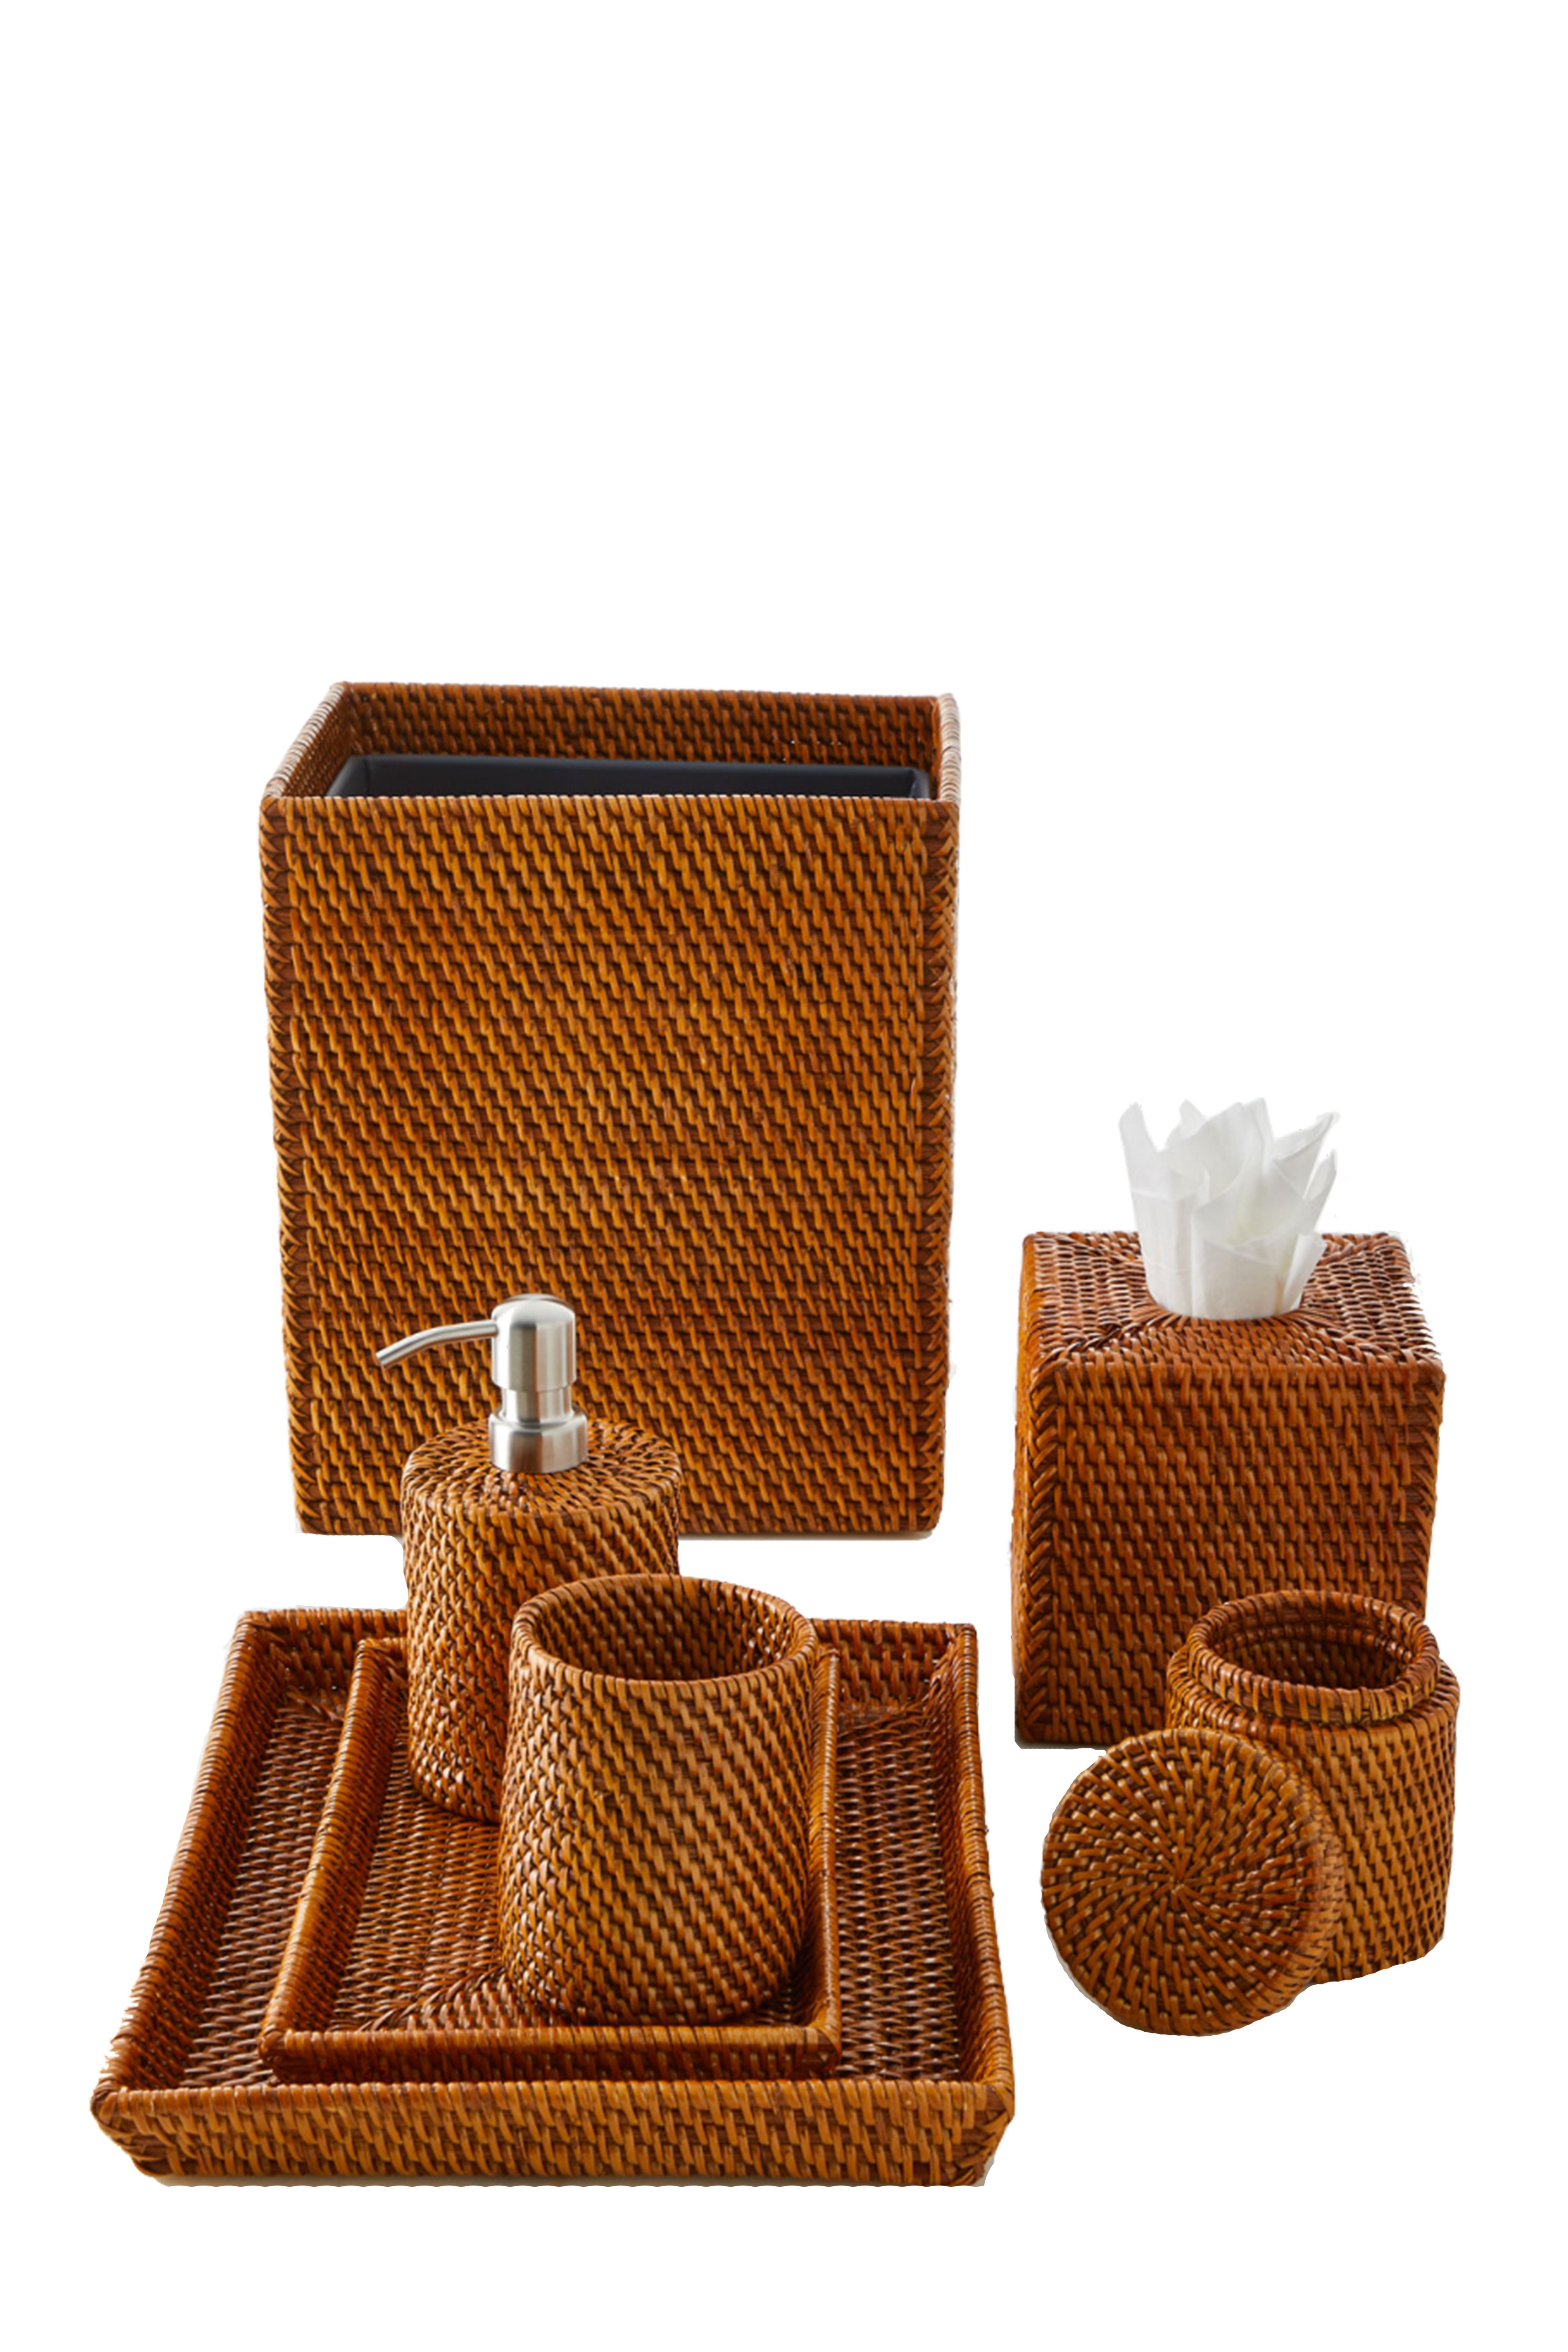
Choosing a Bathroom Vanity Top
:max_bytes(150000):strip_icc()/Single-BasinBathroomVanityTopHuntshireVirtu-5672db5d3df78ccc15fa6a86.JPG)
Consider Your Options
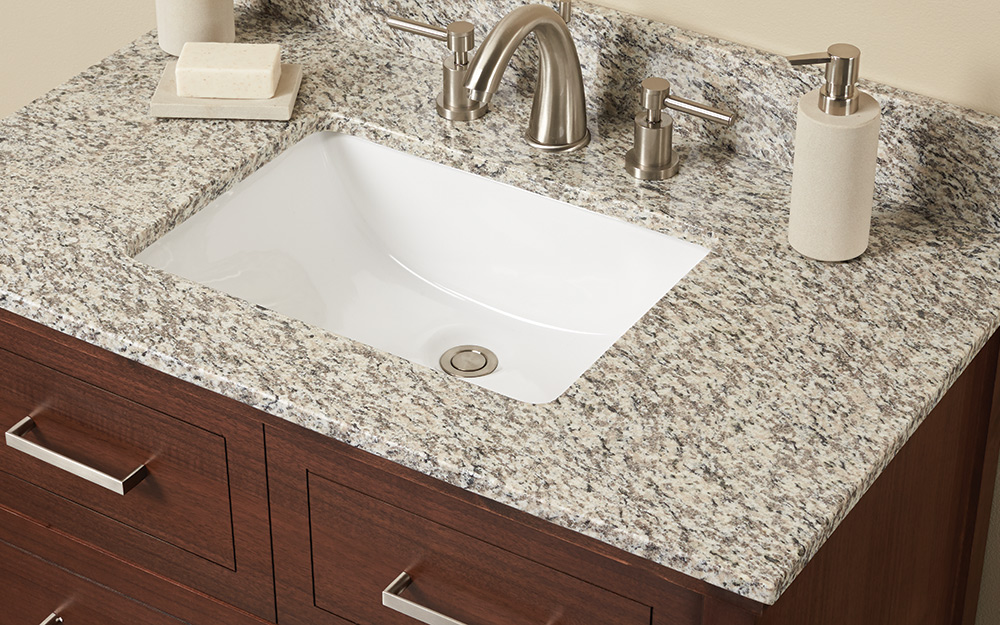
 When it comes to designing your dream bathroom, the vanity top is an important element to consider. It not only serves as a functional space for your daily routines, but it also adds to the overall aesthetic of your bathroom. There are a variety of materials to choose from when it comes to bathroom vanity tops, each with their own unique features and benefits.
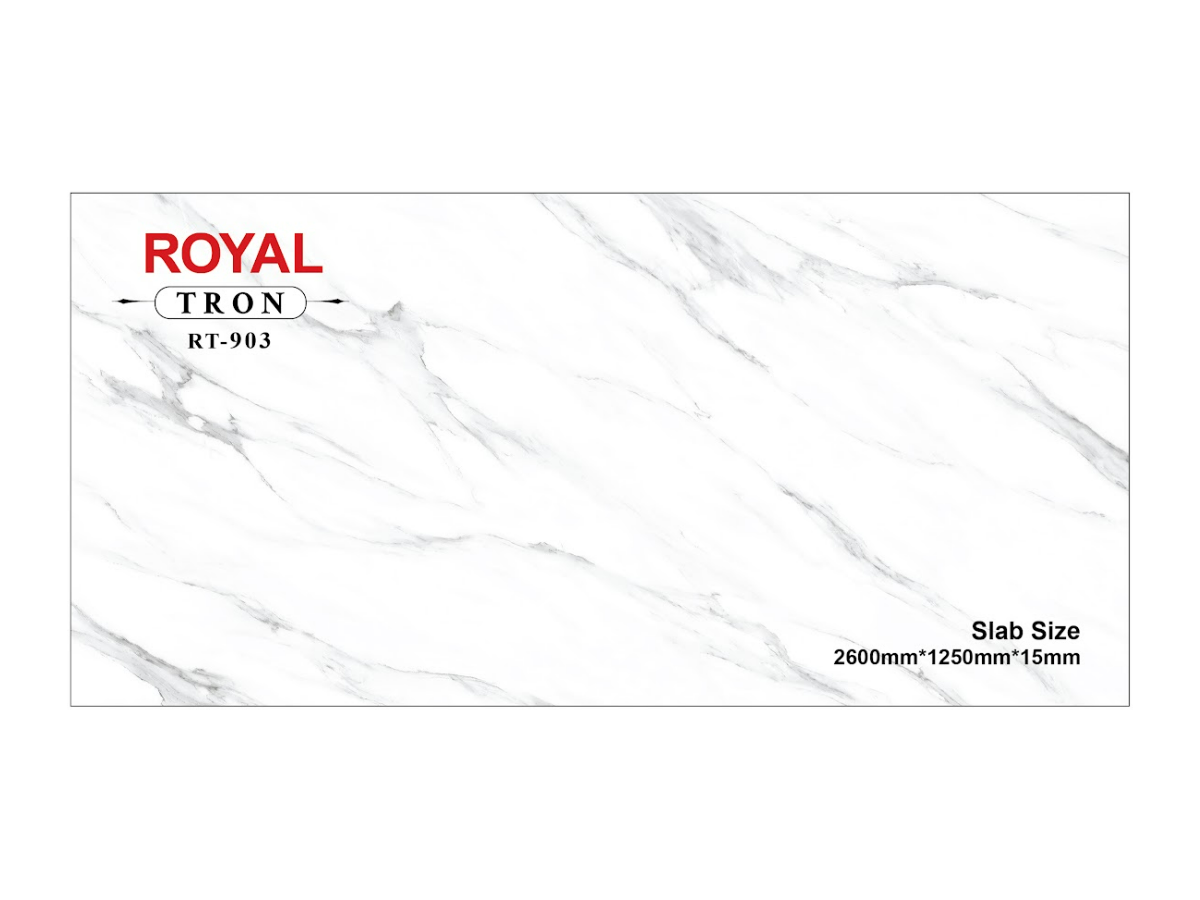
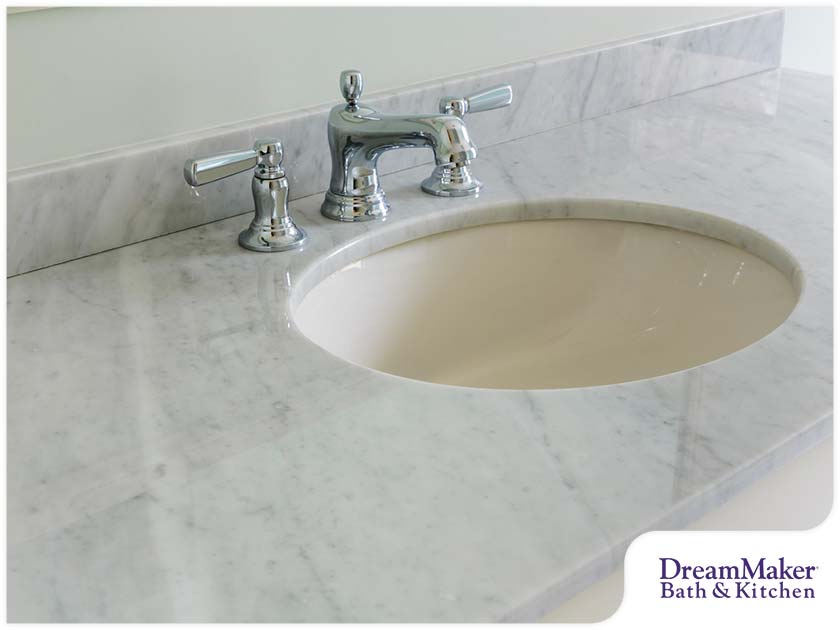
Granite, quartz, and marble
are popular choices for their durability and elegant appearance, while
laminate and solid surface
options offer a more budget-friendly option.
Ceramic, porcelain, and glass
materials are also available, adding a sleek and modern touch to your bathroom. Consider the style and feel you want to achieve in your bathroom when selecting your vanity top material.
When it comes to designing your dream bathroom, the vanity top is an important element to consider. It not only serves as a functional space for your daily routines, but it also adds to the overall aesthetic of your bathroom. There are a variety of materials to choose from when it comes to bathroom vanity tops, each with their own unique features and benefits.
Granite, quartz, and marble
are popular choices for their durability and elegant appearance, while
laminate and solid surface
options offer a more budget-friendly option.
Ceramic, porcelain, and glass
materials are also available, adding a sleek and modern touch to your bathroom. Consider the style and feel you want to achieve in your bathroom when selecting your vanity top material.
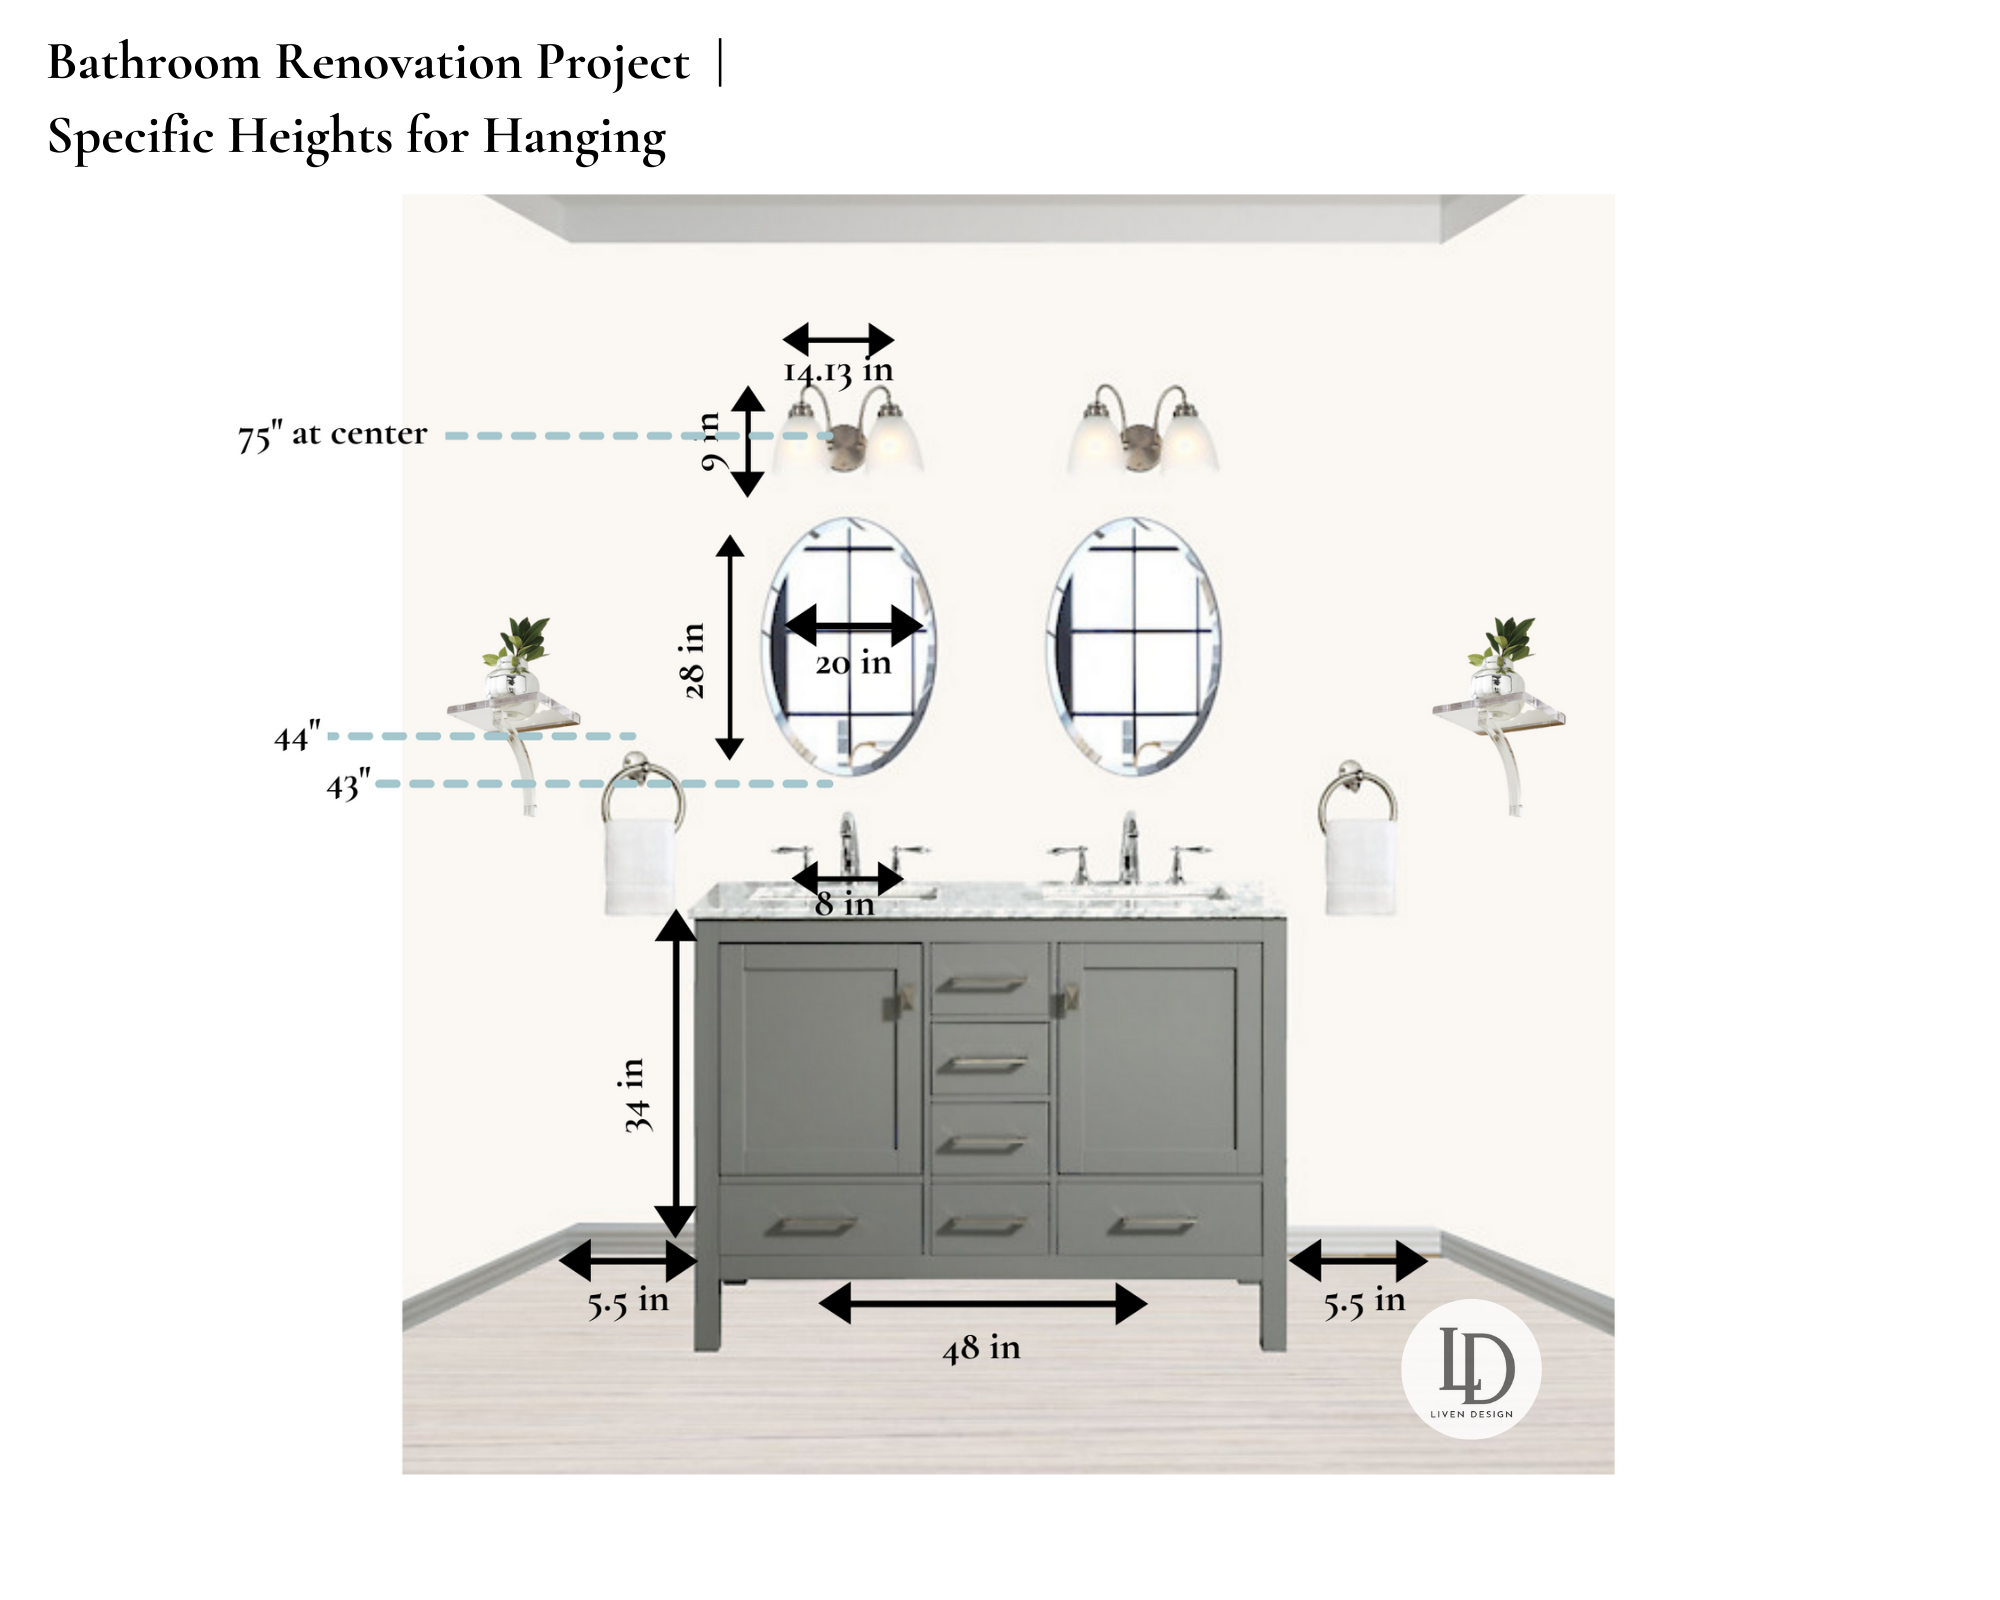
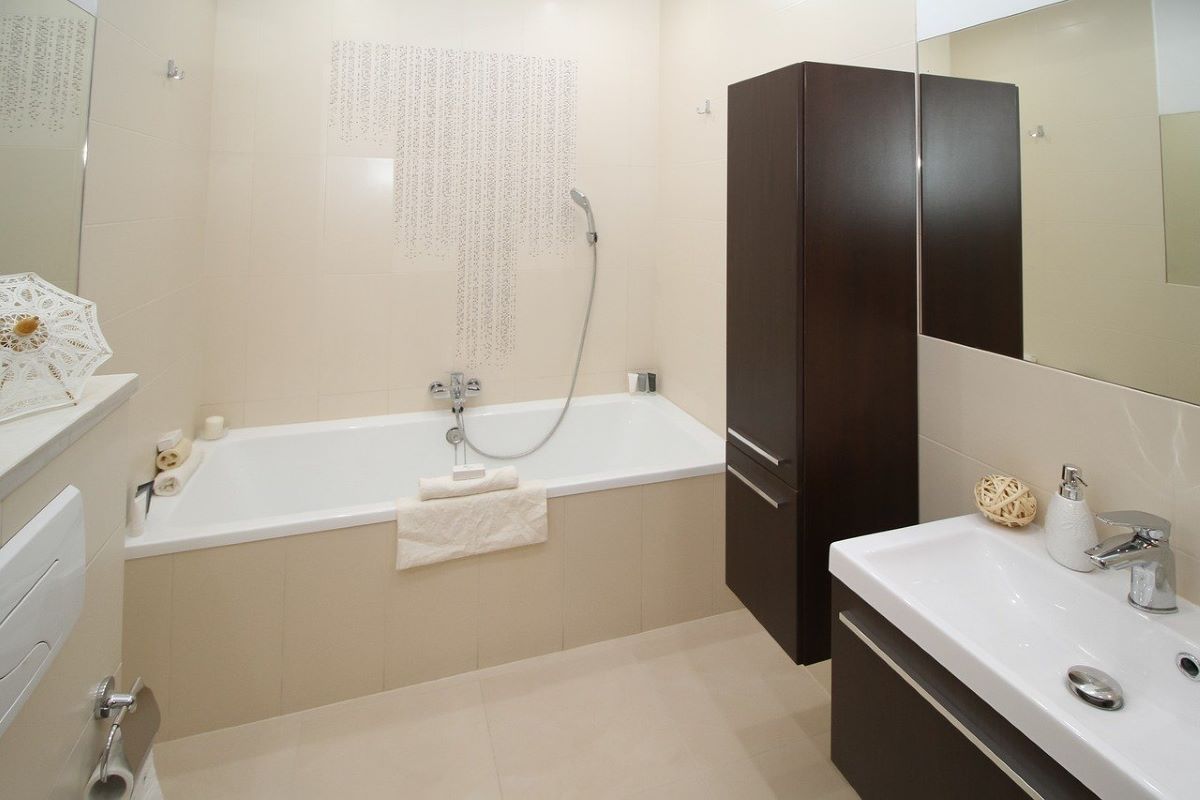
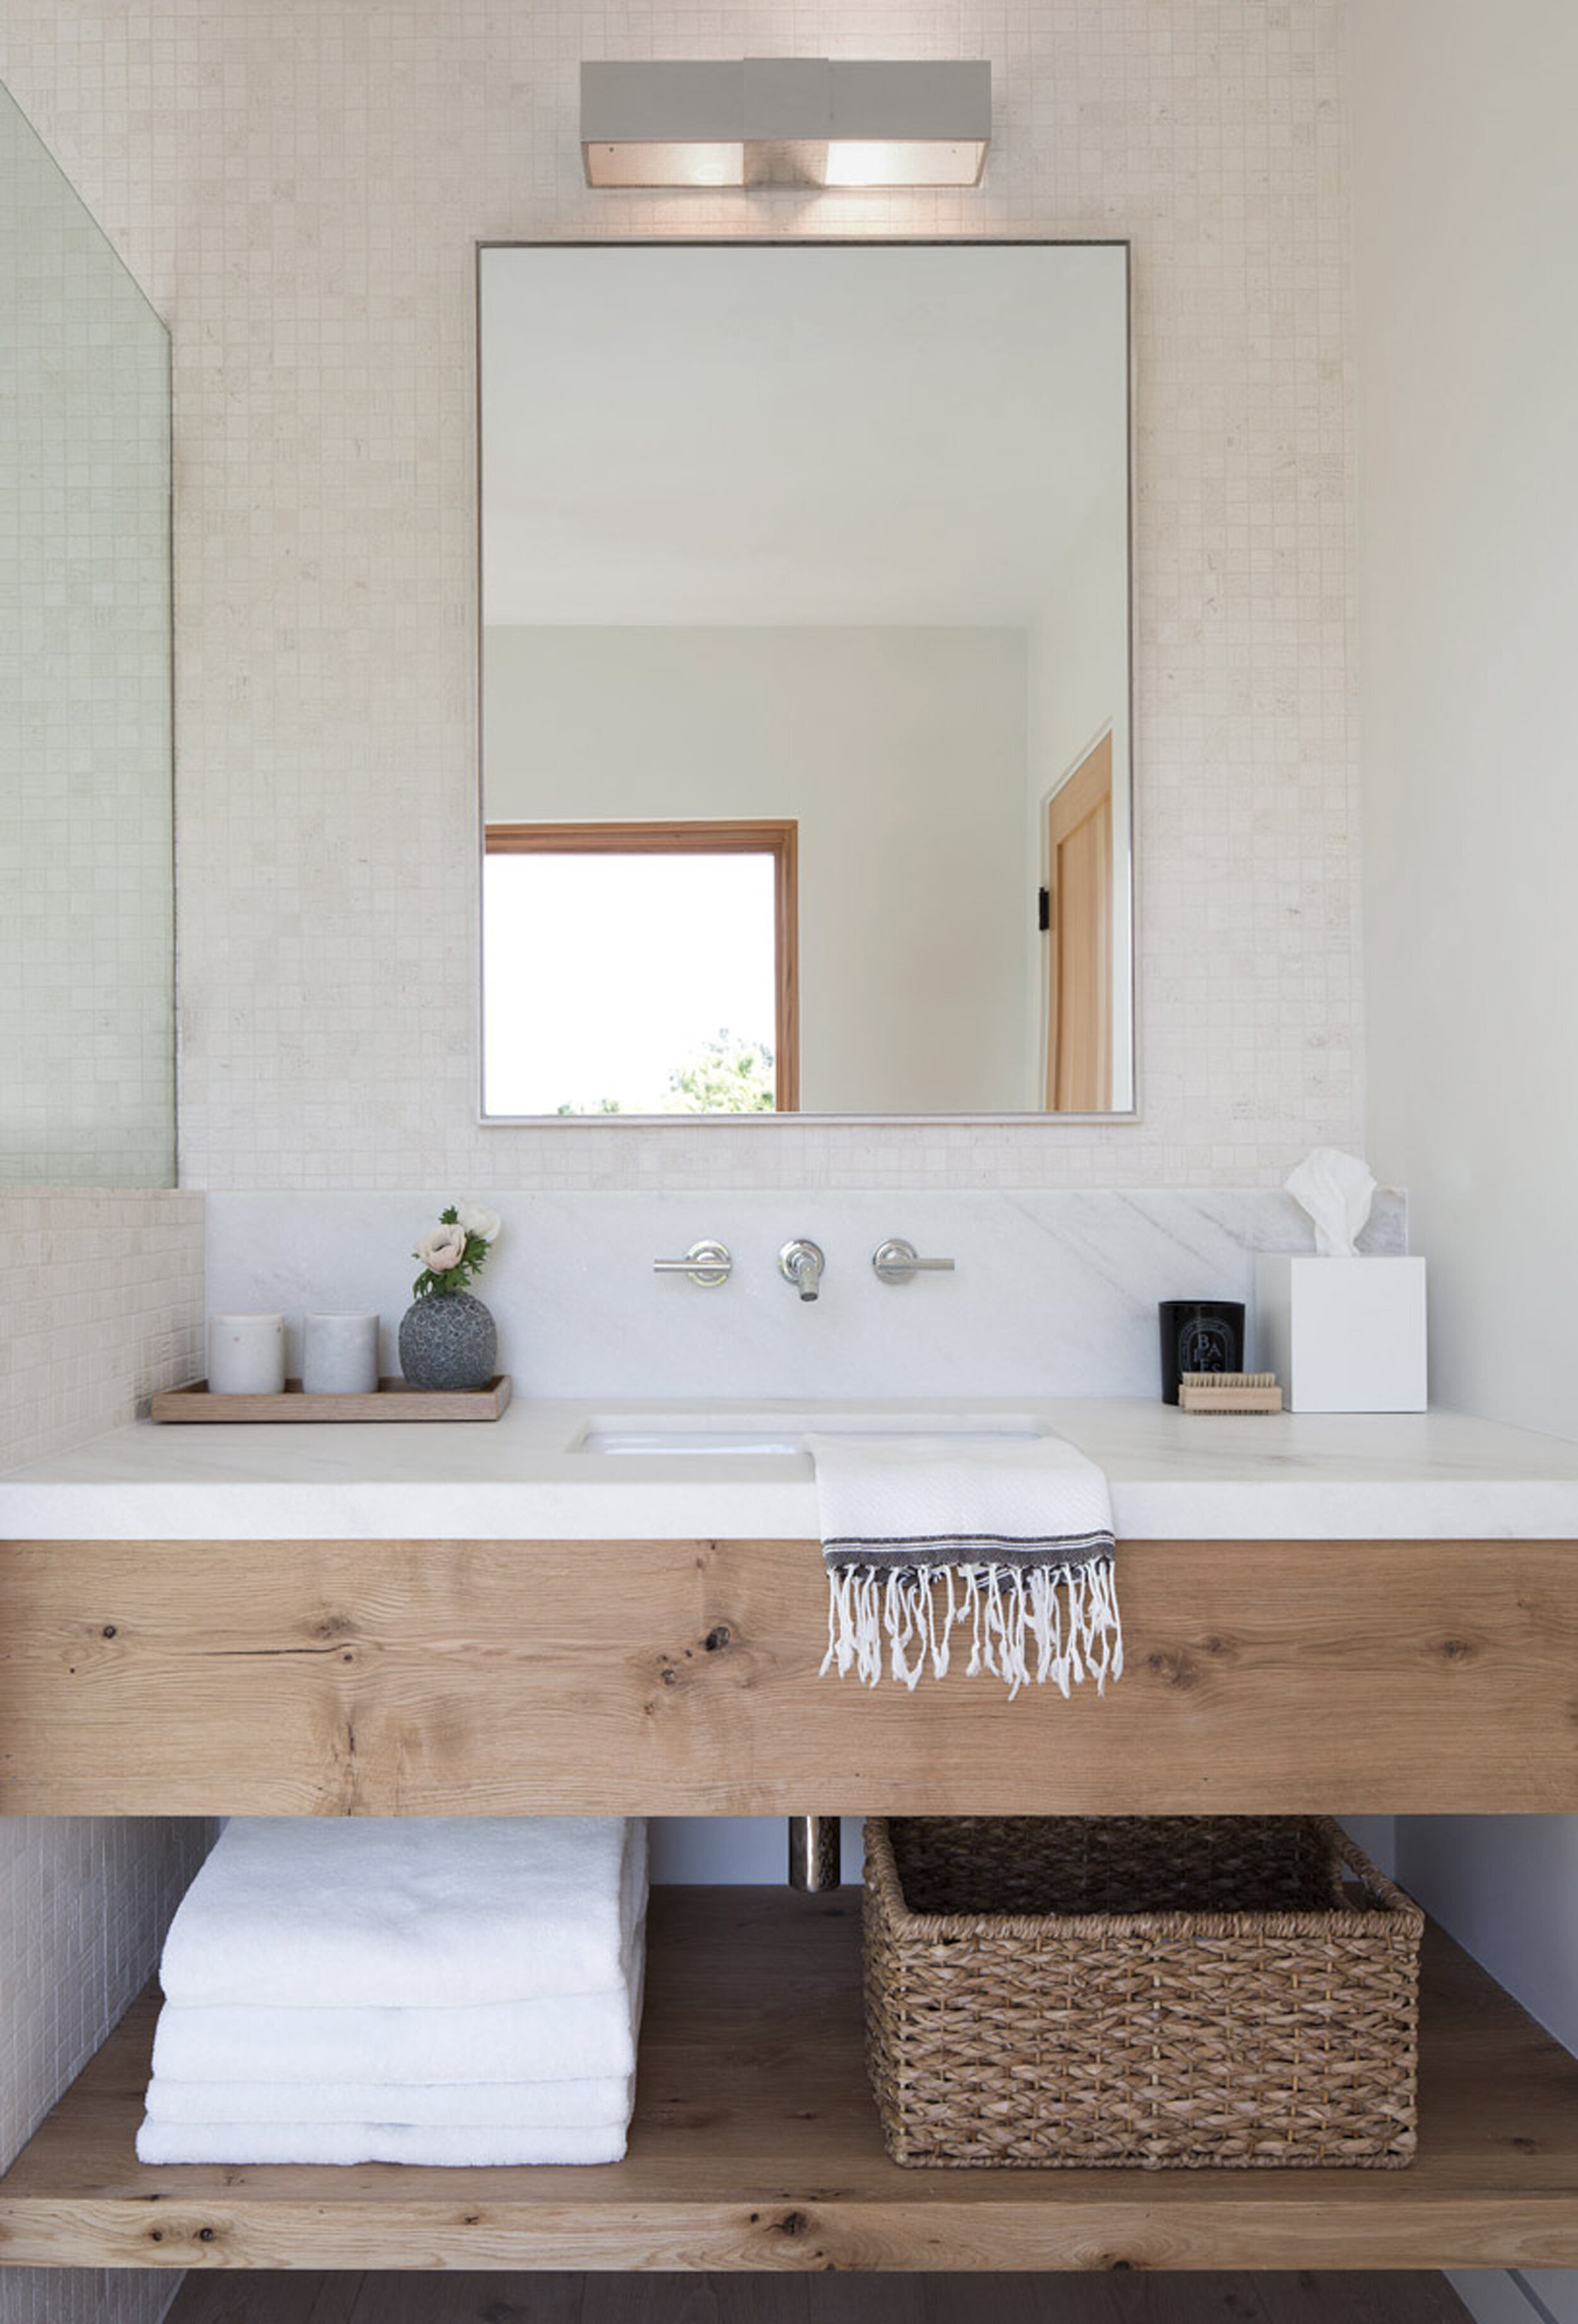
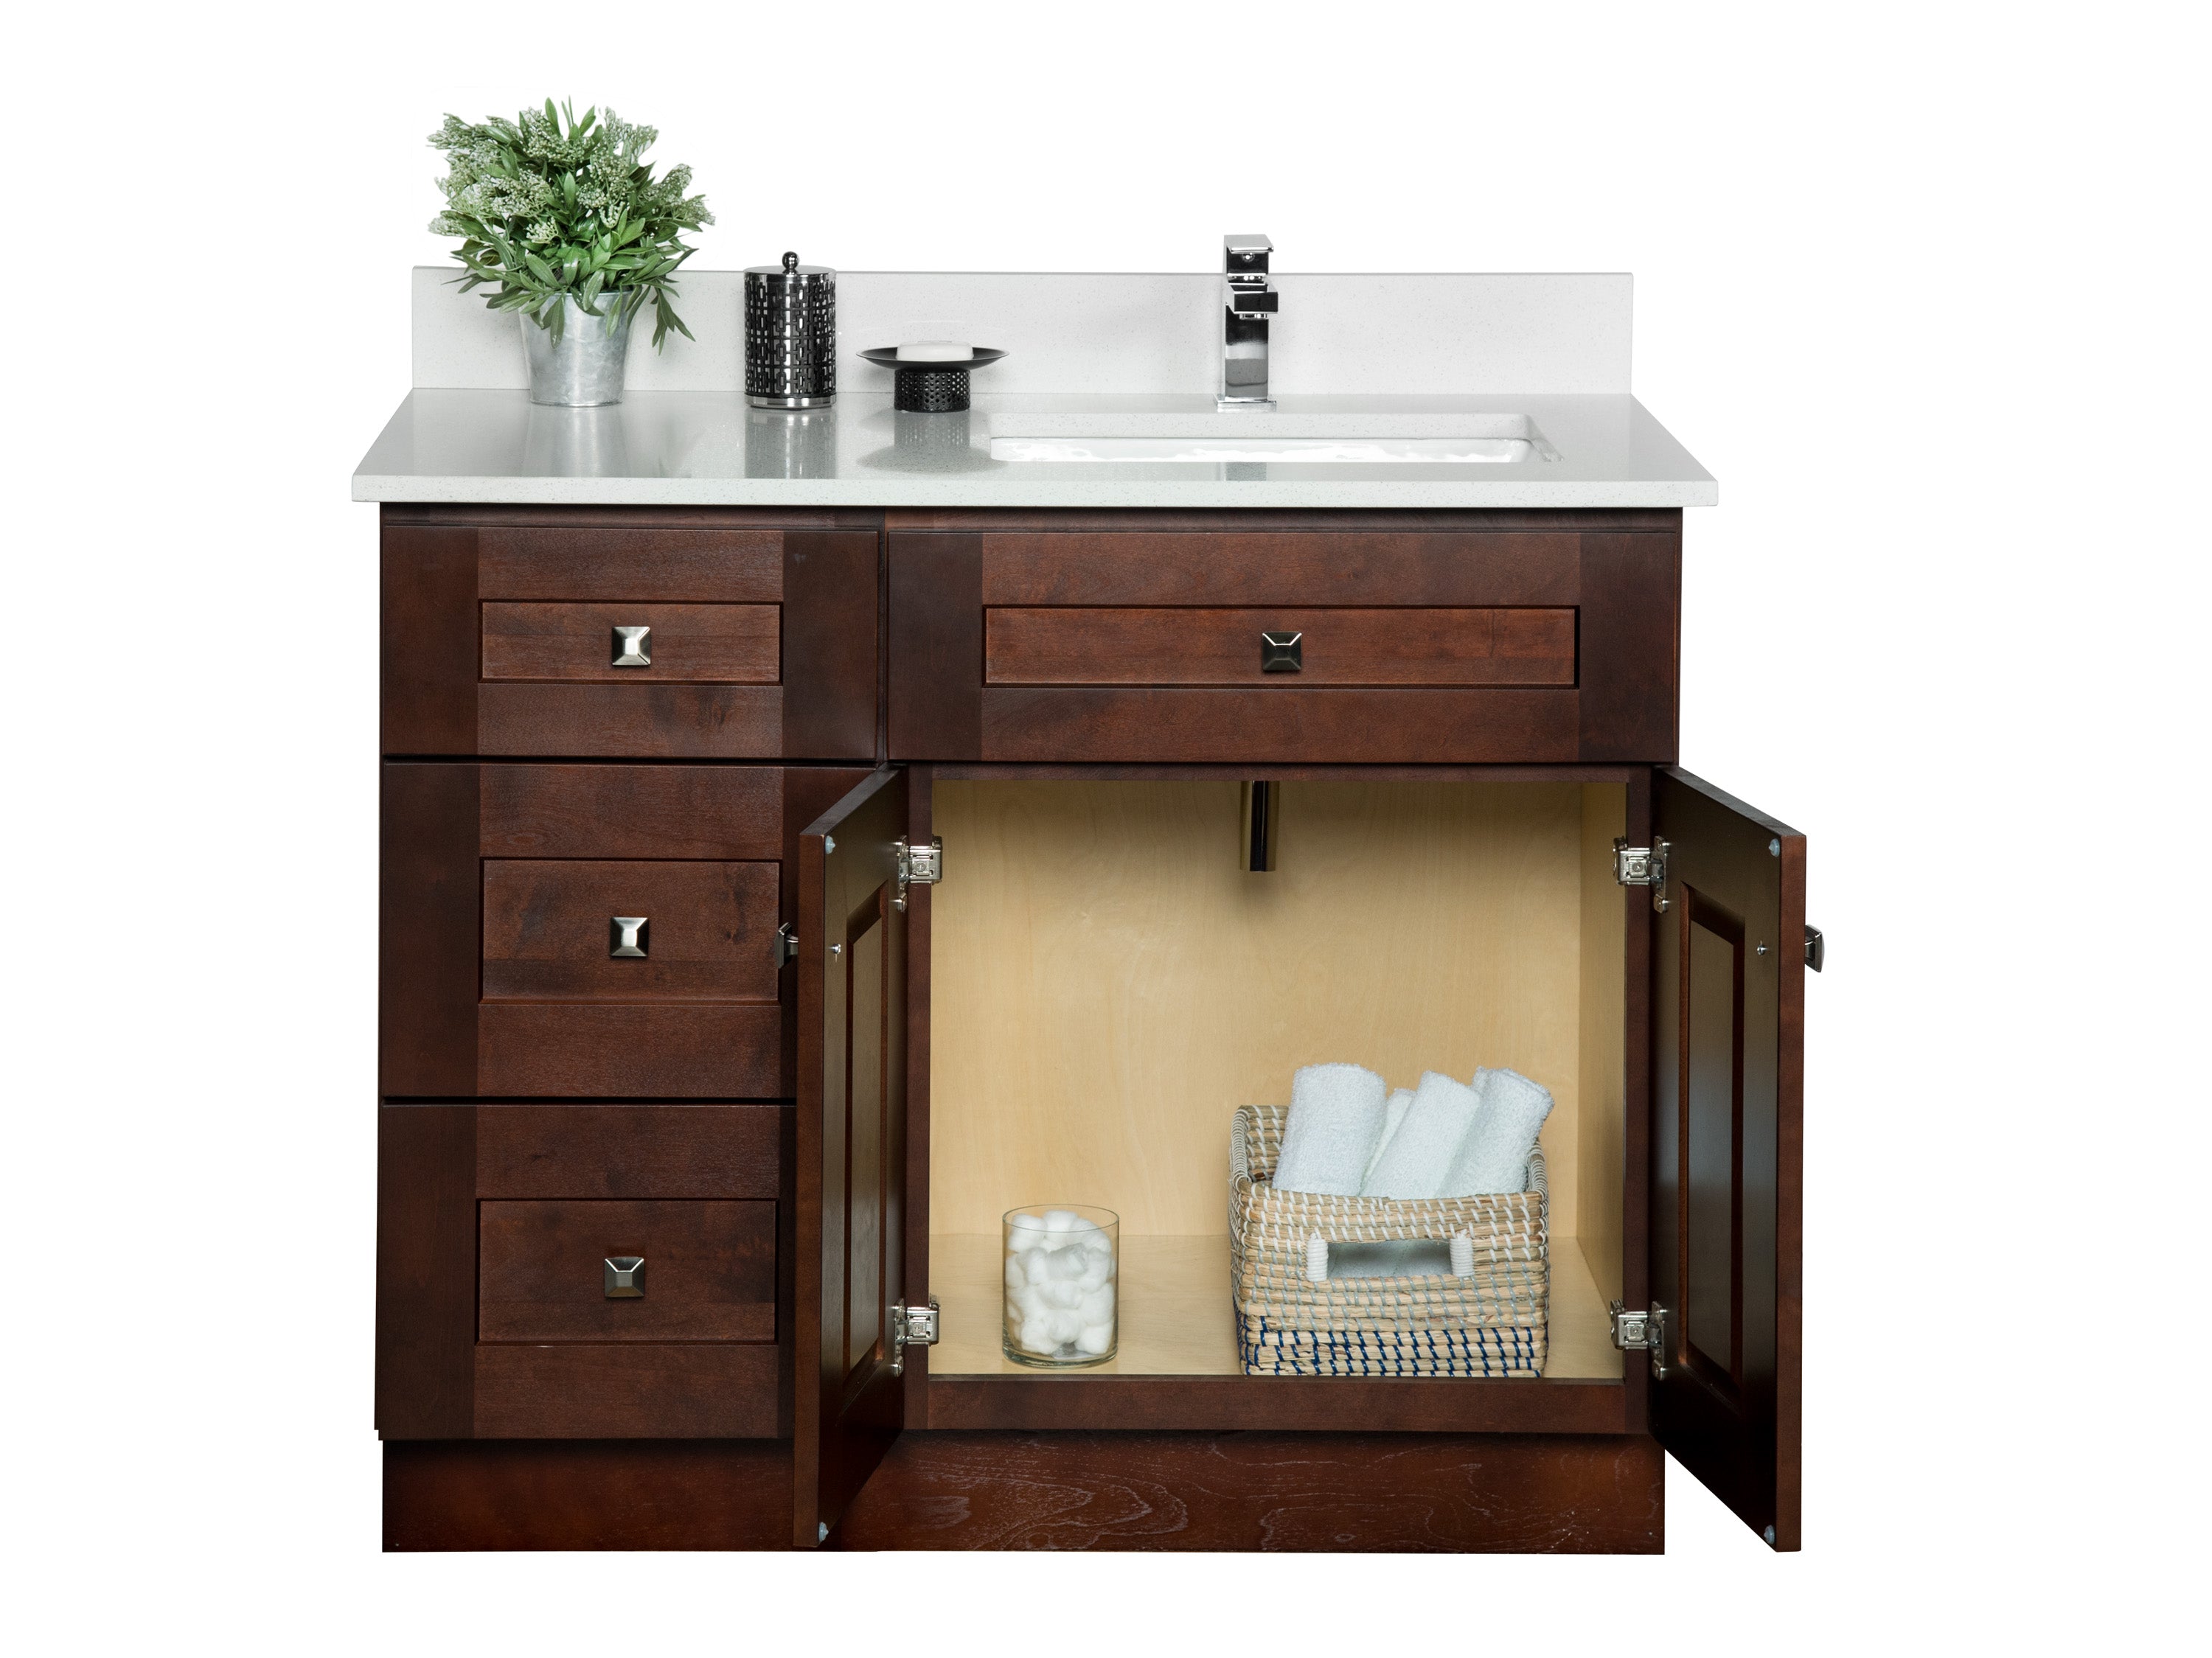
Size and Placement
 Once you have chosen your vanity top material, it's important to ensure that it fits properly in your bathroom space. Measure the available area and make sure to leave enough room for the vanity top to overhang the vanity base. This will not only provide a more visually appealing look, but it will also prevent water from dripping onto the floor. Additionally, consider the placement of your vanity top in relation to other bathroom fixtures such as the sink, mirror, and lighting.
Proper placement
will ensure that your vanity top is both functional and visually appealing.
Once you have chosen your vanity top material, it's important to ensure that it fits properly in your bathroom space. Measure the available area and make sure to leave enough room for the vanity top to overhang the vanity base. This will not only provide a more visually appealing look, but it will also prevent water from dripping onto the floor. Additionally, consider the placement of your vanity top in relation to other bathroom fixtures such as the sink, mirror, and lighting.
Proper placement
will ensure that your vanity top is both functional and visually appealing.
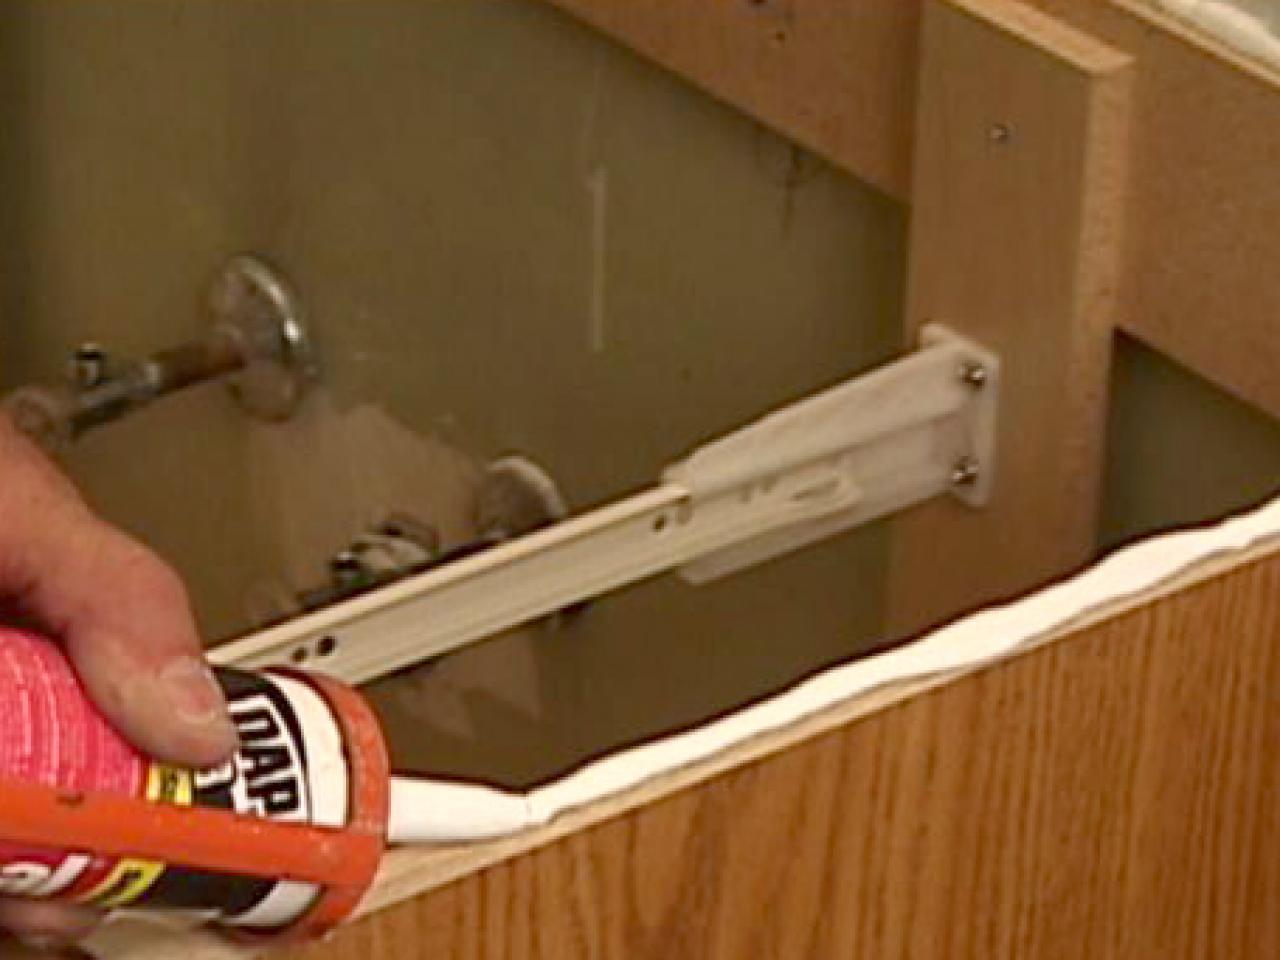
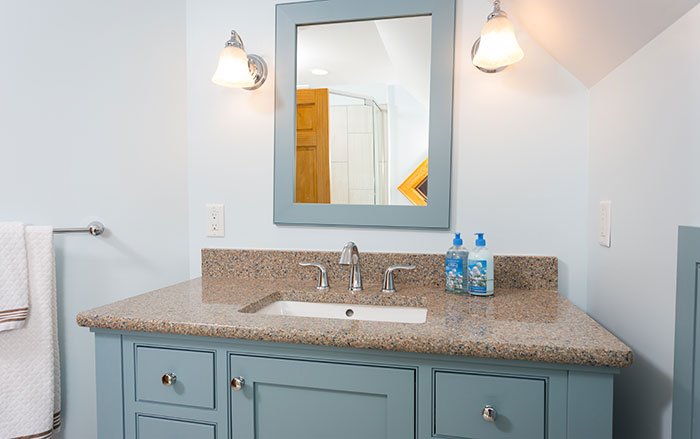
Preparing for Installation
 Before starting the installation process, make sure to have all necessary tools and materials on hand. You will need a
level, drill, screws, caulk, and silicone adhesive
for most installations. It's also important to have a clean and dry surface to work on, so be sure to thoroughly clean the vanity base and surrounding area before beginning. If your vanity top does not come pre-cut, you will need to measure and mark the necessary cuts for the sink and faucet holes.
Before starting the installation process, make sure to have all necessary tools and materials on hand. You will need a
level, drill, screws, caulk, and silicone adhesive
for most installations. It's also important to have a clean and dry surface to work on, so be sure to thoroughly clean the vanity base and surrounding area before beginning. If your vanity top does not come pre-cut, you will need to measure and mark the necessary cuts for the sink and faucet holes.
Installing the Vanity Top
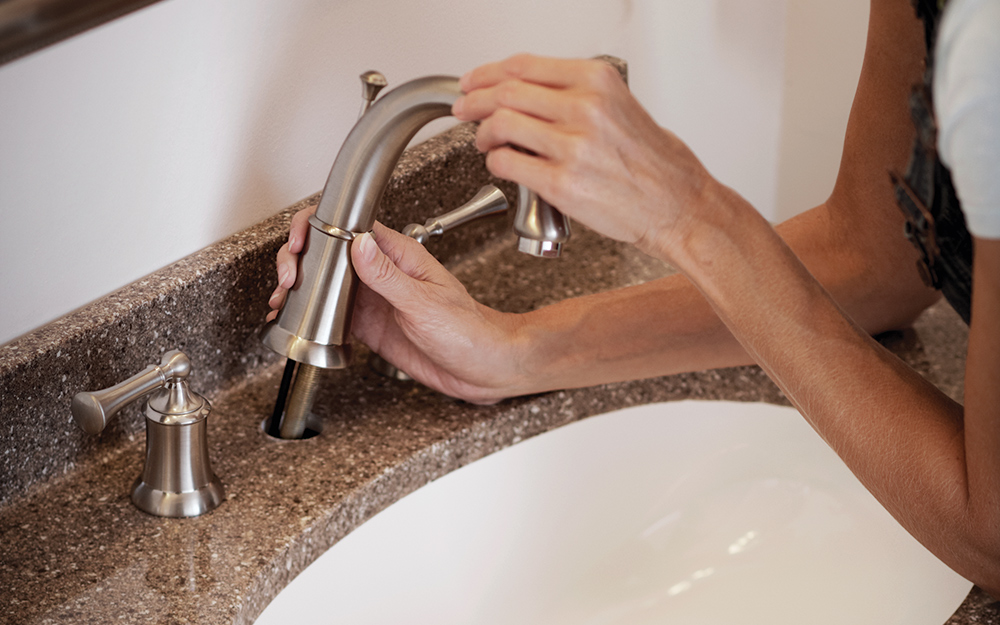
 With the prep work complete, it's time to install your new vanity top. Begin by applying a thin layer of silicone adhesive to the top of the vanity base. Carefully place the vanity top on the base, ensuring it is level and secure. Use screws to secure the vanity top to the base, and caulk around the edges to seal any gaps. Finally, install the sink and faucet as instructed by the manufacturer.
Be sure to follow all safety precautions and consult with a professional if needed.
With the prep work complete, it's time to install your new vanity top. Begin by applying a thin layer of silicone adhesive to the top of the vanity base. Carefully place the vanity top on the base, ensuring it is level and secure. Use screws to secure the vanity top to the base, and caulk around the edges to seal any gaps. Finally, install the sink and faucet as instructed by the manufacturer.
Be sure to follow all safety precautions and consult with a professional if needed.
Enjoy Your New Vanity Top
 With the installation complete, it's time to enjoy your new bathroom vanity top. Admire the beautiful and functional addition to your bathroom and take pride in knowing that you were able to mount it yourself. With proper care and maintenance, your vanity top will continue to add style and functionality to your bathroom for years to come.