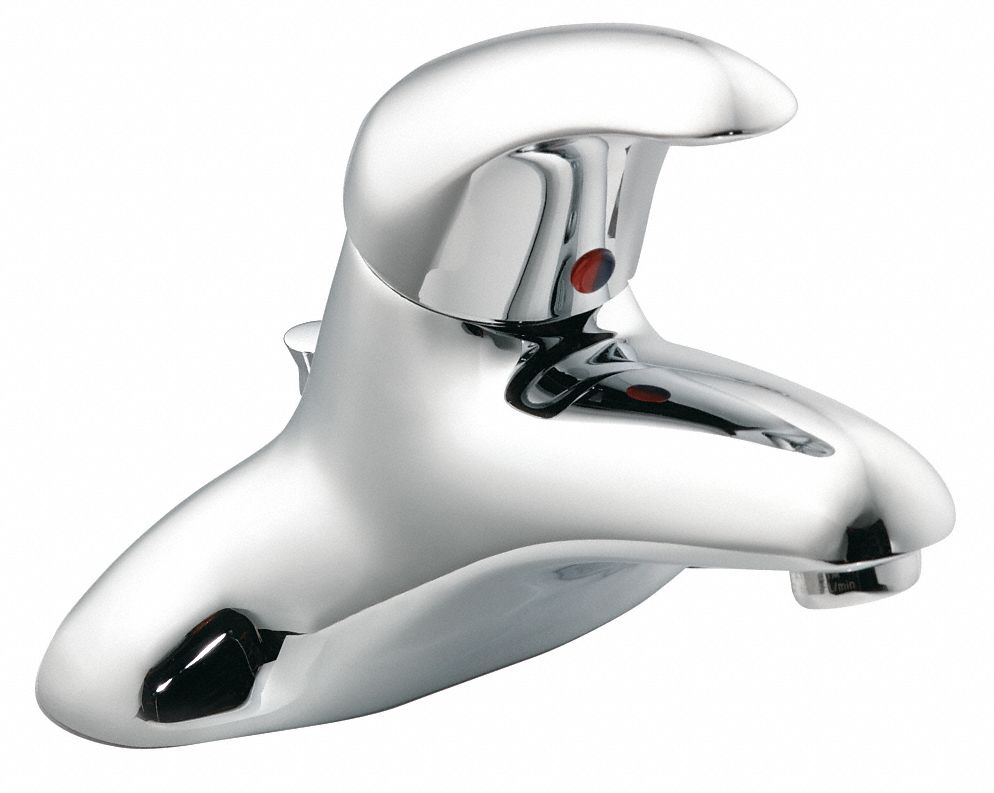
Is your Moen bathroom sink faucet leaking or not functioning properly? Don't worry, with a little know-how and some simple tools, you can easily repair it yourself. Here are the top 10 Moen bathroom sink faucet repair instructions for fixing common issues. Moen Bathroom Sink Faucet Repair Instructions


Moen Bathroom Sink Faucet Repair Instructions


Before you begin, make sure to turn off the water supply to your faucet. This can usually be done by shutting off the main water valve or by turning off the valve under the sink. Now, let's get started with the repair process. How to Repair a Moen Bathroom Sink Faucet

How to Repair a Moen Bathroom Sink Faucet


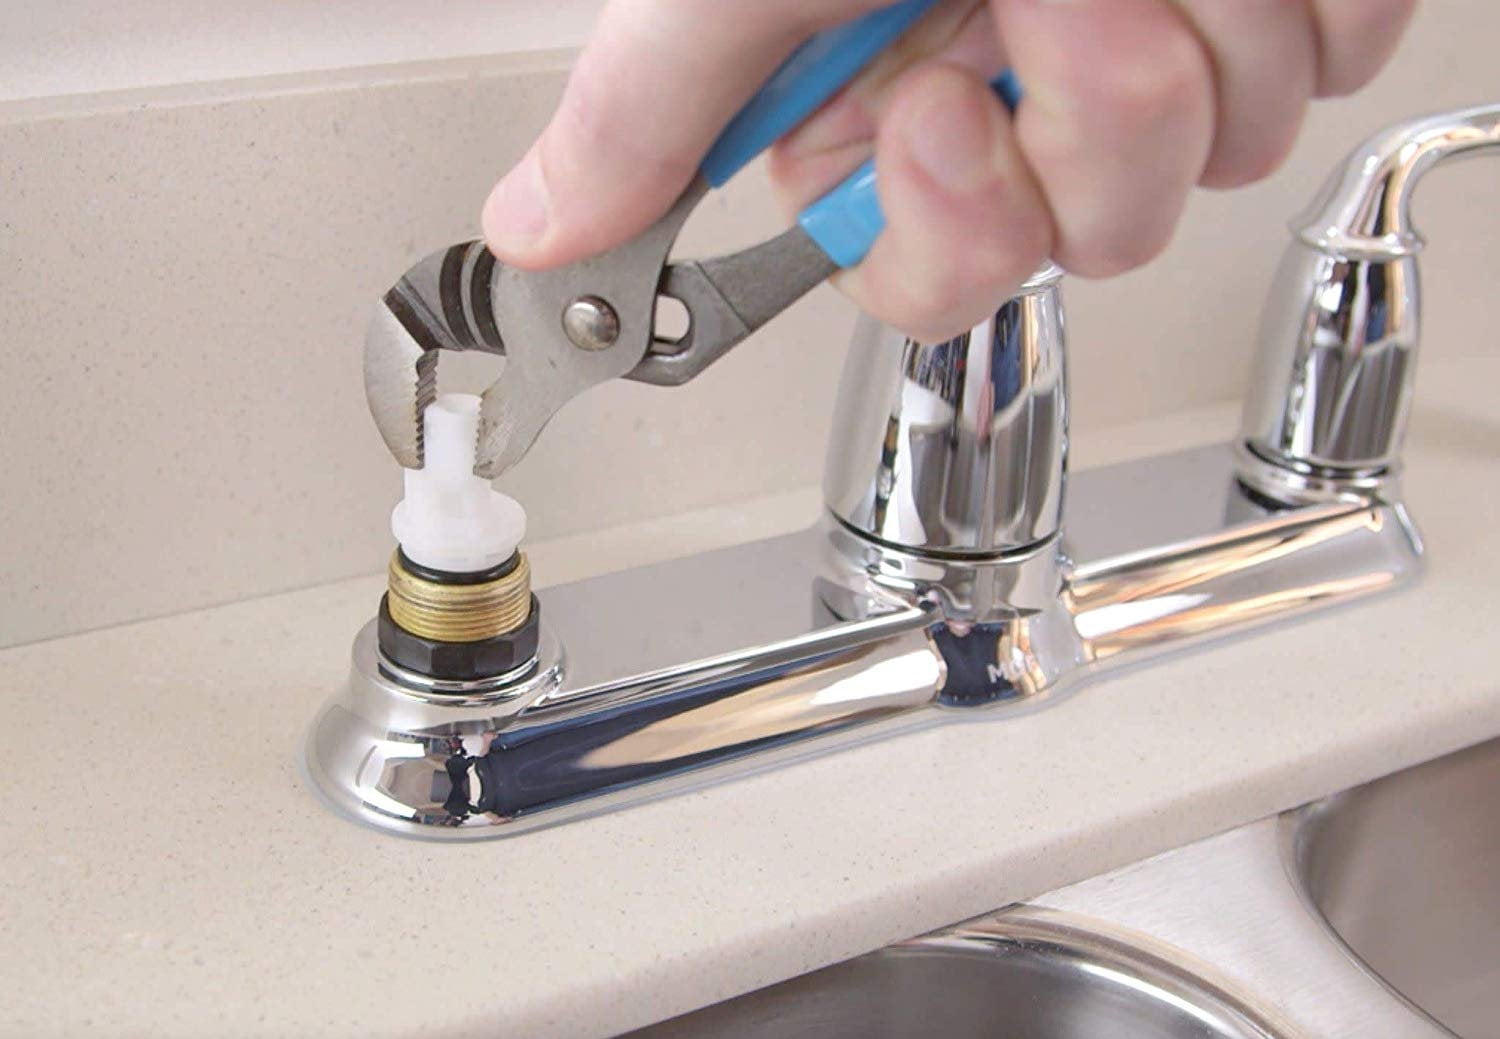
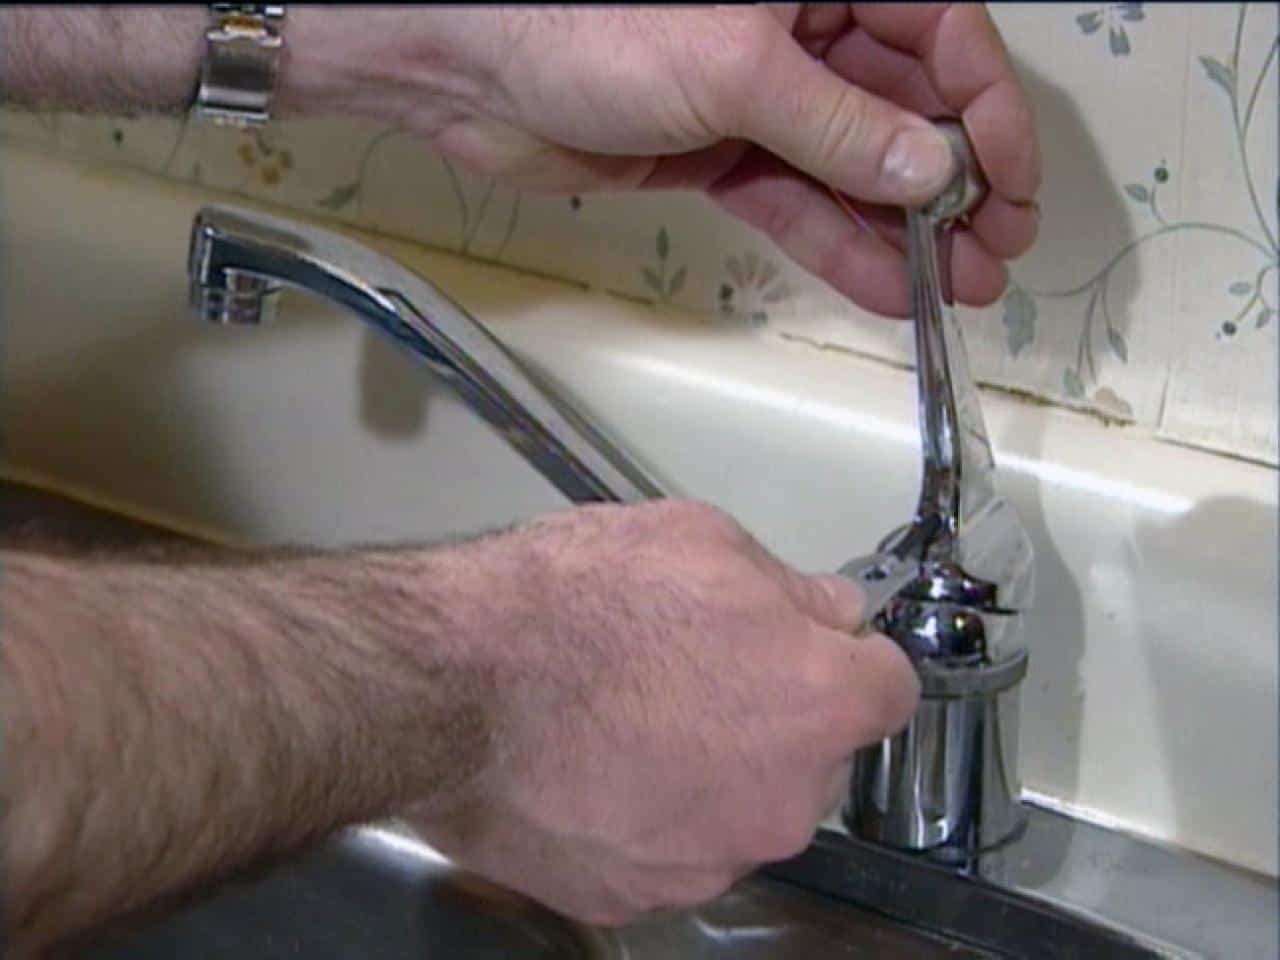
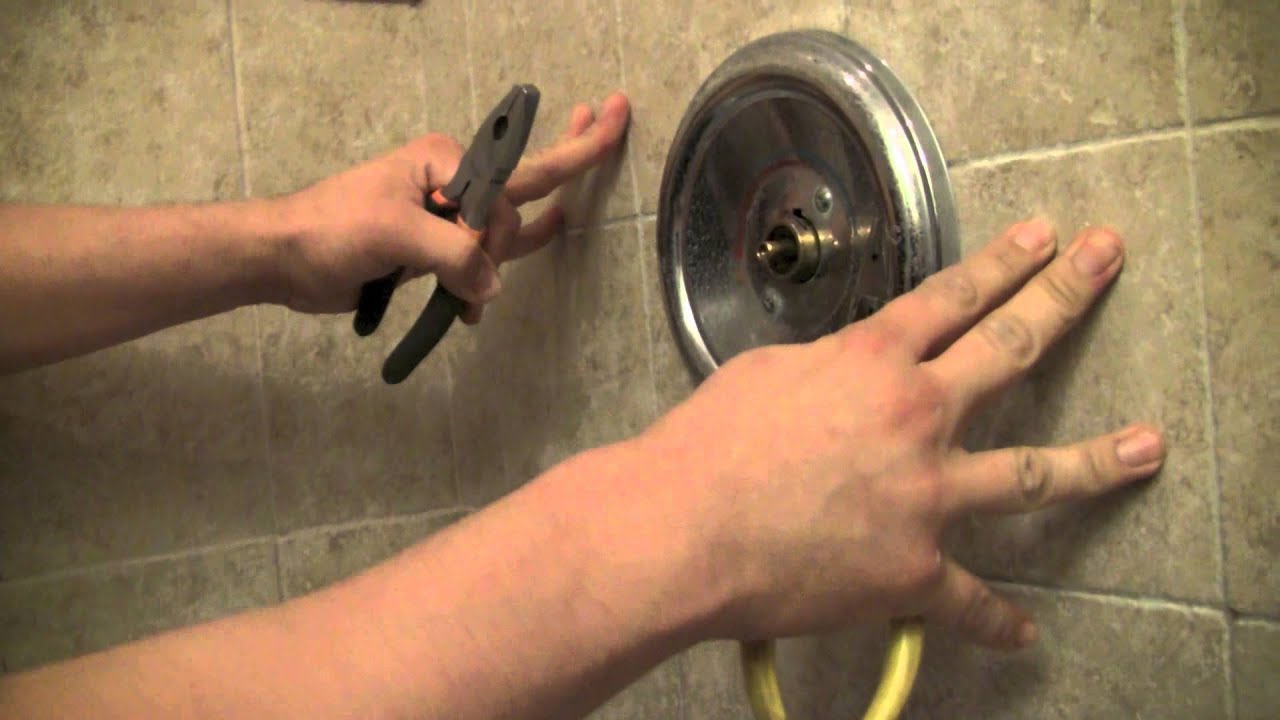
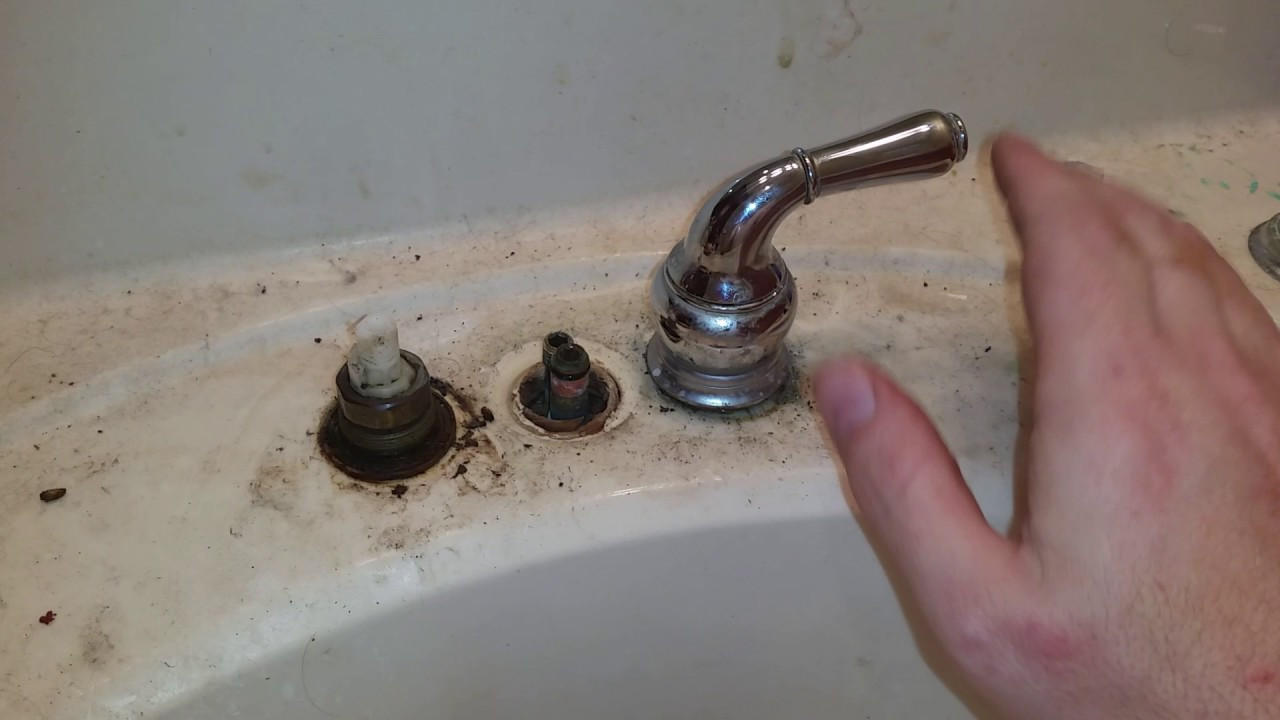
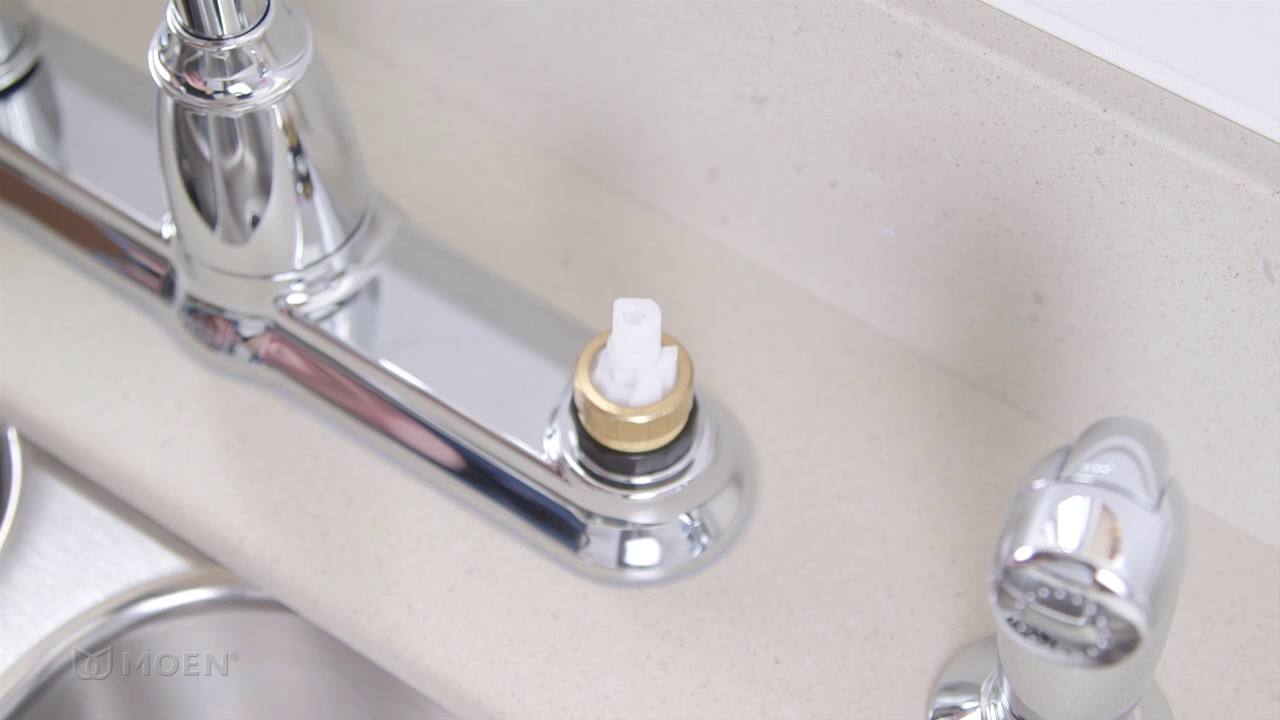
Step 1: Remove the handle of the faucet by unscrewing the screw located under the handle. Use a screwdriver if necessary.
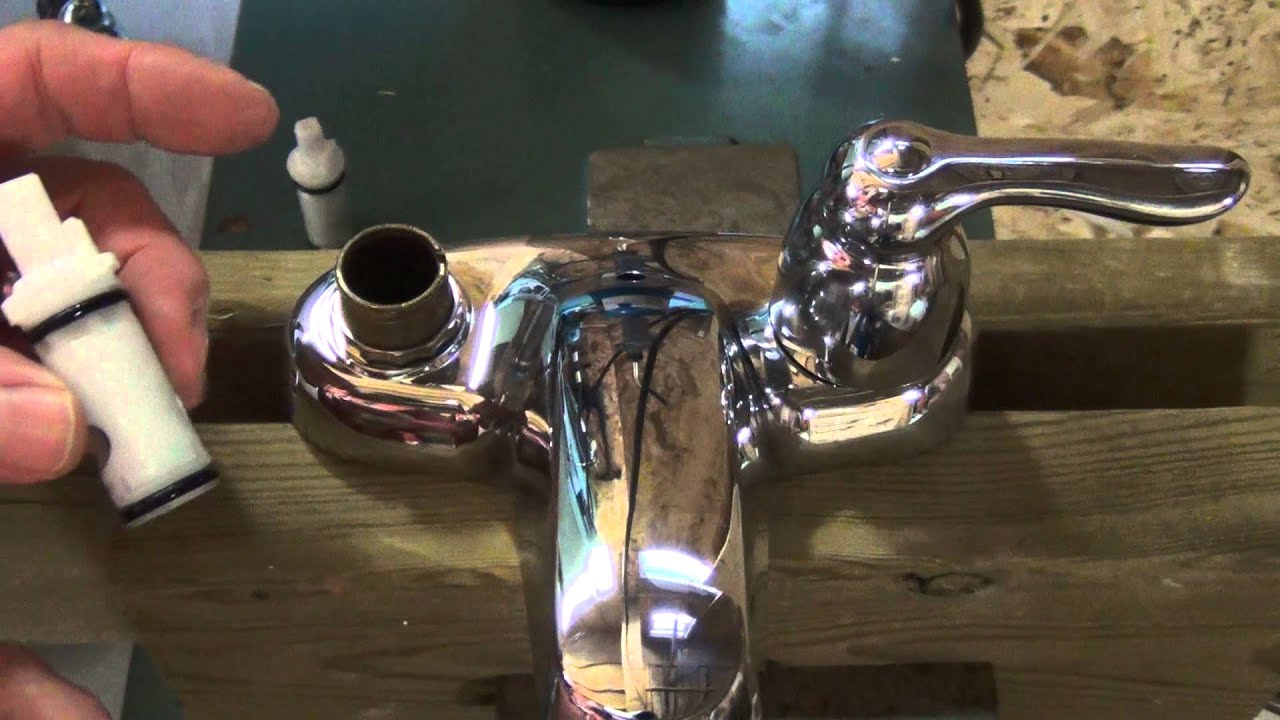
Step 2: Take out the cartridge by removing the retaining clip. This clip can be found on the top of the cartridge or on the side, depending on the model of your faucet.
Step 3: Inspect the cartridge for any damage or debris. Clean it if necessary.
Step 4: If the cartridge is damaged, remove and replace it with a new one. Moen offers a lifetime warranty on their cartridges, so you can easily get a replacement for free.
Step 5: Reassemble the faucet by following the reverse order of the steps above. Make sure to tighten all screws and clips securely.
Step-by-Step Moen Bathroom Sink Faucet Repair
Main keywords: Remove the handle, unscrewing the screw
Main keywords: Remove the cartridge, retaining clip
Main keywords: Inspect the cartridge, damage, debris
Main keywords: Replace the cartridge, lifetime warranty
Main keywords: Reassemble the faucet, tighten screws and clips

Step-by-Step Moen Bathroom Sink Faucet Repair

With the right tools and instructions, repairing your Moen bathroom sink faucet can be a simple DIY project. Not only will you save money on hiring a professional, but you'll also feel a sense of accomplishment after successfully fixing the issue yourself. DIY Moen Bathroom Sink Faucet Repair

DIY Moen Bathroom Sink Faucet Repair

Is your Moen bathroom sink faucet still not working properly after following the repair instructions? Here are some common problems and their solutions. Troubleshooting Moen Bathroom Sink Faucet Issues

Troubleshooting Moen Bathroom Sink Faucet Issues


1. Leaking faucet: This could be due to a damaged cartridge, worn out seals, or loose connections. Refer to the repair instructions above to fix this issue.
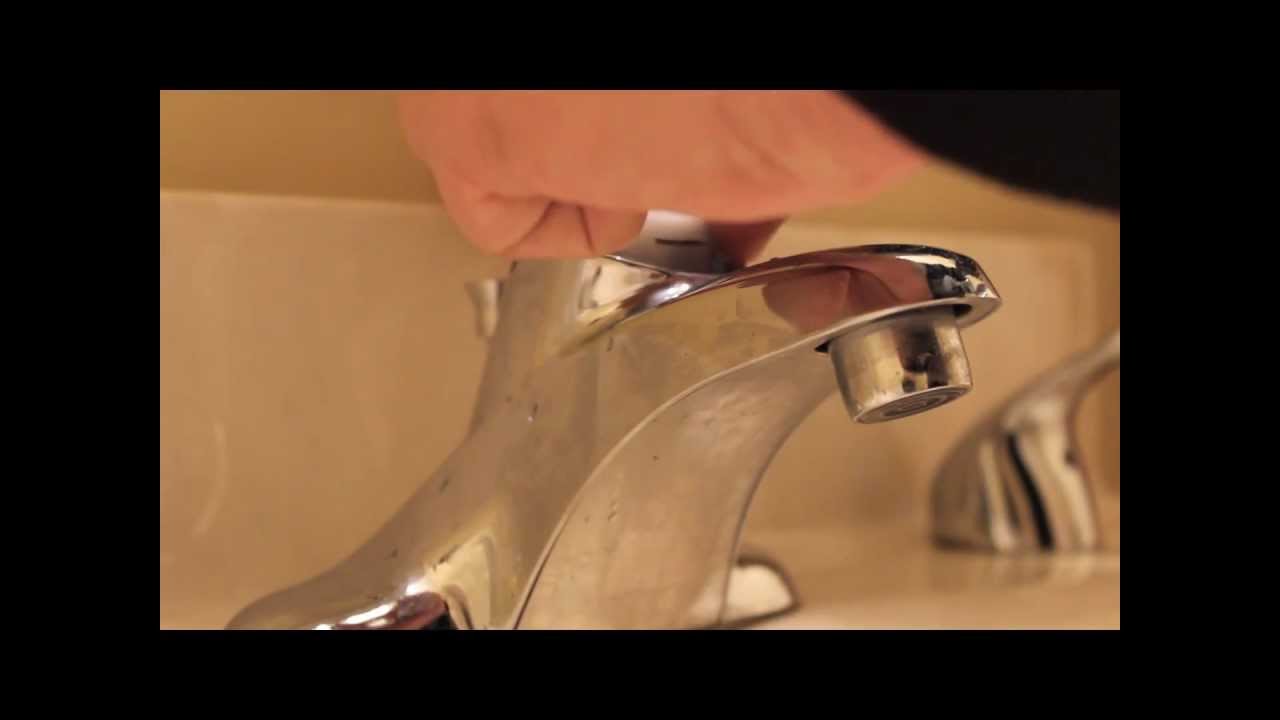
2. Low water pressure: This could be caused by a clogged aerator. Remove the aerator and clean it thoroughly to restore water pressure.
3. No hot water: If you're not getting any hot water, there could be an issue with the hot water supply line. Check if the valve is fully open and if the line is kinked or damaged.
4. Dripping faucet: This could be due to a worn out O-ring. Replace the O-ring to fix the issue.
Common Problems with Moen Bathroom Sink Faucets
Main keywords: Leaking faucet, damaged cartridge, worn out seals, loose connections
Main keywords: Low water pressure, clogged aerator, clean
Main keywords: No hot water, hot water supply line, valve, kinked, damaged
Main keywords: Dripping faucet, worn out O-ring, replace

Common Problems with Moen Bathroom Sink Faucets


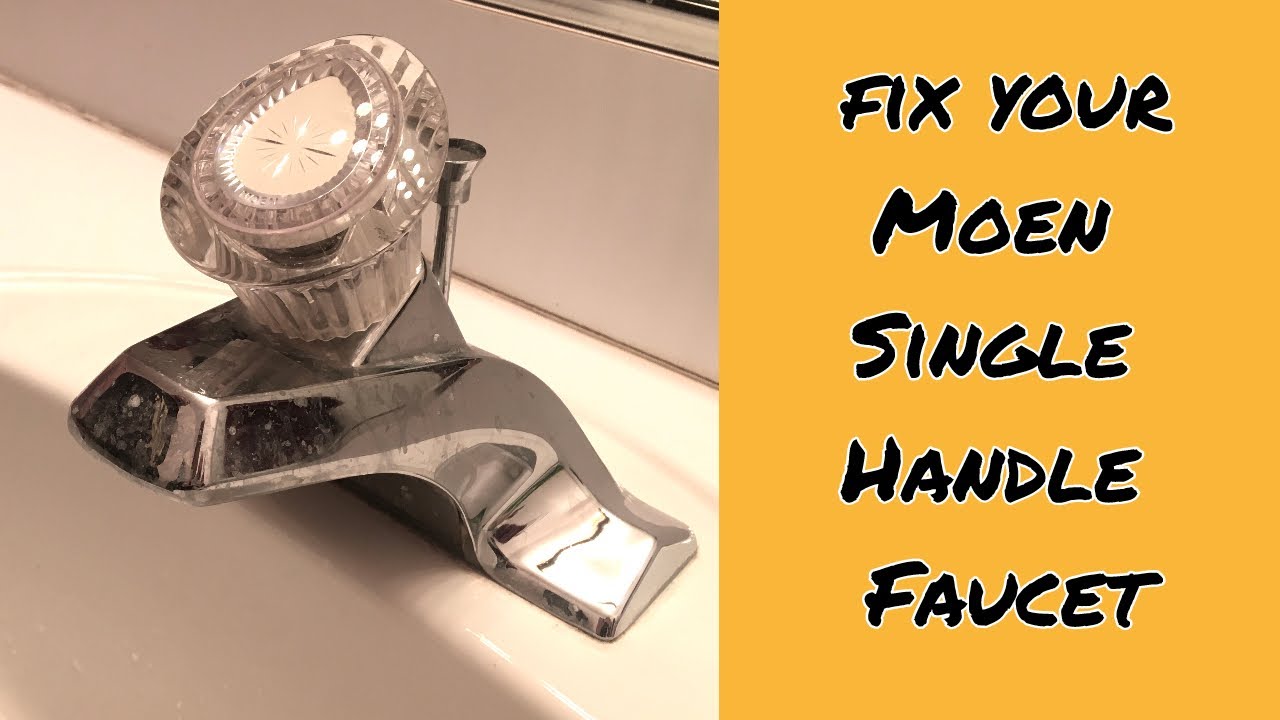
If you're a visual learner, you can find many helpful video tutorials online that demonstrate the repair process for Moen bathroom sink faucets. These videos can provide a step-by-step guide and make it easier for you to understand the repair instructions. Moen Bathroom Sink Faucet Repair Video Tutorial
Moen Bathroom Sink Faucet Repair Video Tutorial
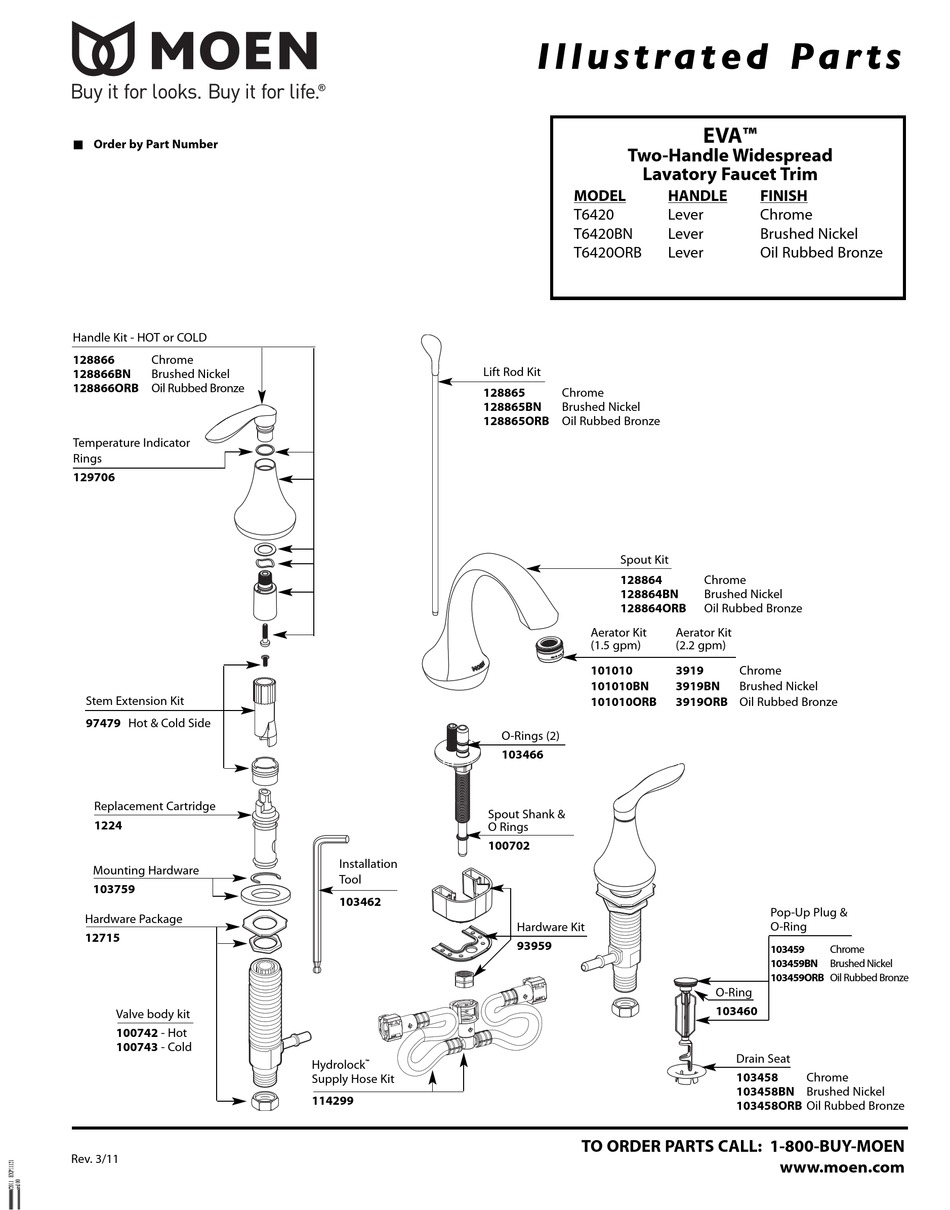
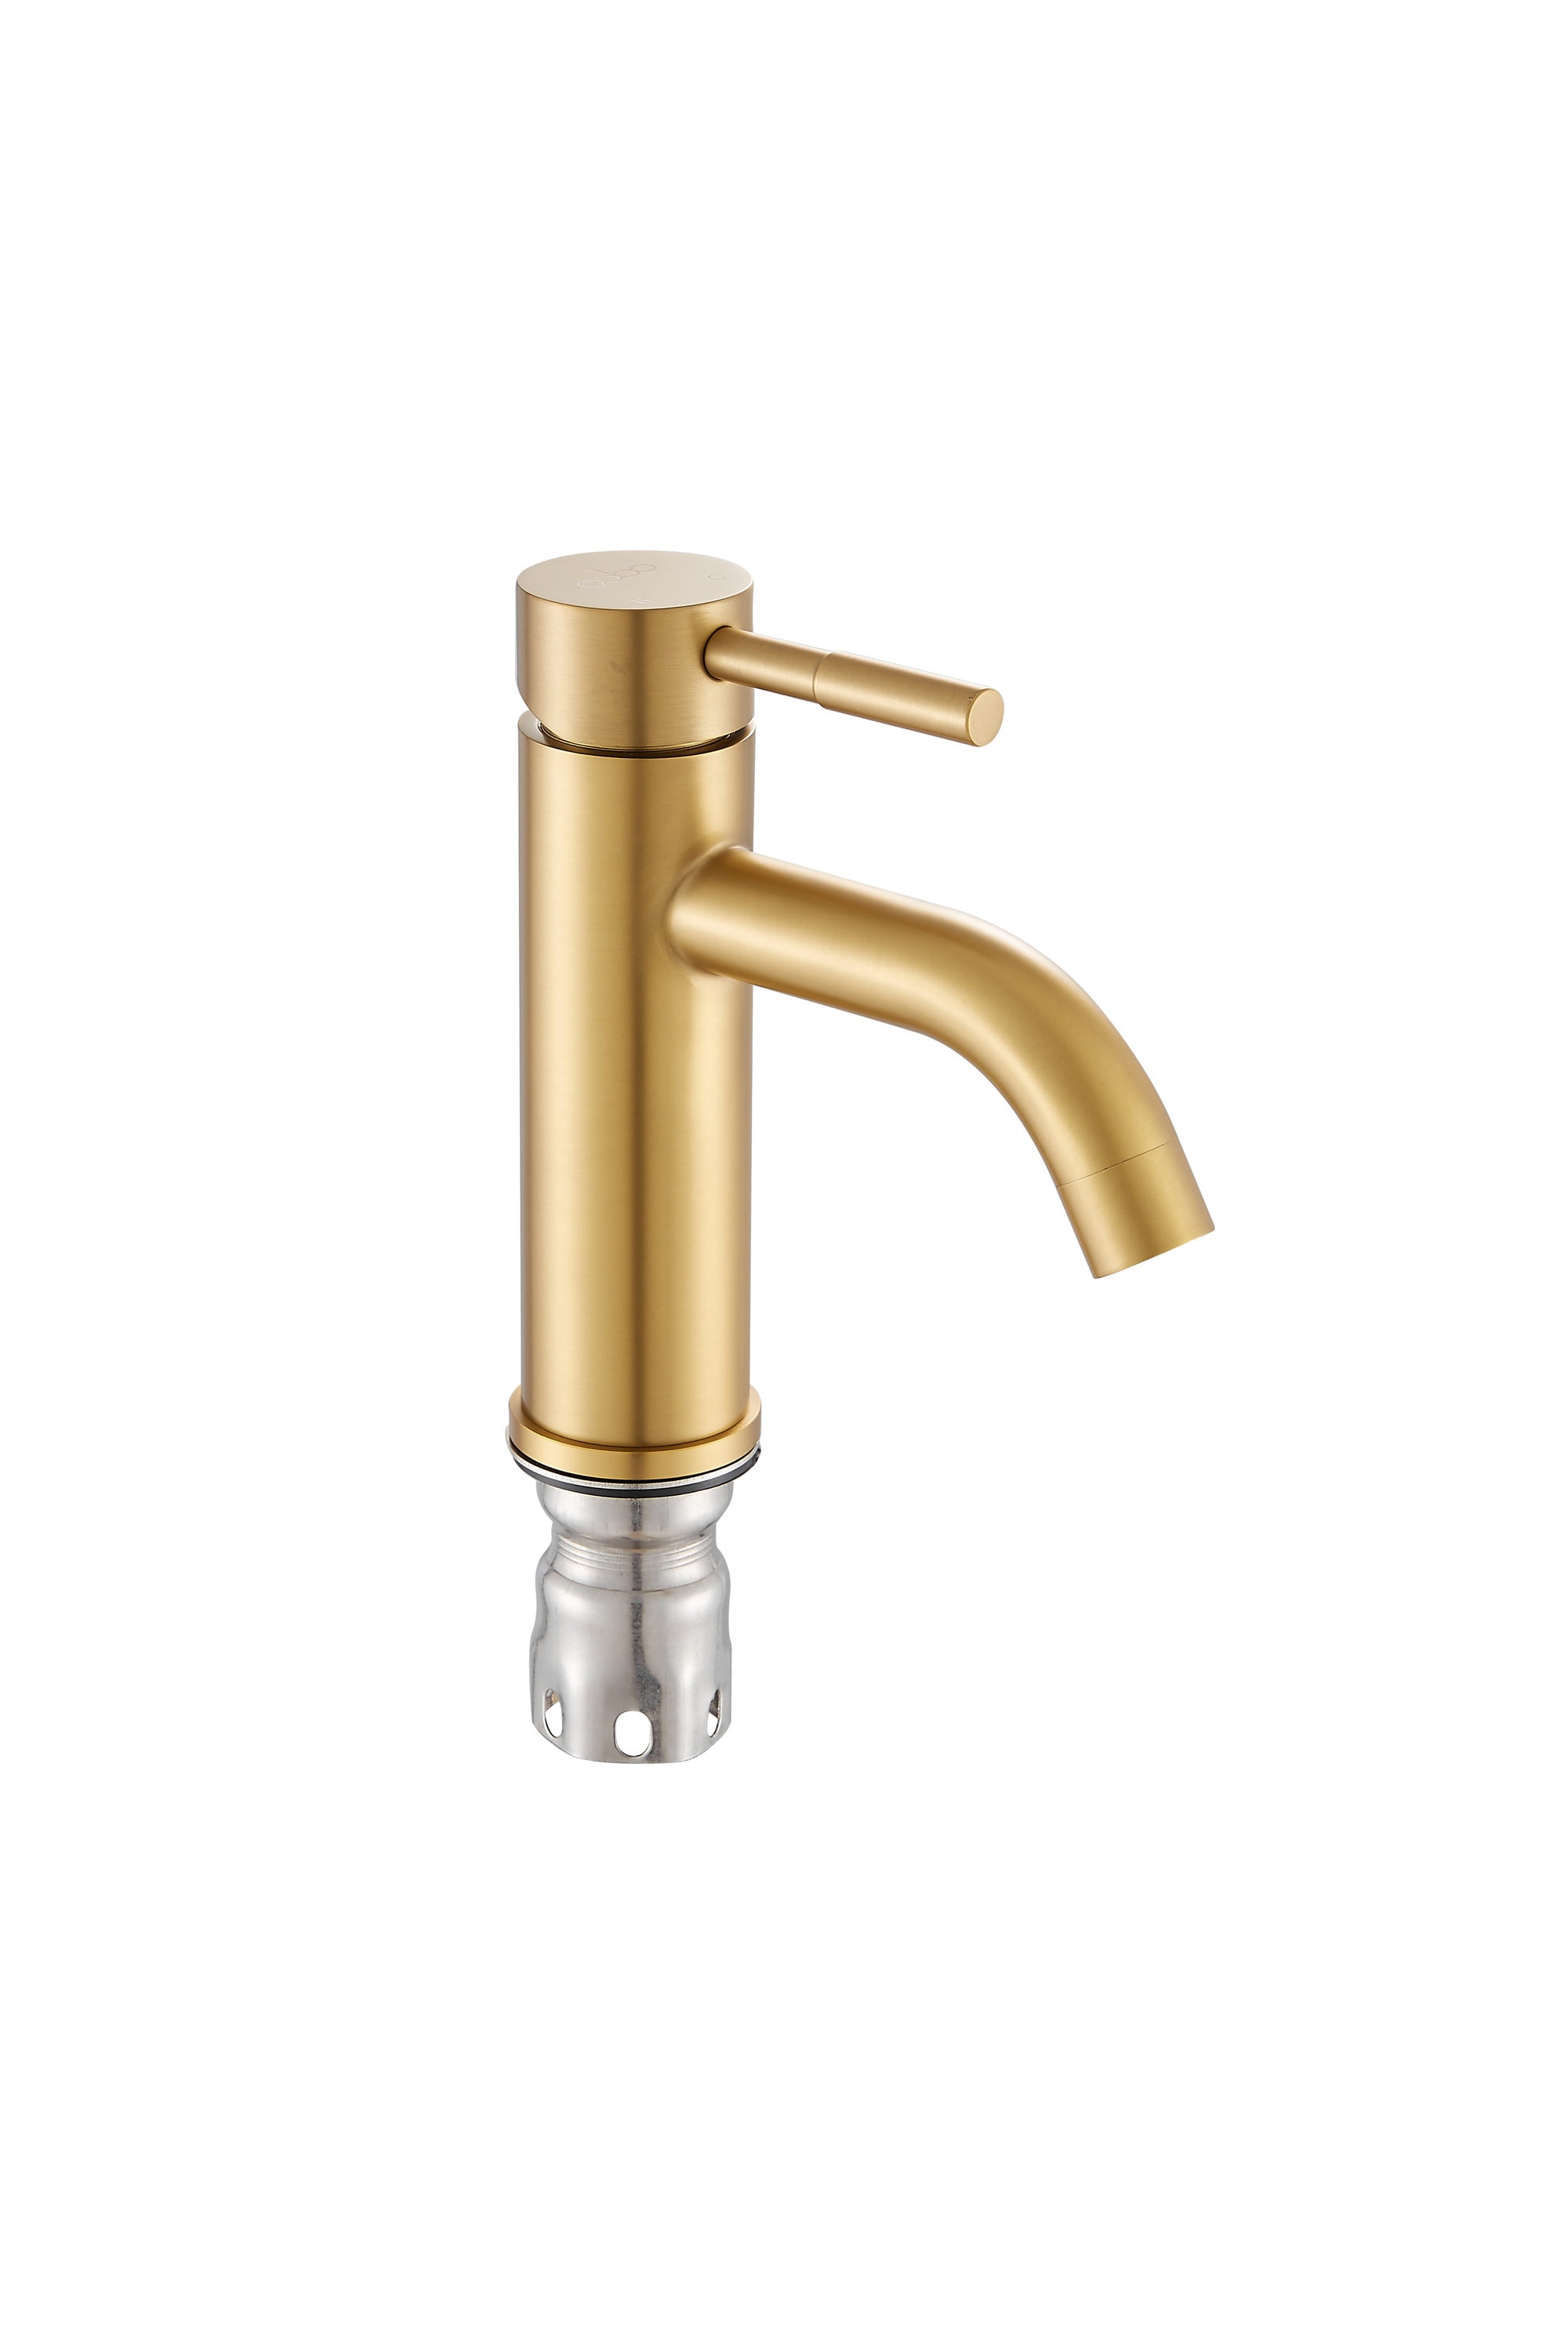
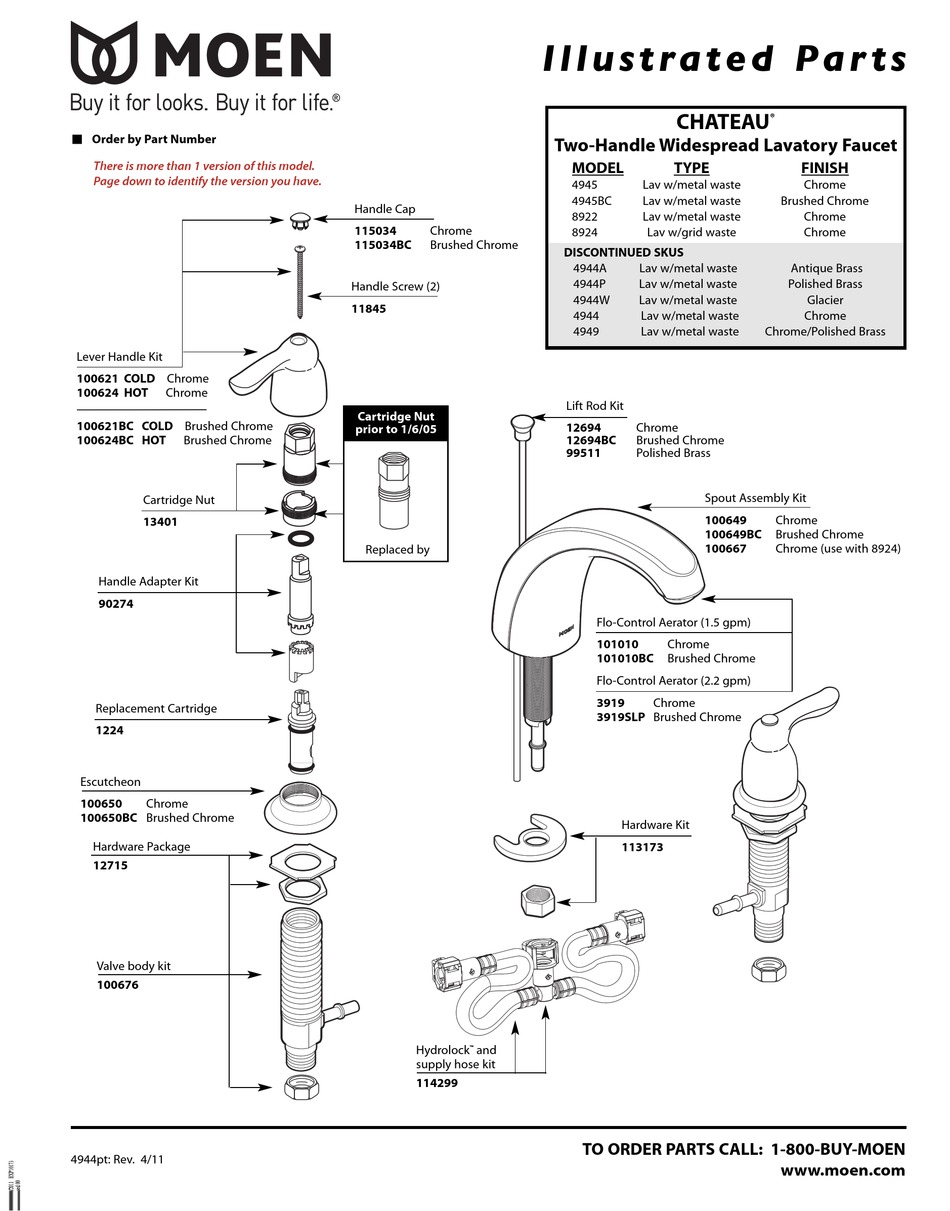
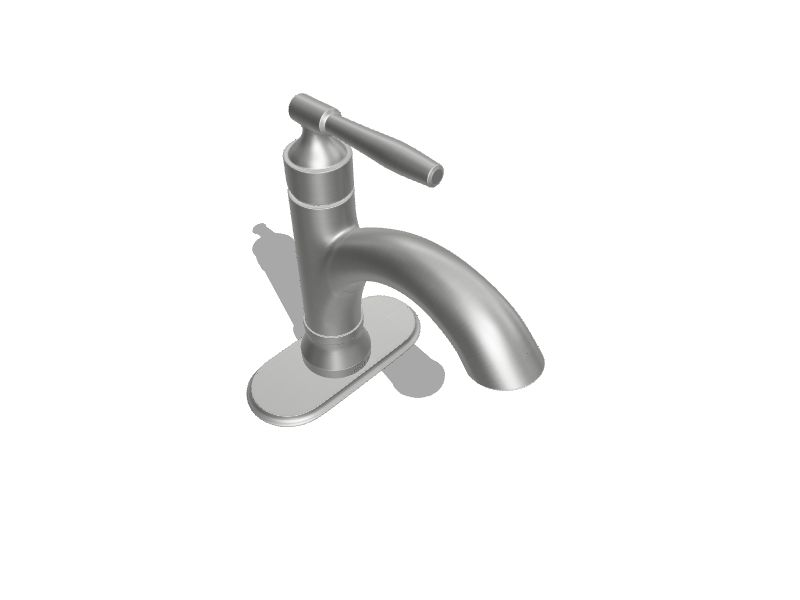
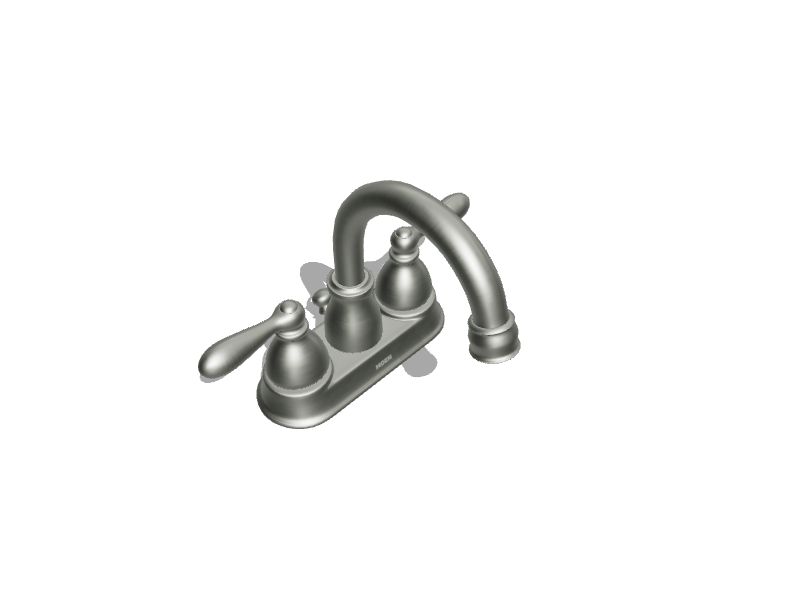
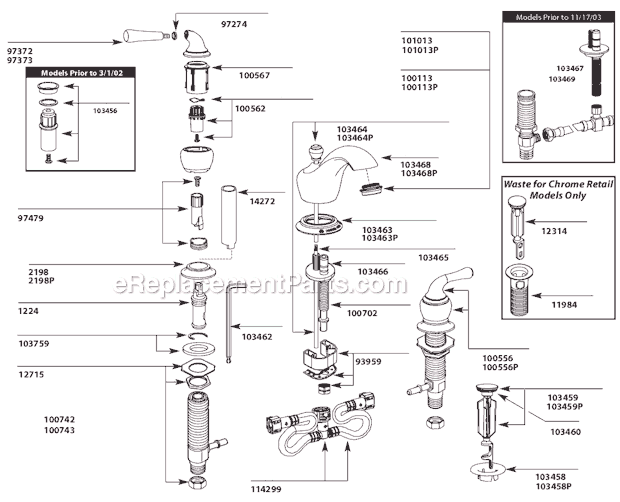
When it comes to repairing your Moen bathroom sink faucet, you'll need to use genuine Moen replacement parts to ensure a proper fit and functioning. You can easily find these parts at your local hardware store or online. Moen Bathroom Sink Faucet Repair Parts

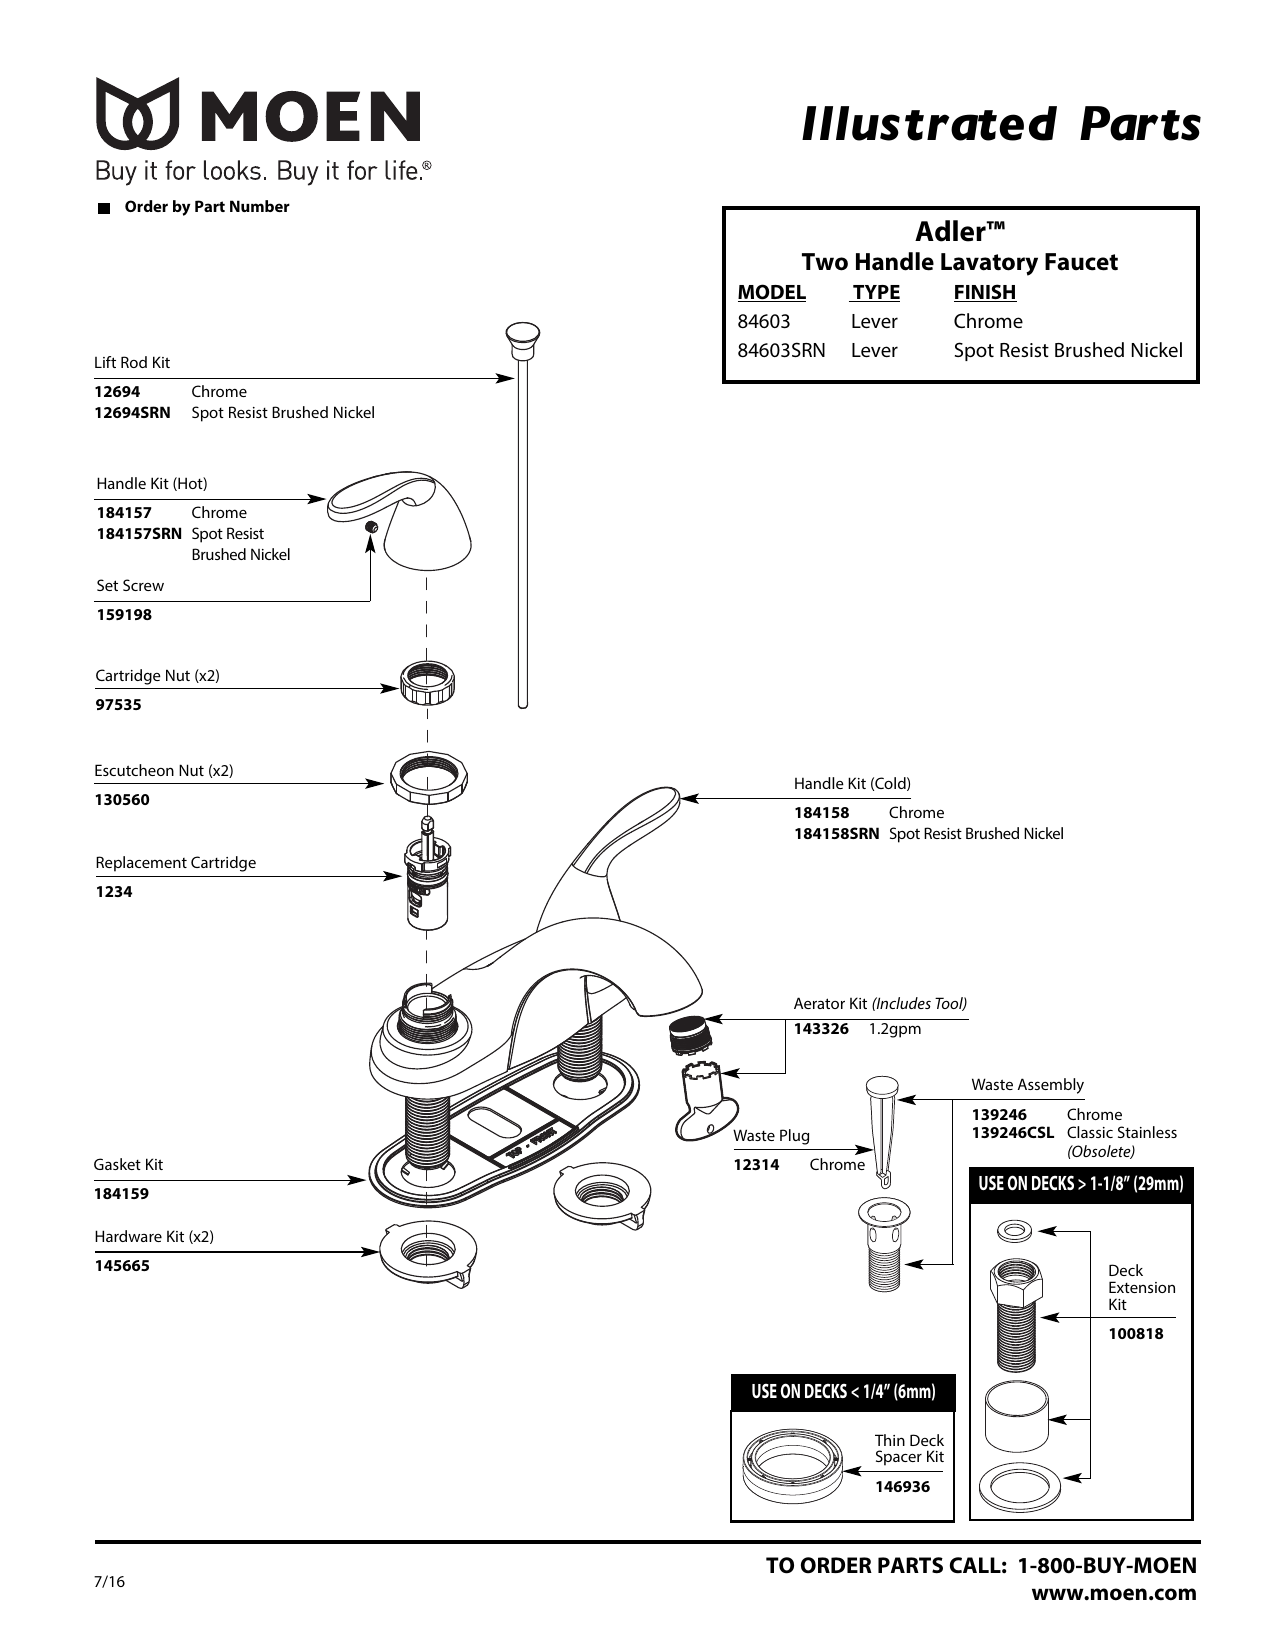
Moen Bathroom Sink Faucet Repair Parts

If you're planning to do multiple repairs on your Moen bathroom sink faucet, it's a good idea to invest in a repair kit. These kits come with all the necessary parts and tools to fix common issues, making the repair process even easier. Moen Bathroom Sink Faucet Repair Kit

Moen Bathroom Sink Faucet Repair Kit
If you're not confident in your DIY skills or don't have the time to repair your Moen bathroom sink faucet, you can always hire a professional. They have the expertise and experience to quickly diagnose and fix any issues with your faucet. Plus, you won't have to worry about purchasing any replacement parts. Professional Moen Bathroom Sink Faucet Repair Services
Professional Moen Bathroom Sink Faucet Repair Services
Additional Tips for Moen Bathroom Sink Faucet Repair

1. Regular Maintenance
 Regular maintenance is key to keeping your Moen bathroom sink faucet in top condition. This includes cleaning the aerator and cartridge regularly to prevent buildup and clogs. It's also important to check for any leaks or drips and address them immediately to prevent further damage. Regular maintenance will not only extend the lifespan of your faucet, but it will also save you from costly repairs in the future.
2. Use Genuine Moen Parts
 When it comes to repairing your Moen bathroom sink faucet, it's crucial to use genuine Moen parts. These parts are specifically designed and tested for your faucet model, ensuring a proper fit and long-lasting performance. Using generic or off-brand parts may seem like a cheaper option, but it can cause further damage to your faucet and end up costing you more in the long run.
3. Seek Professional Help
 If you're not confident in your DIY skills or if the repair seems too complex, it's best to seek professional help. Moen offers a vast network of certified plumbers who are trained in repairing Moen faucets. They have the expertise and knowledge to properly diagnose and fix any issues with your faucet. Hiring a professional may cost more upfront, but it will save you from potential mistakes and costly repairs in the future.
Remember, regular maintenance and using genuine parts are crucial for proper Moen bathroom sink faucet repair. And when in doubt, don't hesitate to seek professional help.
By following these tips, you can ensure that your Moen faucet continues to function efficiently for years to come.
If you're not confident in your DIY skills or if the repair seems too complex, it's best to seek professional help. Moen offers a vast network of certified plumbers who are trained in repairing Moen faucets. They have the expertise and knowledge to properly diagnose and fix any issues with your faucet. Hiring a professional may cost more upfront, but it will save you from potential mistakes and costly repairs in the future.
Remember, regular maintenance and using genuine parts are crucial for proper Moen bathroom sink faucet repair. And when in doubt, don't hesitate to seek professional help.
By following these tips, you can ensure that your Moen faucet continues to function efficiently for years to come.