Do you have a leaky or damaged kitchen sink? Don't worry, you can easily fix it yourself with these DIY steps. All you need is some basic tools and a little bit of time. Let's learn how to repair a kitchen sink and save money on hiring a plumber. First, identify the source of the problem. Is it a leak, a clog, or a broken part? Once you know what needs to be fixed, you can gather the necessary tools and materials. Featured Keywords: repair, kitchen sink, DIY, fix, plumber Main Keywords: leaky, damaged, basic tools, time, save money, hiring a plumberHow to Repair a Kitchen Sink | DIY


How to Repair a Kitchen Sink

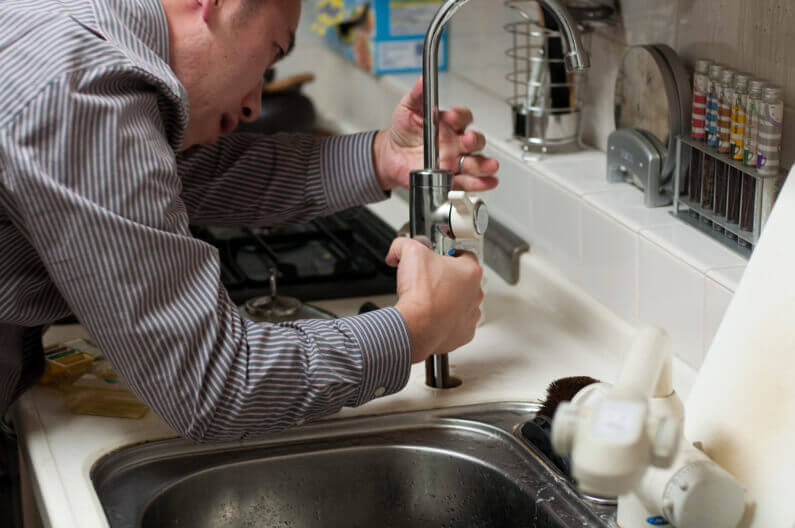


Leaky kitchen sinks are a common problem that can be easily fixed with a few simple steps. The first thing you need to do is turn off the water supply to the sink. This can usually be done by turning off the shut-off valves under the sink. If you can't find the valves, you may need to turn off the main water supply to your house. Next, locate the source of the leak. It could be a loose connection or a damaged part. Tighten any loose connections and replace any damaged parts. Once everything is securely in place, turn the water supply back on and check for any leaks. If there are still leaks, you may need to call a professional plumber for further assistance. Featured Keywords: fix, leaky, kitchen sink, DIY, water supply Main Keywords: shut-off valves, loose connection, damaged, secure, professional plumberHow to Fix a Leaky Kitchen Sink | DIY


DIY


If your kitchen sink is beyond repair, it may be time to replace it. This may seem like a daunting task, but with the right tools and know-how, you can easily do it yourself. First, turn off the water supply to the sink and disconnect the plumbing. Then, remove the old sink from the countertop. Measure the dimensions of the old sink and purchase a new one that will fit in the same space. Install the new sink by following the manufacturer's instructions. This may involve securing the sink with clips or adhesive. Finally, reconnect the plumbing and turn the water supply back on to ensure everything is working properly. Featured Keywords: replace, kitchen sink, DIY, tools, water supply Main Keywords: daunting task, disconnect, plumbing, dimensions, space, manufacturer's instructions, clips, adhesiveHow to Replace a Kitchen Sink | DIY


How to Fix a Leaky Kitchen Sink


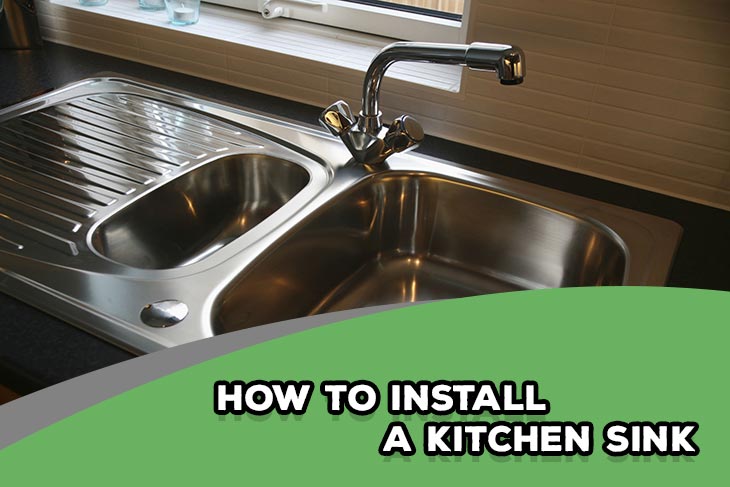
If you're remodeling your kitchen or building a new one, you'll need to know how to install a kitchen sink. This may seem like a complicated process, but with the right tools and preparation, it can be done easily. Start by measuring the dimensions of the sink and cutting a hole in the countertop that will fit it. Next, follow the manufacturer's instructions to install the sink. This may involve attaching the sink to the countertop with clips or adhesive. Once the sink is securely in place, connect the plumbing and turn on the water supply. Make sure to check for any leaks and make adjustments if necessary. Featured Keywords: install, kitchen sink, DIY, tools, preparation Main Keywords: remodeling, building, complicated process, measuring, cutting, manufacturer's instructions, attaching, securely, adjustmentsHow to Install a Kitchen Sink | DIY

DIY


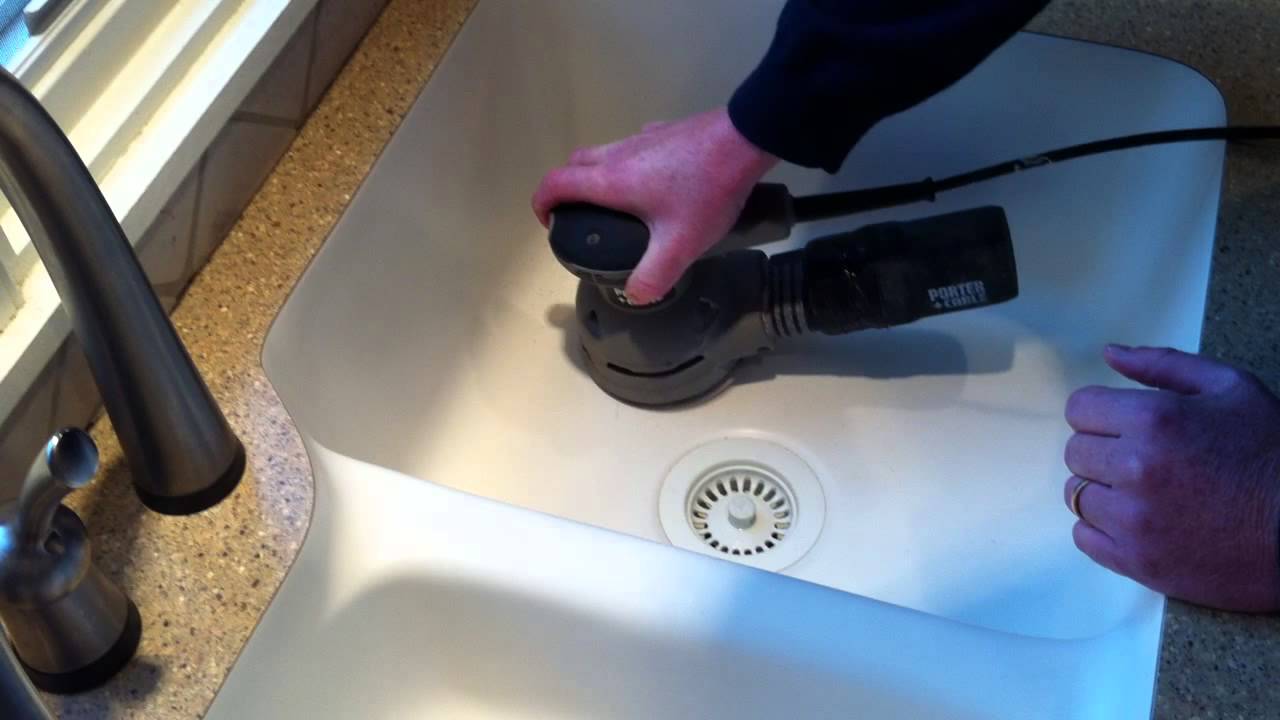
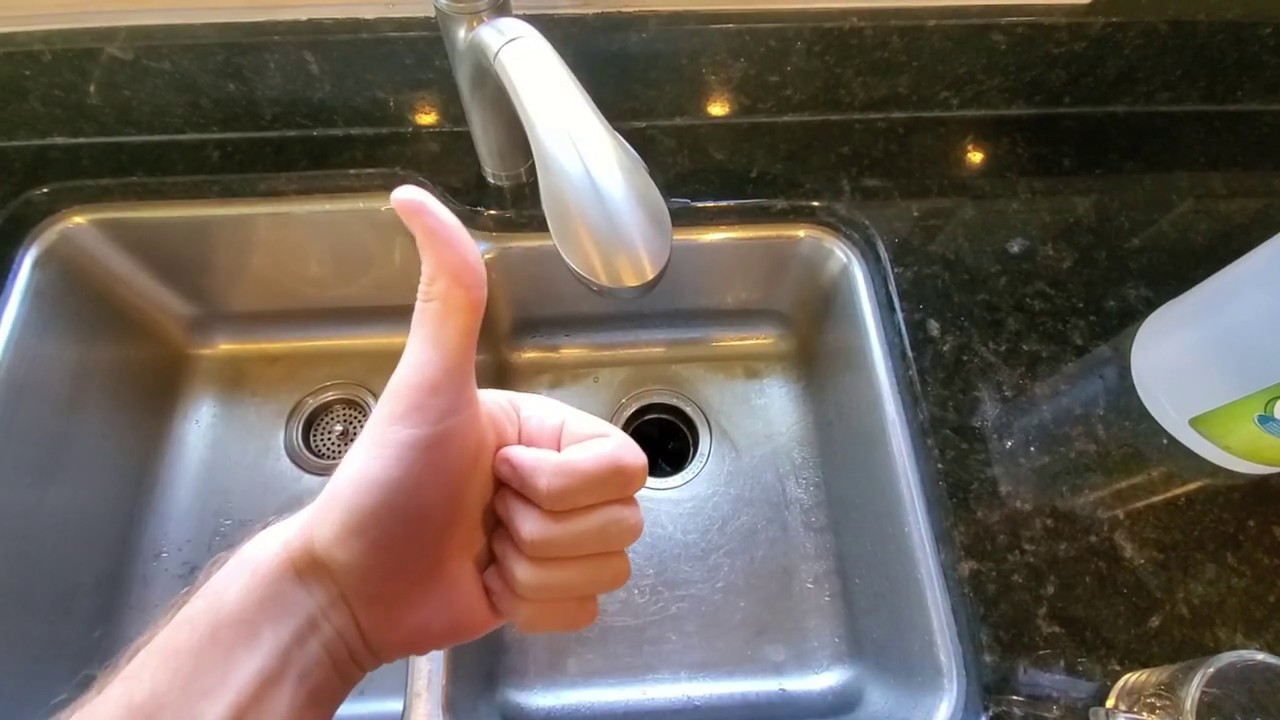
A clogged kitchen sink can be a major inconvenience, but it can be easily fixed with some DIY methods. One popular method is using a plunger to remove the clog. Make sure to cover the overflow opening with a wet cloth before plunging to create a stronger seal. If the plunger doesn't work, you can try using a plumbing snake to clear the clog. Insert the snake into the drain and turn it clockwise to break up the clog. You can also try using a mixture of baking soda and vinegar to dissolve the clog. If these methods don't work, you may need to call a professional plumber. Featured Keywords: unclog, kitchen sink, DIY, plunger, plumbing snake Main Keywords: major inconvenience, cover, overflow opening, wet cloth, seal, clockwise, break up, mixture, baking soda, vinegar, dissolve, professional plumberHow to Unclog a Kitchen Sink | DIY


How to Replace a Kitchen Sink


Keeping your kitchen sink clean is important for maintaining a hygienic and functional kitchen. Start by removing any dishes or debris from the sink. Then, sprinkle baking soda onto the surface of the sink and scrub with a sponge or brush. Rinse the sink with warm water and dry with a clean cloth. For tougher stains, you can make a paste using baking soda and water and let it sit on the stain for a few minutes before scrubbing. You can also use vinegar to remove hard water stains. Regularly cleaning your kitchen sink will help prevent the buildup of bacteria and keep it looking shiny and new. Featured Keywords: clean, kitchen sink, DIY, baking soda, scrub, sponge, brush Main Keywords: dishes, debris, surface, rinse, dry, tougher stains, paste, hard water stains, bacteria, shiny, newHow to Clean a Kitchen Sink | DIY
DIY
If you need to replace your kitchen sink or do some deep cleaning, you'll need to know how to remove it. Start by disconnecting the water supply and the plumbing. Then, use a utility knife to cut through any caulk or adhesive holding the sink in place. Once the sink is free, carefully lift it out of the countertop. If there are any clips or brackets attached to the sink, remove them as well. You can also use a putty knife to scrape away any leftover caulk or adhesive. Remember to be gentle to avoid damaging the countertop. Featured Keywords: remove, kitchen sink, DIY, disconnect, utility knife Main Keywords: deep cleaning, replacing, caulk, adhesive, free, carefully, countertop, clips, brackets, putty knife, scrape, leftover, gentle, damagingHow to Remove a Kitchen Sink | DIY


How to Install a Kitchen Sink


Properly sealing your kitchen sink is important to prevent leaks and water damage. You can easily seal your sink with some silicone caulk. Start by cleaning the area around the sink where the caulk will be applied. Then, load the caulk gun with silicone caulk and apply a thin bead of caulk around the edges of the sink. Use a damp finger or a caulk finishing tool to smooth out the caulk and remove any excess. Let the caulk dry completely before using the sink. This will create a watertight seal and protect your kitchen from any potential damage. Featured Keywords: seal, kitchen sink, DIY, silicone caulk, cleaning, caulk gun Main Keywords: prevent, leaks, water damage, cleaning, load, apply, thin bead, edges, damp finger, caulk finishing tool, smooth, excess, dry, watertight, protect, potential damageHow to Seal a Kitchen Sink | DIY


DIY
If your kitchen sink drain is clogged or damaged, it may need to be repaired. Start by removing the drain cover and using a plumbing snake to remove any clogs. If the drain is still clogged, you may need to disassemble the drain pipe and clean it out manually. If the drain is damaged, you may need to replace it with a new one. Follow the manufacturer's instructions to install the new drain. Don't forget to check for any leaks before using the sink again. Featured Keywords: repair, kitchen sink drain, DIY, clogged, damaged, plumbing snake Main Keywords: disassemble, clean, manually, new, manufacturer's instructions, leaksHow to Repair a Kitchen Sink Drain | DIY
/plumber-unclogging-kitchen-sink-169270382-5797a9355f9b58461f27f024.jpg)


How to Unclog a Kitchen Sink

/how-to-unclog-a-kitchen-sink-2718799_sketch_FINAL-8c5caa805a69493ab22dfb537c72a1b7.png)


If your kitchen sink sprayer is not working properly, it may need to be fixed or replaced. First, check to make sure the sprayer hose is securely connected to the water supply under the sink. If it is, try cleaning the sprayer head and nozzle to remove any clogs. If the sprayer still doesn't work, you may need to replace it. Turn off the water supply to the sink and disconnect the sprayer hose. Then, install the new sprayer by following the manufacturer's instructions. Turn the water supply back on and test the sprayer to ensure it's working properly. Featured Keywords: fix, kitchen sink sprayer, DIY, replaced, securely connected Main Keywords: not working, properly, water supply, cleaning, nozzle, clogs, replace, disconnect, manufacturer's instructions, test, working properlyHow to Fix a Kitchen Sink Sprayer | DIY
DIY


The Importance of Keeping Your Kitchen Sink in Good Repair
Maintaining the Functionality and Aesthetics of Your Kitchen
 When it comes to designing and decorating our homes, the kitchen is often the focal point. It is where we spend a significant amount of time preparing meals, entertaining guests, and creating memories with our loved ones. With so much use and activity, it's no wonder that our kitchen sinks can take a beating over time. From clogged drains to leaky faucets, a malfunctioning kitchen sink can not only be a nuisance but also affect the overall functionality and aesthetics of your kitchen.
Kitchen sink repair
is an essential aspect of maintaining a well-functioning and visually appealing kitchen. Often, homeowners tend to neglect their sinks until a major problem arises. However, regularly checking and repairing any issues can save you time, money, and stress in the long run.
One of the most common problems with kitchen sinks is a clogged drain. This can be caused by a buildup of food particles, grease, or other debris. Not only does a clogged drain slow down the flow of water, but it can also lead to unpleasant odors and even potential damage to your pipes. Regularly cleaning your drain and using a
plunger
or
drain snake
can prevent clogs and keep your sink functioning properly.
Leaky faucets are another common issue that can be easily fixed with
kitchen sink repair
. A dripping faucet not only wastes water but can also lead to water damage and mold growth. Regularly checking and repairing any leaks can save you money on your water bill and prevent any potential damage to your kitchen.
Aside from functionality, the appearance of your kitchen sink is also crucial in maintaining the overall design of your kitchen. A cracked or stained sink can significantly impact the aesthetics of your space. Fortunately, with the help of
DIY repair videos
and basic tools, you can easily fix any cosmetic issues with your sink. From replacing a cracked sink to recaulking the edges, these repairs can enhance the look of your kitchen and add value to your home.
In conclusion, keeping your kitchen sink in good repair is essential for maintaining the functionality and aesthetics of your kitchen. Regularly checking and fixing any issues can save you time, money, and stress in the long run. Whether it's a clogged drain, leaky faucet, or cosmetic damage, there are plenty of resources available, such as
kitchen sink repair videos
, to help you tackle these issues and keep your kitchen in top shape. So don't neglect your sink and make sure to give it the attention it deserves for a well-designed and functional kitchen.
When it comes to designing and decorating our homes, the kitchen is often the focal point. It is where we spend a significant amount of time preparing meals, entertaining guests, and creating memories with our loved ones. With so much use and activity, it's no wonder that our kitchen sinks can take a beating over time. From clogged drains to leaky faucets, a malfunctioning kitchen sink can not only be a nuisance but also affect the overall functionality and aesthetics of your kitchen.
Kitchen sink repair
is an essential aspect of maintaining a well-functioning and visually appealing kitchen. Often, homeowners tend to neglect their sinks until a major problem arises. However, regularly checking and repairing any issues can save you time, money, and stress in the long run.
One of the most common problems with kitchen sinks is a clogged drain. This can be caused by a buildup of food particles, grease, or other debris. Not only does a clogged drain slow down the flow of water, but it can also lead to unpleasant odors and even potential damage to your pipes. Regularly cleaning your drain and using a
plunger
or
drain snake
can prevent clogs and keep your sink functioning properly.
Leaky faucets are another common issue that can be easily fixed with
kitchen sink repair
. A dripping faucet not only wastes water but can also lead to water damage and mold growth. Regularly checking and repairing any leaks can save you money on your water bill and prevent any potential damage to your kitchen.
Aside from functionality, the appearance of your kitchen sink is also crucial in maintaining the overall design of your kitchen. A cracked or stained sink can significantly impact the aesthetics of your space. Fortunately, with the help of
DIY repair videos
and basic tools, you can easily fix any cosmetic issues with your sink. From replacing a cracked sink to recaulking the edges, these repairs can enhance the look of your kitchen and add value to your home.
In conclusion, keeping your kitchen sink in good repair is essential for maintaining the functionality and aesthetics of your kitchen. Regularly checking and fixing any issues can save you time, money, and stress in the long run. Whether it's a clogged drain, leaky faucet, or cosmetic damage, there are plenty of resources available, such as
kitchen sink repair videos
, to help you tackle these issues and keep your kitchen in top shape. So don't neglect your sink and make sure to give it the attention it deserves for a well-designed and functional kitchen.