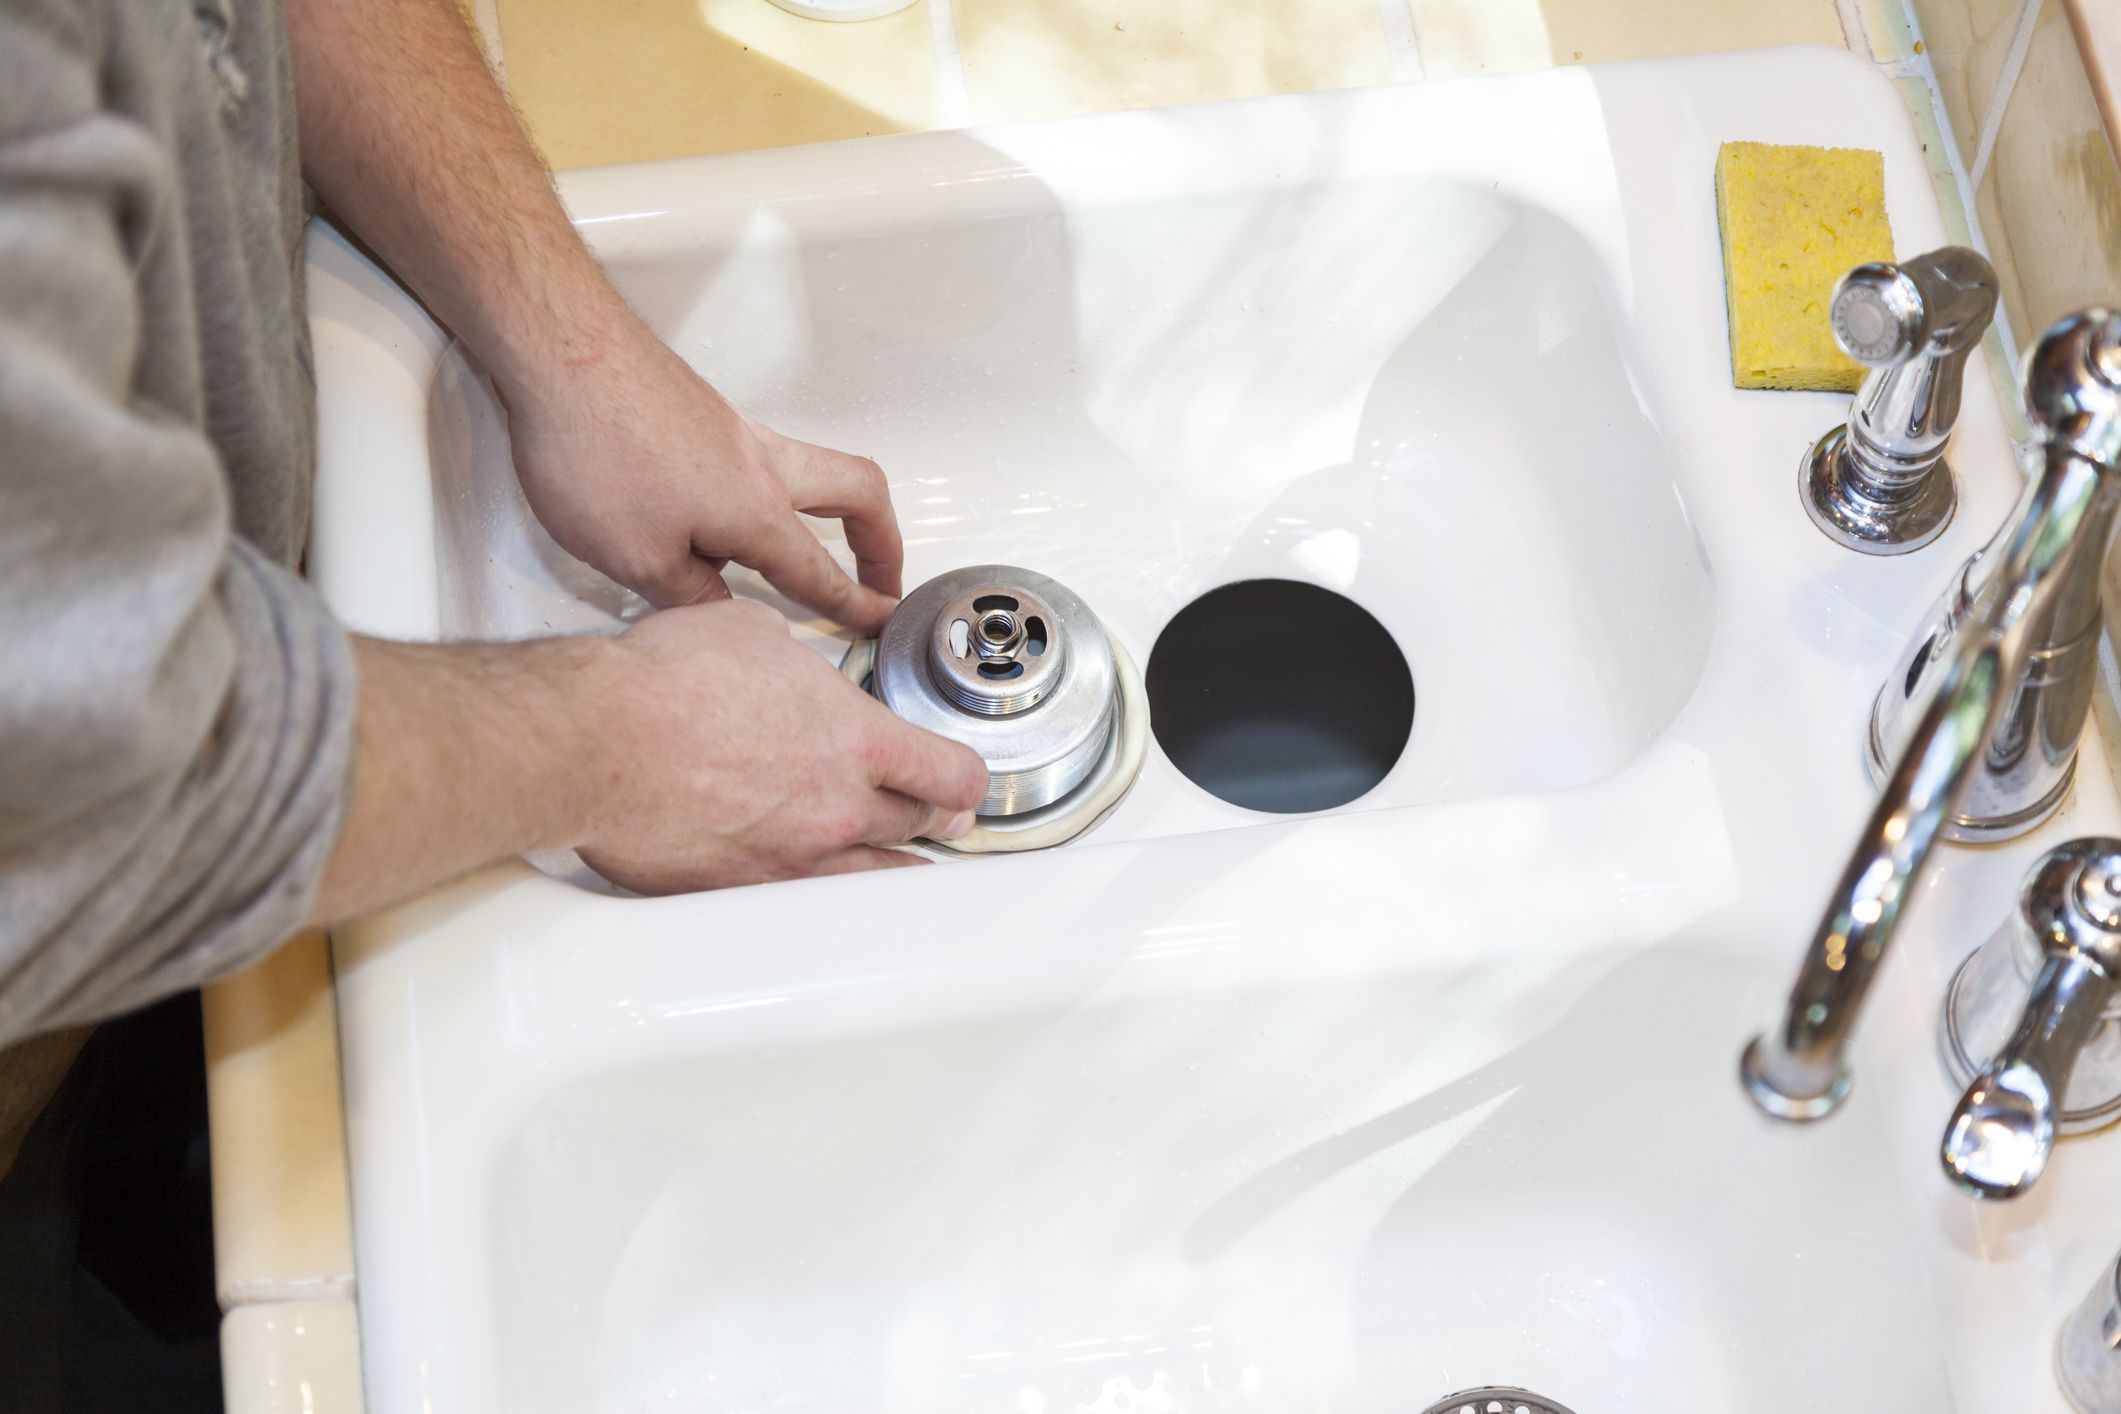
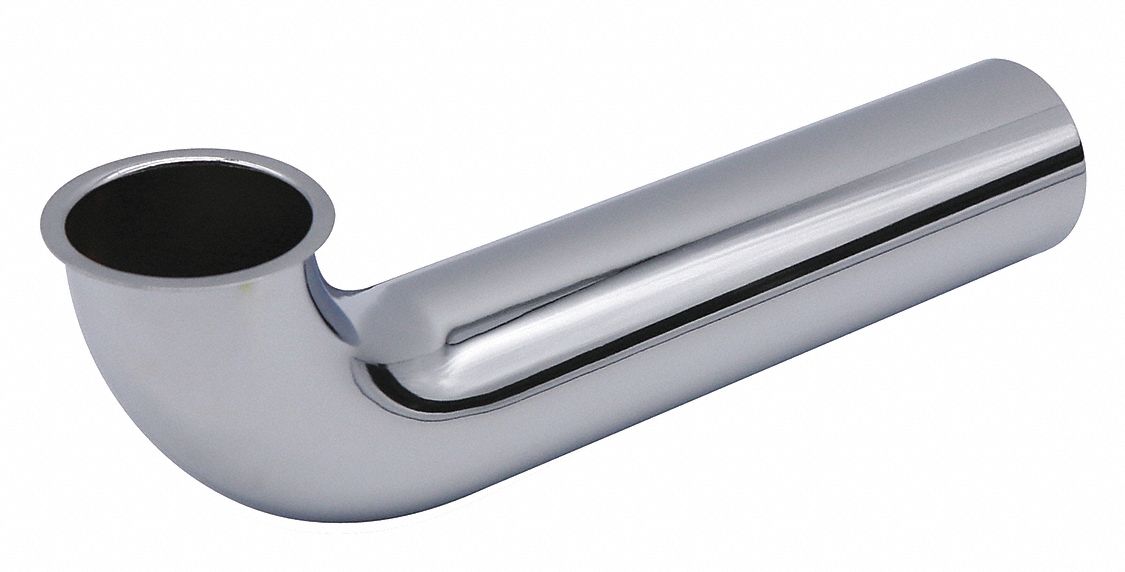
If you're experiencing leaks around your kitchen sink drain, it may be time to replace the gasket. This small but important component helps to keep your sink sealed and functioning properly. While it may seem like a daunting task, replacing a kitchen sink drain gasket is actually a simple DIY project that can save you time and money in the long run. Follow these easy steps to get your sink back in tip-top shape.How to Replace a Kitchen Sink Drain Gasket


How to Replace a Kitchen Sink Drain Gasket


/how-to-install-a-sink-drain-2718789-hero-b5b99f72b5a24bb2ae8364e60539cece.jpg)


Before you begin, make sure you have all the necessary tools and materials. You will need a new gasket, a screwdriver, pliers, and plumber's putty. Once you have everything ready, follow these six steps: Step 1: Start by removing the old gasket. Use the screwdriver to loosen the screws holding the drain in place. Then, use the pliers to gently pull out the gasket. Step 2: Clean the area around the drain thoroughly. Use a rag to remove any debris or old putty. Step 3: Roll a small amount of plumber's putty into a rope and place it around the bottom of the drain opening. Step 4: Place the new gasket on top of the putty, making sure it is centered and securely in place. Step 5: Tighten the screws to secure the new gasket in place. Be careful not to over-tighten, as this can cause damage to the gasket. Step 6: Wipe away any excess putty from around the drain opening. Let it dry for at least an hour before using the sink.Replacing a Kitchen Sink Drain Gasket: 6 Easy Steps


Replacing a Kitchen Sink Drain Gasket: 6 Easy Steps


Replacing a kitchen sink drain gasket is a simple DIY project that can save you time and money. Hiring a professional plumber can be costly, and this is a task that most homeowners can easily handle on their own. Plus, by doing it yourself, you have control over the process and can ensure that it is done correctly.DIY Kitchen Sink Drain Gasket Replacement


DIY Kitchen Sink Drain Gasket Replacement


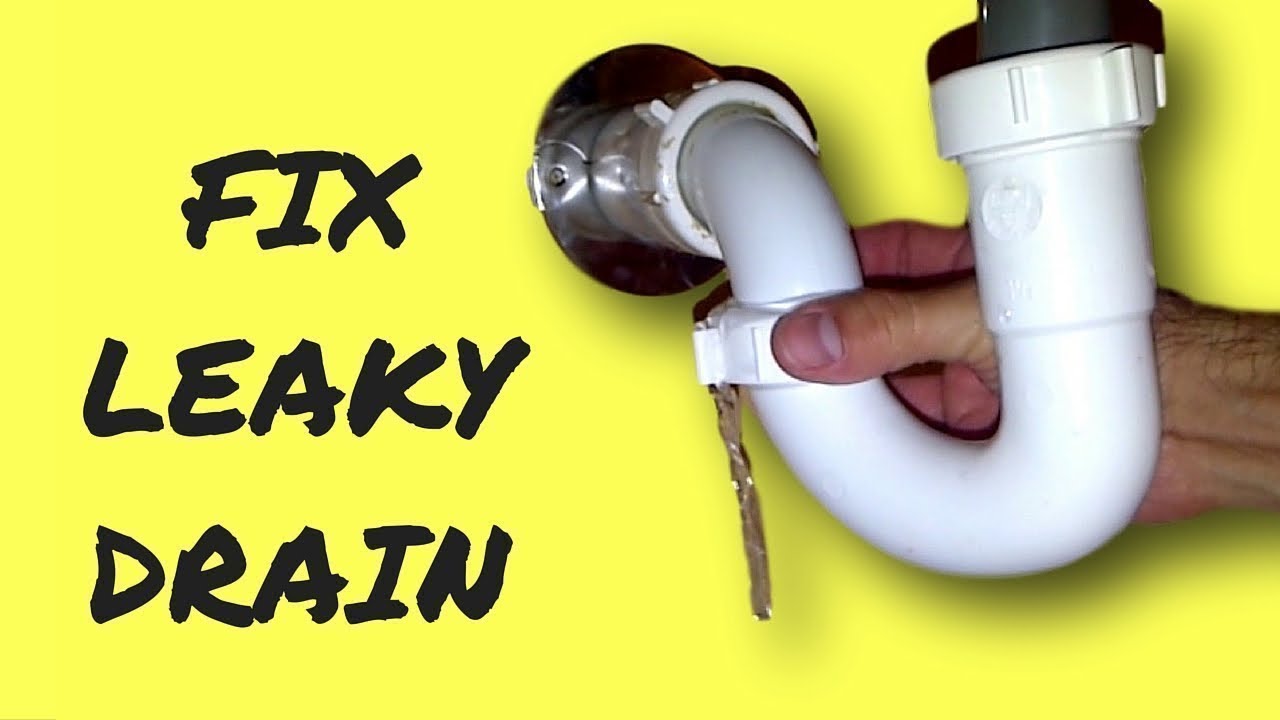
Still feeling a bit unsure about tackling this project? Don't worry, we've got you covered. Follow these easy steps for a successful kitchen sink drain gasket replacement: Step 1: Gather all the necessary tools and materials. Step 2: Remove the old gasket and clean the area around the drain. Step 3: Apply plumber's putty around the bottom of the drain opening. Step 4: Place the new gasket on top and secure it with screws. Step 5: Clean up any excess putty and let it dry. Step 6: Test your new gasket by running water through the sink.Step-by-Step Guide for Replacing a Kitchen Sink Drain Gasket


Step-by-Step Guide for Replacing a Kitchen Sink Drain Gasket


Here are a few tips and tricks to keep in mind when replacing your kitchen sink drain gasket: Tip #1: Check the gasket periodically for wear and tear and replace as needed. Tip #2: Use a silicone-based plumber's putty for a longer-lasting seal. Tip #3: If you are having trouble removing the old gasket, try using a hair dryer to soften it up.Kitchen Sink Drain Gasket Replacement: Tips and Tricks
Kitchen Sink Drain Gasket Replacement: Tips and Tricks


While replacing a kitchen sink drain gasket is a relatively simple task, there are a few common mistakes that can be easily avoided: Mistake #1: Not cleaning the area properly before installing the new gasket. Mistake #2: Over-tightening the screws, which can cause damage to the gasket. Mistake #3: Using a low-quality or improper type of plumber's putty.Replacing a Kitchen Sink Drain Gasket: Common Mistakes to Avoid


Replacing a Kitchen Sink Drain Gasket: Common Mistakes to Avoid

In order to successfully replace your kitchen sink drain gasket, you will need the following tools and materials: Tools: Screwdriver, pliers Materials: New gasket, plumber's puttyTools and Materials Needed for Kitchen Sink Drain Gasket Replacement


Tools and Materials Needed for Kitchen Sink Drain Gasket Replacement


When selecting a new gasket for your kitchen sink drain, it's important to choose the right one for your specific sink. This means considering the size and type of your sink, as well as the material and quality of the gasket. It's always best to opt for a high-quality gasket that will provide a tight and long-lasting seal.How to Choose the Right Kitchen Sink Drain Gasket Replacement


How to Choose the Right Kitchen Sink Drain Gasket Replacement


While it may be tempting to hire a professional plumber to replace your kitchen sink drain gasket, this is a task that most homeowners can easily handle on their own. Not only will DIY save you money, but it also gives you the satisfaction of completing a home improvement project on your own.Kitchen Sink Drain Gasket Replacement: Professional vs. DIY
Kitchen Sink Drain Gasket Replacement: Professional vs. DIY


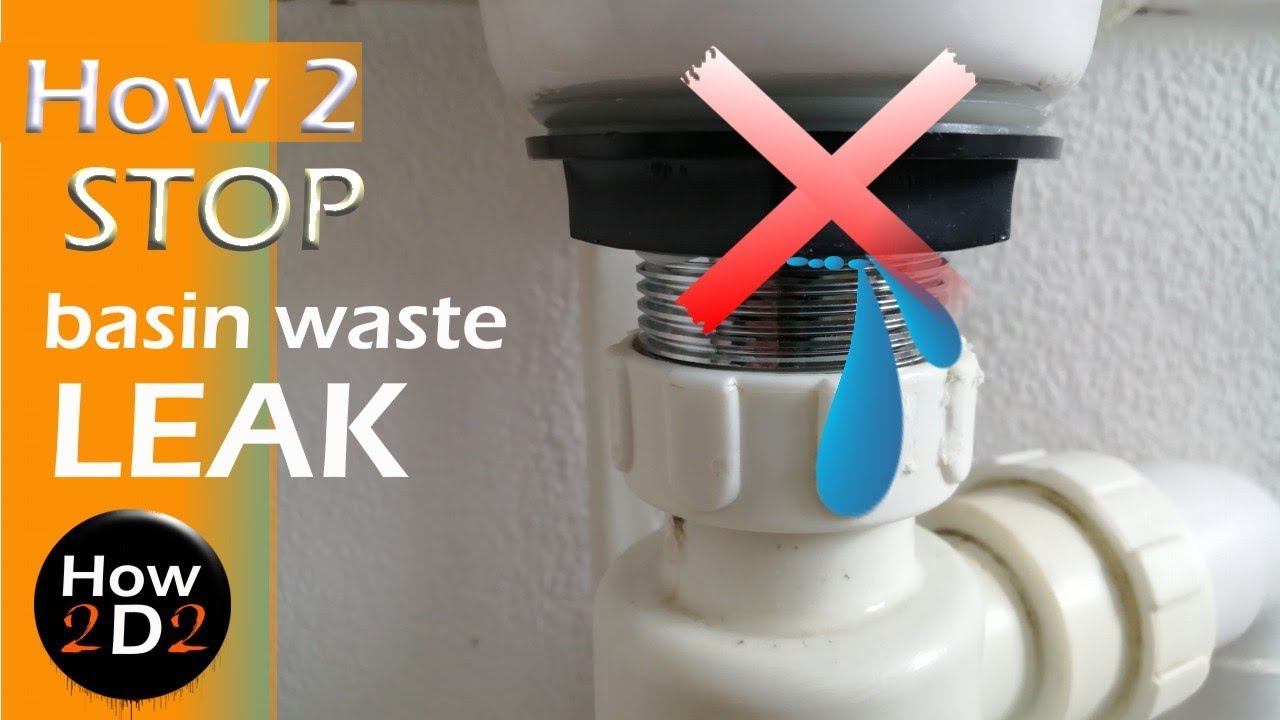
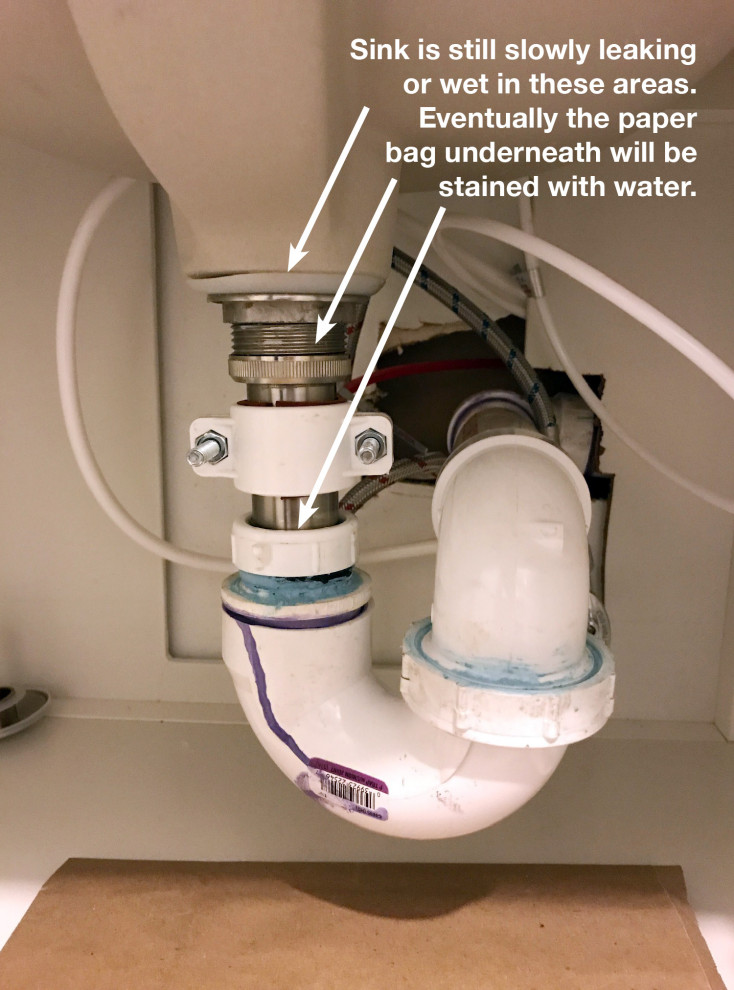
If you find that your new gasket is still leaking after replacement, there may be a few potential issues to troubleshoot: Issue #1: The gasket was not installed correctly. Issue #2: The gasket is damaged or of poor quality. Issue #3: There is a problem with the drain or other components of the sink. By following these tips and steps for replacing a kitchen sink drain gasket, you can easily tackle this DIY project and keep your sink in top working condition. Remember to periodically check and replace the gasket as needed to prevent any future leaks and keep your kitchen running smoothly.Troubleshooting Common Issues with Kitchen Sink Drain Gasket Replacement


Troubleshooting Common Issues with Kitchen Sink Drain Gasket Replacement

Why Replacing Your Kitchen Sink Drain Gasket is Essential in House Design

The Importance of a Functional Kitchen Sink Drain
 When it comes to house design, the kitchen is one of the most important areas to consider. This is where meals are prepared, dishes are washed, and memories are made. And at the heart of every kitchen is the sink, with its drain being a crucial component. A kitchen sink drain gasket is a small but mighty part that helps keep the sink functioning properly. It forms a seal between the sink and the drain, preventing leaks and ensuring the water flows smoothly. Over time, this gasket can wear out and require replacement, which is why it is important to know how to do it yourself.
The Signs that Your Kitchen Sink Drain Gasket Needs Replacing
 A leaky and malfunctioning sink can be a nightmare for any homeowner. It can cause water damage, mold growth, and even compromise the structural integrity of your house. That's why it's crucial to know when your kitchen sink drain gasket needs replacing. Some signs to look out for include water pooling around the sink, a foul odor coming from the drain, and slow drainage. If you notice any of these issues, it's time to replace your gasket.
The Benefits of Replacing Your Kitchen Sink Drain Gasket
 Replacing your kitchen sink drain gasket is not just about fixing a problem, it also has many benefits for your house design. First and foremost, it ensures the proper functioning of your sink, avoiding potential water damage and costly repairs. It also helps maintain a clean and hygienic kitchen, as a faulty gasket can cause unpleasant odors and bacteria growth. Additionally, a new gasket can improve the overall appearance of your sink, making it look more polished and well-maintained.
The Process of Replacing Your Kitchen Sink Drain Gasket
 Now that you understand the importance of a kitchen sink drain gasket and when to replace it, let's discuss the process. First, you'll need to gather the necessary tools and materials, including a new gasket, a screwdriver, and plumber's putty. Then, you'll need to remove the old gasket and clean the area thoroughly before installing the new one. It's important to follow the instructions carefully and ensure the gasket is properly sealed to prevent any leaks.
In conclusion, the kitchen sink drain gasket may seem like a small and insignificant part, but it plays a vital role in the overall functionality and appearance of your kitchen. By replacing it when necessary, you can save yourself from potential headaches and expenses in the long run. So, keep an eye out for any signs of a faulty gasket and replace it as needed to maintain a beautiful and functional kitchen in your house design.
Now that you understand the importance of a kitchen sink drain gasket and when to replace it, let's discuss the process. First, you'll need to gather the necessary tools and materials, including a new gasket, a screwdriver, and plumber's putty. Then, you'll need to remove the old gasket and clean the area thoroughly before installing the new one. It's important to follow the instructions carefully and ensure the gasket is properly sealed to prevent any leaks.
In conclusion, the kitchen sink drain gasket may seem like a small and insignificant part, but it plays a vital role in the overall functionality and appearance of your kitchen. By replacing it when necessary, you can save yourself from potential headaches and expenses in the long run. So, keep an eye out for any signs of a faulty gasket and replace it as needed to maintain a beautiful and functional kitchen in your house design.