Caulking is an essential part of maintaining your kitchen sink. It helps to seal any gaps or cracks between the sink and the countertop, preventing water from seeping in and causing damage. If you notice any signs of wear and tear on the caulk around your kitchen sink, it's time for a repair. Here's a step-by-step guide on how to caulk a kitchen sink and keep it looking like new.How to Caulk a Kitchen Sink
.jpg)


How to Caulk a Kitchen Sink


Over time, caulk can crack, shrink, or become discolored, making your kitchen sink look worn and outdated. To repair caulk around a kitchen sink, you will need to remove the old caulk, clean the area, and apply new caulk. This process is relatively simple and can be done with a few tools and materials that you can easily find at your local hardware store.How to Repair Caulk Around a Kitchen Sink


How to Repair Caulk Around a Kitchen Sink


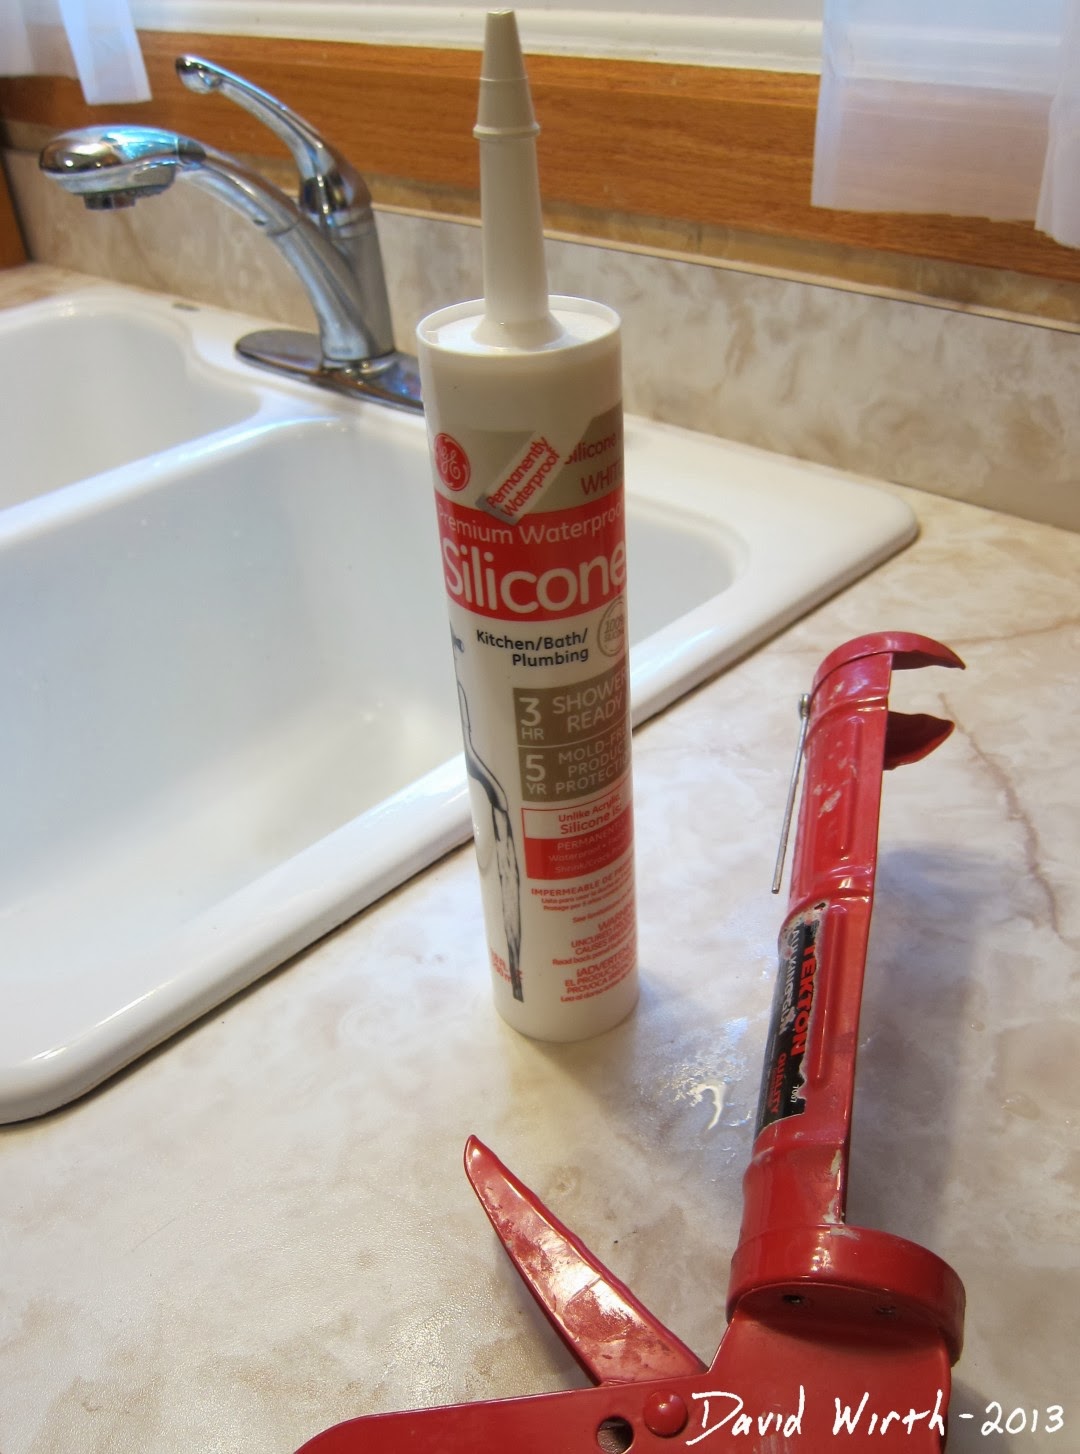
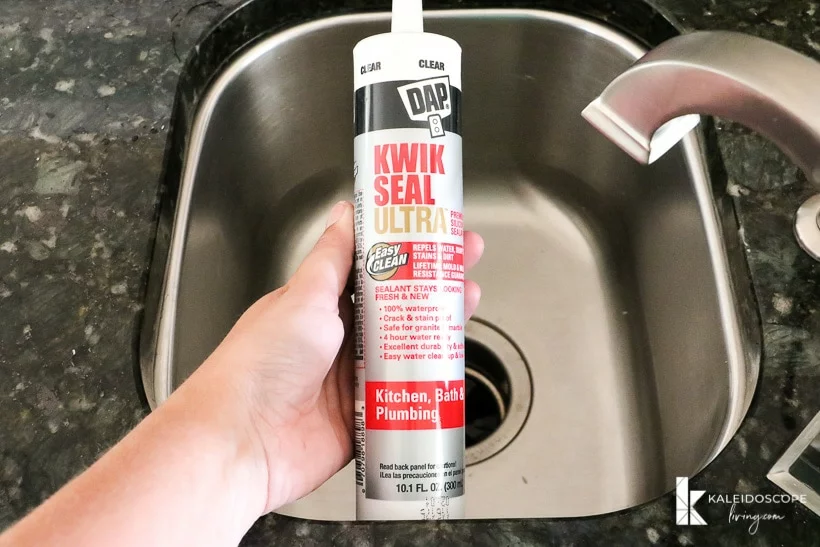
Choosing the right caulk for your kitchen sink repair is crucial to ensure a long-lasting and effective seal. Look for a caulk that is specifically designed for kitchen and bathroom use, as these areas are prone to moisture. Silicone and acrylic-based caulks are popular choices for kitchen sink repairs as they are waterproof and flexible, making them ideal for filling gaps and cracks.Best Caulk for Kitchen Sink Repair


Best Caulk for Kitchen Sink Repair


If you're a handy person, you may want to try repairing the caulk around your kitchen sink yourself. It's a relatively simple process that can save you money on hiring a professional. However, keep in mind that DIY repairs may not be as long-lasting as professional ones, and if done incorrectly, can cause more damage. Make sure to follow proper caulk removal and application techniques to ensure a successful repair.DIY Kitchen Sink Caulk Repair


DIY Kitchen Sink Caulk Repair


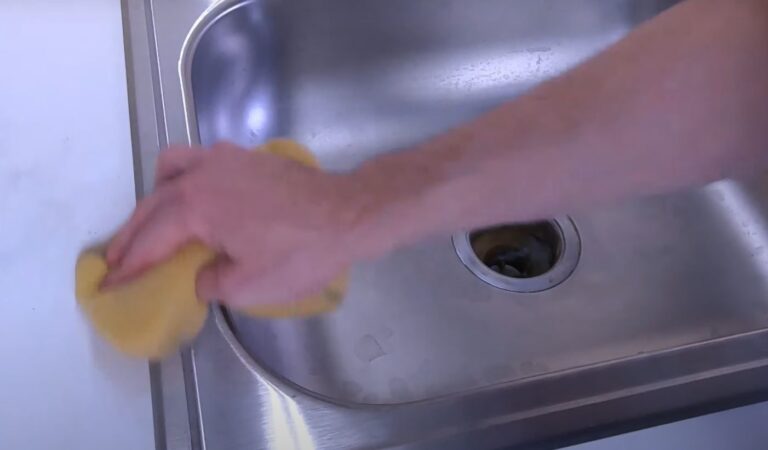
Repairing the caulk around your kitchen sink may seem like a daunting task, but with these tips, you can make the process easier and more effective. One essential tip is to thoroughly clean the area before applying new caulk. Any dirt, grime, or old caulk residue can prevent the new caulk from adhering properly. You can also use painter's tape to create a clean and straight line for a professional-looking finish.Kitchen Sink Caulk Repair Tips


Kitchen Sink Caulk Repair Tips


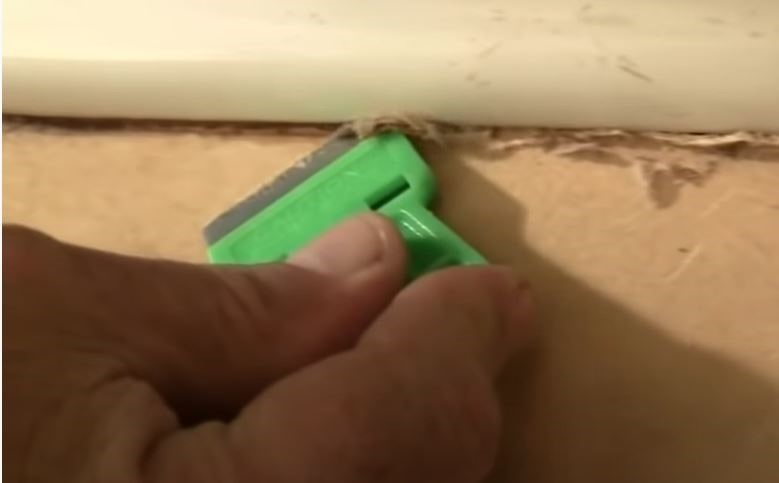
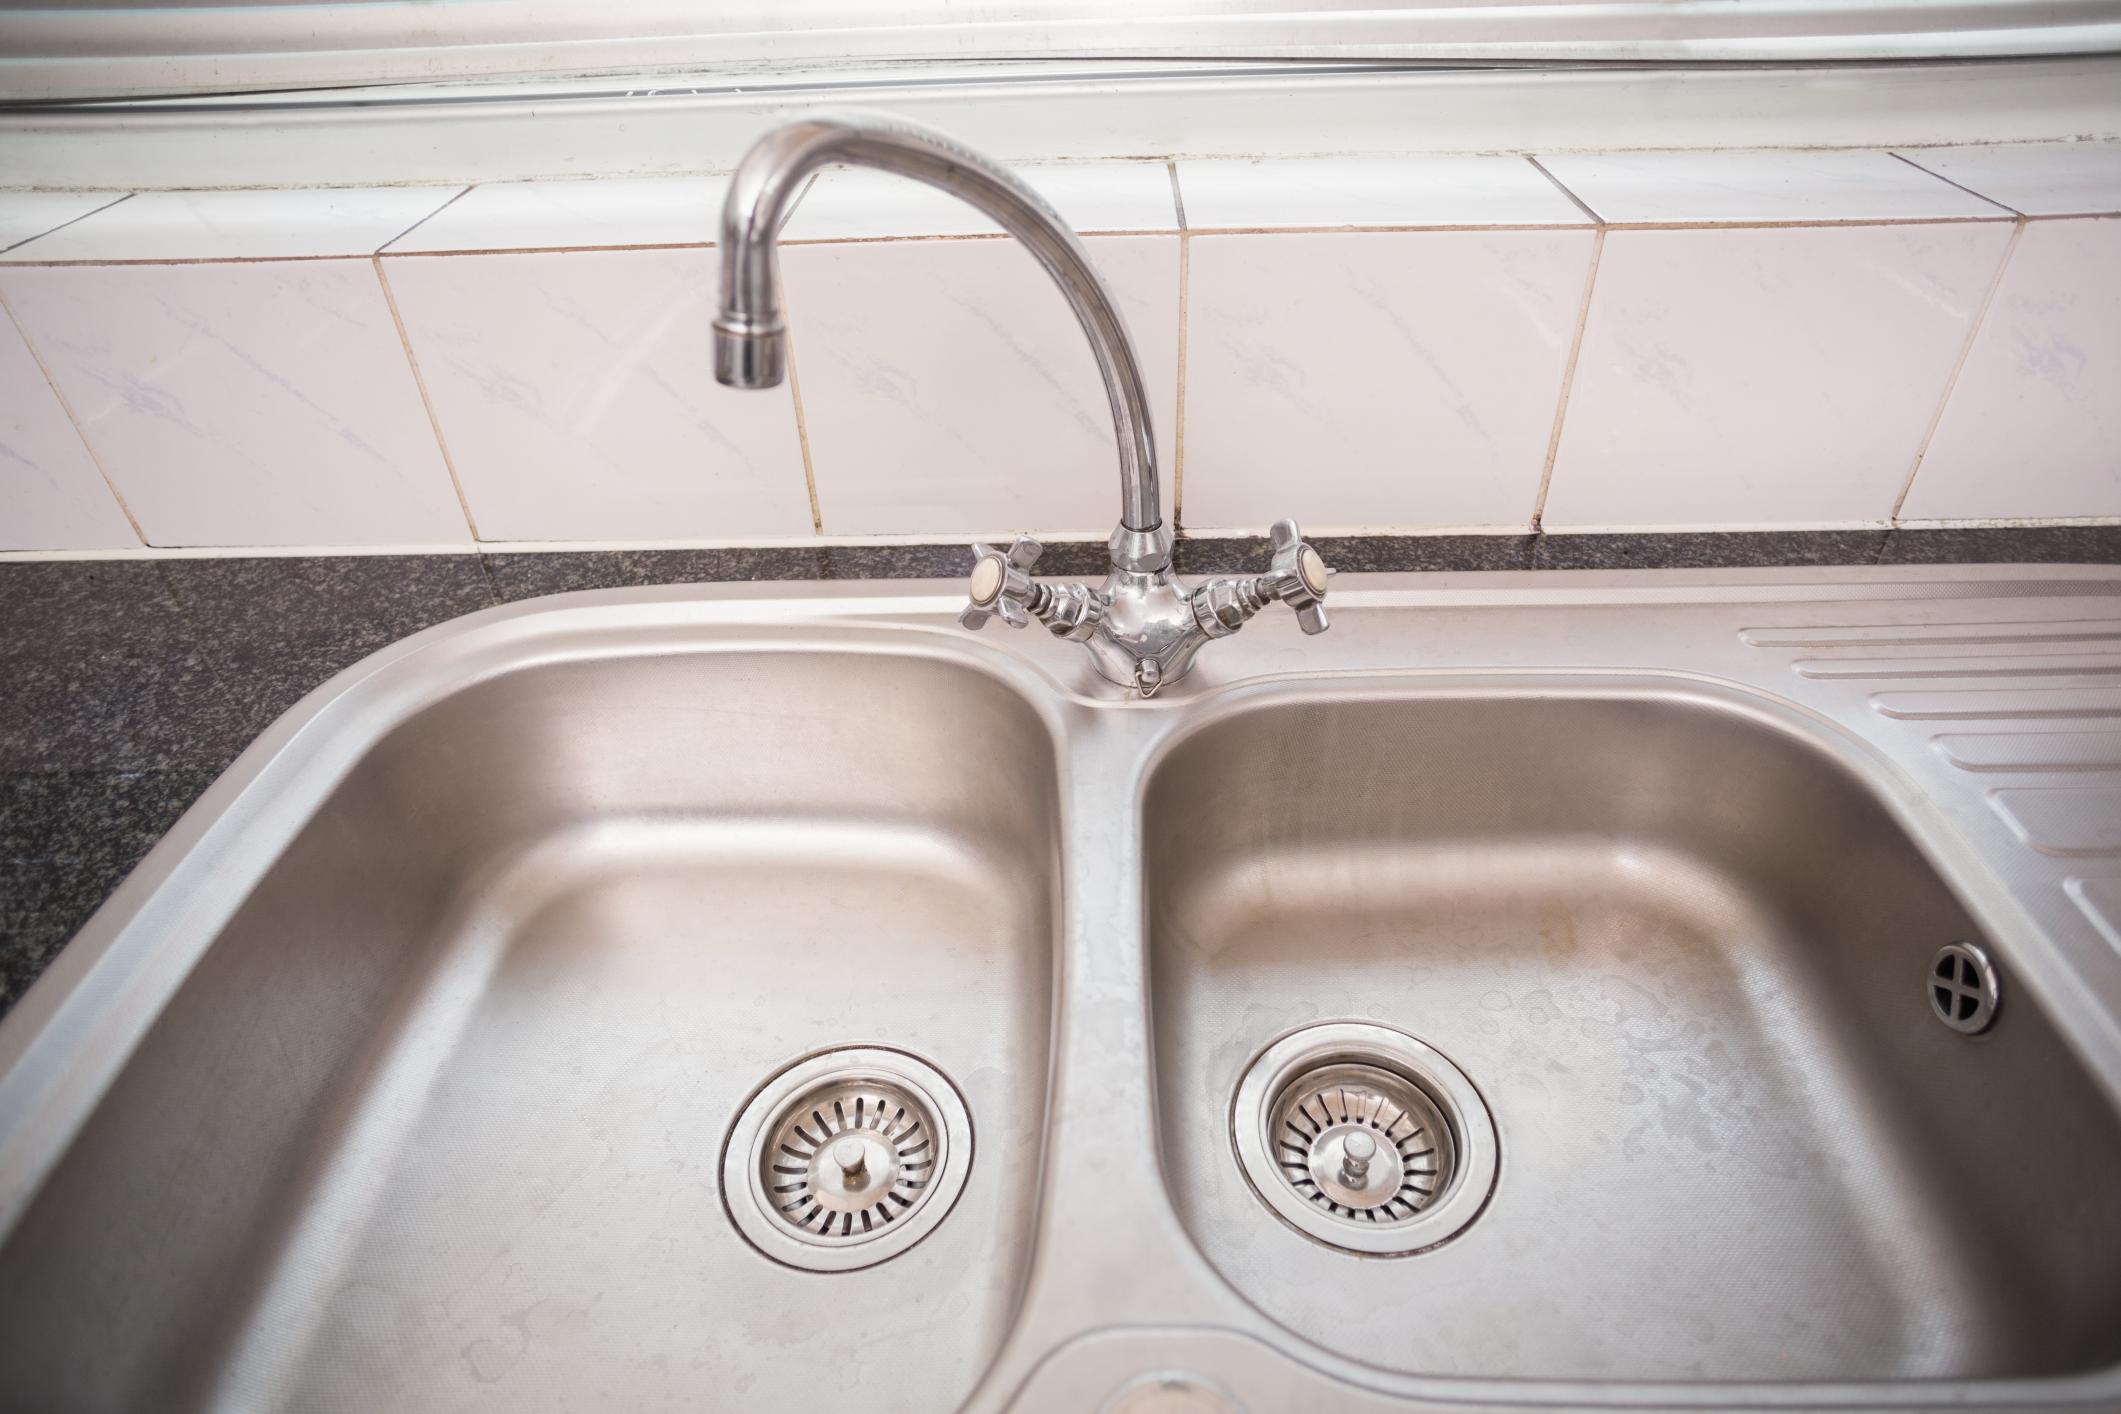
Before applying new caulk, you must remove any old caulk residue. Using a caulk removal tool or a razor blade, carefully scrape away the old caulk. Be careful not to damage the sink or countertop while doing this. Once all the old caulk is removed, clean the area with a solution of equal parts water and vinegar to remove any remaining residue.How to Remove Old Caulk from Kitchen Sink


How to Remove Old Caulk from Kitchen Sink


:max_bytes(150000):strip_icc()/how-to-remove-old-caulk-1824827-01-3d0370c59e124dbbaa6560c68bab111c.jpg)
When it comes to repairing caulk around your kitchen sink, there are several products that you may need. These include a caulk removal tool, a caulking gun, caulk, and a caulk smoothing tool. You may also need painter's tape, a razor blade, and a cleaning solution. These products are readily available at most hardware stores and are relatively inexpensive.Kitchen Sink Caulk Repair Products

Kitchen Sink Caulk Repair Products


To ensure a successful kitchen sink caulk repair, follow these step-by-step instructions:Step-by-Step Kitchen Sink Caulk Repair Guide


Step-by-Step Kitchen Sink Caulk Repair Guide


While repairing caulk around a kitchen sink may seem like a simple task, there are some common mistakes that you should avoid for a successful repair. These include not cleaning the area properly, using the wrong type of caulk, applying too much caulk, or not smoothing out the caulk properly. These mistakes can cause the caulk to not adhere properly, leading to a short-lived repair.Common Kitchen Sink Caulk Repair Mistakes to Avoid


Common Kitchen Sink Caulk Repair Mistakes to Avoid

If you're not confident in your DIY skills or want a more long-lasting and professional finish, it's best to hire a professional for your kitchen sink caulk repair. They have the expertise and tools to remove old caulk, clean the area, and apply new caulk properly. This will ensure a long-lasting and effective seal, saving you time and money in the long run. Now that you know how to caulk a kitchen sink and repair caulk around it, you can keep your kitchen looking clean and well-maintained. With proper maintenance and timely repairs, your kitchen sink will continue to be a functional and attractive part of your home for years to come.Professional Kitchen Sink Caulk Repair Services

Professional Kitchen Sink Caulk Repair Services


How to Repair Kitchen Sink Caulk Like a Pro

Caulking is an essential part of maintaining a functional and aesthetically pleasing kitchen. It not only seals gaps and prevents water damage, but also adds a polished look to your sink and countertop. However, over time, caulk can deteriorate and become cracked or discolored, making your kitchen look unkempt and uninviting. In this article, we will discuss how to repair kitchen sink caulk like a pro, giving your kitchen a fresh and clean update.
Gather Your Tools and Materials

Before starting the repair process, it's important to gather all the necessary tools and materials. You will need a caulk gun, caulk remover or razor blade, caulk smoothing tool, paper towels, and the appropriate type of caulk for your sink and countertop material. It's important to choose a high-quality caulk that is waterproof and mold-resistant to ensure long-lasting results.
Prepare the Area

Once you have your tools and materials ready, it's time to prepare the area for the repair. Start by cleaning the sink and countertop thoroughly with a mild cleaner and water. Use a sponge or cloth to remove any dirt, grime, or old caulk. Make sure to dry the area completely before moving on to the next step.
Remove Old Caulk

Using a caulk remover or razor blade, carefully remove the old caulk from the joint between the sink and countertop. Be gentle to avoid damaging the surface. Once all the old caulk is removed, use a damp cloth to wipe away any remaining residue. Let the area dry completely before proceeding.
Apply New Caulk

Now it's time to apply the new caulk. Load the caulk tube into the caulk gun and cut the tip at a 45-degree angle. Begin applying a thin, even bead of caulk along the joint, starting from one end and working your way to the other. Use the caulk smoothing tool to create a smooth and uniform finish. Wipe away any excess caulk with a damp cloth.
Let It Cure

Once you have applied the new caulk, allow it to cure according to the manufacturer's instructions. This typically takes 24 hours, during which time you should avoid using the sink or getting the caulk wet. This will ensure that the caulk sets properly and provides a strong seal.
Maintain Regular Caulk Checks

To keep your kitchen sink caulk in good condition, it's important to regularly check for any signs of wear or damage. If you notice any cracks or discoloration, simply follow the steps outlined above to repair and refresh the caulk. By staying on top of maintenance, you can prevent any major caulk issues from arising.
In conclusion, repairing kitchen sink caulk is a simple and cost-effective way to maintain the beauty and functionality of your kitchen. By following these steps and using high-quality caulk, you can achieve professional-looking results and keep your kitchen looking fresh for years to come.