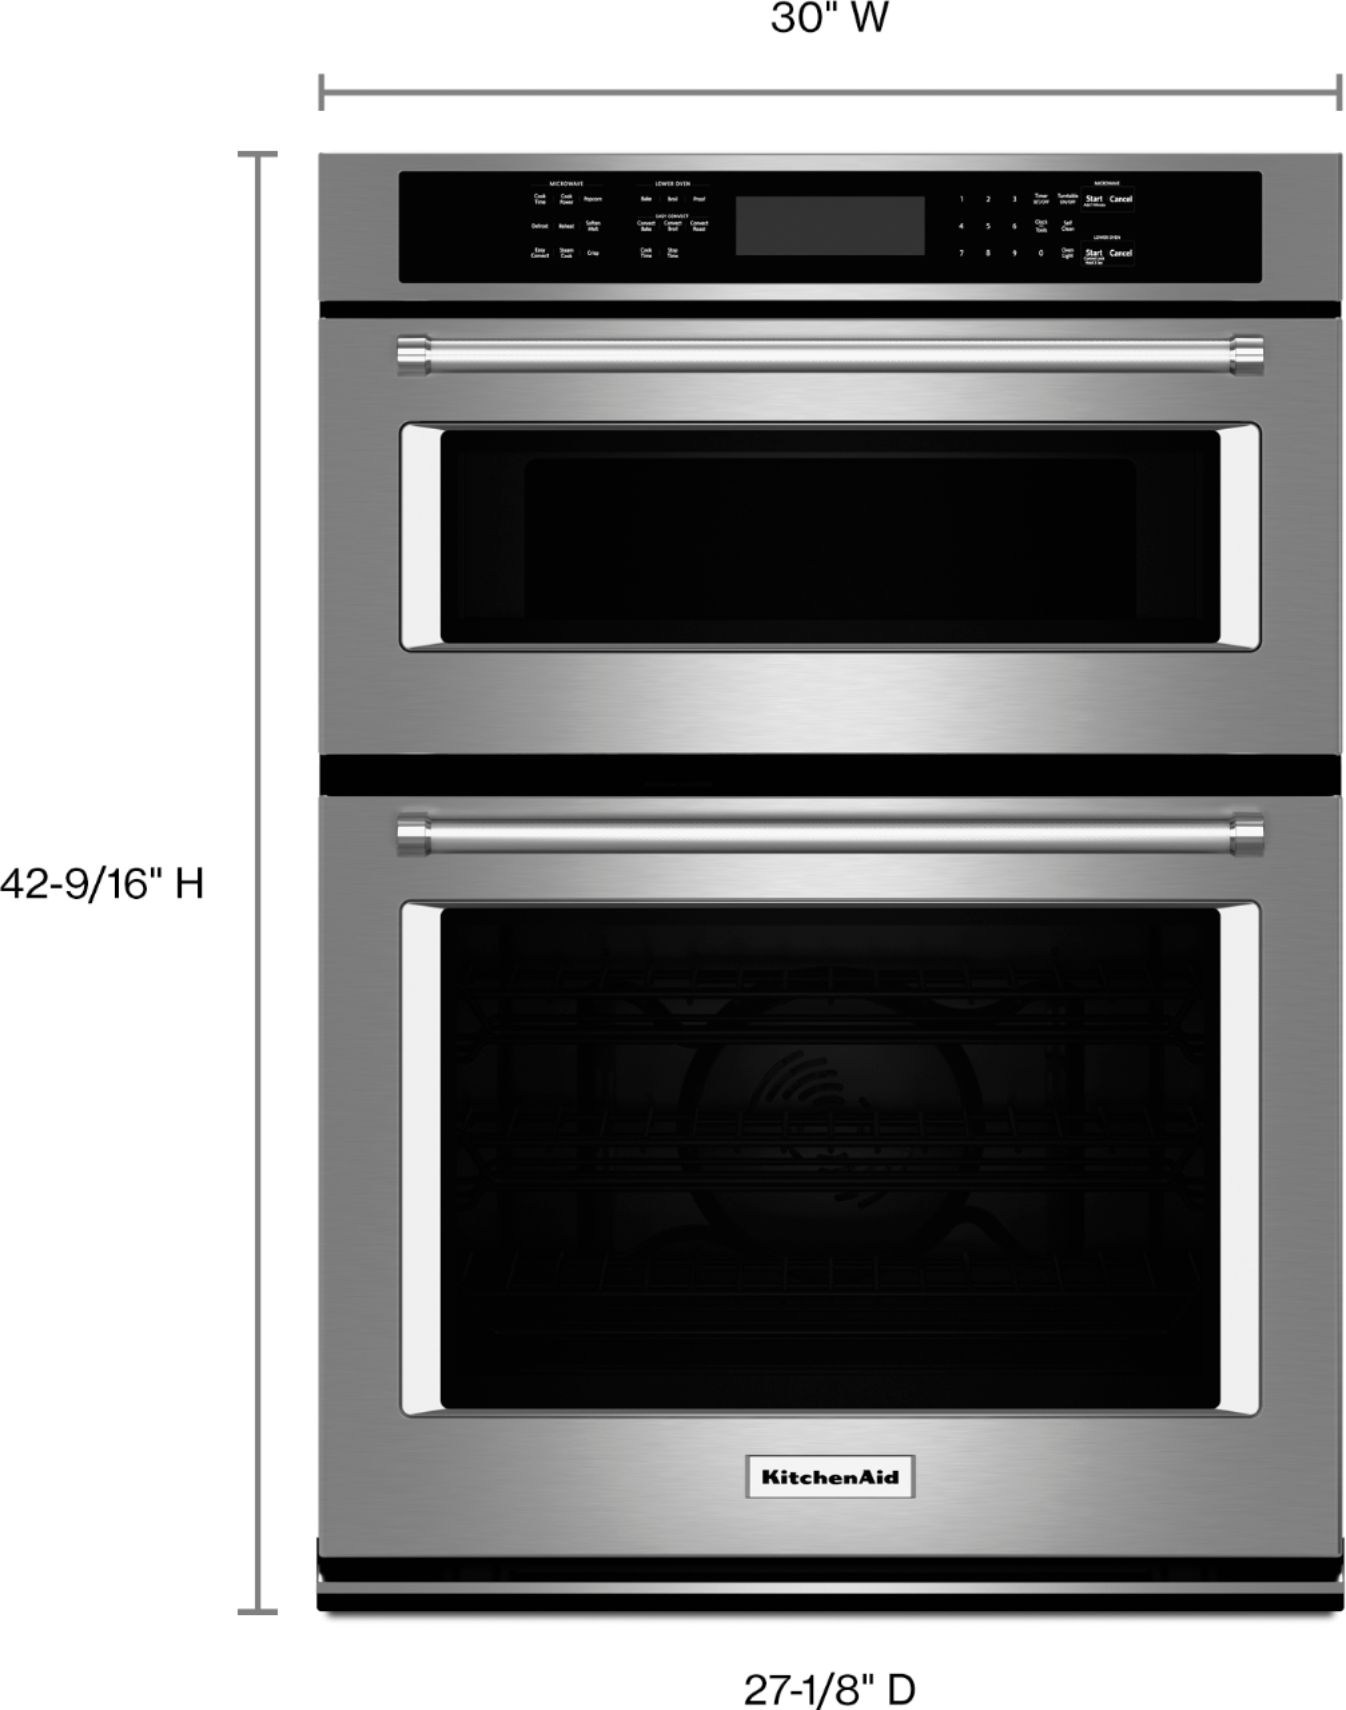
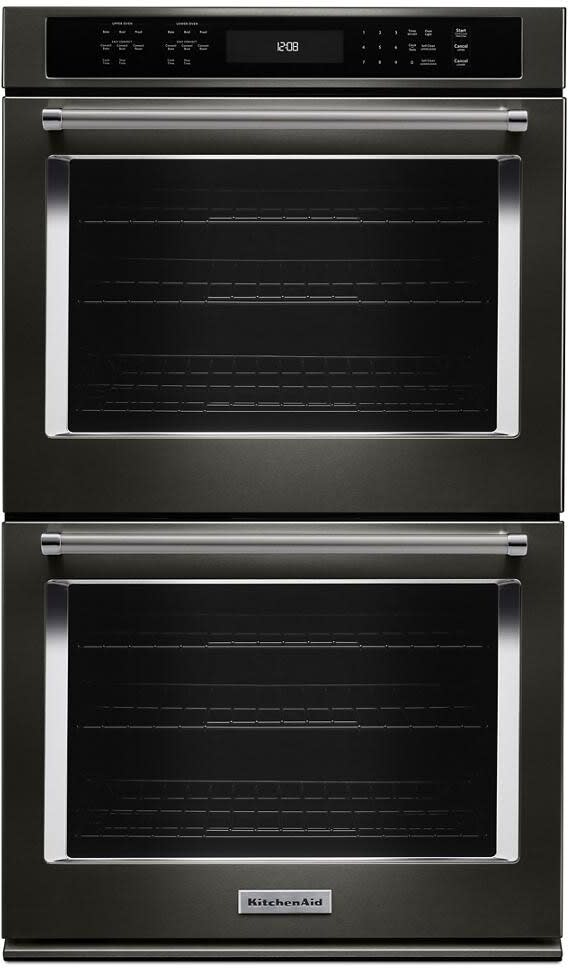
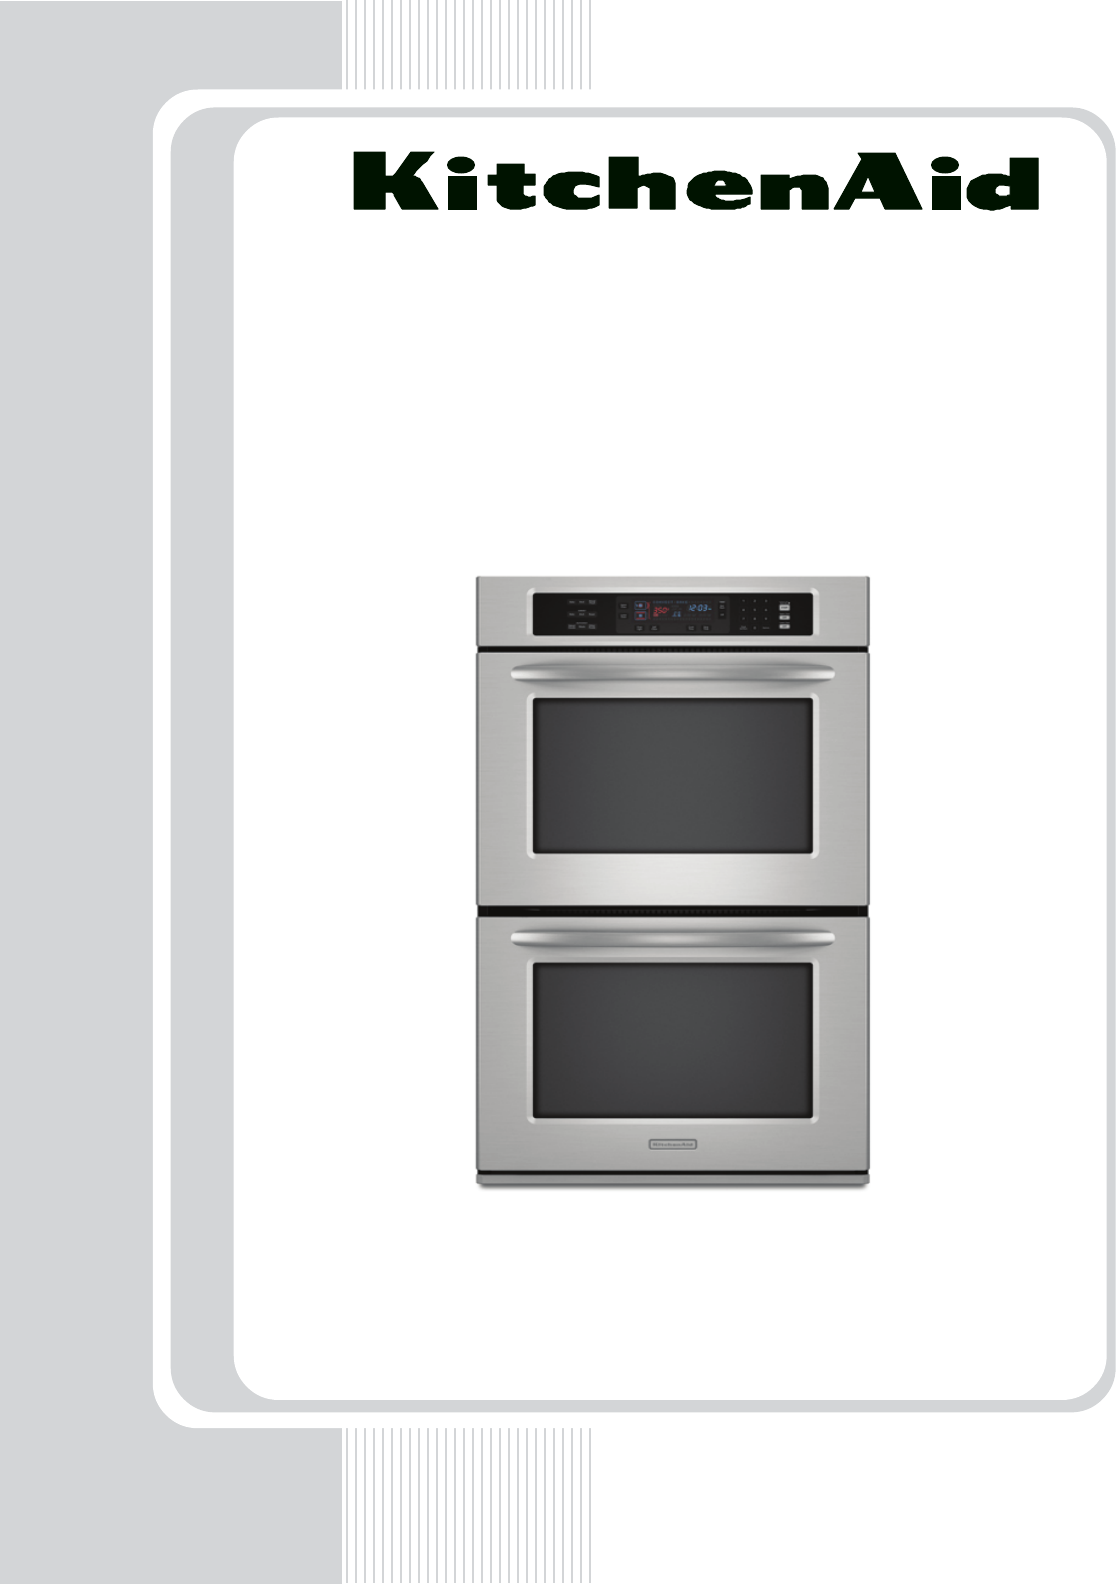
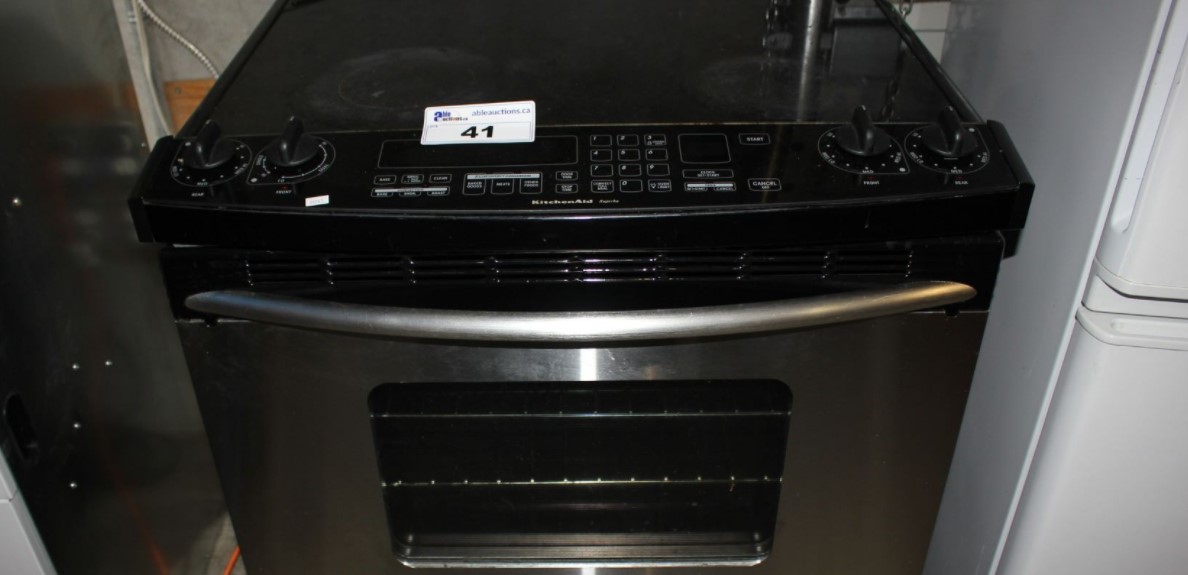
Using the probe on your KitchenAid wall oven can help you achieve perfectly cooked meats and other dishes every time. But if you're new to using this feature, you may be wondering how to use it correctly. Don't worry, we've got you covered with our step-by-step KitchenAid wall oven probe directions.KitchenAid Wall Oven Probe Directions


KitchenAid Wall Oven Probe Directions


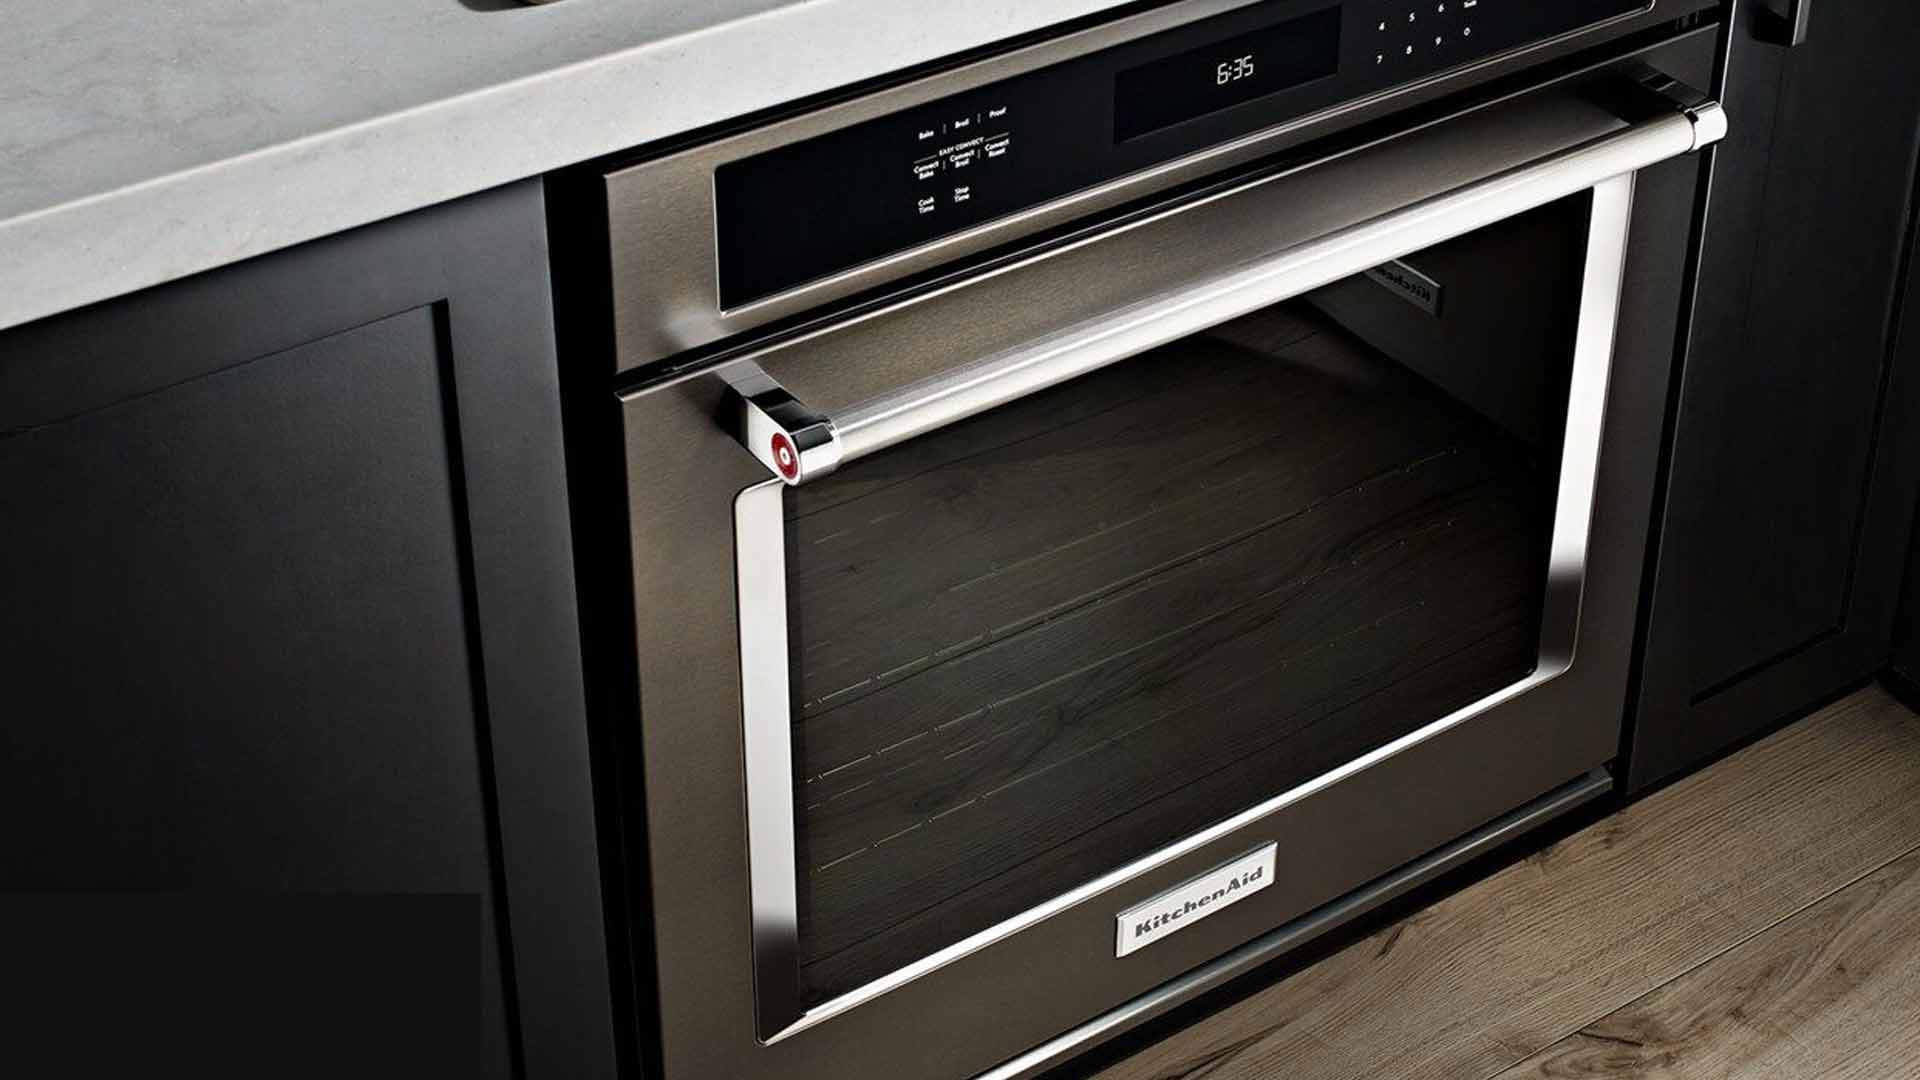
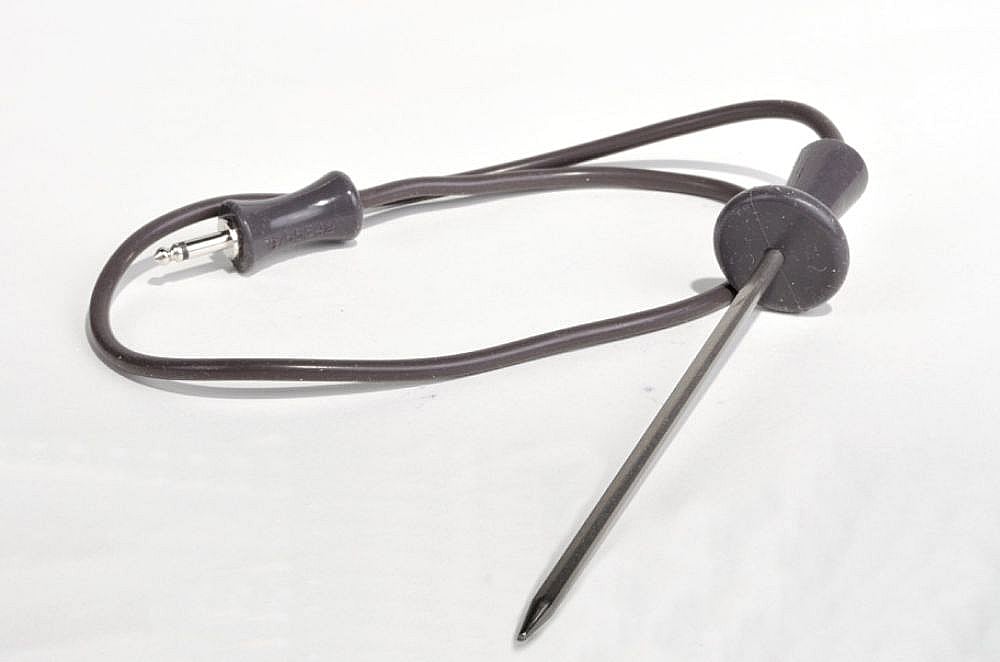
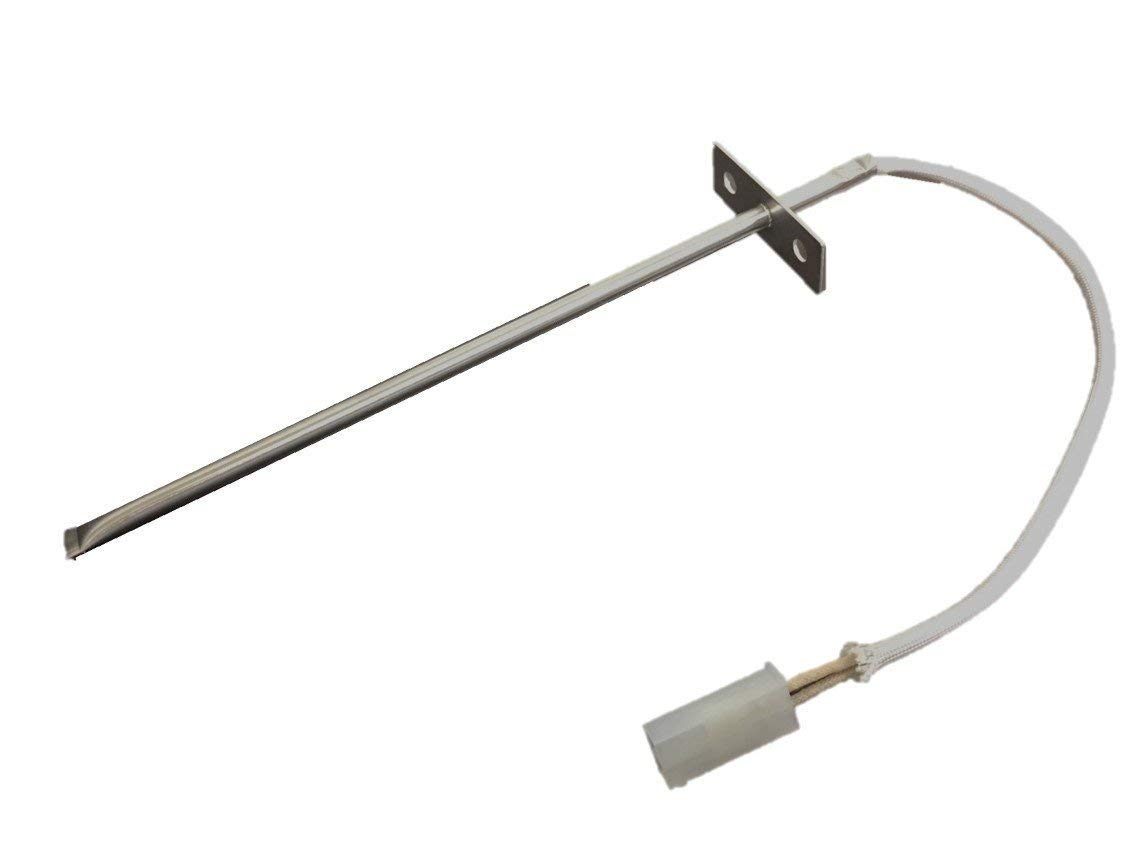
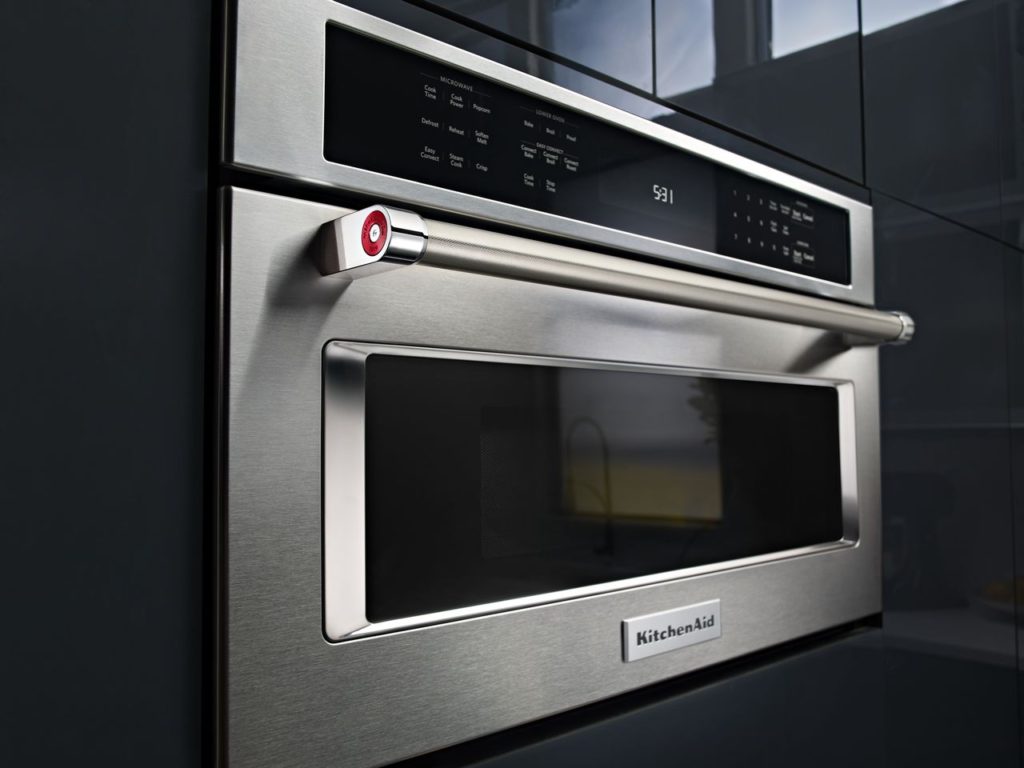
The first step to using the probe on your KitchenAid wall oven is to preheat the oven to the desired cooking temperature. While the oven is preheating, insert the probe into the thickest part of the meat, making sure it does not touch any bones or the baking dish. Once the oven has reached the desired temperature, place the dish with the probe into the oven. Next, set the desired internal temperature on the oven's control panel. This is the temperature you want the meat to reach before the oven automatically turns off. Make sure to use the arrows to adjust the temperature and press the "Start" button to begin cooking.How to Use the Probe on a KitchenAid Wall Oven


How to Use the Probe on a KitchenAid Wall Oven


If you're unsure of the exact steps to use the probe on your KitchenAid wall oven, you can refer to the instruction manual that came with your appliance. It will provide detailed instructions on how to properly insert and use the probe for different types of meats and dishes. It's important to follow these instructions carefully to ensure your food is cooked to perfection and to prevent any damage to the probe or oven.KitchenAid Wall Oven Probe Instructions
KitchenAid Wall Oven Probe Instructions


Every type of meat has a different recommended internal temperature for safe consumption. Here is a quick guide to help you determine the correct temperature for your specific dish: - Beef, lamb, and veal: 145°F for medium-rare, 160°F for medium, and 170°F for well-done - Pork: 145°F for medium-rare, 160°F for medium, and 170°F for well-done - Poultry: 165°F for all types - Fish and seafood: 145°F for all types It's essential to use a meat thermometer to ensure the meat has reached the correct temperature before serving.KitchenAid Wall Oven Probe Temperature Guide


KitchenAid Wall Oven Probe Temperature Guide


Cooking times can vary depending on the type and size of the meat you are cooking. Here are some general guidelines for cooking times using the probe on your KitchenAid wall oven: - Beef, lamb, and veal: 15-20 minutes per pound - Pork: 20-25 minutes per pound - Poultry: 18-22 minutes per pound - Fish and seafood: 10 minutes per inch of thickness It's always best to consult a recipe or the instruction manual for more specific cooking times for your chosen dish.KitchenAid Wall Oven Probe Cooking Times

KitchenAid Wall Oven Probe Cooking Times

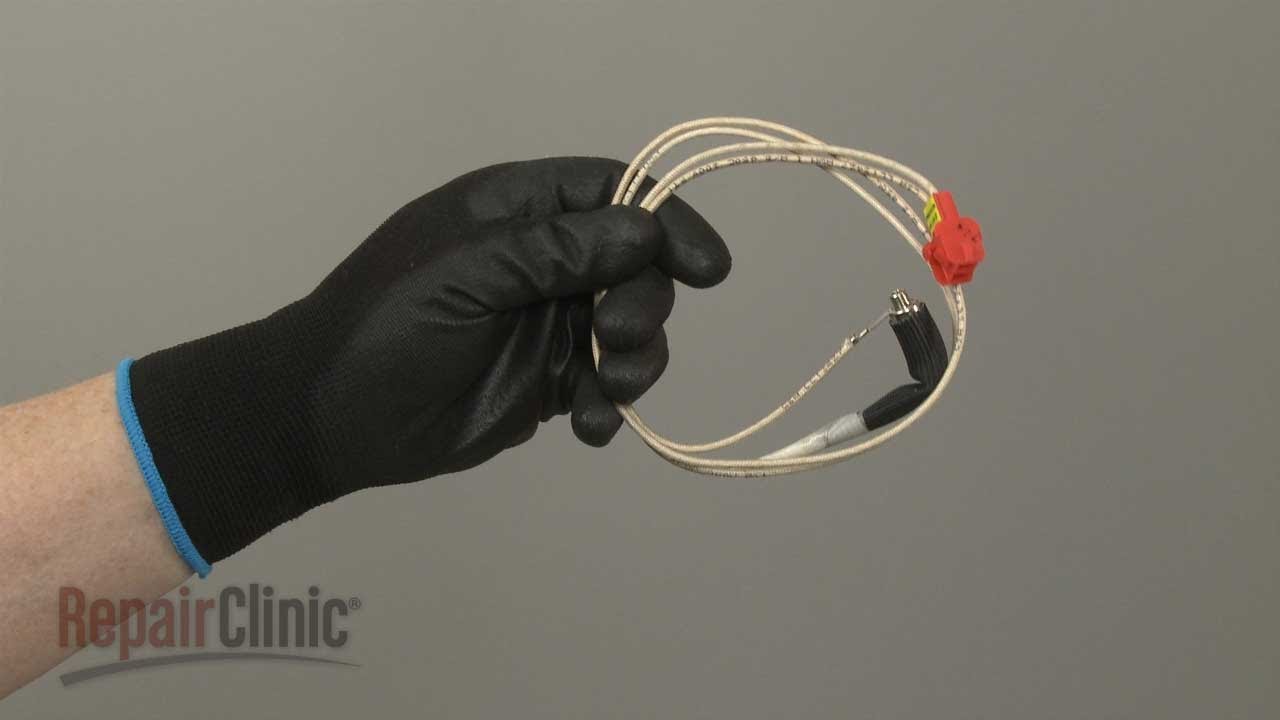
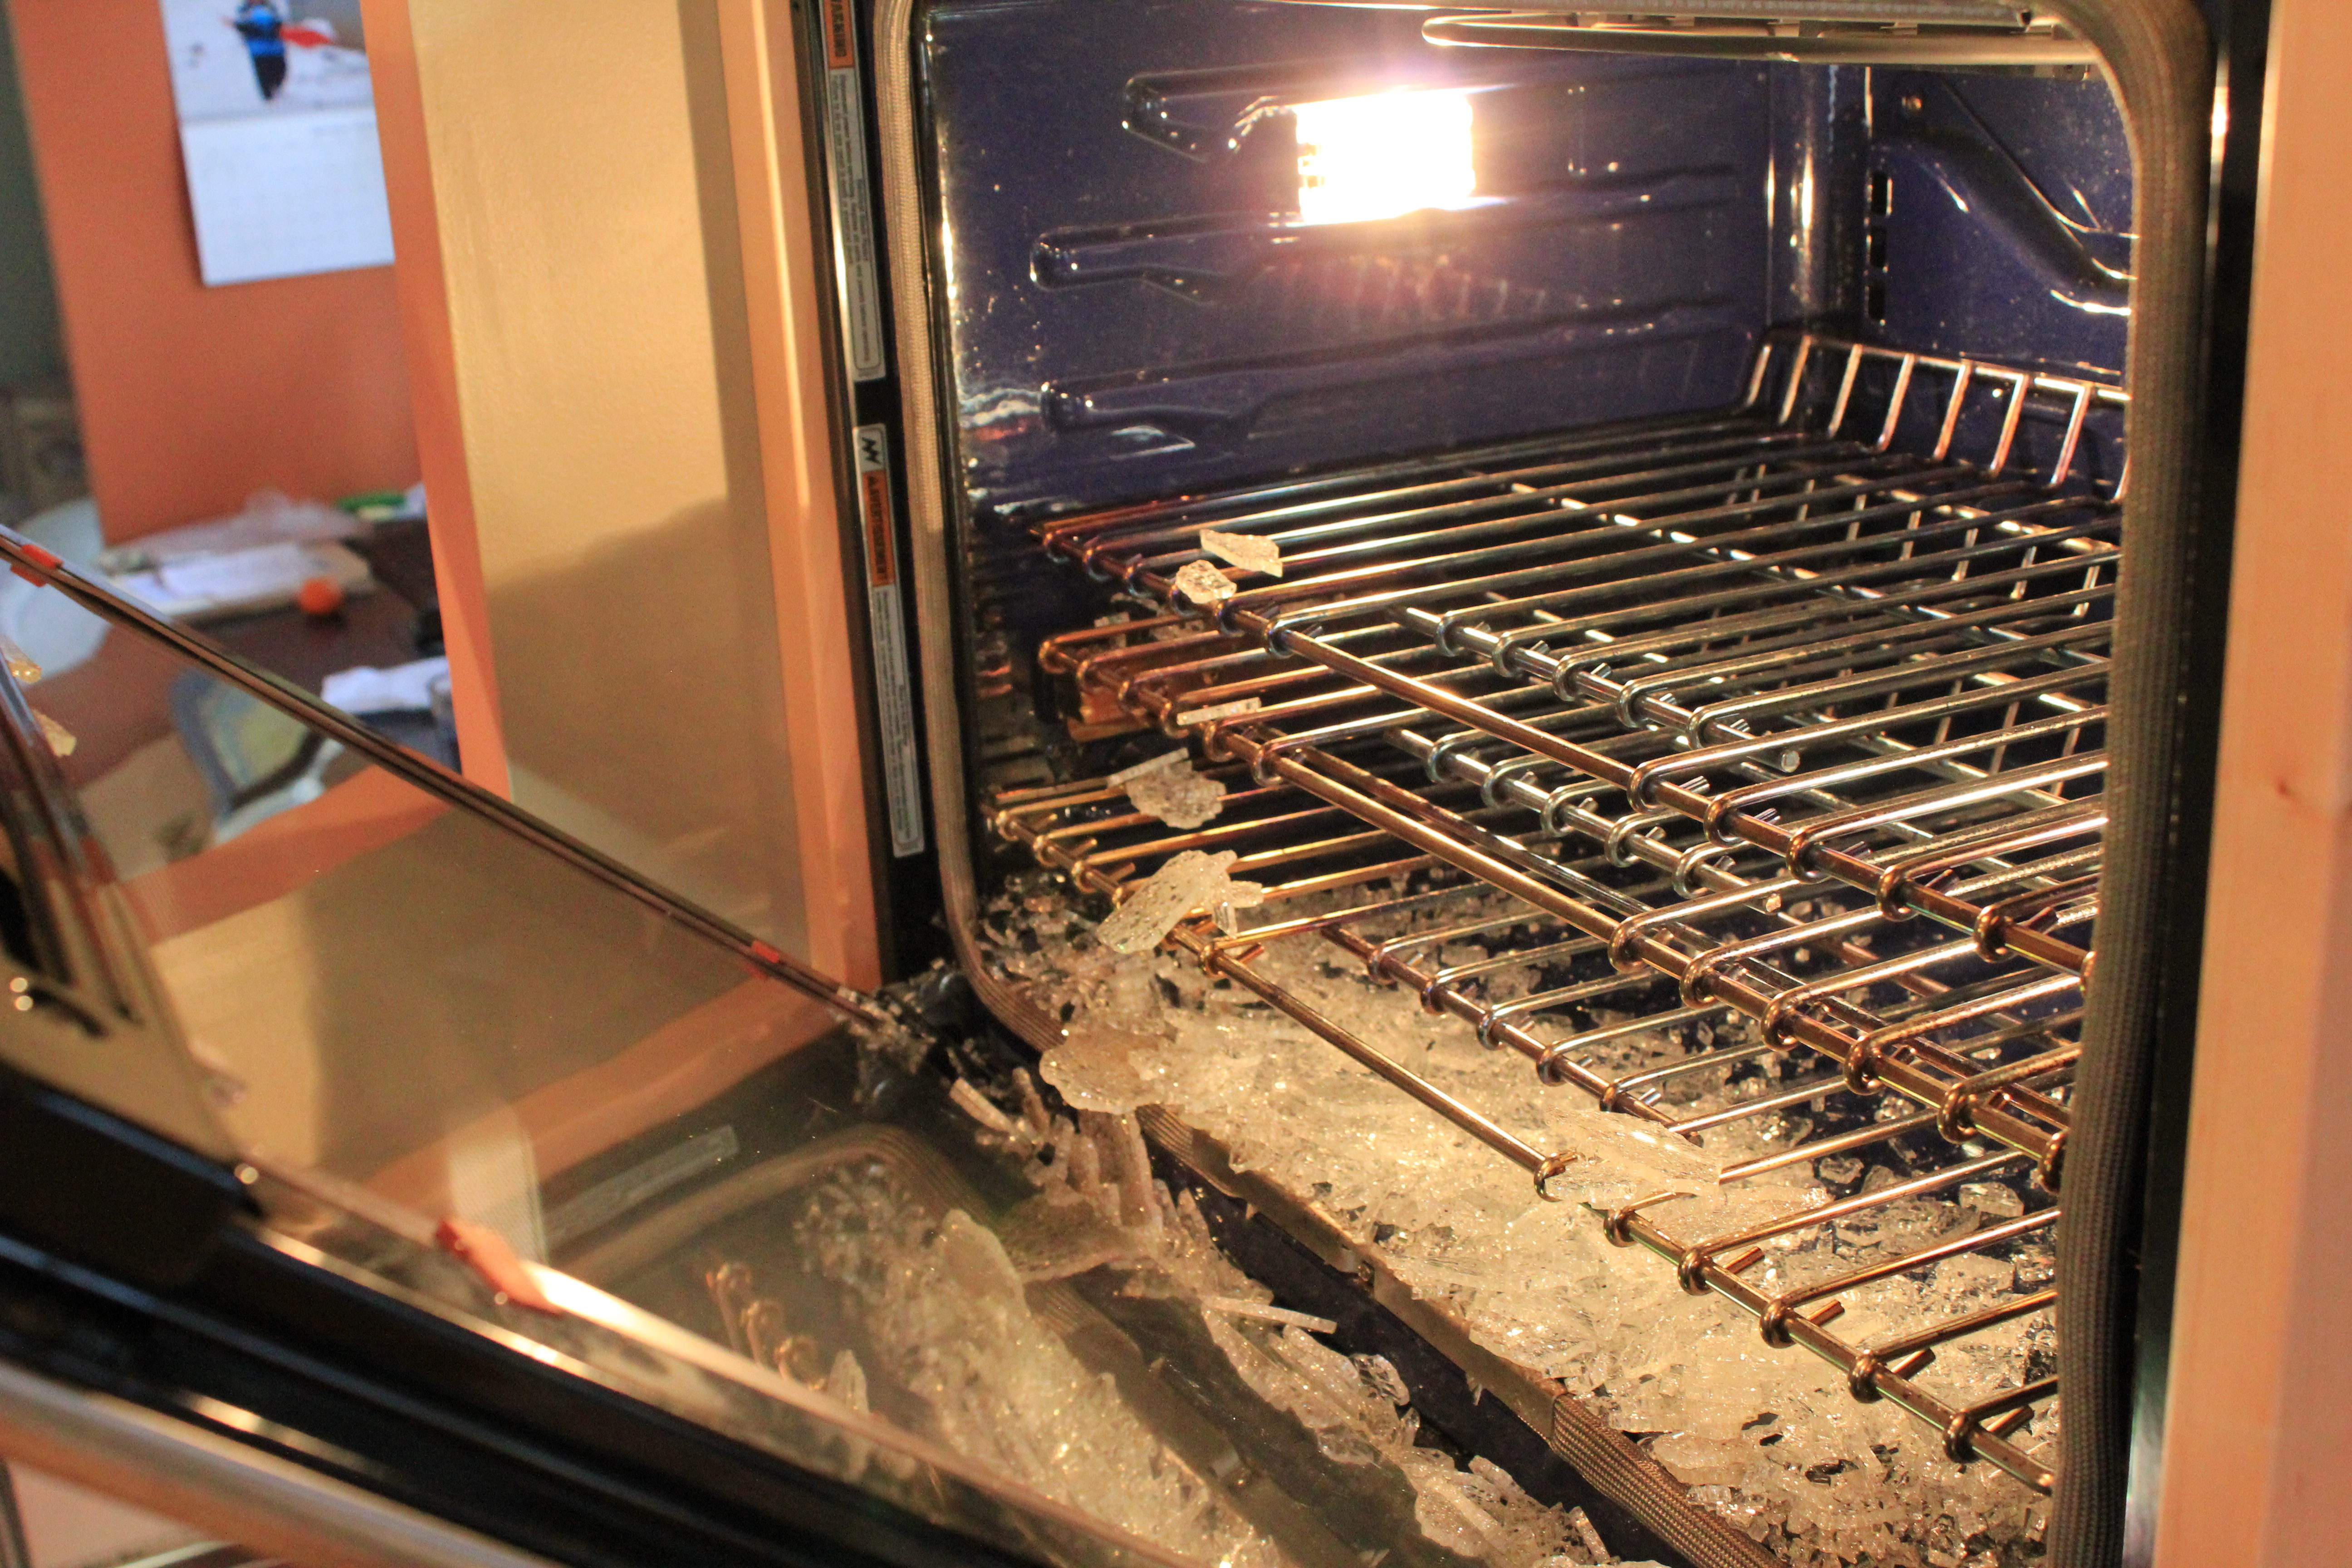
If you encounter any issues with your KitchenAid wall oven probe not working, there are a few things you can try to troubleshoot the problem. First, make sure the probe is properly inserted into the meat and that the oven is accurately preheated before placing the dish inside. If the probe still isn't working, you may need to replace it. You can purchase a replacement probe from the KitchenAid website or contact their customer service for further assistance.KitchenAid Wall Oven Probe Not Working


KitchenAid Wall Oven Probe Not Working


If you need to replace your KitchenAid wall oven probe, you can easily do so by purchasing a new one from the KitchenAid website or an authorized retailer. Make sure to check the model number of your oven to ensure you purchase the correct probe for your specific appliance. Follow the instructions in the manual to properly insert the new probe, and you'll be back to using this handy feature in no time.KitchenAid Wall Oven Probe Replacement

KitchenAid Wall Oven Probe Replacement
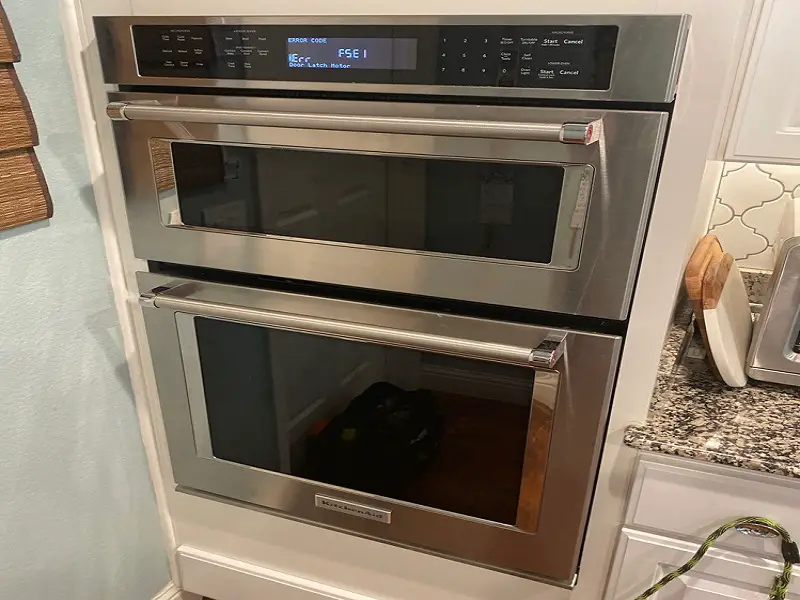
If you encounter an error code when using the probe on your KitchenAid wall oven, it's essential to consult the instruction manual to determine the meaning of the code. Some common error codes include "ERR1" for a probe error and "ERR2" for a temperature error. If you continue to receive error codes, it's best to contact KitchenAid's customer service for assistance. They may be able to provide a solution or send a technician to repair the issue.KitchenAid Wall Oven Probe Error Codes
KitchenAid Wall Oven Probe Error Codes


If you find that your probe's temperature readings are not accurate, you may need to calibrate it. This can be done by following the instructions in the manual or contacting customer service for assistance. It's important to regularly calibrate your probe to ensure it is providing accurate temperature readings and to prevent overcooking or undercooking your food.KitchenAid Wall Oven Probe Calibration
KitchenAid Wall Oven Probe Calibration

If you're experiencing any issues with your KitchenAid wall oven probe, here are a few troubleshooting tips: - Make sure the probe is properly inserted into the meat and the oven is accurately preheated. - Check for any error codes and consult the manual for solutions. - Consider calibrating the probe to ensure accurate temperature readings. - If all else fails, contact KitchenAid's customer service for assistance. With these KitchenAid wall oven probe directions and tips, you'll be using this feature like a pro in no time. Happy cooking! KitchenAid Wall Oven Probe Troubleshooting

KitchenAid Wall Oven Probe Troubleshooting
Efficiently Monitor Your Cooking with Kitchen Aid Wall Oven Probe Directions

Get Perfectly Cooked Meals Every Time
 Cooking can be a time-consuming and complex task, especially when it comes to monitoring the internal temperature of your dish. With a traditional oven, it's easy to overcook or undercook your food, resulting in a less than ideal dining experience. This is where a Kitchen Aid wall oven with a probe comes in handy. This innovative feature allows you to monitor the internal temperature of your food without constantly opening the oven door, ensuring perfectly cooked meals every time.
Step-by-Step Directions for Using the Probe Feature
 Using the probe feature on your Kitchen Aid wall oven is simple and straightforward. Follow these easy steps to get the most out of this convenient tool:
Step 1: Preheat Your Oven
Before inserting the probe into your food, make sure to preheat your oven to the desired temperature. This is important to ensure accurate readings from the probe.
Step 2: Insert the Probe
Insert the probe into the thickest part of your food, making sure to avoid any bones or large pieces of fat. The probe should be inserted at least two inches into the food for accurate readings.
Step 3: Set the Desired Temperature
Using the oven's control panel, set the desired temperature for your dish. The oven will automatically shut off once the internal temperature of the food reaches the set temperature.
Step 4: Monitor the Progress
As your food cooks, you can monitor the internal temperature on the control panel of your oven. This allows you to keep a close eye on the progress of your dish without having to open the oven door.
Using the probe feature on your Kitchen Aid wall oven is simple and straightforward. Follow these easy steps to get the most out of this convenient tool:
Step 1: Preheat Your Oven
Before inserting the probe into your food, make sure to preheat your oven to the desired temperature. This is important to ensure accurate readings from the probe.
Step 2: Insert the Probe
Insert the probe into the thickest part of your food, making sure to avoid any bones or large pieces of fat. The probe should be inserted at least two inches into the food for accurate readings.
Step 3: Set the Desired Temperature
Using the oven's control panel, set the desired temperature for your dish. The oven will automatically shut off once the internal temperature of the food reaches the set temperature.
Step 4: Monitor the Progress
As your food cooks, you can monitor the internal temperature on the control panel of your oven. This allows you to keep a close eye on the progress of your dish without having to open the oven door.
Benefits of Using the Probe Feature
 The probe feature on your Kitchen Aid wall oven offers numerous benefits, including:
1. Time-Saving
The probe feature eliminates the need for constant checking and poking of your food, saving you time and effort in the kitchen.
2. Consistency
By monitoring the internal temperature of your food, you can ensure that each dish is cooked to perfection, resulting in consistent and delicious meals every time.
3. Versatility
The probe feature is not limited to just meat dishes. You can also use it to monitor the temperature of baked goods such as cakes and bread, ensuring they are cooked to perfection.
The probe feature on your Kitchen Aid wall oven offers numerous benefits, including:
1. Time-Saving
The probe feature eliminates the need for constant checking and poking of your food, saving you time and effort in the kitchen.
2. Consistency
By monitoring the internal temperature of your food, you can ensure that each dish is cooked to perfection, resulting in consistent and delicious meals every time.
3. Versatility
The probe feature is not limited to just meat dishes. You can also use it to monitor the temperature of baked goods such as cakes and bread, ensuring they are cooked to perfection.
Upgrade Your Cooking Experience with a Kitchen Aid Wall Oven
 Investing in a Kitchen Aid wall oven with a probe feature can greatly enhance your cooking experience. Not only does it save you time and effort, but it also ensures perfectly cooked meals every time. So why settle for a traditional oven when you can have the convenience and precision of a Kitchen Aid wall oven with a probe? Upgrade your kitchen today and take your cooking skills to the next level.