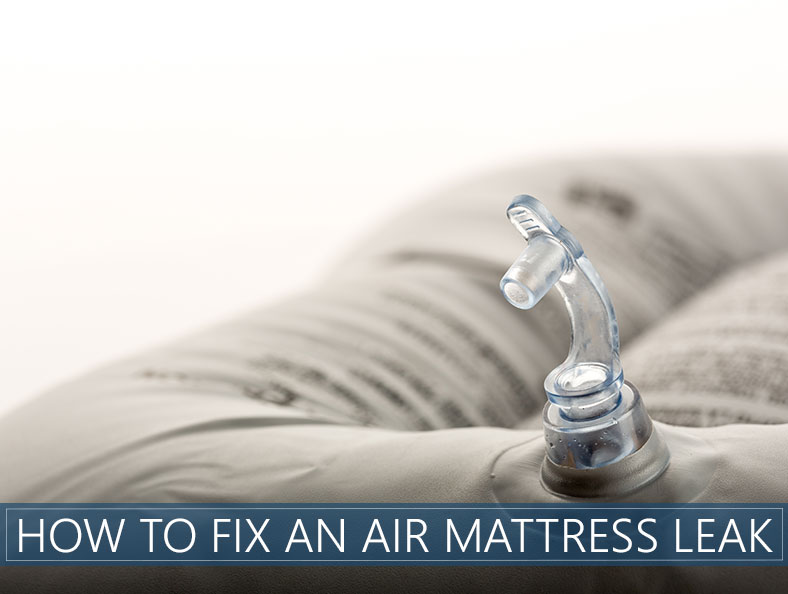
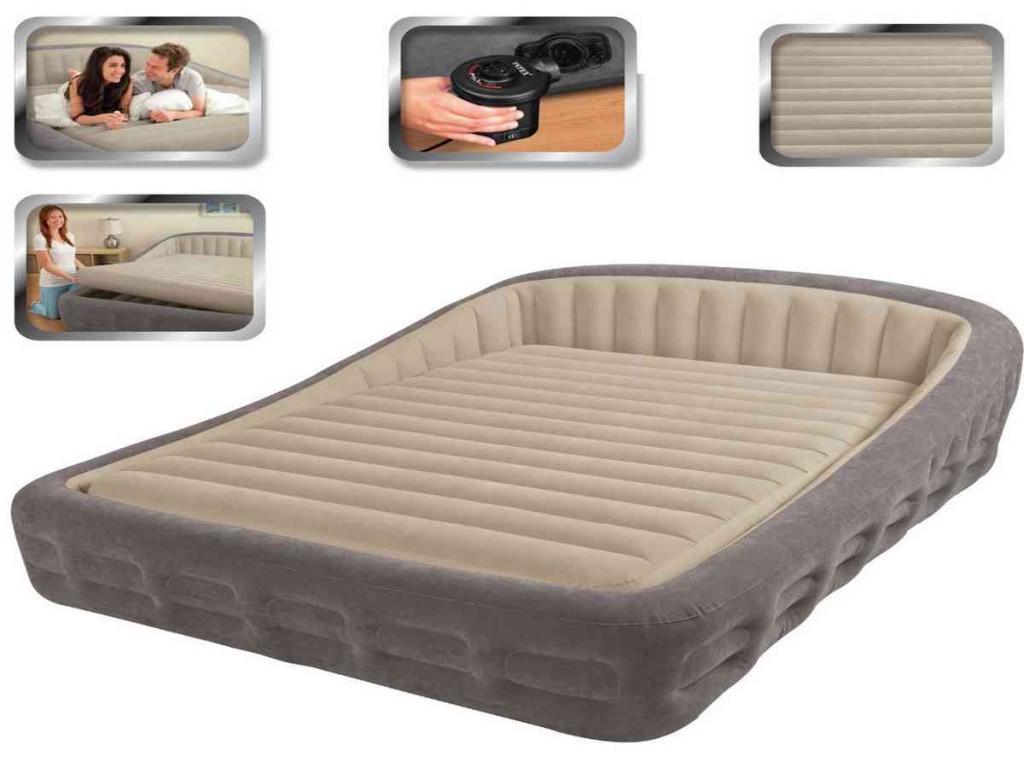
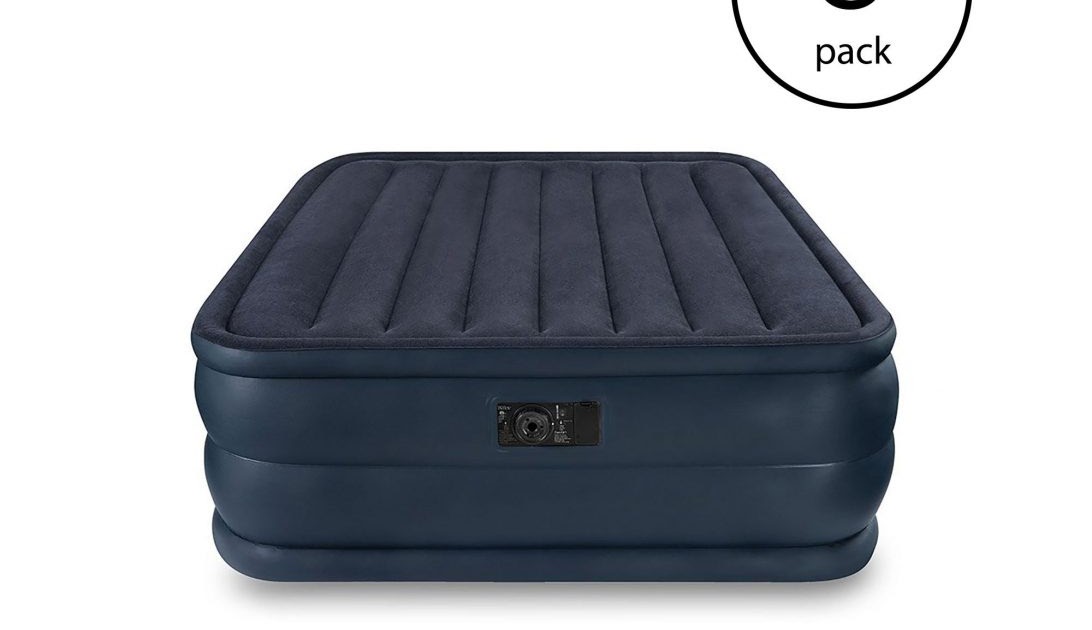
Air mattresses are a convenient and comfortable option for sleeping, whether you're camping, hosting guests, or need an extra bed for your home. However, like any other inflatable product, they are vulnerable to leaks and tears that can disrupt your sleep and deflate your plans. Fortunately, repairing an Intex air mattress is a simple process that anyone can do with the right tools and instructions. In this article, we'll walk you through the steps to find a leak, patch it up, and ensure your mattress stays inflated for a good night's rest.Intex Air Mattress Repair: How to Find a Leak and Patch It Up


Intex Air Mattress Repair: How to Find a Leak and Patch It Up


The first step in repairing your Intex air mattress is to locate the source of the leak. This can be done by first inflating the mattress and then using a spray bottle filled with a mixture of soap and water to spray over the surface. Look for any bubbles forming on the surface, as this indicates a leak. Once you have identified the leak, mark it with a pen or tape so you can easily find it again.How to Patch a Leak in an Intex Air Mattress


How to Patch a Leak in an Intex Air Mattress


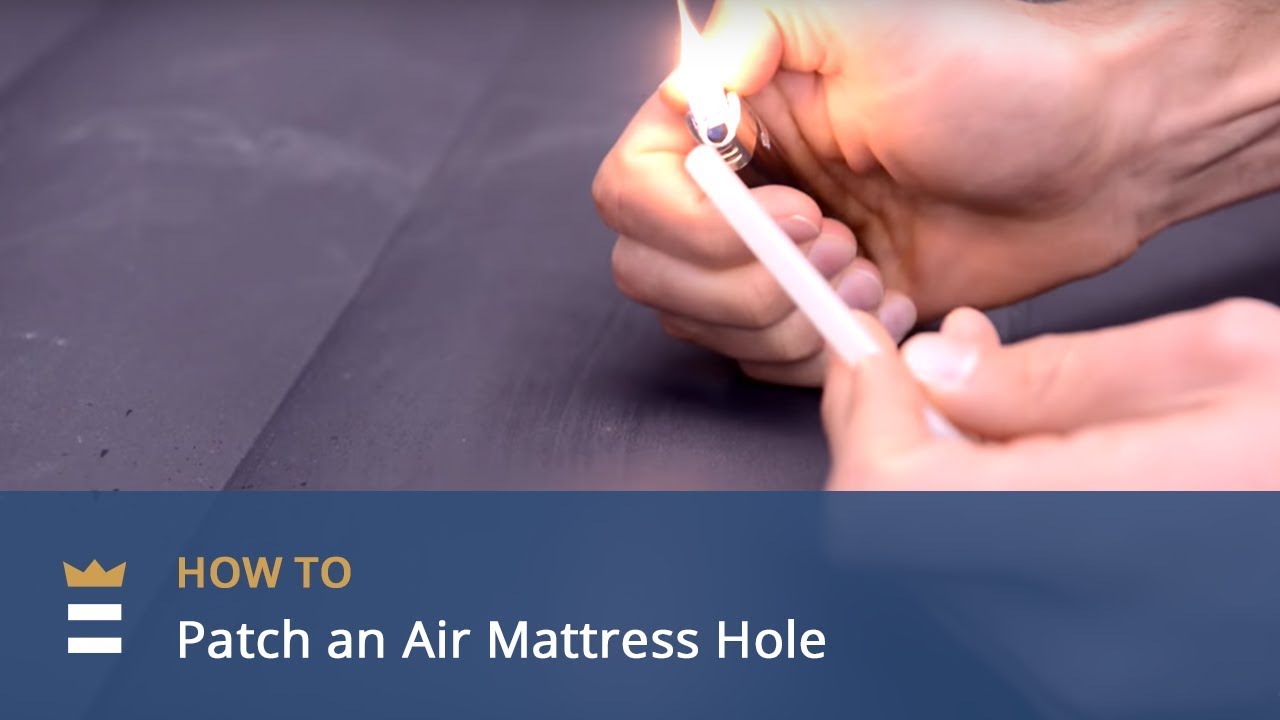
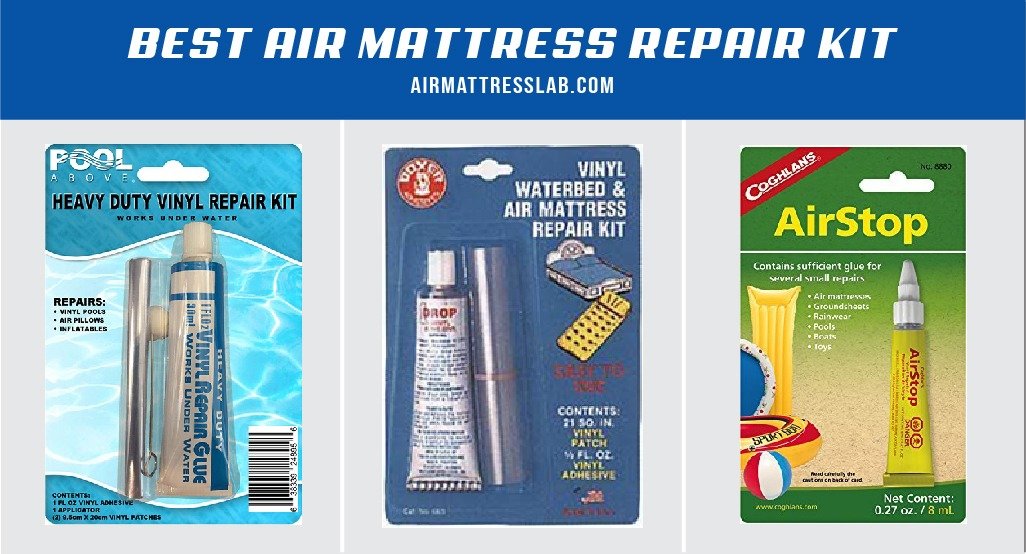
If your air mattress has a hole, the best way to patch it up is by using a patch kit specifically designed for inflatable products. These kits can be found at most stores that sell camping or outdoor equipment, or you can purchase them online. The kit will typically include a patch, glue, and instructions on how to use them. Follow the instructions carefully to ensure a successful repair.Intex Air Mattress Repair: How to Patch a Hole

Intex Air Mattress Repair: How to Patch a Hole


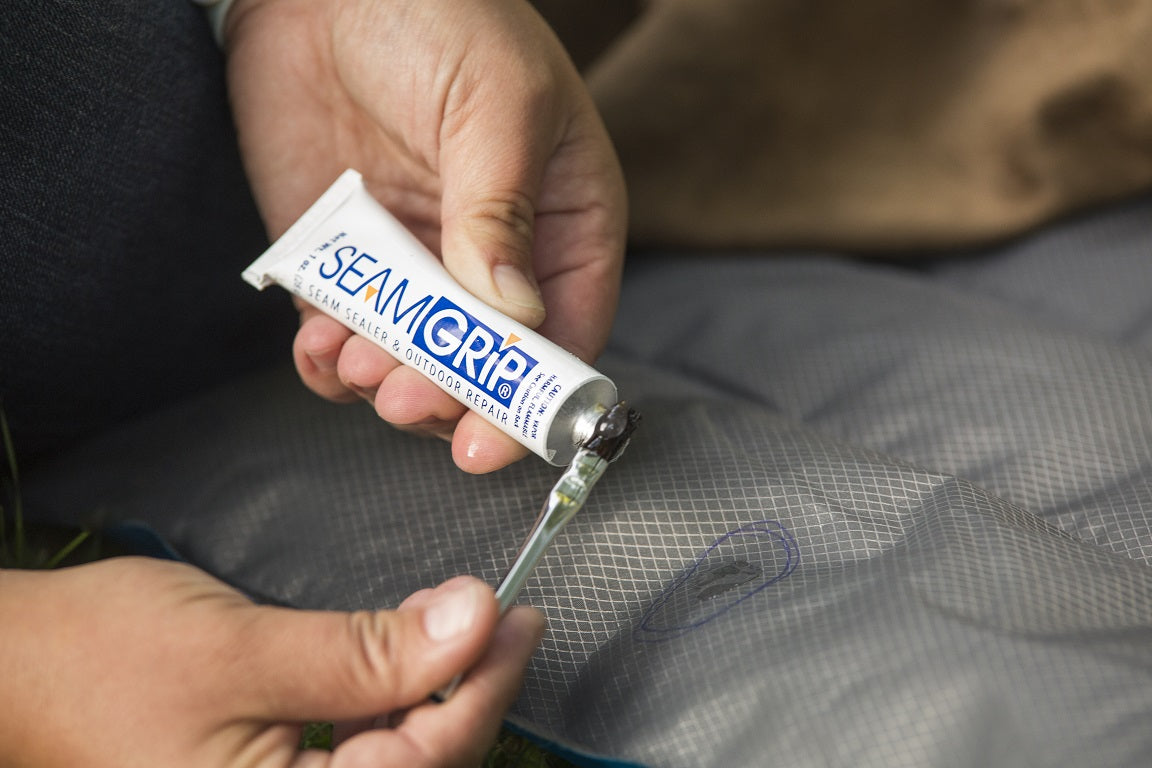
If your air mattress has a tear, the process is similar to patching a hole. However, it may require a bit more care and precision. Start by cleaning the tear with rubbing alcohol and letting it dry completely. Then, apply a generous layer of glue to both sides of the tear and let it sit for a few minutes. Once the glue is tacky, carefully press the two sides together and hold them in place for a few minutes. Allow the glue to dry completely before inflating the mattress.Intex Air Mattress Repair: How to Patch a Tear

Intex Air Mattress Repair: How to Patch a Tear


For a more detailed explanation of the repair process, follow these step-by-step instructions: Step 1: Inflate the mattress and locate the leak using the soap and water method mentioned earlier. Step 2: Clean the area around the leak with rubbing alcohol and let it dry. Step 3: Cut a patch from the repair kit that is slightly larger than the leak. Step 4: Apply a thin layer of glue around the leak and on the back of the patch. Step 5: Place the patch over the leak and press down firmly, removing any air bubbles. Step 6: Hold the patch in place for a few minutes until the glue sets. Step 7: Allow the glue to dry completely before inflating the mattress.Intex Air Mattress Repair: Step-by-Step Instructions


Intex Air Mattress Repair: Step-by-Step Instructions


If you're using a repair kit to patch your Intex air mattress, follow these specific instructions: Step 1: Clean the area around the leak with rubbing alcohol and let it dry. Step 2: Cut a patch from the repair kit that is slightly larger than the leak. Step 3: Apply a thin layer of glue around the leak and on the back of the patch. Step 4: Place the patch over the leak and press down firmly, removing any air bubbles. Step 5: Hold the patch in place for a few minutes until the glue sets. Step 6: Allow the glue to dry completely before inflating the mattress.How to Patch an Intex Air Mattress with a Repair Kit


How to Patch an Intex Air Mattress with a Repair Kit


Here are some helpful tips and tricks to keep in mind when repairing an Intex air mattress: - Always clean the area before patching to ensure the glue adheres properly. - If your mattress has a built-in pump, make sure to remove it before attempting any repairs. - For larger tears or holes, you may need to use more than one patch for a secure repair. - Let the glue dry completely before inflating the mattress to avoid any air leaks.Intex Air Mattress Repair: Tips and Tricks
Intex Air Mattress Repair: Tips and Tricks
While repairing an Intex air mattress is a relatively simple process, there are some common mistakes that people make that can affect the success of the repair. These include: - Not properly cleaning the area before patching, which can cause the glue not to adhere. - Using too much or too little glue, which can result in a weak or ineffective patch. - Not allowing the glue to dry completely before inflating the mattress, which can cause the patch to come loose.Intex Air Mattress Repair: Common Mistakes to Avoid


Intex Air Mattress Repair: Common Mistakes to Avoid


While leaks and tears can happen unexpectedly, there are some steps you can take to prevent them from occurring in the first place: - Avoid placing the air mattress on rough or uneven surfaces. - Be careful when moving the mattress to avoid puncturing it on sharp objects. - Always follow the manufacturer's instructions for proper use and care of the mattress.Intex Air Mattress Repair: How to Prevent Future Leaks

Intex Air Mattress Repair: How to Prevent Future Leaks


If you've followed the repair instructions and your Intex air mattress is still leaking, here are some troubleshooting tips to help you identify and fix the issue: - Check the patch for any air bubbles or gaps that may be causing air to leak out. - Make sure the patch is completely dry before inflating the mattress. - Double check that the leak is fully covered by the patch. - If the leak is on a seam, it may require a different type of repair or replacement from the manufacturer. With these instructions and tips in mind, you can easily repair your Intex air mattress and get back to enjoying a comfortable and restful sleep. Remember to always be cautious when using and moving your air mattress to prevent any future leaks, and if all else fails, consult the manufacturer for further assistance. Happy sleeping!Intex Air Mattress Repair: Troubleshooting Guide

Intex Air Mattress Repair: Troubleshooting Guide


Intex Air Mattress Patch Instructions: The Ultimate Guide for Fixing Your Air Mattress
Why You Need to Know How to Patch Your Intex Air Mattress
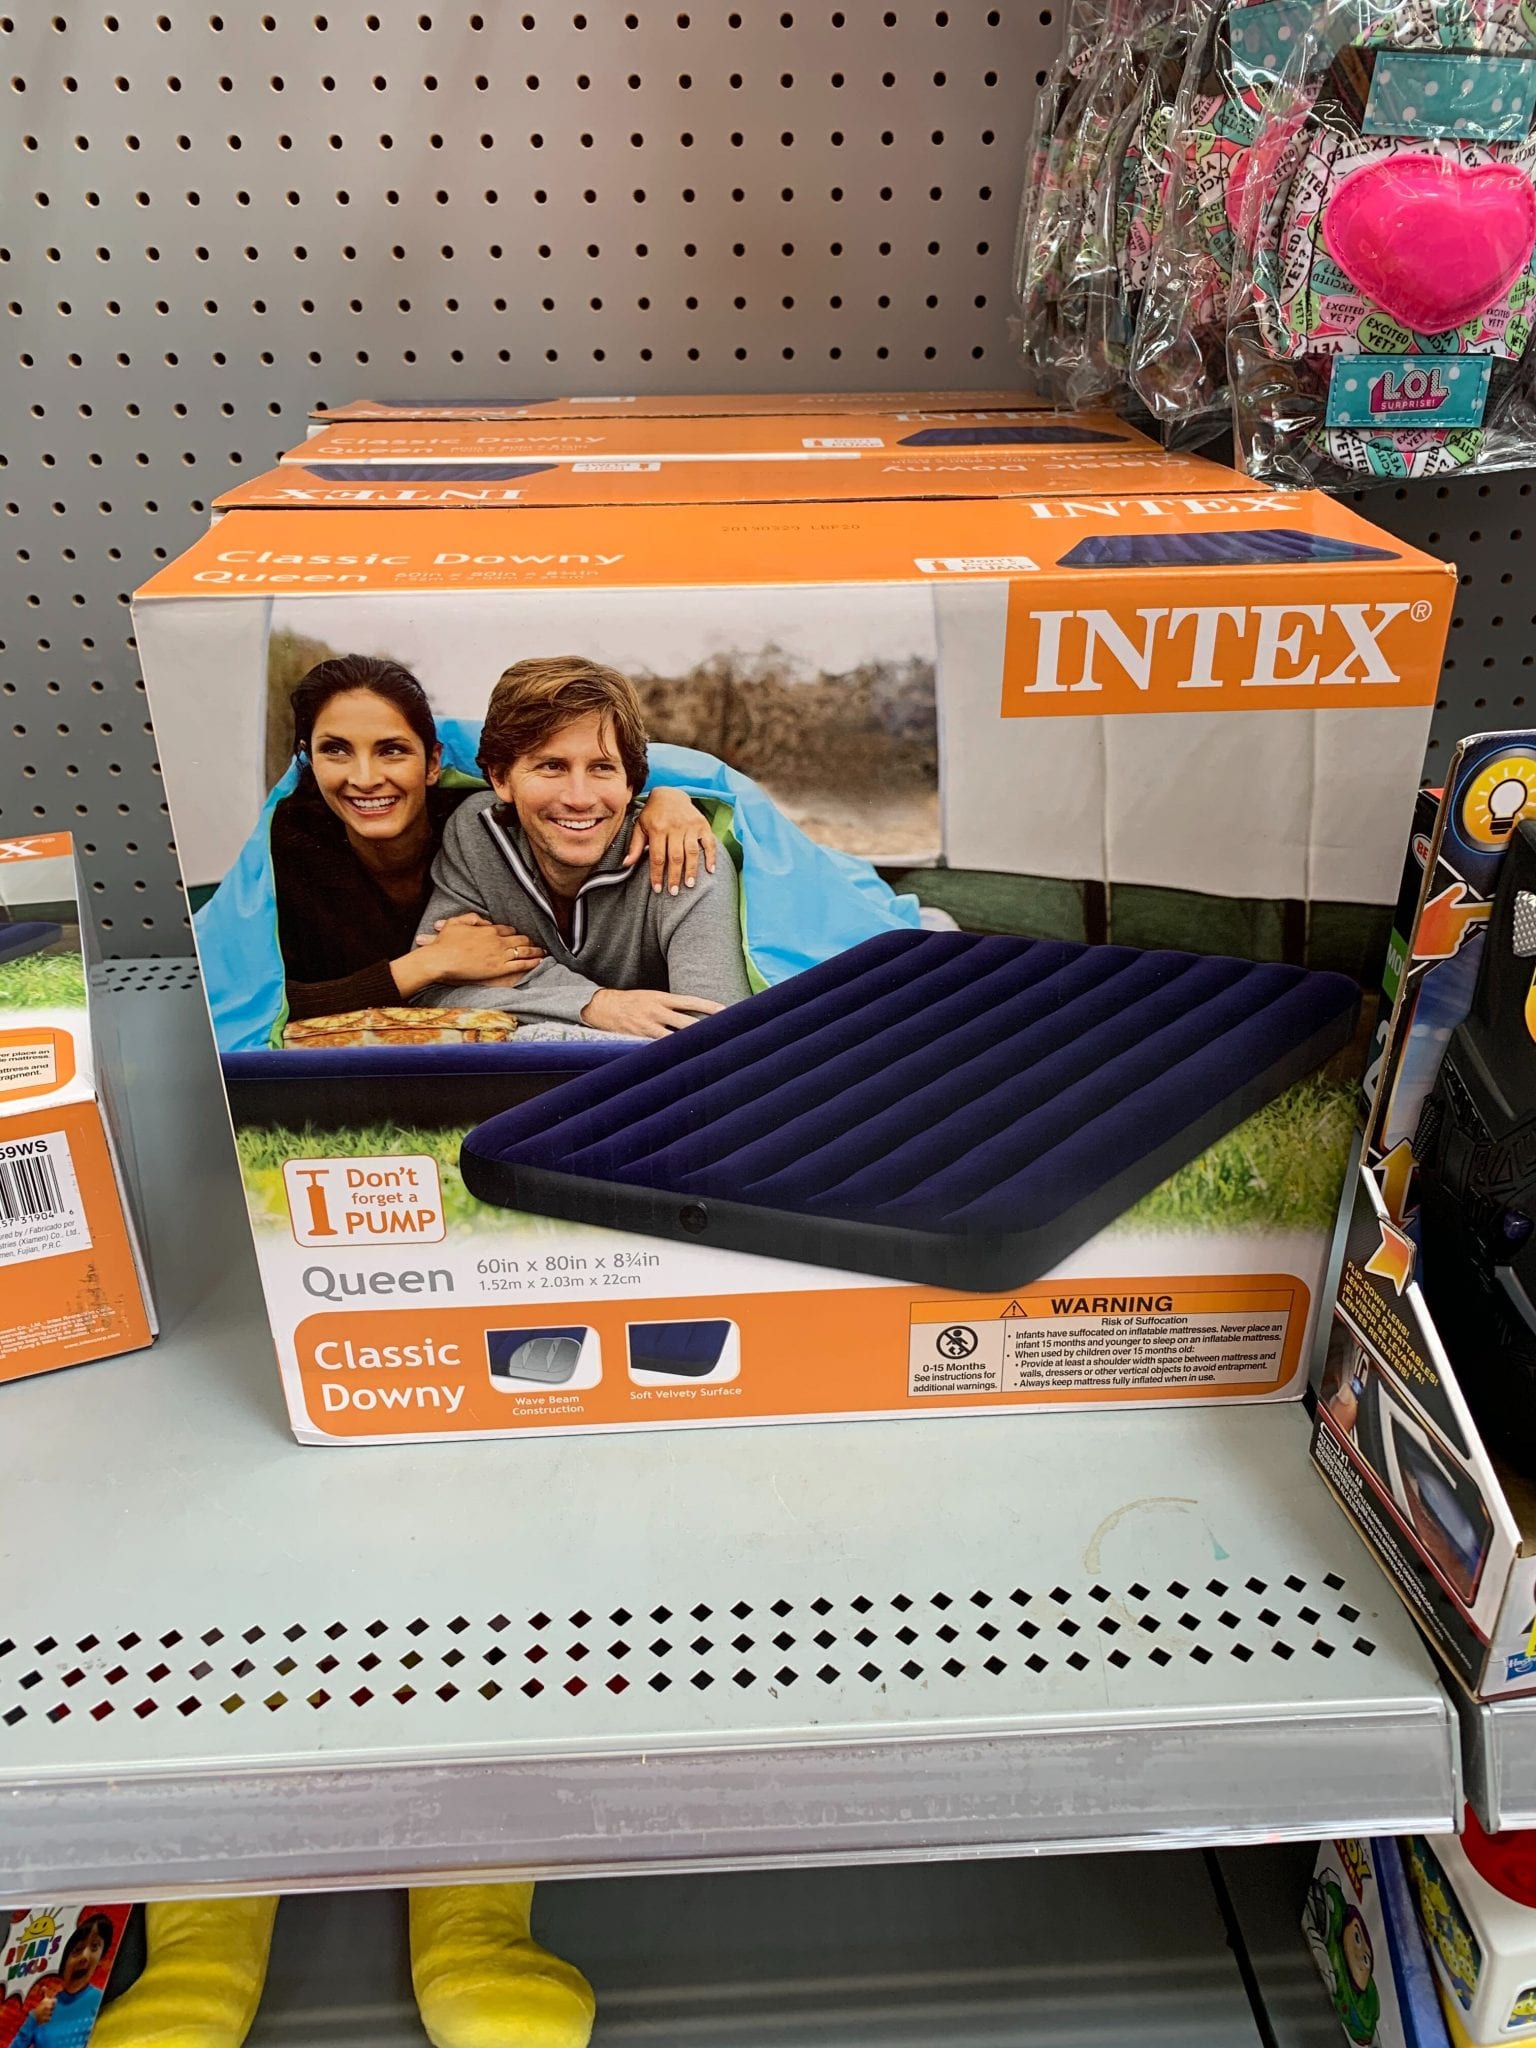
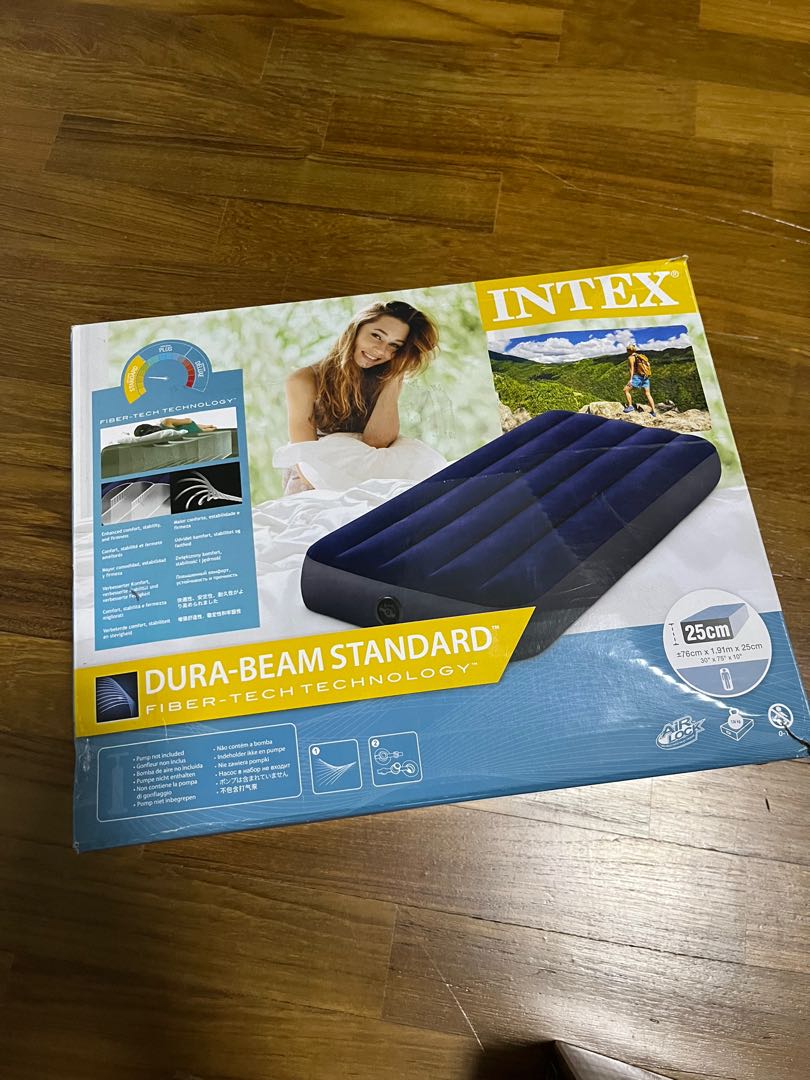
 Intex air mattresses are a popular choice for camping trips, unexpected guests, or just for an extra comfortable night's sleep. However, even the best air mattresses can sometimes get punctured or damaged, leaving you with a deflated bed and a headache. That's why it's important to know how to patch your Intex air mattress - so you can quickly and easily fix any issues and get back to enjoying a good night's rest.
What You Will Need
 Before you begin the patching process, make sure you have all the necessary materials. You will need a patch kit specifically designed for vinyl, which can be found at most hardware or camping stores. The kit should include a patch, adhesive, and possibly a sandpaper or cleaning solution. You will also need scissors, a marker, and a clean cloth or paper towel.
Step-by-Step Instructions
 Now that you have all the materials, follow these step-by-step instructions to patch your Intex air mattress:
Step 1:
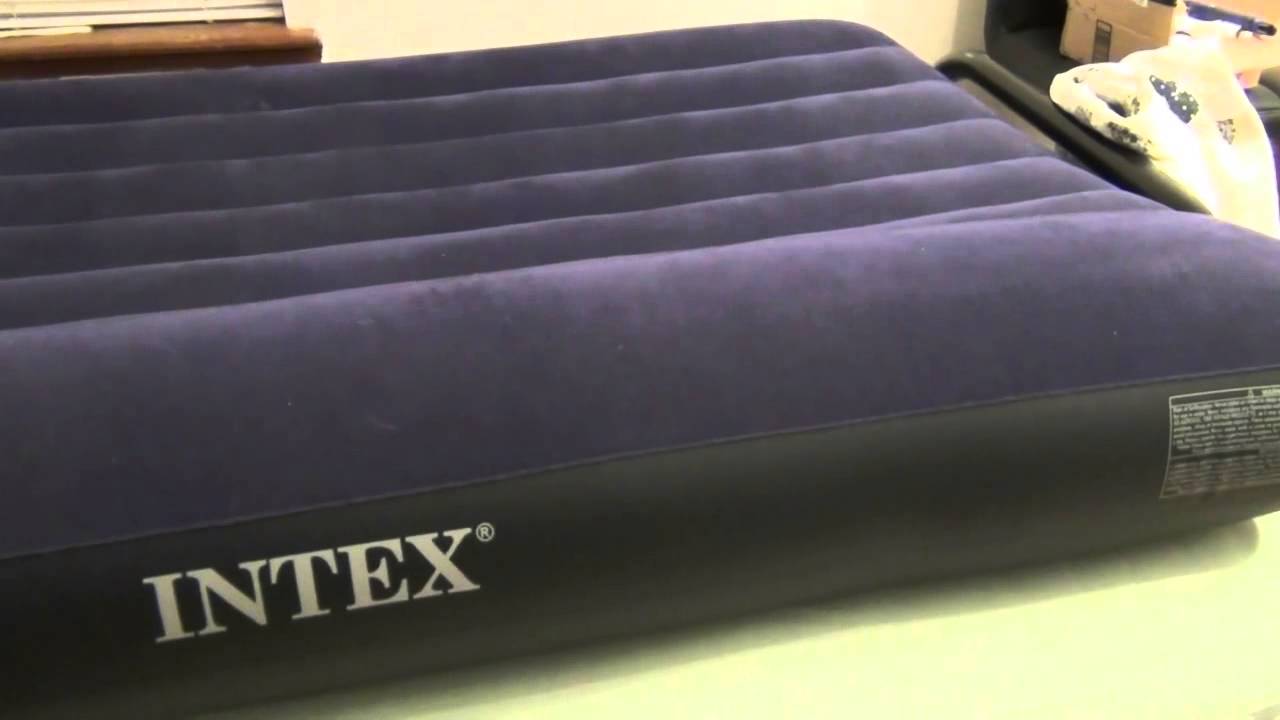
Locate the puncture or leak in your air mattress. If the hole is not immediately noticeable, inflate the mattress and listen for any hissing sounds. Once you have found the leak, mark it with a pen or marker.
Step 2:
Deflate the air mattress completely and clean the area around the puncture with a cloth or paper towel. If your patch kit came with a cleaning solution, use that to ensure the area is free of any dirt or debris.
Step 3:
Cut a patch from the patch kit that is at least 1 inch larger than the puncture. Round the edges of the patch to prevent it from peeling up later.
Step 4:
Apply a thin layer of adhesive to the back of the patch and to the area around the puncture. Be sure to cover the puncture completely.
Step 5:
Place the patch over the puncture and press down firmly to ensure it is securely attached. Use a heavy object, such as a book, to weigh down the patch while it dries.
Step 6:
Let the adhesive dry completely, following the instructions on your patch kit. This usually takes about 10-15 minutes.
Step 7:
Once the adhesive is dry, inflate the air mattress and check for any leaks. If the patch is holding, you can use your mattress as normal. If there are still leaks, repeat the patching process or consider purchasing a new mattress.
Now that you have all the materials, follow these step-by-step instructions to patch your Intex air mattress:
Step 1:
Locate the puncture or leak in your air mattress. If the hole is not immediately noticeable, inflate the mattress and listen for any hissing sounds. Once you have found the leak, mark it with a pen or marker.
Step 2:
Deflate the air mattress completely and clean the area around the puncture with a cloth or paper towel. If your patch kit came with a cleaning solution, use that to ensure the area is free of any dirt or debris.
Step 3:
Cut a patch from the patch kit that is at least 1 inch larger than the puncture. Round the edges of the patch to prevent it from peeling up later.
Step 4:
Apply a thin layer of adhesive to the back of the patch and to the area around the puncture. Be sure to cover the puncture completely.
Step 5:
Place the patch over the puncture and press down firmly to ensure it is securely attached. Use a heavy object, such as a book, to weigh down the patch while it dries.
Step 6:
Let the adhesive dry completely, following the instructions on your patch kit. This usually takes about 10-15 minutes.
Step 7:
Once the adhesive is dry, inflate the air mattress and check for any leaks. If the patch is holding, you can use your mattress as normal. If there are still leaks, repeat the patching process or consider purchasing a new mattress.
Final Thoughts
 Knowing how to patch your Intex air mattress can save you time, money, and frustration. By following these simple instructions, you can quickly fix any punctures or leaks and get back to enjoying a comfortable and restful night's sleep. Just remember to always have a patch kit on hand and to check your air mattress for any leaks before using it. Happy sleeping!