Installing shut off valves for your kitchen sink is an important step in maintaining the functionality and safety of your plumbing system. These valves allow you to shut off the water supply to your sink in case of emergencies or when making repairs or upgrades. While it may seem like a daunting task, with the right tools and knowledge, you can easily install shut off valves for your kitchen sink on your own. In this article, we will provide a step-by-step guide on how to install shut off valves for a kitchen sink. How to Install Shut Off Valves for a Kitchen Sink


How to Install Shut Off Valves for a Kitchen Sink


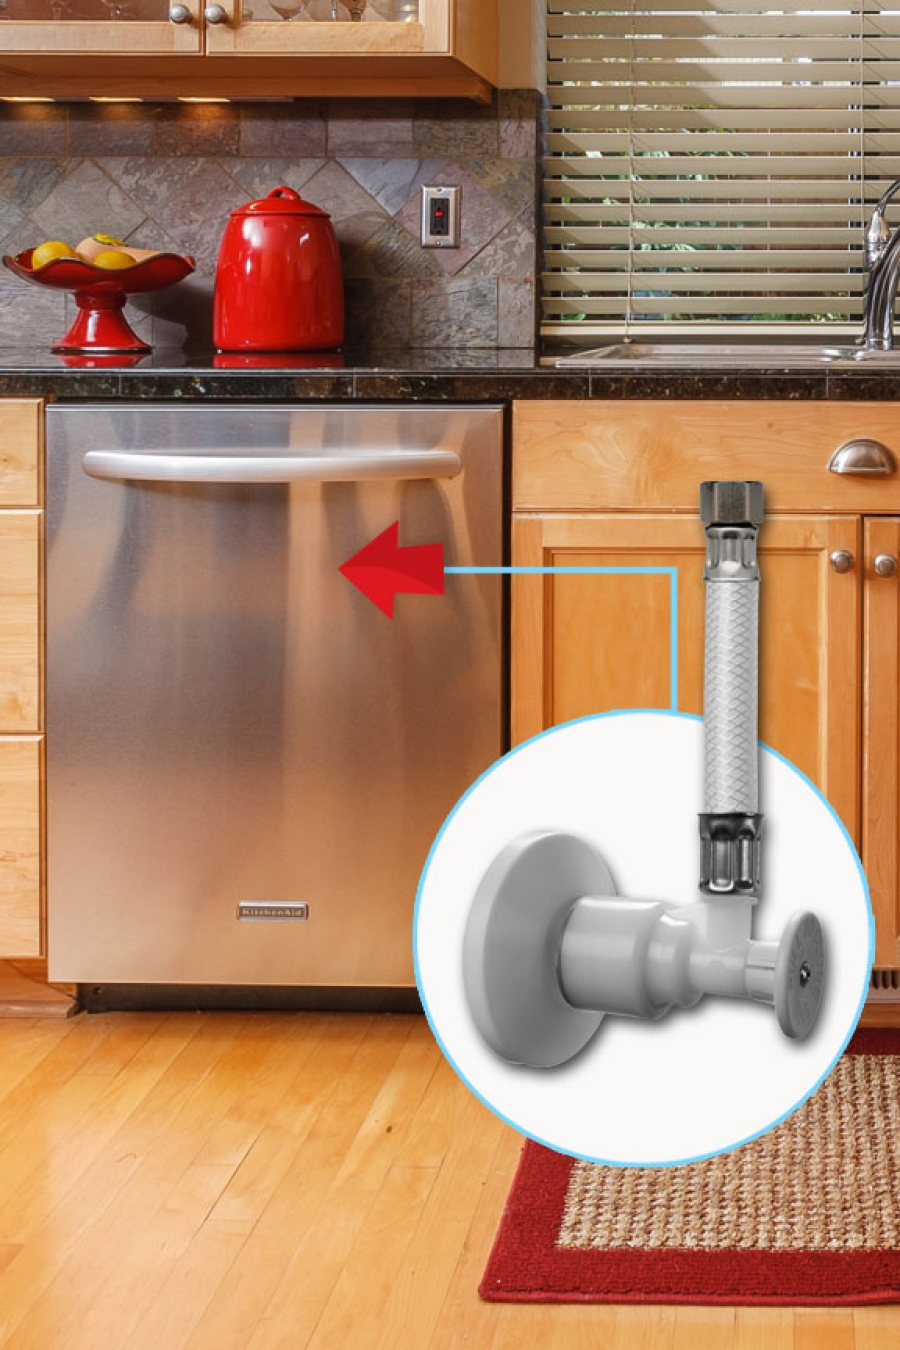
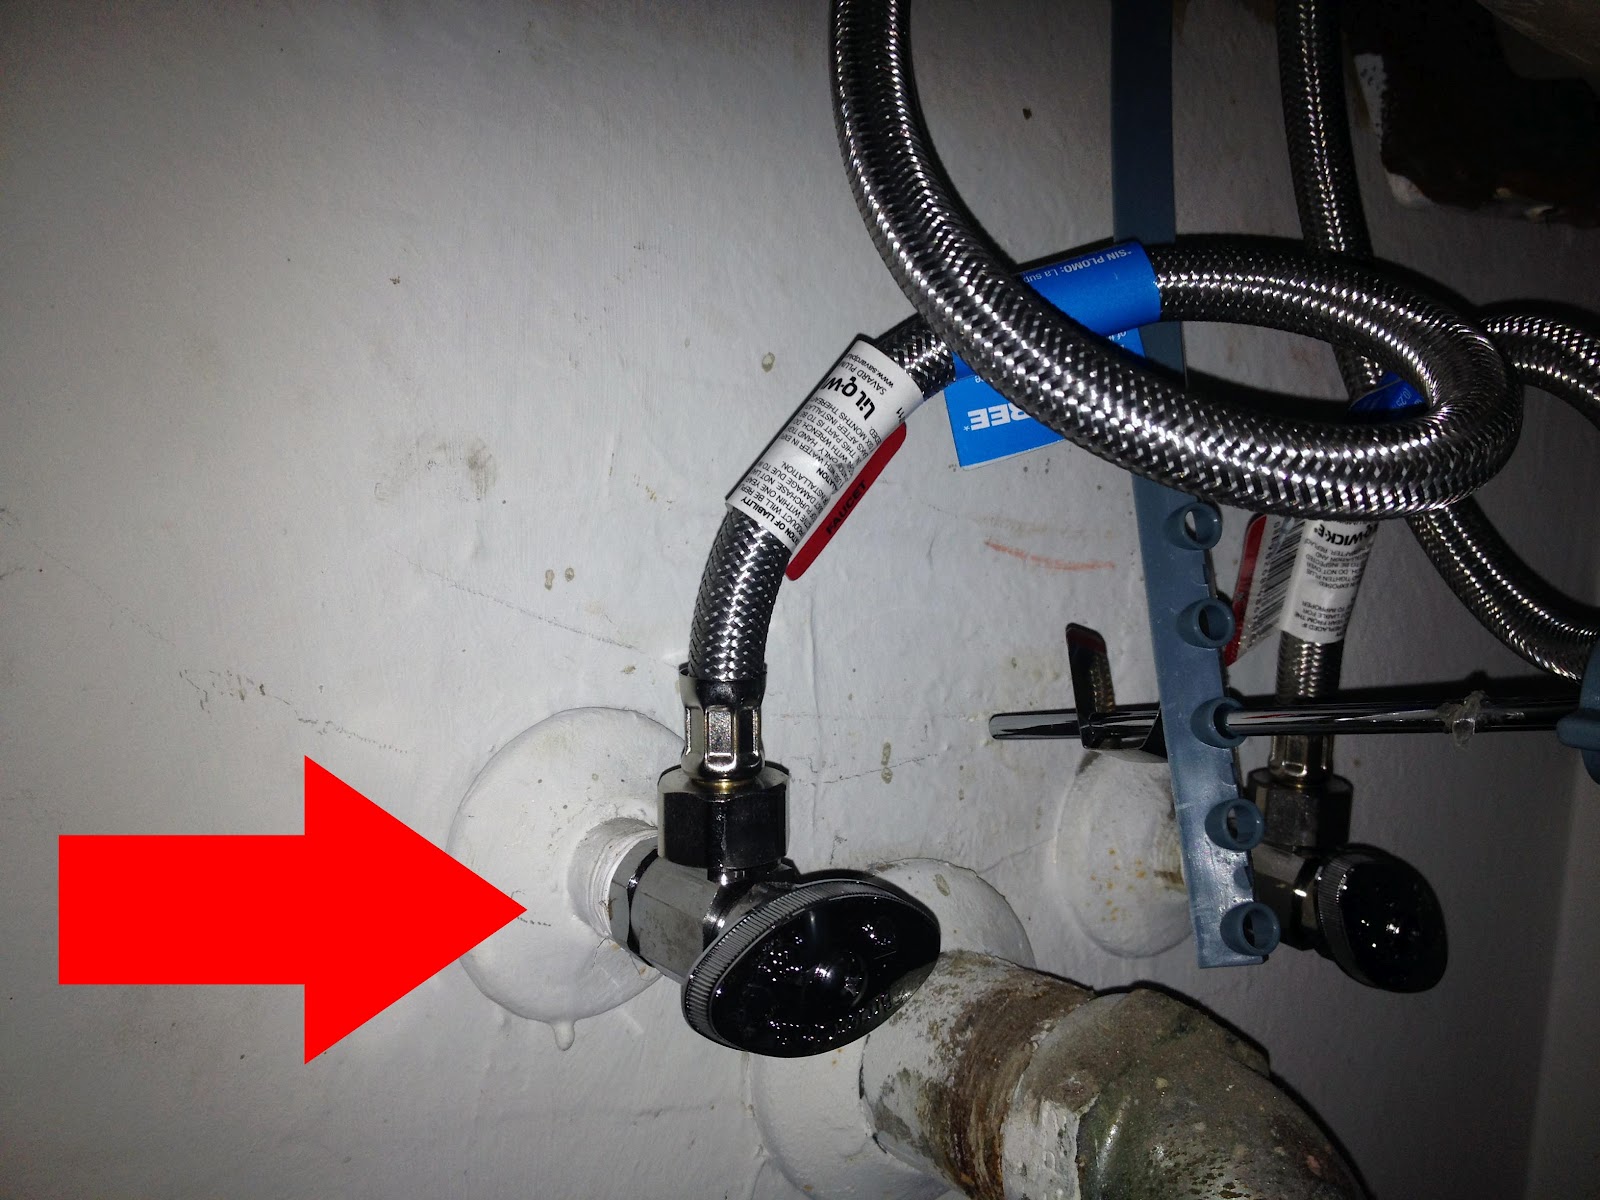
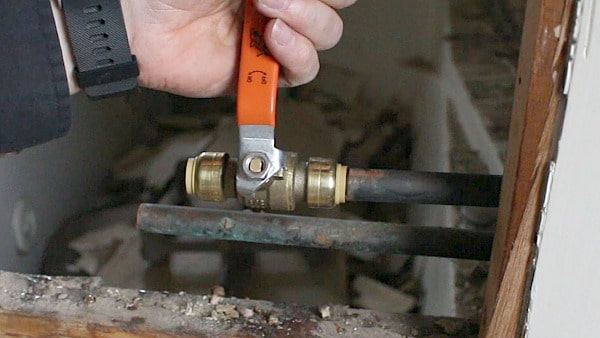
The first step in installing shut off valves for a kitchen sink is to locate the main water supply valve and shut it off. This valve is usually located under the sink or in the basement. Once the water supply is turned off, you can begin the installation process. Next, you will need to place a bucket or towel under the sink to catch any water that may leak during the installation process. This will help prevent any mess and make the process smoother. How to Install Shut Off Valves Under a Kitchen Sink

How to Install Shut Off Valves Under a Kitchen Sink
/cdn.vox-cdn.com/uploads/chorus_image/image/65889227/sink_shutoff_valves_x.0.jpg)
The following are the steps to follow when installing shut off valves for a kitchen sink: Step 1: Measure the distance between the hot and cold water supply pipes under the sink. This will help you determine the length of the pipes you will need for the shut off valves. Step 2: Cut the pipes to the appropriate length using a pipe cutter. It is important to make clean and straight cuts to ensure a tight fit. Step 3: Sand the edges of the cut pipes using sandpaper to remove any burrs or rough edges. This will ensure a smooth and secure connection. Step 4: Apply plumber's tape to the threads of the shut off valves to create a watertight seal. Step 5: Install the shut off valves by screwing them onto the water supply pipes. Make sure to tighten the valves securely using a wrench. Step 6: Connect the other end of the shut off valves to the sink's hot and cold water supply lines. Again, make sure to use plumber's tape and tighten the connections securely. Step 7: Turn the main water supply back on and check for any leaks. If there are no leaks, you have successfully installed shut off valves for your kitchen sink.Step-by-Step Guide to Installing Shut Off Valves for a Kitchen Sink


Step-by-Step Guide to Installing Shut Off Valves for a Kitchen Sink


Installing shut off valves for a kitchen sink is a DIY project that can save you time and money. By following the above steps, you can easily install shut off valves for your kitchen sink without the need for a professional plumber. However, if you are unsure or uncomfortable with the installation process, it is always best to seek the help of a professional.DIY: Installing Shut Off Valves for a Kitchen Sink


DIY: Installing Shut Off Valves for a Kitchen Sink


Here are a few tips and tricks to keep in mind when installing shut off valves for a kitchen sink: Tip 1: Make sure to turn off the main water supply before beginning the installation process. Tip 2: Use a bucket or towel to catch any water that may leak during the installation process. Tip 3: Make sure to use plumber's tape to create a watertight seal and prevent leaks. Tip 4: Tighten all connections securely to prevent leaks.Installing Shut Off Valves for a Kitchen Sink: Tips and Tricks

Installing Shut Off Valves for a Kitchen Sink: Tips and Tricks
The following are the tools you will need to install shut off valves for a kitchen sink: - Pipe cutter - Sandpaper - Plumber's tape - WrenchTools You'll Need for Installing Shut Off Valves for a Kitchen Sink


Tools You'll Need for Installing Shut Off Valves for a Kitchen Sink


Here are some common mistakes to avoid when installing shut off valves for a kitchen sink: Mistake 1: Not turning off the main water supply before beginning the installation process. Mistake 2: Using the wrong size shut off valves for the pipes. Mistake 3: Not using plumber's tape to create a watertight seal. Mistake 4: Not tightening the connections securely.Common Mistakes to Avoid When Installing Shut Off Valves for a Kitchen Sink


Common Mistakes to Avoid When Installing Shut Off Valves for a Kitchen Sink


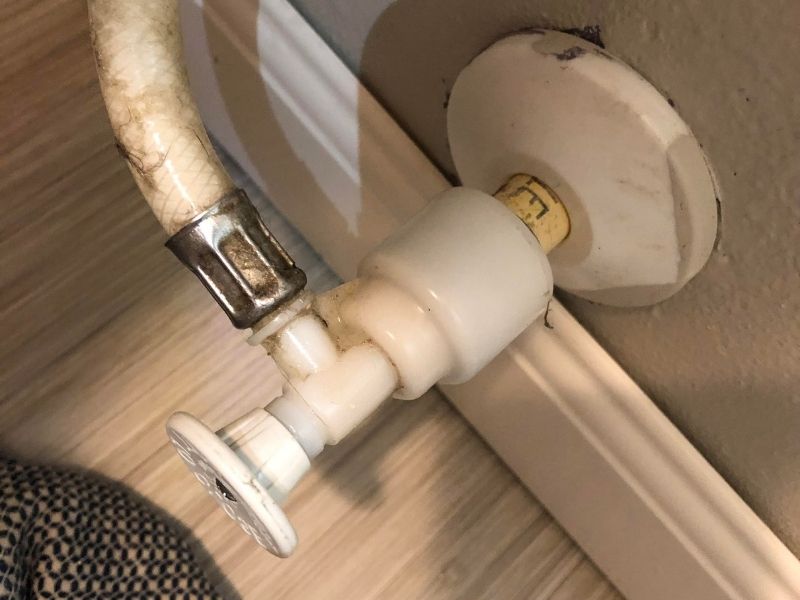
:max_bytes(150000):strip_icc()/water-shut-off-valve-types-2718739-hero-fff0f5191aeb45d595492f8c9b4b4be2.jpg)
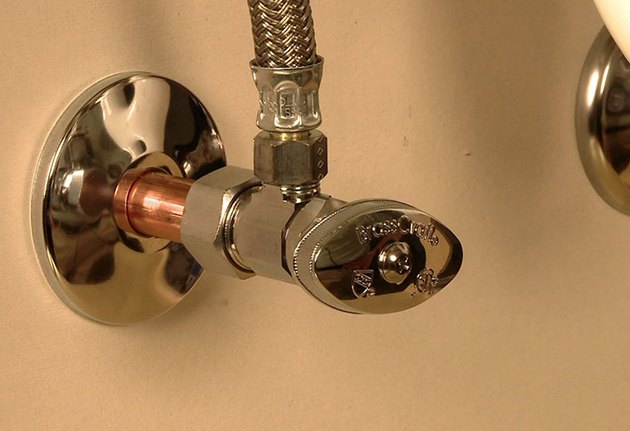
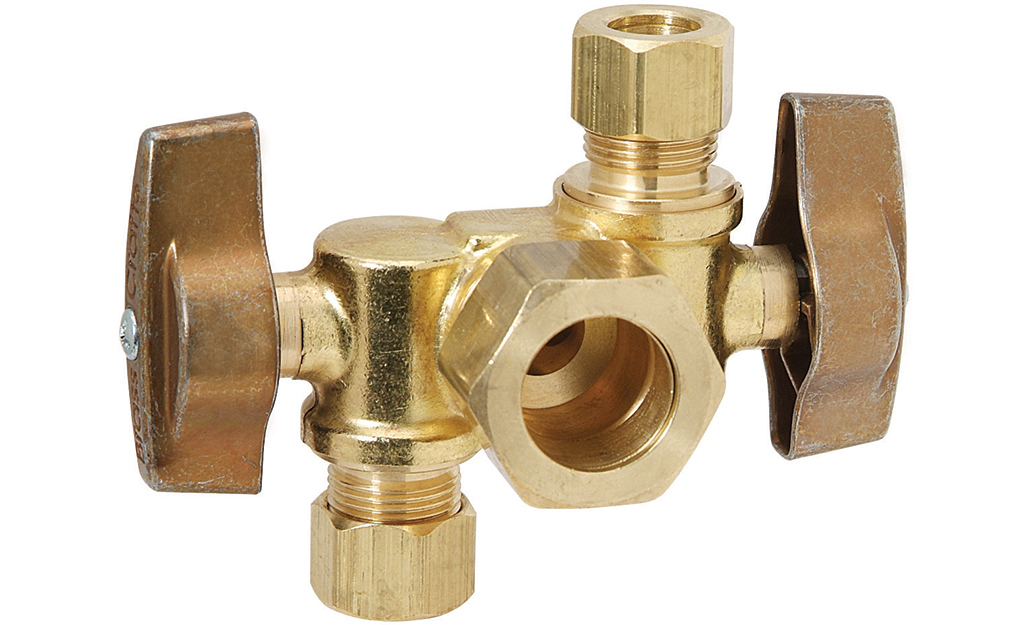
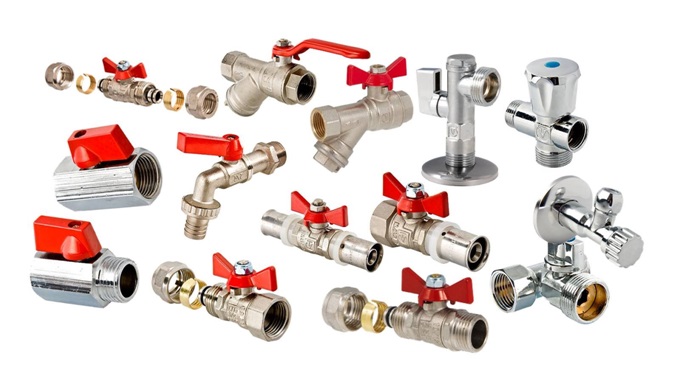
When choosing shut off valves for your kitchen sink, it is important to consider the following factors: Factor 1: Size of the pipes Factor 2: Material of the valves Factor 3: Quality and durability Make sure to choose shut off valves that are the correct size for your pipes and made of high-quality materials for long-lasting use.How to Choose the Right Shut Off Valves for Your Kitchen Sink


How to Choose the Right Shut Off Valves for Your Kitchen Sink
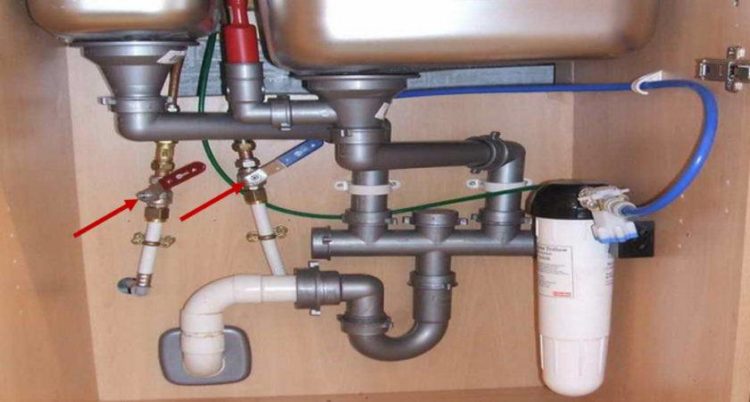
:max_bytes(150000):strip_icc()/under-sink-shut-off-valves-2718738-05-c32d99b32ae84b949ef8c73d88058c01.jpg)
If you are new to plumbing or DIY projects, installing shut off valves for a kitchen sink may seem like a daunting task. However, by following the steps outlined in this article, you can easily install shut off valves on your own and gain the confidence to tackle other plumbing projects in the future.Installing Shut Off Valves for a Kitchen Sink: A Beginner's Guide


Installing Shut Off Valves for a Kitchen Sink: A Beginner's Guide

Here are some expert tips to keep in mind when installing shut off valves for a kitchen sink: Tip 1: Make sure to have all the necessary tools and materials before beginning the installation process. Tip 2: Use quality shut off valves and materials for a long-lasting and reliable installation. Tip 3: Always turn off the water supply before making any adjustments to your plumbing system. Tip 4: If you encounter any difficulties or are unsure about the installation process, seek the help of a professional plumber. With these expert tips, you can ensure a successful and hassle-free installation of shut off valves for your kitchen sink. In conclusion, installing shut off valves for a kitchen sink is a simple and important task that can help you maintain the functionality and safety of your plumbing system. By following the steps and tips outlined in this article, you can easily and confidently install shut off valves on your own. Remember to always prioritize safety and seek professional help if needed. Expert Tips for Installing Shut Off Valves for a Kitchen Sink


Expert Tips for Installing Shut Off Valves for a Kitchen Sink
Why Installing Shut Off Valves in Your Kitchen Sink is a Must-Do for Every Homeowner

What Are Shut Off Valves?

If you're a homeowner, you've probably heard of shut off valves before. But do you know what they actually do? Shut off valves are small devices that are installed on your water pipes to control the flow of water. They allow you to turn off the water supply to a specific area, such as your kitchen sink, without having to shut off the entire water supply to your home.
The Importance of Shut Off Valves in Your Kitchen Sink

Shut off valves are a crucial component of any kitchen sink, yet many homeowners overlook their importance. Without shut off valves, a simple leak or malfunction in your kitchen sink can quickly escalate into a costly disaster. Imagine coming home to a flooded kitchen because you couldn't turn off the water to your sink. Not only would this cause significant damage to your home, but it would also result in costly repairs.
Having shut off valves in your kitchen sink gives you peace of mind and saves you from potential disasters. In case of a leak or a problem with your sink, you can quickly and easily turn off the water supply before it becomes a bigger issue. This not only saves you from expensive repairs but also minimizes water wastage.
Easy Installation Process

The good news is, installing shut off valves in your kitchen sink is a relatively easy and straightforward process. You don't need any special tools or professional help to get the job done. All you need is a few basic tools and shut off valves that can be easily found at any hardware store.
The first step is to locate the main water supply line to your kitchen sink. This is usually located under the sink or in the basement. Once you've located the main water supply line, turn off the water supply to your kitchen sink by closing the valve. Next, you'll need to cut the main water supply line and attach the shut off valves. Make sure to follow the manufacturer's instructions for proper installation.
Final Thoughts

In conclusion, installing shut off valves in your kitchen sink is a simple and cost-effective way to protect your home from potential disasters. It gives you control over your water supply and saves you from costly repairs and water wastage. So don't wait until it's too late, make sure to install shut off valves in your kitchen sink today.
Now that you know the importance of shut off valves, it's time to take action and install them in your kitchen sink. Trust us, you'll be thankful you did when faced with a plumbing emergency. So go ahead and make your home safer and more efficient with the simple addition of shut off valves in your kitchen sink.