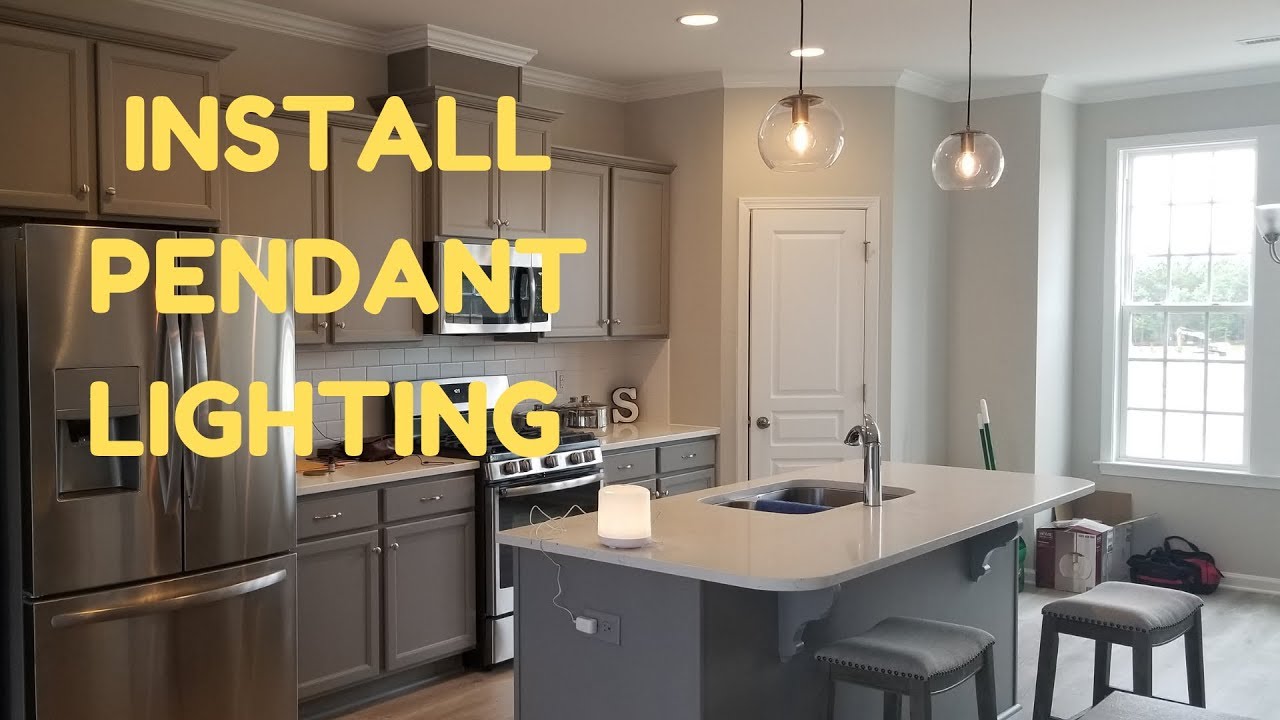
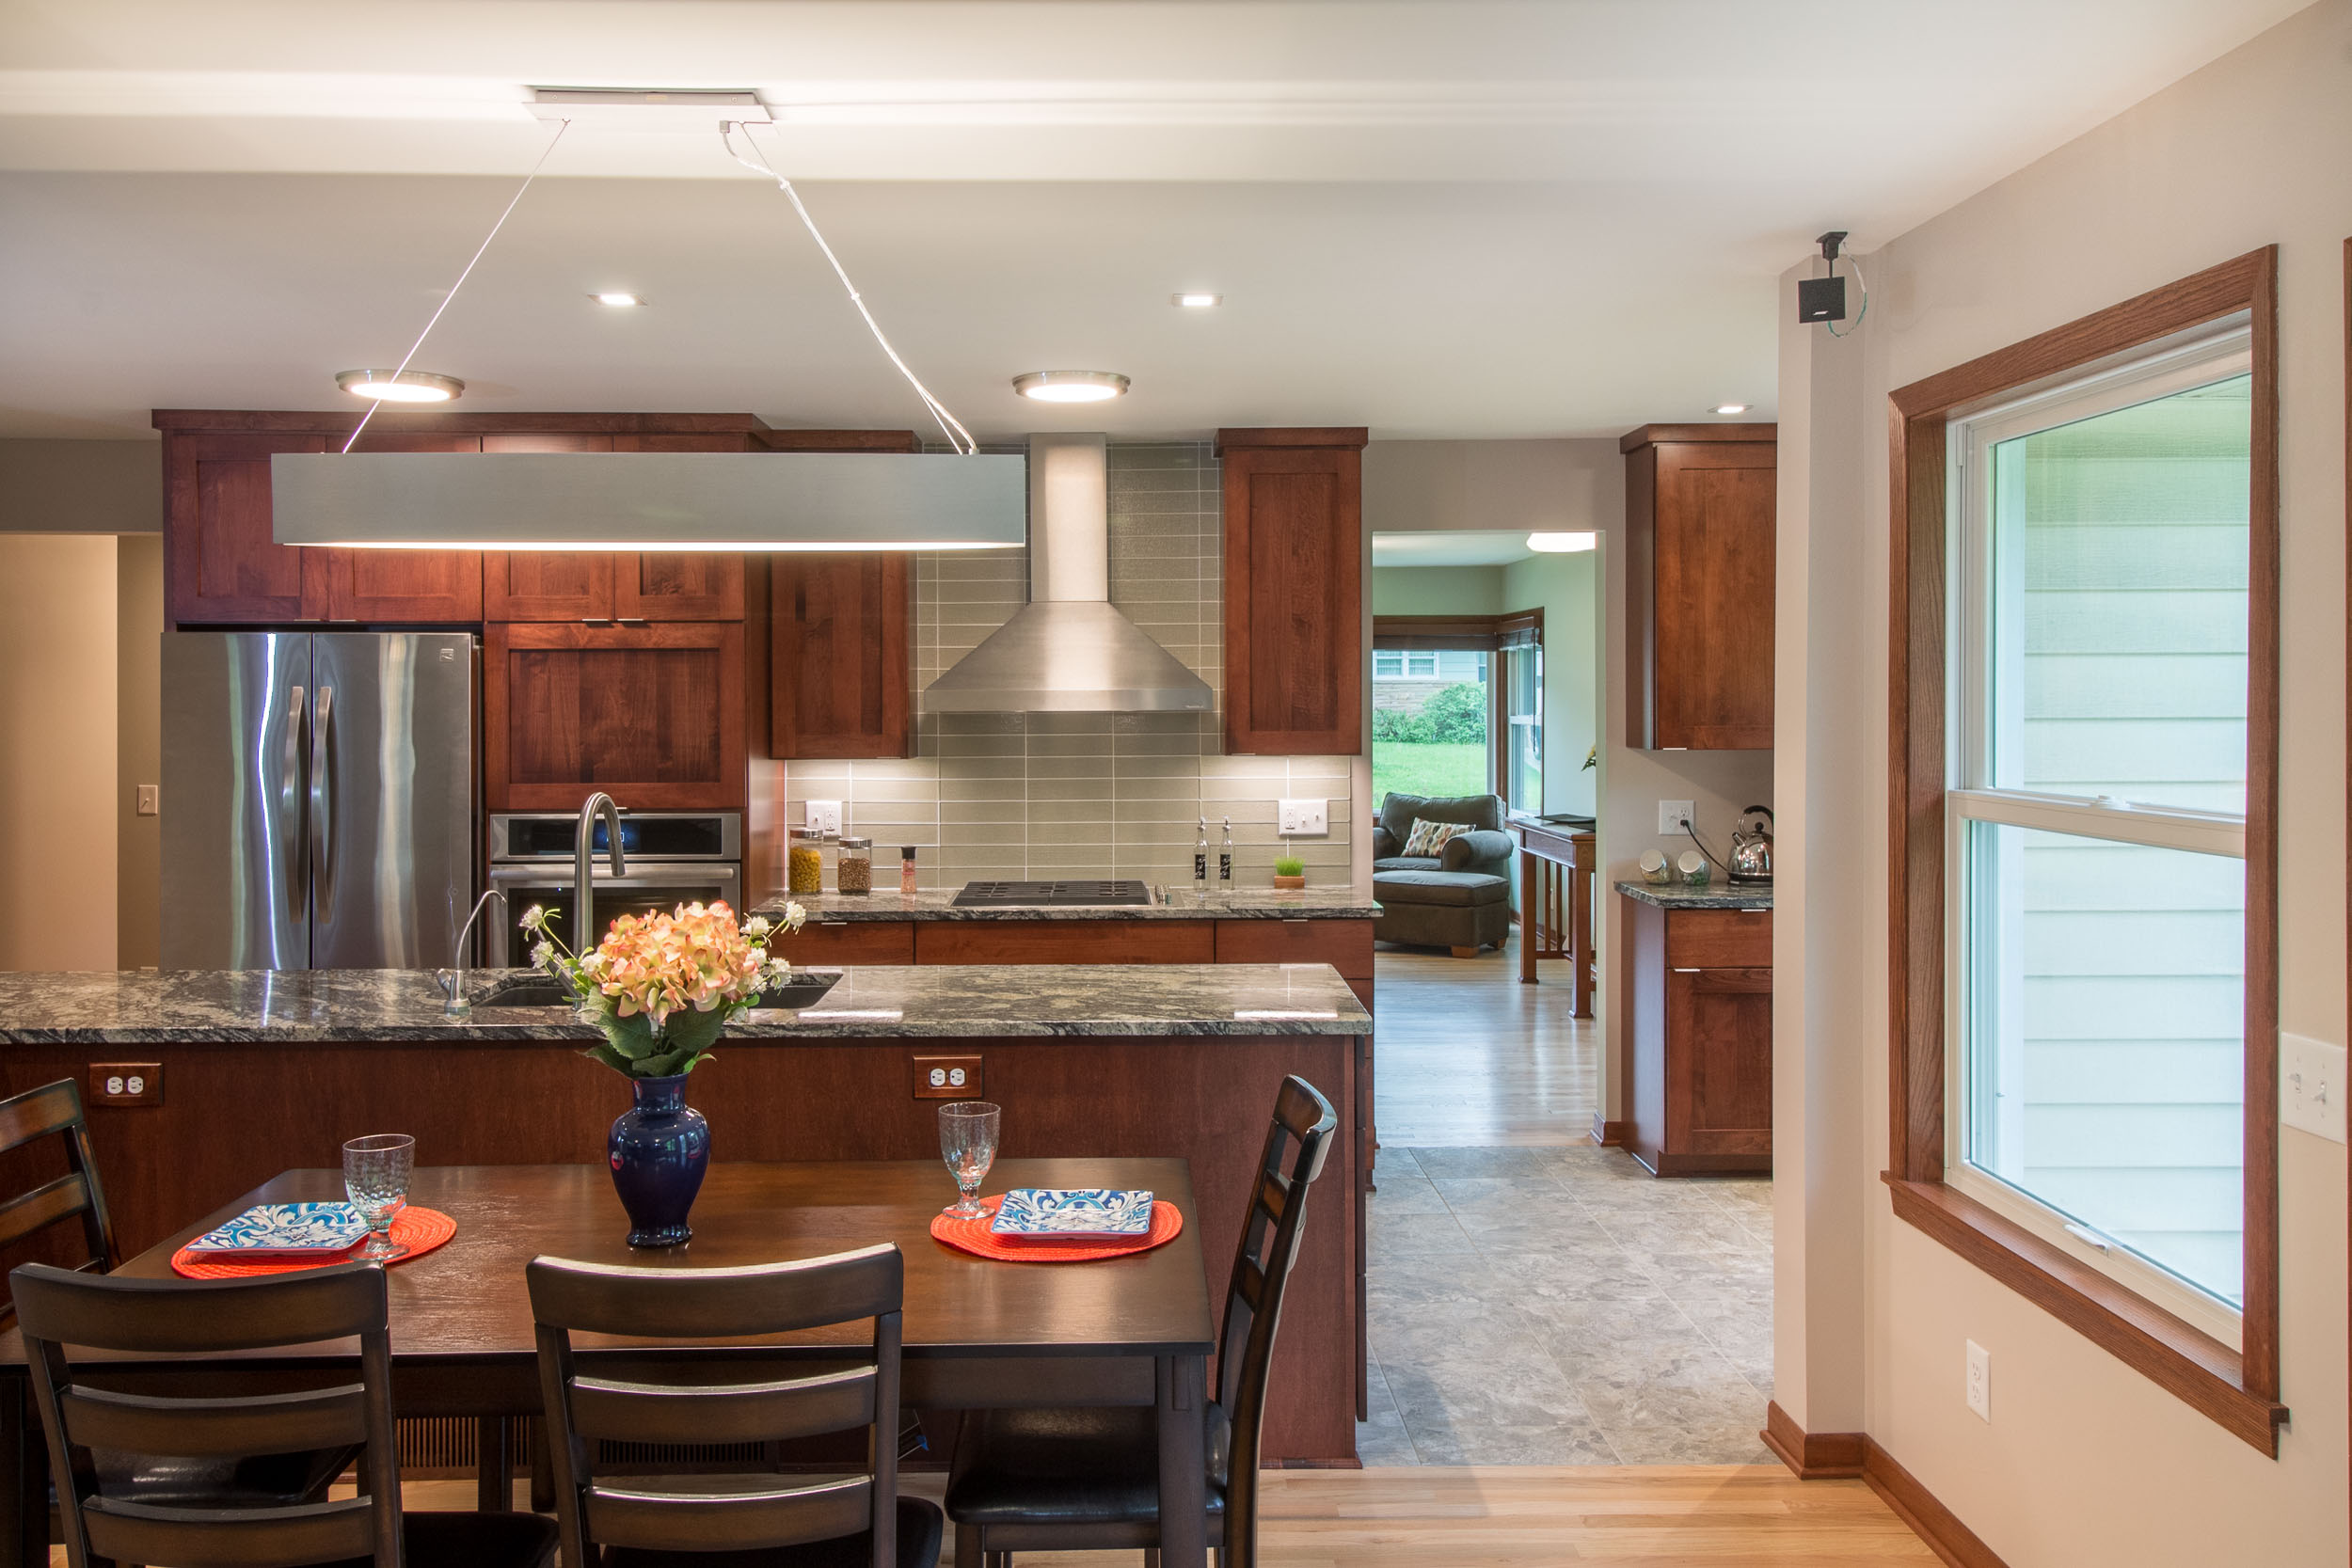
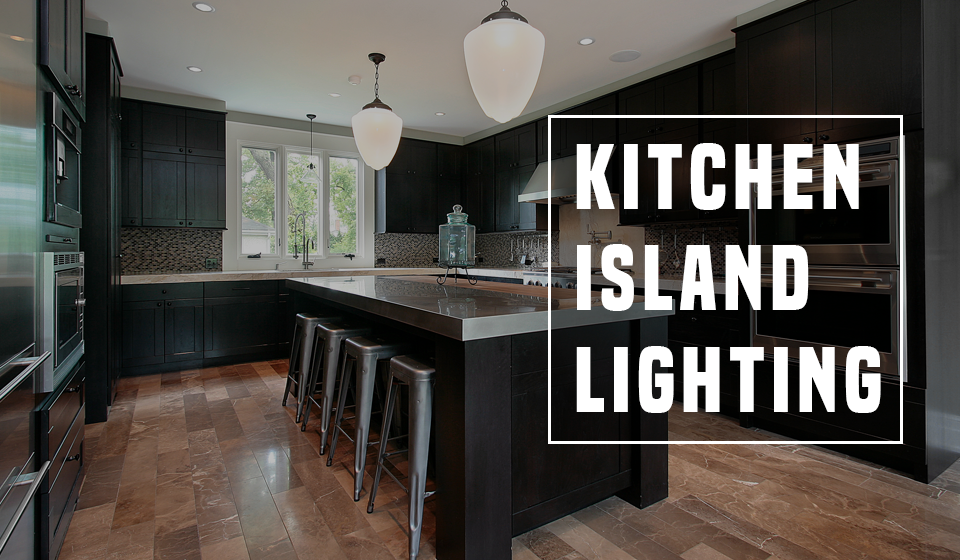
Installing kitchen island lighting can add both style and functionality to your kitchen. Not only does it provide much needed light for cooking and food prep, but it can also serve as a statement piece that ties the room together. In this guide, we will walk you through the steps of installing kitchen island lighting in your home.How to Install Kitchen Island Lighting


How to Install Kitchen Island Lighting


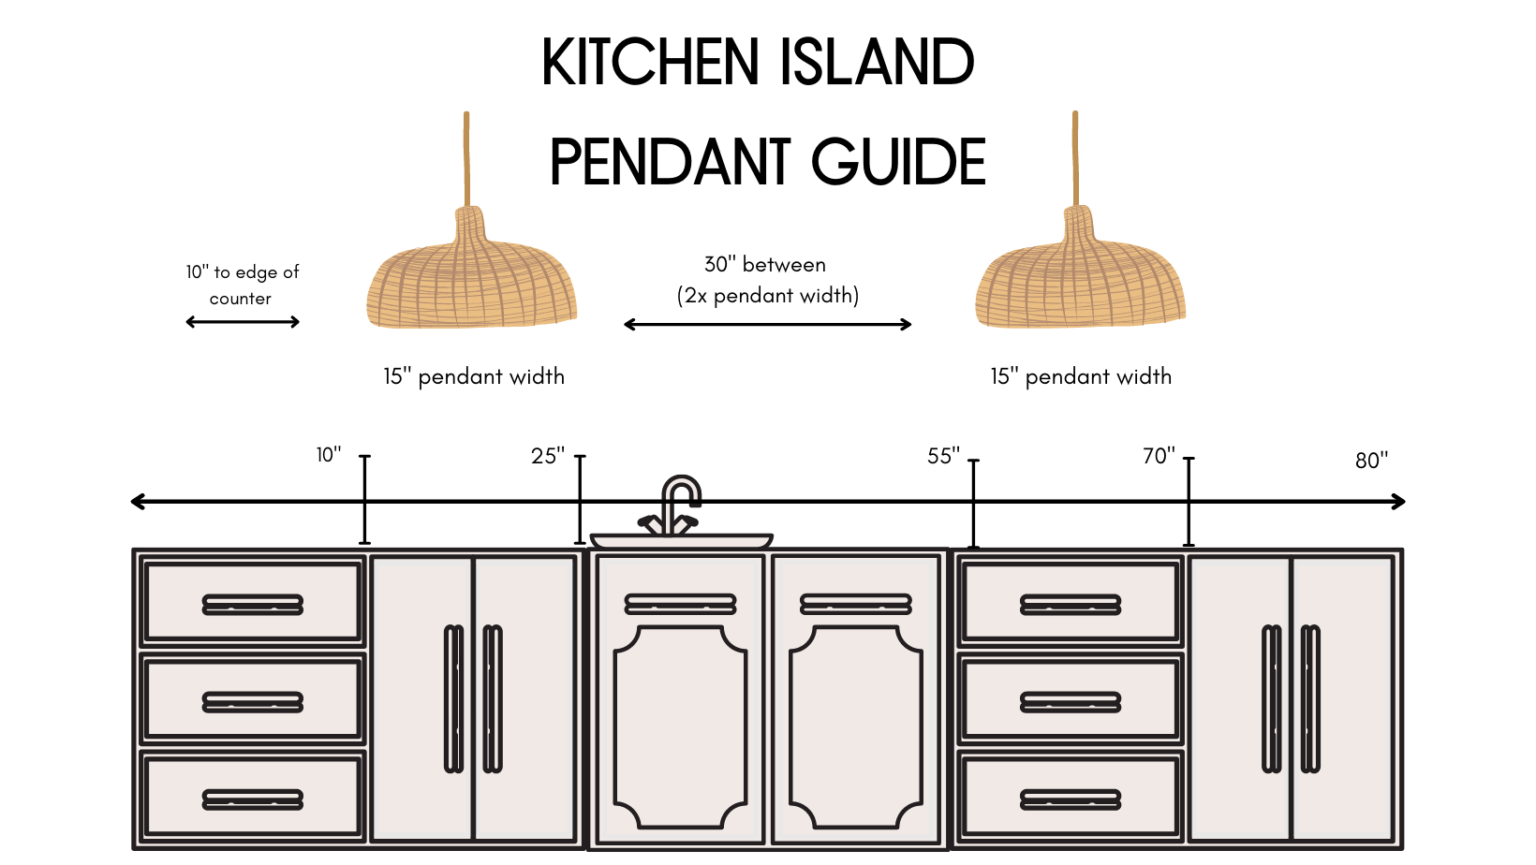
Before you begin the installation process, there are a few tips and tricks that can help make the process smoother and ensure the best results. Choose the right size: The size of your kitchen island will determine the size and number of lights needed. As a general rule, the lights should be about 30-36 inches above the island and spaced evenly. For larger islands, multiple lights may be needed. Consider the style: Kitchen island lighting comes in a variety of styles, from pendants to recessed lights to track lighting. Consider the overall style of your kitchen and choose lighting that complements it. Think about functionality: In addition to providing light, kitchen island lighting can also serve as task lighting for specific areas of the island. Consider where you will need the most light for cooking and food prep and position the lights accordingly.Installing Kitchen Island Lighting: Tips and Tricks


Installing Kitchen Island Lighting: Tips and Tricks


Now that you have your lights and a plan in place, it's time to start the installation process. Follow these steps for a successful installation. Step 1: Turn off the power: Before beginning any electrical work, be sure to turn off the power to the area where you will be installing the lights. This can be done at the circuit breaker. Step 2: Measure and mark: Use a measuring tape to determine the desired placement of the lights and mark the spots with a pencil. This will ensure that the lights are evenly spaced and at the correct height. Step 3: Install the mounting bracket: Using a drill, install the mounting bracket for the light fixture according to the manufacturer's instructions. This will serve as the base for the light to be attached to. Step 4: Connect the wiring: Carefully connect the wiring from the light fixture to the wiring in your ceiling. Be sure to follow proper safety precautions and consult an electrician if needed. Step 5: Attach the light fixture: Once the wiring is connected, attach the light fixture to the mounting bracket using the provided screws. Test the light to ensure it is working properly. Step 6: Repeat for additional lights: If you are installing multiple lights, repeat the above steps for each one, making sure they are evenly spaced and at the same height.Step-by-Step Guide to Installing Kitchen Island Lighting


Step-by-Step Guide to Installing Kitchen Island Lighting

:max_bytes(150000):strip_icc()/Modern-kitchen-chandelier-4TVGHvS-a8h8WCHSsZBqR2-94728c1b59d146b8b8d01266f5ef4665.jpg)


If you are comfortable with basic electrical work, installing kitchen island lighting can be a DIY project. However, if you are unsure or uncomfortable with the process, it is always best to consult a professional. Required tools: To install kitchen island lighting, you will need a drill, screwdriver, measuring tape, and wire cutters/strippers. Required materials: In addition to the lighting fixtures, you will also need a mounting bracket, screws, and wire connectors. Safety precautions: Always turn off the power before beginning any electrical work. Use caution when working with wiring and consult a professional if needed.DIY Kitchen Island Lighting Installation


DIY Kitchen Island Lighting Installation


With so many options available, choosing the right kitchen island lighting can feel overwhelming. Here are some tips to help you make the best decision for your space. Consider the style: As mentioned before, the style of your kitchen should be taken into account when choosing lighting. For a modern and sleek look, consider recessed lighting. For a more traditional or farmhouse style, pendant lights may be a better choice. Think about the size and shape: The size and shape of your kitchen island should also factor into your decision. For long and narrow islands, consider using multiple smaller lights instead of one large one. Be mindful of the height: The height of your ceiling will also play a role in which lights will work best. If you have high ceilings, consider using longer pendant lights to help fill the space.Choosing the Right Kitchen Island Lighting for Your Space


Choosing the Right Kitchen Island Lighting for Your Space


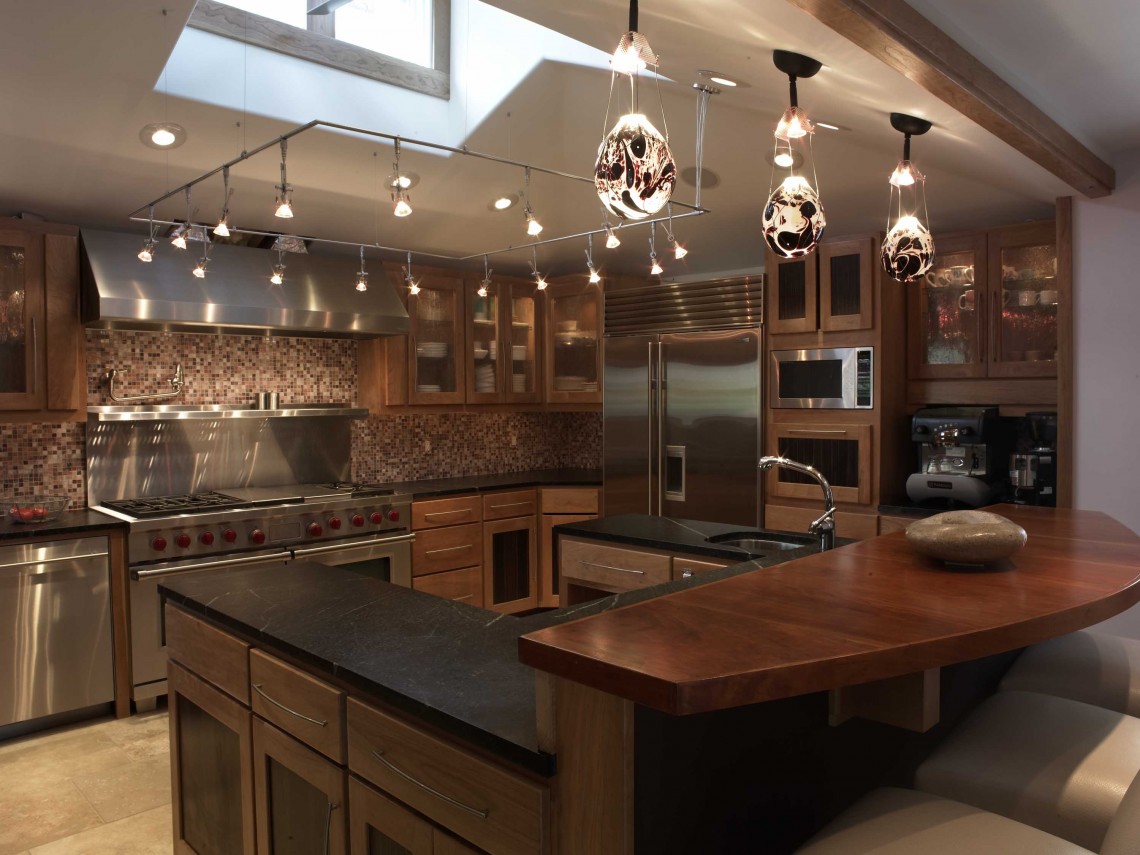
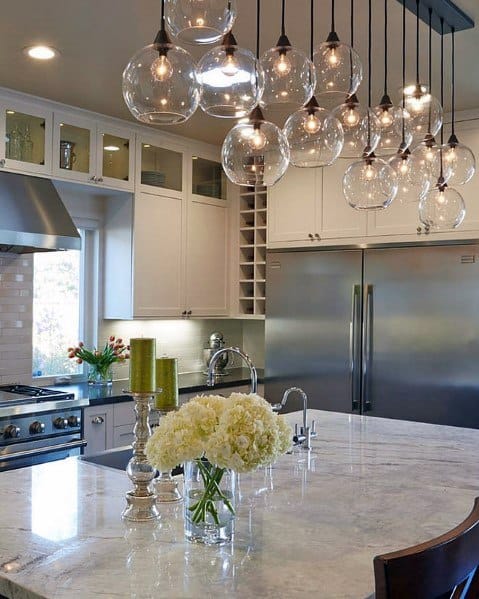
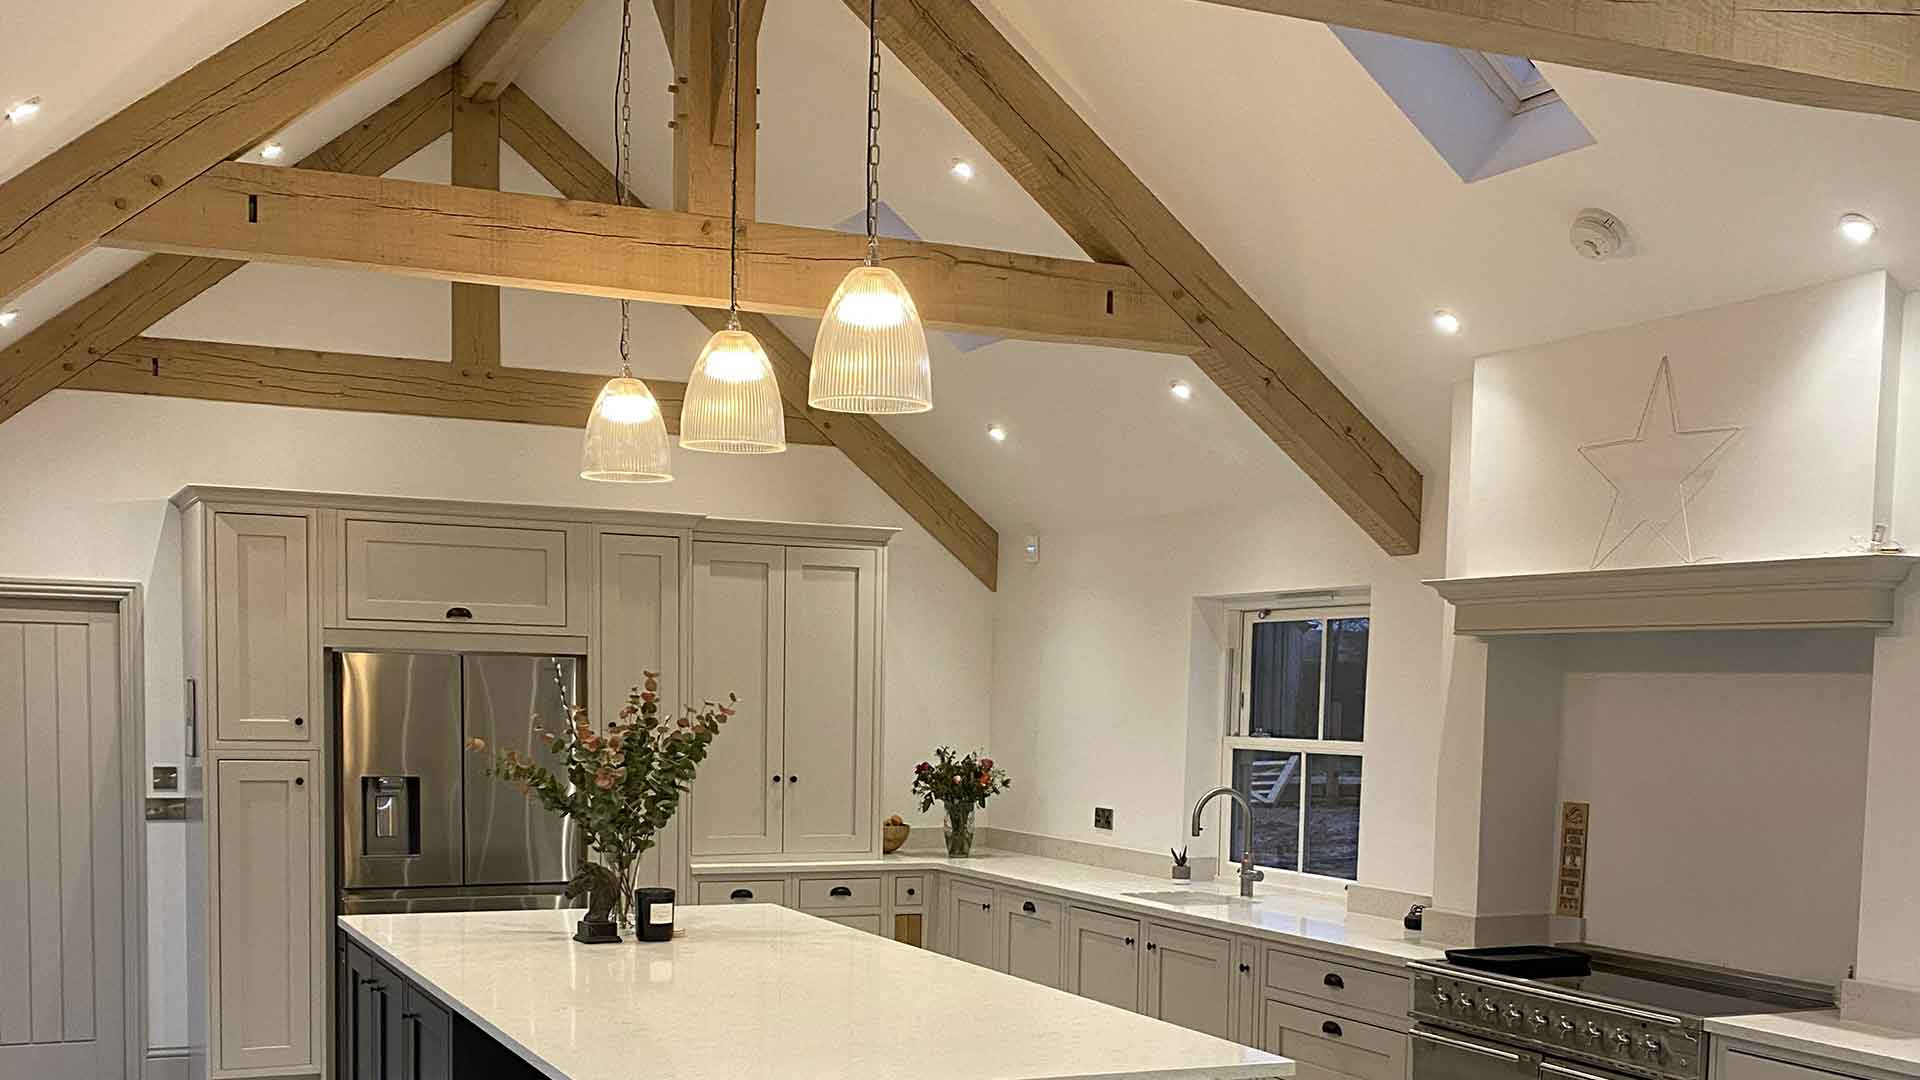
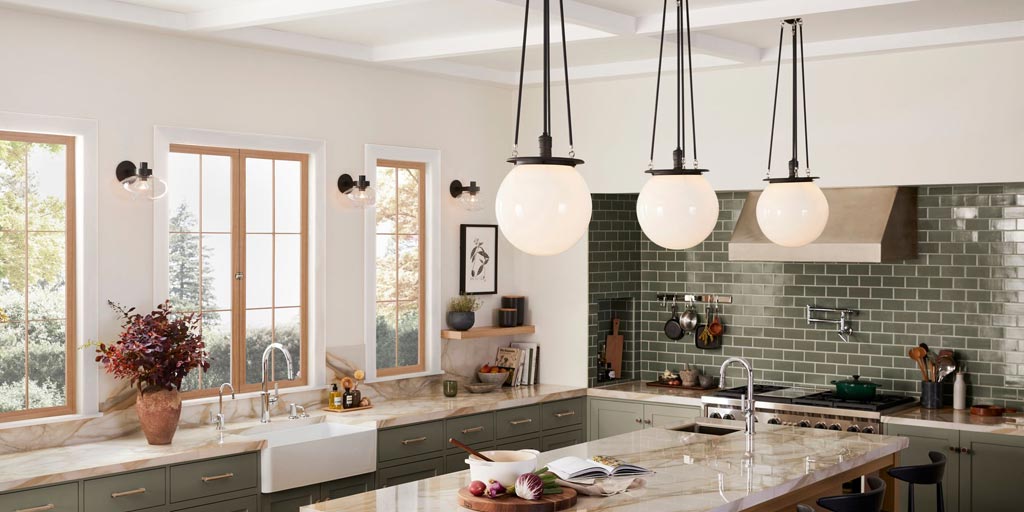
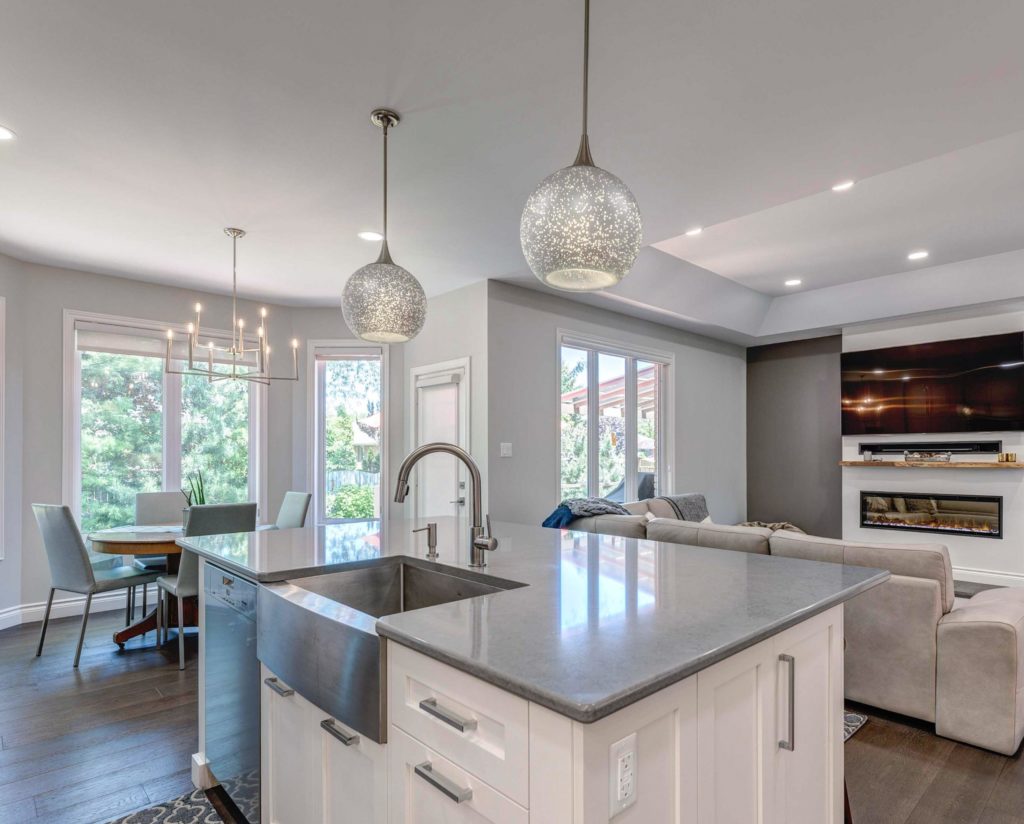
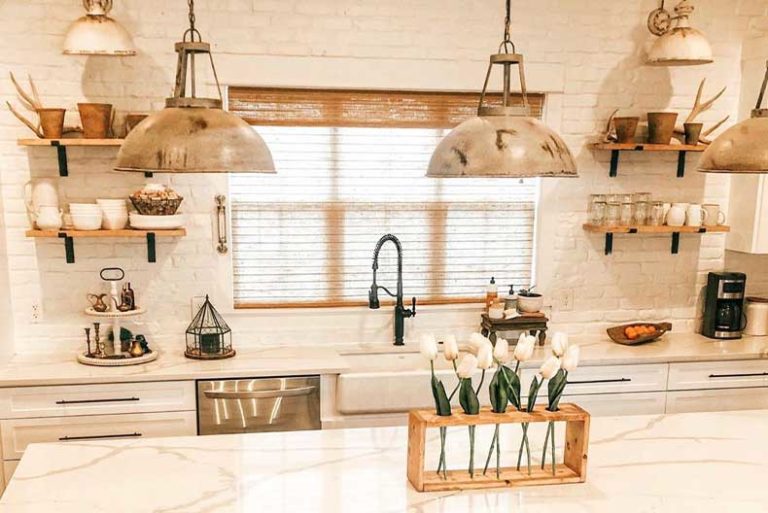
Pendant lights are a popular choice for kitchen island lighting. Here are some tips for installing them properly. Choose the right length: The length of the pendant lights will depend on the height of your ceilings. As a general rule, the bottom of the pendant should be about 30 inches above the island. Consider the number of lights: For larger islands, multiple pendant lights may be needed. Be sure to space them evenly and at the same height for a cohesive look. Use a dimmer: Installing a dimmer switch for your pendant lights can help create ambiance and adjust the lighting based on your needs.Installing Pendant Lights Over a Kitchen Island


Installing Pendant Lights Over a Kitchen Island


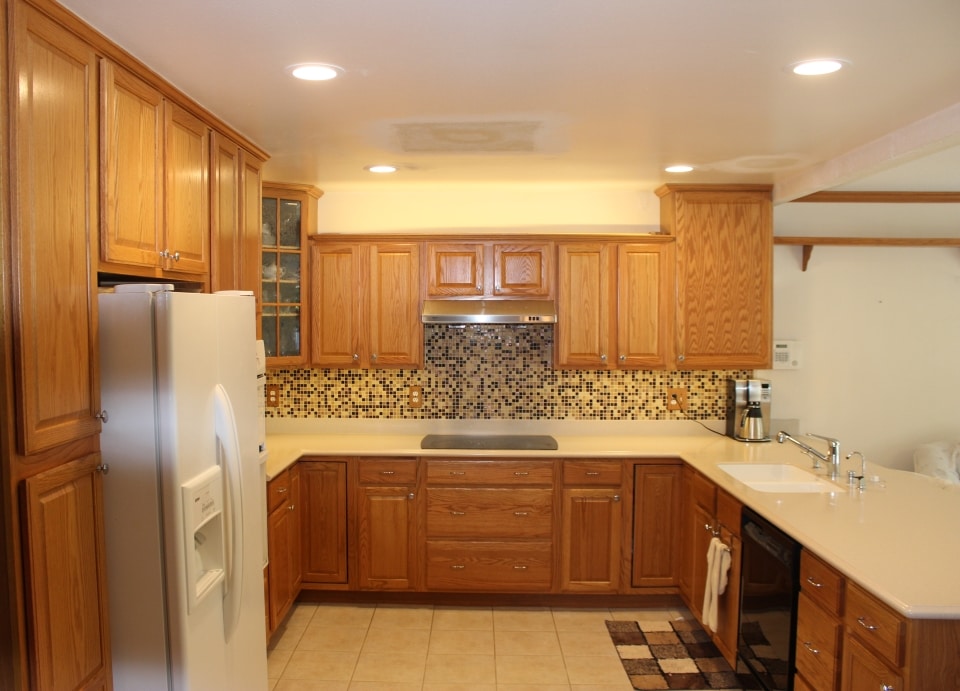
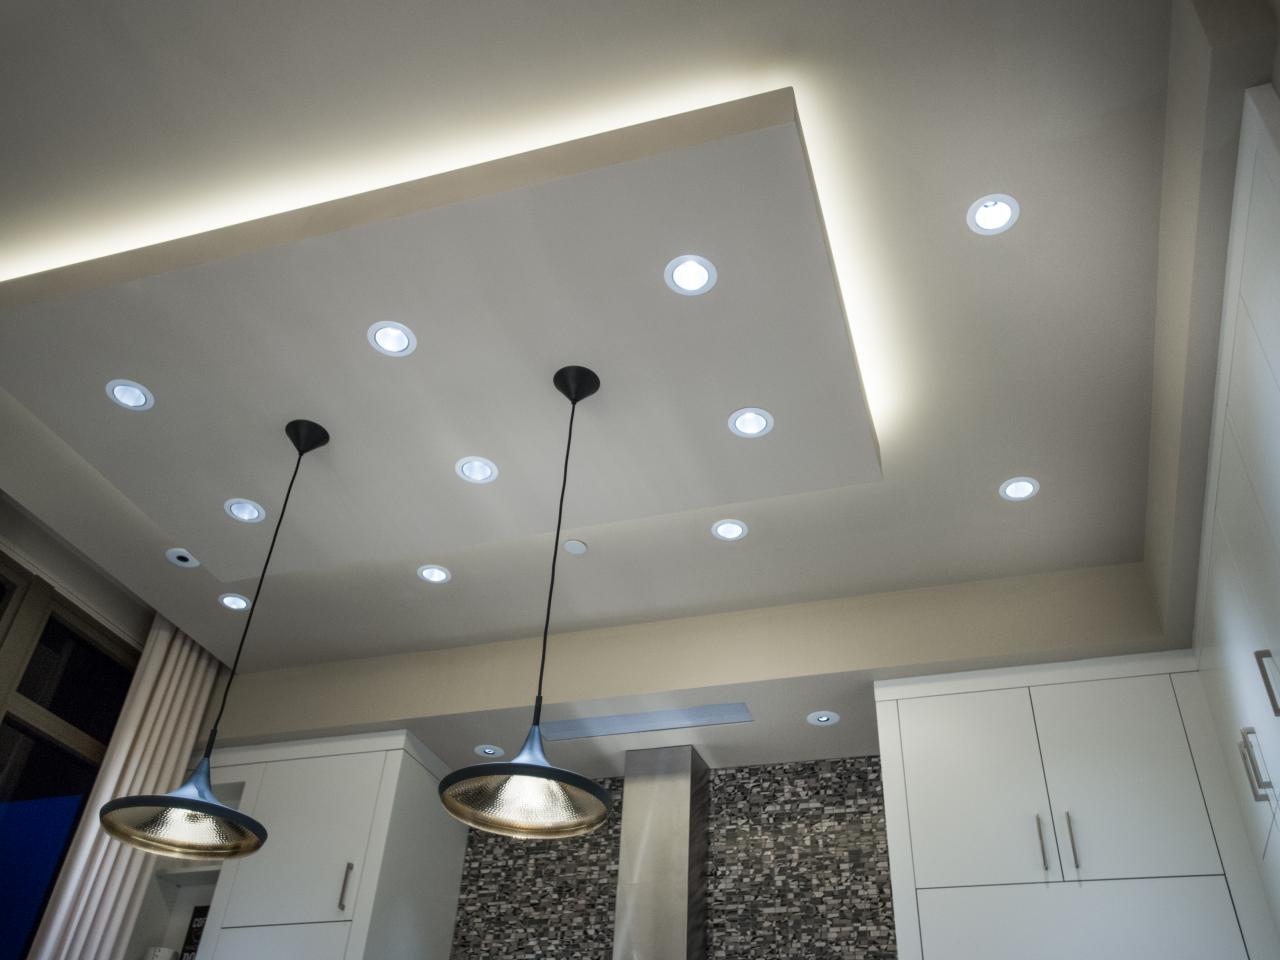
Recessed lighting is a popular choice for those looking for a sleek and modern look. Here are some tips for installing recessed lighting in your kitchen island. Choose the right size and spacing: The size of your kitchen island will determine how many recessed lights you will need. As a general rule, the lights should be evenly spaced and about 30 inches apart. Consider the angle: The angle of the recessed lights can have a big impact on the overall look. For a more subtle light, position the lights at a 30-degree angle. For a more dramatic effect, use a 45-degree angle. Use LED bulbs: LED bulbs are a great option for recessed lighting as they are energy-efficient and have a longer lifespan.Installing Recessed Lighting in a Kitchen Island


Installing Recessed Lighting in a Kitchen Island

:max_bytes(150000):strip_icc()/kitchenrecessedlighting-GettyImages-155383268-dec5caad600541ff81cbdd6d06846c66.jpg)

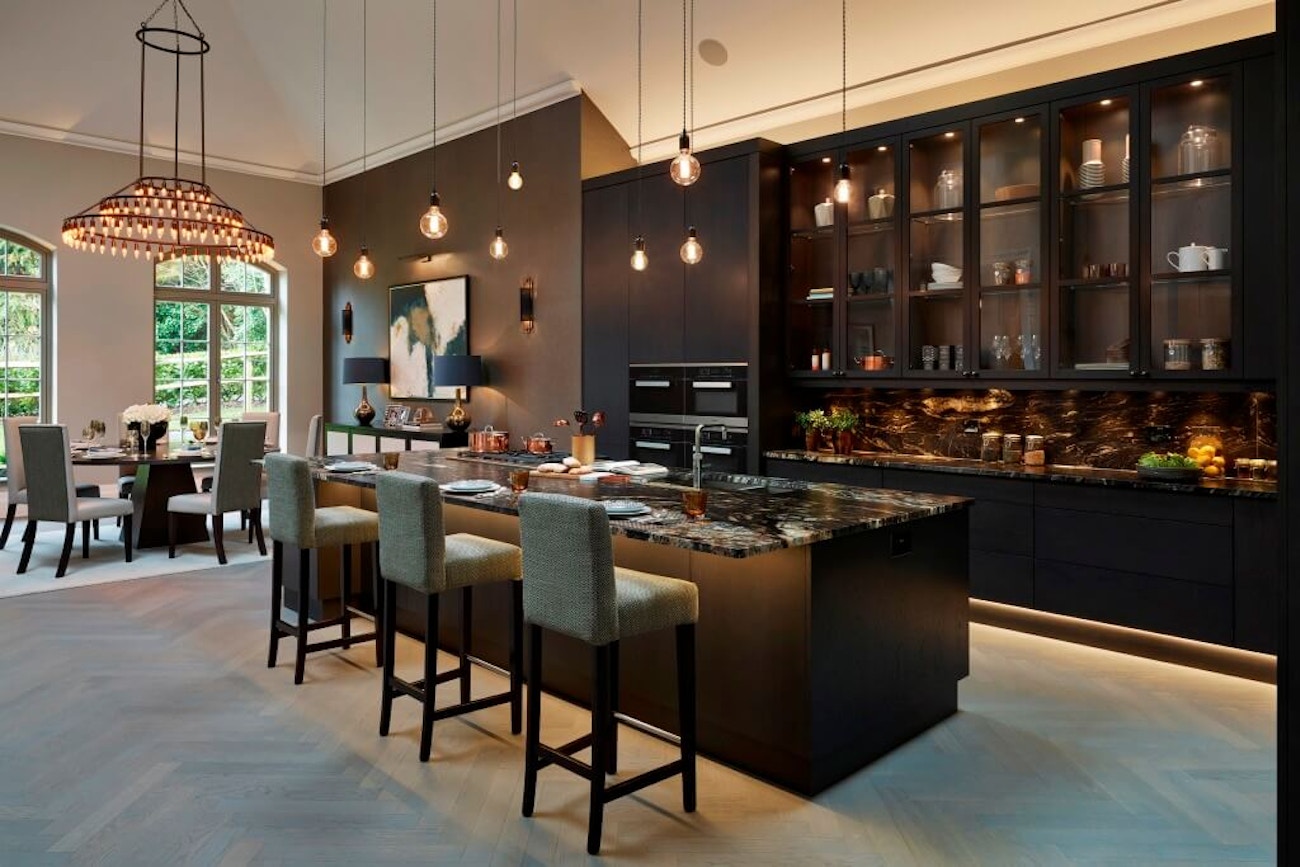
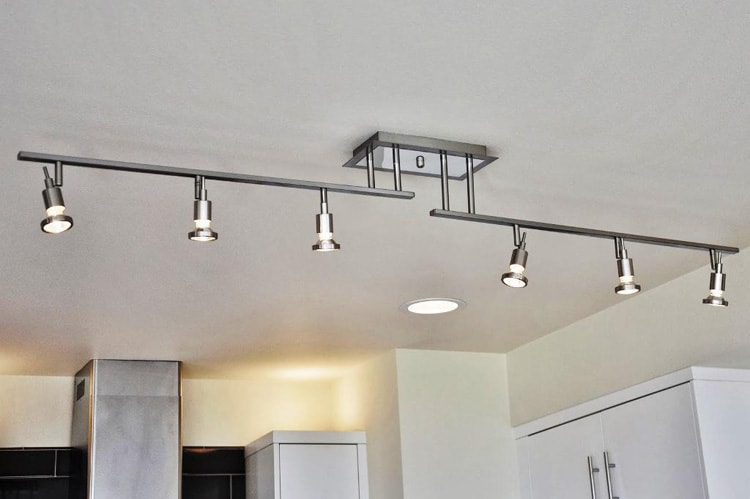
Track lighting is another popular choice for kitchen island lighting. Here are some tips for installing it in your space. Choose the right length: The length of the track lighting will depend on the size and shape of your kitchen island. As a general rule, the lights should be evenly spaced and about 30 inches apart. Consider the placement: Track lighting can be adjusted to highlight specific areas of the kitchen island. Consider where you will need the most light for cooking and food prep and adjust the lights accordingly. Use adjustable heads: Track lighting with adjustable heads can help you direct the light where you need it most.Installing Track Lighting for Your Kitchen Island


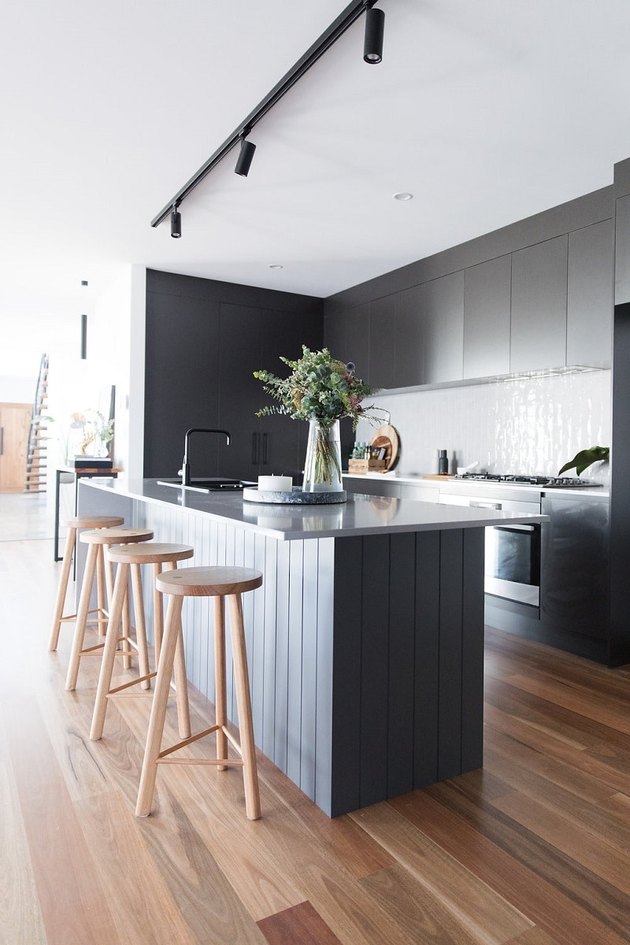
Installing Track Lighting for Your Kitchen Island
:max_bytes(150000):strip_icc()/how-to-install-track-lighting-5213879-07-b0ed887db6c544168b0ae2a262d7d26b.jpg)


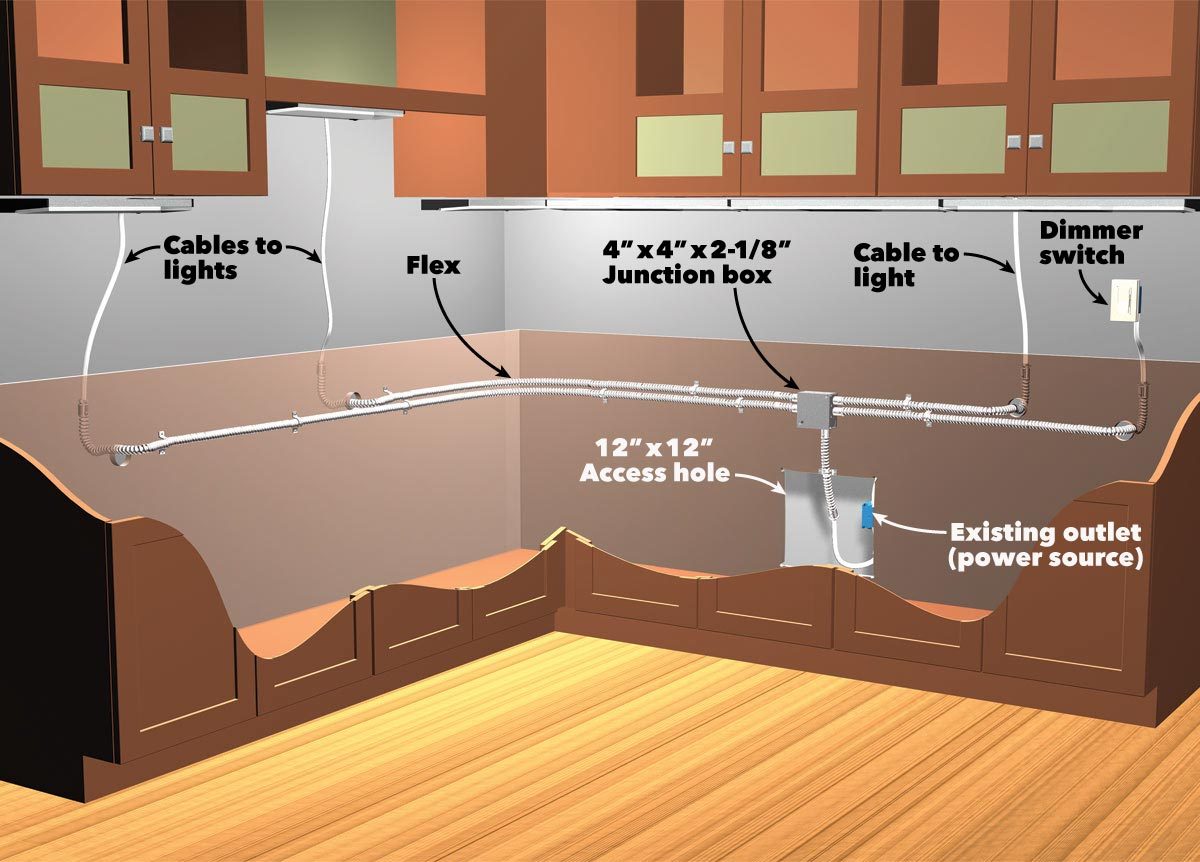
If you are comfortable with basic electrical work, wiring kitchen island lighting can be a DIY project. Here are the general steps for wiring any type of kitchen island lighting. Step 1: Turn off the power: Always turn off the power to the area where you will be working before beginning any electrical work. Step 2: Install the junction box: A junction box is necessary to safely connect the wiring for the lights. Follow the manufacturer's instructions for installation. Step 3: Run the wiring: Using wire strippers, remove the outer coating of the wiring and separate the wires. Run the wires from the junction box to the location of the light fixture. Step 4: Connect the wires: Use wire connectors to connect the wiring from the light fixture to the wiring in your ceiling. Make sure to follow proper safety precautions and consult a professional if needed. Step 5: Test the lights: Once the wiring is connected, turn the power back on and test the lights to ensure they are working properly.How to Wire Kitchen Island Lighting


How to Wire Kitchen Island Lighting
While installing kitchen island lighting may seem like a simple task, there are some common mistakes that can be easily avoided. Not turning off the power: This is a crucial step that should never be skipped. Always turn off the power before beginning any electrical work. Choosing the wrong size or style: As mentioned before, it's important to consider the size and style of your kitchen when choosing lighting. Installing lights that are too small or don't match the overall style can be a costly mistake. Improper placement: The placement of the lights is key to achieving the desired result. Take the time to measure and mark the correct spots for the lights before beginning installation. Skipping safety precautions: When working with electricity, it's important to follow proper safety precautions. If you are unsure or uncomfortable with the process, consult a professional. Installing kitchen island lighting can be a fun and rewarding DIY project. Just be sure to follow these tips and take your time to ensure a successful installation. With the right lights, your kitchen island will not only be well-lit but also a stylish focal point in your home.Common Mistakes to Avoid When Installing Kitchen Island Lighting


Common Mistakes to Avoid When Installing Kitchen Island Lighting


Enhance Your Kitchen Design with the Perfect Island Lighting

Light Up Your Kitchen Island
 When it comes to house design, the kitchen is often considered the heart of the home. It's where families gather to cook, eat, and spend quality time together. As such, it's important to create a functional and aesthetically pleasing space. One way to elevate your kitchen design is by installing
kitchen island lighting
. Not only does it provide essential task lighting for meal preparation, but it also adds a touch of style and ambiance to the room. Here's how you can choose the perfect island lighting to enhance your kitchen design.
When it comes to house design, the kitchen is often considered the heart of the home. It's where families gather to cook, eat, and spend quality time together. As such, it's important to create a functional and aesthetically pleasing space. One way to elevate your kitchen design is by installing
kitchen island lighting
. Not only does it provide essential task lighting for meal preparation, but it also adds a touch of style and ambiance to the room. Here's how you can choose the perfect island lighting to enhance your kitchen design.
Consider the Functionality
 Before diving into the aesthetics of kitchen island lighting, it's important to consider the functionality of the space. The lighting should be practical and provide enough light for cooking and food prep.
LED
lights are a popular choice for kitchen islands as they are energy-efficient and provide bright, focused lighting. Additionally, consider the size and shape of your kitchen island. For larger islands, multiple pendant lights may be needed to adequately illuminate the space.
Before diving into the aesthetics of kitchen island lighting, it's important to consider the functionality of the space. The lighting should be practical and provide enough light for cooking and food prep.
LED
lights are a popular choice for kitchen islands as they are energy-efficient and provide bright, focused lighting. Additionally, consider the size and shape of your kitchen island. For larger islands, multiple pendant lights may be needed to adequately illuminate the space.
Choose Your Style
 Once you've assessed the functionality, it's time to think about the style of your kitchen island lighting. This is where you can get creative and add a personal touch to your kitchen design.
Pendant
lights are a popular choice for kitchen islands as they come in a variety of styles, from modern and sleek to rustic and industrial. Consider the overall aesthetic of your kitchen and choose a style that complements it. You can also mix and match different styles for a unique and eclectic look.
Once you've assessed the functionality, it's time to think about the style of your kitchen island lighting. This is where you can get creative and add a personal touch to your kitchen design.
Pendant
lights are a popular choice for kitchen islands as they come in a variety of styles, from modern and sleek to rustic and industrial. Consider the overall aesthetic of your kitchen and choose a style that complements it. You can also mix and match different styles for a unique and eclectic look.
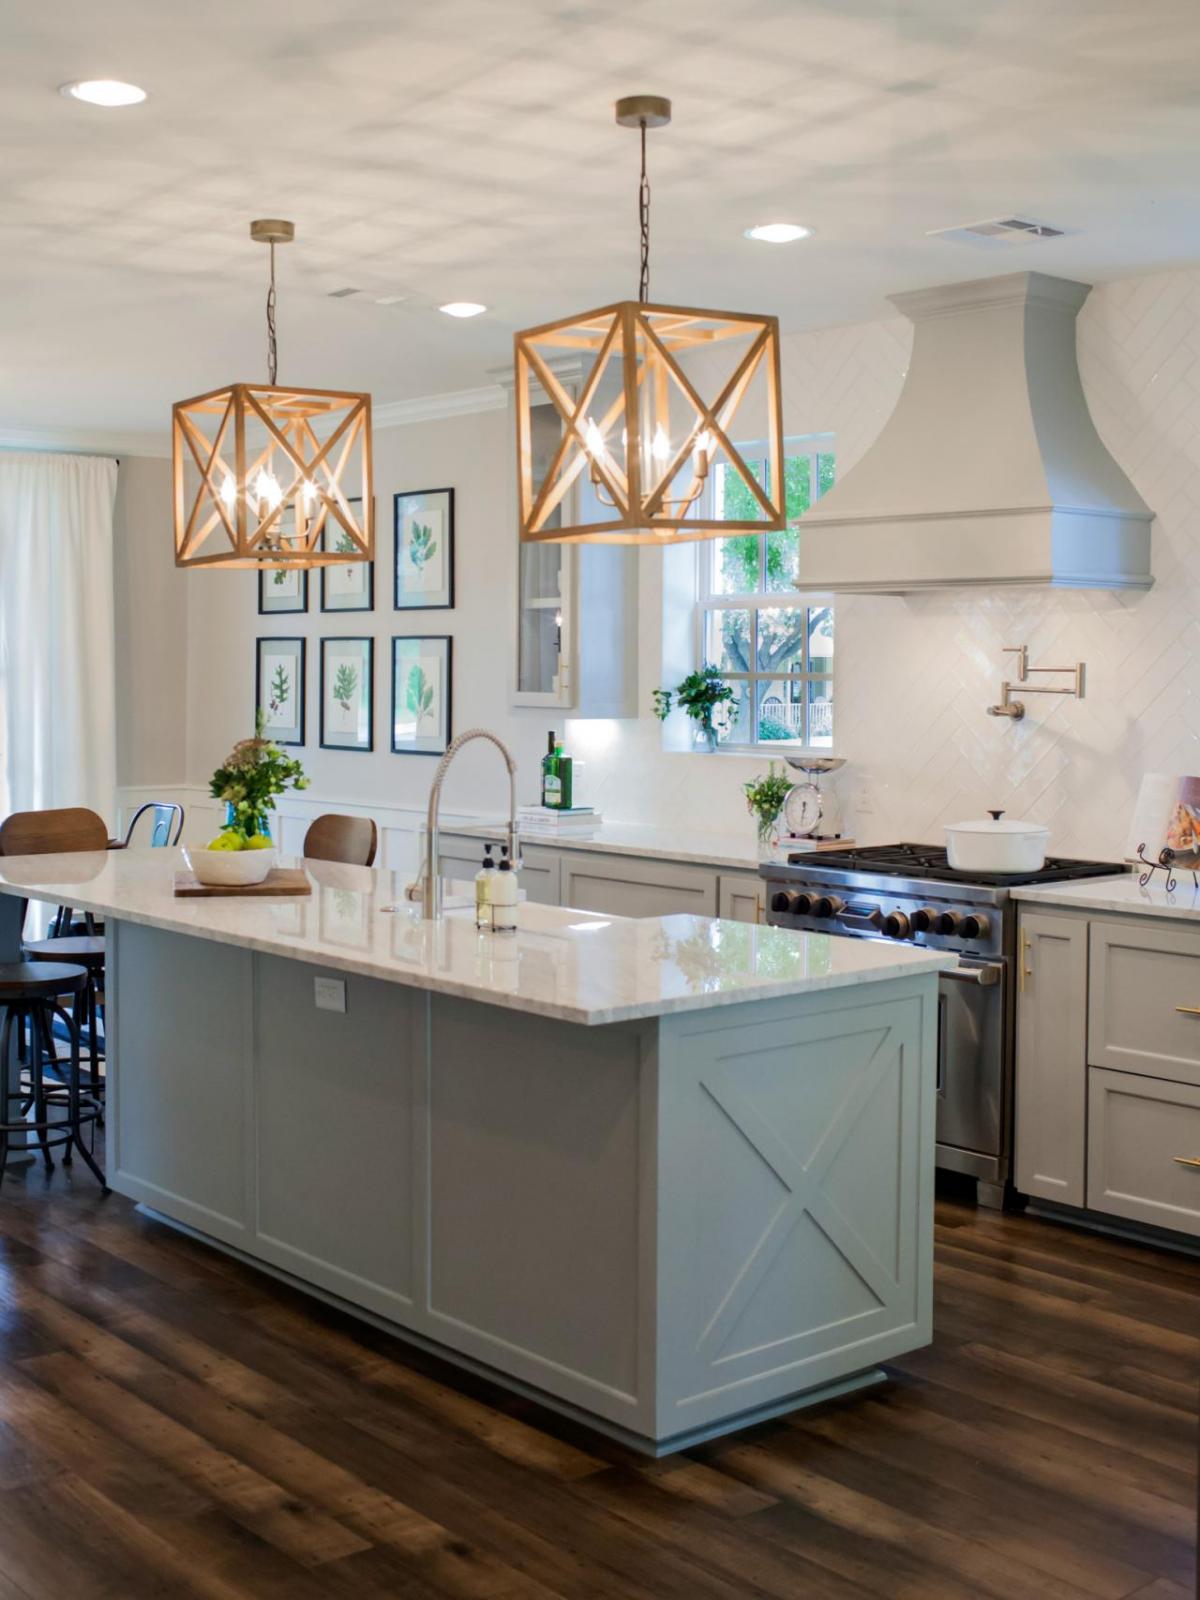
Play with Size and Proportion
 When it comes to choosing the right size and proportion for your kitchen island lighting, it's important to strike a balance. If your island is on the smaller side, opt for smaller pendant lights to avoid overwhelming the space. On the other hand, if you have a large kitchen island, consider using larger or multiple pendant lights to create a focal point in the room. Additionally, take into account the height of your ceiling when choosing the length of your pendant lights.
Ceiling height
can greatly impact the overall look and feel of your kitchen island lighting.
When it comes to choosing the right size and proportion for your kitchen island lighting, it's important to strike a balance. If your island is on the smaller side, opt for smaller pendant lights to avoid overwhelming the space. On the other hand, if you have a large kitchen island, consider using larger or multiple pendant lights to create a focal point in the room. Additionally, take into account the height of your ceiling when choosing the length of your pendant lights.
Ceiling height
can greatly impact the overall look and feel of your kitchen island lighting.
Final Touches
 To complete the look of your kitchen island lighting, consider adding some final touches. This could include installing a dimmer switch to create different levels of light for different occasions, or using
Edison
bulbs for a vintage-inspired look. You can also add some decorative elements, such as
hanging plants
or
woven shades
, to add texture and warmth to the space.
In conclusion, choosing the right kitchen island lighting can greatly enhance your kitchen design. By considering the functionality, style, size, and final touches, you can create a well-lit and visually appealing space for cooking, entertaining, and making memories with your loved ones. So, take these tips and let your creativity shine as you select the perfect island lighting for your kitchen.
To complete the look of your kitchen island lighting, consider adding some final touches. This could include installing a dimmer switch to create different levels of light for different occasions, or using
Edison
bulbs for a vintage-inspired look. You can also add some decorative elements, such as
hanging plants
or
woven shades
, to add texture and warmth to the space.
In conclusion, choosing the right kitchen island lighting can greatly enhance your kitchen design. By considering the functionality, style, size, and final touches, you can create a well-lit and visually appealing space for cooking, entertaining, and making memories with your loved ones. So, take these tips and let your creativity shine as you select the perfect island lighting for your kitchen.