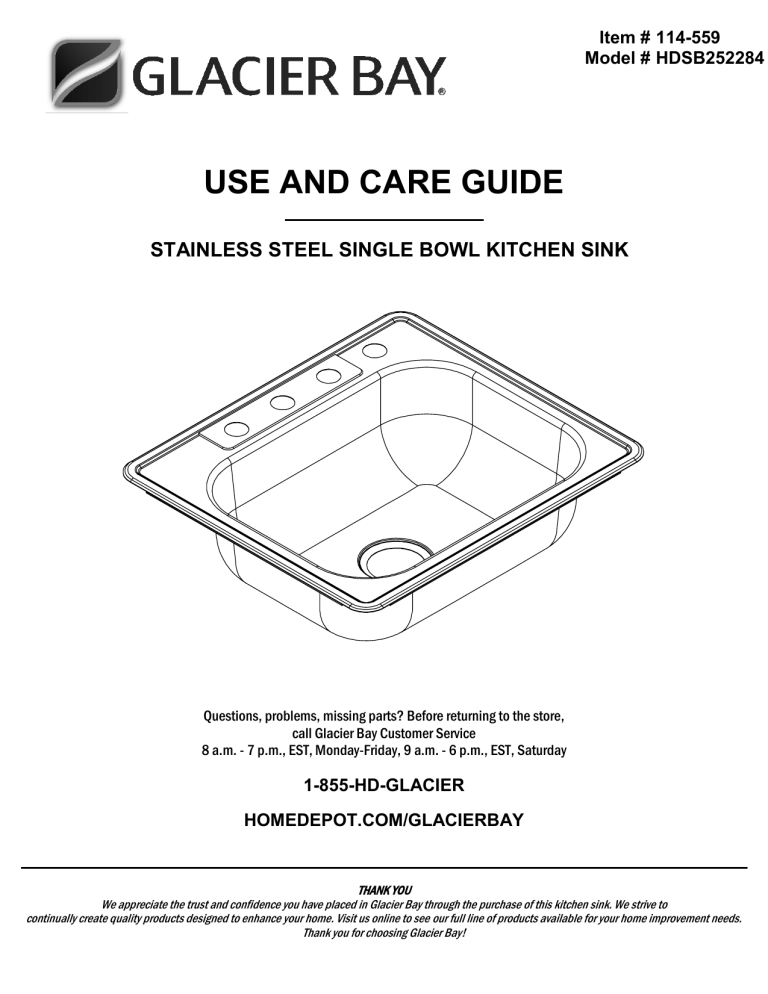
Are you looking to upgrade your kitchen with a new sink? Look no further than Glacier Bay, a trusted brand known for its stylish and durable kitchen sinks. If you're wondering how to install a Glacier Bay kitchen sink, you've come to the right place. In this guide, we'll take you through the process step-by-step, making it easy for you to achieve a professional-looking installation. So, let's get started!Installing a Glacier Bay Kitchen Sink: A Step-by-Step Guide


Installing a Glacier Bay Kitchen Sink: A Step-by-Step Guide


:no_upscale()/cdn.vox-cdn.com/uploads/chorus_asset/file/19495086/drain_0.jpg)

Before we dive into the installation process, it's important to gather all the necessary tools and materials. You will need:How to Install a Glacier Bay Kitchen Sink


How to Install a Glacier Bay Kitchen Sink

:no_upscale()/cdn.vox-cdn.com/uploads/chorus_asset/file/19495086/drain_0.jpg)


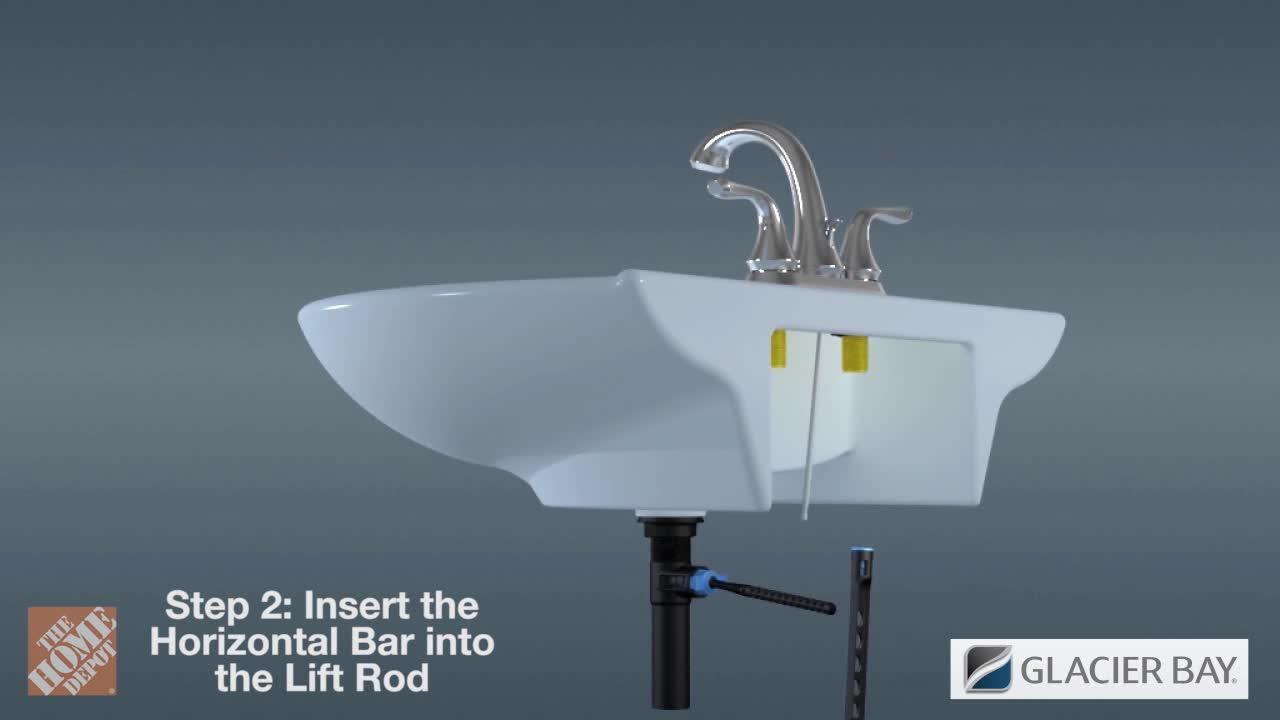
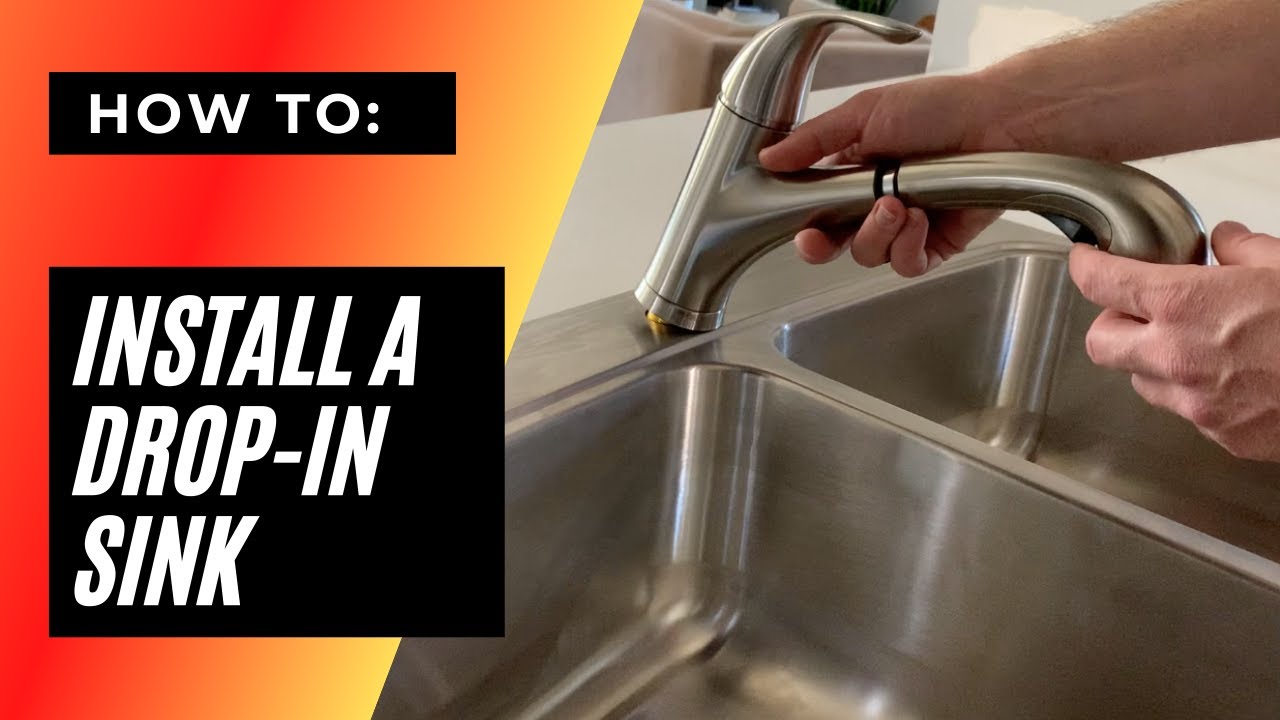
The first step is to remove your old sink if you have one. Turn off the water supply and disconnect the plumbing connections. Then, use a screwdriver to loosen and remove the mounting clips or screws that hold the sink in place. Carefully lift the sink out and set it aside. Next, place the new Glacier Bay sink upside down on a flat surface. Apply a generous amount of plumber's putty around the edge of the sink where it will come in contact with the countertop. This will create a watertight seal. Now, carefully flip the sink over and place it into the sink cutout in the countertop. Make sure it is centered and level. Use a tape measure to double-check the measurements. Once you're satisfied with the placement, secure the sink with mounting clips or screws.DIY: Installing a Glacier Bay Kitchen Sink


DIY: Installing a Glacier Bay Kitchen Sink


It's time to connect the plumbing. Start by attaching the drain assembly to the sink. Apply some plumber's putty to the underside of the drain flange and insert it into the drain opening. Then, secure it in place with the provided hardware. Next, connect the water supply lines to the faucet. Use plumbing tape to ensure a tight and leak-proof connection. Once the connections are secure, turn on the water supply and check for any leaks. If everything looks good, you're ready to move on to the final step.Glacier Bay Kitchen Sink Installation Tutorial


Glacier Bay Kitchen Sink Installation Tutorial


The final step is to seal the sink to the countertop. Apply a thin bead of silicone caulk around the edge of the sink where it meets the countertop. Use your finger to smooth out the caulk and create a neat and even seal. Wipe off any excess caulk with a damp cloth. Let the caulk dry for at least 24 hours before using your new Glacier Bay kitchen sink. This will ensure a strong and waterproof seal.Easy Steps for Installing a Glacier Bay Kitchen Sink
Easy Steps for Installing a Glacier Bay Kitchen Sink

Before you begin the installation process, it's important to read the manufacturer's instructions carefully. This will ensure that you have all the necessary tools and materials and that you follow the correct steps for your specific sink model. Additionally, it's always a good idea to have a helper when installing a kitchen sink. This will make the process easier and safer, especially when lifting and positioning the sink.Installing a Glacier Bay Kitchen Sink: Tips and Tricks

Installing a Glacier Bay Kitchen Sink: Tips and Tricks

If you're new to DIY projects, installing a kitchen sink may seem daunting. However, with the right tools and instructions, it can be a manageable and rewarding task. By following our step-by-step guide, you can have a beautiful and functional Glacier Bay kitchen sink in no time.The Ultimate Guide to Installing a Glacier Bay Kitchen Sink


The Ultimate Guide to Installing a Glacier Bay Kitchen Sink

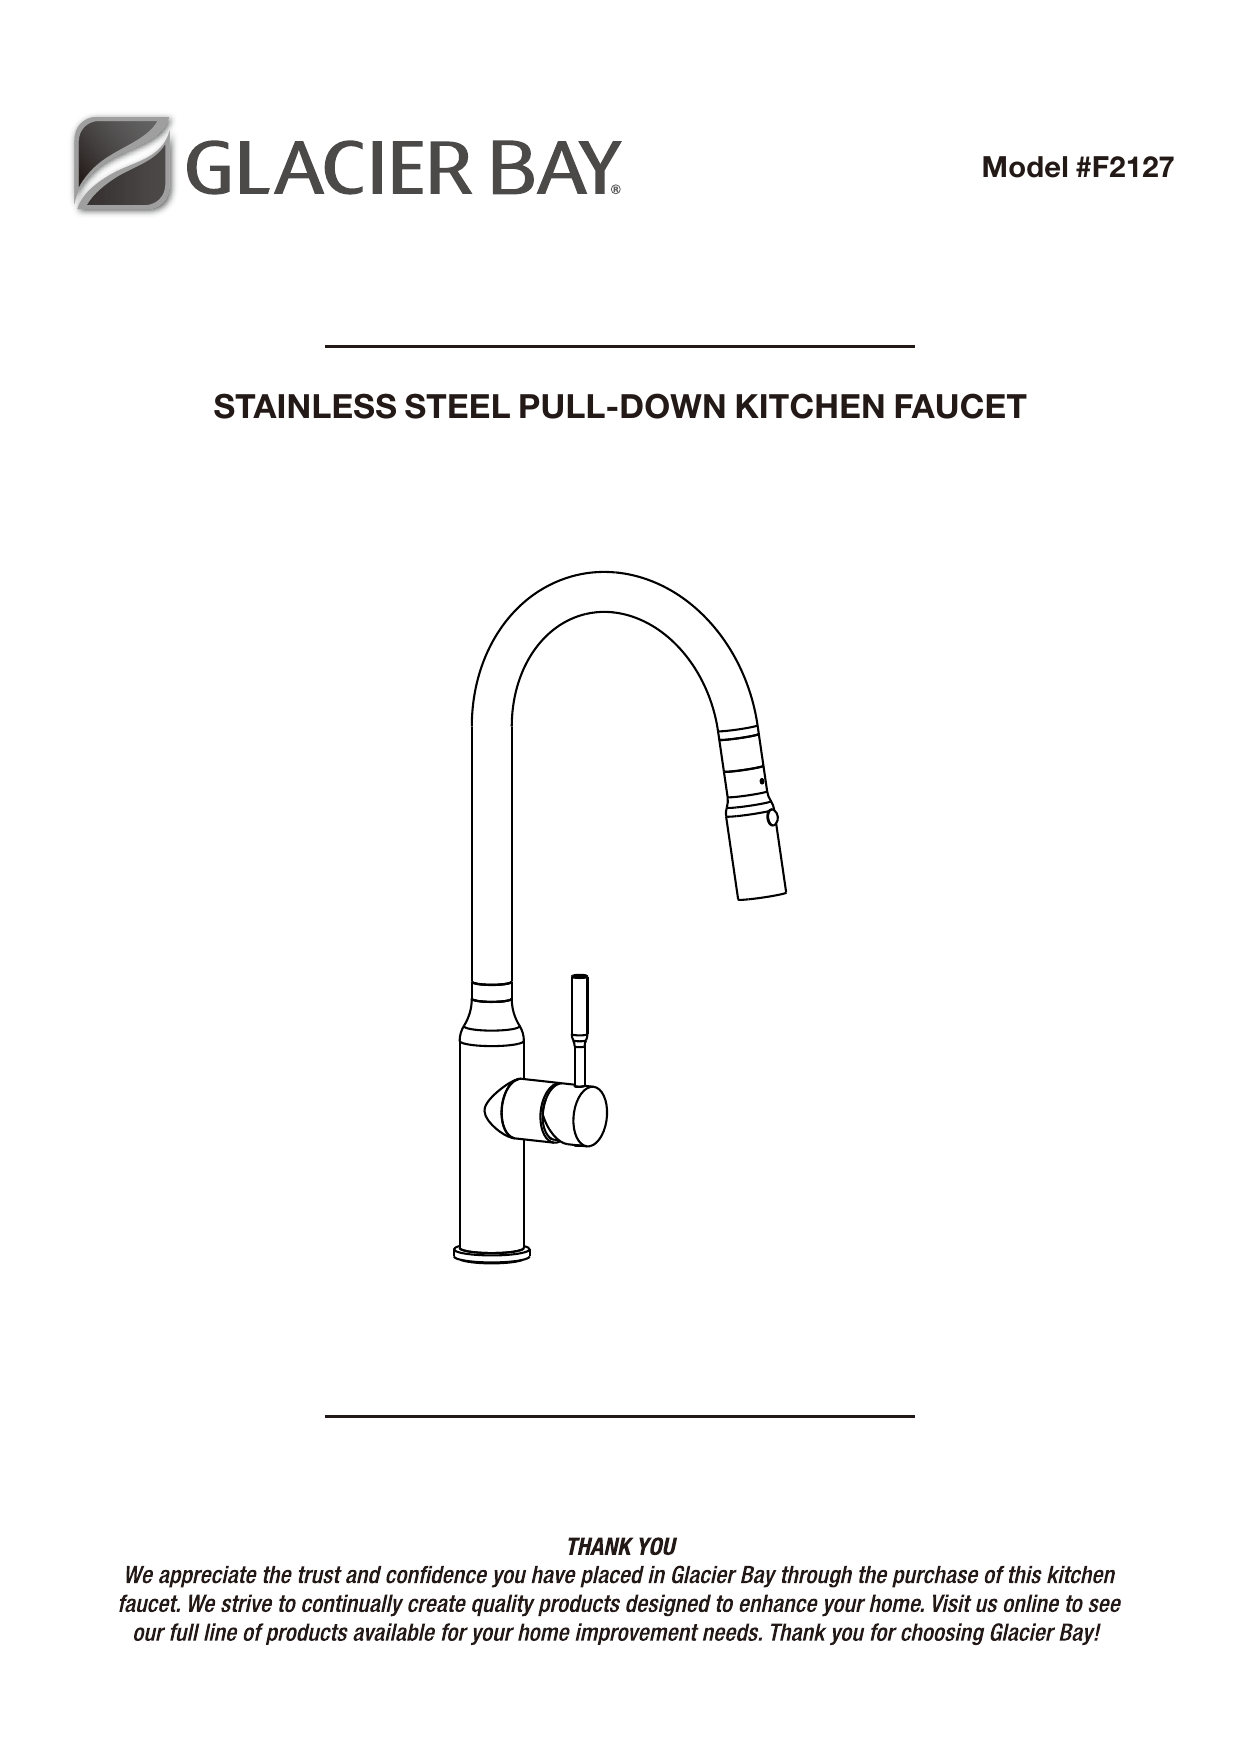
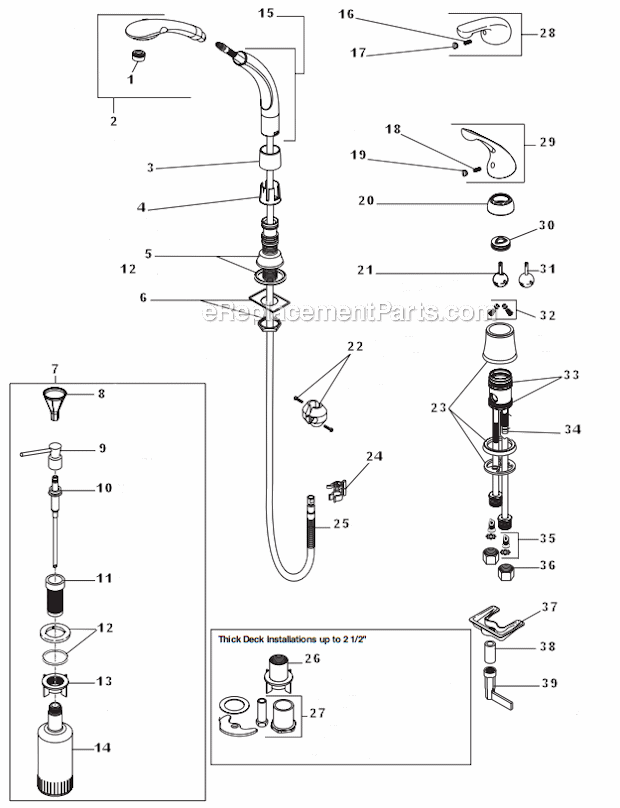
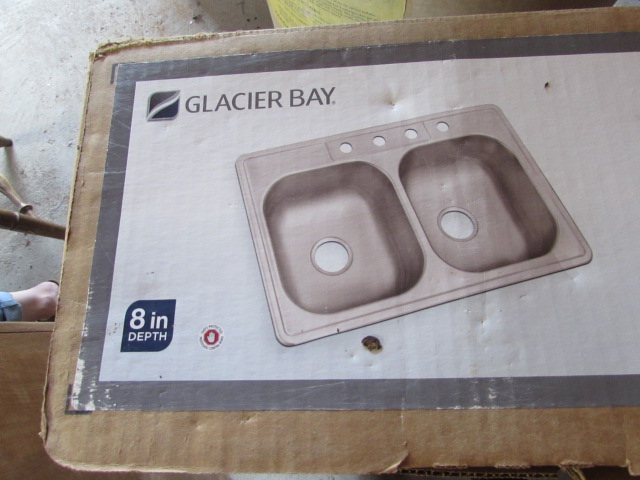
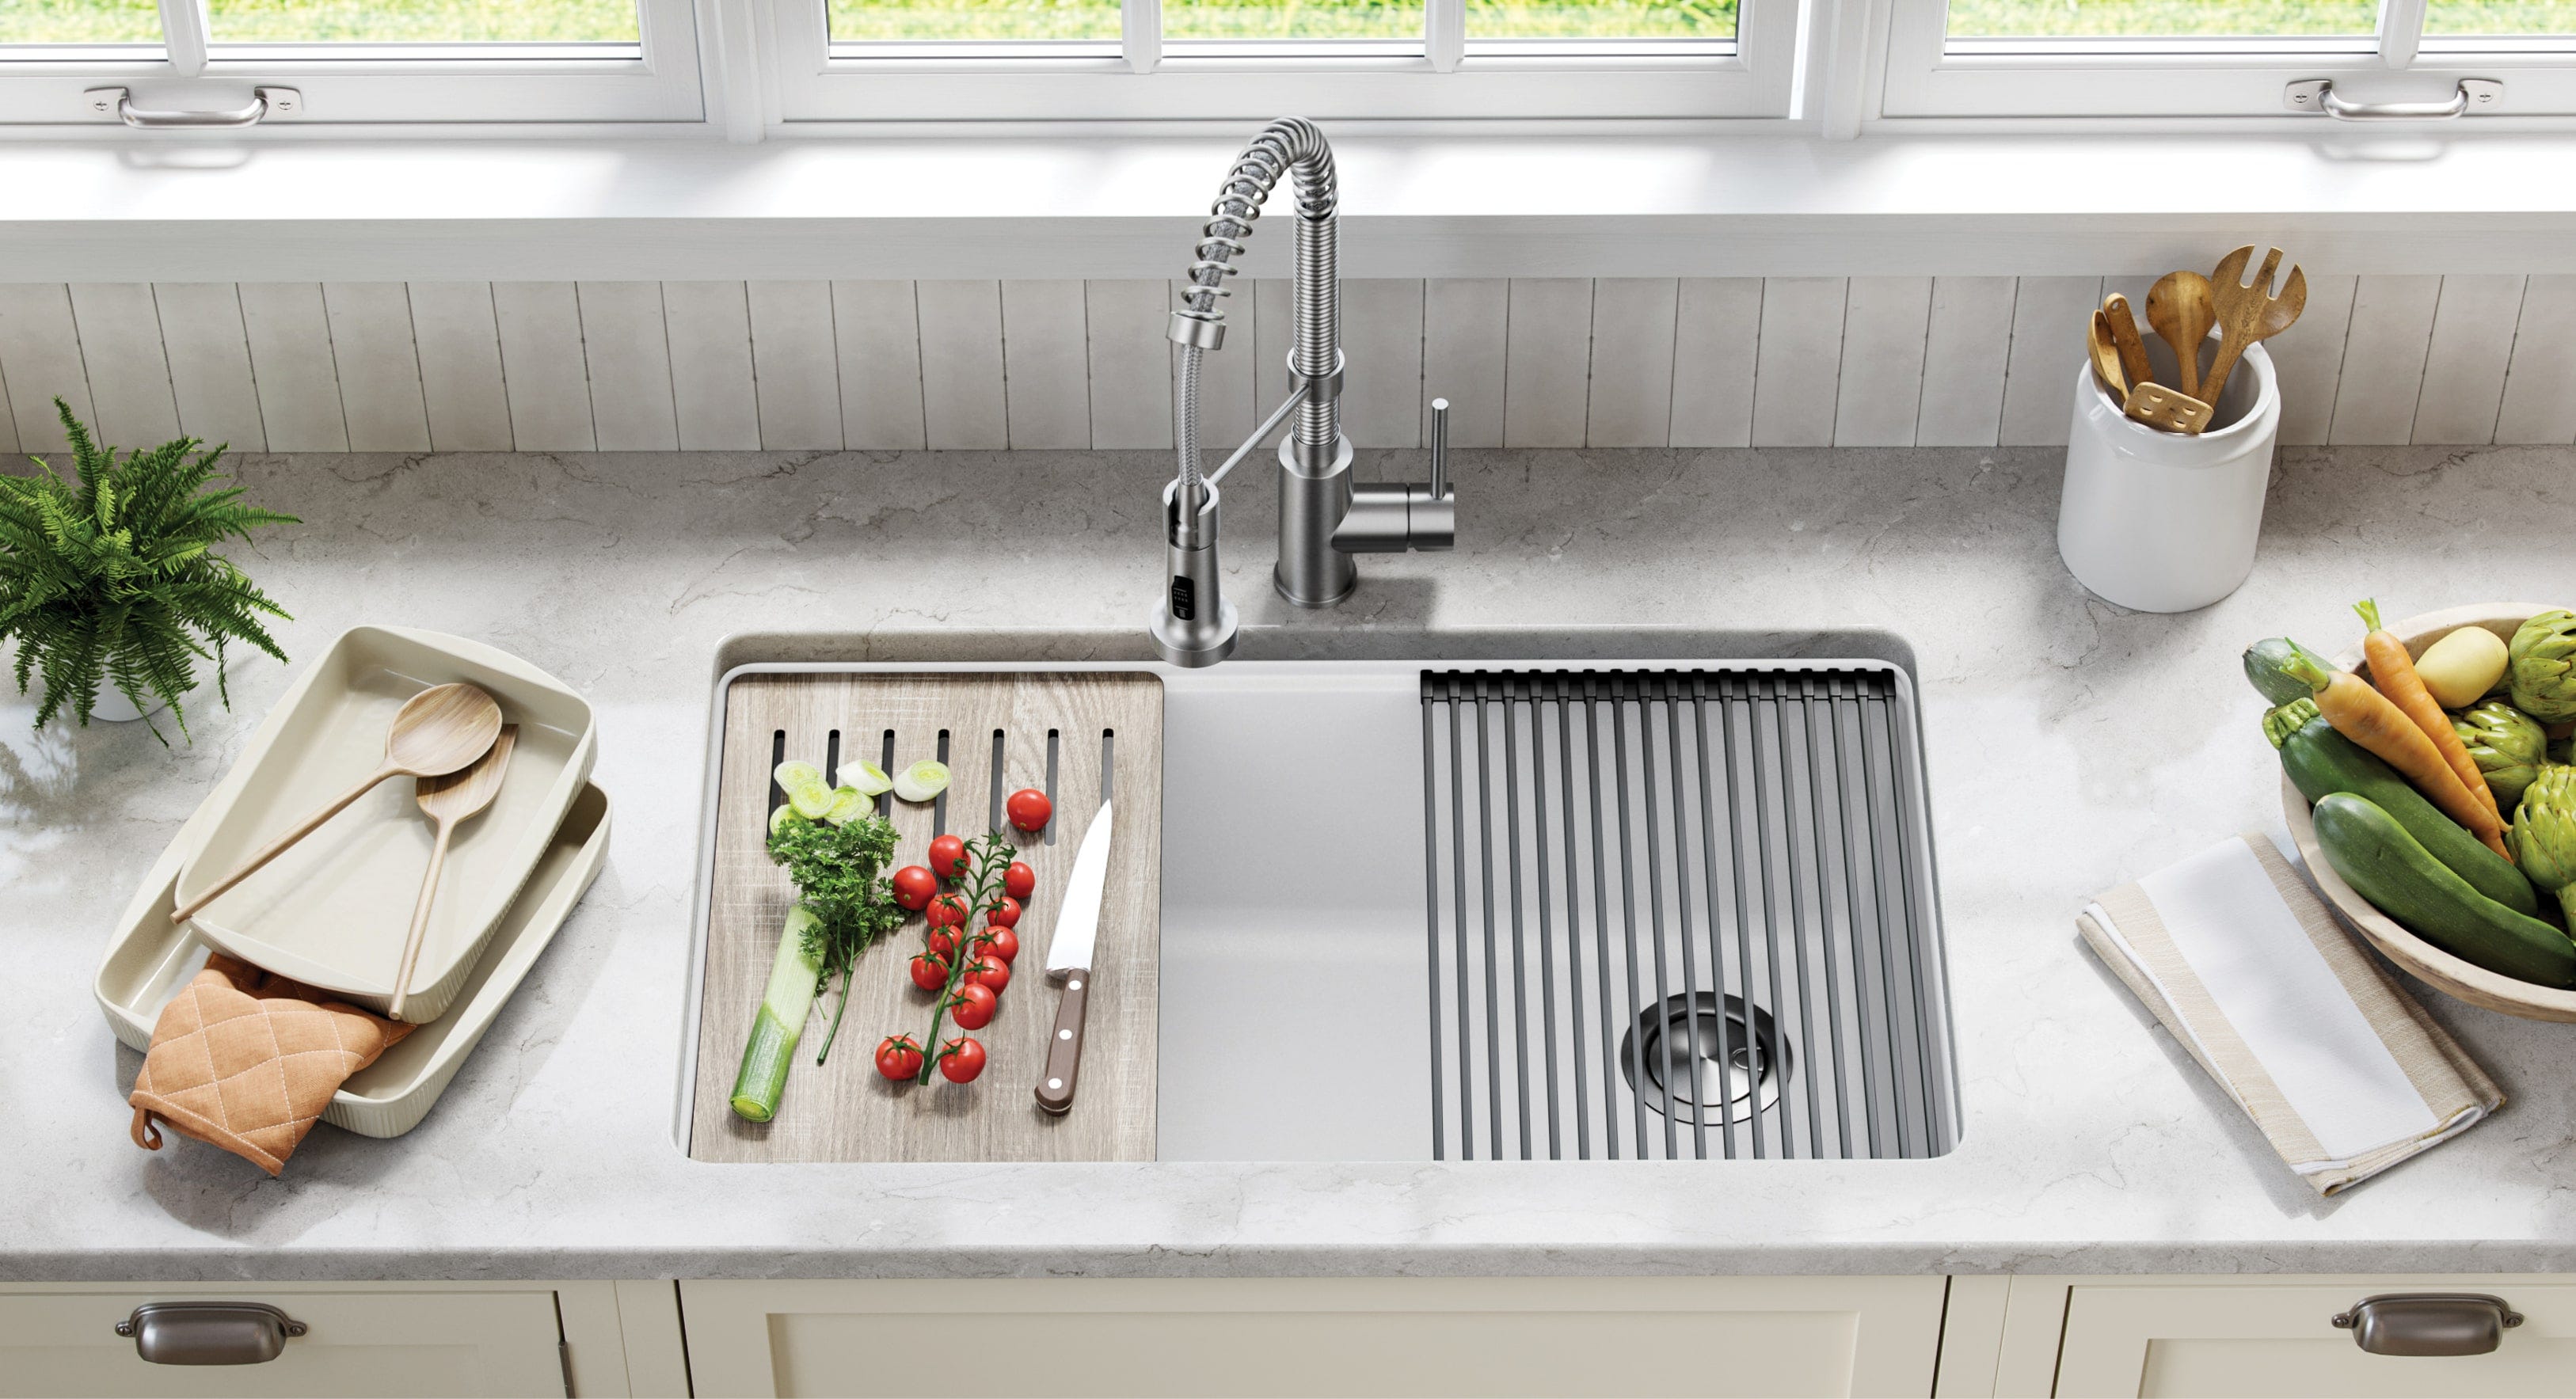
When shopping for a Glacier Bay kitchen sink, make sure to choose a size and style that fits your kitchen and meets your needs. Consider the number of bowls, depth, and material of the sink. Glacier Bay offers a variety of options to suit different preferences and budgets. It's also important to choose a faucet that complements your sink and fits your plumbing setup. Glacier Bay offers matching faucets for their sinks, making it easy to achieve a cohesive look in your kitchen.Glacier Bay Kitchen Sink Installation: What You Need to Know

Glacier Bay Kitchen Sink Installation: What You Need to Know

One common mistake when installing a kitchen sink is not properly sealing the sink to the countertop. This can lead to leaks and water damage. Make sure to use enough plumber's putty and silicone caulk for a secure and watertight seal. Another mistake is not checking for leaks before using the sink. It's important to test the connections and make any necessary adjustments before using the sink regularly.Installing a Glacier Bay Kitchen Sink: Common Mistakes to Avoid

Installing a Glacier Bay Kitchen Sink: Common Mistakes to Avoid

If you encounter any difficulties during the installation process, don't hesitate to consult a professional plumber. They can provide guidance and ensure that your sink is installed correctly and safely. Additionally, read reviews and watch installation tutorials online before starting the project. This will give you a better understanding of the process and any potential challenges you may face. And that's it! By following these steps and tips, you can successfully install a Glacier Bay kitchen sink and enjoy a beautiful and functional addition to your kitchen. Remember to take your time and be patient, and you'll have a professional-looking installation in no time.Expert Tips for Installing a Glacier Bay Kitchen Sink
Expert Tips for Installing a Glacier Bay Kitchen Sink
Adding the Finishing Touches

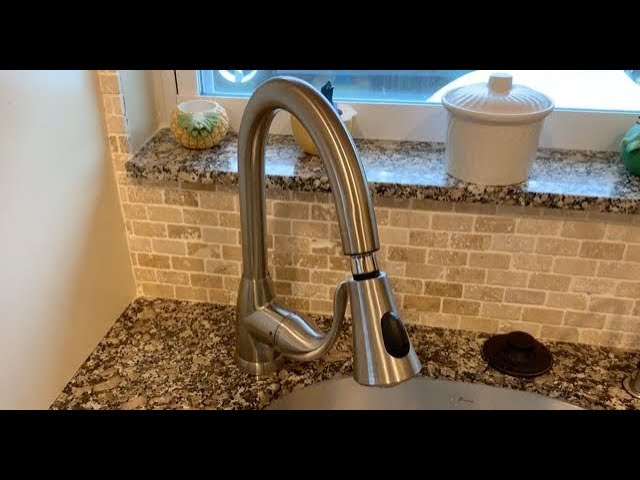
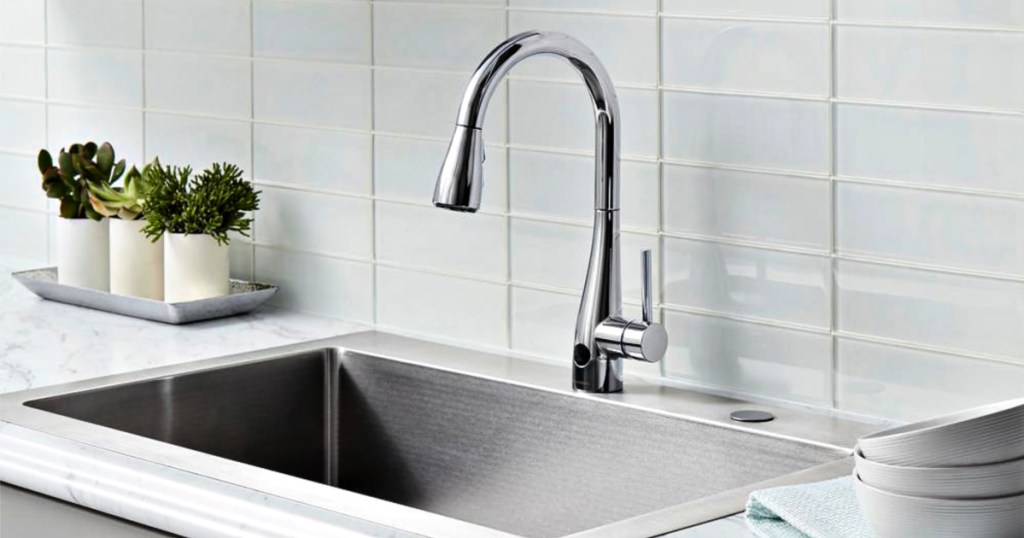
Choosing the Right Faucet
 Now that you have successfully installed your Glacier Bay kitchen sink, it's time to add the finishing touches to complete the look and functionality of your new kitchen sink. One important component to consider is the faucet.
Choosing the right faucet can make a big difference in both the aesthetics and functionality of your kitchen sink.
There are various types of faucets available, including single-handle, two-handle, and pull-down faucets.
Consider the style and design of your kitchen when selecting a faucet to ensure it complements the overall look.
Additionally,
make sure to choose a faucet with the right water flow and pressure for your needs.
A high-arc faucet is ideal for larger pots and dishes, while a low-arc faucet may be more suitable for smaller sinks.
Making sure your faucet is the perfect fit for your kitchen sink will provide both convenience and functionality.
Now that you have successfully installed your Glacier Bay kitchen sink, it's time to add the finishing touches to complete the look and functionality of your new kitchen sink. One important component to consider is the faucet.
Choosing the right faucet can make a big difference in both the aesthetics and functionality of your kitchen sink.
There are various types of faucets available, including single-handle, two-handle, and pull-down faucets.
Consider the style and design of your kitchen when selecting a faucet to ensure it complements the overall look.
Additionally,
make sure to choose a faucet with the right water flow and pressure for your needs.
A high-arc faucet is ideal for larger pots and dishes, while a low-arc faucet may be more suitable for smaller sinks.
Making sure your faucet is the perfect fit for your kitchen sink will provide both convenience and functionality.
Adding a Garbage Disposal
 Another important feature to consider when installing a kitchen sink is a garbage disposal.
Not only does it help with food waste disposal, but it also helps keep your kitchen clean and free of odors.
When selecting a garbage disposal, make sure to
choose one that is compatible with your sink's drain opening and plumbing.
It's also important to consider the horsepower of the disposal, as a higher horsepower will be more efficient and able to handle tougher food waste.
Lastly,
make sure to properly install and maintain your garbage disposal to ensure its longevity and avoid clogs or other issues.
Another important feature to consider when installing a kitchen sink is a garbage disposal.
Not only does it help with food waste disposal, but it also helps keep your kitchen clean and free of odors.
When selecting a garbage disposal, make sure to
choose one that is compatible with your sink's drain opening and plumbing.
It's also important to consider the horsepower of the disposal, as a higher horsepower will be more efficient and able to handle tougher food waste.
Lastly,
make sure to properly install and maintain your garbage disposal to ensure its longevity and avoid clogs or other issues.
Accessorizing Your Sink
 To truly make your Glacier Bay kitchen sink stand out, consider accessorizing it with some practical and stylish additions.
Adding a soap dispenser can help keep your sink area clean and clutter-free.
A sink strainer can also be a useful addition to prevent food scraps from clogging your drain.
If you have a double sink, consider adding a sink divider mat to protect the surface and make washing dishes easier.
Additionally,
installing under-sink organizers can help maximize storage space and keep your cleaning supplies neatly organized.
By accessorizing your sink, you not only add convenience but also enhance the overall look and functionality of your kitchen.
To truly make your Glacier Bay kitchen sink stand out, consider accessorizing it with some practical and stylish additions.
Adding a soap dispenser can help keep your sink area clean and clutter-free.
A sink strainer can also be a useful addition to prevent food scraps from clogging your drain.
If you have a double sink, consider adding a sink divider mat to protect the surface and make washing dishes easier.
Additionally,
installing under-sink organizers can help maximize storage space and keep your cleaning supplies neatly organized.
By accessorizing your sink, you not only add convenience but also enhance the overall look and functionality of your kitchen.
In Conclusion
 Installing a Glacier Bay kitchen sink is a great way to upgrade your kitchen and improve its functionality. By choosing the right faucet, adding a garbage disposal, and accessorizing your sink, you can create a stylish and efficient space for all your kitchen needs.
Make sure to properly maintain your sink and its components to ensure they last for years to come.
With these tips and your newly installed kitchen sink, you're well on your way to a beautiful and functional kitchen.
Installing a Glacier Bay kitchen sink is a great way to upgrade your kitchen and improve its functionality. By choosing the right faucet, adding a garbage disposal, and accessorizing your sink, you can create a stylish and efficient space for all your kitchen needs.
Make sure to properly maintain your sink and its components to ensure they last for years to come.
With these tips and your newly installed kitchen sink, you're well on your way to a beautiful and functional kitchen.