If you're looking to upgrade your bathroom with a new vessel sink, one of the most important steps is installing the bathroom sink drain. While it may seem like a daunting task, with the right tools and knowledge, it can be a simple and straightforward process. In this article, we'll walk you through the steps of installing a bathroom sink drain in a vessel sink, so you can have a beautifully functional bathroom in no time.1. Installing Bathroom Sink Drain: A Step-by-Step Guide


installing bathroom sink drain


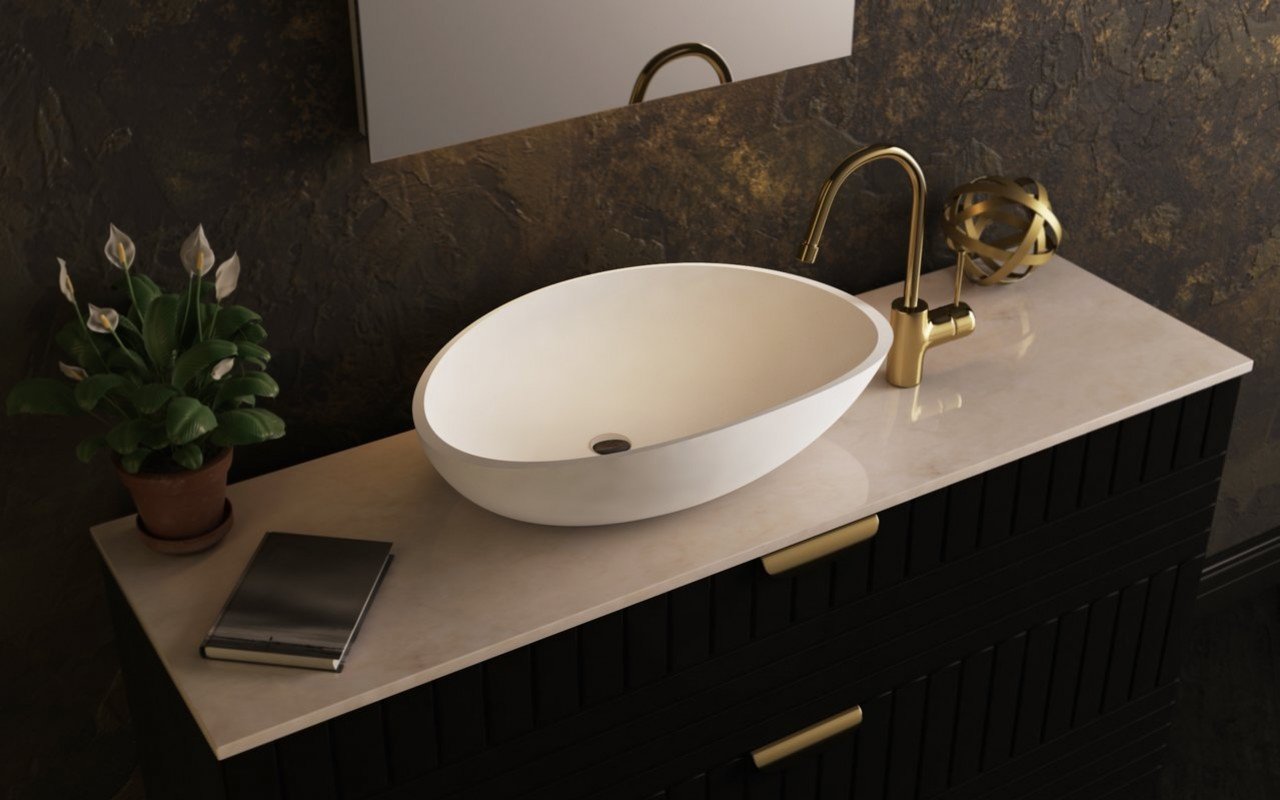
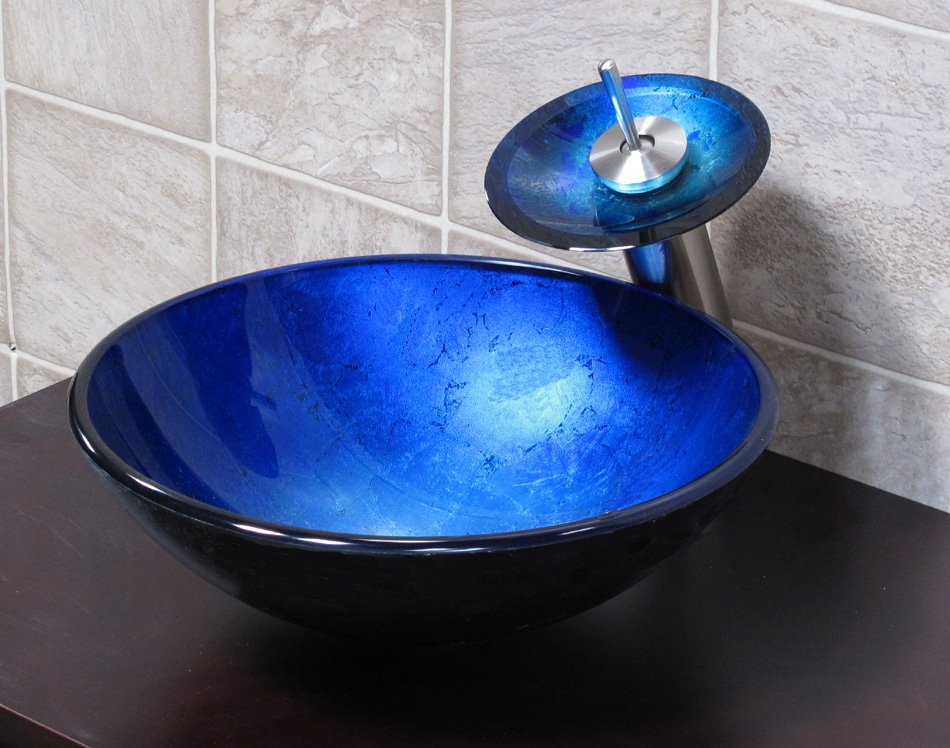
Before you begin the installation process, it's important to choose the right vessel sink for your bathroom. Vessel sinks come in a variety of materials, shapes, and sizes, so it's important to select one that fits both your personal style and the dimensions of your bathroom. Whether you opt for a sleek glass vessel sink or a more traditional ceramic one, make sure to measure the sink carefully to ensure a proper fit.2. Choosing the Right Vessel Sink for Your Bathroom
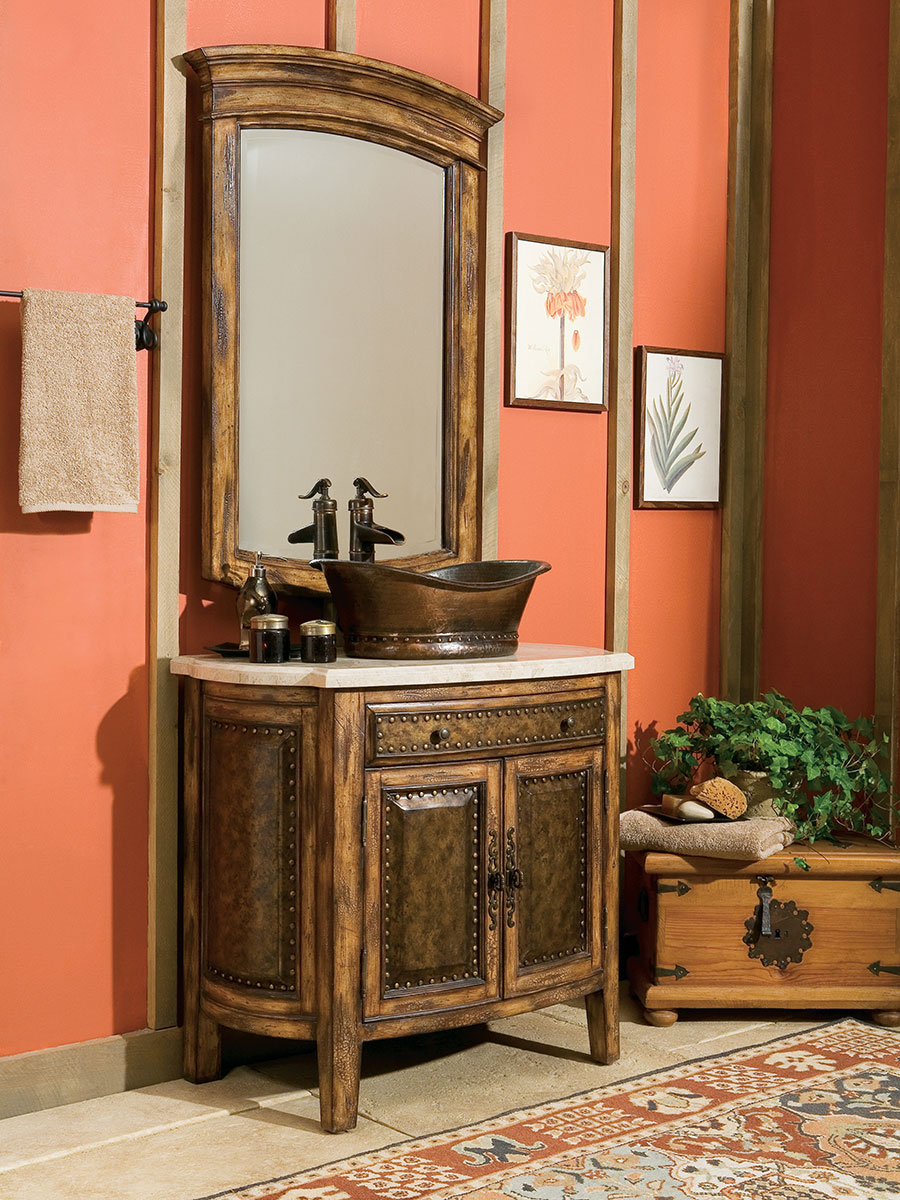


vessel sink


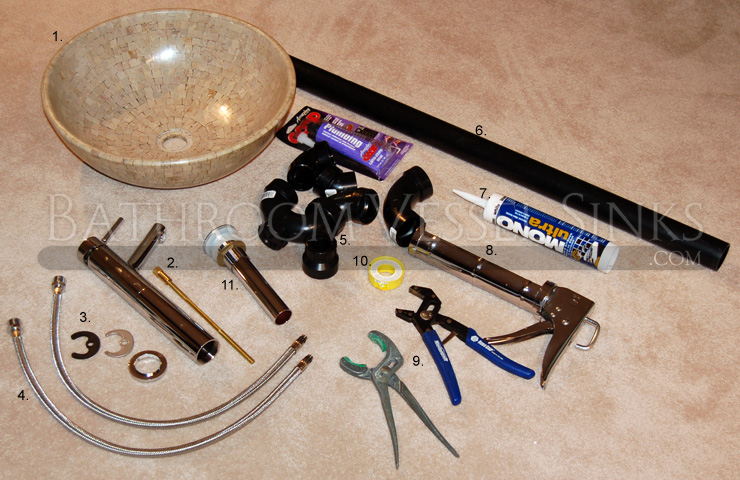
Before you start the installation process, make sure you have all the necessary tools. These include a pipe wrench, channel lock pliers, plumber's putty, a hacksaw, and a screwdriver. It's also helpful to have a bucket and rags on hand to catch any water and clean up any spills.3. How to Install Bathroom Sink Drain: Gather Your Tools


how to install bathroom sink drain


:max_bytes(150000):strip_icc()/bathroom-sink-drain-installation-2718843-07-2b728cbd5c994dc39179346f51bb6421.jpg)


/bathroom-sink-drain-installation-2718843-03-6fee5b9d9f7d475abfe06a95ddb1f695.jpg)
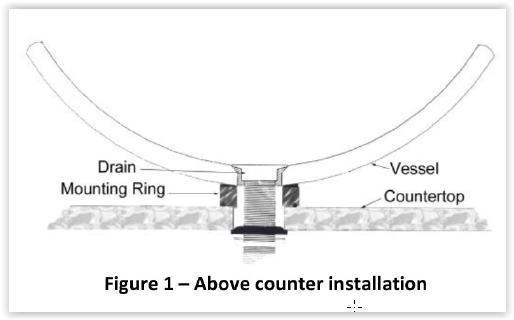
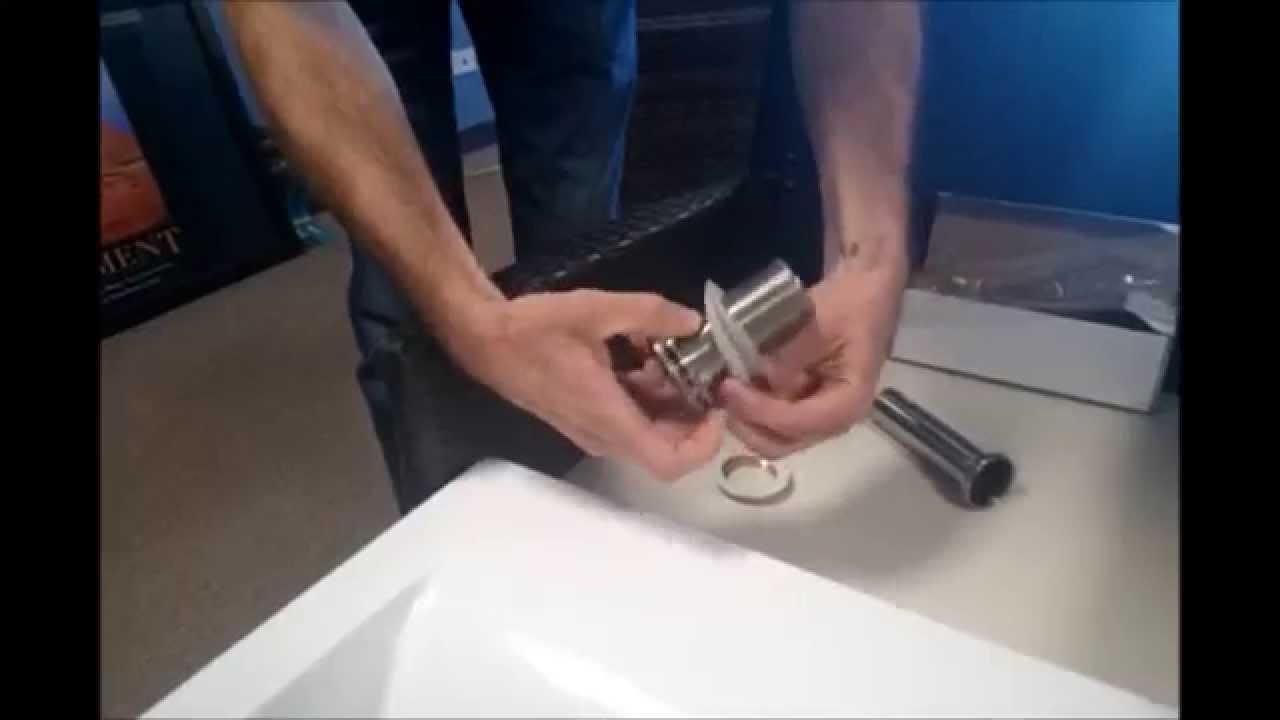
Once you have all your tools ready, the first step is to prepare the vessel sink for installation. Begin by placing the sink upside down on a flat surface and attaching the mounting hardware to the bottom of the sink. Make sure to follow the manufacturer's instructions for proper placement and tightness of the mounting hardware.4. Preparing the Vessel Sink


vessel sink installation


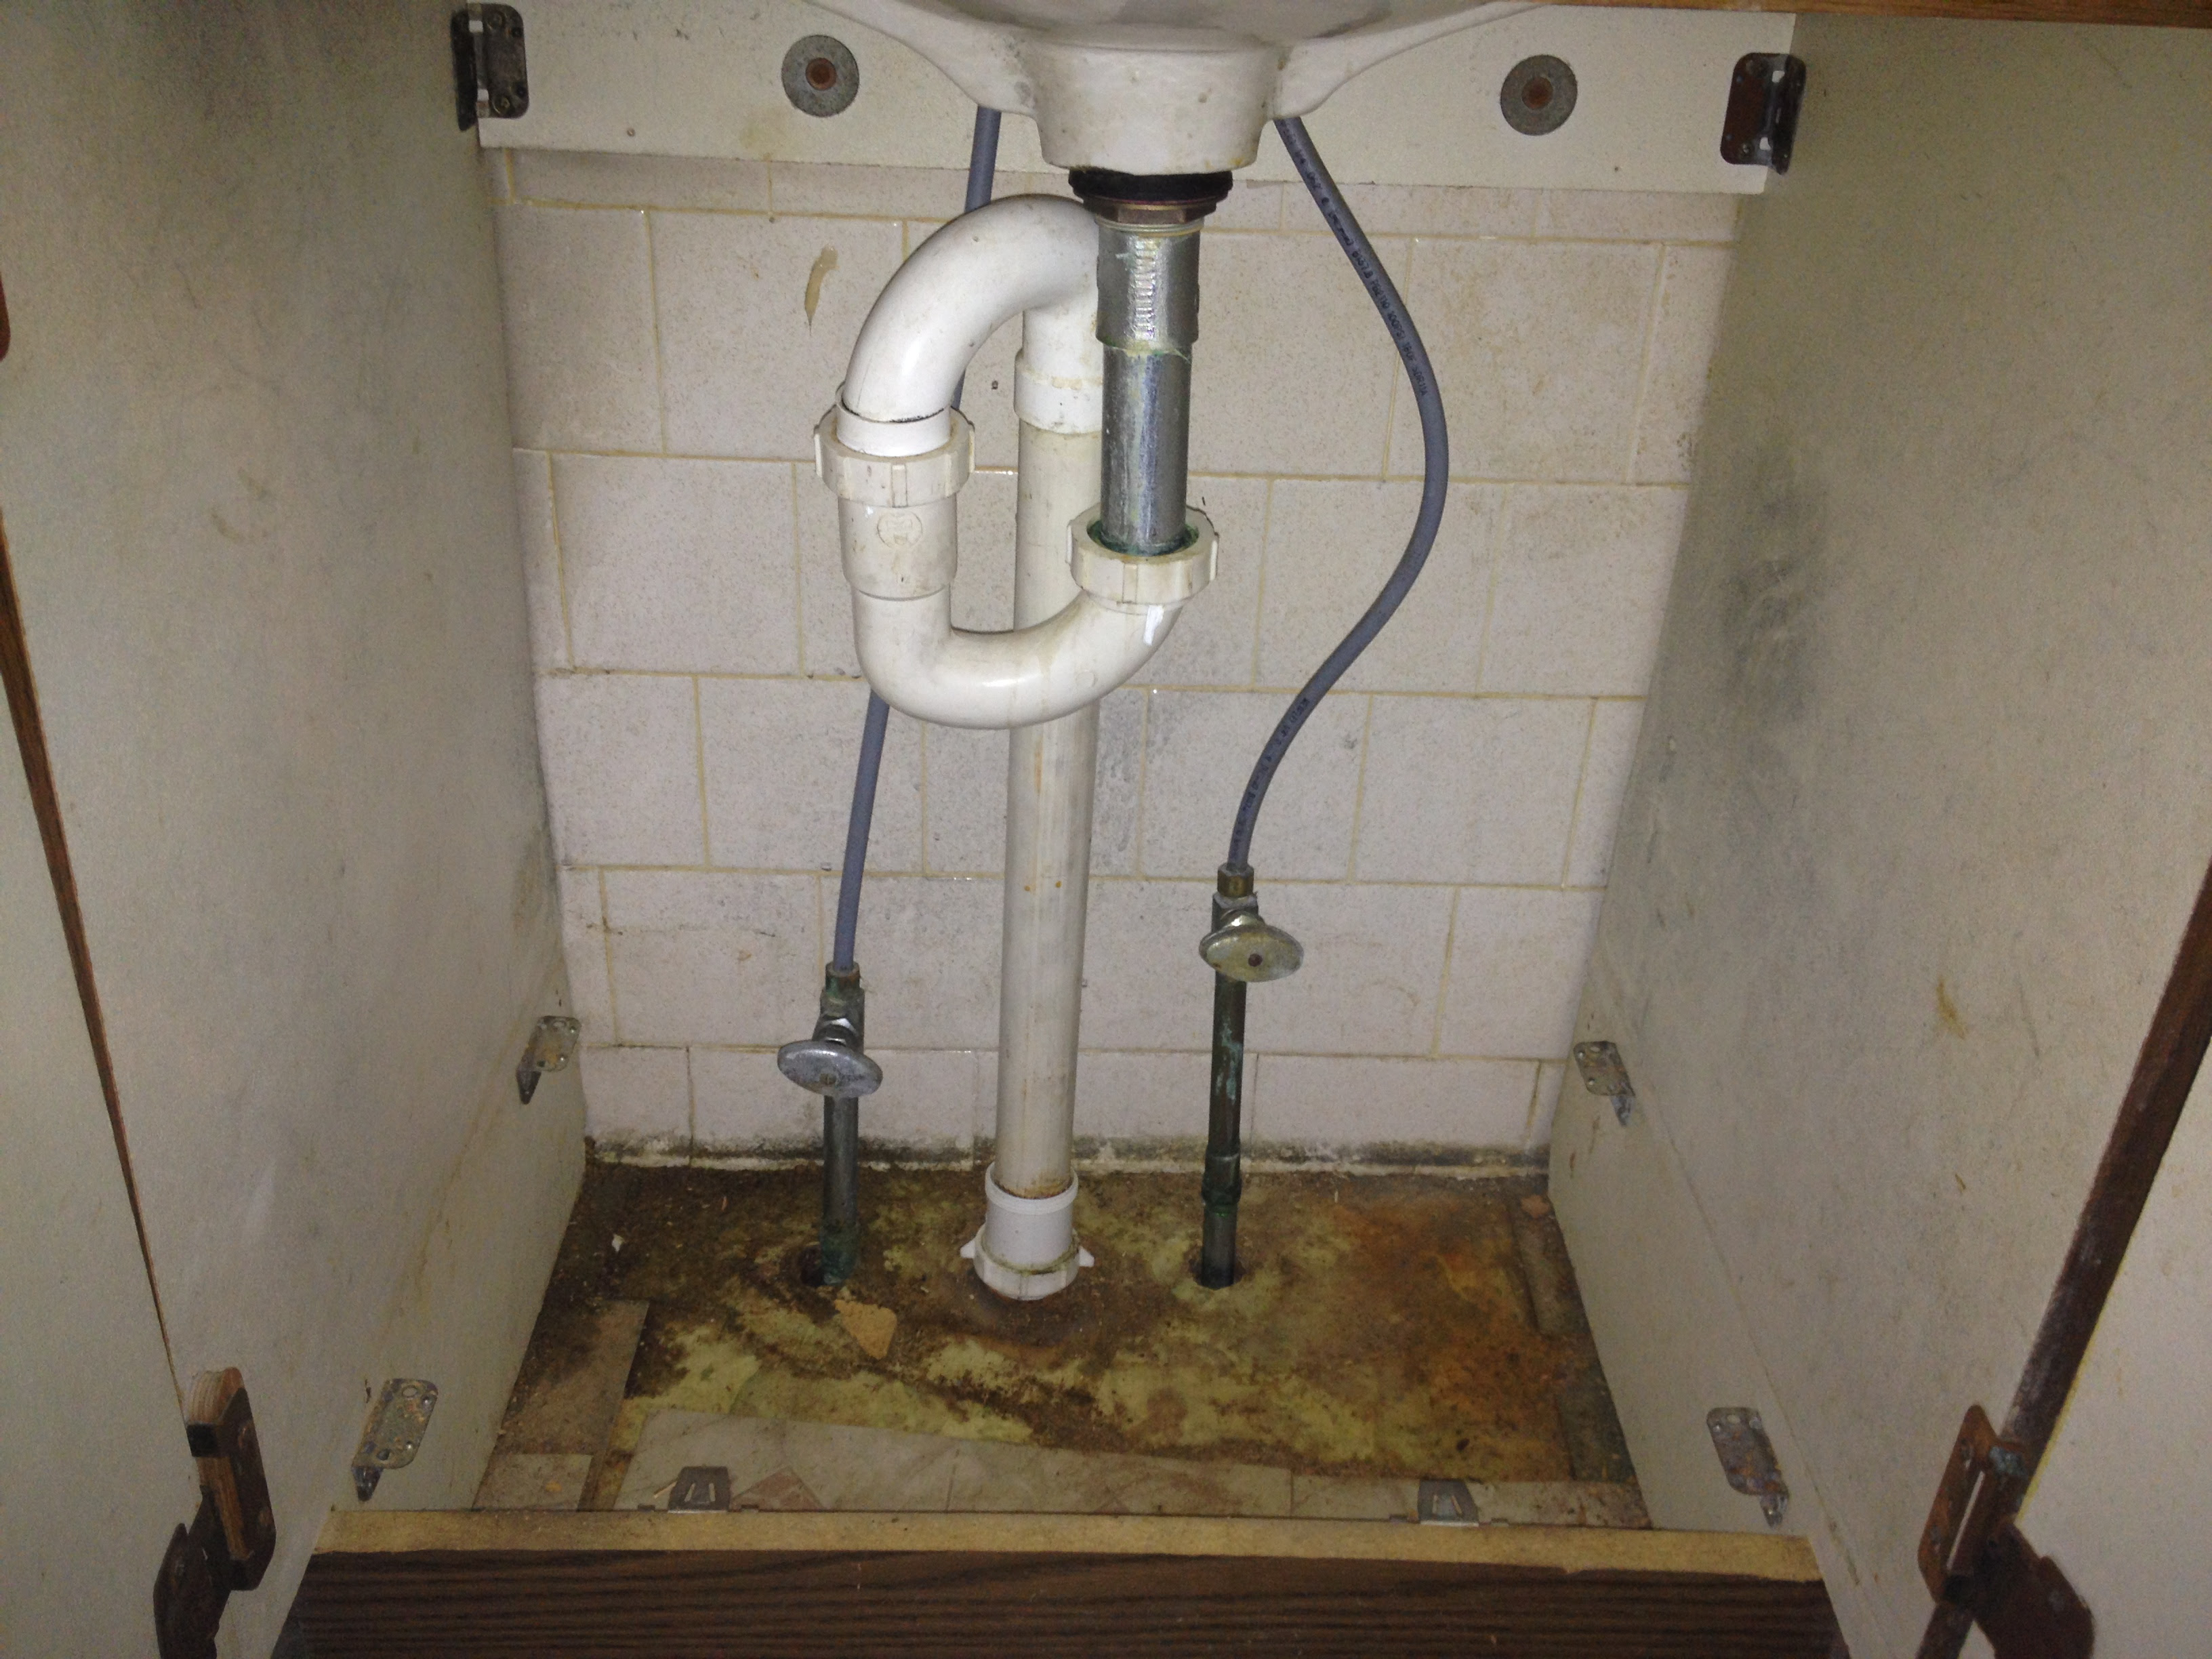
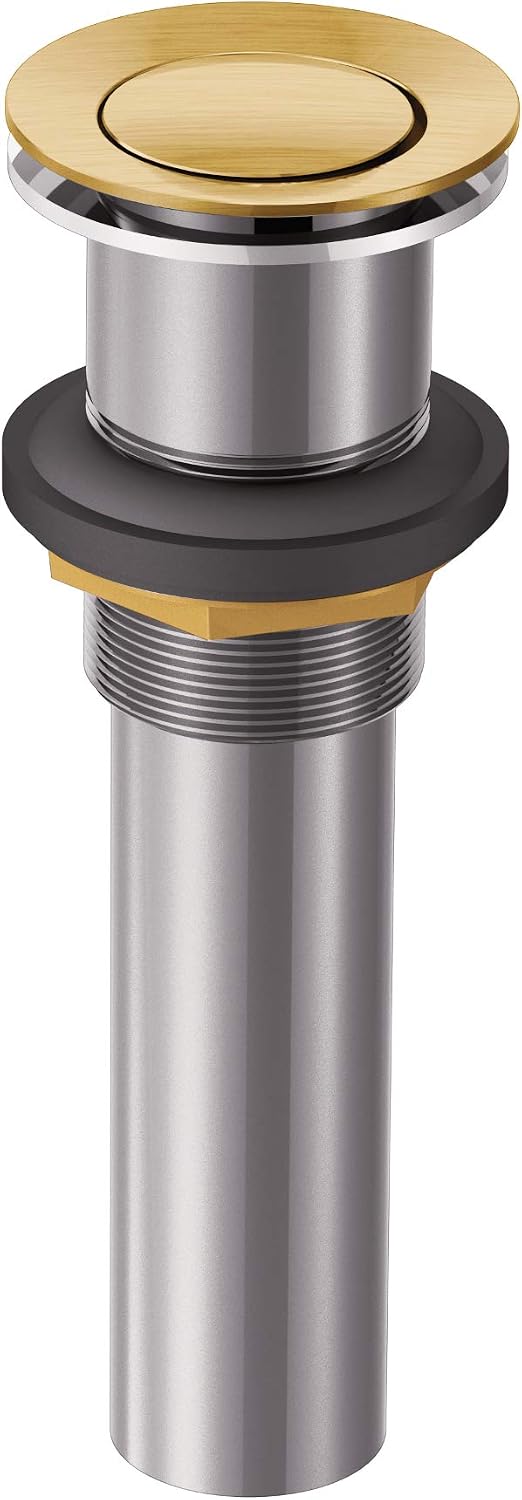
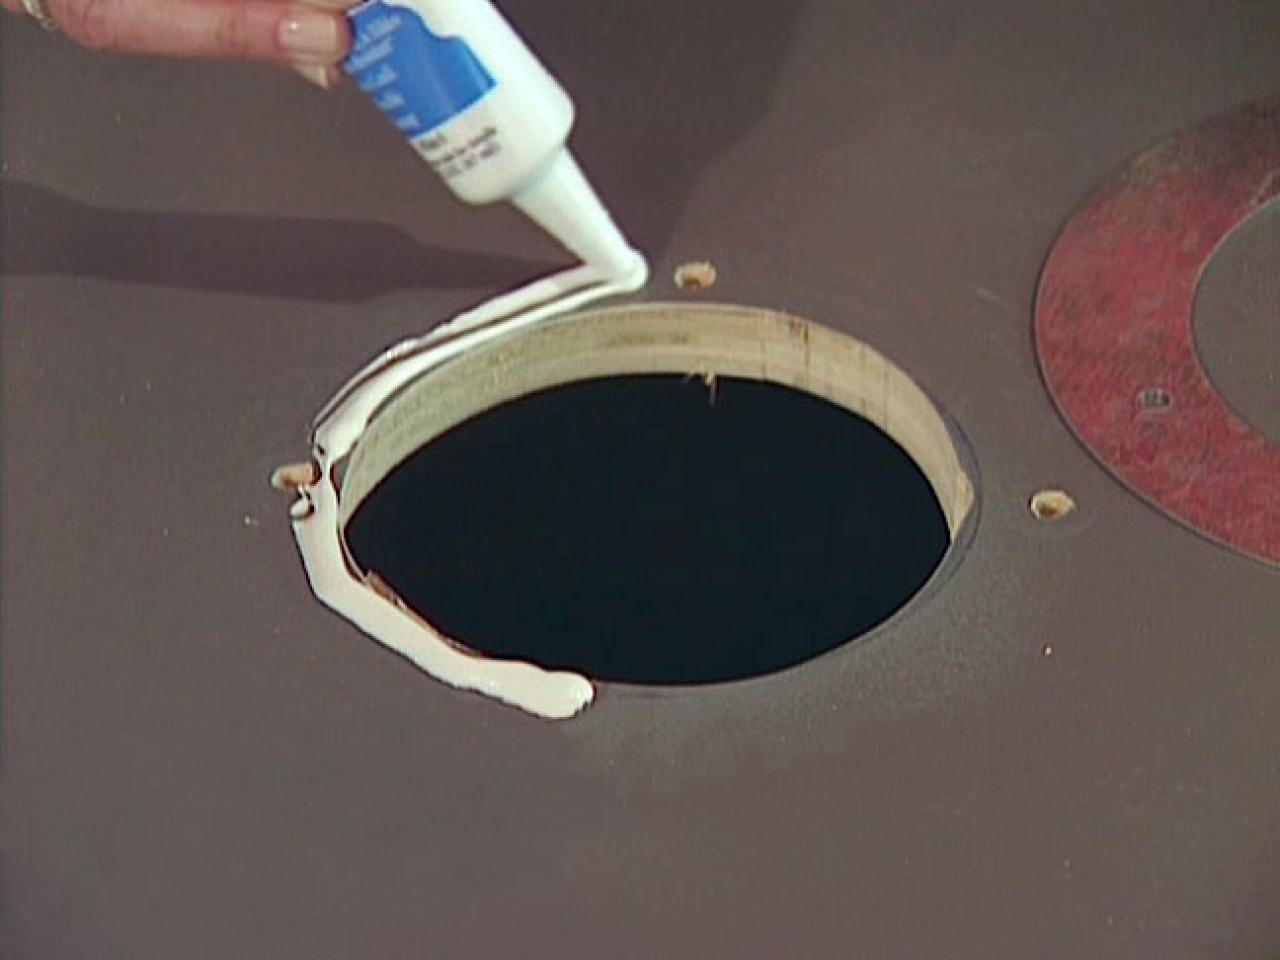
Next, you'll need to install the bathroom sink drain. Start by placing a bead of plumber's putty around the underside of the drain flange. Then, insert the drain flange into the drain hole in the bottom of the sink and press down firmly to create a tight seal. Using the pipe wrench, tighten the locknut on the drain assembly to secure it in place.5. Installing the Bathroom Sink Drain


bathroom sink drain installation


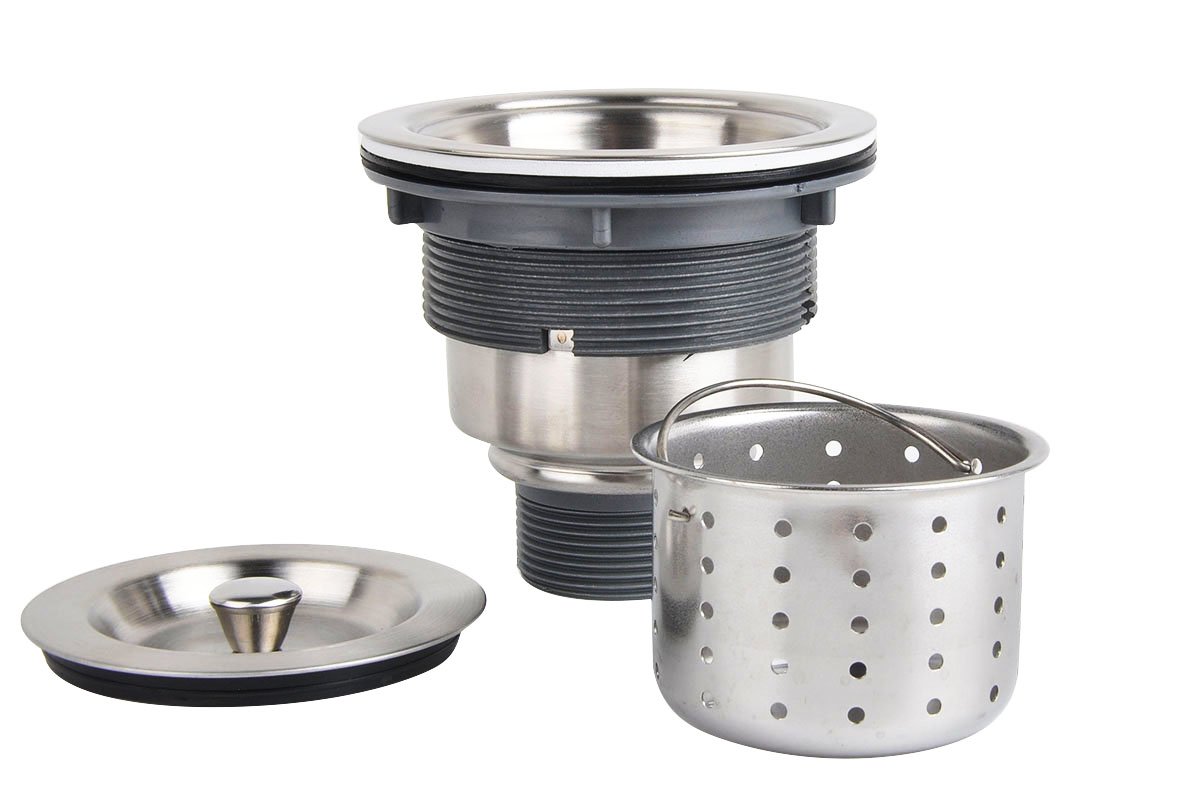
With the drain assembly in place, it's time to connect it to the drain pipe. If your vessel sink has an overflow, you'll need to attach the overflow drain to the back of the drain assembly. Then, attach the P-trap to the bottom of the drain assembly and tighten the connections with the channel lock pliers. Make sure all connections are secure before proceeding.6. Connecting the Drain Pipe


vessel sink drain assembly


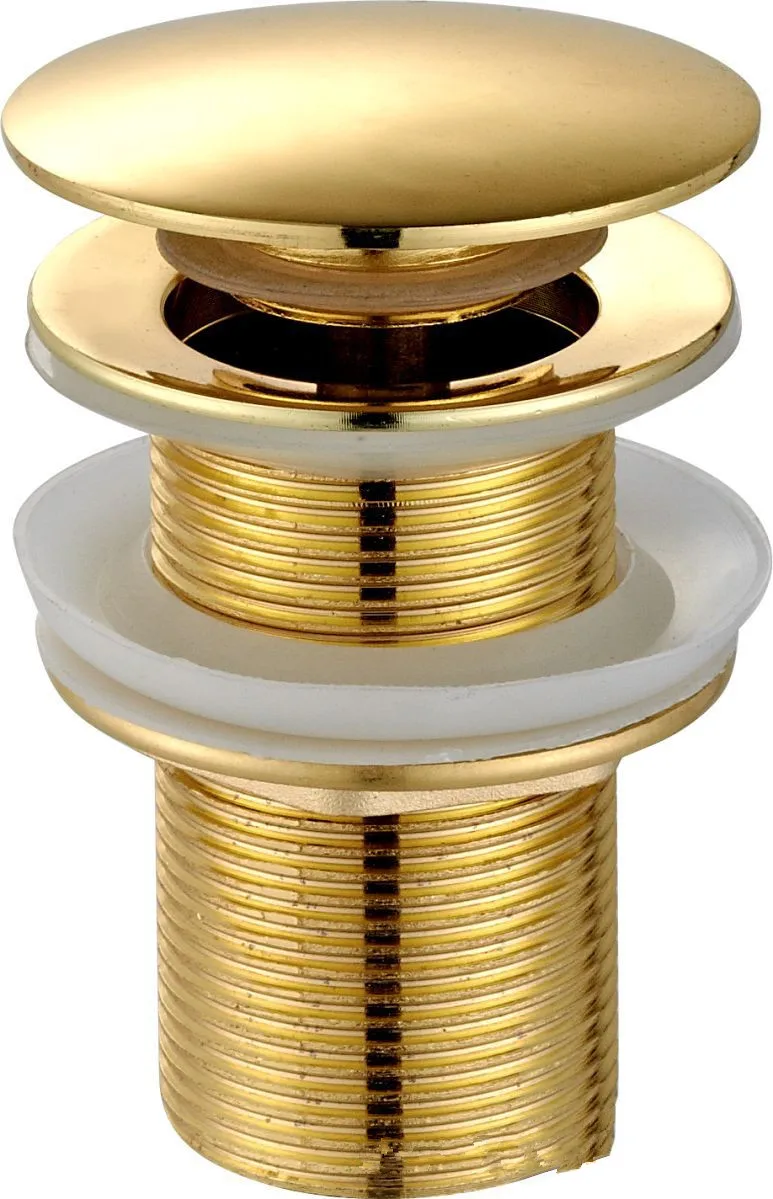
If your vessel sink has a pop up drain, you'll need to install it next. This type of drain allows you to open and close the drain with a lever or knob, making it a convenient and stylish addition to your bathroom. To install, simply insert the pop up drain into the drain hole and secure it in place according to the manufacturer's instructions.7. Installing the Pop Up Drain


installing a vessel sink


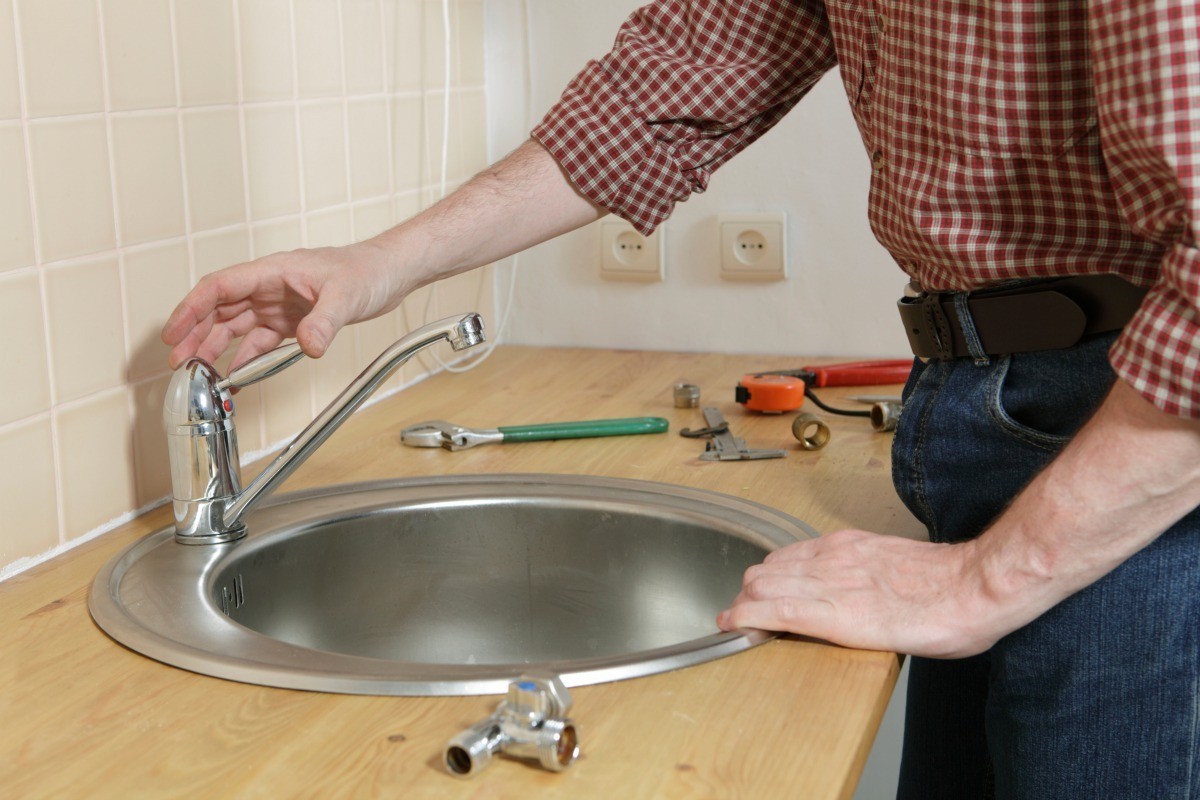
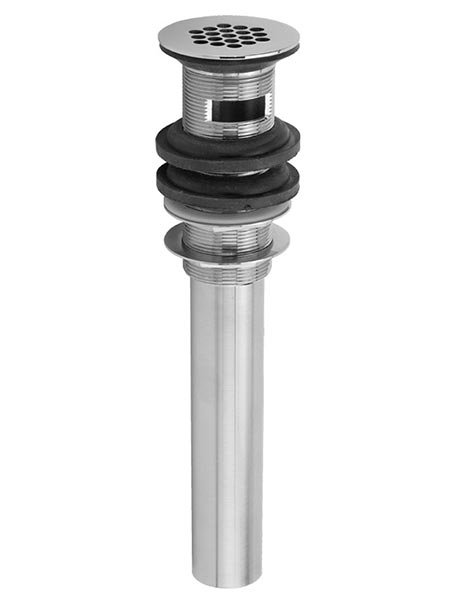
With the drain installed, the final step is to attach the faucet. Before doing so, make sure to apply plumber's tape to the faucet connections to prevent leaks. Then, insert the faucet into the pre-drilled holes in the sink and tighten the connections with a wrench. Once the faucet is securely in place, turn on the water and check for any leaks.8. Finishing Touches: Installing the Faucet


bathroom sink drain parts


If you encounter any issues during the installation process, don't panic. One common issue is a leaky drain, which can often be fixed by tightening the connections or applying more plumber's putty. If the issue persists, it's best to consult a professional plumber for assistance.9. Troubleshooting Common Issues


vessel sink drain kit


With the bathroom sink drain properly installed, you can now enjoy your beautiful new vessel sink. Remember to regularly clean and maintain your sink to keep it looking its best. With proper care, your vessel sink can be a stunning and functional addition to your bathroom for years to come.10. Enjoy Your Newly Installed Vessel Sink


installing a pop up drain in a vessel sink


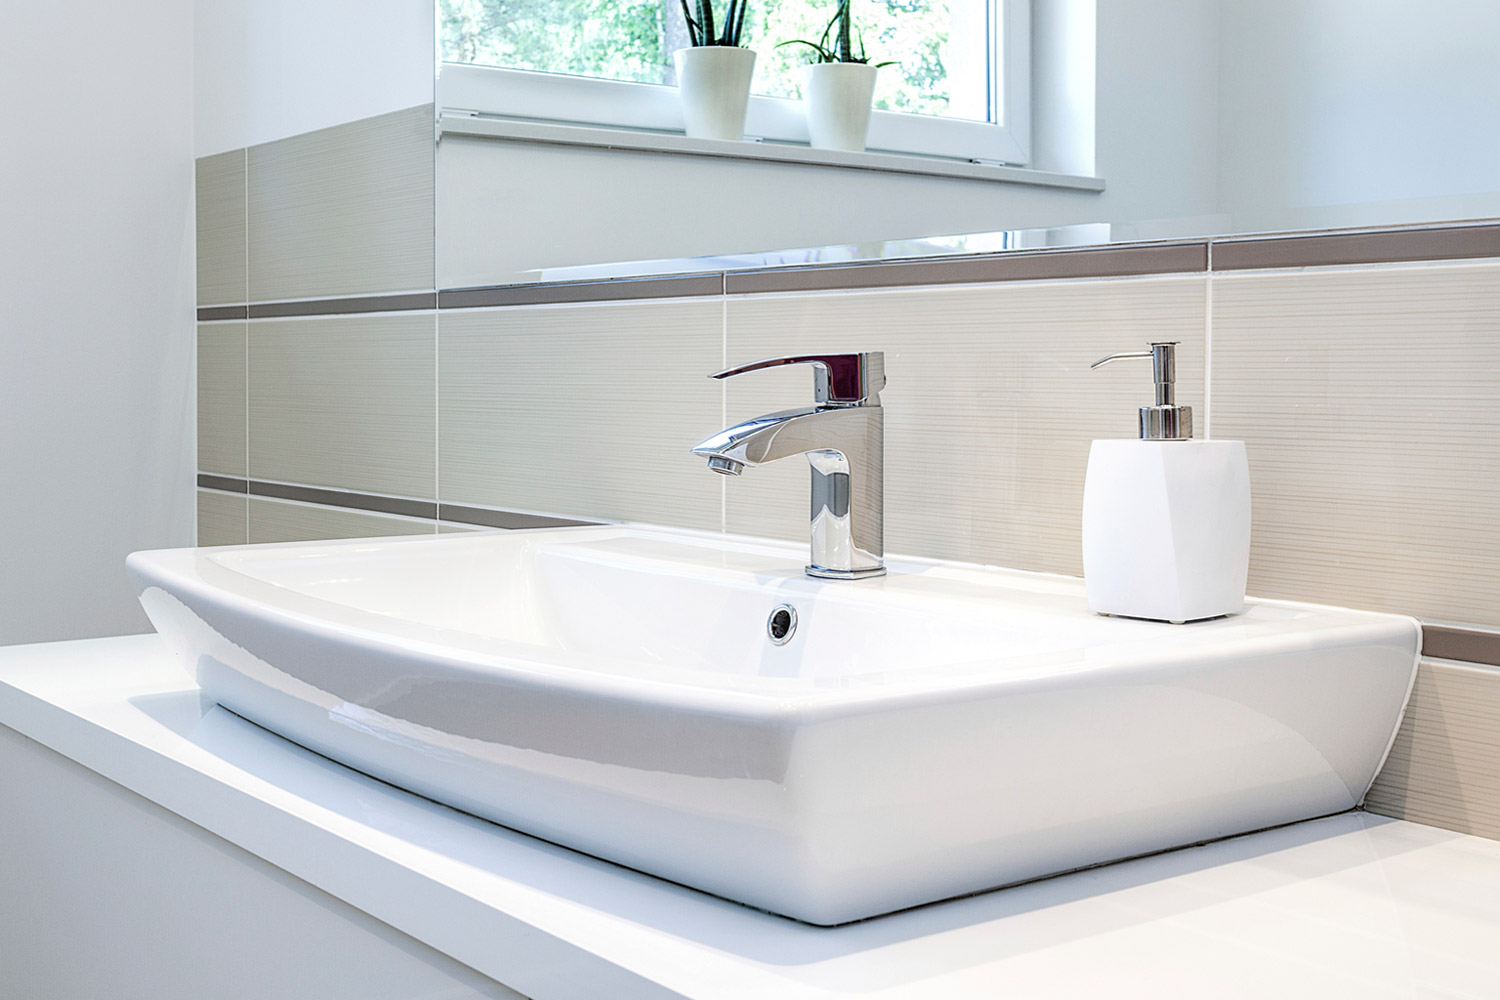
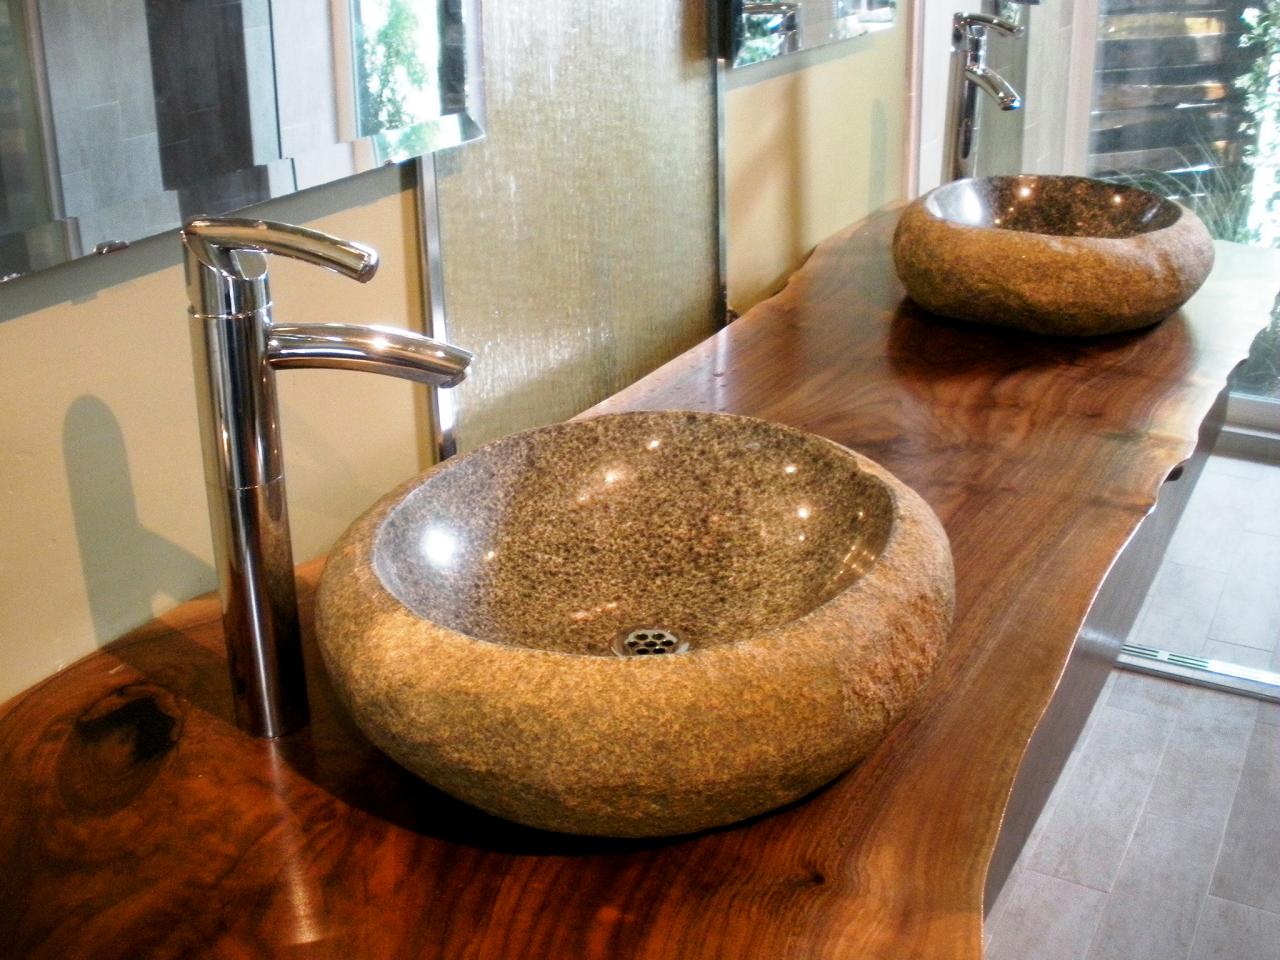
Why Choose a Vessel Sink for Your Bathroom?
The Beauty and Functionality of Vessel Sinks
 When it comes to designing your bathroom, every detail counts.
Vessel sinks
have been gaining popularity in recent years and for good reason. These stylish sinks sit on top of the vanity or countertop, rather than being recessed like traditional sinks. This not only adds a unique touch to your bathroom design, but also provides more counter space and storage underneath.
Vessel sinks
come in a variety of shapes, sizes, and materials, making them a versatile and customizable option for any bathroom.
When it comes to designing your bathroom, every detail counts.
Vessel sinks
have been gaining popularity in recent years and for good reason. These stylish sinks sit on top of the vanity or countertop, rather than being recessed like traditional sinks. This not only adds a unique touch to your bathroom design, but also provides more counter space and storage underneath.
Vessel sinks
come in a variety of shapes, sizes, and materials, making them a versatile and customizable option for any bathroom.
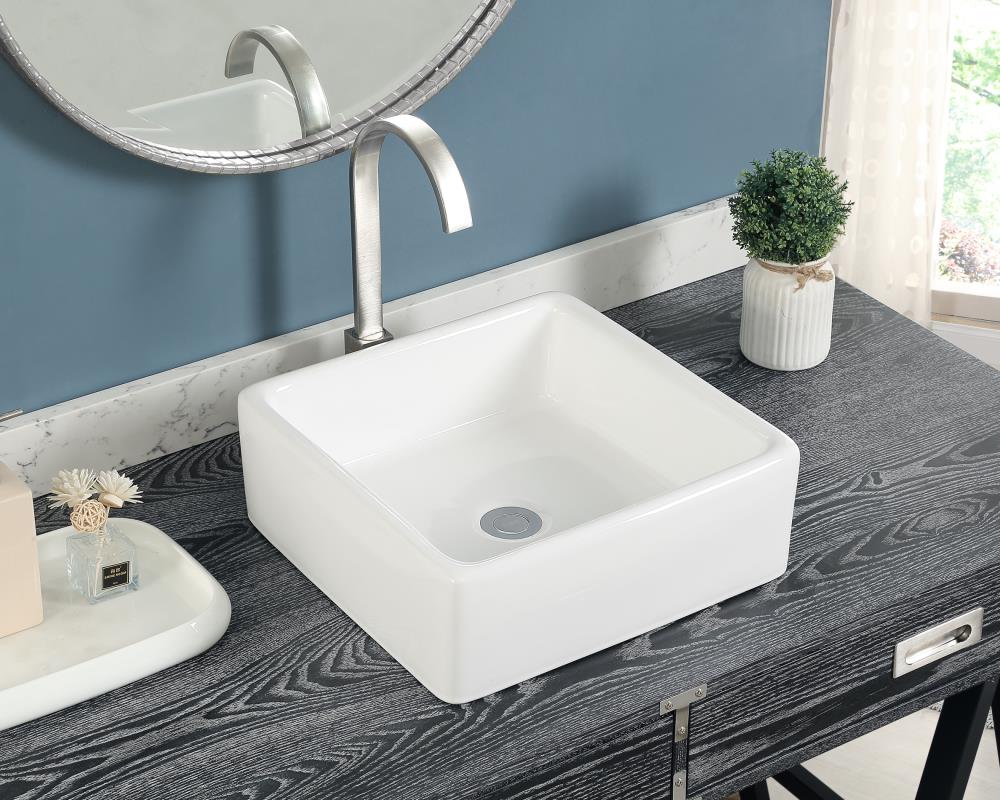
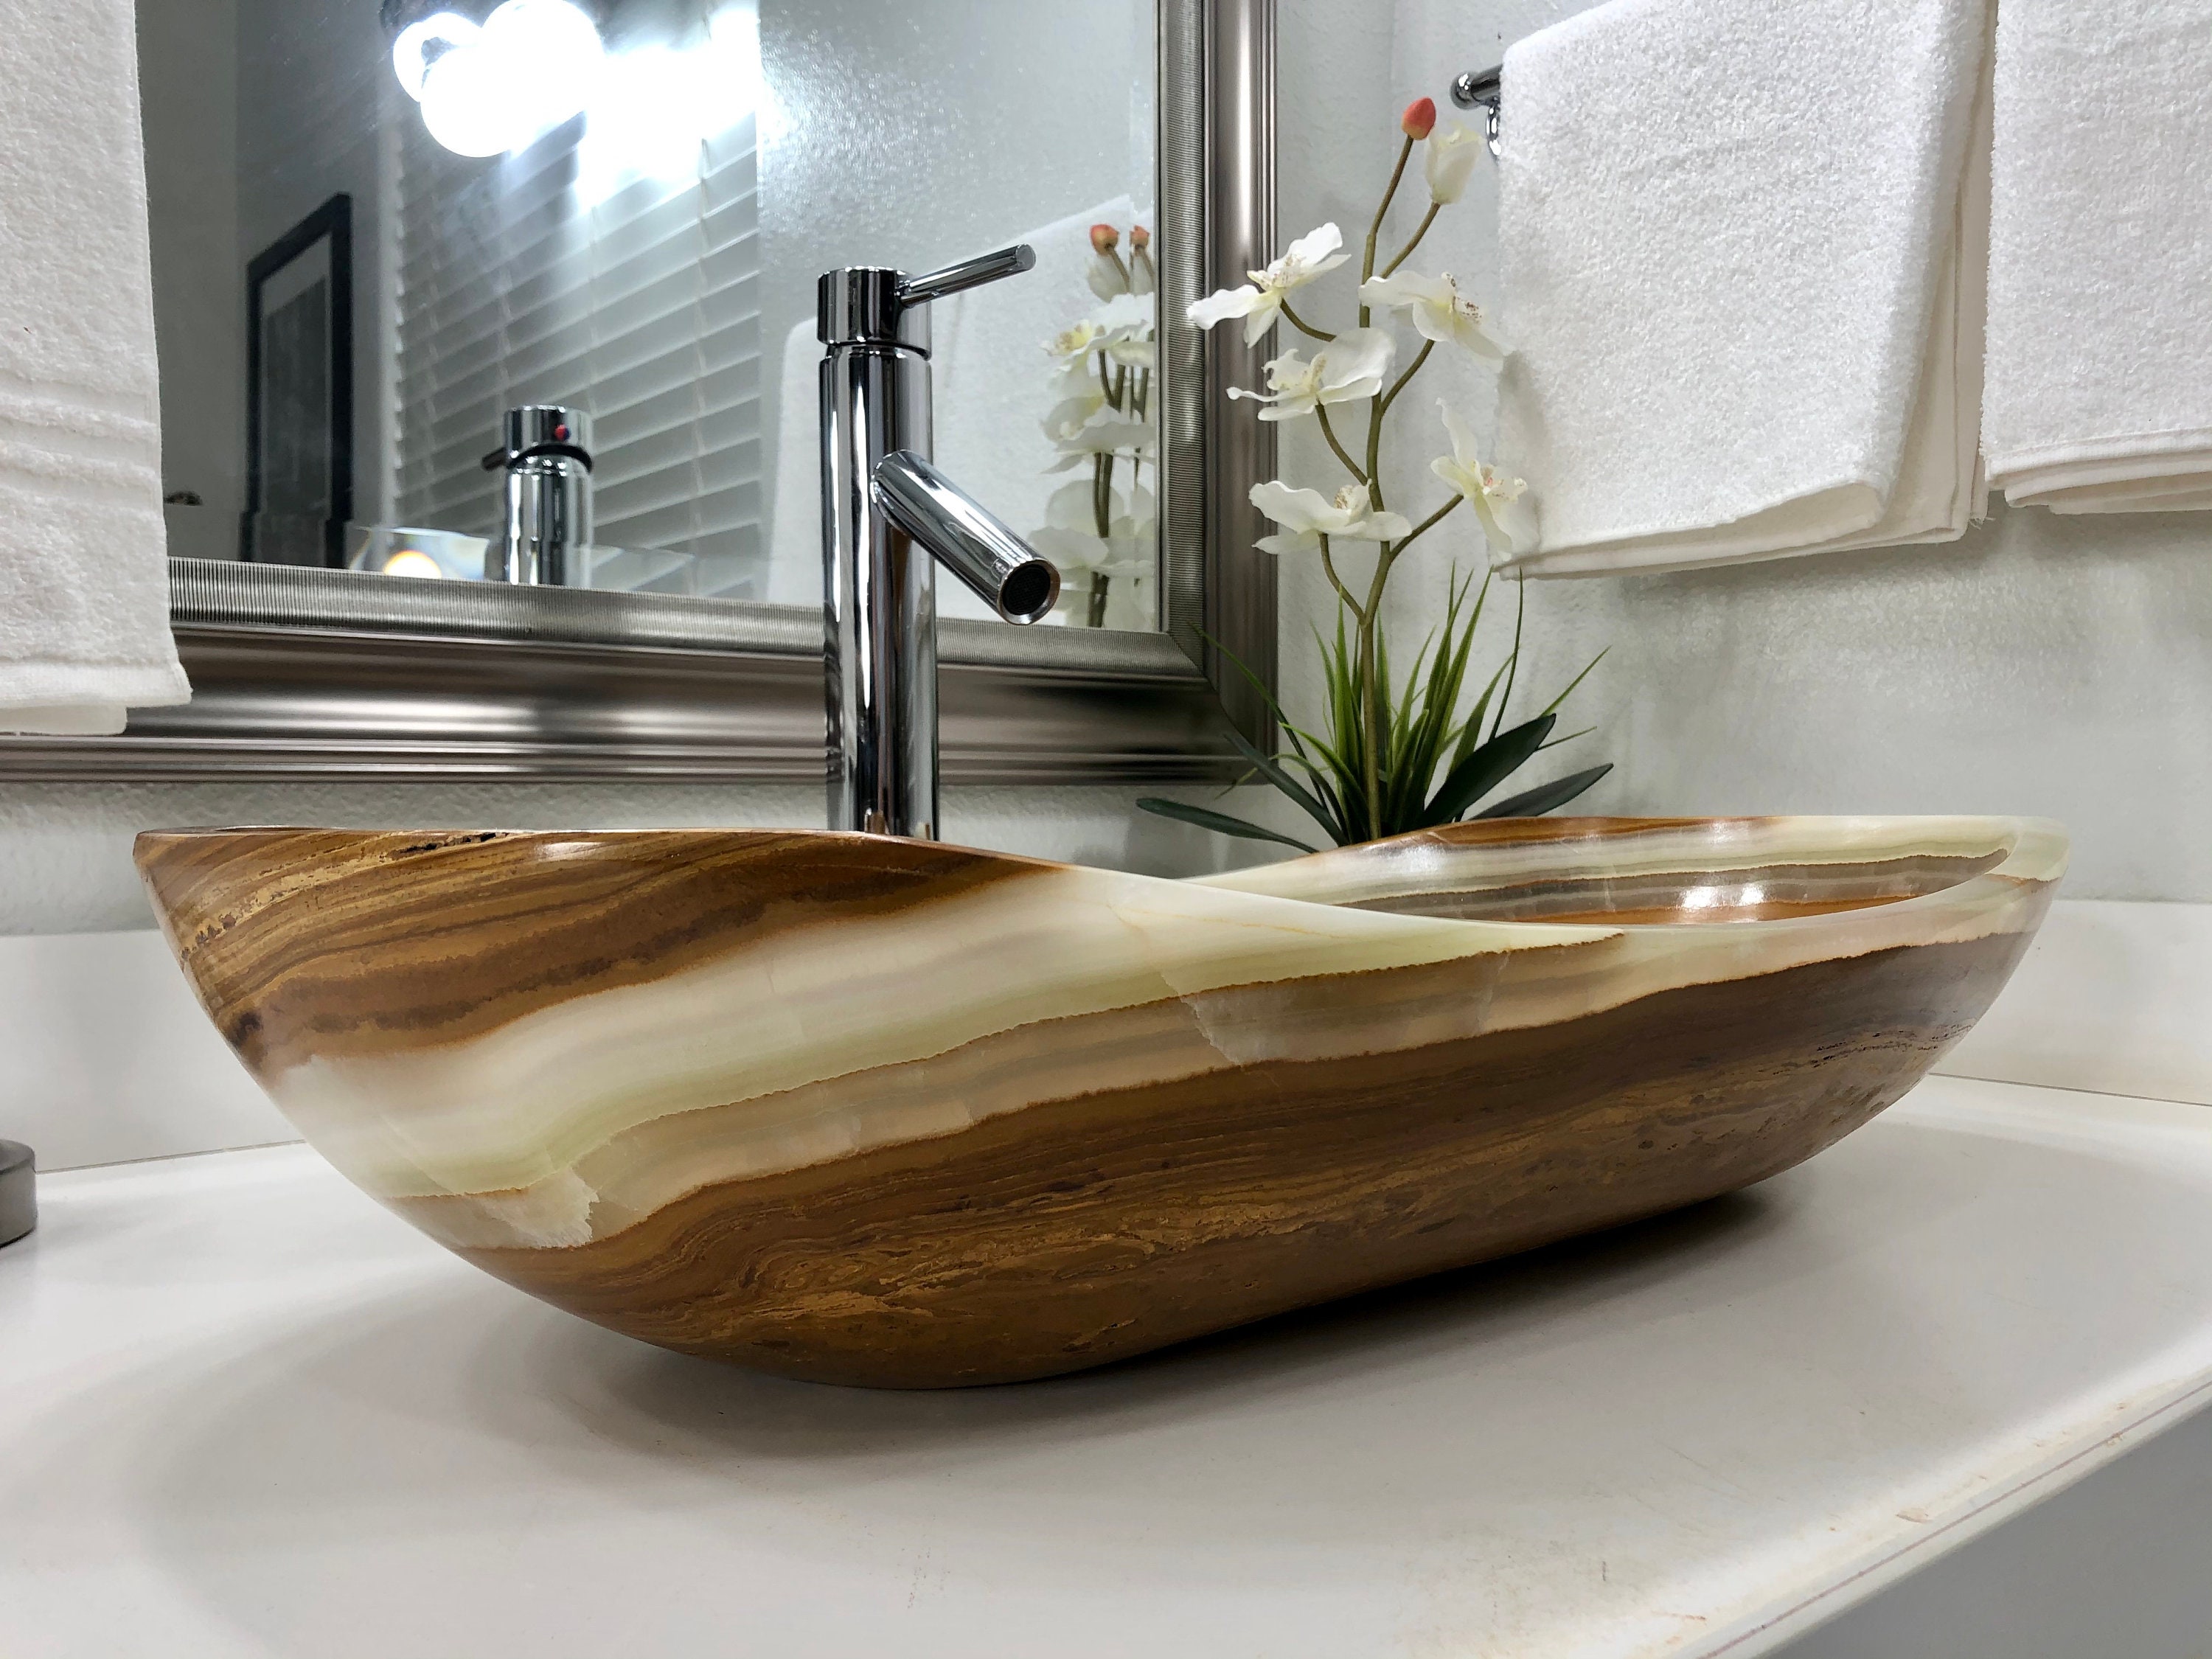
Installing a Vessel Sink Drain
 If you have decided to incorporate a
vessel sink
into your bathroom, you will need to know how to properly install the drain. While the process may seem daunting, it is actually quite simple. The first step is to choose the right drain for your sink. Make sure to measure the diameter of the drain hole in your sink to ensure a proper fit.
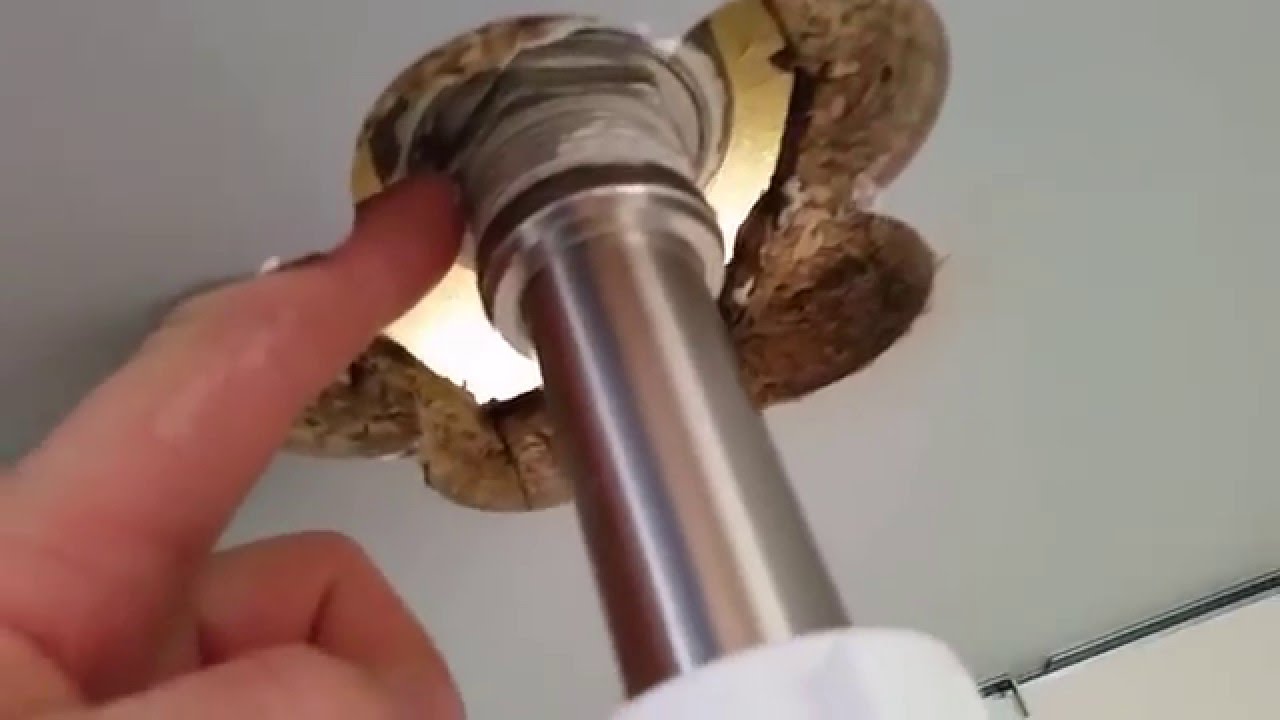
Once you have the correct drain, the installation process begins. Start by applying plumber's putty around the drain hole in the sink. Then, insert the drain into the hole, making sure it is centered and flush with the sink. Next, place the rubber gasket and cardboard washer onto the drain from underneath the sink. Tighten the nut onto the drain and use a wrench to secure it in place.
If you have decided to incorporate a
vessel sink
into your bathroom, you will need to know how to properly install the drain. While the process may seem daunting, it is actually quite simple. The first step is to choose the right drain for your sink. Make sure to measure the diameter of the drain hole in your sink to ensure a proper fit.
Once you have the correct drain, the installation process begins. Start by applying plumber's putty around the drain hole in the sink. Then, insert the drain into the hole, making sure it is centered and flush with the sink. Next, place the rubber gasket and cardboard washer onto the drain from underneath the sink. Tighten the nut onto the drain and use a wrench to secure it in place.
Preventing Leaks and Clogs
 To ensure that your
vessel sink
drain works properly, it is important to prevent leaks and clogs. Be sure to regularly clean out any debris that may accumulate in the drain. You can also use a hair catcher to prevent hair from clogging the drain. Additionally, make sure to check the tightness of the drain nut periodically to prevent leaks.
To ensure that your
vessel sink
drain works properly, it is important to prevent leaks and clogs. Be sure to regularly clean out any debris that may accumulate in the drain. You can also use a hair catcher to prevent hair from clogging the drain. Additionally, make sure to check the tightness of the drain nut periodically to prevent leaks.
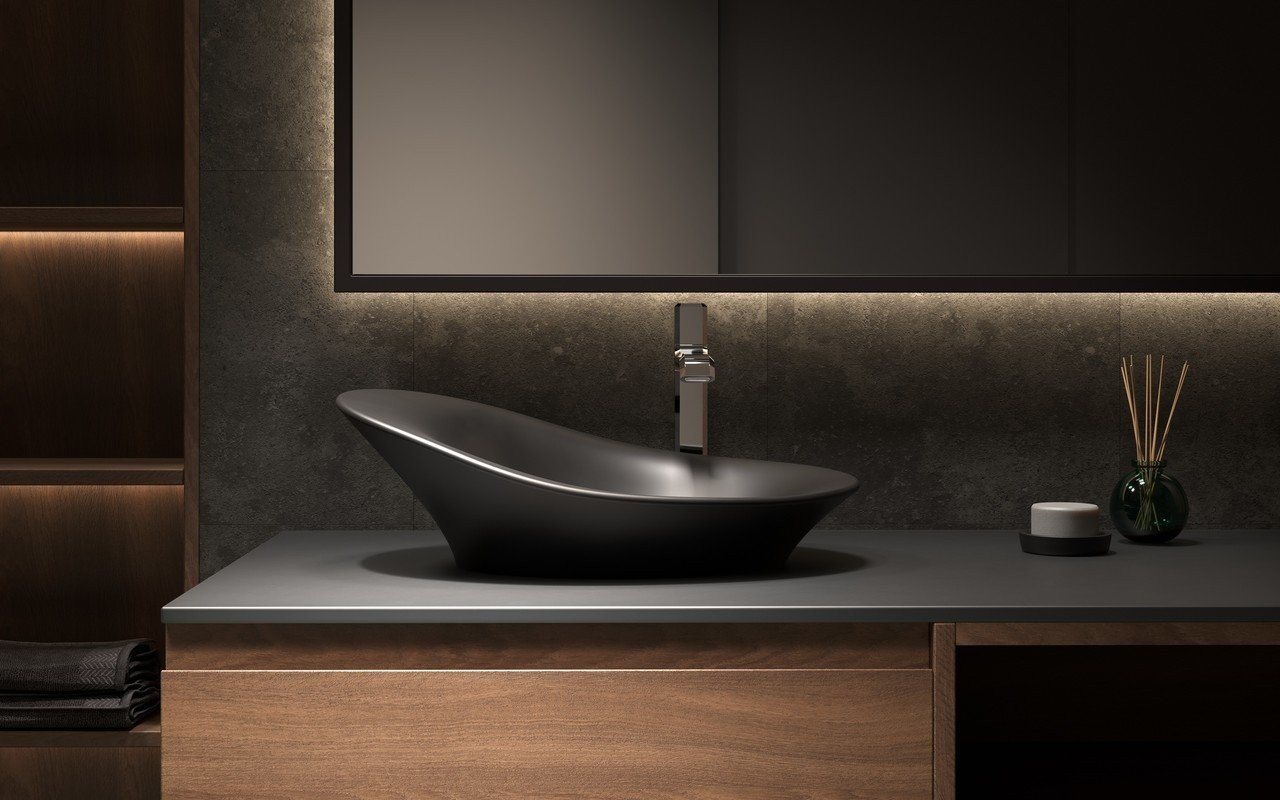
Conclusion
 In conclusion,
vessel sinks
are a beautiful and functional addition to any bathroom. With the right installation and maintenance, you can enjoy the benefits of a vessel sink for years to come. Whether you are looking to update your bathroom design or simply want to add a touch of elegance, a vessel sink is a great choice. So why not give it a try and see the difference it can make in your bathroom?
In conclusion,
vessel sinks
are a beautiful and functional addition to any bathroom. With the right installation and maintenance, you can enjoy the benefits of a vessel sink for years to come. Whether you are looking to update your bathroom design or simply want to add a touch of elegance, a vessel sink is a great choice. So why not give it a try and see the difference it can make in your bathroom?