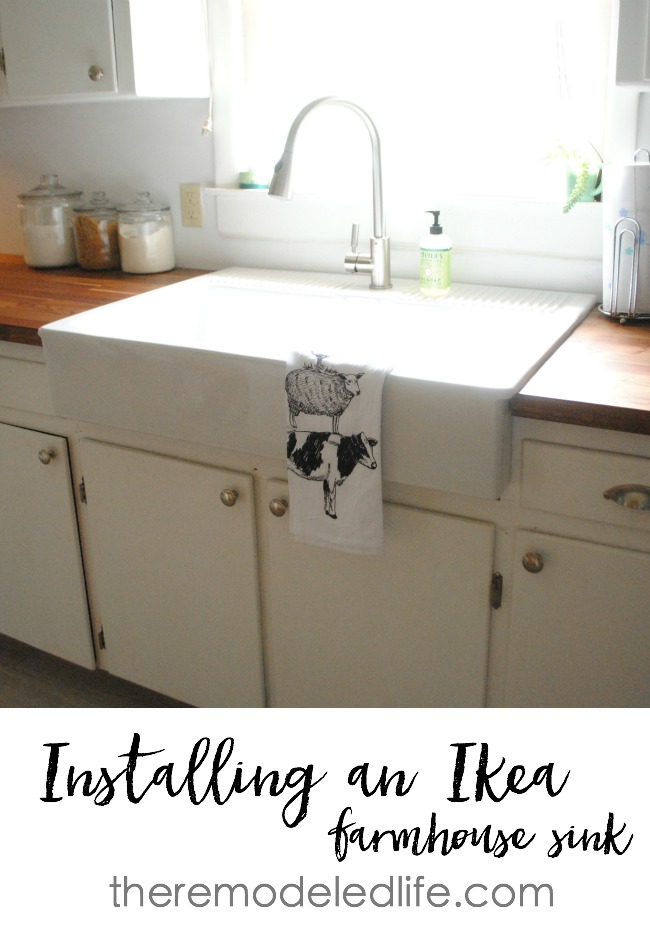
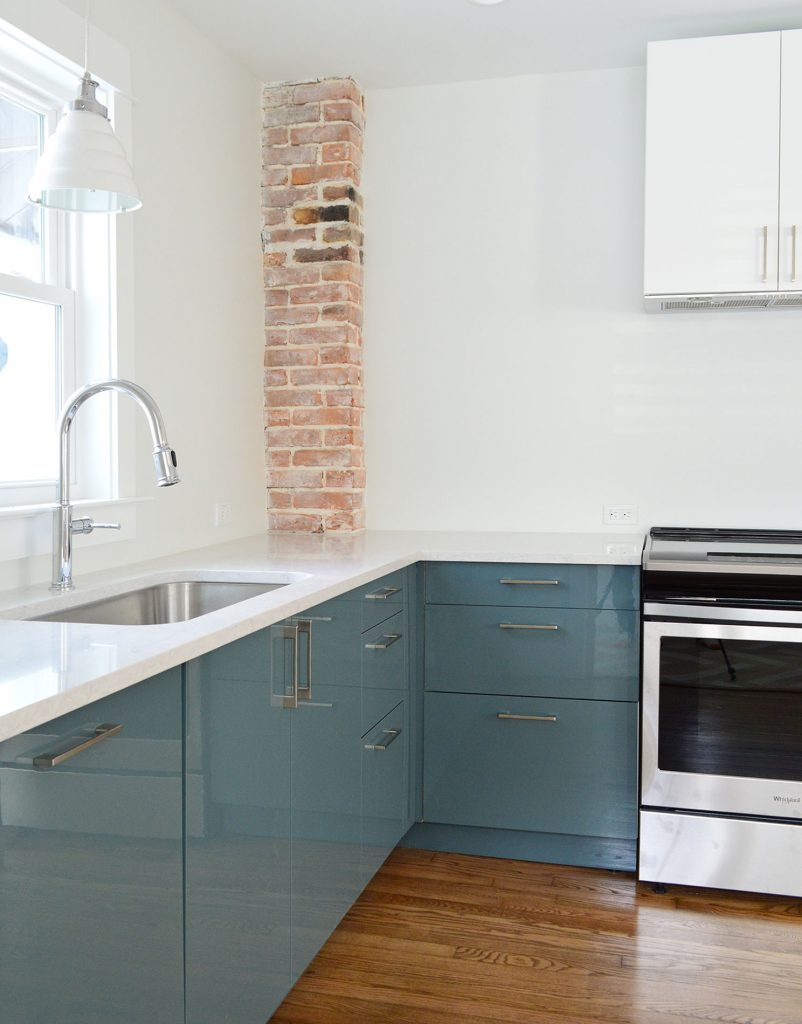
Installing a new kitchen sink can be a daunting task, but with the right tools and instructions, it can be a smooth and successful project. If you have recently purchased an IKEA kitchen sink, you may be wondering how to install it properly. In this guide, we will take you through the steps of installing an IKEA kitchen sink, providing you with all the necessary information to complete the task with ease.1. IKEA Kitchen Sink Installation Guide


1. IKEA Kitchen Sink Installation Guide


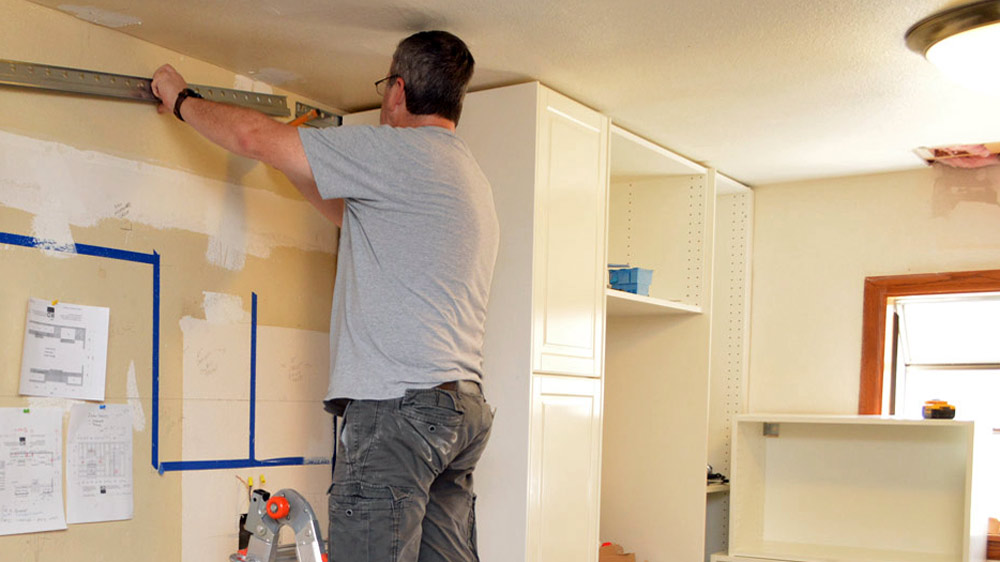
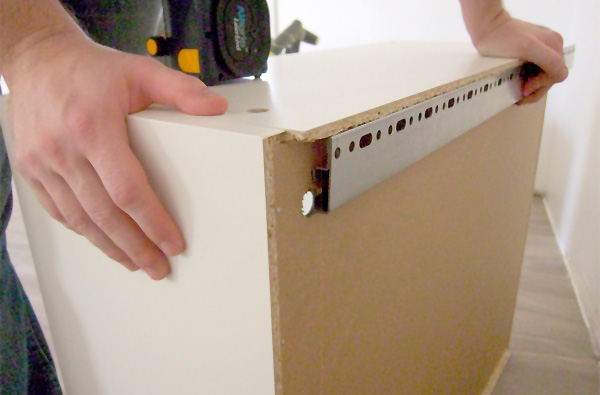
The first step in installing an IKEA kitchen sink is to carefully read the instructions provided by the manufacturer. This will give you a clear understanding of the process and any specific requirements for your sink model. It is important to follow the instructions closely to ensure a proper installation. Next, gather all the necessary tools and materials for the installation. This may include a hammer, screwdriver, pliers, silicone sealant, and a level. It is also important to have a helper to assist with lifting and positioning the sink.2. How to Install an IKEA Kitchen Sink
2. How to Install an IKEA Kitchen Sink


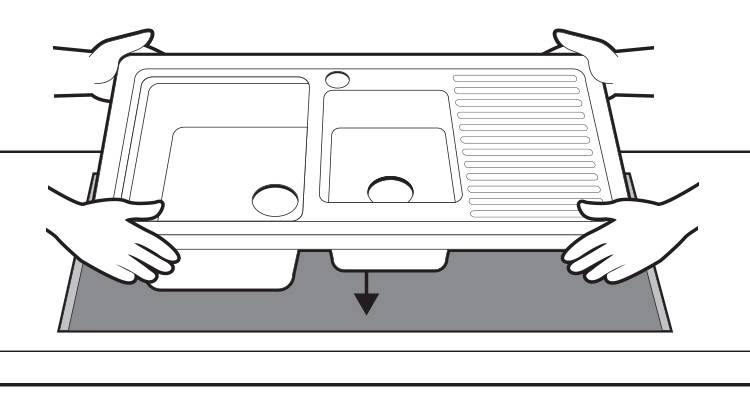
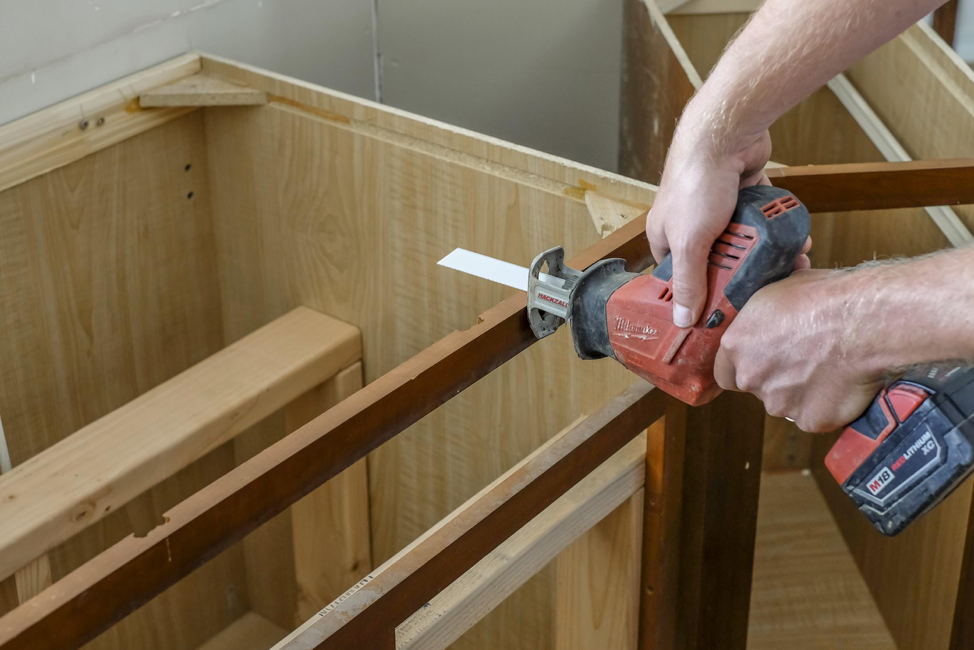
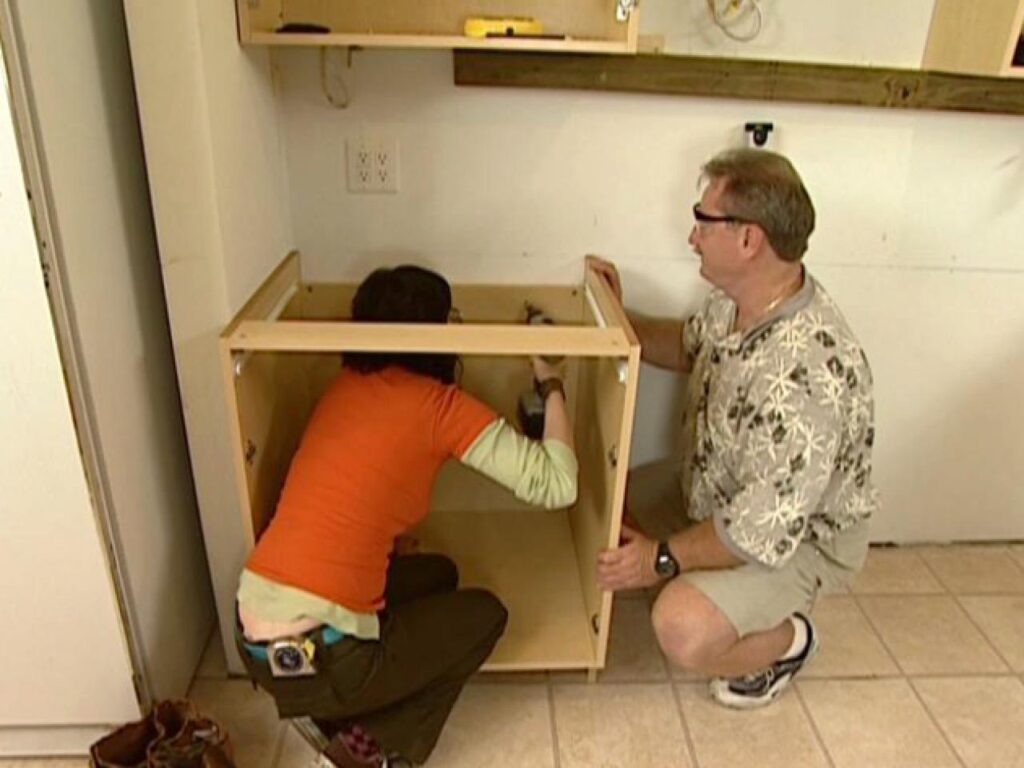
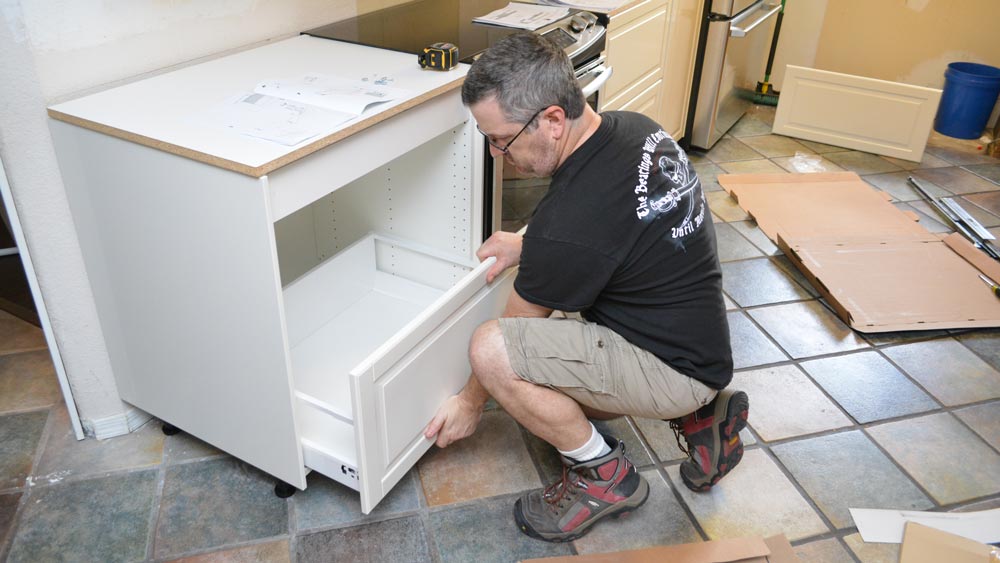
Step 1: Begin by disconnecting the plumbing and removing the old sink. This may involve turning off the water supply and removing the old sink from the countertop. Step 2: Measure and mark the location for the new sink on the countertop. Use a level to ensure the sink will sit evenly on the countertop. Step 3: Assemble the sink according to the instructions provided by IKEA. This may include attaching the faucet, drain, and any other components. Step 4: Apply a thin layer of silicone sealant around the edges of the sink cutout on the countertop. Step 5: Carefully lower the sink into place and press down to secure it to the countertop. Wipe away any excess sealant. Step 6: Connect the plumbing, making sure all connections are secure and free of leaks. Step 7: Test the sink by running water and checking for any leaks. Make any necessary adjustments to ensure a proper fit.3. Step-by-Step Guide for Installing an IKEA Kitchen Sink


3. Step-by-Step Guide for Installing an IKEA Kitchen Sink


Here are a few helpful tips to keep in mind when installing an IKEA kitchen sink: • Read the instructions carefully and follow them closely. • Use a level to ensure the sink is installed evenly and securely. • Have a helper to assist with lifting and positioning the sink. • Use silicone sealant to create a watertight seal around the sink.4. Tips for Installing an IKEA Kitchen Sink


4. Tips for Installing an IKEA Kitchen Sink
While installing an IKEA kitchen sink may seem straightforward, there are a few common mistakes that can easily be avoided: • Not reading the instructions: It is important to read and understand the instructions provided by the manufacturer before starting the installation process. • Forgetting to use a level: A level is essential for ensuring the sink is installed evenly and securely. • Rushing the process: Take your time and make sure all connections are secure and free of leaks before finishing the installation.5. Common Mistakes to Avoid When Installing an IKEA Kitchen Sink


5. Common Mistakes to Avoid When Installing an IKEA Kitchen Sink


Here is a list of the tools and materials you will need for installing an IKEA kitchen sink: • Hammer • Screwdriver • Pliers • Silicone sealant • Level6. Tools and Materials Needed for Installing an IKEA Kitchen Sink

6. Tools and Materials Needed for Installing an IKEA Kitchen Sink


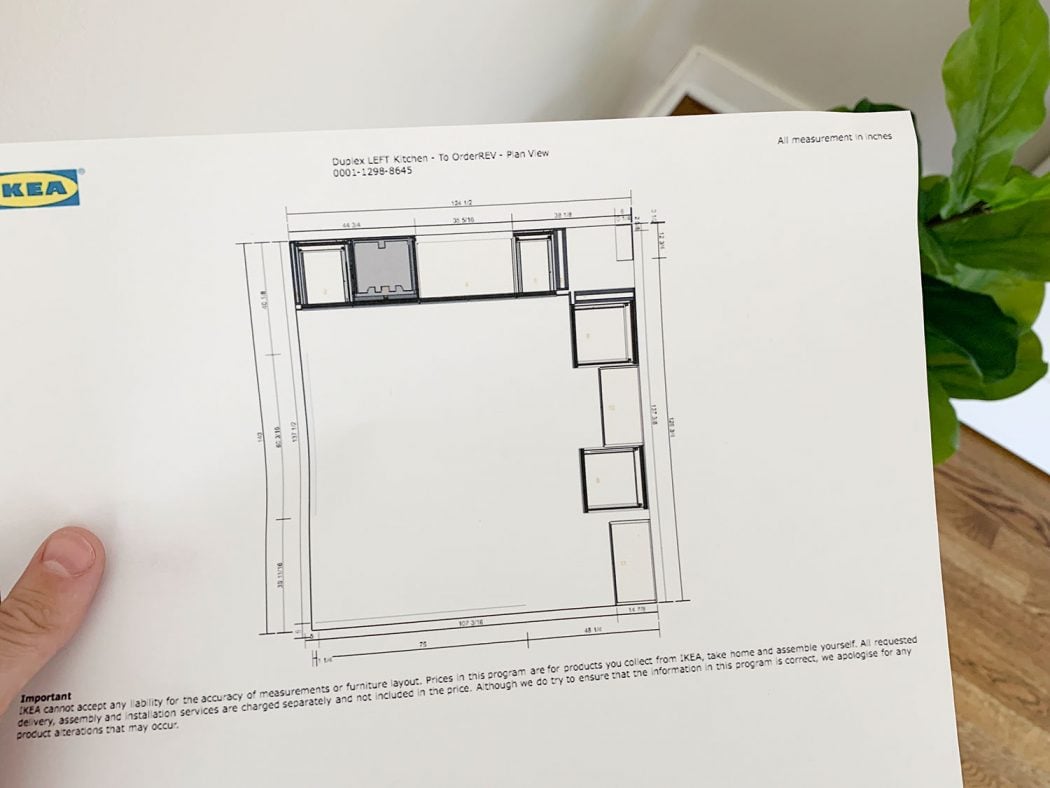
Prior to installing an IKEA kitchen sink, it is important to measure and prepare the area for a proper fit. Here are the steps to follow: Step 1: Measure the sink cutout on the countertop to ensure it will fit the new sink. Step 2: Measure the distance between the faucet and the sink to ensure there is enough space for water flow. Step 3: Prepare the area by removing the old sink and cleaning the countertop.7. How to Measure and Prepare for Installing an IKEA Kitchen Sink

7. How to Measure and Prepare for Installing an IKEA Kitchen Sink


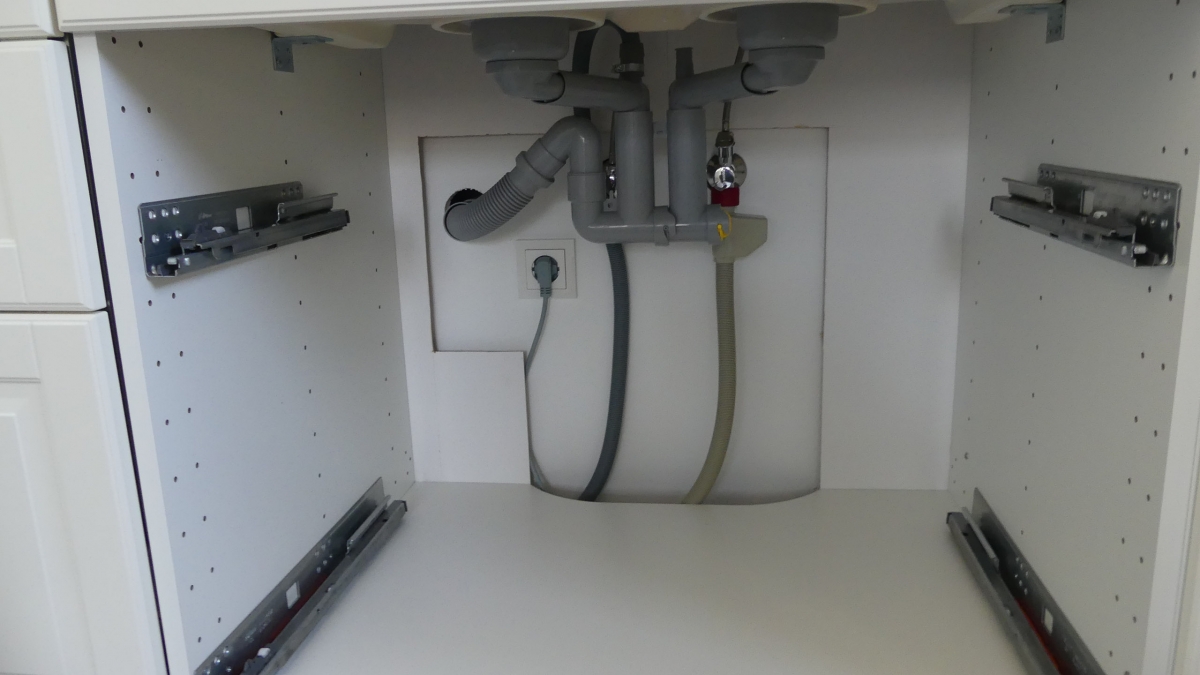
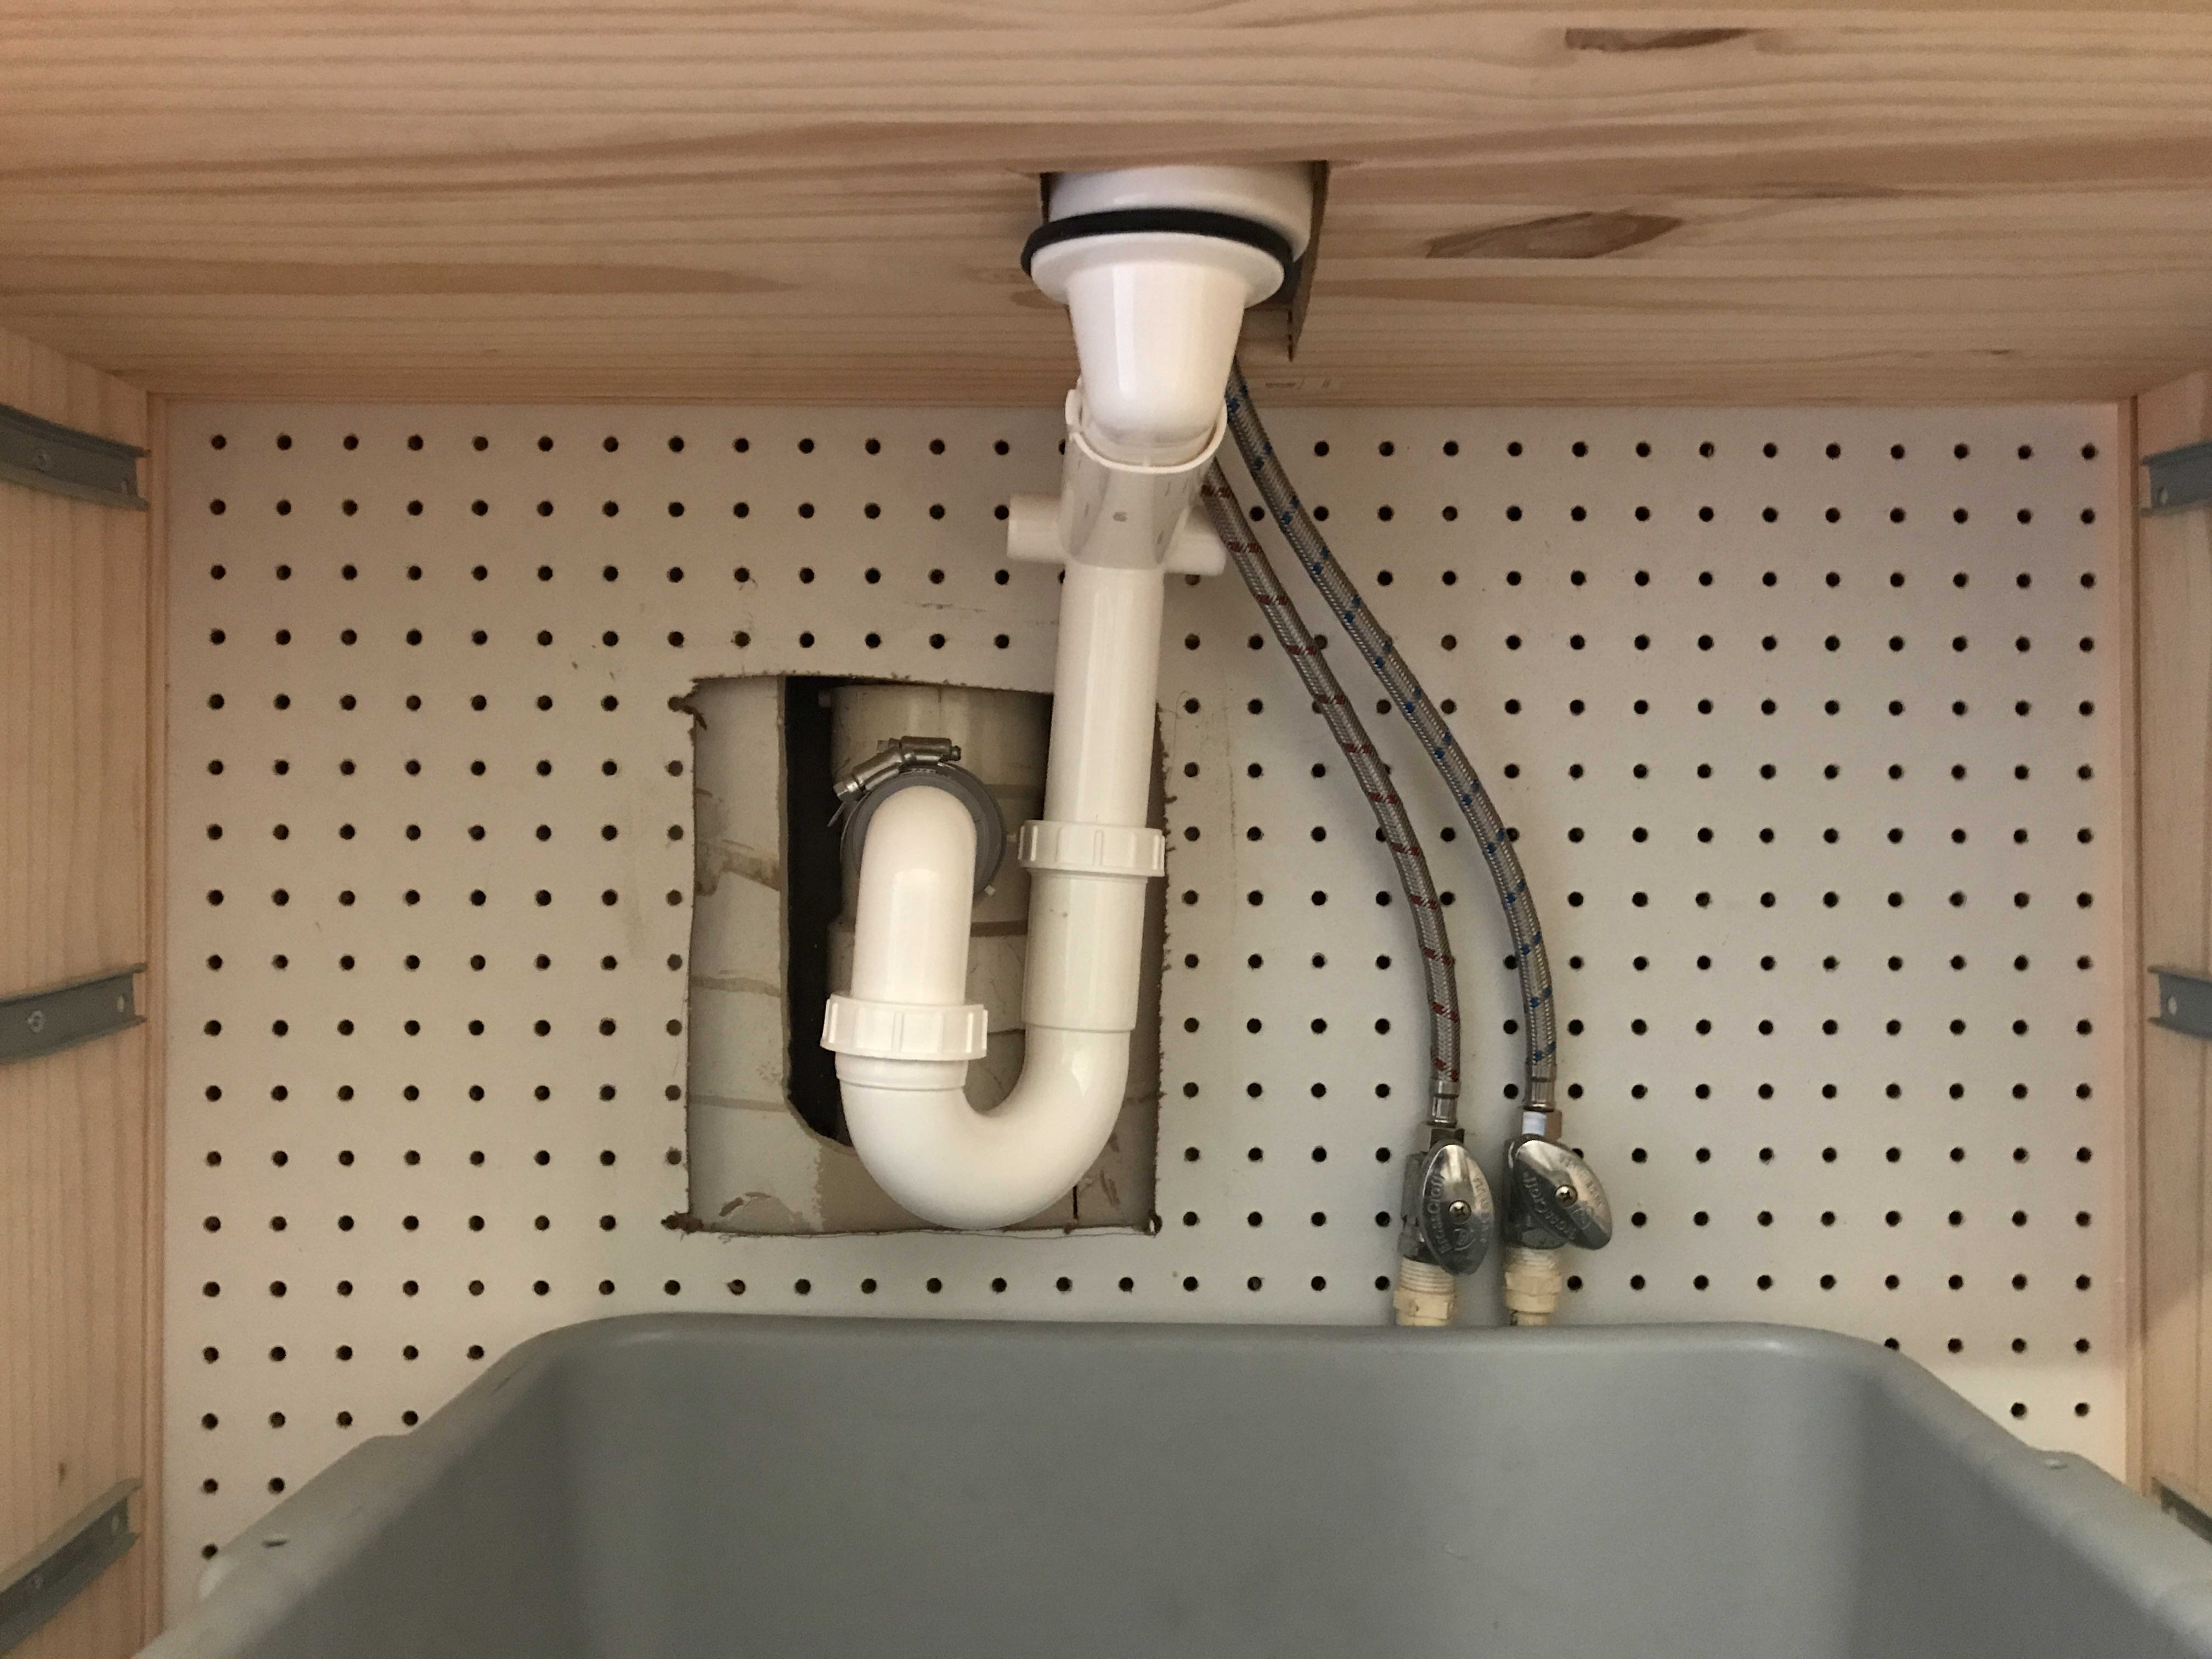
Connecting the plumbing for an IKEA kitchen sink installation may seem intimidating, but it is a relatively simple process. Here are the steps to follow: Step 1: Connect the faucet to the water supply using the provided hoses. Step 2: Attach the drain to the sink and connect it to the plumbing under the sink. Step 3: Test the connections for any leaks and make any necessary adjustments.8. Connecting Plumbing for an IKEA Kitchen Sink Installation

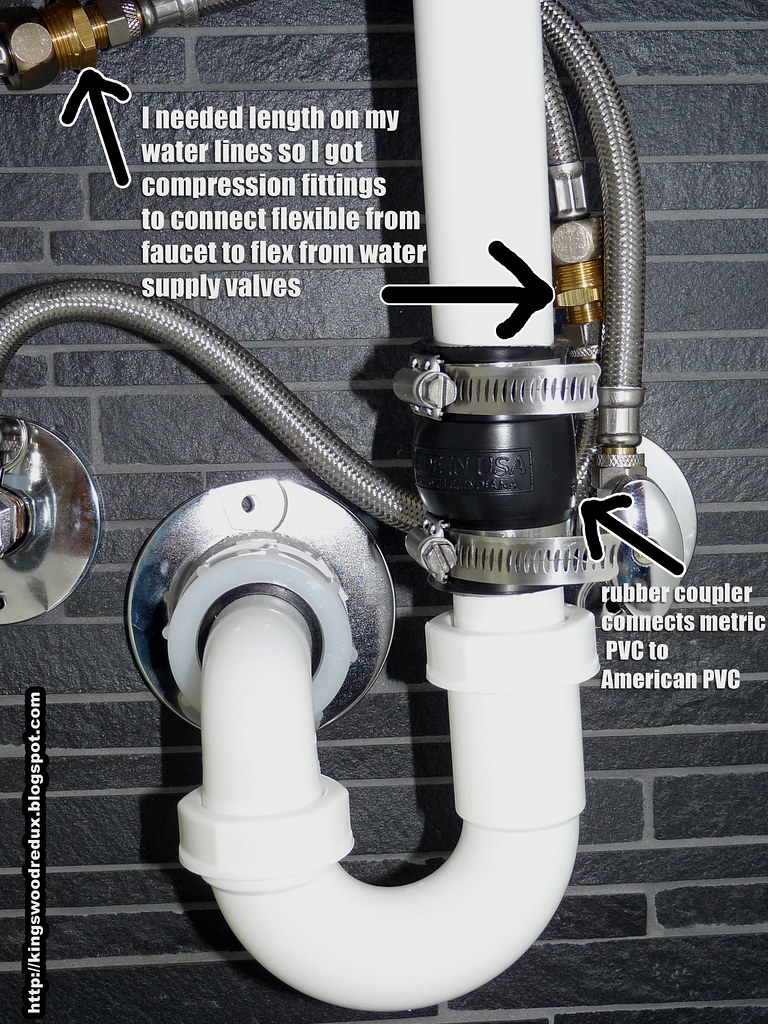
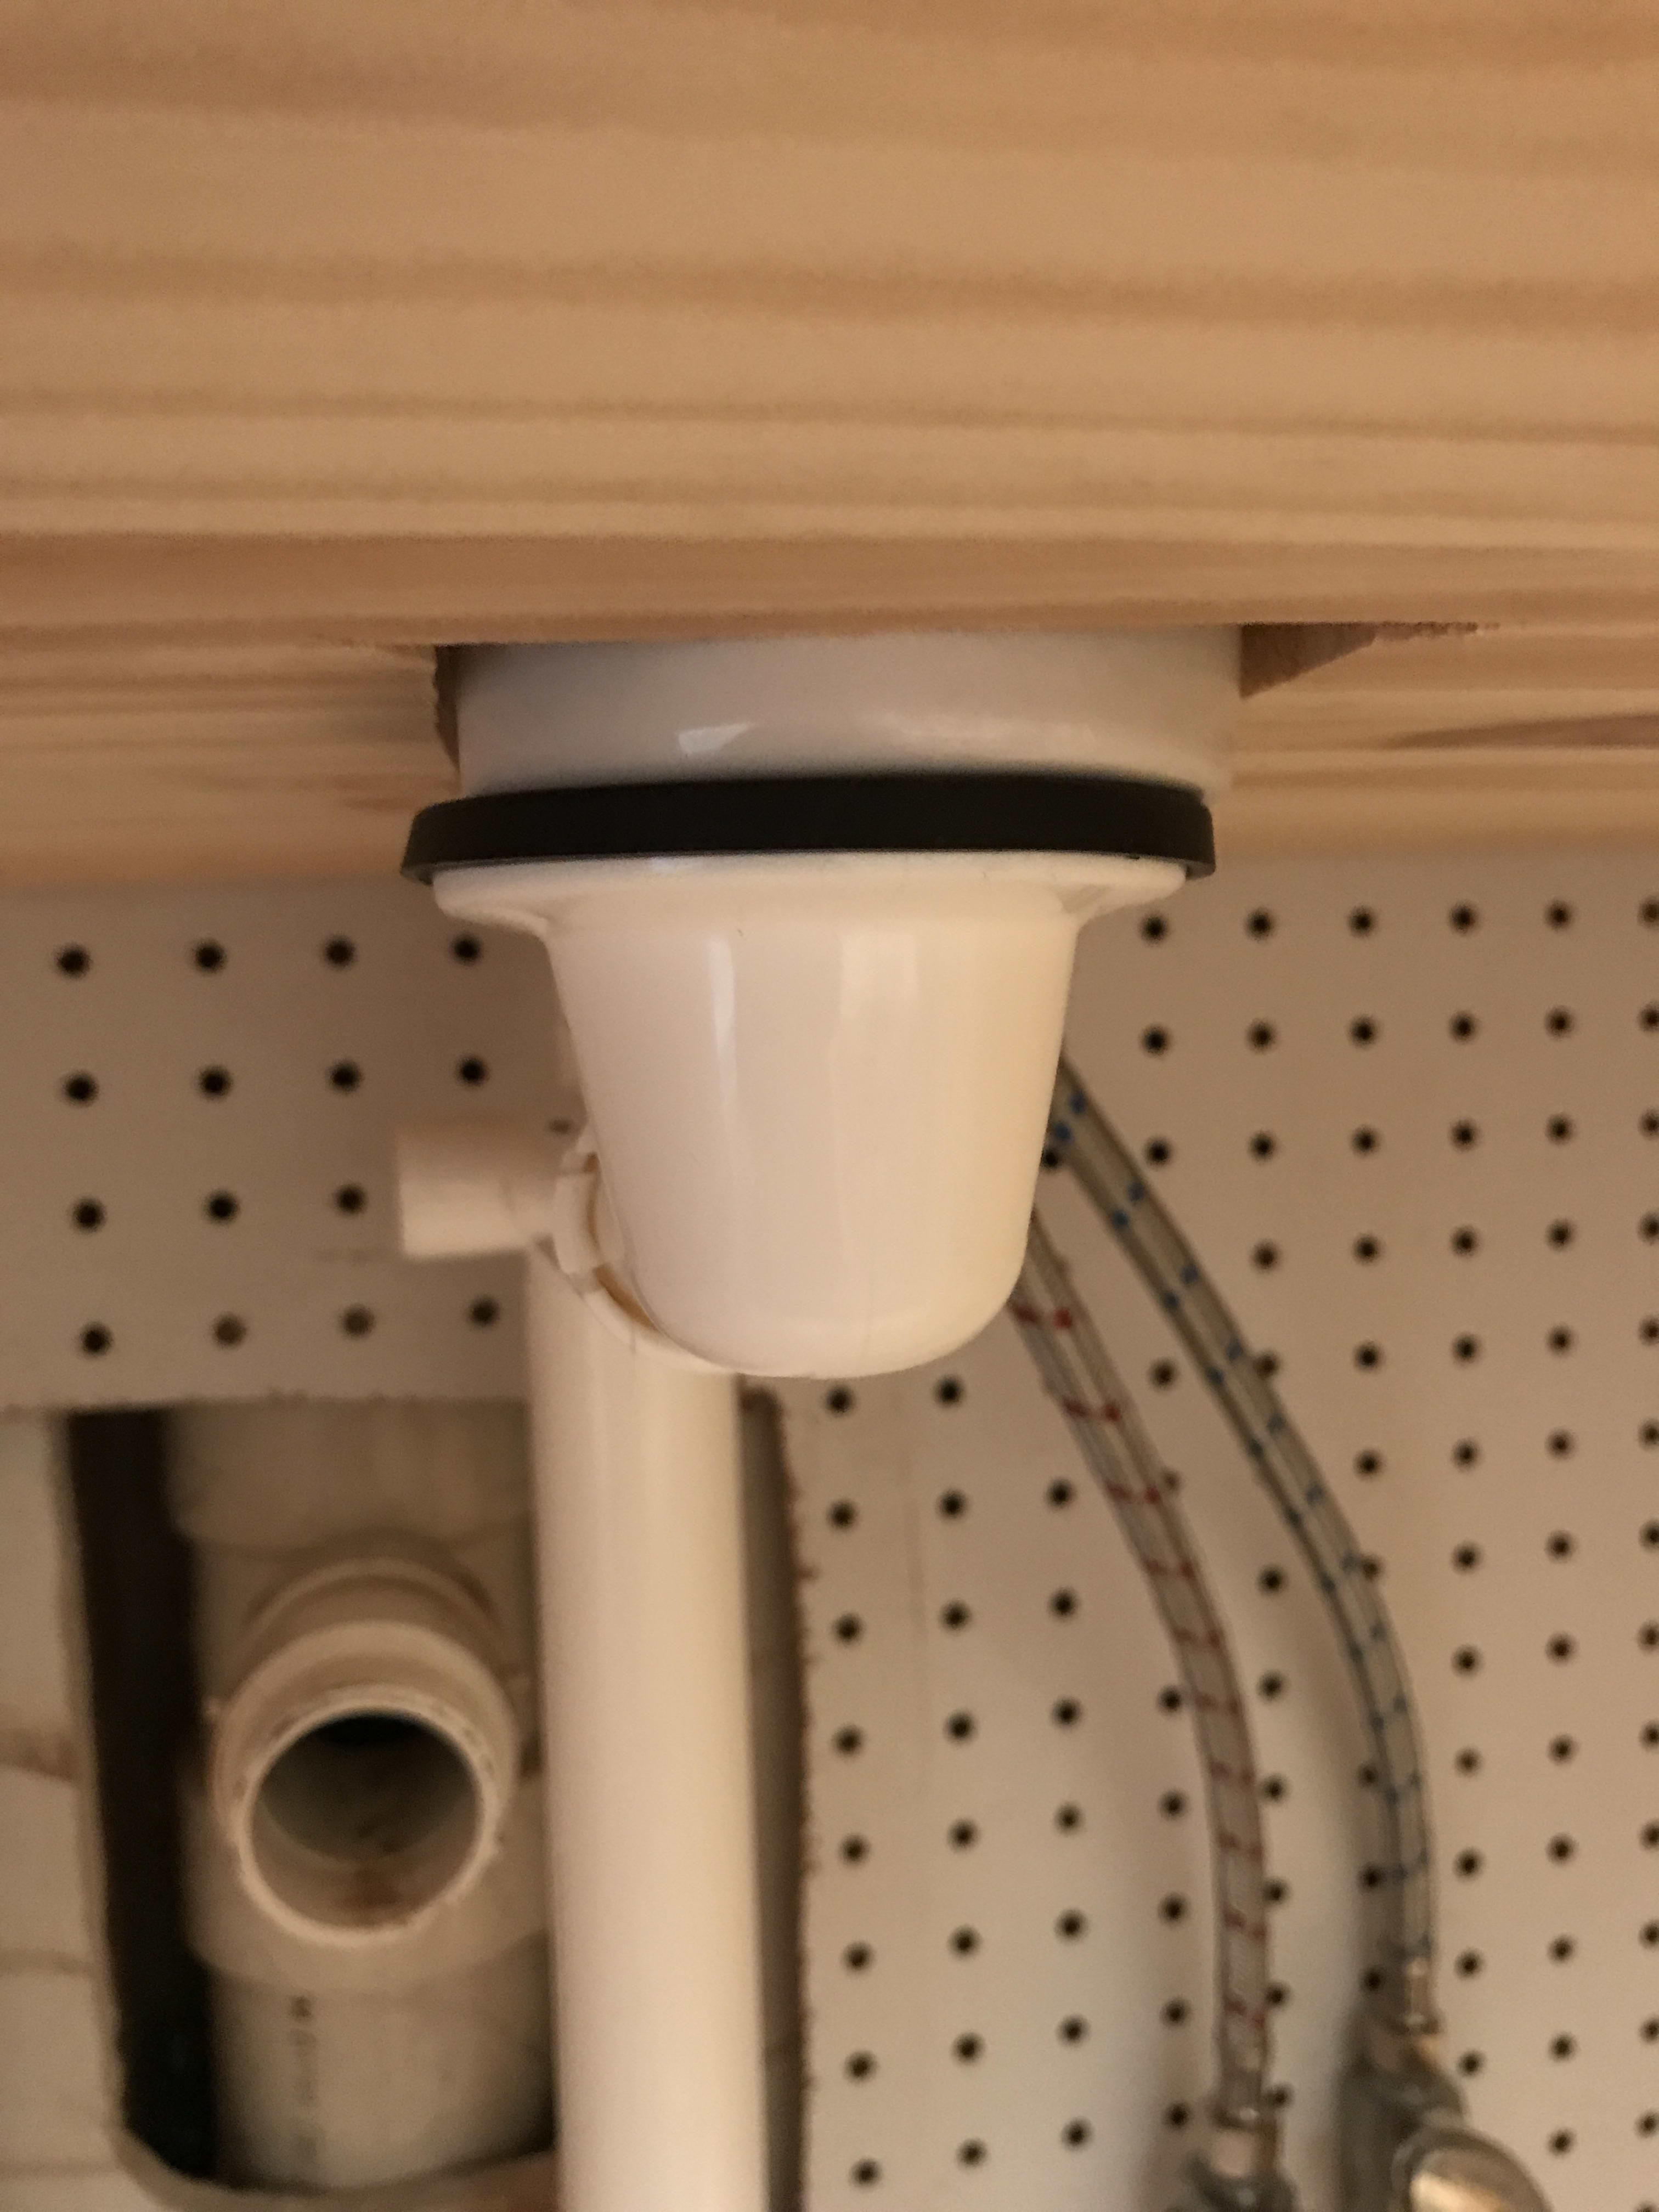
8. Connecting Plumbing for an IKEA Kitchen Sink Installation
/how-to-install-a-sink-drain-2718789-hero-24e898006ed94c9593a2a268b57989a3.jpg)


While installing an IKEA kitchen sink is usually a straightforward process, there may be some common issues that arise. Here are a few tips for troubleshooting these issues: • Leaks: If you notice any leaks, check all connections and tighten them as needed. • Uneven sink: If the sink is not sitting evenly on the countertop, use a level to adjust it before securing it in place. • Difficulty connecting plumbing: If you are having trouble connecting the plumbing, refer to the instructions and make sure all components are properly assembled.9. Troubleshooting Common Issues During an IKEA Kitchen Sink Installation


9. Troubleshooting Common Issues During an IKEA Kitchen Sink Installation


Deciding whether to hire a professional or tackle the installation yourself is a personal choice. While hiring a professional may save you time and potential mistakes, DIY can be a fulfilling and cost-effective option. Consider your skill level and the complexity of the project before making a decision. In conclusion, installing an IKEA kitchen sink is a manageable task that can be completed with the right tools and instructions. By following this guide, you can successfully install your new sink and enjoy a fresh and updated kitchen space.10. Hiring a Professional vs. DIY for Installing an IKEA Kitchen Sink

10. Hiring a Professional vs. DIY for Installing an IKEA Kitchen Sink


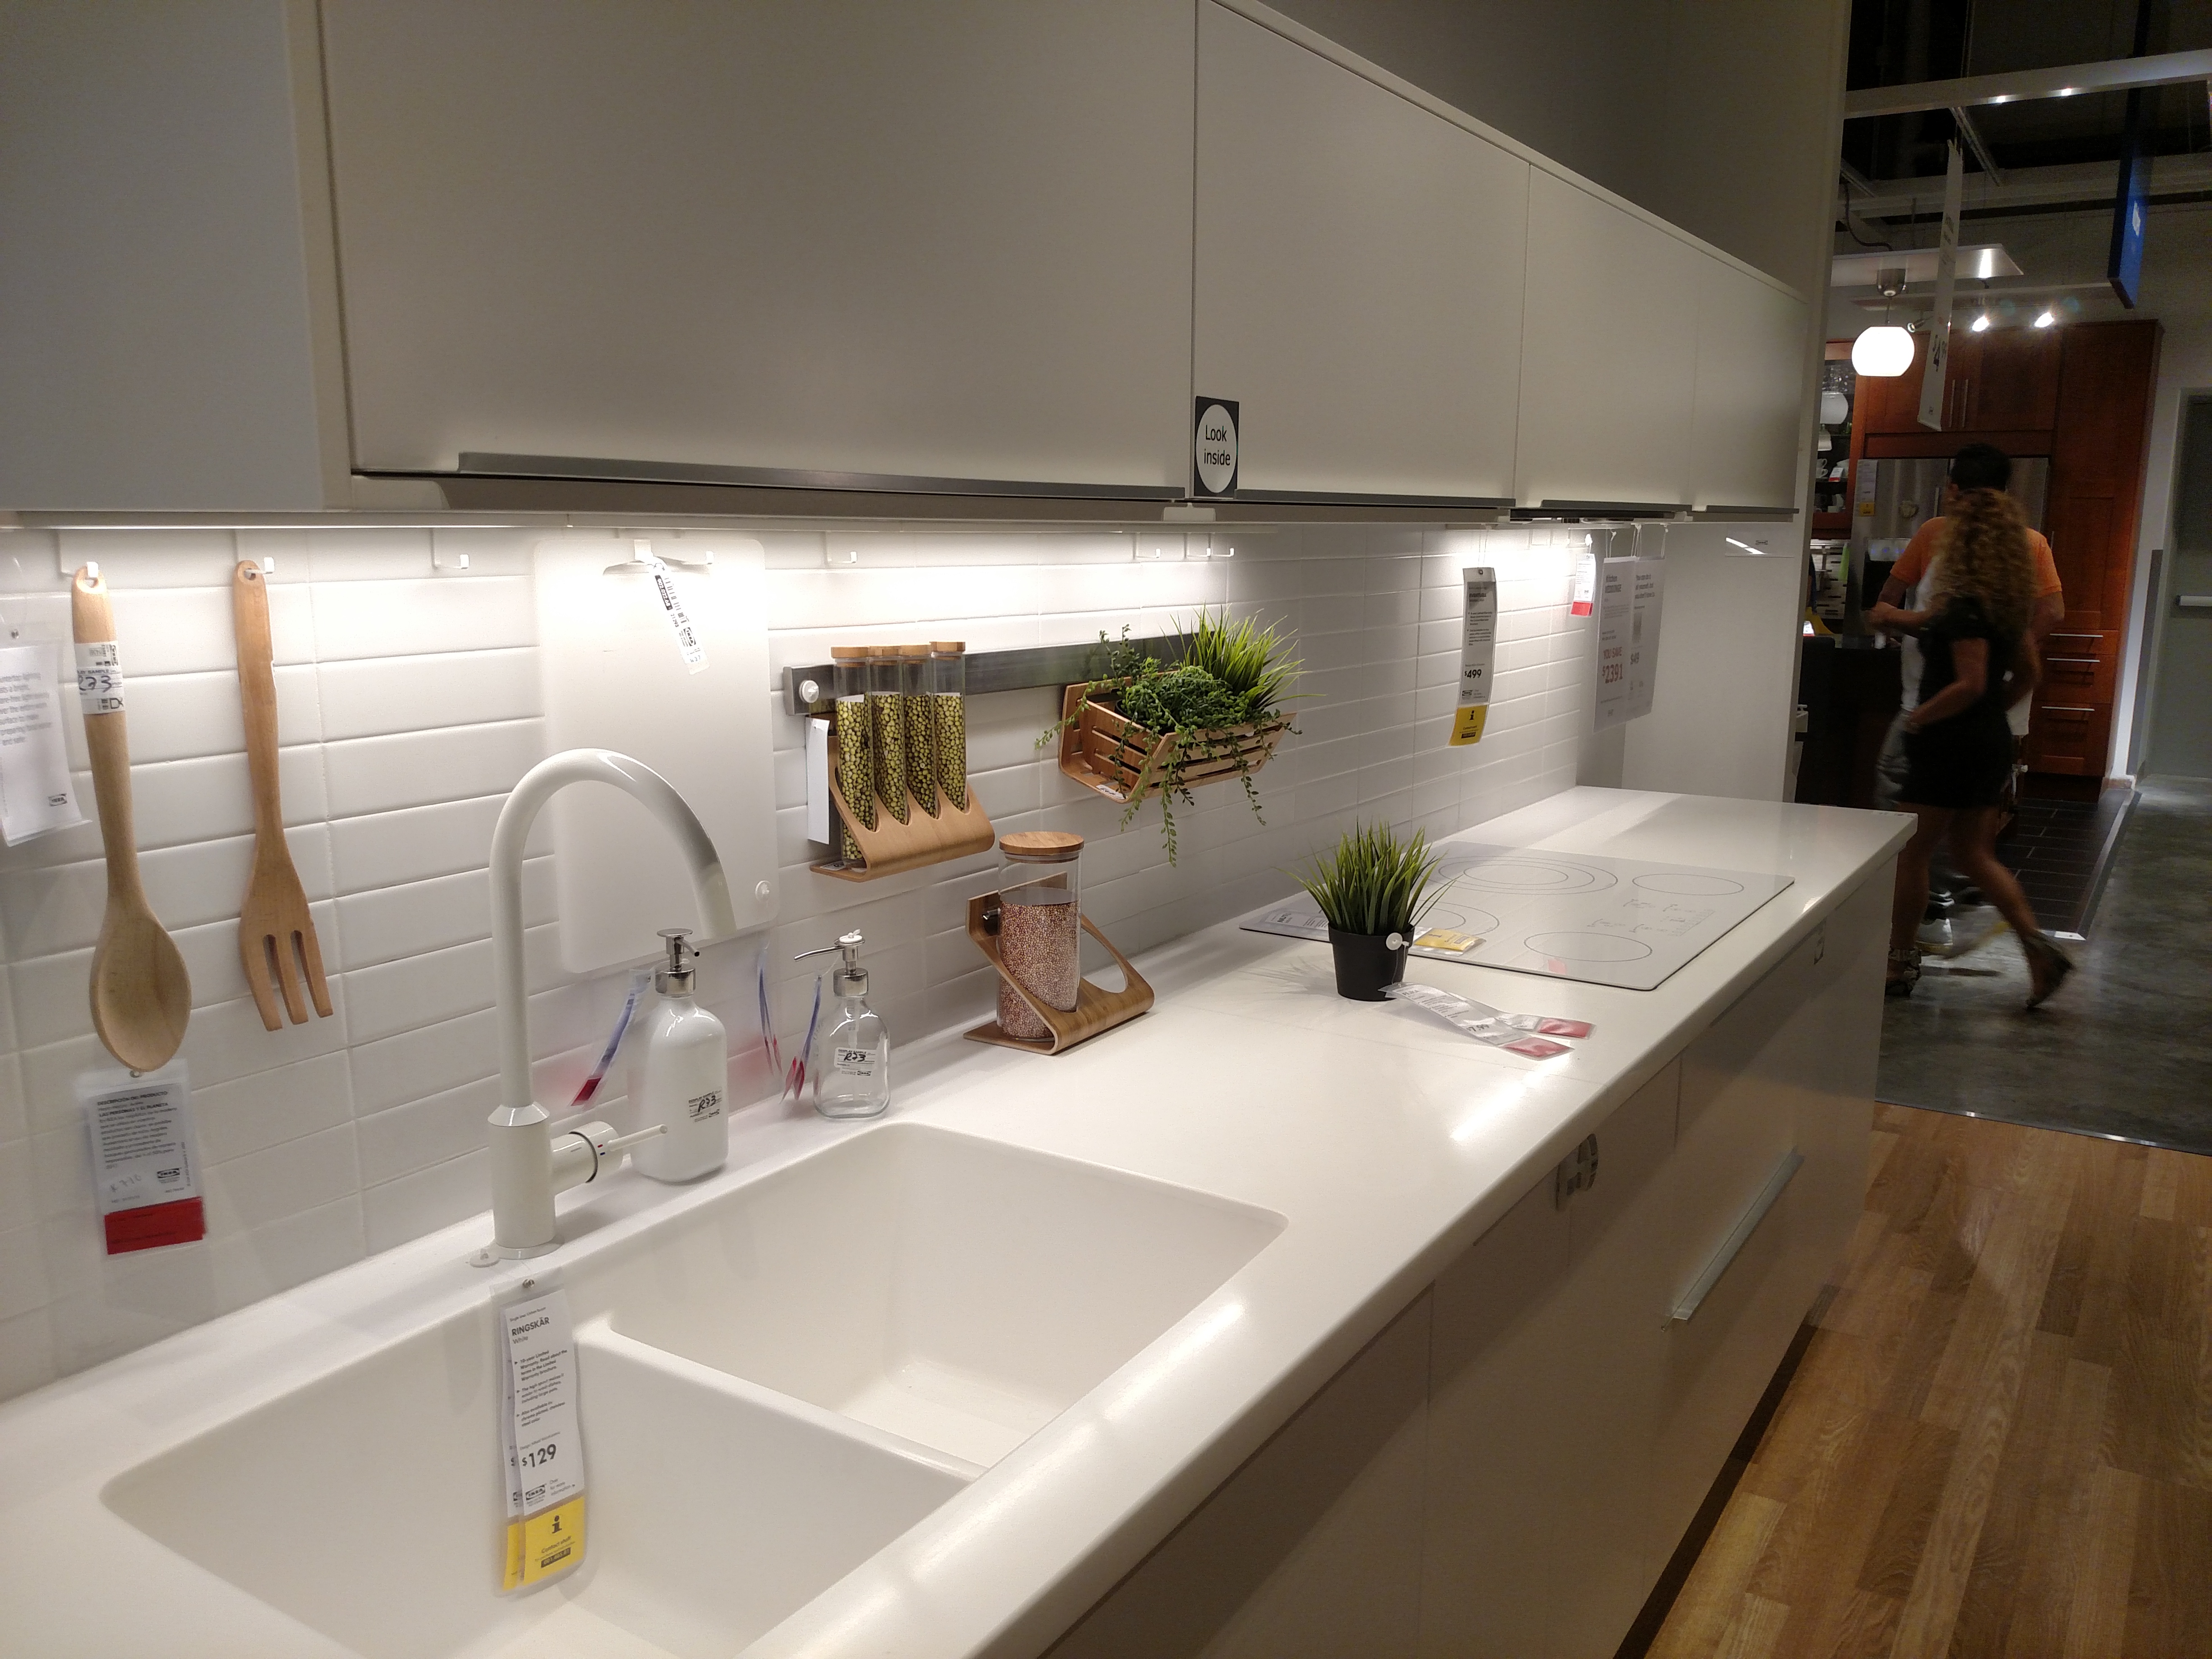
Why Choose an IKEA Kitchen Sink?
Affordability and Variety
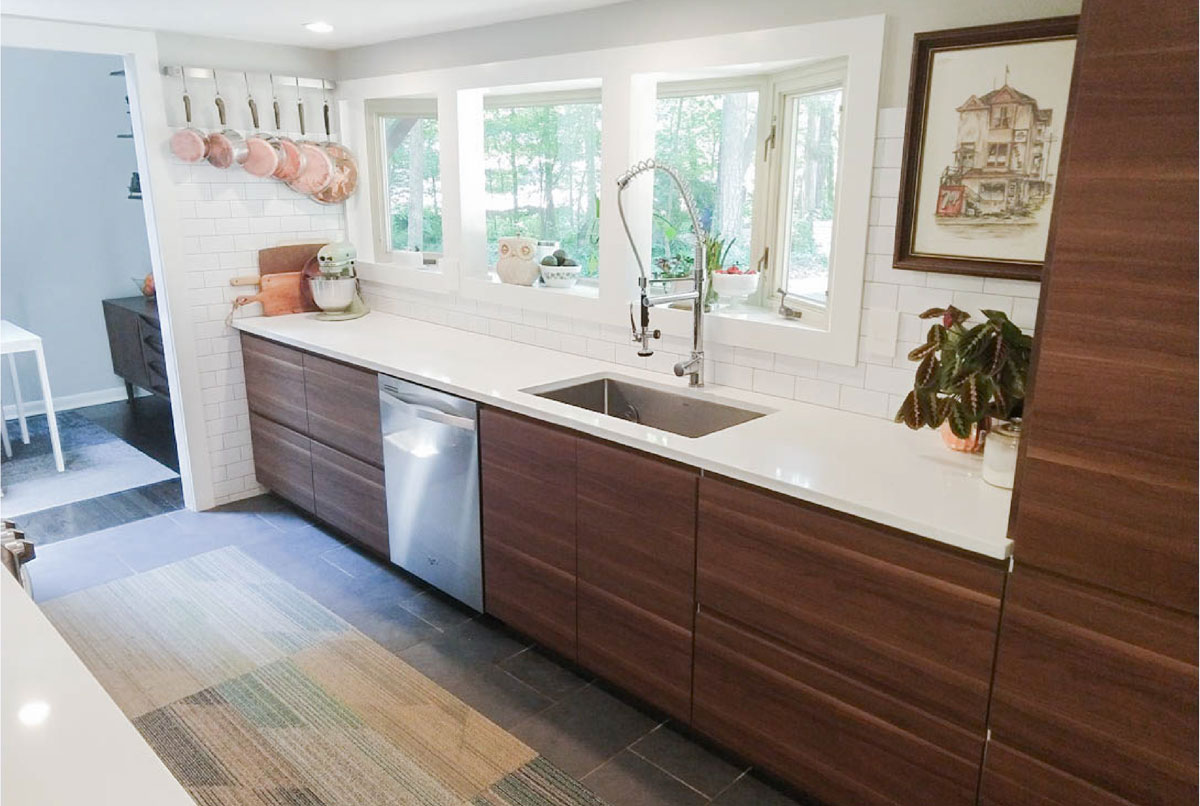
 If you're in the process of renovating your kitchen, you've probably come across the name IKEA. Known for their affordable and stylish furniture, IKEA has also become a popular choice for kitchen design. One of the most important elements of any kitchen is the sink, and IKEA offers a wide variety of options to choose from. Whether you're looking for a traditional farmhouse style or a modern and sleek design,
IKEA kitchen sinks
have got you covered. With their competitive prices, you won't have to break the bank to achieve the kitchen of your dreams.
If you're in the process of renovating your kitchen, you've probably come across the name IKEA. Known for their affordable and stylish furniture, IKEA has also become a popular choice for kitchen design. One of the most important elements of any kitchen is the sink, and IKEA offers a wide variety of options to choose from. Whether you're looking for a traditional farmhouse style or a modern and sleek design,
IKEA kitchen sinks
have got you covered. With their competitive prices, you won't have to break the bank to achieve the kitchen of your dreams.
Easy Installation Process
 One of the biggest hurdles when it comes to installing a new kitchen sink is the installation process itself. However, with
IKEA kitchen sinks
, this is not a concern. Their sinks come with detailed instructions and are designed for easy installation. You won't have to hire a professional or spend hours trying to figure out complicated instructions. With
IKEA kitchen sinks
, you can have your new sink up and running in no time, saving you both time and money.
One of the biggest hurdles when it comes to installing a new kitchen sink is the installation process itself. However, with
IKEA kitchen sinks
, this is not a concern. Their sinks come with detailed instructions and are designed for easy installation. You won't have to hire a professional or spend hours trying to figure out complicated instructions. With
IKEA kitchen sinks
, you can have your new sink up and running in no time, saving you both time and money.
Durable and High-Quality Material
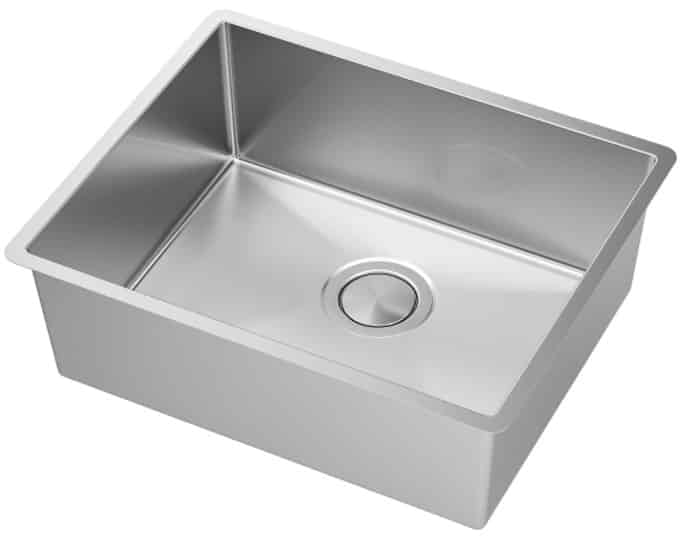
 A kitchen sink is used daily, so it's essential to choose one that is durable and made with high-quality materials.
IKEA kitchen sinks
are made from materials such as stainless steel, ceramic, and composite, ensuring durability and longevity. These materials are also easy to clean and maintain, making your life in the kitchen much easier. Additionally, IKEA offers a 25-year warranty on their sinks, giving you peace of mind and confidence in your purchase.
A kitchen sink is used daily, so it's essential to choose one that is durable and made with high-quality materials.
IKEA kitchen sinks
are made from materials such as stainless steel, ceramic, and composite, ensuring durability and longevity. These materials are also easy to clean and maintain, making your life in the kitchen much easier. Additionally, IKEA offers a 25-year warranty on their sinks, giving you peace of mind and confidence in your purchase.
Customizable Options
 Every kitchen is unique, and
IKEA kitchen sinks
offer customizable options to fit your specific needs. You can choose from different sizes, styles, and features to create a sink that suits your kitchen perfectly. They also offer compatible accessories, such as cutting boards, drying racks, and drain pipes, to enhance the functionality of your sink. With
IKEA kitchen sinks
, you can design a sink that not only looks great but also works for your everyday needs.
In conclusion, when it comes to choosing a kitchen sink,
IKEA
should be at the top of your list. With their affordability, easy installation process, high-quality materials, and customizable options, you can't go wrong with an IKEA kitchen sink. So why wait? Head to your nearest IKEA store or browse their website to find the perfect sink for your kitchen. Trust us; you won't be disappointed with your choice.
Every kitchen is unique, and
IKEA kitchen sinks
offer customizable options to fit your specific needs. You can choose from different sizes, styles, and features to create a sink that suits your kitchen perfectly. They also offer compatible accessories, such as cutting boards, drying racks, and drain pipes, to enhance the functionality of your sink. With
IKEA kitchen sinks
, you can design a sink that not only looks great but also works for your everyday needs.
In conclusion, when it comes to choosing a kitchen sink,
IKEA
should be at the top of your list. With their affordability, easy installation process, high-quality materials, and customizable options, you can't go wrong with an IKEA kitchen sink. So why wait? Head to your nearest IKEA store or browse their website to find the perfect sink for your kitchen. Trust us; you won't be disappointed with your choice.