Installing a strainer basket in your kitchen sink may seem like a daunting task, but with the right tools and knowledge, it can be a simple and straightforward DIY project. A strainer basket is an essential component in your sink as it helps to trap debris and prevent clogs in your pipes. In this guide, we will walk you through the step-by-step process of installing a strainer basket in your kitchen sink.How to Install a Strainer Basket in a Kitchen Sink


How to Install a Strainer Basket in a Kitchen Sink


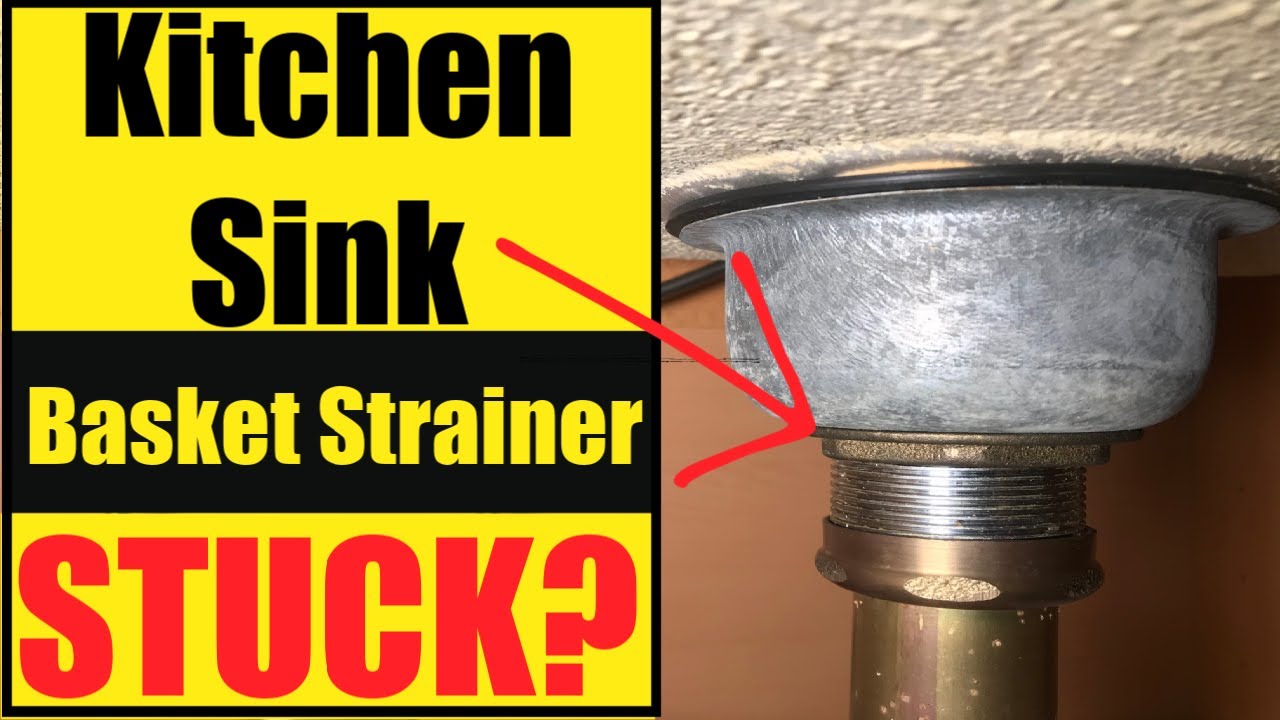
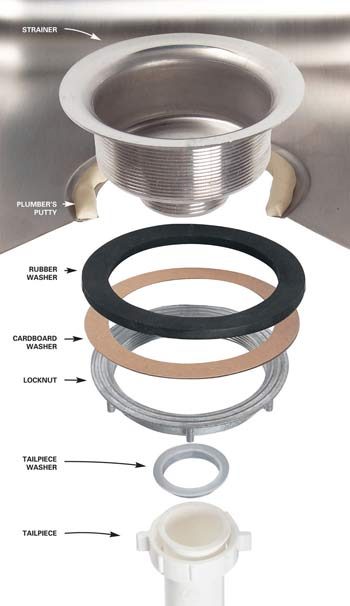
Step 1: Gather Your Tools and Materials The first step in any DIY project is to gather all the necessary tools and materials. For installing a strainer basket in your kitchen sink, you will need a screwdriver, pliers, plumber's putty, and a new strainer basket and drain assembly. Make sure to purchase the correct size and type of strainer basket for your sink. Step 2: Remove the Old Strainer Basket Using your pliers, loosen and remove the locknut and basket from the old strainer assembly. Once the locknut is removed, you can easily pull out the old strainer basket from your sink. Step 3: Clean the Area Before installing the new strainer basket, make sure to clean the area thoroughly. Use a rag or sponge to wipe away any debris or residue from the old strainer basket. Step 4: Apply Plumber's Putty Take a small amount of plumber's putty and roll it into a thin rope. Place the putty around the lip of the new strainer basket, then carefully insert it into the sink drain. Press down gently to create a tight seal. Step 5: Install the Locknut and Gasket Place the rubber gasket over the strainer basket, then screw on the locknut from underneath the sink. Use your pliers to tighten the locknut, making sure the strainer basket is securely in place. Step 6: Check for Leaks Turn on the water and let it run for a few minutes to check for any leaks. If you notice any leaks, tighten the locknut further or add more plumber's putty as needed.Step-by-Step Guide for Installing a Strainer Basket in a Kitchen Sink


Step-by-Step Guide for Installing a Strainer Basket in a Kitchen Sink


Installing a strainer basket in your kitchen sink is a simple and budget-friendly DIY project. With the right tools and materials, you can save money on hiring a professional plumber and have the satisfaction of completing the project yourself.DIY: Installing a Strainer Basket in a Kitchen Sink


DIY: Installing a Strainer Basket in a Kitchen Sink


strainer basket, screwdriver, pliers, plumber's putty, rag or sponge Having the right tools and materials is crucial for a successful installation of a strainer basket in your kitchen sink. Make sure to have everything on hand before starting the project.Tools and Materials Needed for Installing a Strainer Basket in a Kitchen Sink

Installing a Strainer Basket in a Kitchen Sink: A Beginner's Guide


Mistake 1: Not Using Enough Plumber's Putty When installing a strainer basket, it is important to create a watertight seal. If you do not use enough plumber's putty, you may experience leaks and have to redo the installation. Mistake 2: Using the Wrong Size Strainer Basket Make sure to purchase the correct size and type of strainer basket for your sink. Using the wrong size can result in a poor fit and may cause leaks or other issues. Mistake 3: Not Tightening the Locknut Enough To ensure a secure installation, make sure to tighten the locknut properly. If it is not tightened enough, the strainer basket may become loose and cause leaks.Common Mistakes to Avoid When Installing a Strainer Basket in a Kitchen Sink


Tools and Materials Needed for Installing a Strainer Basket in a Kitchen Sink


Use a towel or cloth over the sink opening to prevent small parts from falling into the drain. Apply a thin layer of petroleum jelly on the rubber gasket to help create a better seal. Always double-check for leaks before considering the installation complete.Tips and Tricks for Installing a Strainer Basket in a Kitchen Sink


Common Mistakes to Avoid When Installing a Strainer Basket in a Kitchen Sink


If you are a visual learner, there are many helpful video tutorials available online that can guide you through the installation process. Make sure to follow along carefully and pause the video as needed.Video Tutorial: How to Install a Strainer Basket in a Kitchen Sink


Tips and Tricks for Installing a Strainer Basket in a Kitchen Sink


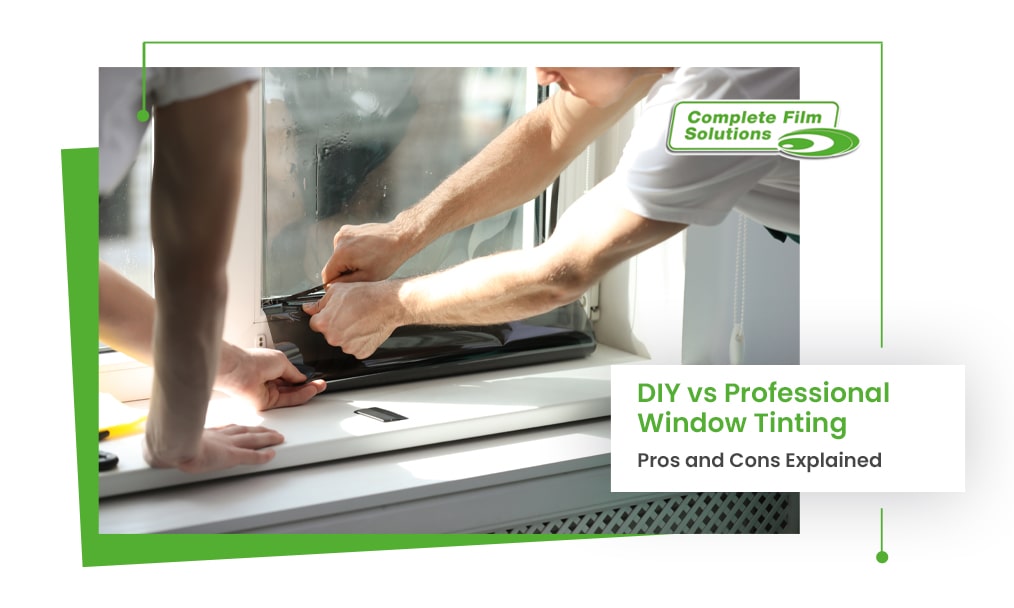
Pros of Hiring a Professional: - Experienced and trained professionals Pros of DIY: - Cost-effective Cons of Hiring a Professional: - More expensive than DIY Cons of DIY: - Requires time and effortProfessional vs. DIY: Pros and Cons of Installing a Strainer Basket in a Kitchen Sink
- May have access to specialized tools
- Can provide a warranty or guarantee for their work
- Can save you time and effort
- Can be done at your own pace
- Allows for a sense of accomplishment
- Gives you control over the installation process
- May not be available at a convenient time
- May not guarantee a perfect installation
- May not be able to address other plumbing issues if they arise
- May not have access to specialized tools
- May not have the necessary skills or knowledge
- May have to redo the installation if not done correctly


Video Tutorial: How to Install a Strainer Basket in a Kitchen Sink

Issue 1: Leaks If you notice leaks after installing the strainer basket, check to see if the locknut is tightened properly. If it is, you may need to add more plumber's putty to create a better seal. Issue 2: Poor Fit If the strainer basket does not fit properly in your sink, you may have purchased the wrong size or type. Double-check the measurements and make sure to purchase a strainer basket that is compatible with your sink. Issue 3: Clogs If you continue to experience clogs after installing a strainer basket, make sure to regularly clean and maintain it. You may also want to consider purchasing a drain strainer to catch larger debris and prevent clogs in the future. Installing a strainer basket in your kitchen sink is a necessary and relatively simple task that can be done by any DIY enthusiast. Follow this guide, and you will have a functioning and efficient strainer basket in no time!Troubleshooting: Common Issues When Installing a Strainer Basket in a Kitchen Sink


Professional vs. DIY: Pros and Cons of Installing a Strainer Basket in a Kitchen Sink


Why You Need a Strainer Basket in Your Kitchen Sink

When it comes to designing your dream kitchen, there are a lot of features to consider. From the countertops to the cabinets, every element plays a crucial role in the functionality and aesthetic of your space. However, there is one often overlooked feature that can make a big difference in your daily routine - the strainer basket in your kitchen sink.
The Purpose of a Strainer Basket

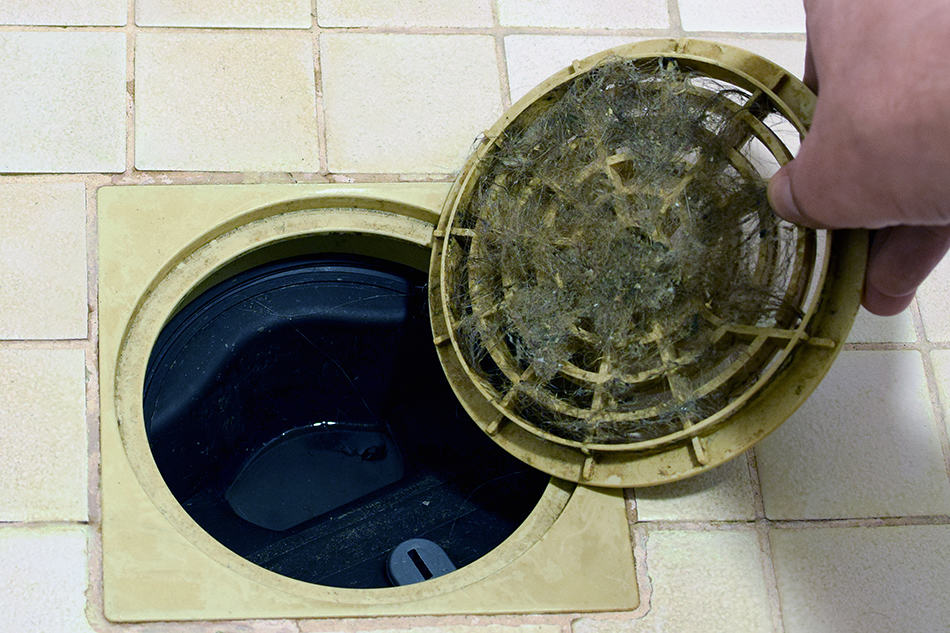
A strainer basket is a small, removable device that sits at the bottom of your kitchen sink. Its main purpose is to catch debris and prevent it from clogging your drain . It is especially useful for catching food scraps and small objects that may accidentally fall into the sink while washing dishes. Without a strainer basket, these items can cause blockages in your pipes and lead to expensive plumbing repairs.
Easy to Install and Maintain

One of the best things about a strainer basket is that it is incredibly easy to install and maintain . Most kitchen sinks come with pre-drilled holes for the strainer basket, making it a simple DIY project. Additionally, cleaning the strainer basket is a breeze - simply remove it from the sink and empty any collected debris into the trash. Regularly cleaning and replacing the strainer basket can greatly improve the lifespan of your plumbing system.
Aesthetic and Functional Benefits

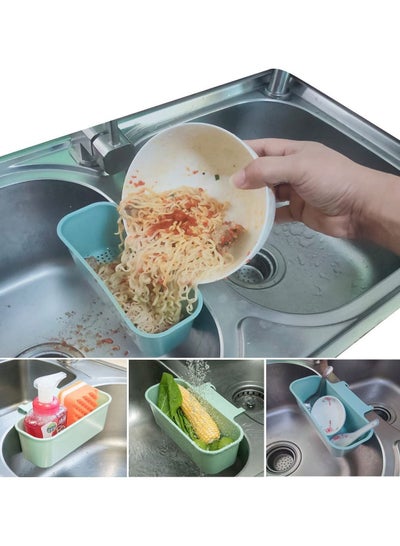
Aside from its practical purposes, a strainer basket can also enhance the overall look and functionality of your kitchen sink . Many strainer baskets come in a variety of finishes and designs, allowing you to choose one that complements your kitchen's style. It also serves as an extra layer of protection for your sink, preventing scratches and dents from heavy dishes and utensils.
Final Thoughts

In conclusion, a strainer basket is an essential element in any kitchen sink. Not only does it prevent clogs and costly plumbing repairs, but it also adds a touch of style and convenience to your daily routine. If you haven't already, consider installing a strainer basket in your kitchen sink and enjoy its many benefits.